


Making biltong the traditional South African way can be extremely rewarding. The process is surprisingly easy and with a few tricks you will save money and win friends over with your unique taste.
To start out, you need to find yourself 2kg (4.5lbs) of the right cut of meat. Biltong requires a good cut so we recommend using sirloin or silverside which has been trimmed of excess fat. Fat tends to spoil if the drying conditions are not ideal so it is best to go for a lower fat piece for your first few batches. Leave some fat on the meat to give it flavour.
Next you need to cut your meat into slices roughly 20-30cm (10 inches) long and 10-15mm (0.5 inches) thick. Remember that the meat shrinks significantly during the drying process however if you cut the meat too thick, it will take too long to dry.
Now you need to spice and marinade your meat. You’ll need a bowl which can hold slightly more than your 2kg of meat. For the marinade and spice mix, you will need:
- 200ml Brown Spirit Vinegar
- 80ml Worcestershire Sauce
- 1/2 Cup of Crushed or Coursely Ground Coriander
- 2 Tbs Ground Black Pepper
- 2 Tbs Crushed Sea Salt
Start by pouring a small amount of vinegar and worcestershire sauce in the bottom of the bowl. Next sprinkle a fine layer of the three spices onto the marinade. Now begin layering your meat adding the spices, vinegar and worcestershire sauce between layers. Additional spices can be added during this step to give your biltong its own unique flavour. Spices which work well are:
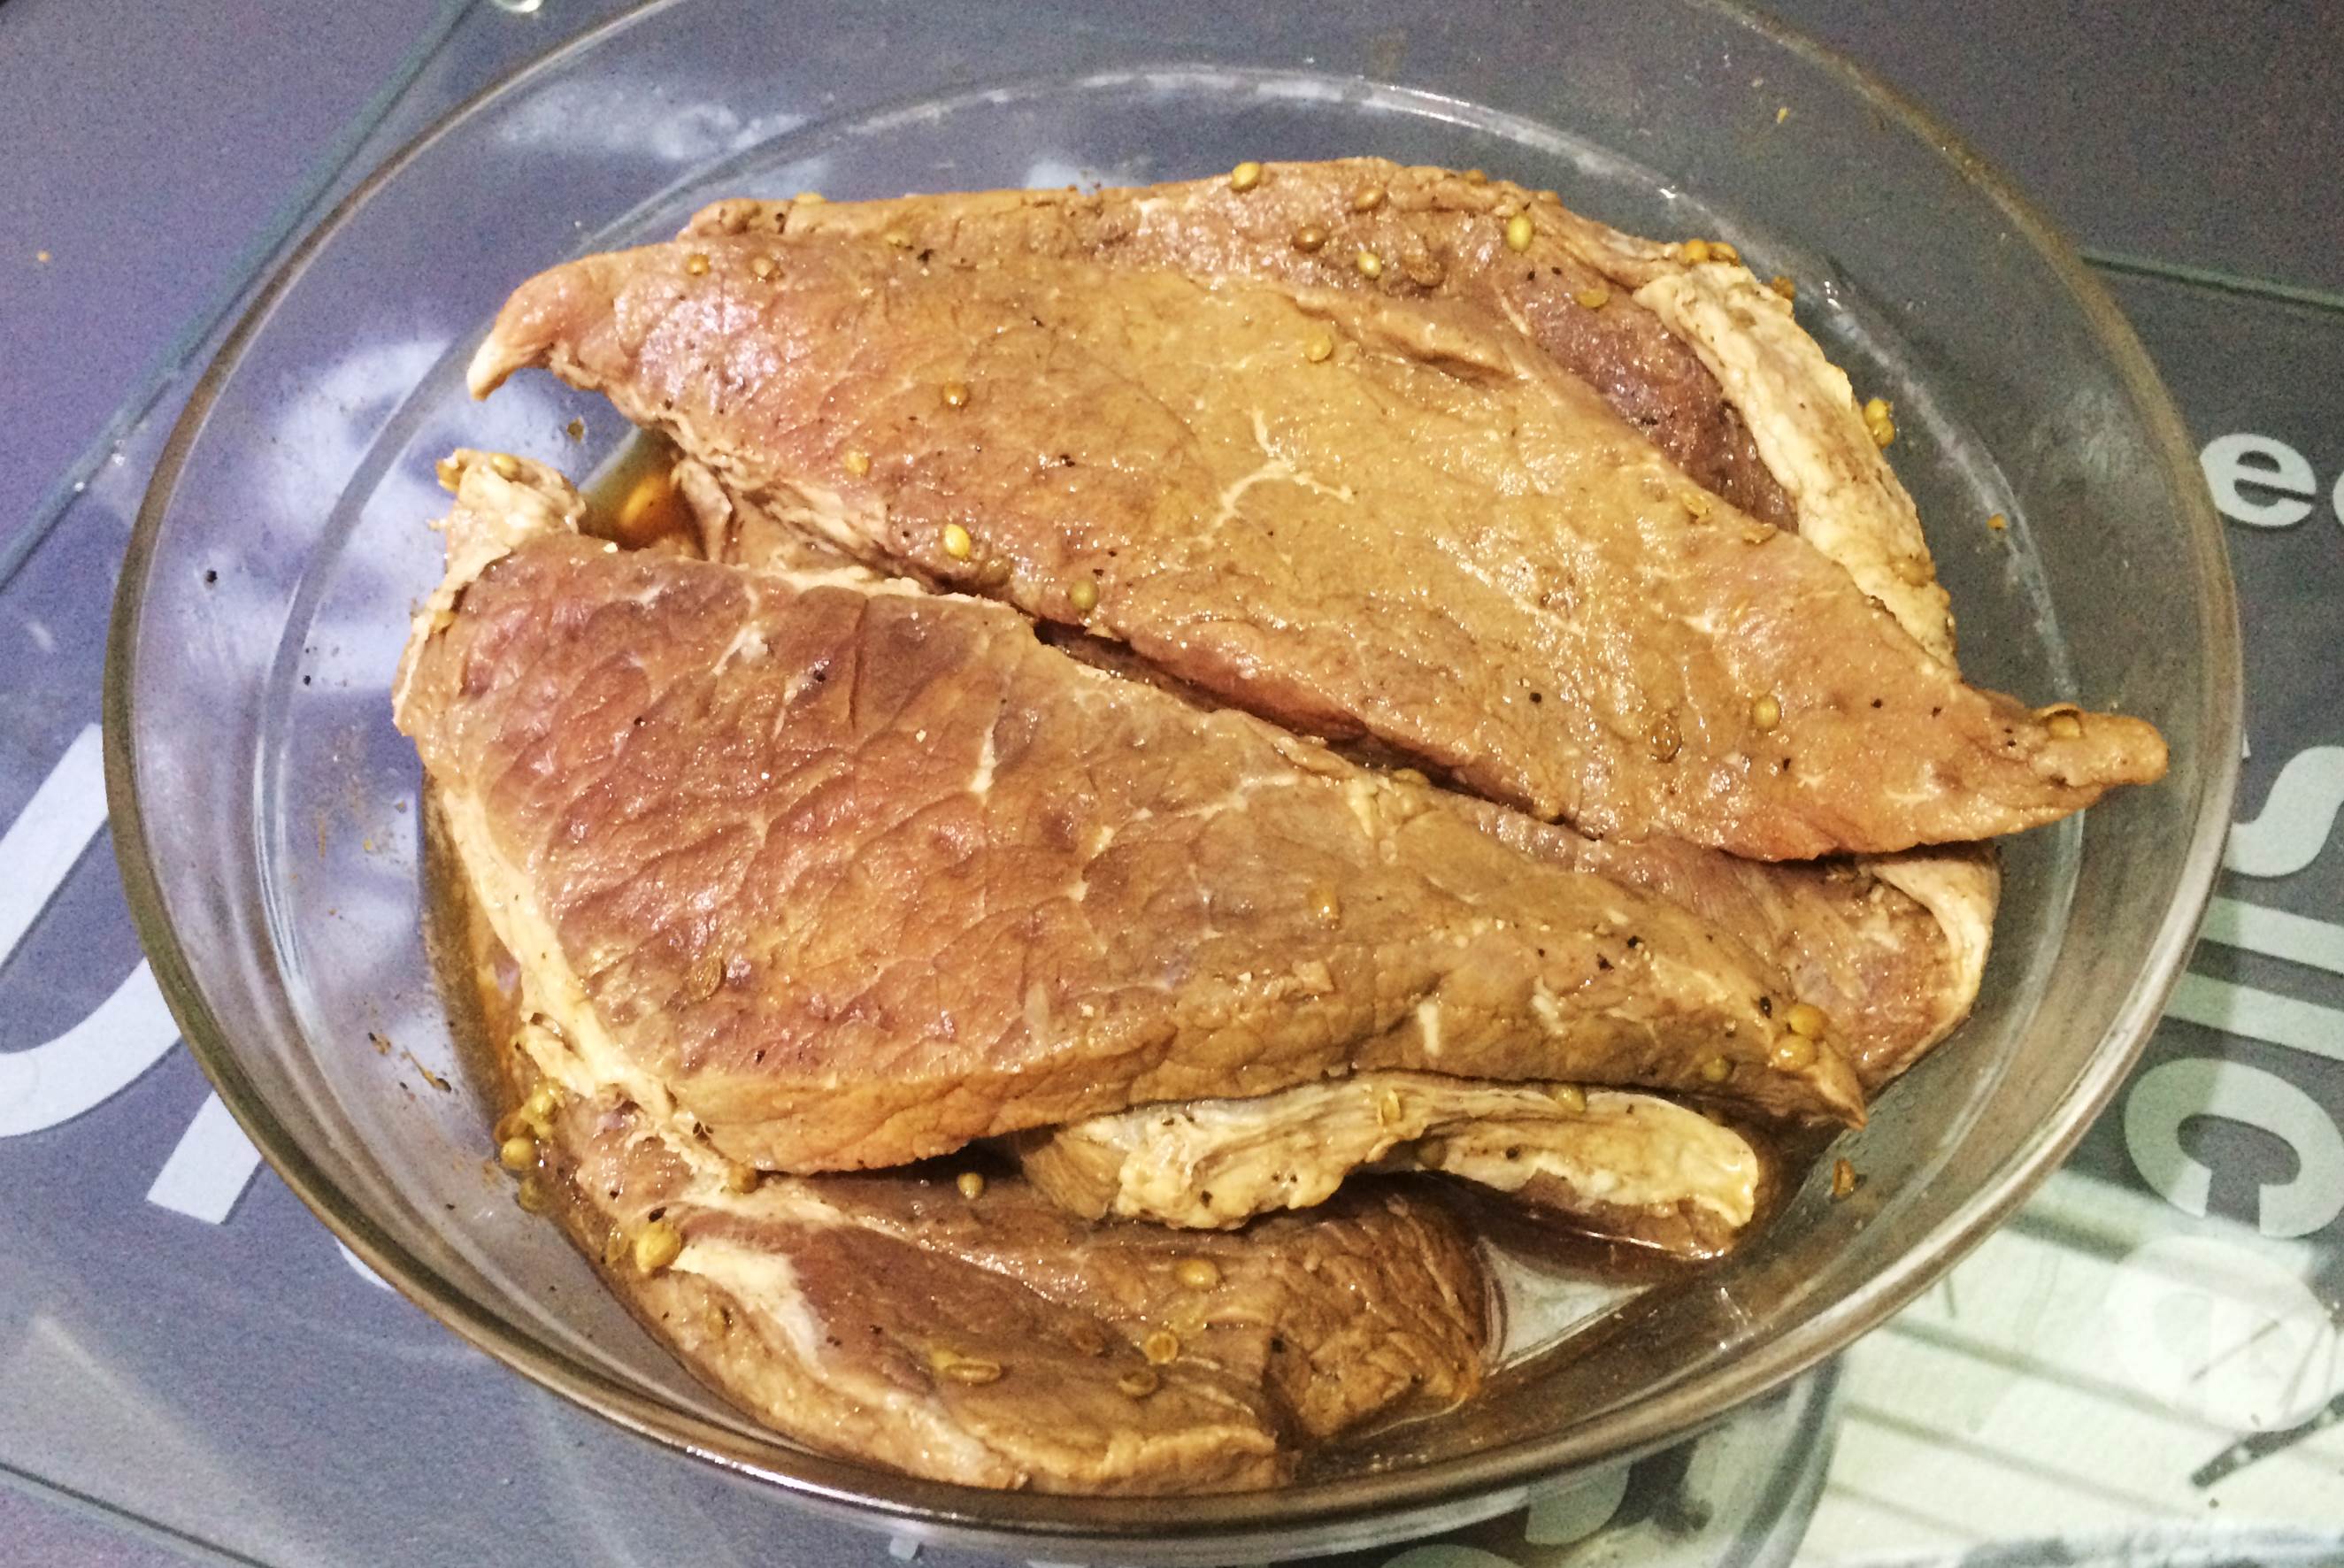
Cover your bowl in cling film and refrigerate overnight to allow the meat to draw in the flavour of the marinade. For the impatient among us, the meat needs to spend at least four hours in the marinade before it can be hung to dry.
Now the biltong is ready to be hung. In dry areas like the Karoo or inland areas in the Northern Cape, where the humidity is low, the meat can be hung out in a dry room or in the garage. In areas where the humidity is high, a biltong dryer is recommended to control the environment and prevent flies from visiting your meat. The correct environment for drying biltong is an essential part of the process, especially in coastal regions. Biltong usually takes 4-6 days to dry depending on your personal preferences.
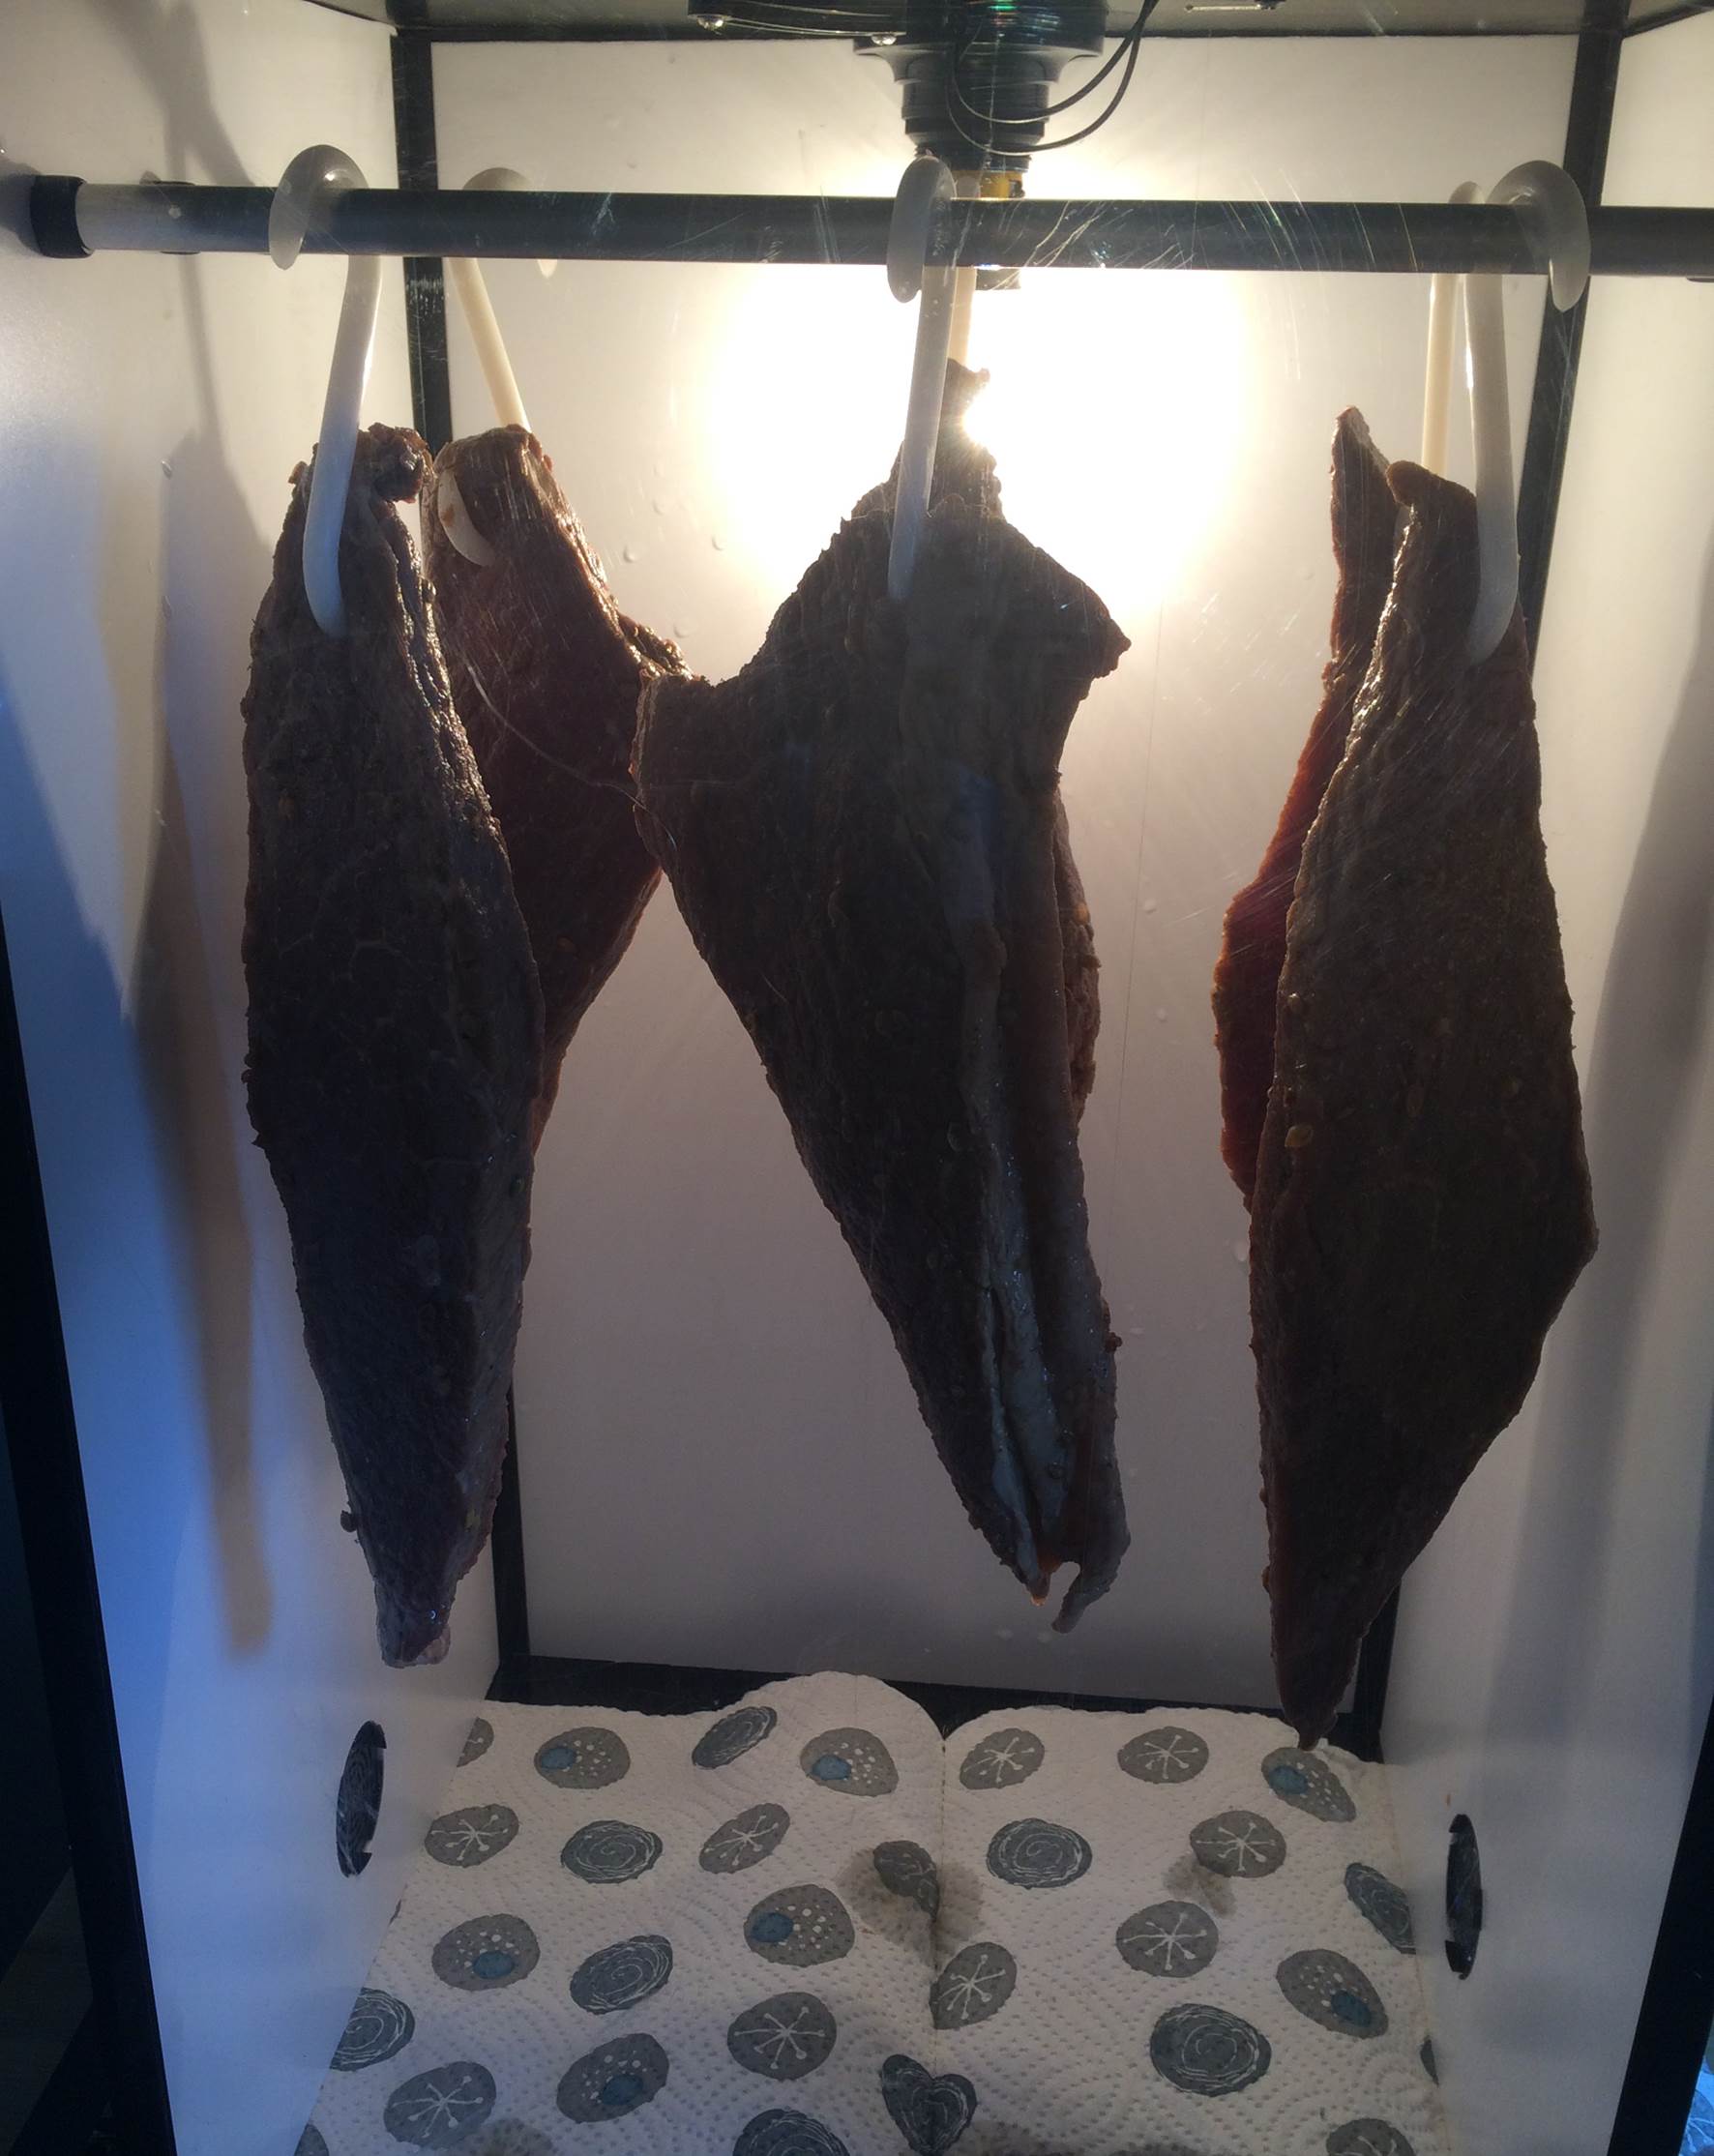
Once your have made your first successful batch, try experimenting with different spices and techniques to give your biltong a unique flavour.
Have you tried making your own traditional biltong at home? Let us know how it went in the comments section below.
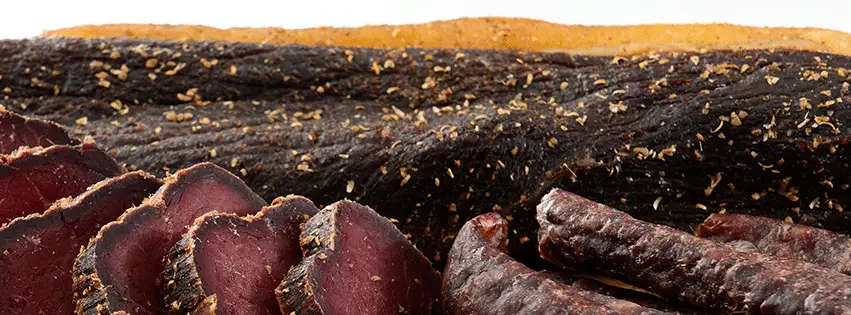
I absolutely loved your exploration of traditional biltong! The detailed instructions and flavor variations really make it approachable for beginners. I’m curious, have you experimented with any unique spices or marinades that might give a twist to the classic recipe? It could be fun to see how different flavors come together in such an artisanal snack!
Traffic Rider is easy to use and has a simple layout. It’s easy to use the brake, speed up, and steering buttons while you’re moving.
I really enjoyed this traditional biltong recipe — it’s clear, practical, and makes the whole process feel surprisingly achievable at home. The step-by-step guidance on choosing the right cut, marinating, and drying is especially helpful, and the tips for handling humidity make a big difference for beginners. What I like most is how easy it is to experiment with different spices while still keeping that authentic South African style. If you’re into homemade snacks or DIY food projects, this is definitely worth a read.
The comprehensive directions and array of flavor choices make it highly accessible for novices.
Traditional biltong is a fascinating food tradition, especially because its preparation and preservation methods reflect a rich culinary heritage. I also work with 3 Patti Vegas, and my website is gaming related, focusing on online card games and entertainment. For readers exploring 3 Patti Vegas VIP Rewards, clear information about 3 Patti Vegas and its features can make the gaming experience easier to understand.