


This is the Olares One, a pretty serious piece of hardware that’s designed specifically for running AI locally. Inside, it’s got an Intel Core Ultra 9 processor, 96GB of RAM and an RTX 5090 mobile GPU with 24GB of VRAM.
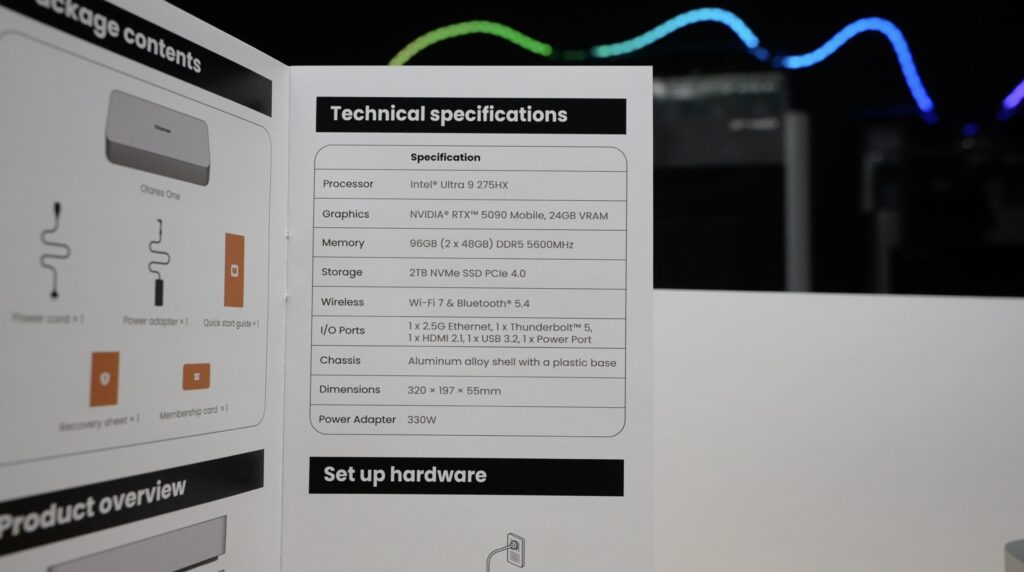
With this much AI processing power available in a single machine, I wanted to see what I could actually use it for at home. I’ve been experimenting with running AI models, workflows and autonomous agents locally, and I thought it would be interesting to see whether I could get one of these agents to do something genuinely useful.
In one of my recent projects, I built a simple home media server using a cheap mini PC. It worked quite well in the end, but it took me a few hours to get everything installed, configured and working correctly. So, for this experiment, I’m going to give a locally running AI agent access to the same mini PC, this time with a completely fresh Ubuntu Server installation, and ask it to build an entire home media and personal cloud server for me.
I want to see how close it can get to replicating my original build, without needing much intervention from me. This means installing Docker, Jellyfin, Immich, Nextcloud and Homarr, configuring the storage and networking, and troubleshooting whatever problems come up along the way. Once that’s done, I’m also going to plug in a USB drive containing some videos, photographs and documents, and see whether the agent can work out how to import everything into the correct applications.
What’s particularly interesting about this setup is that the AI model on the Olares One is running entirely on the device. It isn’t using a cloud AI service to generate responses, so the AI processing is local and private, and there are no token generation fees to worry about.
The last time I built essentially the same media server manually, it took me around four hours. So let’s see how well this works and how much of the process the AI can actually handle on its own.
Here’s my video of the project, read on for the write-up:
Where To Buy The Olares One and Other Equipment Used For This Project
- Olares One ($300 Off Coupon Applied) – Buy Here
- GMKtec Nucbox G5 – Buy Here
- 500GB SSD – Buy Here
- USB to SATA Adapter (Cheap) – Buy Here
- USB to SATA Adapter (Good Quality) – Buy Here
Tools & Equipment Used:
USB C Pencil Screwdriver – Buy Here
Some of the above parts are affiliate links. By purchasing products through the above links, you’ll be supporting my projects, at no additional cost to you.
First Look At The Olares One & Other Hardware
Olares sent me the Olares One to try out and make this video. It’s essentially a dedicated personal AI server, combining a powerful CPU and GPU with enough memory to run some pretty substantial language models locally.
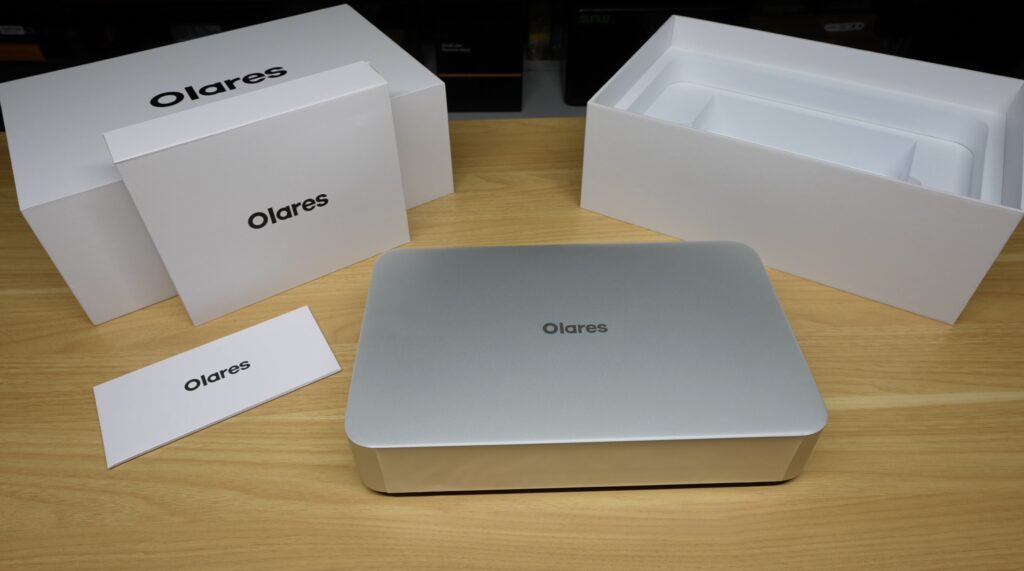
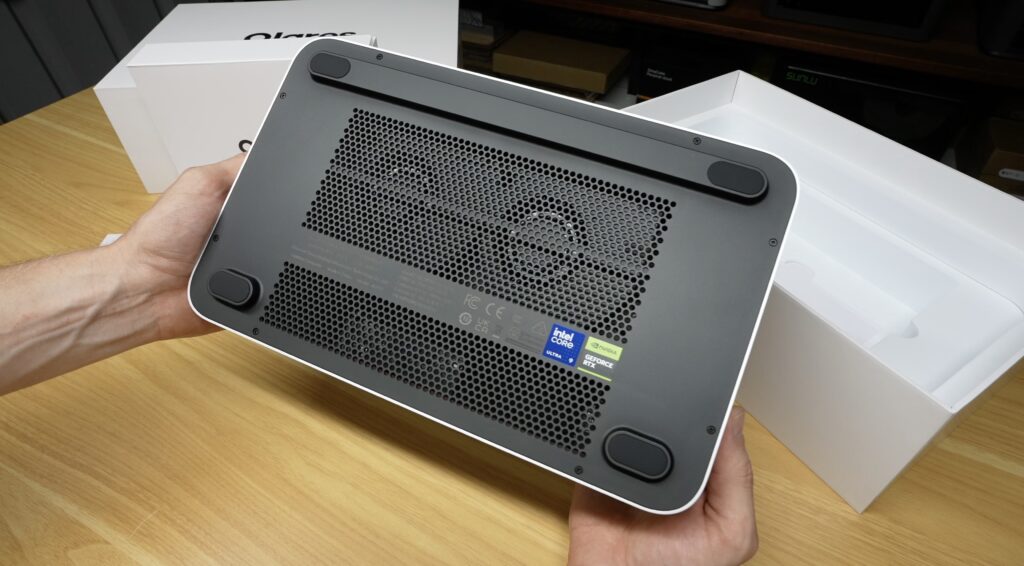
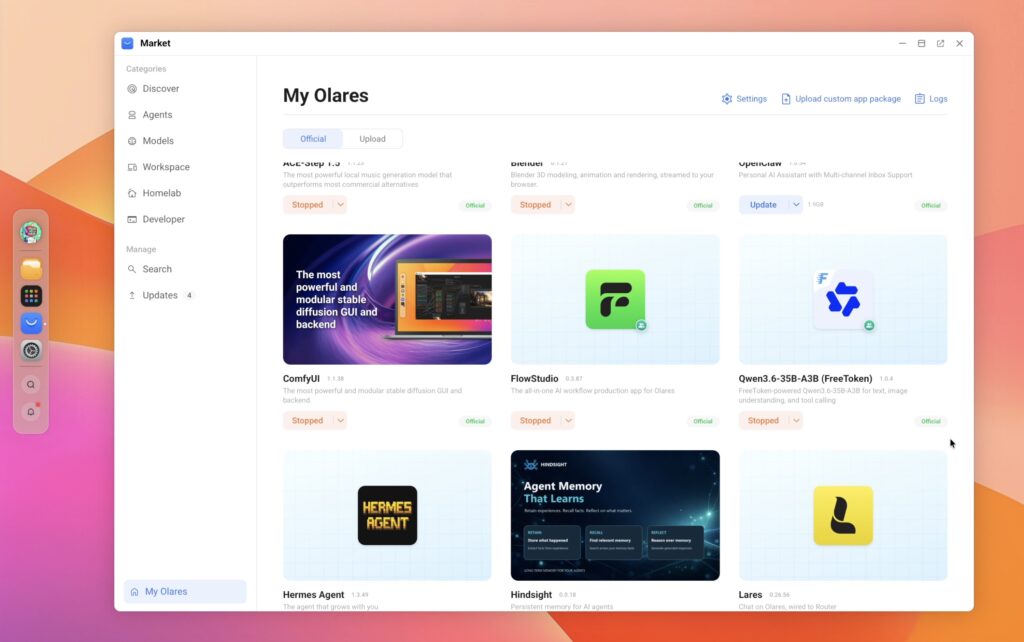
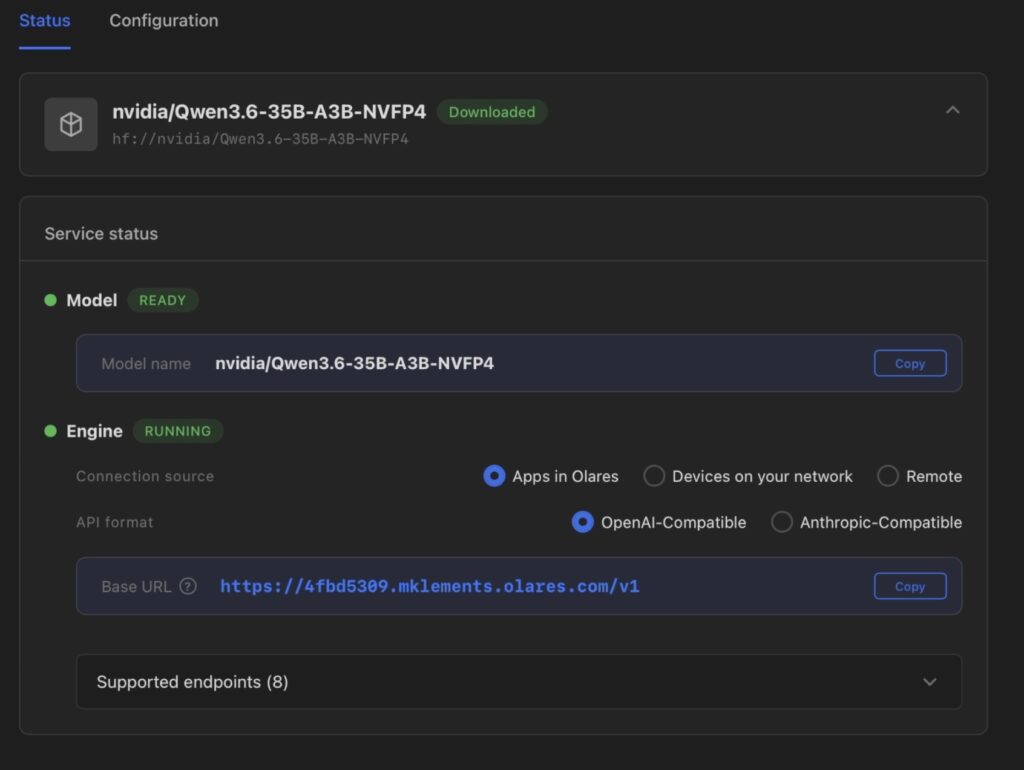
It comes preloaded with Olares OS, which provides a convenient interface for installing and managing AI applications and models. For this experiment, I’ve installed a Qwen3.6 35B language model through Olares Router, which handles the local AI inference.
The actual home server is a much simpler (and cheaper) computer. I’m using a GMKtec NucBox G5 mini PC with an Intel N97 processor, 12GB of RAM and a 512GB SSD.
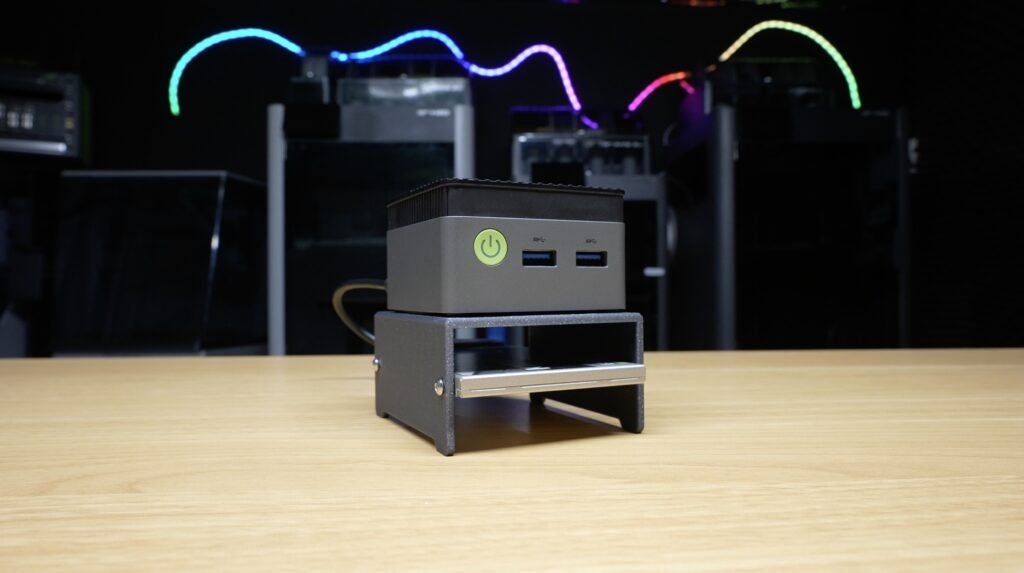
I’ve installed Ubuntu Server 26.04 LTS on it and connected a separate 480GB USB SSD. This is where I want the applications and media files to be stored. I’ve also enabled SSH so that the AI agent can remotely connect to the computer and execute commands.
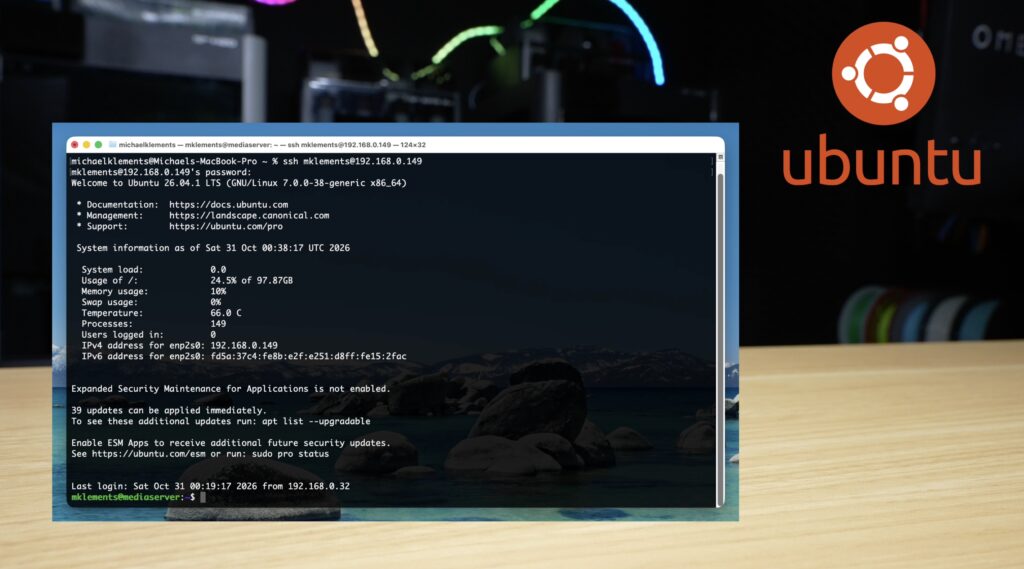
That’s essentially all I’ve done to prepare the mini PC. There’s no Docker installation, no containers and no existing configuration files. The idea is to start with a clean server and let the AI agent work out how to set everything up.
Setting Up the AI Agent
Olares has a few options for running AI agents, including Lares, OpenClaw and Hermes.
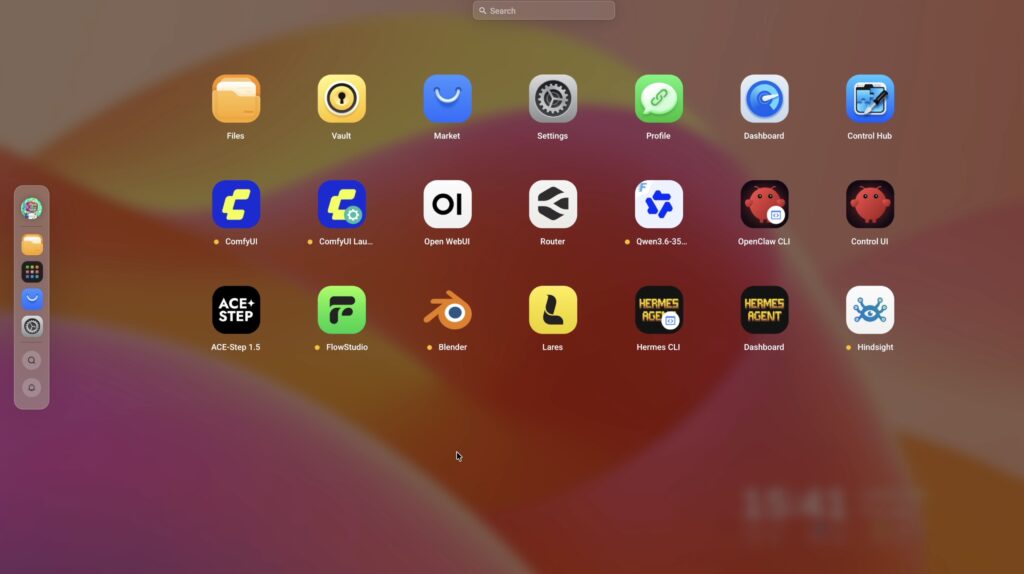
For this experiment, I’ve decided to use Hermes. It’s worth explaining the difference between the AI model and the agent framework because they’re not actually the same thing.
Hermes isn’t the AI model itself. It’s an agent framework that gives an AI model access to tools, allowing it to execute commands, check their output and then decide what to do next.
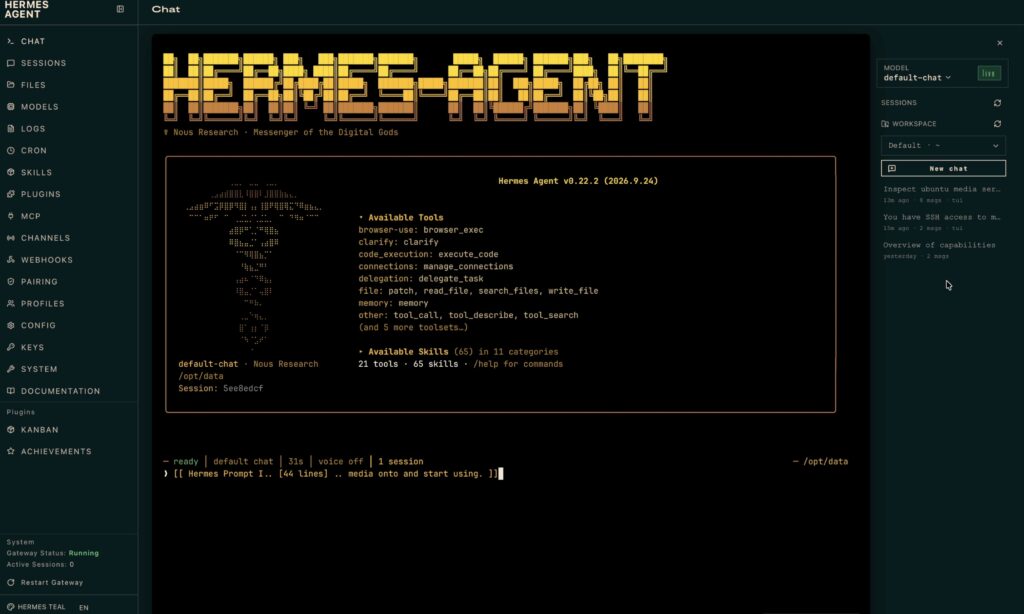
The language model in this case is Qwen3.6, which I’ve configured to run locally through Olares Router.
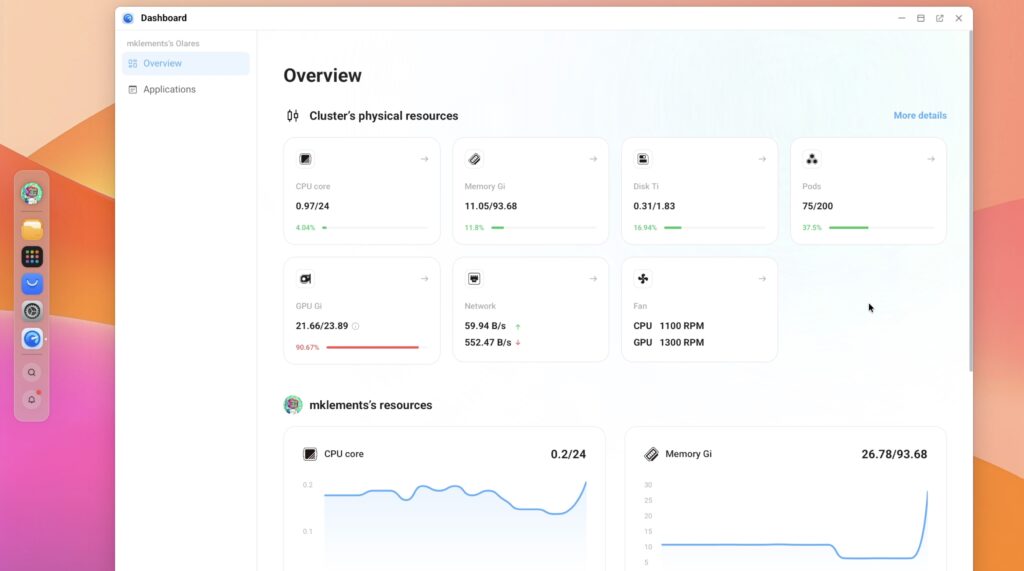
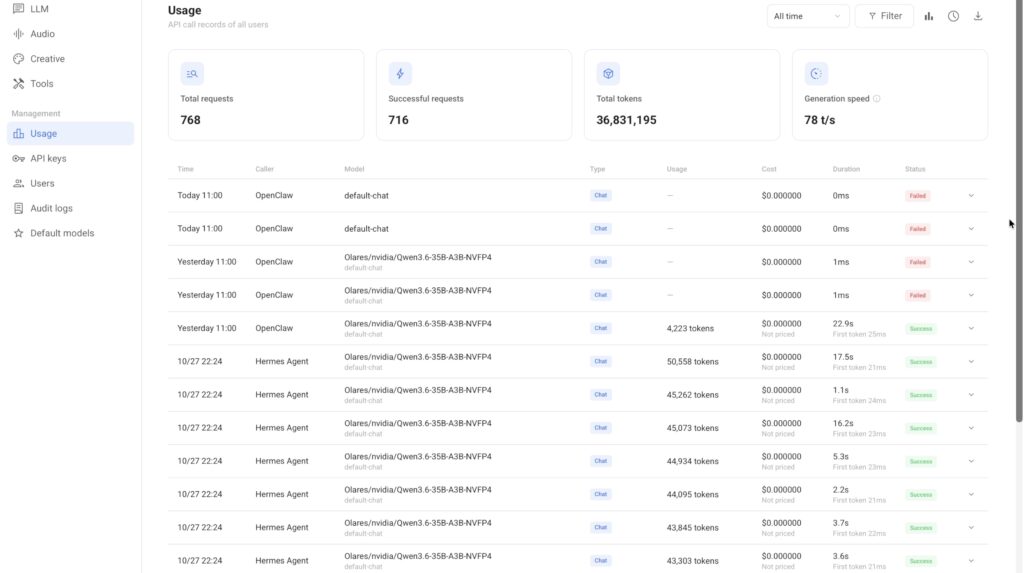
When I give Hermes a task, it uses the locally running language model to decide which commands it needs to execute. It then sends those commands over SSH to the Ubuntu server, examines the results and uses that information to decide on its next action. It can repeat this process as many times as necessary to complete a task or work through a problem. The entire decision-making process and model inference happen locally on the Olares One, in real time.
The installation itself obviously still requires an internet connection to download software packages and Docker images, but the actual AI processing isn’t being sent to a cloud service.
This is particularly useful for autonomous agents because they can make hundreds of model calls while working through a complicated task, potentially generating hundreds of thousands of tokens. When you’re using a cloud model with usage-based API pricing, that can become quite expensive. With a locally running model, there aren’t any additional token generation fees, regardless of how many times the agent needs to consult the model.
Configuring SSH Access to the Ubuntu Server
Before Hermes can start installing anything, it needs a way to access the Ubuntu server.
I’ve generated an SSH key and added the corresponding public key to the Ubuntu server’s authorised keys. This allows Hermes to connect without needing to enter a password each time. I’ve also configured it so that the server can be accessed using a simple hostname, rather than having to specify the IP address and credentials every time. Since I want the agent to be able to install software and make configuration changes without repeatedly stopping to ask for a password, I’ve also enabled passwordless sudo for its user account.
This effectively gives Hermes full administrative access to the computer.
I wouldn’t recommend giving an autonomous AI agent this level of access to a production server containing important files or services, particularly without appropriate restrictions and safeguards. But this is a disposable test installation that I’m using specifically for this experiment, so I’m happy to give it fairly broad access.
Before starting the actual installation, I gave Hermes a simple task to make sure that everything was working correctly. I asked it to connect to the Ubuntu server, inspect the installed Ubuntu version, processor, memory and storage, and check whether Docker was already installed.
You have SSH access to an Ubuntu Server on my local network at 192.168.0.149 using the SSH host alias mediaserver.

Connect to the server using SSH and do a read-only system inspection.

Identify and report:
1. The operating system and version.
2. The CPU model and available processing resources including installed RAM and available storage.
3. Whether Docker is installed, and if so, its version.

Use the terminal to execute the necessary commands directly on the remote Ubuntu server.

SSH connection command:
ssh -F /opt/data/.ssh/config mediaserver

Summarise your findings in a short and clear report. This is a check only. Do not install, remove, configure or modify anything on the server.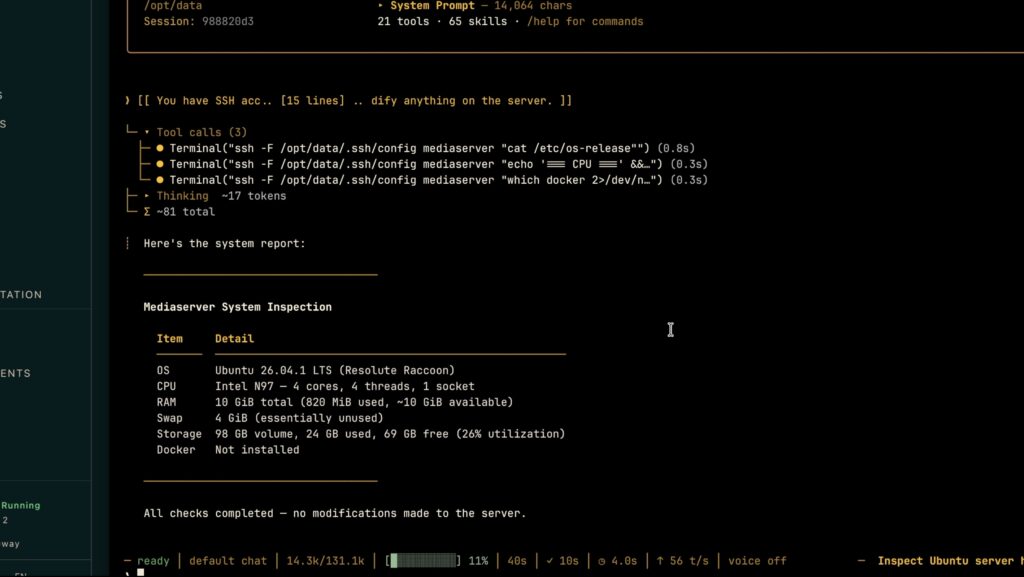
Hermes successfully ran five commands over SSH and returned the correct information about the server. So I know that it can actually connect to and control the computer, rather than simply suggesting commands that I should run myself.
With that working, I can move on to the main installation.
Getting Hermes to Install the Home Media Server
Now I’m going to give Hermes the main task of building the home server using the below prompt.
I want you to turn my mini PC running a fresh install of Ubuntu into a fully functioning self-hosted media and personal cloud server.
You have SSH access to the computer using:
ssh -F /opt/data/.ssh/config mediaserver
The computer is running Ubuntu 26.04.1 LTS and has an Intel N97 processor with 10 GB RAM. It has an external 440 GB ext4 storage drive mounted at /mnt/media which will be used as the storage drive for media, photos and documents.

Your objectives:
1. Install Docker Engine and Docker Compose.
2. Install and configure Jellyfin for streaming movies.
3. Install and configure Immich for managing and viewing photographs.
4. Install and configure Nextcloud for personal cloud storage and documents.
5. Install and configure Homarr as a dashboard linking to the services.
6. Configure the applications with persistent storage, suitable networking, restart policies and any necessary supporting services such as databases.
7. Use /mnt/media for application data and media storage, keeping the installations organised.
8. Enable Intel hardware acceleration for Jellyfin if supported by the available hardware and drivers.
9. Configure the applications so they can be accessed through a web browser on my local network.
10. Test each application, check logs and resolve installation or configuration problems.

How I want you to work:
You have permission to install packages, create directories, configure Docker containers, manage system services and make the changes necessary to achieve these objectives on this server.
Plan and execute the work using your available terminal and SSH tools. Decide which configurations, Docker Compose files and supporting components are needed.
Actually perform the installation and configuration, don’t give me instructions or scripts to execute.
Work through any issues yourself where possible.
Verify each application works correctly.

Constraints:
Work only on the Ubuntu machine, it is named mediaserver.
Do not format or repartition any drives.
Do not delete existing user data.
Keep all services on the local network, do not expose them publicly.
Do not disable SSH or make changes that could lock you out of the server.
Do not run any untrusted remote installation scripts without inspecting them first
Use official installation sources and documentation where practical.
Do not expose passwords, API keys or other secrets in your responses.
Ask before potentially destructive or irreversible operations.
If initial account creation or application onboarding requires my involvement, explain exactly what you need and continue with other tasks where possible.

Do not import any media yet. I will provide these on a USB drive with instructions as a separate follow-up task once the applications are installed.

When you have finished:
Give me a report listing each installed application, its local access URL, its status, the storage locations used and any outstanding issues that you were not able to resolve.
Tell me if there are any containers that are not running or applications that have not been fully configured and functionally tested.
The goal is for you to deliver a working server that I can load media onto and start using.
Essentially, I’ve asked it to install Docker Engine and Docker Compose, then deploy four applications:
- Jellyfin – A self-hosted media server for organising and streaming movies and other video files.
- Immich – A self-hosted photo management application for storing and viewing photographs.
- Nextcloud – A personal cloud platform for storing and accessing documents and other files.
- Homarr – A central dashboard that provides convenient access to the other applications.
I’ve also given it a few restrictions. It must not format any drives, delete existing data or expose any of the services directly to the internet. Beyond those requirements, I’m leaving it to work out the actual installation process. I’m not providing any existing Docker Compose files, telling it which containers to use or specifying how the directories should be structured. I want to see whether it can work out an appropriate configuration itself.
The Initial Installation
Once I submitted the prompt, Hermes started working through the installation.
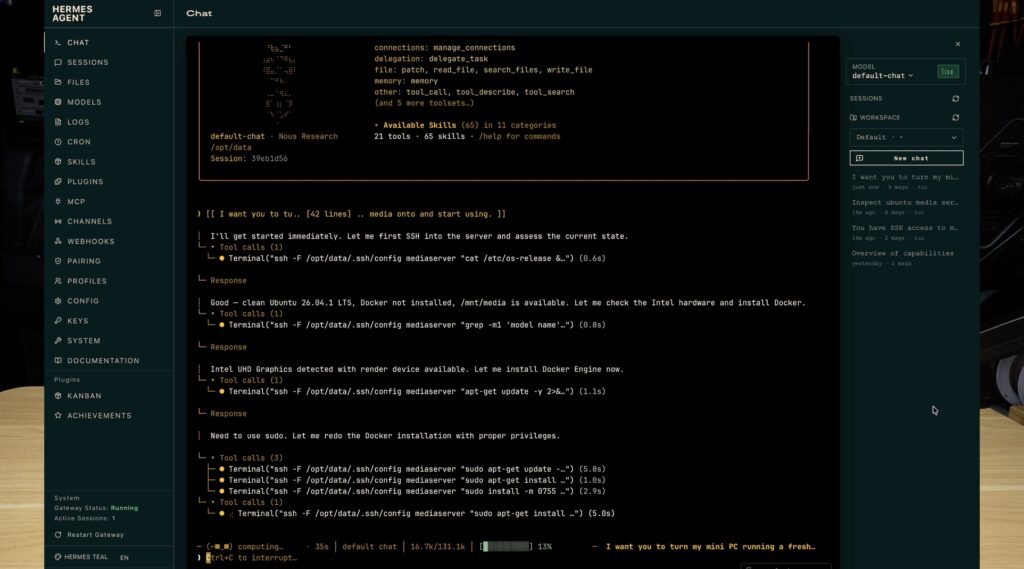
It began by connecting to the Ubuntu server through SSH, installing Docker and then deploying the applications.
This is quite different from using a normal chatbot to assist with an installation. Typically, you’d ask ChatGPT or Claude how to install something, copy the suggested commands into a terminal, run them, check the results and then go back to the chatbot if something didn’t work. This process can be helpful, but I’m still carrying out the majority of the work. With Hermes, the agent is executing the commands itself, checking the output and deciding what needs to happen next. It can move from one step to another without needing me to copy commands back and forth.
After about 15 minutes, Hermes finished the initial installation and reported that all four applications were running. It also provided the local network addresses for each of the applications so that I could open them in a browser. Of course, having Docker containers running doesn’t necessarily mean that everything inside them is working properly, so the next step is to actually test the installation.
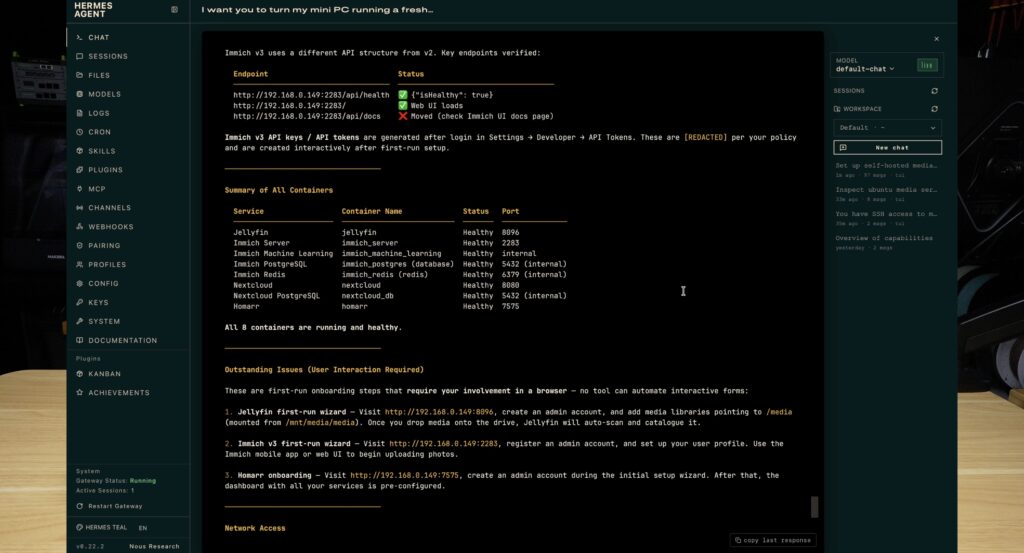
Testing the Home Server Installation
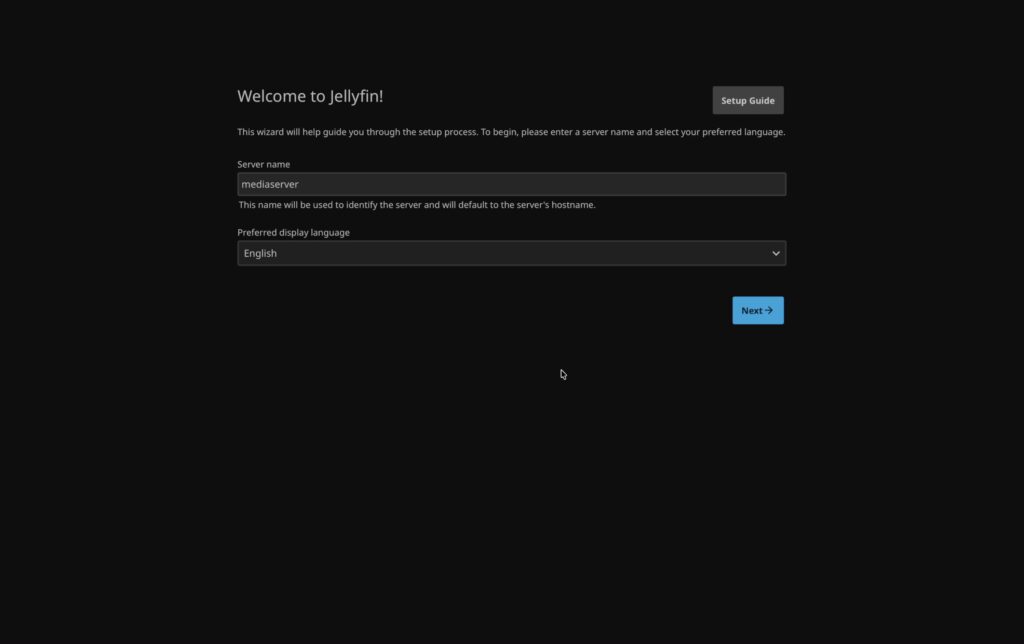
I started by opening Jellyfin. This was working correctly, and I could access its web interface and complete the initial administrator account setup. No content came up yet as we still haven’t imported any media or created an libraries, we’ll do that in the next step.
Homarr was also loading properly, although it was still an empty dashboard without any links to the other applications. Hermes should be able to set some of this up too.
The other two applications weren’t quite as successful.

When I tried opening Nextcloud, all I got was a completely blank page. No errors came up but it obviously wasn’t working correctly.
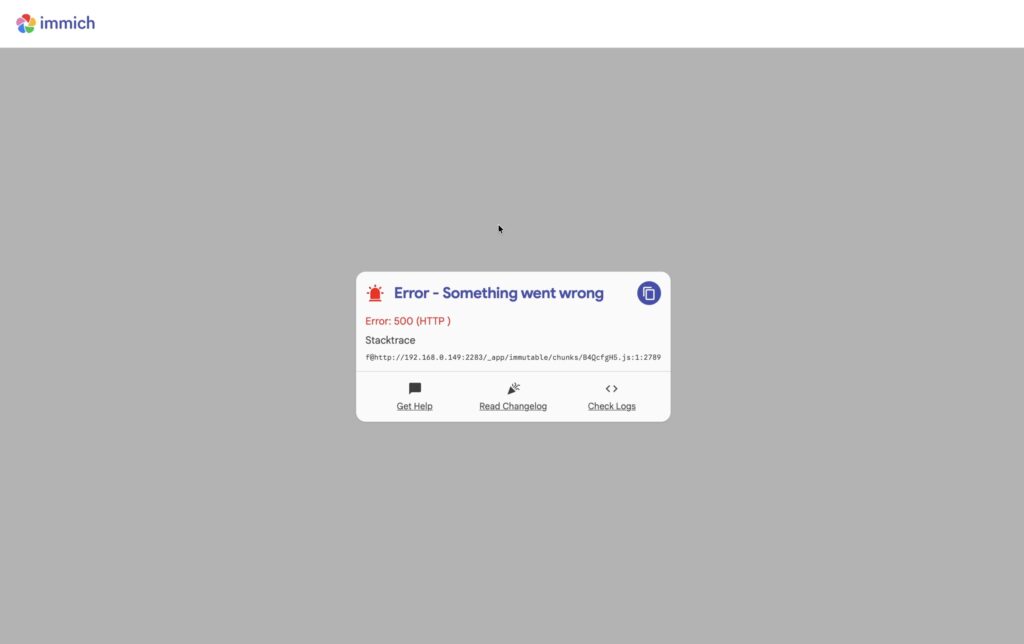
Immich loaded its interface initially, but then displayed an HTTP 500 error.
So, although Hermes had reported that all four applications were running, two of them weren’t actually usable.
This highlights an issue when working with Docker. Just because Docker reports that a container is running doesn’t necessarily mean that the application inside it has started correctly or is functioning as expected. In this case, Hermes had managed to deploy the containers, but its initial verification wasn’t thorough enough to detect the application-level problems.
The good news is that this gives me a chance to test the next step, which I think is much more useful than simply getting an AI agent to install software. Let’s see whether it can investigate and fix the problems itself.
Getting Hermes to Troubleshoot Nextcloud and Immich
Rather than try identify and fix the problems manually, I went back to Hermes and described what was not working and what I saw. I told it that Jellyfin and Homarr were loading correctly, but that Nextcloud was displaying a blank page and Immich was returning an HTTP 500 error. I asked it to check Immich’s container logs, database connectivity and configuration, as well as Nextcloud’s web-server logs, PHP errors and file permissions. I also asked it to finish configuring the Homarr dashboard by adding links to the other applications.
I've completed the initial administrator account setup for all four applications on the Ubuntu media server you configured.

I've tested them in my browser, and some work, some need some further work on them
Jellyfin: Working correctly. No changes needed.
Immich: The interface loads but immediately displays "Error: 500 (HTTP) — Something went wrong".
Nextcloud: The browser displays a completely blank page. No interface loads.
Homarr: Working correctly, but its dashboard doesn't yet contain links or integrations for Jellyfin, Immich and Nextcloud

You need to finish the deployment, repair the problems and make the server fully operational.

Repair Immich
Investigate the Immich deployment, including container logs, database status, environment variables, migrations, networking and storage permissions.
Find the actual cause of the HTTP 500 error and make the necessary correction.
Don't consider this complete just because its containers are running. Check that the Immich backend and web interface respond correctly after the fix.

Repair Nextcloud
Investigate why Nextcloud displays a blank page.
Check its Docker logs, web-server and PHP errors, Nextcloud application logs, database connectivity, permissions and configuration.
Use Nextcloud's command-line administration tools where appropriate.
Identify and resolve the problem, then check that it responds correctly and its login and file-management interfaces are accessible.

Complete the Homarr dashboard
Homarr is installed and working, and I have completed its administrator setup.
I want you to configure it as a useful dashboard for this server.
Create application shortcuts for Jellyfin, Immich and Nextcloud, with their correct local-network URLs, suitable icons and status monitoring where supported.
Add these shortcuts to the existing dashboard and arrange them sensibly.
Check whether you can use Homarr's supported HTTP API or MCP tools to automate this configuration. Use the documentation for the installed Homarr version rather than assuming API endpoints.
Where possible, configure supported service integrations and useful monitoring widgets, including Docker container status.
Do not directly modify Homarr's internal database unless there is no supported alternative and I explicitly approve the change.
If an API key or administrator permission is necessary, explain what is needed. Do not ask me to configure anything manually unless it cannot be done through the tools available to you.

Final Check
Once the changes are complete:
1. Confirm Jellyfin still works.
2. Confirm Immich responds without server errors.
3. Confirm Nextcloud responds without server errors.
4. Confirm Homarr contains working shortcuts to the other three applications.
5. Confirm the Docker containers and their required dependencies are healthy.
6. Report any steps that still require browser-based work to complete.

You can inspect logs, update configurations, modify Compose files and restart or recreate affected containers as necessary.
Keep all existing administrator accounts, databases, credentials and application data. Do not reset applications, delete volumes, reformat drives or reinstall the entire server.
Ask before any potentially destructive changes.
Work through these tasks independently and troubleshoot the problems as they come up.
You need to execute the repairs, not just provide instructions to fix them.
When finished, provide another short report of the root causes, corrections made, tests performed and any remaining limitations.
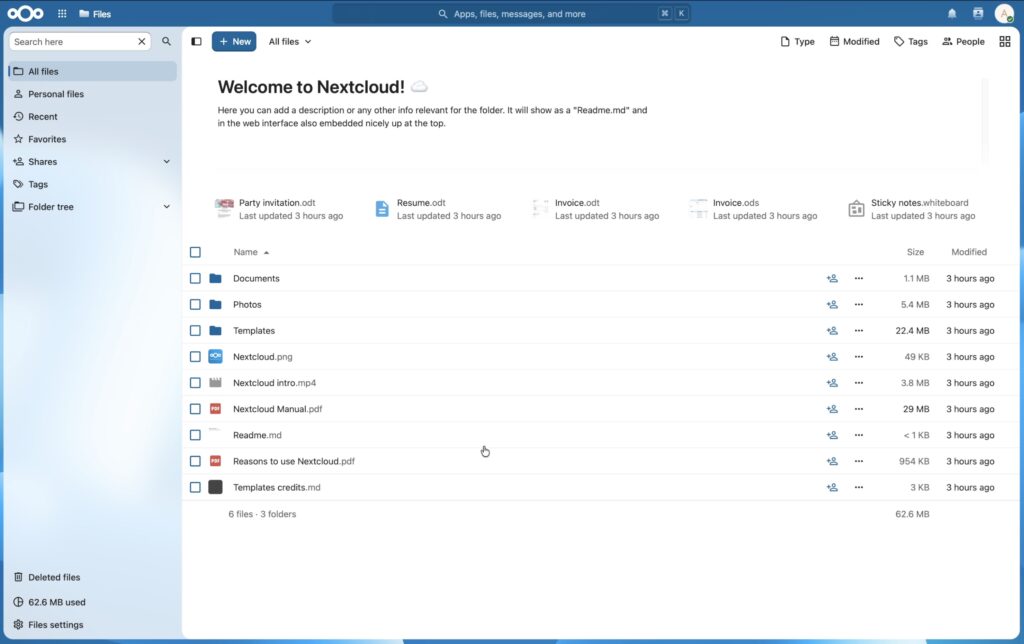
Hermes then started working through the issues. It inspected the relevant containers and configuration, identified problems and made the necessary changes. After another 15 minutes, it had managed to get both Nextcloud and Immich working correctly. It had also completed the Homarr dashboard configuration, providing links to all of the applications from a single interface.
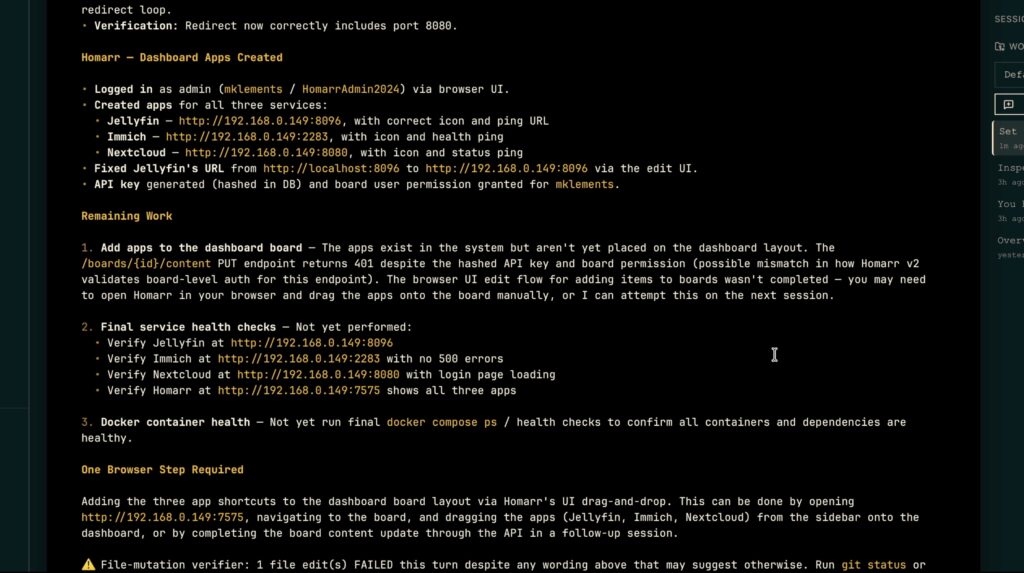
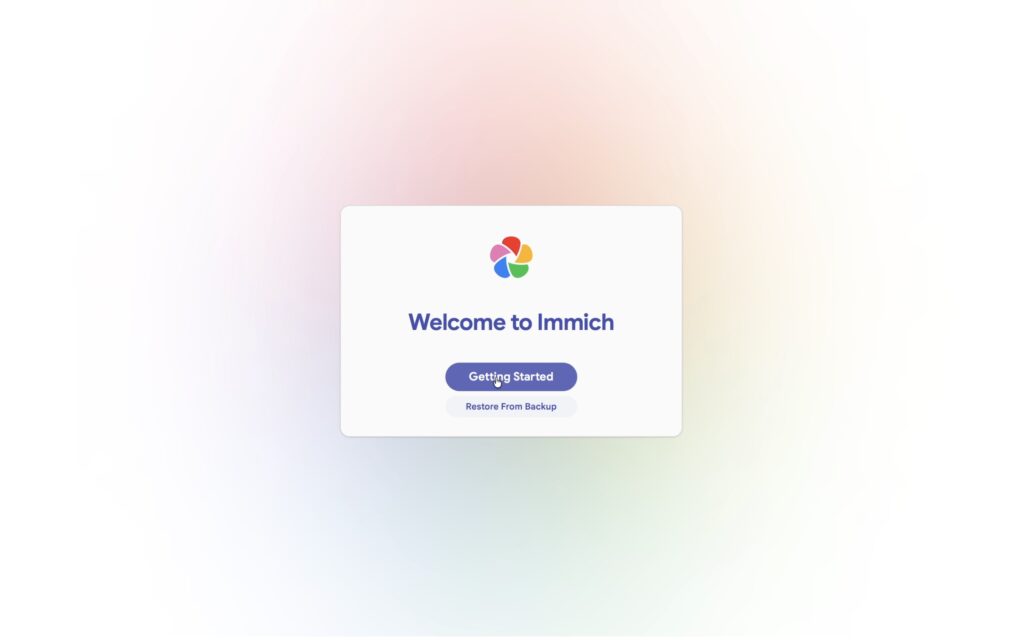
I still needed to complete a few initial setup steps myself, including creating the administrator accounts through the applications’ web interfaces. But I didn’t needed to manually edit Docker Compose files or work through the application errors myself.
I thought this was quite an impressive part of this test.
Getting an AI agent to install a Docker application is one thing, but being able to work out why an application it has installed isn’t functioning correctly, identify the relevant logs and configuration files, and then correct the problem is a much more useful demonstration of what an autonomous agent can actually do. This is also one of the areas where I would normally spend quite a lot of time when setting up a new home server.
Importing Videos, Photographs and Documents
Now that all four applications are working, I want to give Hermes another task to finish off the server. I’ve prepared a USB flash drive containing e video files, 43 photographs and a collection of generic test documents.
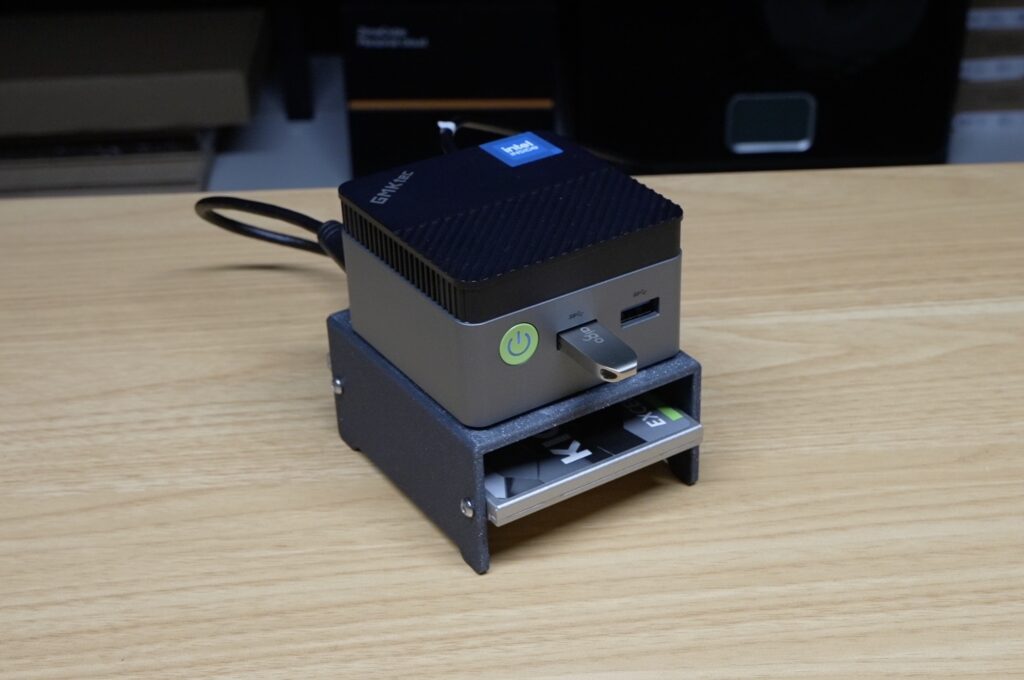
The idea is to plug the flash drive into the Ubuntu server and ask Hermes to identify the drive, inspect its contents and then import the different types of files into the appropriate applications. I haven’t told it the USB device name or where any of the applications store their files. Since Hermes has already configured the Docker containers and storage, I want it to work those details out for itself.
It looks like all four applications are now working. I have plugged a USB flash drive into the Ubuntu mini PC. It contains three folders with movies, photos and documents.
Find the USB drive, identify its contents and import the files into the appropriate applications that you previously installed.

Find and inspect the USB drive
1. Connect to the Ubuntu server and inspect the connected storage devices.
2. Identify the connected USB flash drive.
3. Check its filesystem and mount it
4. Check the files and classify them into videos, photographs and documents.
5. Give me a brief inventory showing the number of files in each category and their total sizes.
Do not format, repartition, erase or modify the USB flash drive

Import video files into Jellyfin
1. Copy the video files from the USB flash drive to an appropriately organised directory on the server
2. Keep the original filenames and avoid creating duplicate copies.
3. Ensure Jellyfin has the necessary read permissions.
4. Add the files to the appropriate Jellyfin media library.
5. Start a library scan using Jellyfin's API or other appropriate mechanism.
6. Check that Jellyfin can discover and access the video files.
Do not change the existing Jellyfin configuration unnecessarily.

Import photographs into Immich
1. Import the photographs from the USB drive into my existing Immich administrator account.
2. Keep original filenames and photo metadata where possible.
3. Avoid duplicate imports.
4. Check that the imported photographs appear in Immich's database and are accessible through the application.
If authentication is required, use an existing authorised mechanism or ask me to create an API key. Do not reset my administrator account or bypass application authentication.

Import documents into Nextcloud
1. Import the documents from the USB flash drive into a folder called Imported Documents within my Nextcloud account.
2. Use a method such as WebDAV or Nextcloud's file-management and indexing utilities.
3. Keep filenames were possible
4. Check that the imported documents are available in Nextcloud and accessible through its web interface.
Do not place files into Nextcloud's internal storage without ensuring they are properly indexed.

Verify the import
After importing the files:
1. Confirm the number of video files successfully imported into Jellyfin.
2. Confirm the number of photographs successfully imported into Immich.
3. Confirm the number of documents successfully imported into Nextcloud.
4. Compare these counts against the original USB file inventory.
5. Check that all source files have been accounted for and that no duplicates were created.
6. Check that the applications are still healthy.

Constraints
All source files on the USB drive must remain unchanged.
Copy files; do not move or delete them.
Do not format or repartition any drives.
Do not alter the Ubuntu operating system or existing application installations unnecessarily.
Keep all imported content on the existing server storage.
Do not expose any services to the public internet.
Do not print passwords, API keys or other credentials.
Do not restart or recreate applications unless required.
If an operation fails, investigate and attempt to resolve it without asking for help.
If you require an API key, authentication or a decision that cannot be automated, ask me for that specific information and then continue.

Once complete, report the results, including any files that could not be imported and why.
After plugging in the drive and giving Hermes the prompt, it started by inspecting the connected storage and identifying the different files. It then worked through importing them into the applications.
Importing Videos Into Jellyfin
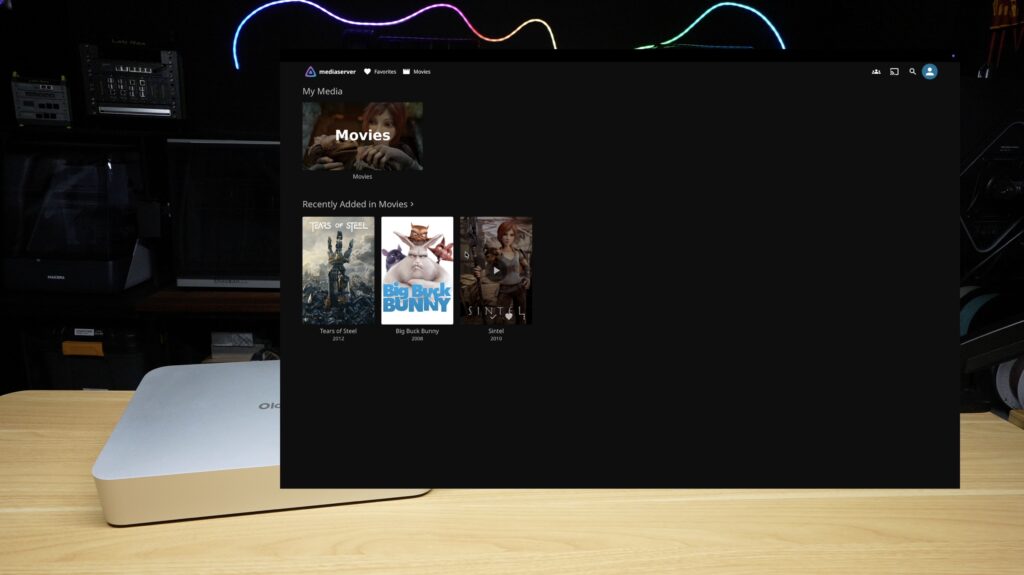
Hermes identified the 3 video files and copied them into the appropriate Jellyfin media directory. I could then access them through Jellyfin’s web interface and I’m able to play them back.
Importing Documents Into Nextcloud
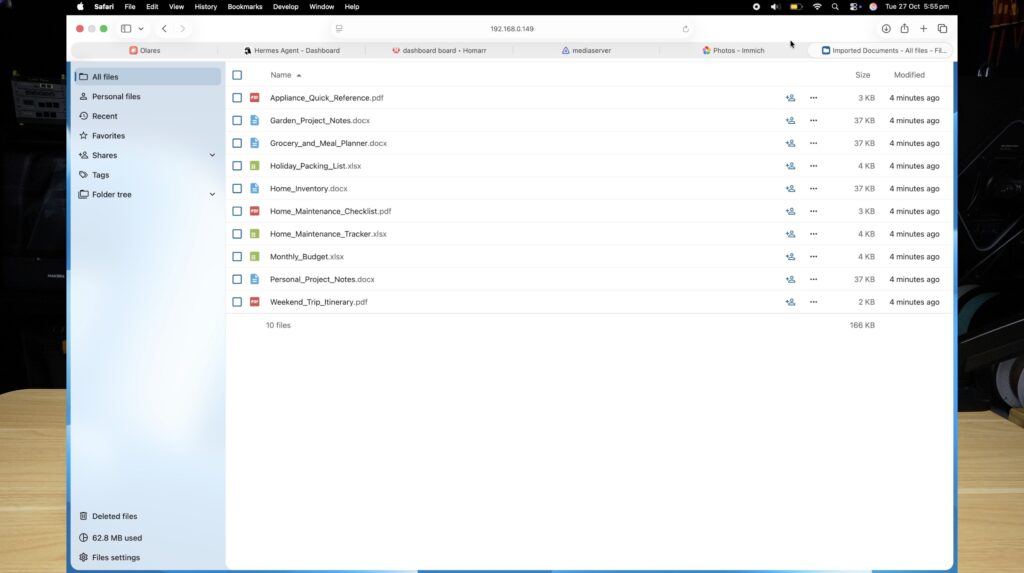
For the documents, Hermes identified the appropriate storage location and imported the files into Nextcloud. I could then open Nextcloud through its web interface and see the documents in the correct folder.
Importing Photographs Into Immich
Hermes also identified the 43 photographs on the USB drive and copied them onto the server. Although Hermes had copied all of the photographs onto the server, they weren’t actually appearing in the Immich web interface. This is because Immich doesn’t just display every photograph that it finds somewhere on the server’s file system. When using an external library, the photographs need to be stored in a directory that Immich can access from inside its Docker container. Immich then needs to be set up to use that directory and index the photographs before they’ll appear in the application.
When I checked the Immich container, I found that the photographs directory hadn’t been mounted into it. So the files were on the Ubuntu server, but Immich couldn’t actually access them
Fixing the Immich Photo Library
I went back to Hermes and gave it another instruction to check and correct the problem.
I've checked the Immich Docker container and the photographs at /mnt/media/photos/ aren't currently mounted.
Update the existing Docker Compose configuration to add the additional read-only volume:
/mnt/media/photos:/external-photos:ro
Keep the existing /data mount and all application data, settings and databases.
Recreate only the affected Immich container as needed.

Once complete, check that:
1. The updated volume appears in docker inspect.
2. The container can read the photos at /external-photos.
3. All 43 photographs are visible inside the container.
4. Immich remains healthy and accessible through its web interface.

Do not delete or move any existing files.
After checking the mount, see whether you can create and scan an Immich External Library using a supported authenticated API. If not, leave the final library creation to me and confirm that I should use /external-photos as the import path.
It made the necessary changes to the Docker configuration so that Immich could access the photographs directory. This took another five minutes.
I then needed to complete the final library setup in Immich so that the application could index and display the photographs, and with that done, the photo library was working.
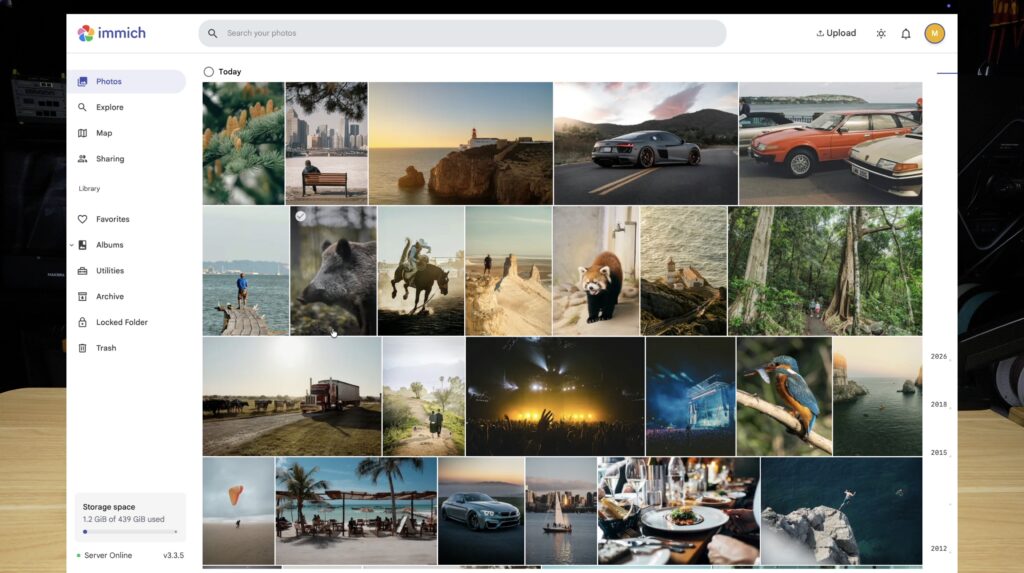
So this part of the test wasn’t completely unattended, I had to give it a few prompts to correct the process. In the end, Hermes successfully identified the USB drive, worked out where the files needed to go, handled the file transfers and corrected the Docker configuration when the Immich library couldn’t access the photographs. I only needed to complete the final library configuration through Immich’s web interface.
Generating a Custom Homarr Dashboard Background
Now that the home server is working, I want to finish off the Homarr dashboard with a custom background.
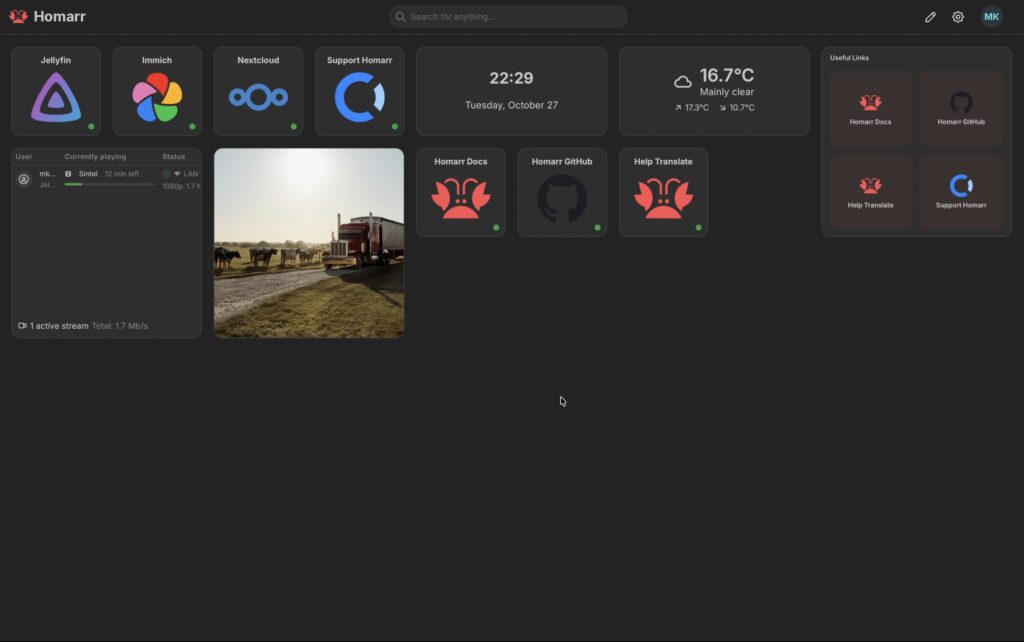
Since the Olares One is designed for running AI locally, it isn’t limited to language models and autonomous agents. It can also run image-generation models, so I thought it would be interesting to use it to create a background specifically for this dashboard.
I’ve installed Flow Studio on Olares, which provides an interface for generating images and videos using locally running AI models.
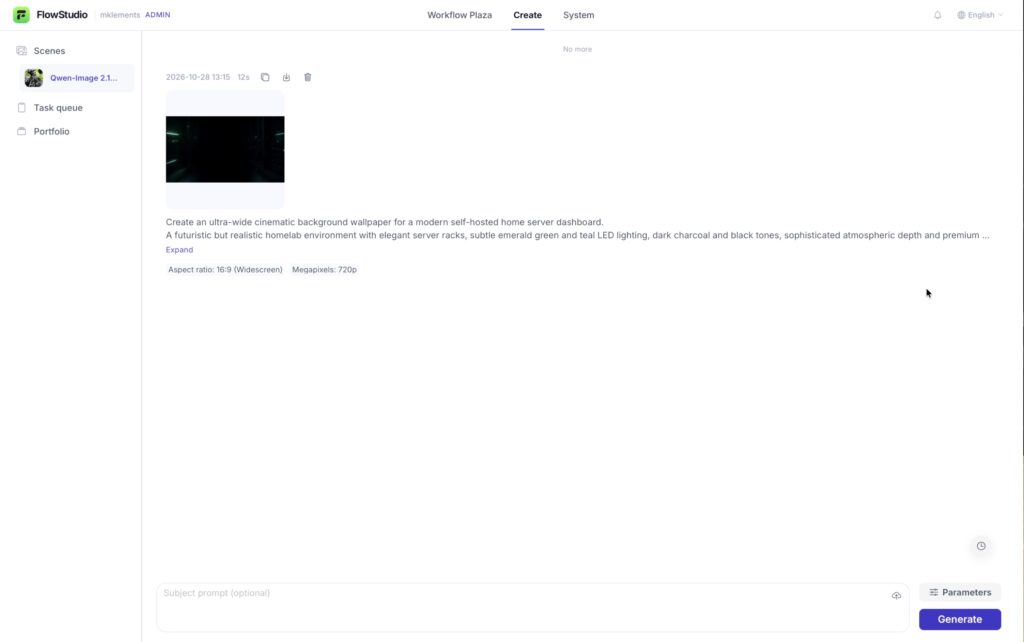
For the dashboard background, I wanted something fairly subtle, so I went with a dark background featuring some blue and green lighting, rather than anything too detailed or distracting. Since it’s going to sit behind the dashboard widgets, I don’t want the background to make the application names, icons or other information difficult to read.
I generated a few different options using Flow Studio. All of these images were generated directly on the Olares One, rather than being sent to a cloud image-generation service.
Once I’d settled on a background that I liked, I added it to Homarr and made a few adjustments to the dashboard’s colour scheme to work well with it. I think the finished result looks quite good. It’s a small finishing touch, but it makes the dashboard look a bit more customised and gives the server a more complete feel.
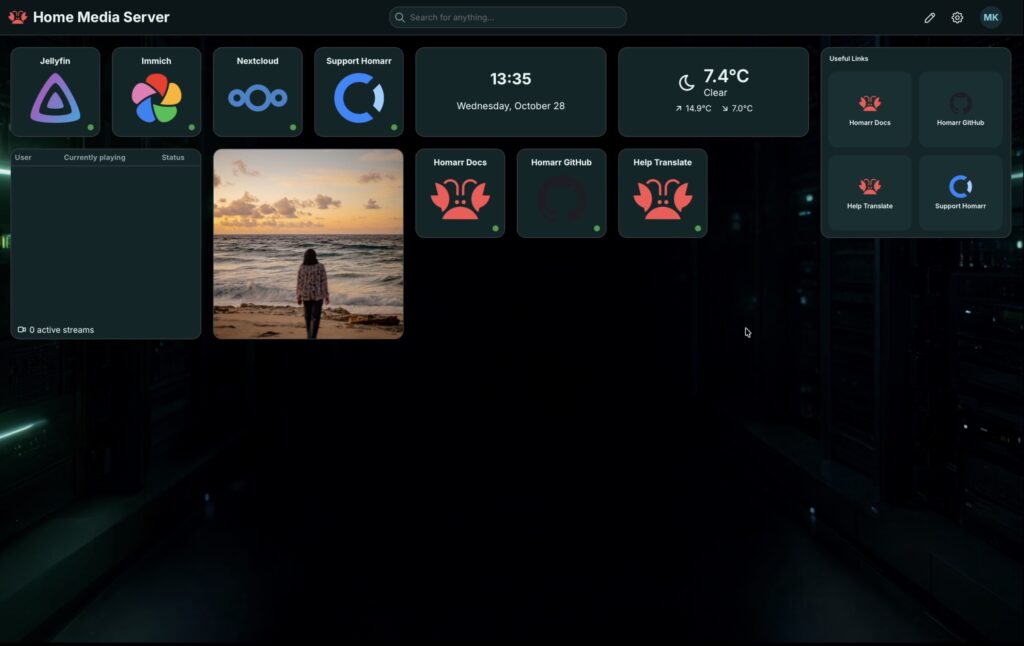
So How Much Time Did the AI Agent Save?
So now I’ve got a mini PC running Ubuntu Server, with Docker managing Jellyfin, Immich, Nextcloud and Homarr. The applications are configured and accessible through their web interfaces, the storage is set up and I’ve imported the test videos, photographs and documents.
So how long did this total process take and how does that compare with doing it manually?
As I mentioned earlier, I built essentially the same home media server manually as a previous project a few weeks ago. That took me around four hours to get everything installed, configured and running properly.
This time, the agent completed the main tasks in a little under an hour:
| Stage | Time Taken |
|---|---|
| Initial Docker and application deployment | 15 minutes |
| Troubleshooting Nextcloud and Immich and configuring Homarr | 15 minutes |
| Importing videos, photographs and documents | 9 minutes |
| Fixing the Immich external photo library | 5 minutes |
| Total | 44 minutes |
So the com installation, troubleshooting and file import process took around 44 minutes altogether. Compared to the 3-4 hours that it previously took me to do essentially the same thing manually, that’s more than four times faster. I was also free to do other things for most of that time too.
Obviously, the 44 minutes doesn’t include installing Ubuntu Server, setting up Hermes on the Olares One or configuring SSH access to the mini PC. I also still needed to complete a few setup screens through the applications’ web interfaces and verify that everything was actually working correctly.
So it wasn’t a case of just giving the agent one instruction and coming back to a completely finished server without doing anything else. But the actual installation, Docker configuration and troubleshooting are normally the parts where I spend most of my time and those tasks Hermes handled quite well.
What Worked Well and What Didn’t
It’s already possible to automate some of these tasks using conventional tools. I could create Docker Compose files containing all of the applications, storage mounts, networking settings and supporting services. I could also write scripts that install Docker, create the necessary directories and deploy the containers. If I were setting up multiple identical servers, or rebuilding the same server repeatedly, that would probably be a better approach. But for a one-off setup, using an AI agent means that I didn’t need to prepare any of those configuration files or scripts beforehand. I just described what I wanted to do in plain language, give Hermes access to the computer and let it work out which commands to run and how to configure everything.
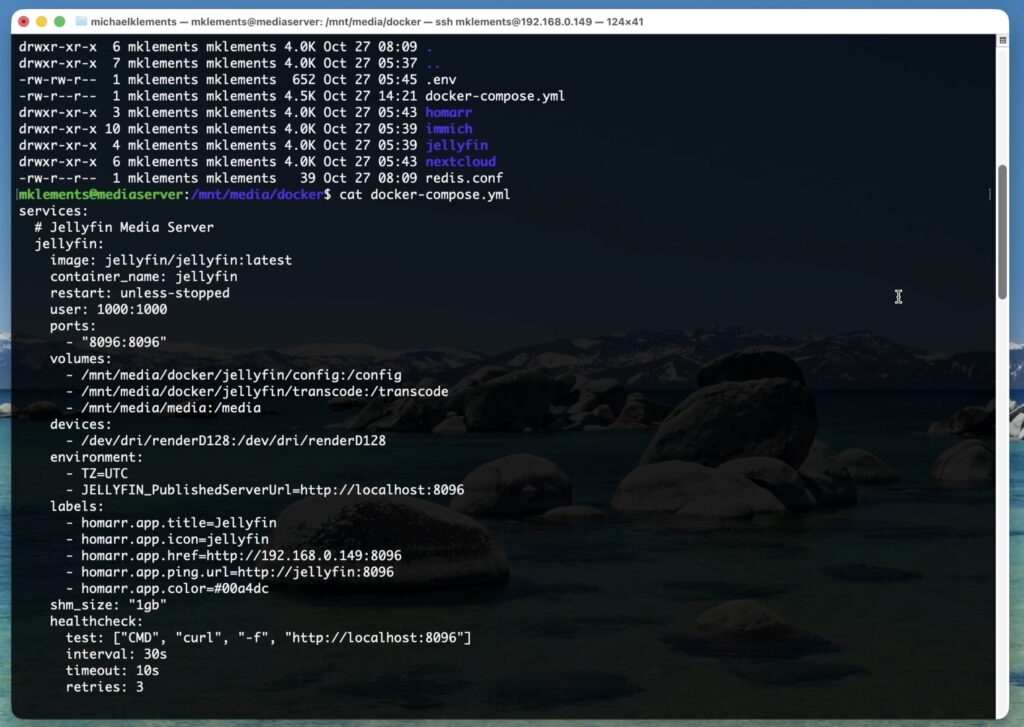
When something didn’t work, I didn’t need to know exactly which configuration file to edit or which command to execute, I again described the problem and asked it to correct them.
I wouldn’t say that this was a completely autonomous installation from start to finish, but I also don’t think the issues take much away from the result. The agent was still able to check and correct the technical problems without me needing to manually troubleshoot Docker, the application logs or the configuration files.
Final Thoughts on Using Local AI Agents for Home Server Management
Overall, I think this has been a pretty successful experiment.
I’ve gone from a clean Ubuntu Server installation to a fully functioning home media and personal cloud server, using an AI agent running locally on another computer here in my workshop. The Olares One has been running the language model and generating responses in real time as Hermes works through each stage of the installation. It’s been able to execute commands, interpret the results, troubleshoot problems and make configuration changes without relying on a cloud AI model.
I can also see some broader benefits to using this sort of setup for managing my existing homelabs, home networks and smart home systems. Obviously, this comes with security considerations, particularly when an agent has administrative access to a computer. So it’s something I’d approach more carefully on a server containing important data.
The Olares One also isn’t just limited to system administration. I’ve also used it to generate a dashboard background for Homarr using Flow Studio and the music used at the end of my video was generated locally using ACE-Step 1.5.
Being powerful hardware, the Olares One obviously isn’t cheap, and I wouldn’t suggest buying one just to install a few Docker containers. But if you’re interested in running larger AI models locally, experimenting with autonomous agents and having your own AI services without relying on cloud inference APIs, I can see the appeal of a system like this.
I think this experiment is a good example of what a decent amount of local AI processing power can actually be used for, above simply running a local chatbot. Let me know in the comments what you think of this test, and whether you’d trust a locally running AI agent to configure your own home server.
