


When you’re travelling, connecting to WiFi usually involves finding the hotel’s network and then connecting your phone, laptop and tablet individually, often going through the same login process on each device. Then, when you move to another hotel or location, you have to do it all again.
Fortunately, there’s a much easier way to do this.
The new GL.iNet Mango 2 is a tiny $40 travel router that allows you to take your own WiFi network with you. Rather than connecting each of your devices individually to the hotel’s WiFi, they can all automatically connect to your own familiar network instead. You then only need to connect the Mango 2 to the available internet connection, and it handles the rest.
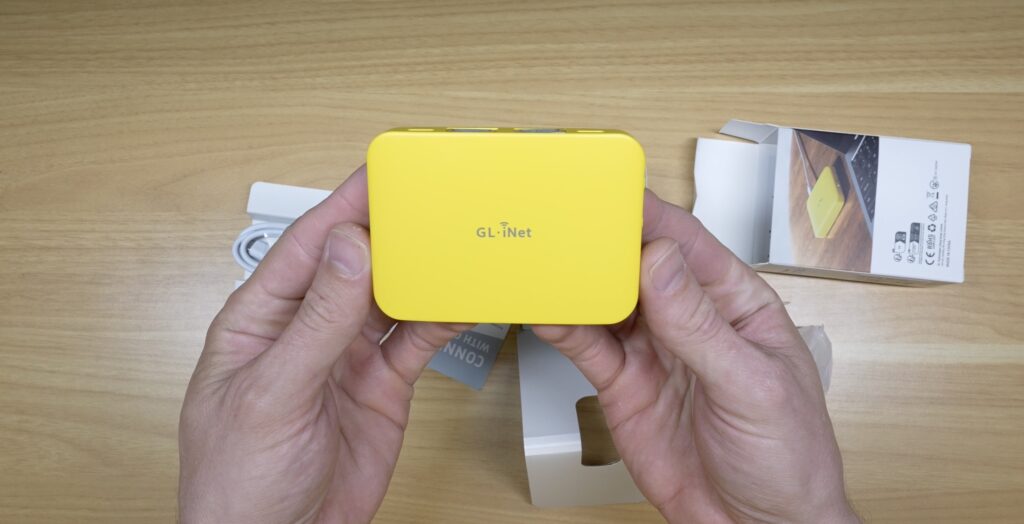
But that’s really only the start of what you can do with a travel router like this. You can run all of your devices through a VPN, securely connect back to your home network, use a wired Ethernet connection when one is available, or even use your phone’s mobile connection as a backup if the hotel WiFi stops working.
So today I’m going to take a look at the new GL.iNet Mango 2, set up my own portable WiFi network and run through some performance tests to see how useful this little travel router actually is.
Here’s my video review of the Mango 2, read on for the write-up:
Where To Buy The GL.iNet Mango 2?
- GL.iNet Mango 2 – Buy Here
Tools & Equipment Used:
Some of the above parts are affiliate links. By purchasing products through the above links, you’ll be supporting this channel, at no additional cost to you.
First Look At The Mango 2
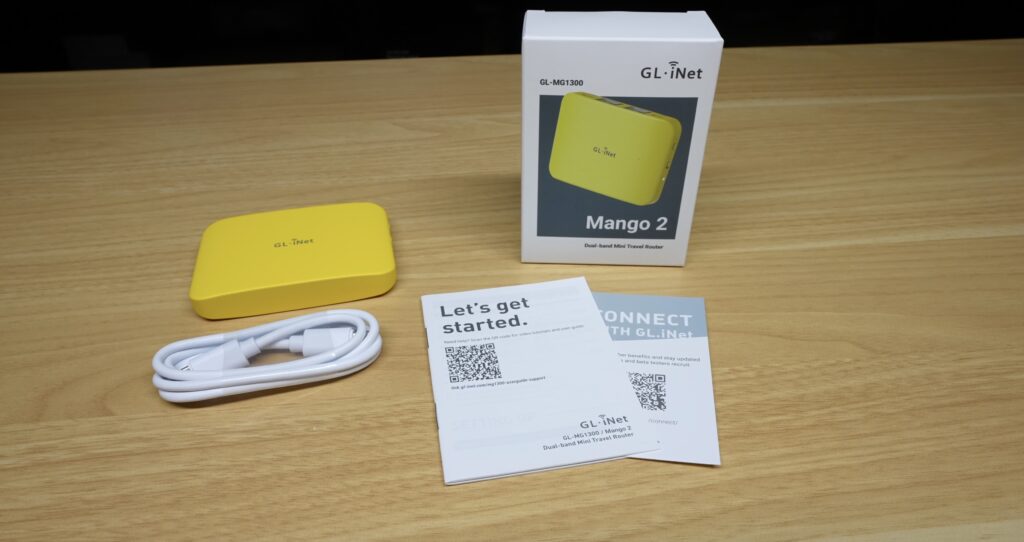
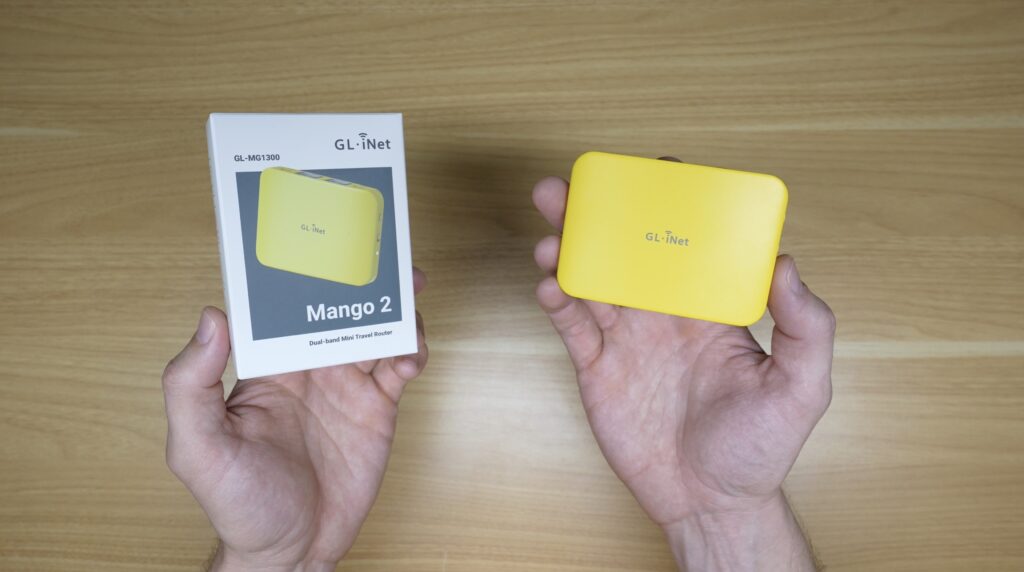
GL.iNet sent me the new Mango 2 to try out. It’s the successor to their original Mango travel router, with a number of upgrades to its hardware and wireless capabilities.
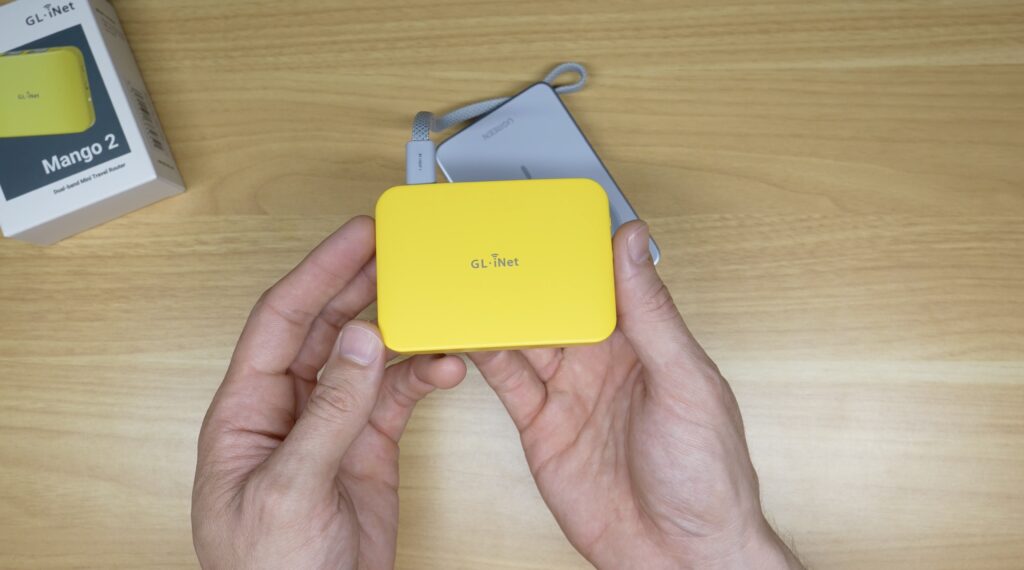
The first thing you’ll notice about it is just how small it is. I’ve been using a GL.iNet Slate 7 for a little over a year now, and the Mango 2 is tiny in comparison. The Slate 7 isn’t particularly large itself, so that gives you an idea of just how compact this new model is.
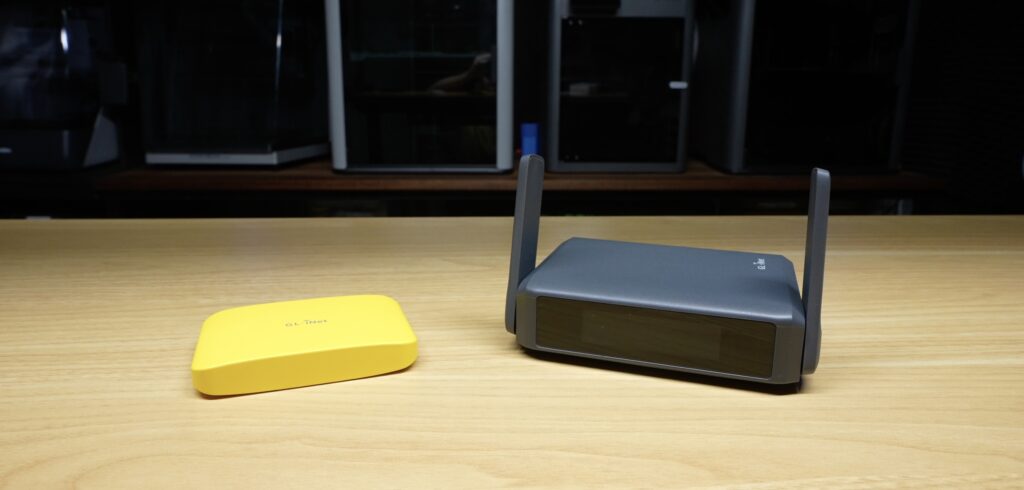
The Mango 2 measures just 89 x 63mm, is 15mm thick and weighs around 100 grams. That’s not much bigger than a credit card, and it’s only slightly thicker than the Ethernet ports on the side.
Despite its size, GL.iNet has managed to pack quite a lot into it.
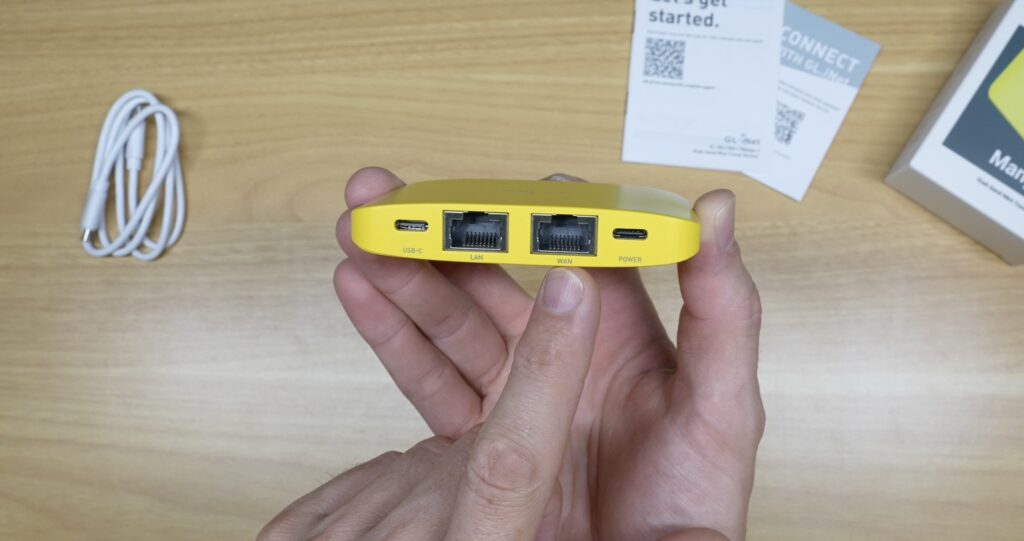
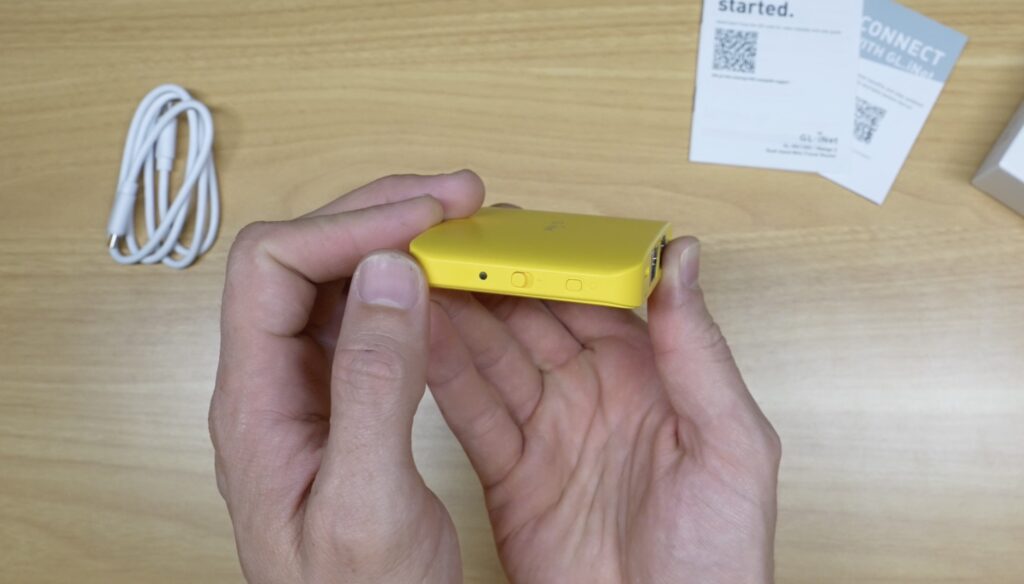
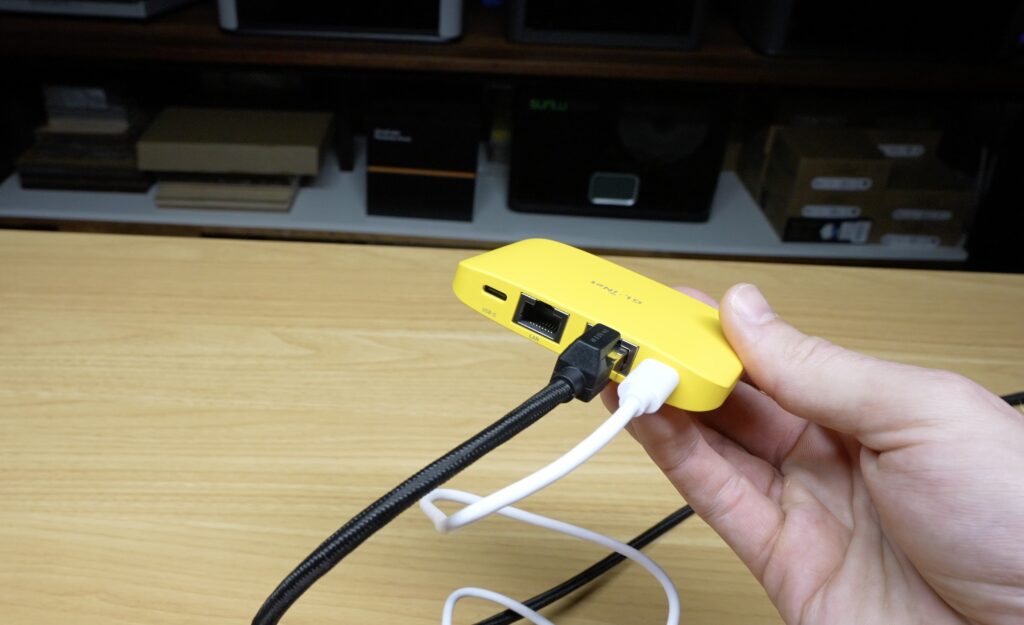
On the sides, there are two Gigabit Ethernet ports, one for WAN and one for LAN, a USB 3 Type-C port, a separate USB-C port for power, a reset button and a configurable toggle switch with a small status LED alongside it.
Internally, one of the biggest upgrades over the original Mango is the addition of dual-band WiFi. The original Mango only supported 2.4GHz WiFi at speeds of up to 300Mbps. The Mango 2 increases this to 400Mbps on 2.4GHz and adds a 5GHz band capable of up to 866Mbps. It’s also received a processor upgrade, moving from a single-core 580MHz processor to a dual-core 880MHz processor, alongside 128MB of memory.
These upgrades are particularly useful when you start using some of the more advanced features, like running VPN connections directly on the router, which I’ll cover a bit later.
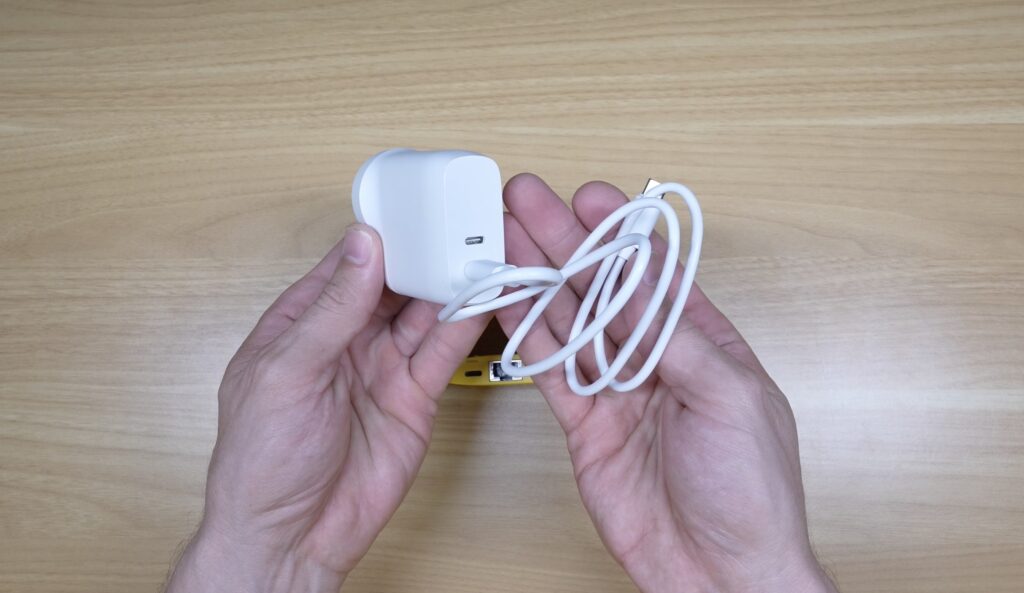
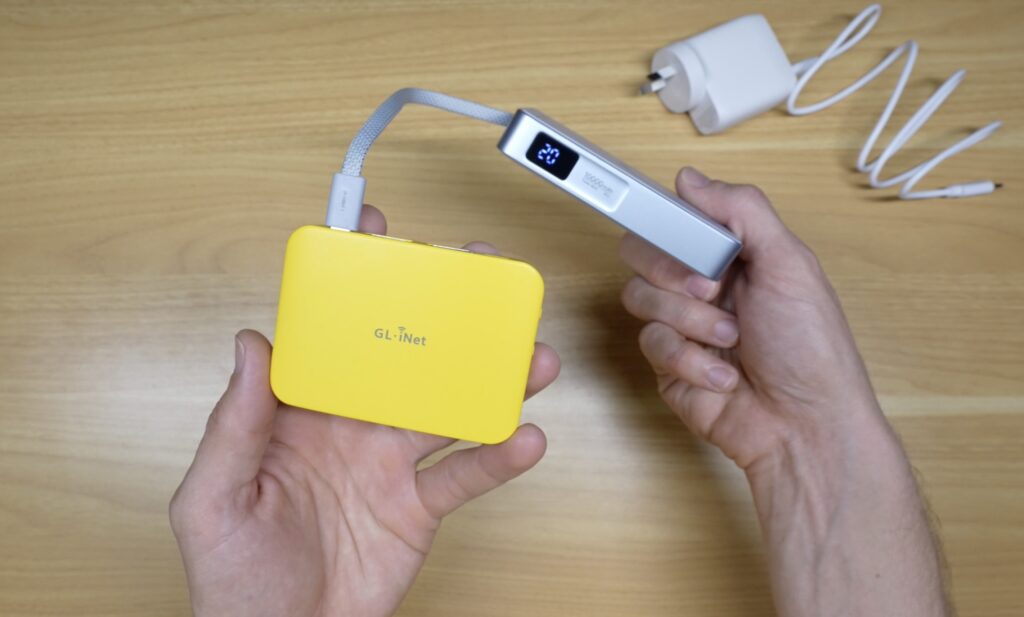
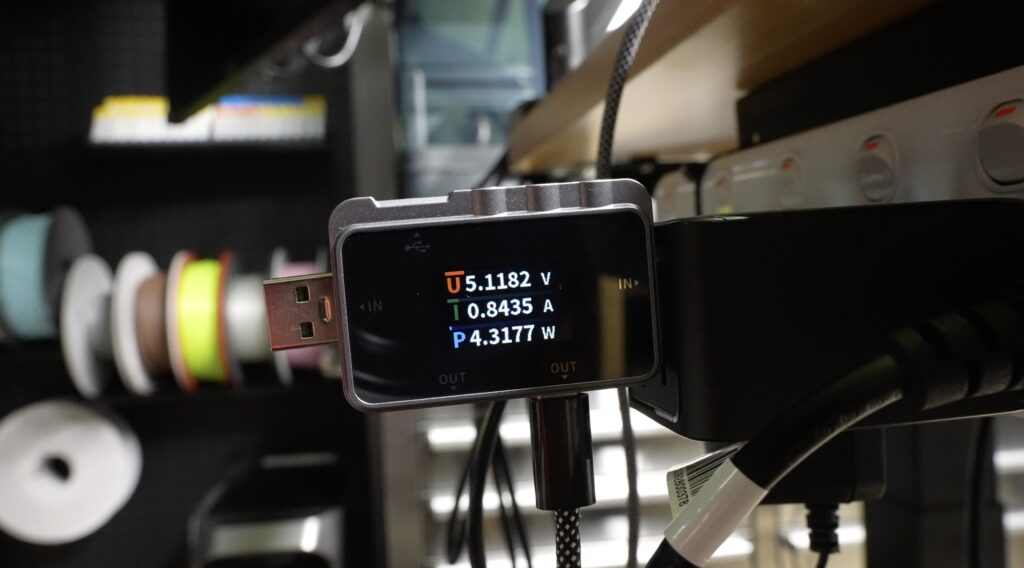
Another useful feature is its low power consumption. The Mango 2 runs from a standard 5V USB-C supply, and GL.iNet specifies a power consumption of less than 5W. In my testing, I measured power consumption of around 3.5 to 4W under typical conditions. This means you don’t need to carry around another proprietary power supply. You can power the travel router from a normal USB-C charger, a USB port on your laptop, or even a small power bank.
What Does a Travel Router Actually Do?
To demonstrate how the Mango 2 works, I’ve created a separate WiFi network in my workshop called “Hotel WiFi”. This simulates the sort of wireless network you’d connect to when travelling.
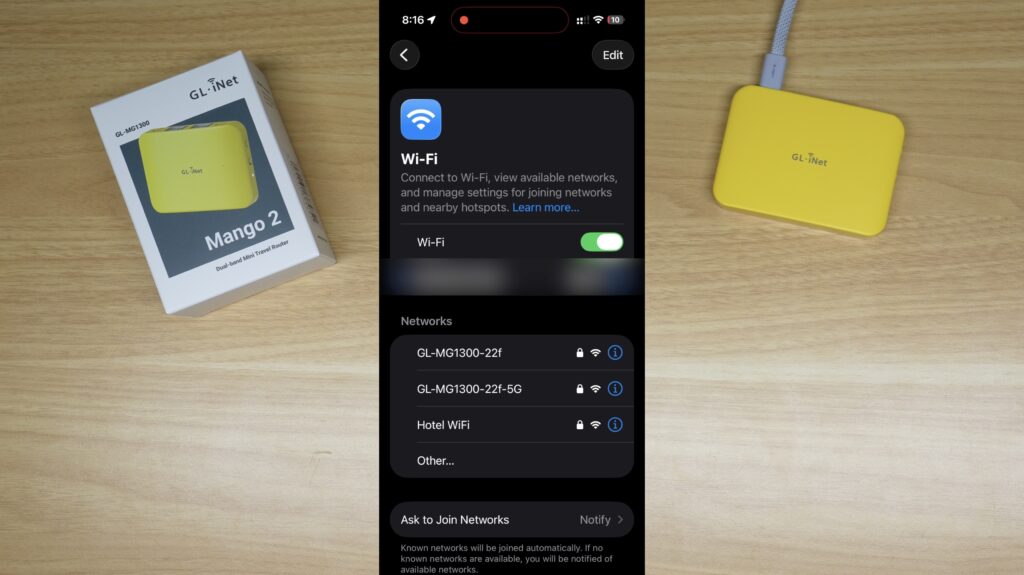
Normally, I’d need to connect each of my devices to this network individually. Instead, I’m going to connect them all to the Mango 2 and then use the Mango 2 to connect to the simulated hotel network.
To get started, I power up the router and connect my laptop to its default 5GHz WiFi network. The first time you connect, the Mango 2 brings up a setup walkthrough to configure the router and get it connected to the internet.
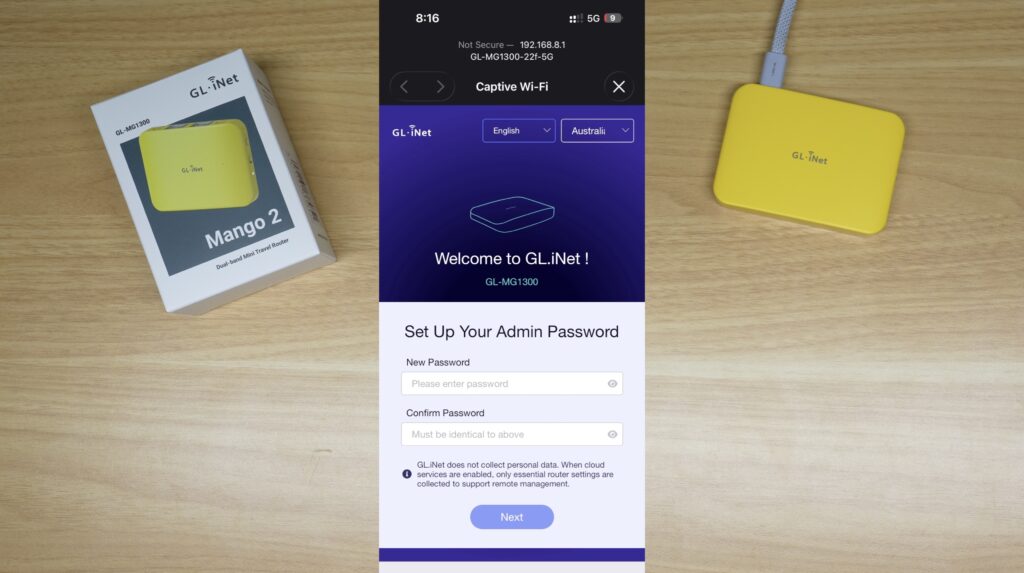
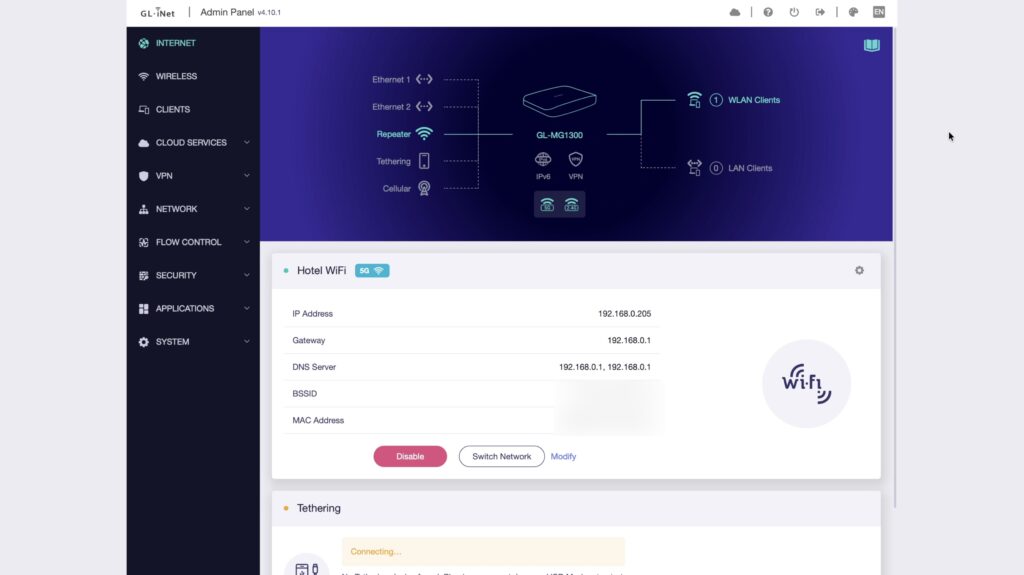
I’m using the default network names for this demonstration, but you can configure your own WiFi network names and passwords to make them easier to identify and remember. Once the initial setup is complete, I can use the GL.iNet app or the router’s web dashboard to select my Hotel WiFi network as the internet connection and enter its password.
The Mango 2 then connects to the hotel network, and everything connected to the Mango 2 now has internet access. So the hotel has its own WiFi network, and I have mine. That’s essentially the idea behind a travel router.
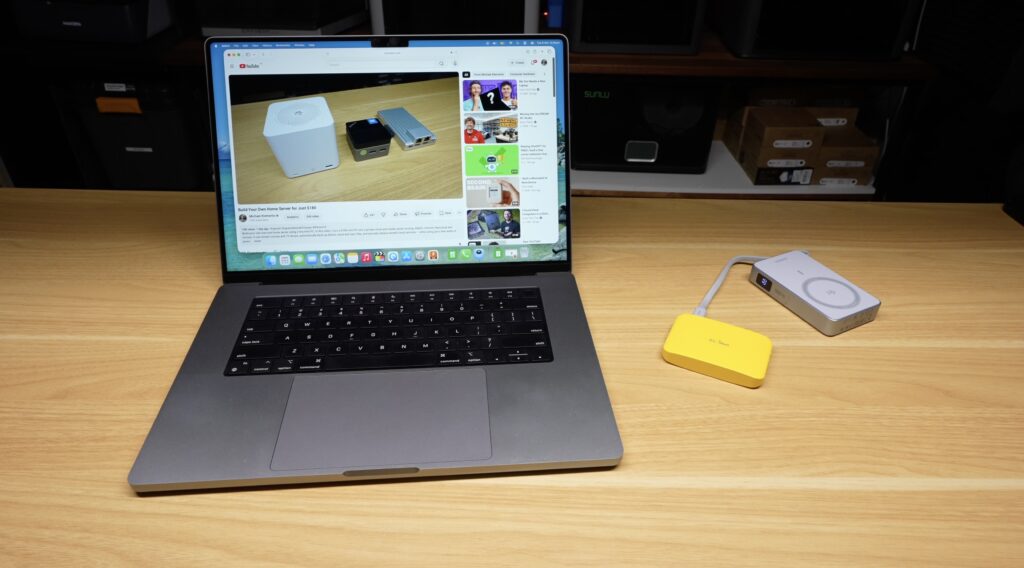
Wherever I go, all of my devices connect to the same WiFi network that I know and control. I only need to change the internet connection that the Mango 2 is using. This is particularly convenient if you’re travelling with multiple devices, as you don’t need to repeatedly configure each one whenever you move to a different location. And that internet connection doesn’t necessarily have to be WiFi either.
Four Ways to Connect to the Internet
The Mango 2 supports four main methods of connecting to the internet, giving you quite a bit of flexibility depending on what’s available wherever you’re travelling.
1. WiFi Repeater Mode
The first option is WiFi repeater mode, which is what I’ve been using in the demonstration so far.
This is probably the mode you’d use most often in hotels, airports or anywhere else where you’re provided with access to an existing WiFi network. The Mango 2 connects to that network wirelessly and then provides internet access to your own devices through its separate WiFi network.
This allows all of your devices to remain connected to the same familiar network, regardless of which hotel or public WiFi connection you’re using.
2. Wired Ethernet Connection
The second option is to use a wired Ethernet connection. If your hotel room or accommodation has an Ethernet port available, you can connect it directly to the Mango 2’s WAN port. The travel router then uses this wired connection for internet access while continuing to provide WiFi to your other devices.
This can potentially give you a faster and more stable connection than relying on the hotel’s wireless network, particularly in locations where the WiFi is congested or has poor signal strength.
3. USB Tethering From Your Phone
The third option is particularly useful if you don’t have access to a reliable WiFi network. You can connect your phone to the Mango 2 using USB and enable USB tethering. The Mango 2 then uses your phone’s mobile data connection to provide internet access to all of the devices connected to its network.
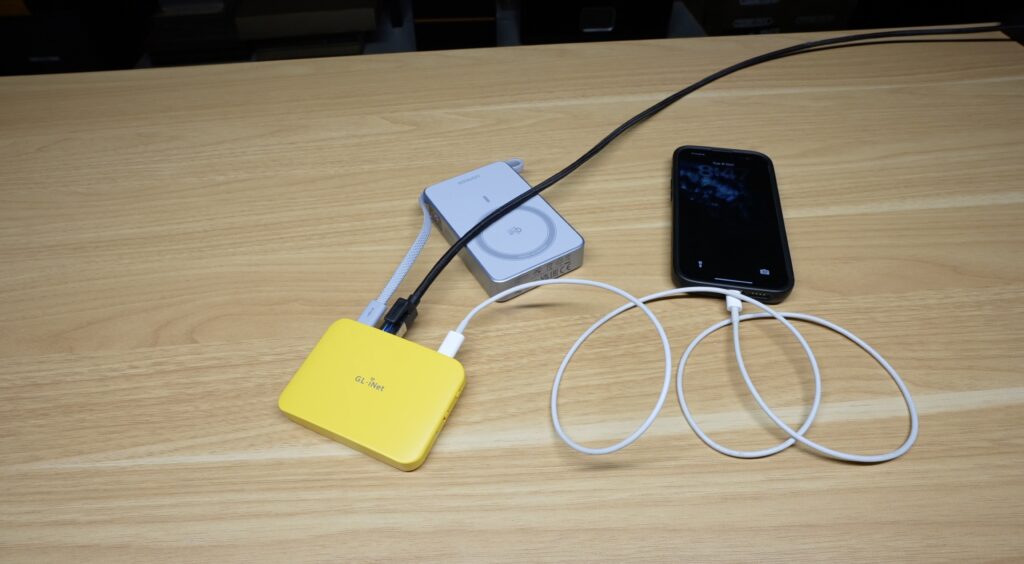
So rather than enabling a hotspot on your phone and connecting everything to that, you can continue using your existing travel router network.
4. USB Cellular Modem
The fourth option is to connect a compatible USB cellular modem. This allows the Mango 2 to establish its own mobile internet connection without needing to use your phone.
Depending on your setup, this could be useful for travelling or working remotely in locations where fixed internet connections aren’t available.
Automatic Connection Failover
Another useful feature is that the Mango 2 can have multiple internet connections configured and automatically switch between them if one becomes unavailable.
For example, I can configure the hotel WiFi as my primary internet connection and use my phone’s mobile connection as a backup. With both connections configured, I can disable my simulated Hotel WiFi network and the Mango 2 automatically switches over to the backup mobile connection.
Importantly, all of my devices remain connected to the same local WiFi network throughout the process. This is a particularly useful feature when you’re travelling somewhere with unreliable WiFi, as you don’t need to manually reconnect all of your devices whenever the primary internet connection drops out.
Using a VPN With the Mango 2
Another big advantage of having a travel router between your devices and the network you’re connecting to is that the router can handle your VPN connection as well.
GL.iNet supports more than 30 VPN providers. I’ve been using ExpressVPN for this demonstration.
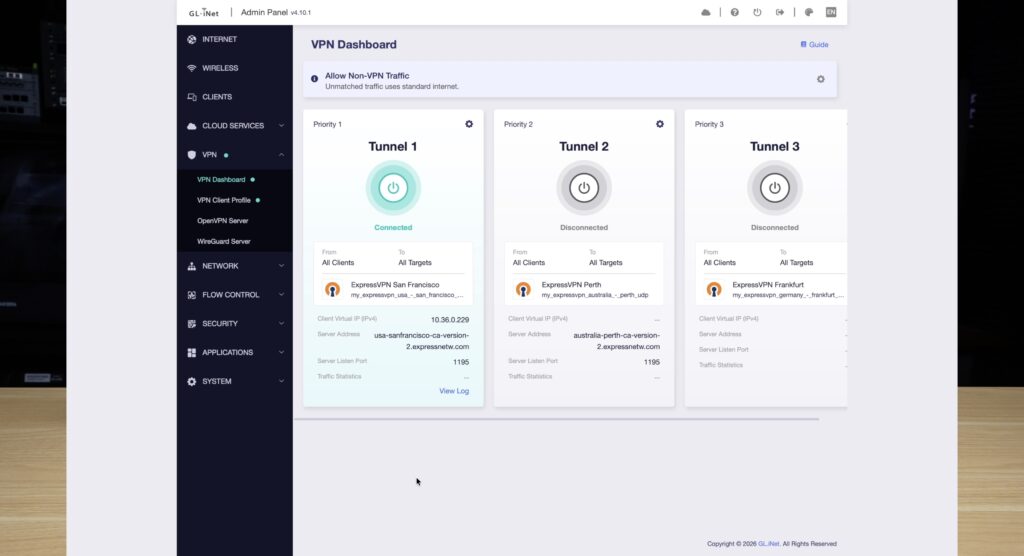
Normally, if I wanted to use a VPN across multiple devices, I’d need to install and configure the VPN application on each device individually. With the Mango 2, I can configure the VPN connection directly on the router instead. I’ve set up three different VPN server locations as examples. From the GL.iNet dashboard, I can select one of these locations and establish a connection to the VPN provider.
Once connected, the devices using the Mango 2 can route their internet traffic through the VPN without needing to run their own VPN clients. Checking the connection on my laptop confirms that its internet traffic is now going through the VPN, and the same applies to my other devices using that connection.
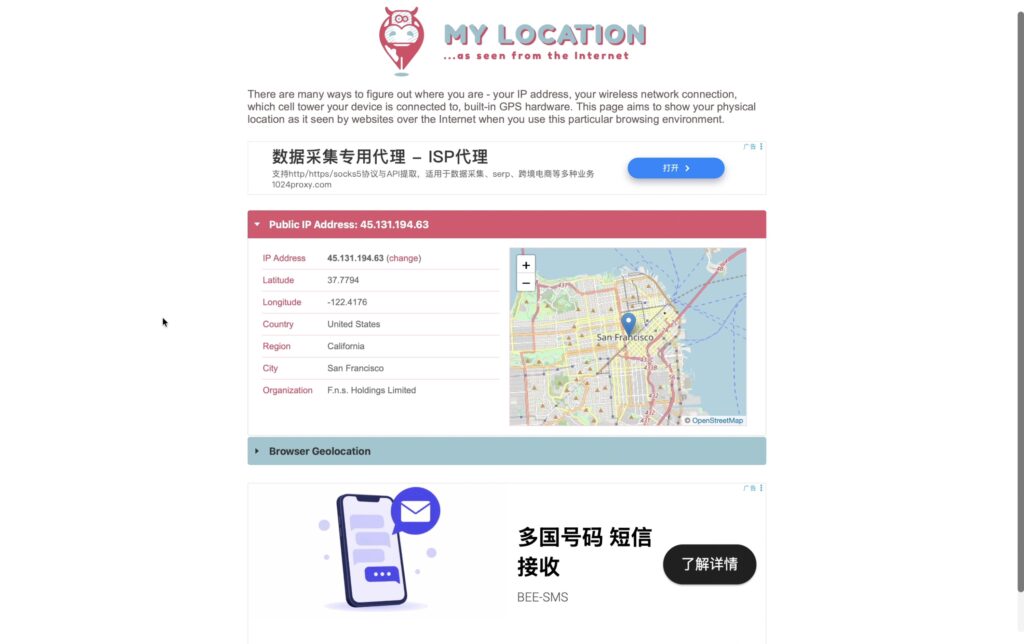
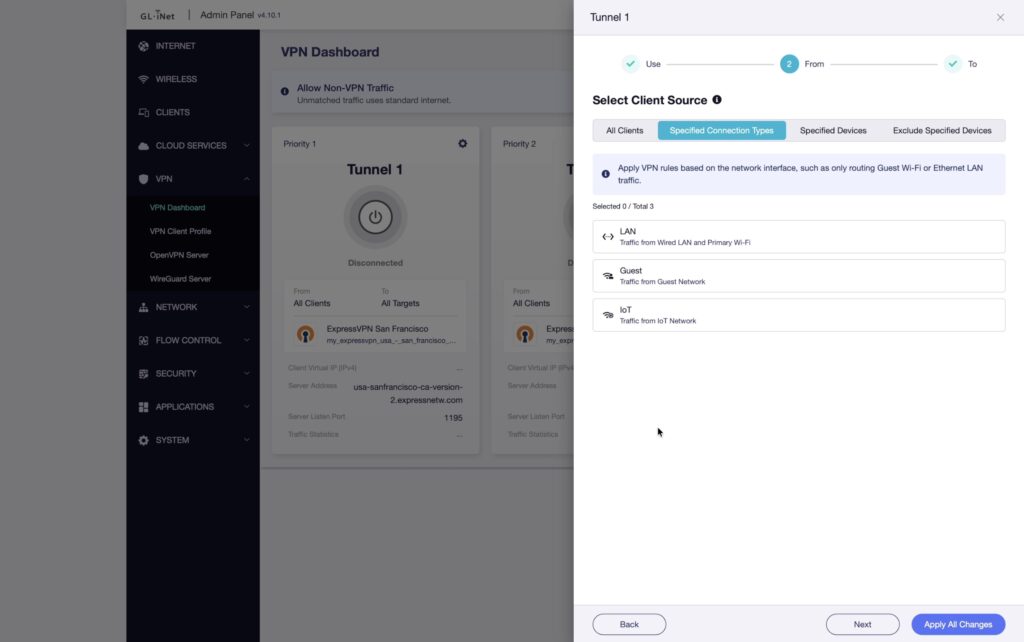
You can also configure which devices or traffic actually use the VPN, so it doesn’t necessarily have to be an all-or-nothing arrangement. This is really useful for devices where installing a conventional VPN application isn’t possible, or where you simply don’t want to manage multiple VPN installations.
VPN Performance and Protocol Support
VPN performance is also one of the areas where the Mango 2 has improved significantly over the original Mango.
GL.iNet claims speeds of up to 184Mbps when using WireGuard and up to 95Mbps using OpenVPN with DCO.
These are impressive figures for such a small and inexpensive travel router, although actual performance will depend on the VPN provider, protocol and network conditions. I’ve also run my own VPN performance tests, which I’ll cover in the performance section below.
Connecting Back to My Home Network With Tailscale
Using a VPN doesn’t necessarily mean routing all of your internet traffic through a commercial VPN provider. The Mango 2 also supports Tailscale, and for somebody with a homelab or home server, this opens up some really useful possibilities.
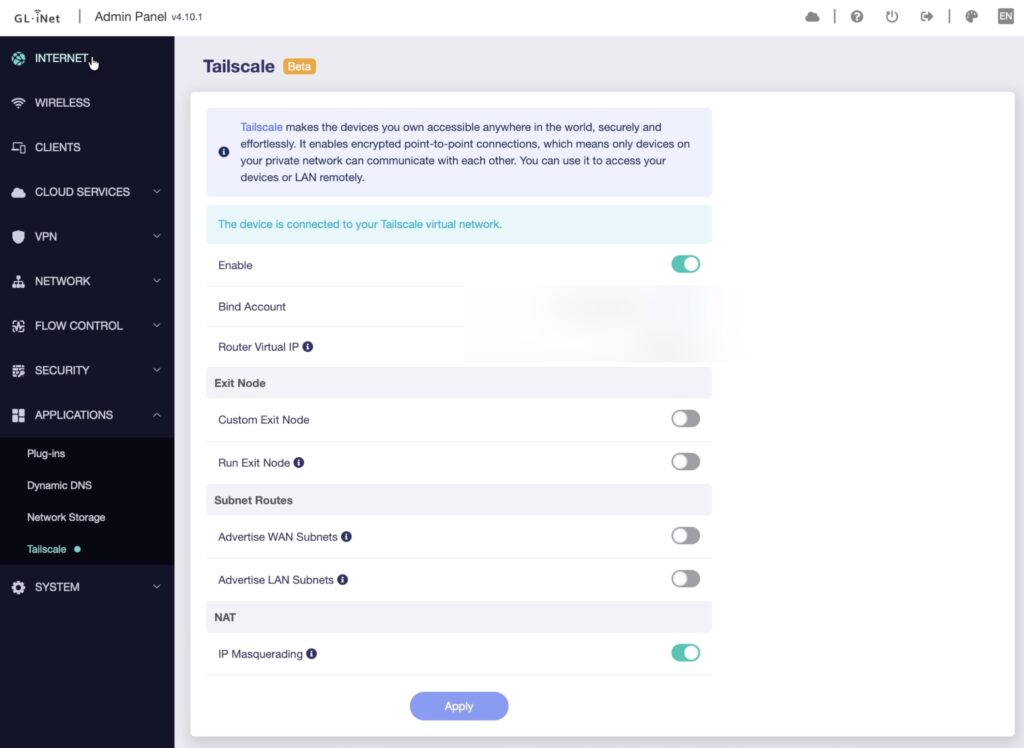
In my previous project, I built a low-cost home server using a small mini PC running Jellyfin, Immich and Nextcloud. These services allow me to host my own media library, photo backups and cloud storage rather than relying entirely on commercial cloud services. Normally, these applications are accessible from devices connected to my home network. However, with Tailscale configured on the Mango 2, I can establish a secure connection back to my home network even when I’m travelling.
For this demonstration, the Mango 2 is connected to my simulated Hotel WiFi network, but I can still access services running on my home server. For example, I can open Jellyfin and stream movies or TV shows from my own media library.

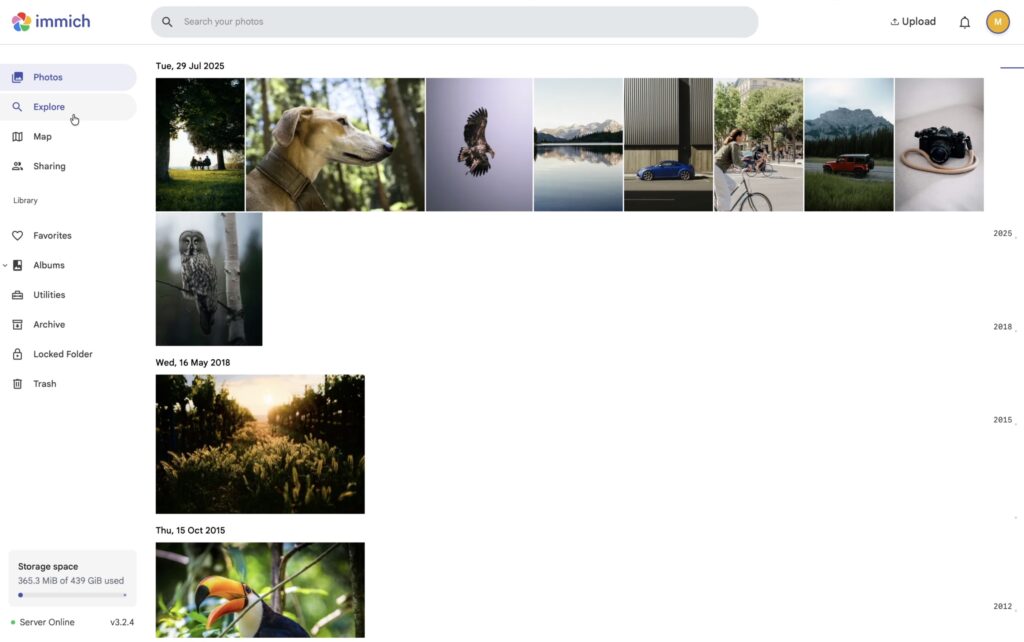
I can also open Immich and access my photo library, including photos that have been backed up from my devices.
Or I can use Nextcloud to access files that I’ve stored on my home server.
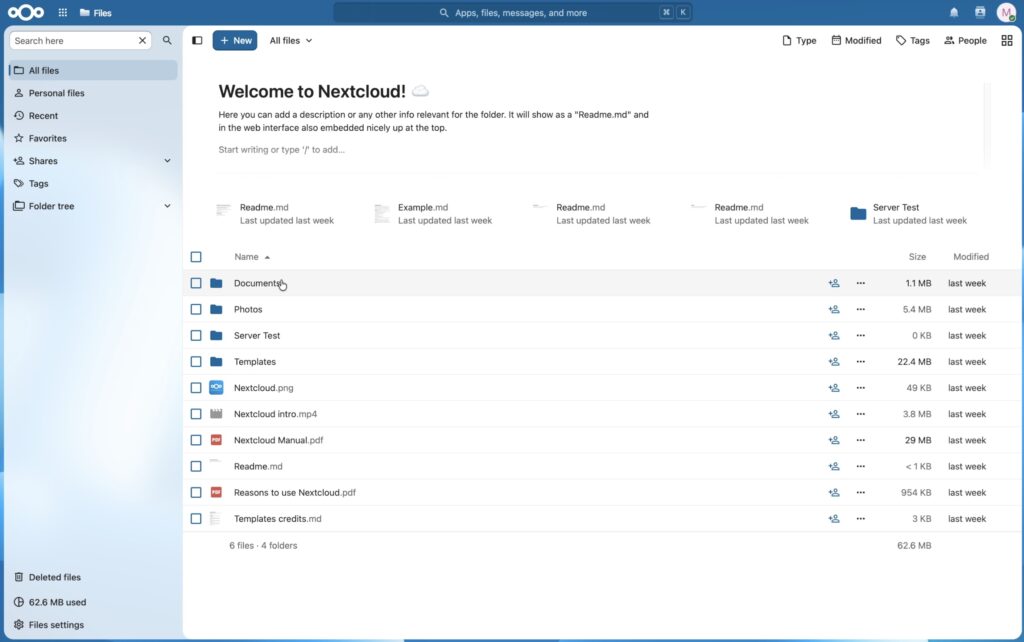
All of these services are running on my home network, but they’re accessible through the Mango 2’s Tailscale connection. The important part is that I don’t need to install and configure Tailscale individually on every device that I’m travelling with. From the perspective of my laptop and other devices, they’re simply connected to the Mango 2’s WiFi network as usual.
The travel router effectively becomes a bridge between the portable network I’ve brought with me and the services I’ve left running at home. For somebody who already has a homelab, NAS or home server, I think this is probably one of the most powerful uses for a travel router. It allows you to take advantage of your own self-hosted services while travelling without needing to configure remote access separately on every device.
GL.iNet Mango 2 Performance Testing
Of course, having all of these features isn’t particularly useful if the router can’t actually keep up with a reasonable internet connection. So I ran a series of performance tests to see how the Mango 2 performs with different network configurations.
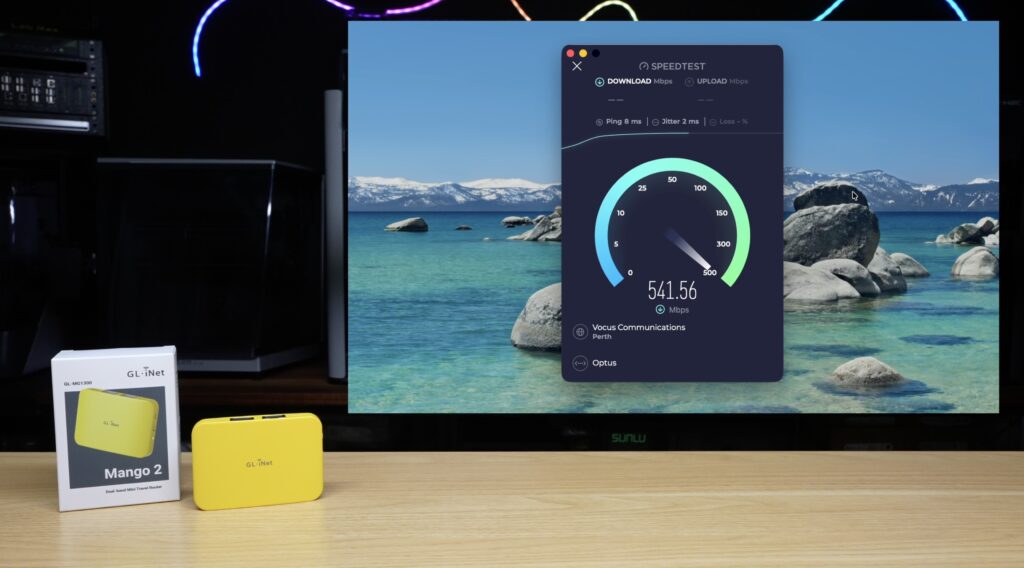
As a point of comparison, a wired connection in my workshop typically achieves a little over 500Mbps. This gives me a useful baseline to compare the Mango 2 against.
Wired Ethernet Performance
For the first test, I wanted to establish the best-case scenario using wired connections on both ends of the router. I connected an Ethernet cable from my existing network to the Mango 2’s WAN port and then connected my laptop to its LAN port.
With this configuration, I again achieved speeds of over 500Mbps.
So at these speeds, the Mango 2 wasn’t introducing any noticeable performance limitation when using wired connections on both sides.
Wired WAN With 5GHz WiFi
For the second test, I kept the wired Ethernet connection as the WAN connection but connected my laptop to the Mango 2 over its 5GHz WiFi network.
This configuration also achieved speeds of over 500Mbps.
So even when using WiFi for the connection between the laptop and the Mango 2, there wasn’t a noticeable reduction in throughput compared to my wired baseline.
WiFi Repeater Performance
The third test is probably the most representative of how most people will actually use the Mango 2 while travelling. For this test, I connected the Mango 2 to my simulated Hotel WiFi network using 5GHz WiFi. I then connected my laptop to the Mango 2’s own 5GHz WiFi network. This means the router is using WiFi for both its connection to the internet and its connection to my laptop.
This was the first test where I saw a significant reduction in speed. Throughput dropped to around 250–275Mbps.
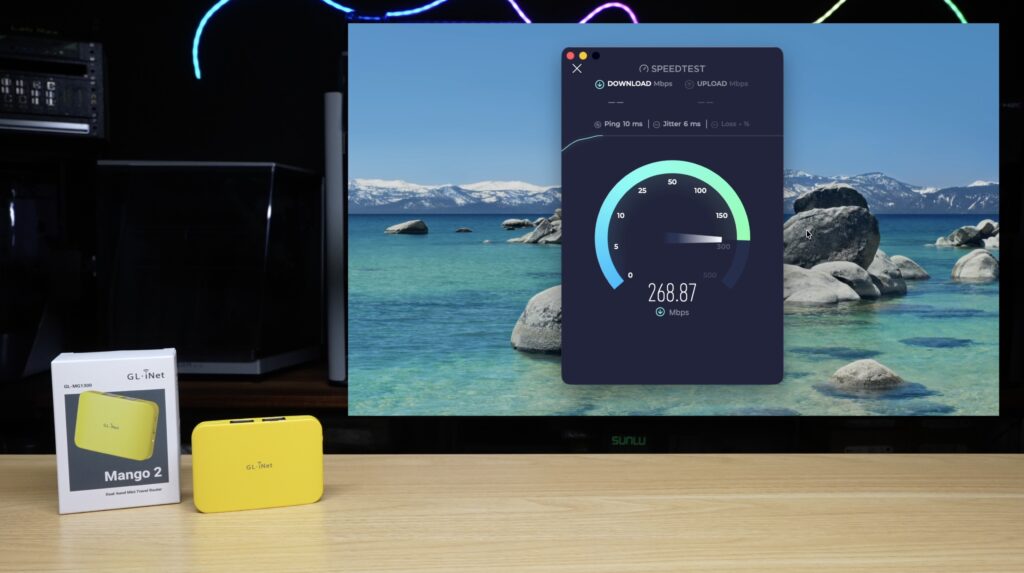
I repeated the test twice more to check the results and achieved approximately the same speeds each time.
To investigate this further, I kept the Mango 2 connected to the Hotel WiFi network in repeater mode but connected my laptop to the router using Ethernet instead. With this configuration, speeds went straight back up to around 500Mbps. This confirms that the reduction in throughput is associated with using WiFi for both sides of the connection.
When the Mango 2 is using the same wireless radio for both its uplink to the hotel network and its downlink to your devices, the available wireless throughput is effectively being shared between those connections.
This is a limitation of this type of WiFi repeater arrangement rather than something unique to the Mango 2.
It’s also worth keeping these results in perspective. Your actual internet speed while travelling is going to depend heavily on the hotel, airport or whatever connection you’re using. In many cases, particularly here in Australia, the available internet connection is likely to become the bottleneck well before the Mango 2 does. Even the reduced 250–275Mbps I achieved in repeater mode is more than sufficient for most typical travel use cases.
VPN Performance Testing
I also tested the Mango 2’s VPN performance, and this is where the protocol you’re using makes quite a significant difference.
I initially configured ExpressVPN using OpenVPN. With this configuration, I was only achieving speeds of around 14–18Mbps.
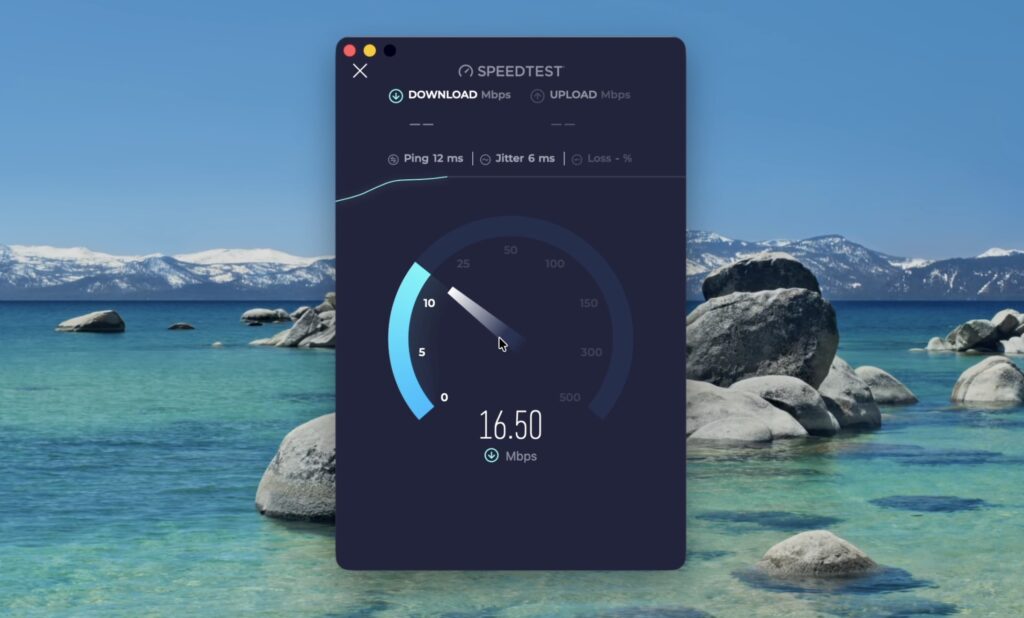
To check whether the limitation was with my internet connection or VPN provider, I also tested ExpressVPN directly from my laptop. Running the VPN directly on the laptop, I was back up to speeds of over 500Mbps.
So the significantly lower speeds were specific to running this OpenVPN configuration through the Mango 2. I then switched to PureVPN using the WireGuard protocol. This made a significant difference, increasing throughput to around 120Mbps.
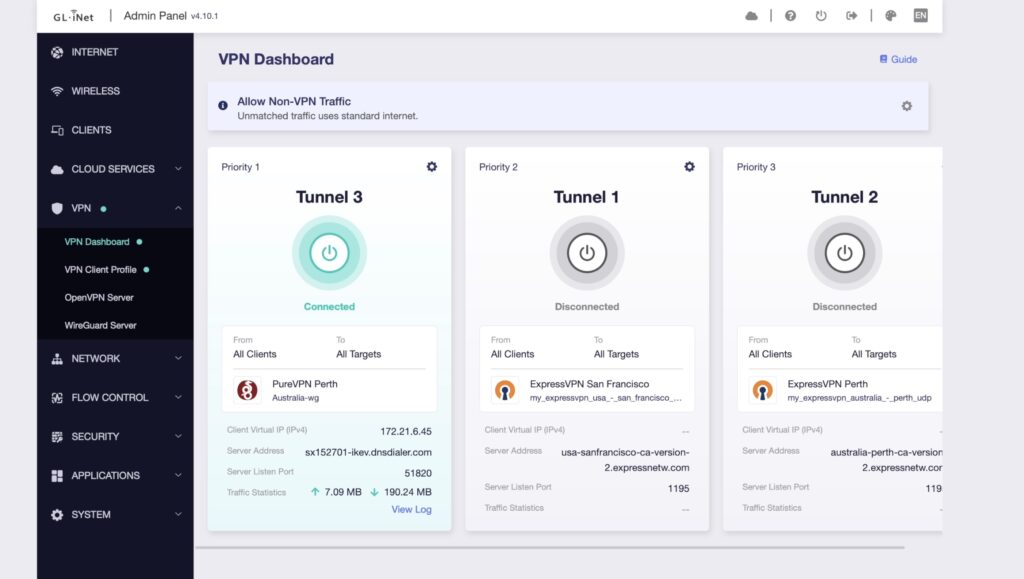
WireGuard is generally much more efficient than OpenVPN, which is particularly important on a small travel router like the Mango 2 where processing power is limited. GL.iNet also rates the Mango 2 for significantly higher VPN throughput using WireGuard than OpenVPN, and my testing reflected that difference.
The 120Mbps result is below GL.iNet’s claimed maximum of 184Mbps, but it’s still a very usable speed for a portable router of this size.
So, if VPN performance is important to you, I’d recommend choosing a VPN provider that supports WireGuard on the Mango 2. It’s also worth checking which protocols your existing VPN provider supports before purchasing the router, as the difference in performance can be quite substantial.
GL.iNet Mango 2 Power Consumption
The last thing I wanted to test was power consumption. One of the advantages of a compact travel router like this is that it doesn’t require much power, making it practical to run from a portable power bank. GL.iNet specifies a power consumption of less than 5W, so I wanted to see what it actually used in a few different configurations.
Wired Connection
With the Mango 2 running in full wired mode, using Ethernet for both the WAN and LAN connections, I measured power consumption of around 3.5W.
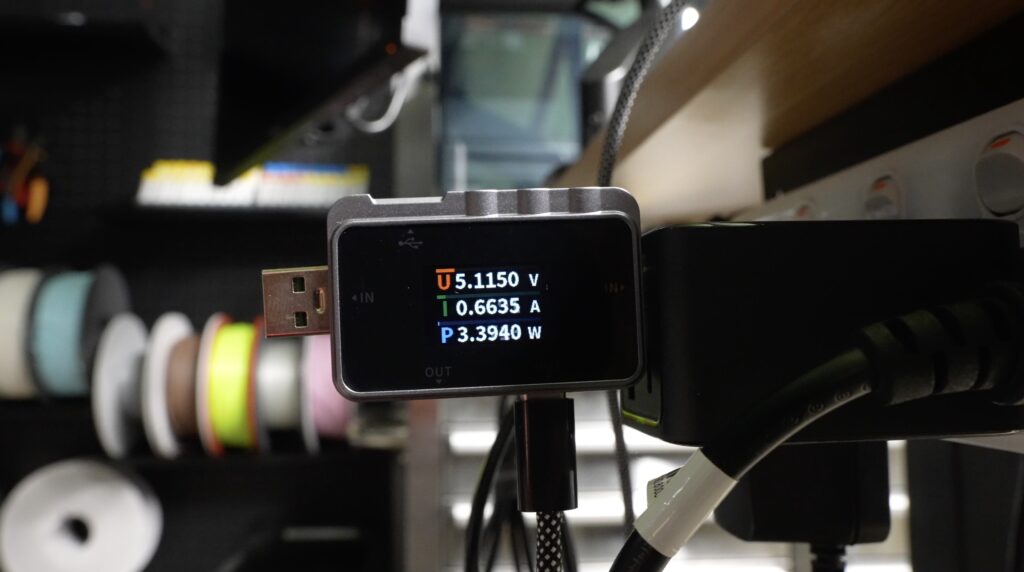
That’s already quite low, particularly considering the router is capable of handling over 500Mbps in this configuration.
WiFi Repeater Mode
Next, I tested power consumption with the Mango 2 operating in WiFi repeater mode, with my laptop also connected wirelessly. Interestingly, power consumption dropped to just under 3W.
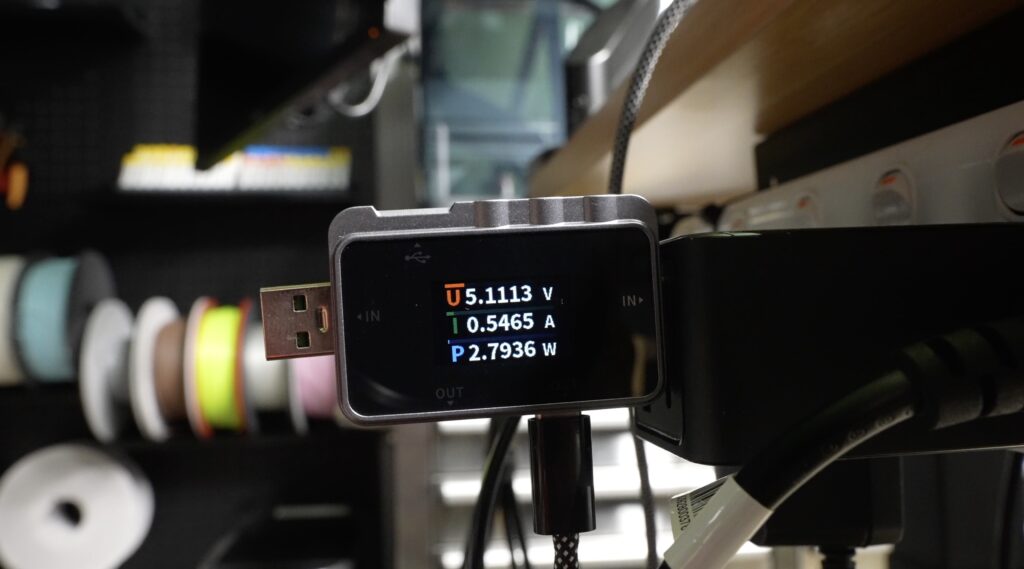
I actually expected this configuration to use slightly more power than the wired setup, given that the router was handling wireless connections on both sides. But in my testing, it was a little more efficient.
VPN Connection
Finally, I went back to the wired configuration and enabled the ExpressVPN profile that had previously resulted in much lower throughput. This configuration places additional processing demands on the router while it handles the VPN connection.
Power consumption increased to around 4W, which was the highest result I measured during these tests. Even then, it’s still a very low-power device.
Running the Mango 2 From a Power Bank
With power consumption generally sitting between 3 and 4W, running the Mango 2 from a power bank is quite practical. For example, a typical 10,000mAh power bank should theoretically be able to power the router for around 8–10 hours, allowing for some conversion losses. That means even a relatively small power bank could keep the router running for a full workday.
This could be particularly useful when travelling, working remotely, or using the router somewhere that doesn’t have a convenient power outlet. And because the Mango 2 uses a standard USB-C power connection, you don’t need to carry a separate charger specifically for it. You can use the same USB-C charger or power bank that you’re already carrying for your other devices.
Final Thoughts on the GL.iNet Mango 2
The Mango 2 is a surprisingly capable little travel router, particularly considering its size and price.
For me, the biggest advantage of travelling with a router like this is being able to configure all of my devices once and then take that same network with me wherever I go. Rather than repeatedly connecting my laptop, phone and other devices to different hotel or public WiFi networks, I only need to connect the Mango 2 to whatever internet connection is available. Everything else can remain connected to my own network.
But there are also quite a few additional features that make it more useful than simply providing a familiar WiFi connection. For somebody running a home server or homelab, the Tailscale integration is particularly useful, as it makes services like Jellyfin, Immich and Nextcloud accessible while travelling without needing to configure each device individually.
Performance was also quite good for a router of this size. There are obviously more powerful travel routers available, including several other models from GL.iNet themselves. But at $39.90 during the pre-order period, the Mango 2 is clearly aimed at being the small, inexpensive option that still covers most of the features people are likely to use while travelling. And I think it does a good job of that.
Here’s a link to the GL.iNet Mango 2 if you’d like to find out more about it or get one for yourself.
Let me know in the comments section below if you already travel with your own router, and what you use yours for.
