


I’ve been wanting to build a proper desktop arcade machine for a while now, and I finally got around to making one. It’s powered by a Raspberry Pi 4, has a 10-inch touchscreen, real arcade controls and a custom-designed laser-cut enclosure with printed graphics.
In this blog post, I’ll show you how I built it so that you can build your own.
Here’s my project video, read on for the write-up:
What You Need To Build Your Own Desktop Arcade
- Raspberry Pi 4 – Buy Here
- 32GB MicroSD Card – Buy Here
- Sunfounder 10″ Touch Display For Raspberry Pi –Buy Here
- Arcade Controller Set (One I Used From AliExpress) – Buy Here
- Arcade Controller Set (Similar One From Amazon) – Buy Here
- Pi 4 Aluminium Heatsink – Buy Here
- 40mm 5V PWM Fan – Buy Here
- 10 Sheets of 3mm Plywood (400mm x 300mm) – Buy Here
- 8 x M3x8mm Button Head Screws – Buy Here
- 4 x M5x10mm Button Head Screws – Buy Here
- 4 x M5 Nuts – Buy Here
- Barrel Jack Extension (Similar To What I Made) – Buy Here
- Ethernet Extension Cable – Buy Here
- Wood Glue – Buy Here
- Stick-On Rubber Feet – Buy Here
Tools & Equipment Used
xTool Store:
- xTool M2 Laser Cutter & Engraver – Buy Here
- xTool CMYK Inkjet Printing Module – Buy Here
- xTool SafetyPro AP2 Air Purifier – Buy Here
Amazon:
- xTool M2 Laser Cutter & Engraver (xTool Store) – Buy Here
- xTool CMYK Inkjet Printing Module – Buy Here
- xTool SafetyPro AP2 Air Purifier – Buy Here
- USB C Screwdriver – Buy Here
Hardware I Used To Build The Arcade
There are a lot of Raspberry Pi projects that benefit from the extra performance of the Pi 5, but this isn’t one of them. RetroPie still isn’t officially available on the Pi 5 and even if it was, a Pi 4 already has more than enough performance to play most retro games anyway.
With the prices of Pi’s at the moment, saving some money and getting a Pi 4 is an easy choice. I actually ended up going with a 2GB Pi for this project.
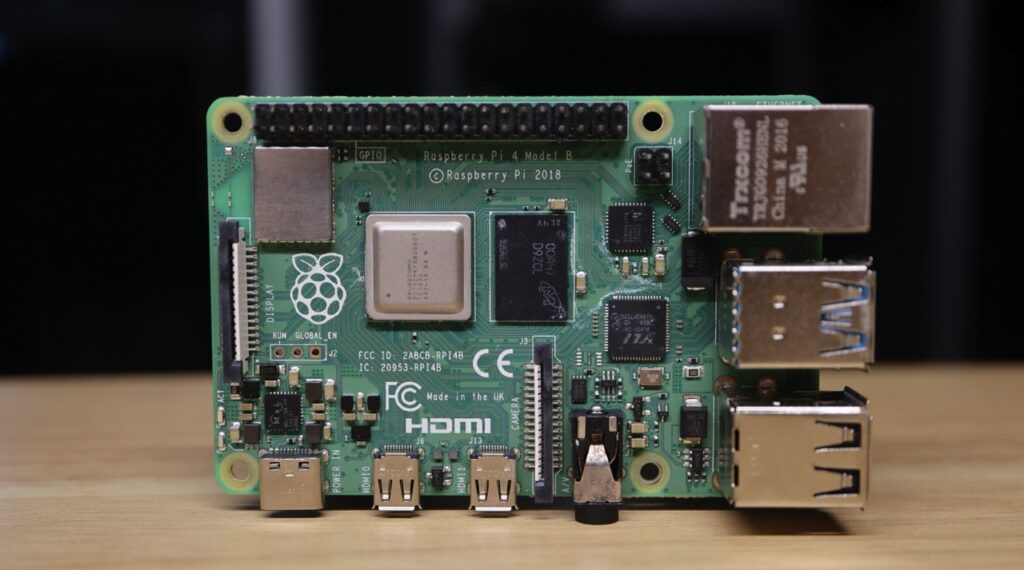
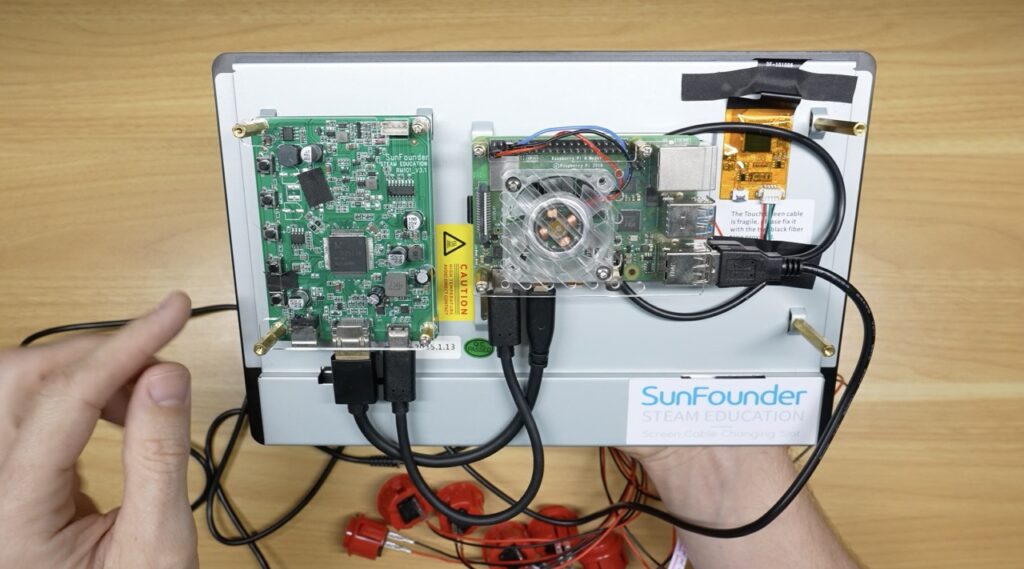
The Pi conveniently mounts directly onto the back of the 10-inch touchscreen from SunFounder, using their included mounting hardware. I quite like this display because it already includes a built-in 5-volt, 5-amp power supply for the Pi and it includes all of the hardware and cables required to connect it.
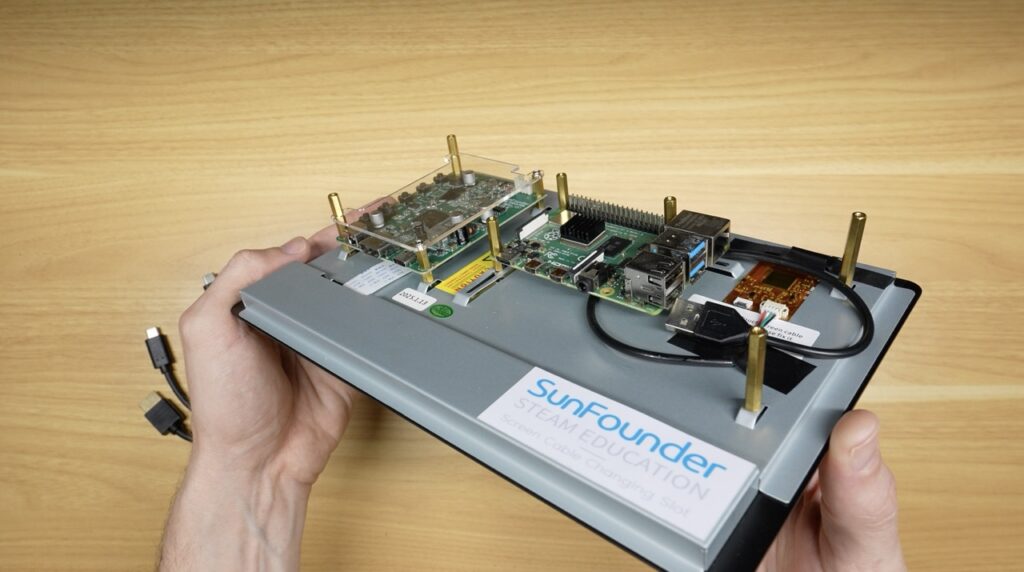
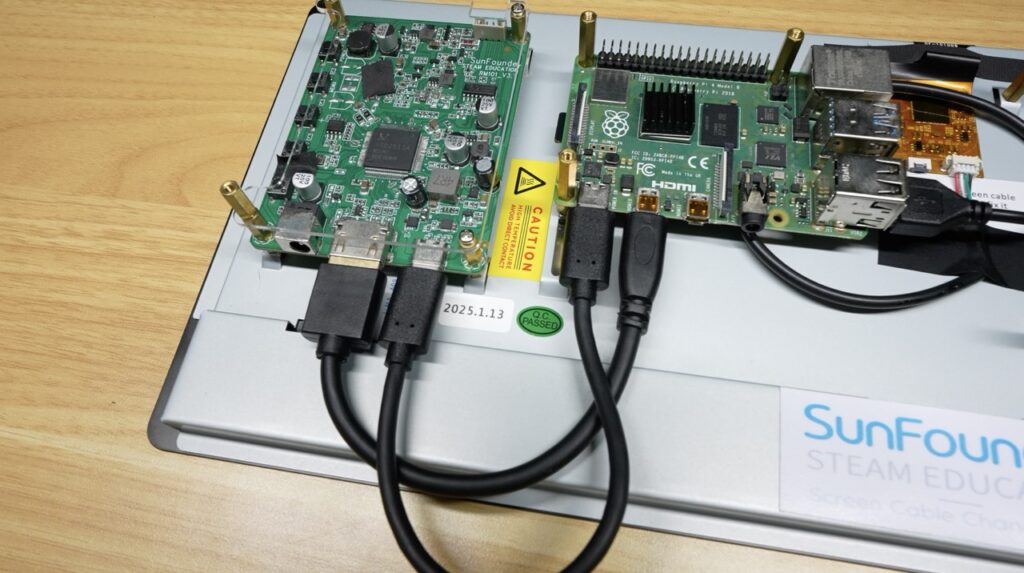
That means one short USB-C cable powers the Pi directly from the display, so there’s no need for multiple power supplies or extra wiring inside the enclosure. It’s a display solution for a Pi 4 or Pi 5 that doesn’t require any other hardware.
To keep the Pi cool, I’ve added a small stick-on heatsink together with a 40mm PWM fan mounted to the acrylic cover above it. The cover’s holes aren’t designed for a 40mm fan (it looks like it may be designed for a 50mm fan), but I managed to mount it anyway using the ventilation slots.
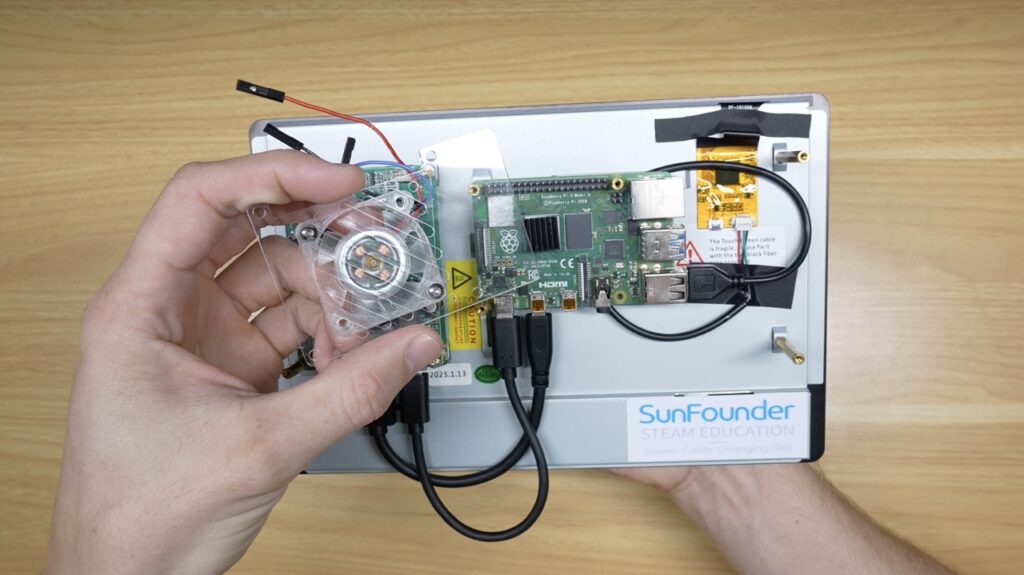
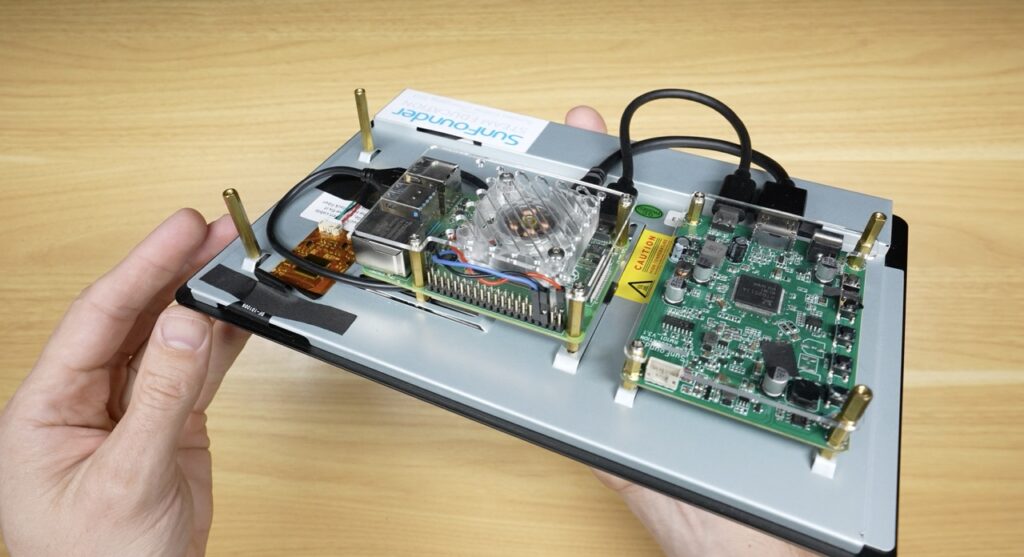
I’m not sure if the fan is necessary, but at least this way it’s there if I need it, and this is a PWM-controlled fan, so it can be turned on and off through Pi OS if it needs to be.
Then no arcade machine is complete without proper controls. Rather than a handheld controller, I got a complete USB joystick and button kit from AliExpress for around fifteen dollars. Given the price, I wasn’t expecting much, but I was pleasantly surprised.
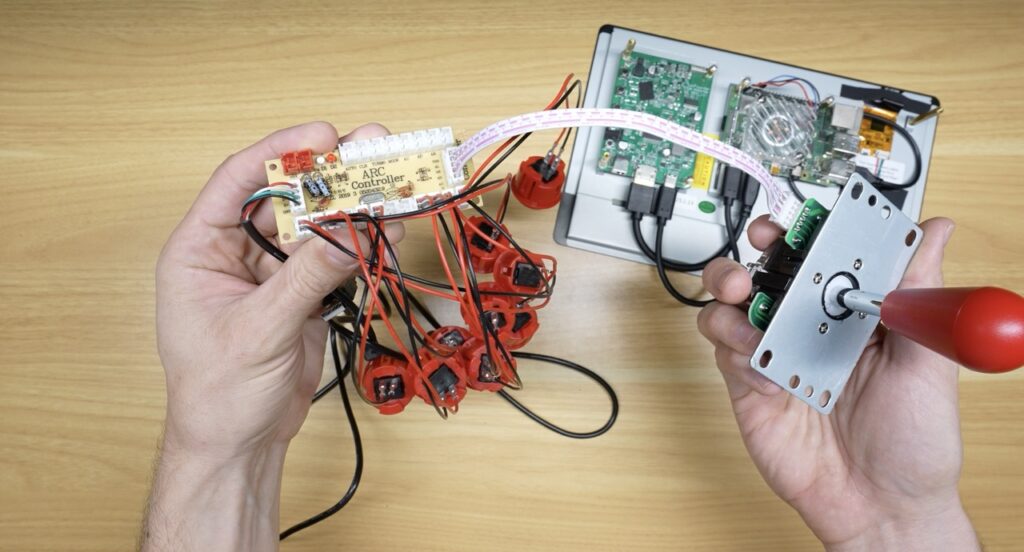
The joystick feels reasonably well built and the buttons have a satisfying click. It’s also completely plug-and-play with RetroPie. It didn’t need any drivers or configuration. I just plugged it in and it worked.
The display originally came with its own speakers that receive audio over HDMI. These come with a short lead and stick-on pads. You should use these for your build. Unfortunately, I’ve managed to lose my set in moving to a new workshop, so instead I sacrificed a tiny USB speaker set and removed the internals to use for this build.
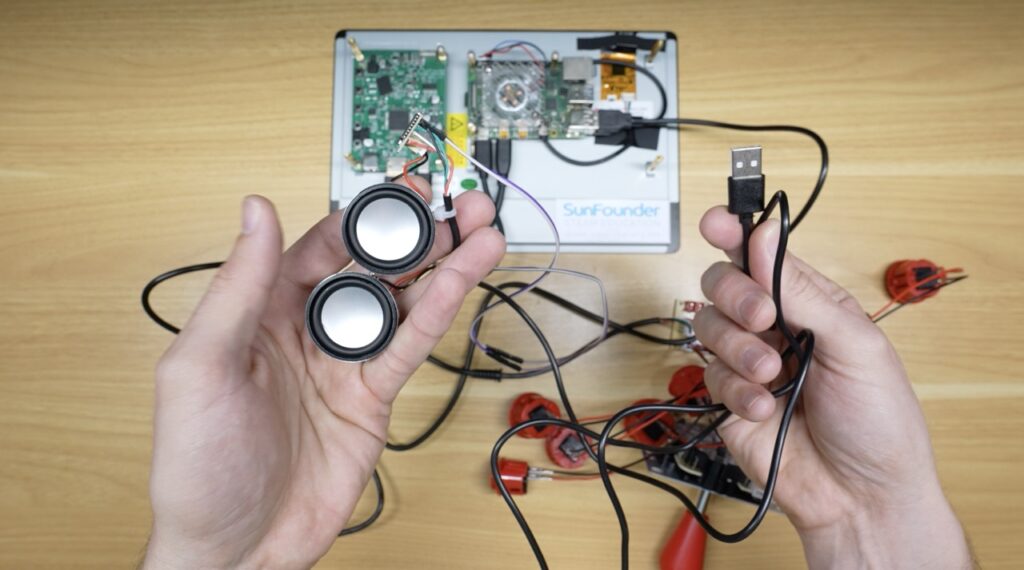
This set of speakers took a lot more time than I expected to get it to work. Because the display allows for HDMI audio, RetroPie kept defaulting to sending the sound to the display instead of to my USB speakers. After a bit of experimenting with ALSA and RetroPie’s audio settings, I managed to convince it to use the correct output. If you use the speakers that come with the display, then they should just work right away.
Now that we have the hardware sorted, we need something to install it in.
Designing The Arcade Cabinet
I designed the cabinet as a flat pattern in Inkscape to be laser cut from some 3mm pine or basswood plywood. I like the retro feel that a wooden cabinet brings.
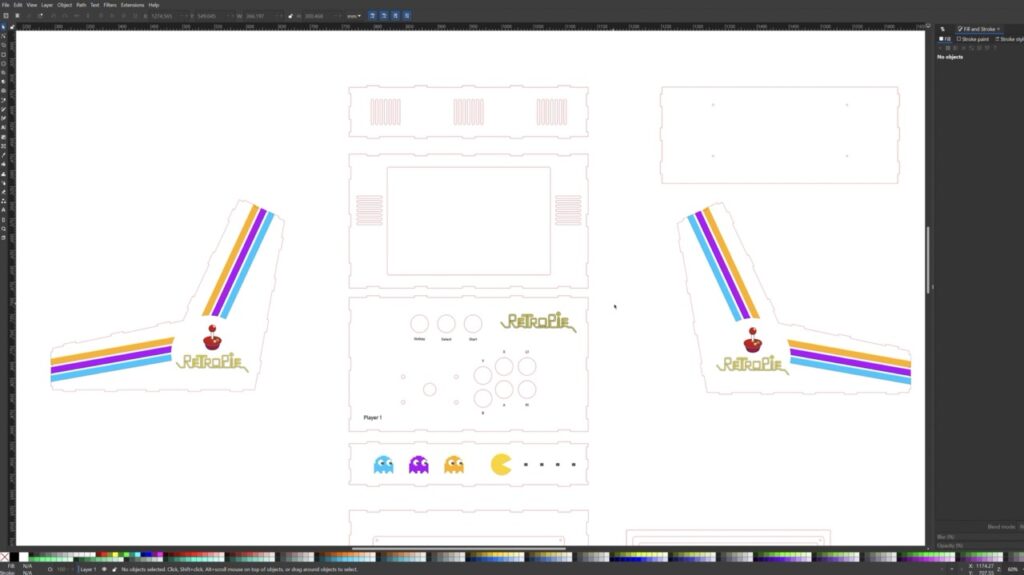
I have removed the artwork from my design file to comply with copyright laws.
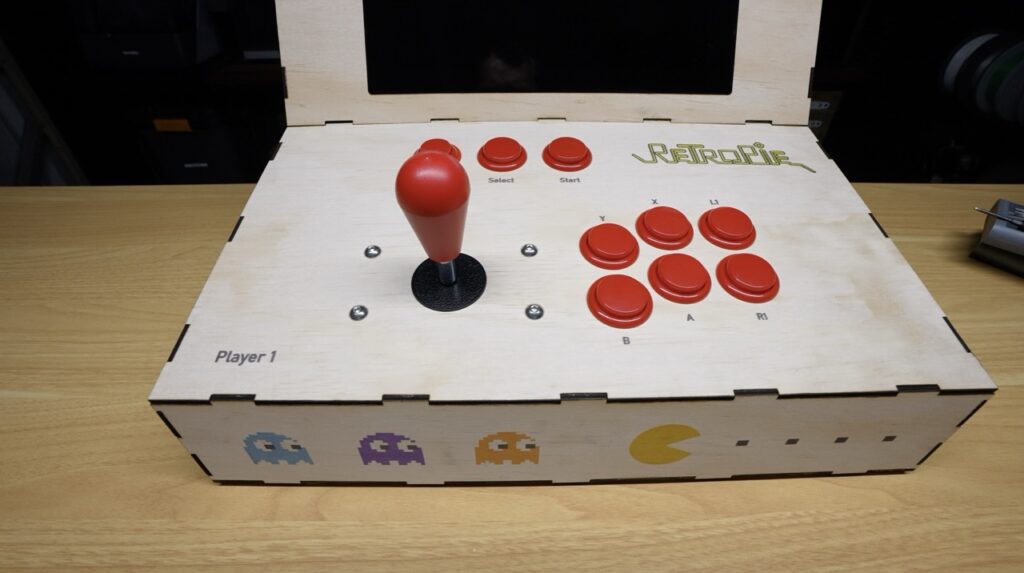
For the layout, I went with six gameplay buttons alongside the joystick. Like with a handheld controller, this gives me everything I’d normally need for Super Nintendo games and is still usable for classic arcade games too. From my limited research, it looks like the most common layouts use either 6 or 8 buttons, the additional two buttons are for triggers.
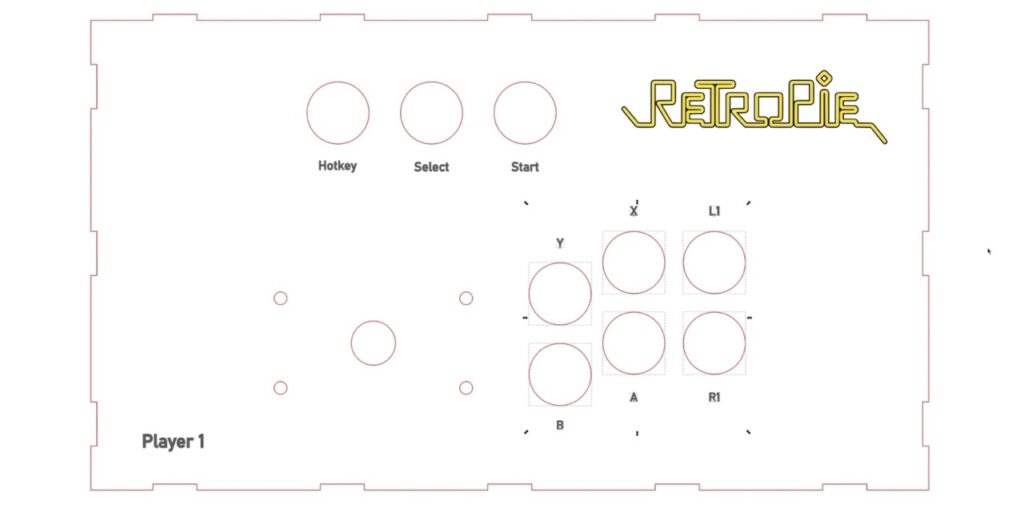
Above those, I added dedicated Start, Select and Menu buttons.
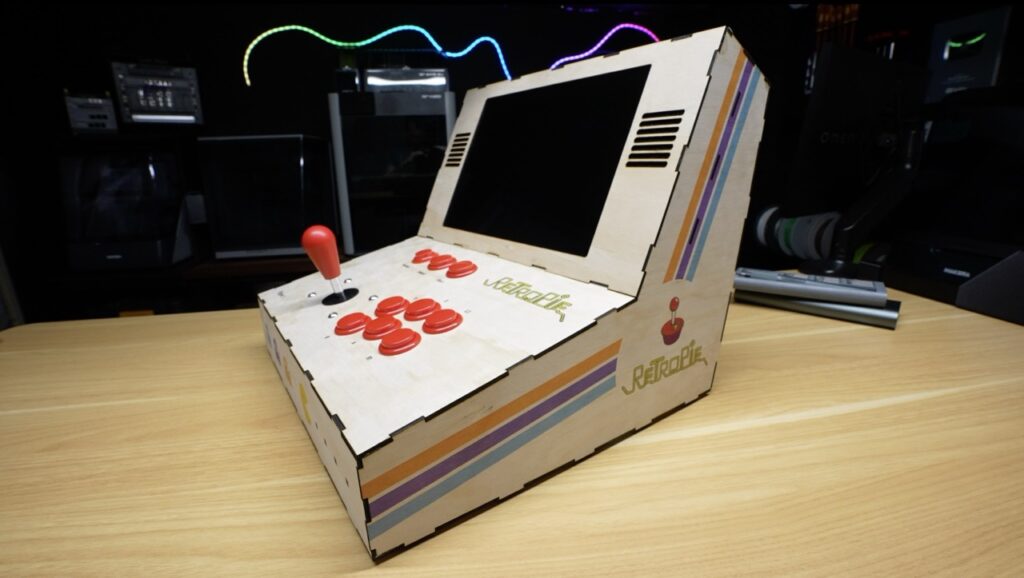
I then added some decals, button labels and a retro pattern to the side panels.

The enclosure itself uses interlocking tabs on each panel which automatically align all of the parts during assembly to make the whole cabinet easier to build.
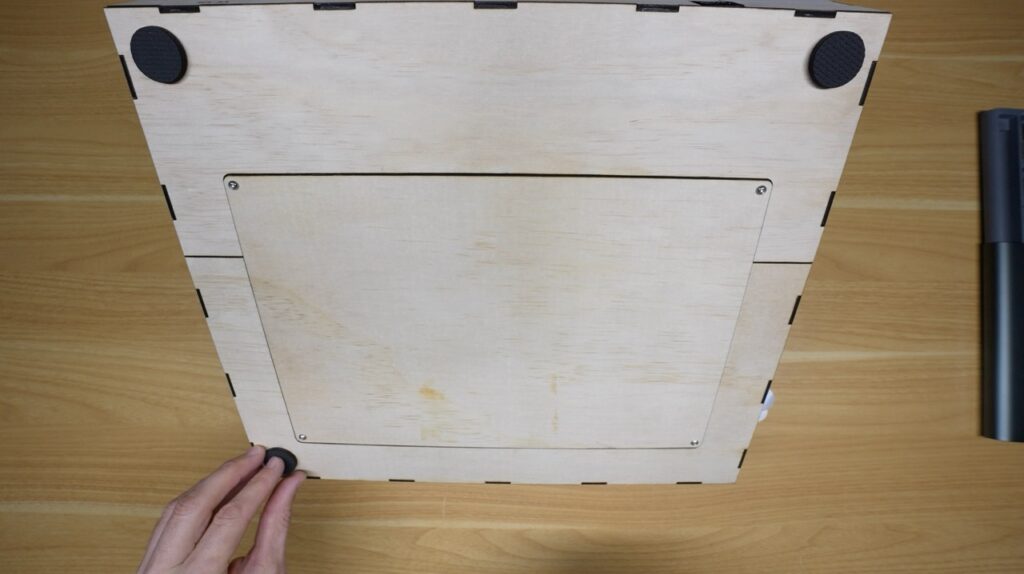
I also designed removable access panels for the back and underside. So if I ever need to replace a component, troubleshoot something or upgrade the hardware later on, I don’t have to take the whole cabinet apart.
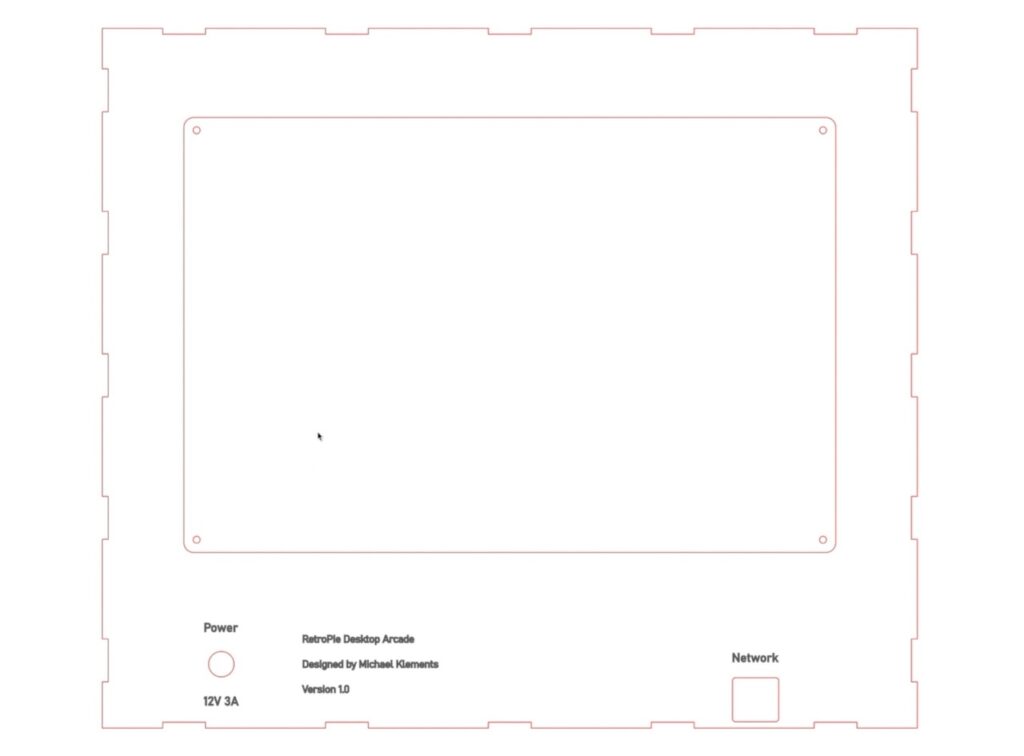
Making Up The Enclosure Components
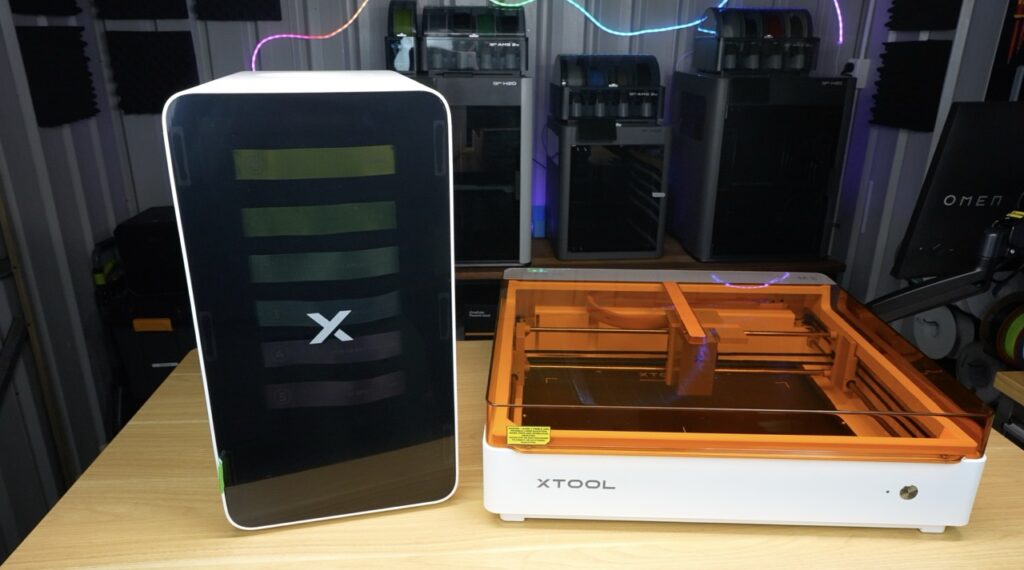
To make up the enclosure parts, I’m using the xTool M2. One of the things I really like about this machine is that it can both print onto and laser cut materials.
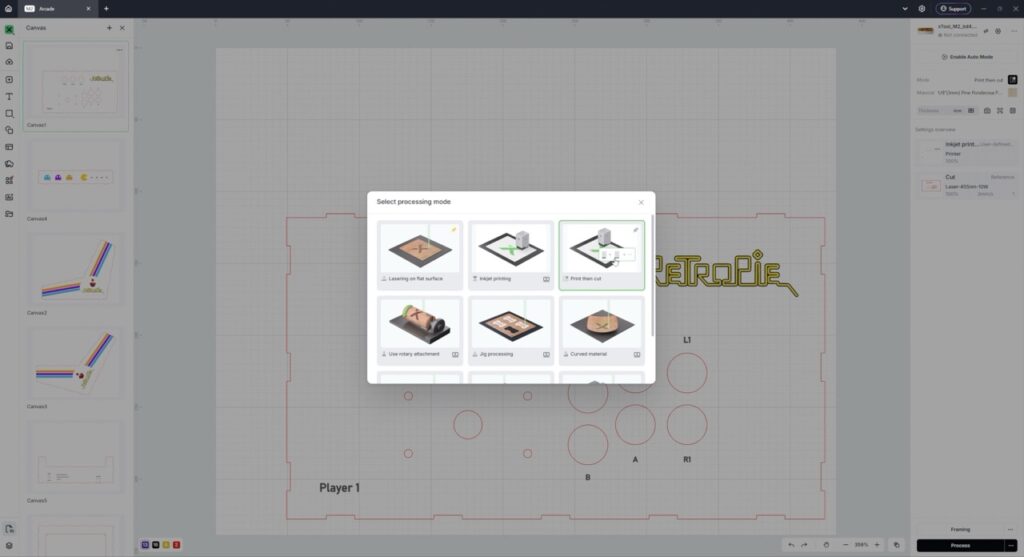
So I can print the graphics directly onto the plywood first, then swap over to the laser head, and then cut every part out using the same machine. Everything lines up perfectly because the material never has to move.
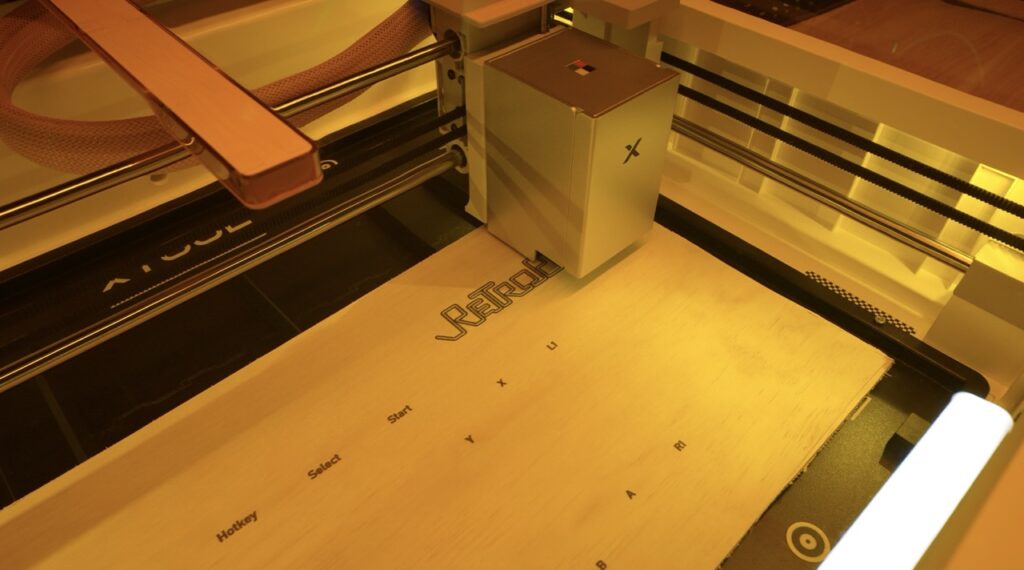
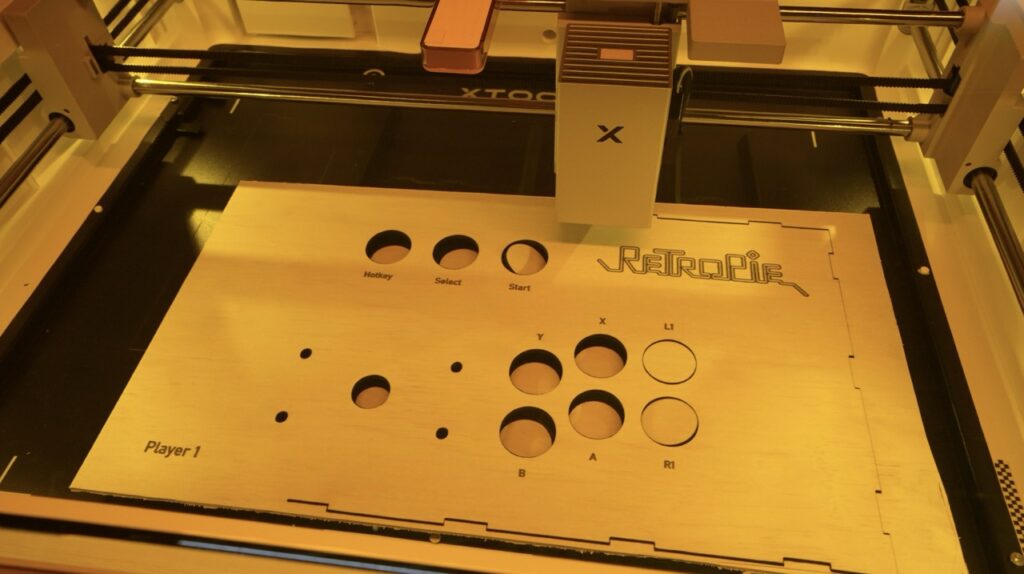
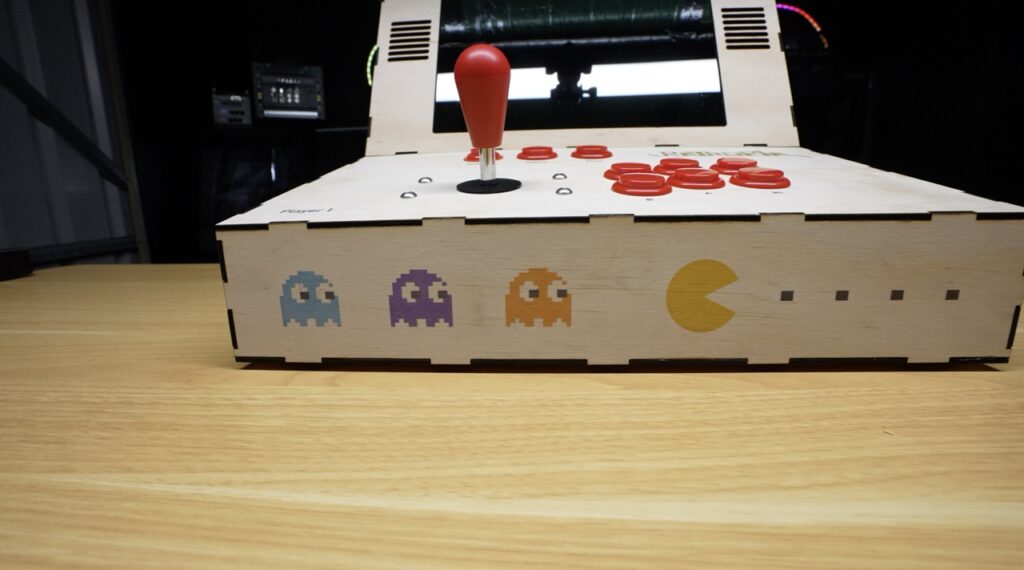
The side panels came out really well and I love the Pac-Man graphics on the front panel.
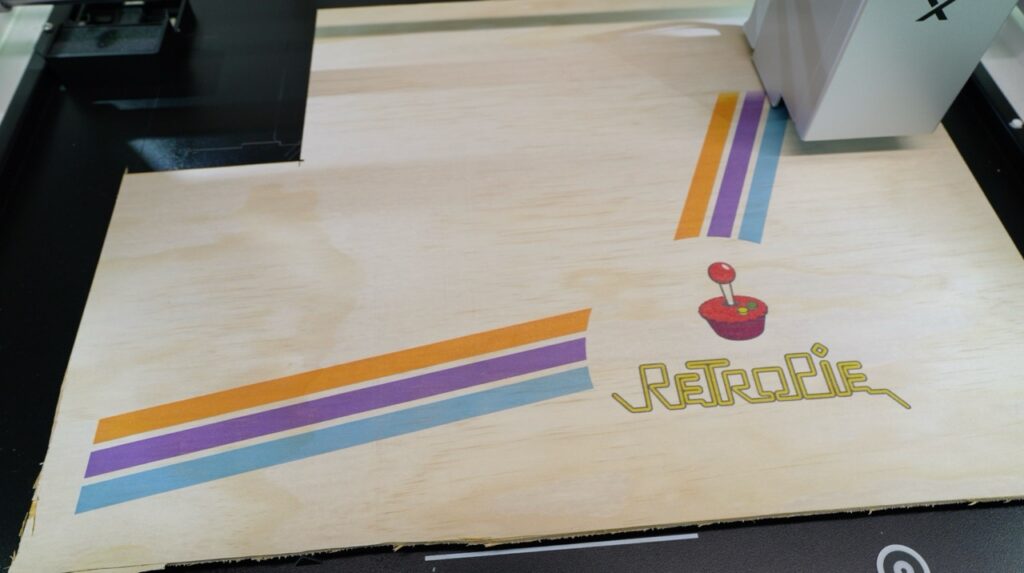
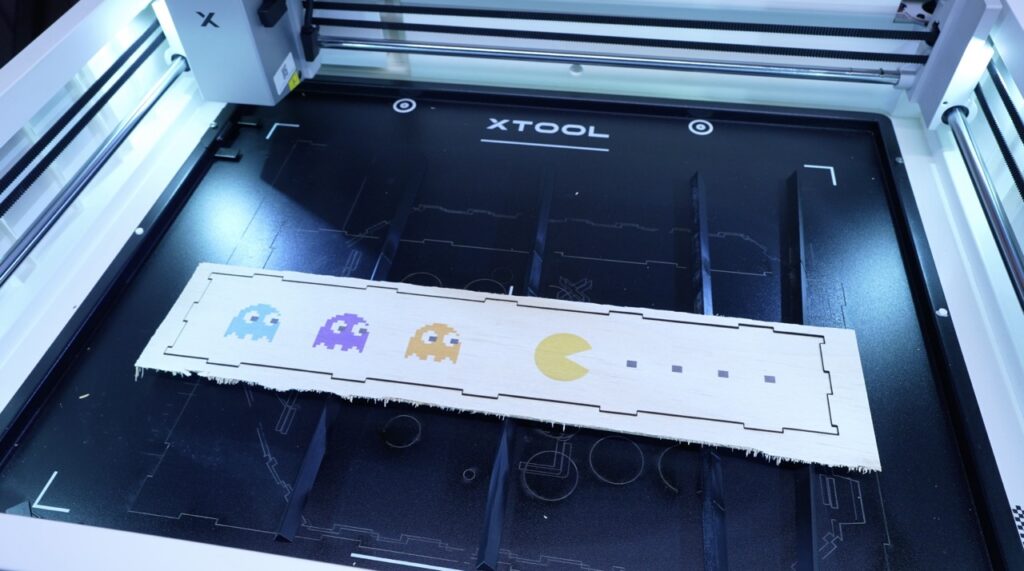
After an evening of printing and laser cutting, the panels are all complete and ready for assembly.
Assembling The Arcade Cabinet
Assembly is pretty straightforward and I used some basic wood glue for all of the joints.
The interlocking tabs line everything up, so we can add some wood glue to the edges, slot the pieces together and then hold them together with masking tape until the glue is dry.
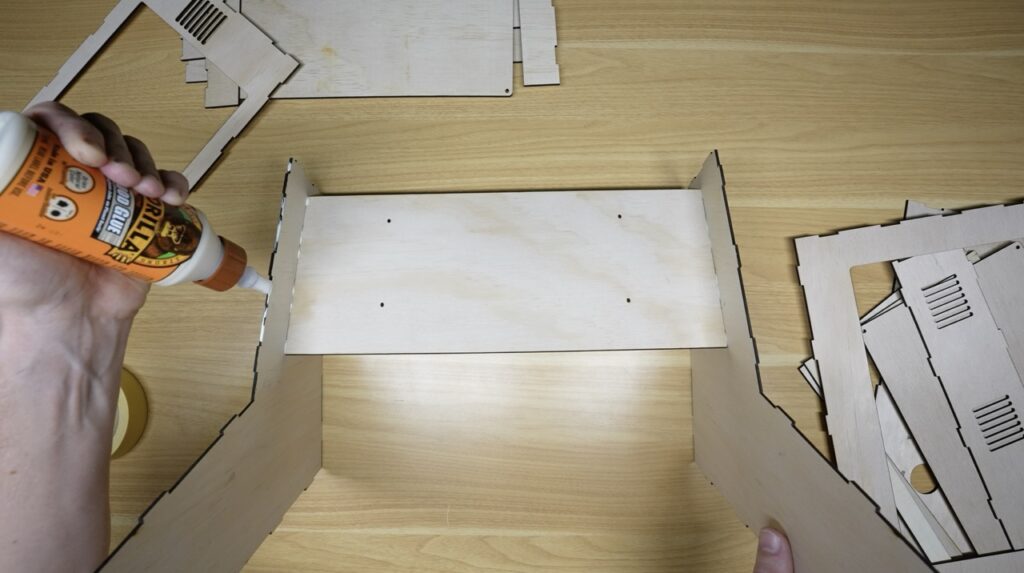
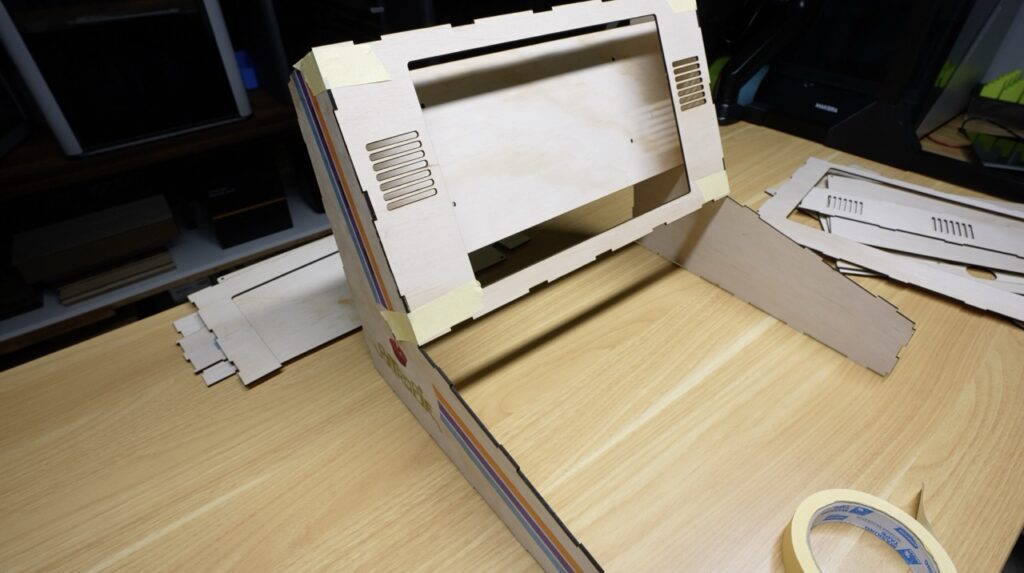
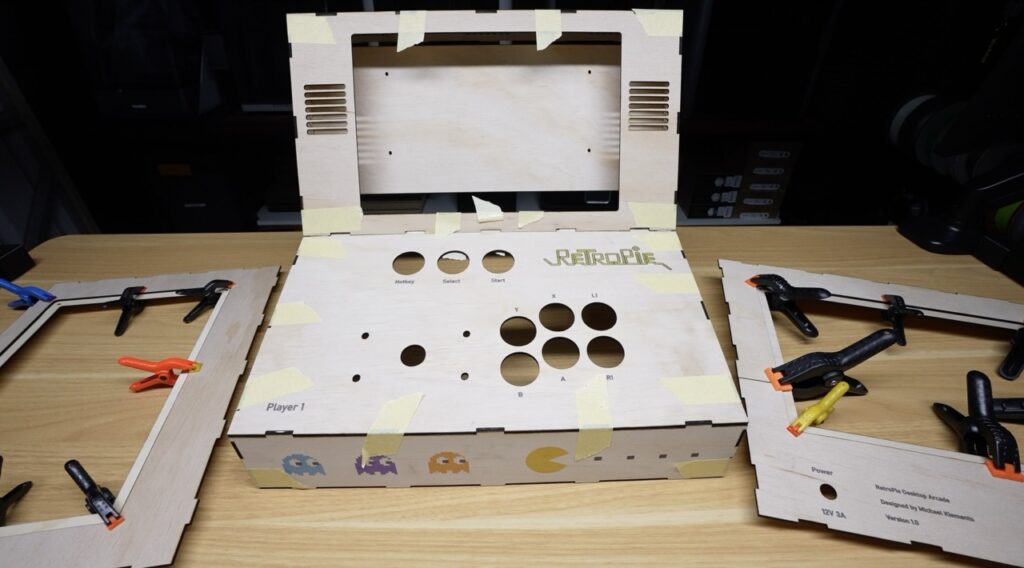
As with most of my flat pattern 2D designs, it didn’t all work out perfectly on the first go. I switched the back and bottom panels around when making the port cutouts and labels so the Ethernet and power port were underneath the console. So I had to remake the one small panel for the bottom and print and make the cutouts on the back panel.
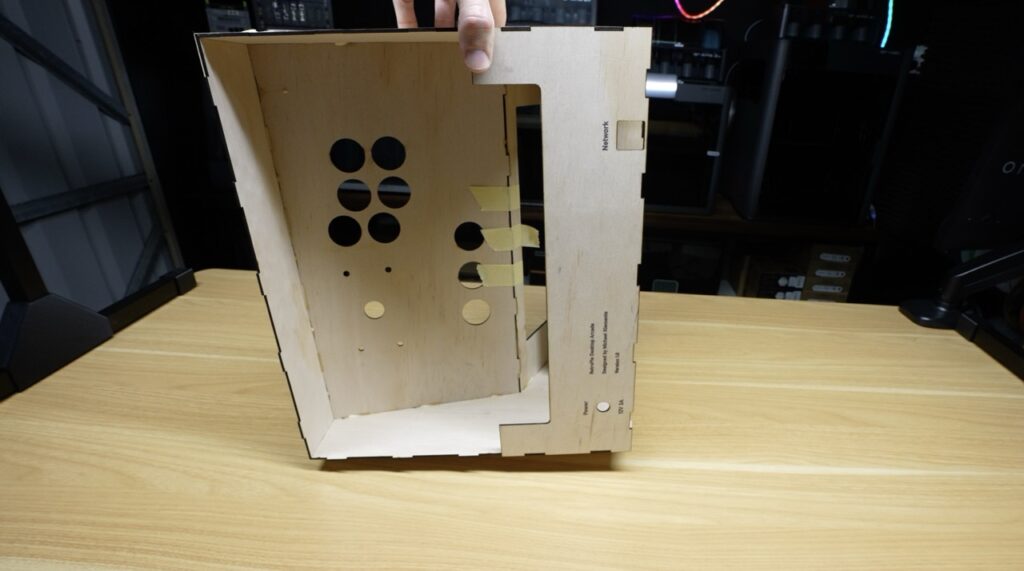
With the enclosure finished, now we can start installing all of the hardware.
Let’s start with the speakers, which I stuck into place on the inside with some double-sided tape. Mine plug into the Pi’s USB port, but if you’re using the speakers that came with your display, then these plug into the small white port at the top of the display’s PCB.
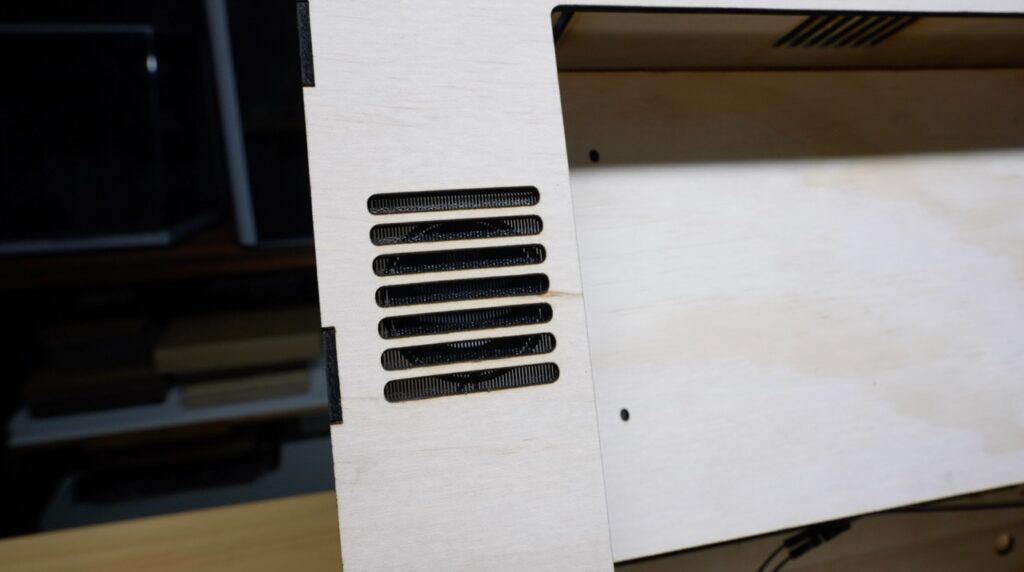
The joystick is secured with four M5x10mm screws and M5 nuts through the control panel surface. The buttons are pushed in through the top surface and clip into place using their own built-in retaining clips.
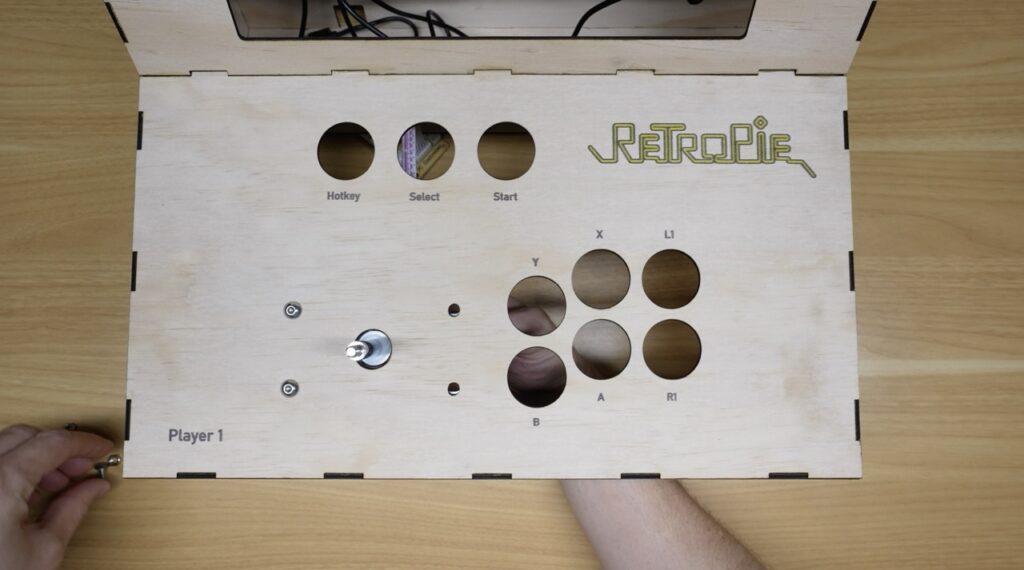
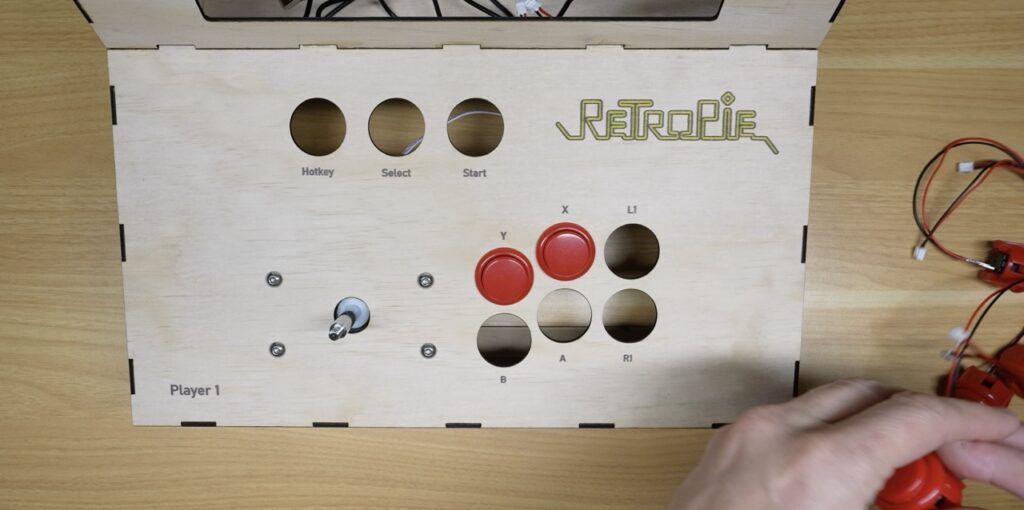
For some reason, the hotkey is a smaller button, which I only noticed when I tried to install it. So I had to make a little adaptor to hold it in place too. I’ve corrected this in the design file, check what size your buttons are before you cut your panels out.
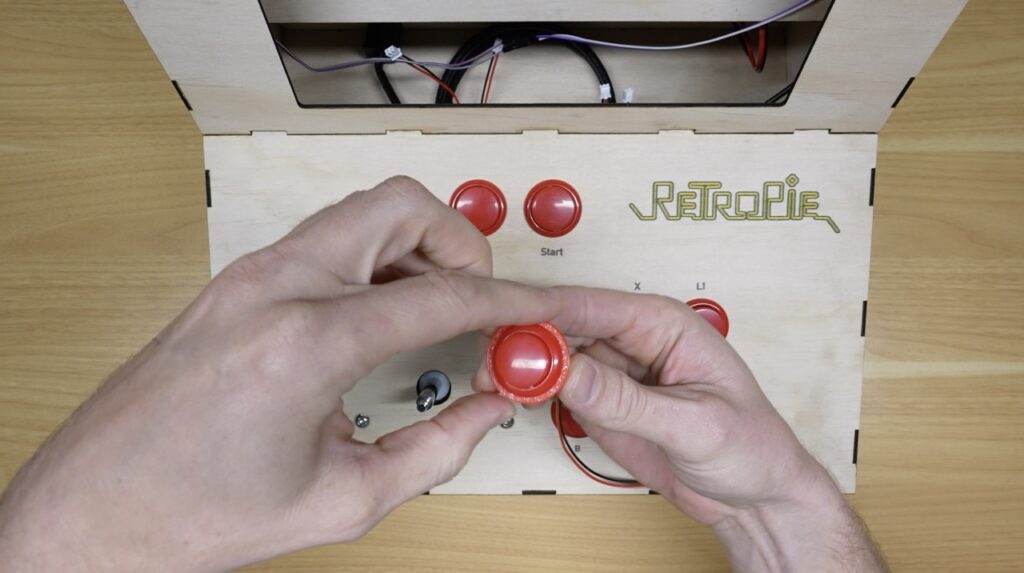
Plug the buttons into the joystick control board. If you’re using the same one that I did, plug them into the bottom row of ports, as the top row is reserved for special functions. RetroPie allows you to remap all of them to specific controls, so it doesn’t matter which button is plugged into which port.
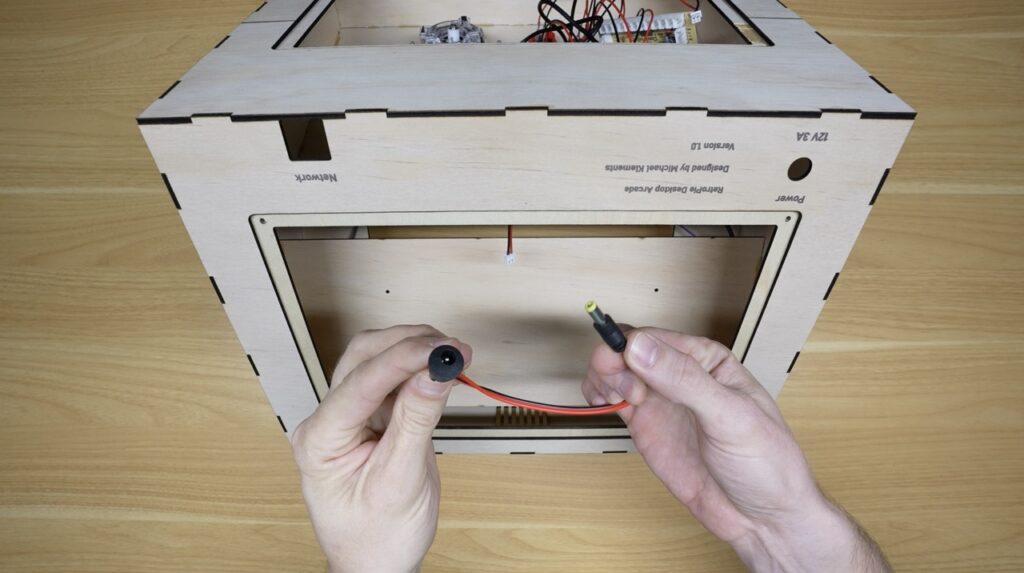
To make powering the system easier, I built a short extension cable from the display’s power connector out to the rear of the enclosure. So the whole arcade will get power from a single connector on the back. I made mine up using spare parts that I had lying around my workshop, but I’ve left a link to a similar pre-made version that you can use as an alternative.
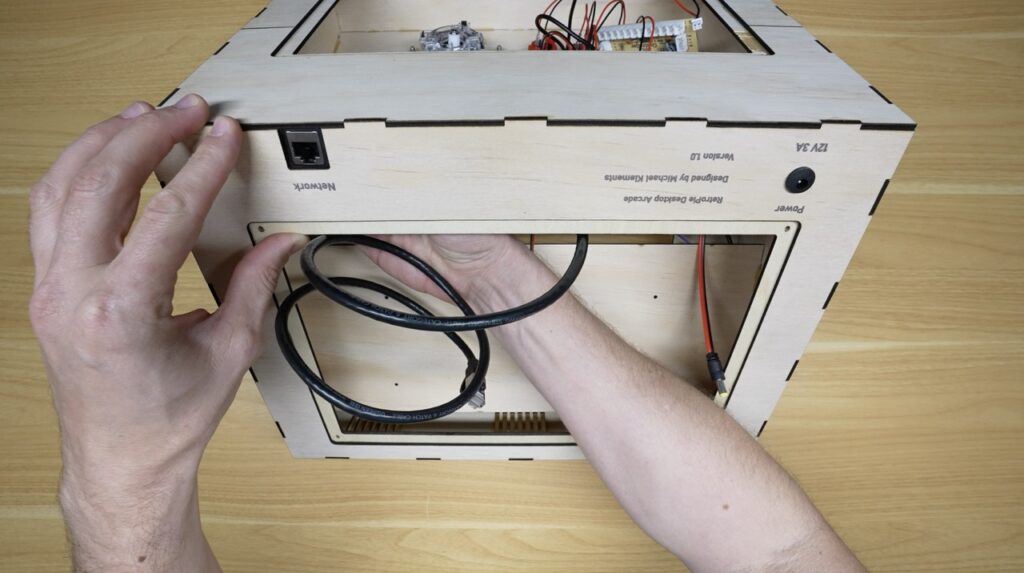
I also added an Ethernet extension because having a network connection on the back makes it much quicker to copy ROMs and update the system whenever I need to. I glued this into place with some hot glue.
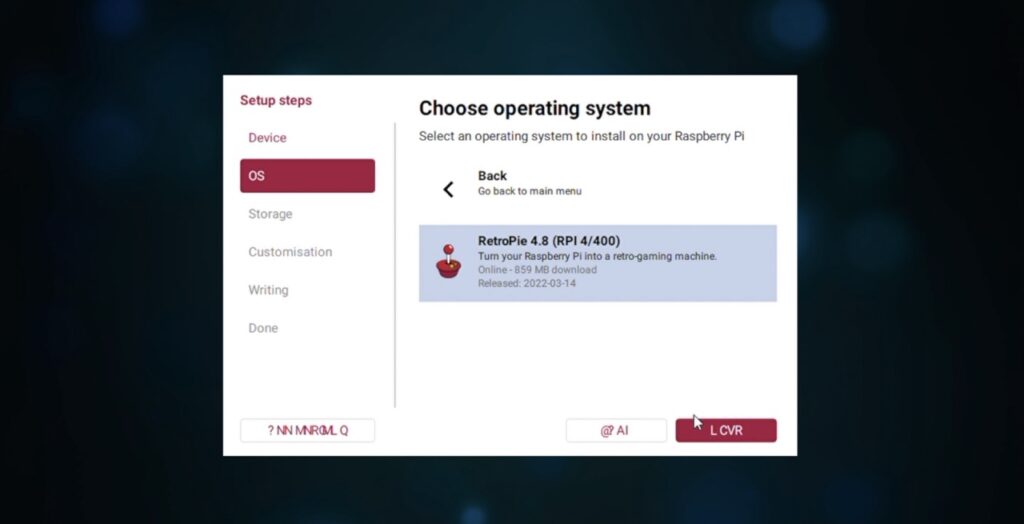
Next, I flashed RetroPie to a microSD card using Raspberry Pi Imager.
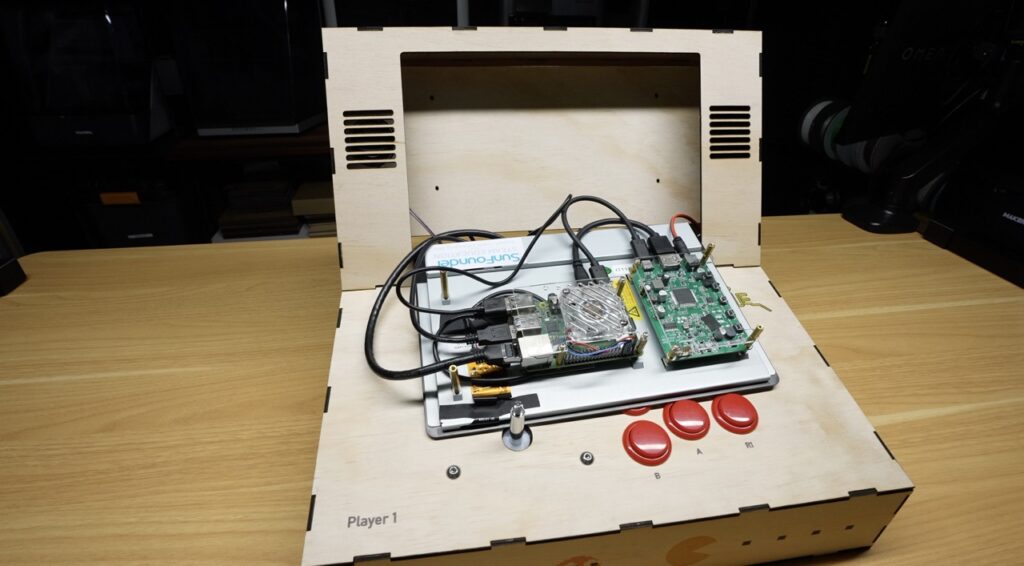
We can then put the card into the Pi, and the display assembly then mounts onto an internal support bracket which positions it the right distance behind the front opening. This is held in place with some M2.5 screws that were supplied with the display. Remember to plug all of the USB devices into your Pi before mounting it, as you won’t be able to do so after it’s mounted. If you want to use a wireless controller or mouse and keyboard, plug the dongle into the Pi at this stage too.
Lastly, close up the cover panels with M3 screws, four for each cover, and then stick four rubber feet onto the bottom, one in each corner.
First Boot and Arcade Setup
That’s the arcade complete. Plug in a power cable, and you can then boot it up. The first boot might take a little longer than subsequent ones but it should boot up to the RetroPie home screen.
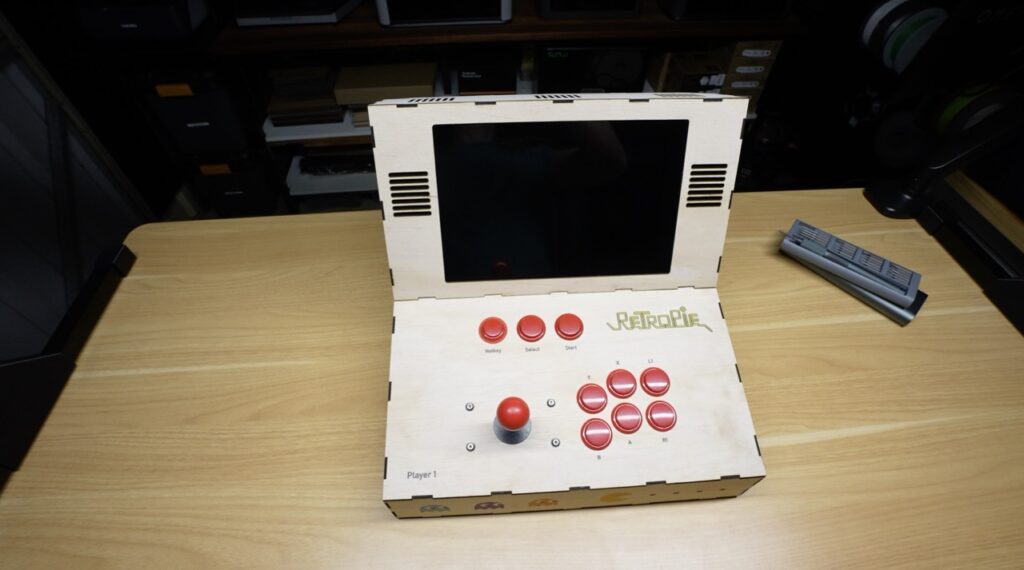
The joystick and controls also need to be mapped to the correct functions in RetroPie. You can do this through the input configuration option in the settings menu.
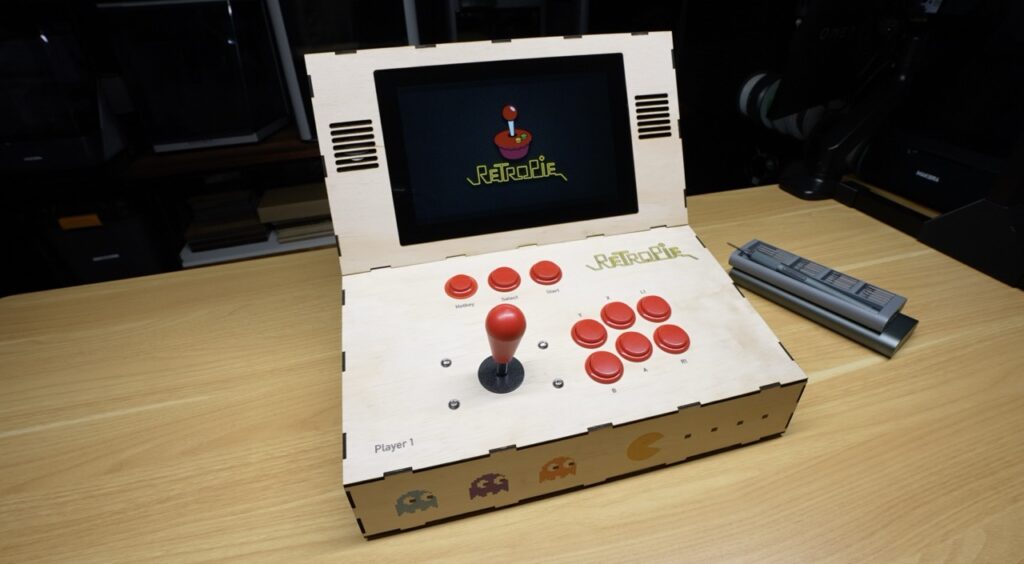
You can then install your ROMs. There are a few ways to do this, the easiest two are to copy them over to your Pi using the network connection (like a NAS) or plug in a flash drive with the ROMs loaded into the correct folders. Also, make sure you only use ROMs you’re legally allowed to use and comply with the copyright laws in your country.
Final Thoughts On The RetroPie Arcade
I now have a fully self-contained desktop arcade machine that doesn’t take up much more space than a computer. It can run a huge number of classic arcade and console games and because it’s based on a Raspberry Pi, it’s also easy to customise, repair and upgrade in the future.
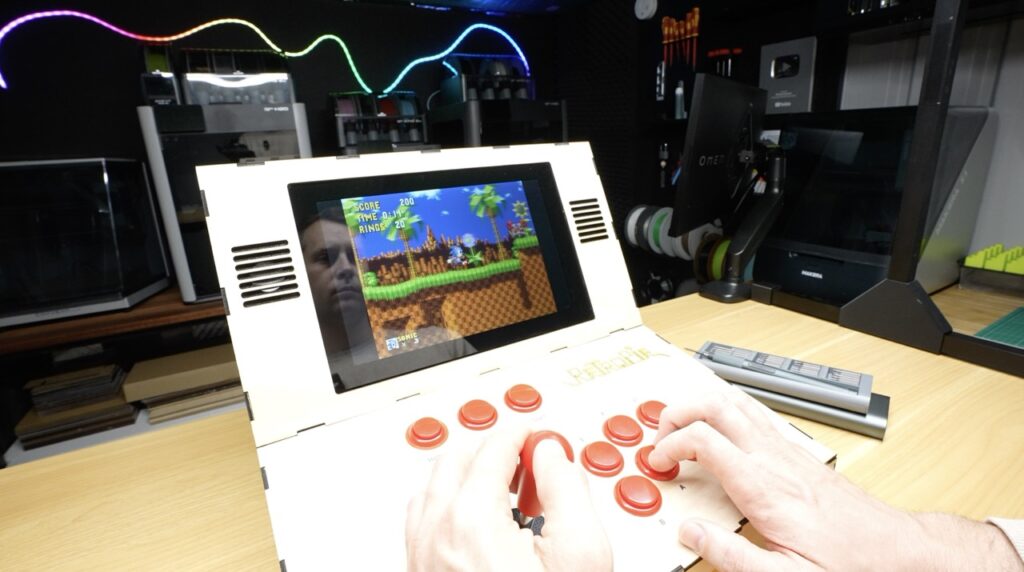
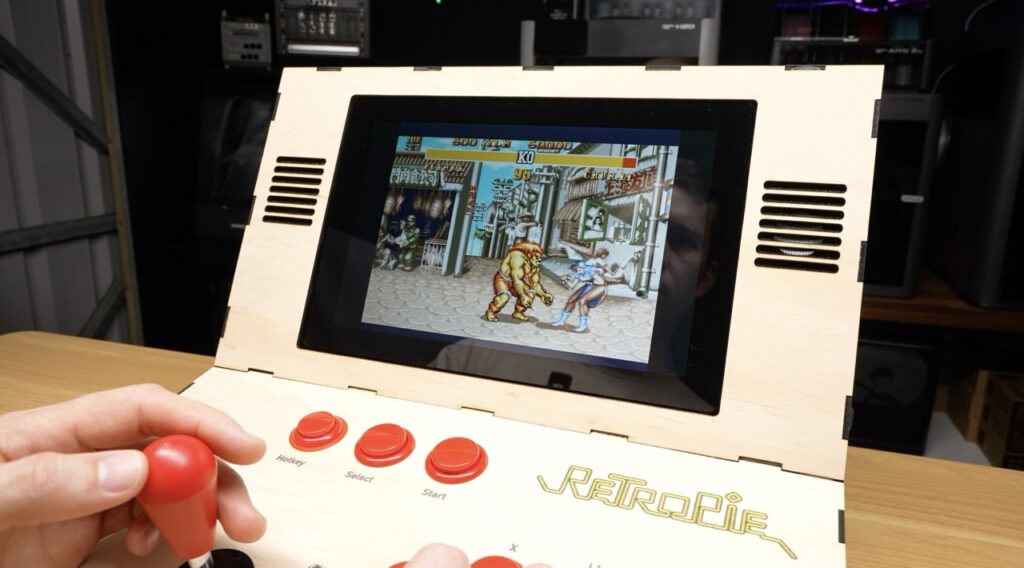
I’m really happy with how this project turned out. It’s compact but still has a nostalgic arcade feel to play.
If you’d like to build a similar arcade, I recommend looking at the xTool M2, it’s a great machine for making up custom laser-cut parts and you can print directly onto the parts too. The SafetyPro AP2 air purifier also makes it easy to work in a small workshop without having to worry about venting the laser out of a window. The print and cut workflow on the M2 really steps laser-cut projects up to the next level.
Hi Michael,
exactly what I was searching for my kids. I want them to play the games I played with, when I was in their age. Thank your for this overview.
Greetings from Germany,
Flo