If you ask any good Real Estate Agent, they’ll tell you that an empty house is much harder to sell or rent out than a furnished one. Virtual staging is becoming a popular tool for the real estate industry and private sellers/renters due to its ease of use and attractive pricing with potential for significant returns. The International Association of Home Staging Professionals carried out a survey which showed that, on average, a staged home sold for 17% more than a non-staged home and often sold more quickly too.
So let’s have a look at what it is and how you can use it to your advantage.
What Is Virtual Staging?
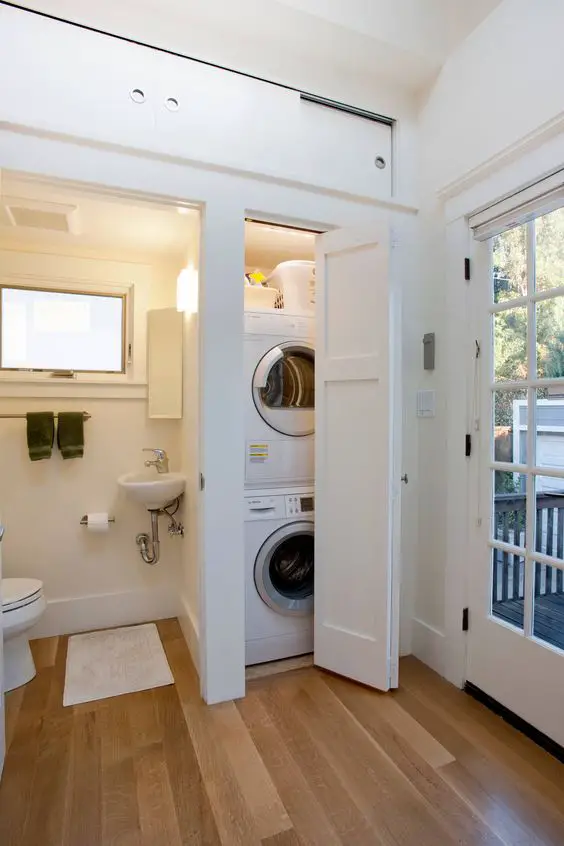
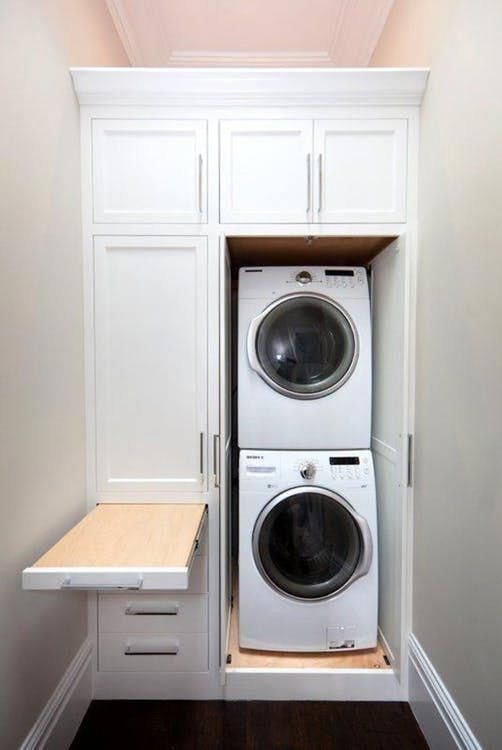
Let’s start a couple of years ago. Real Estate companies quickly realised that well decorated and furnished homes sold for better prices and sold faster than empty ones, and the same was true for rentals. So they put together dedicated teams of home stagers and photographers who’s job it was to decorate and prepare a home for sale. This was an expensive process, involving moving large volumes of furniture, and was quite time consuming. So, naturally, this process was reserved for higher end homes where the expected return was worth the additional cost and effort.
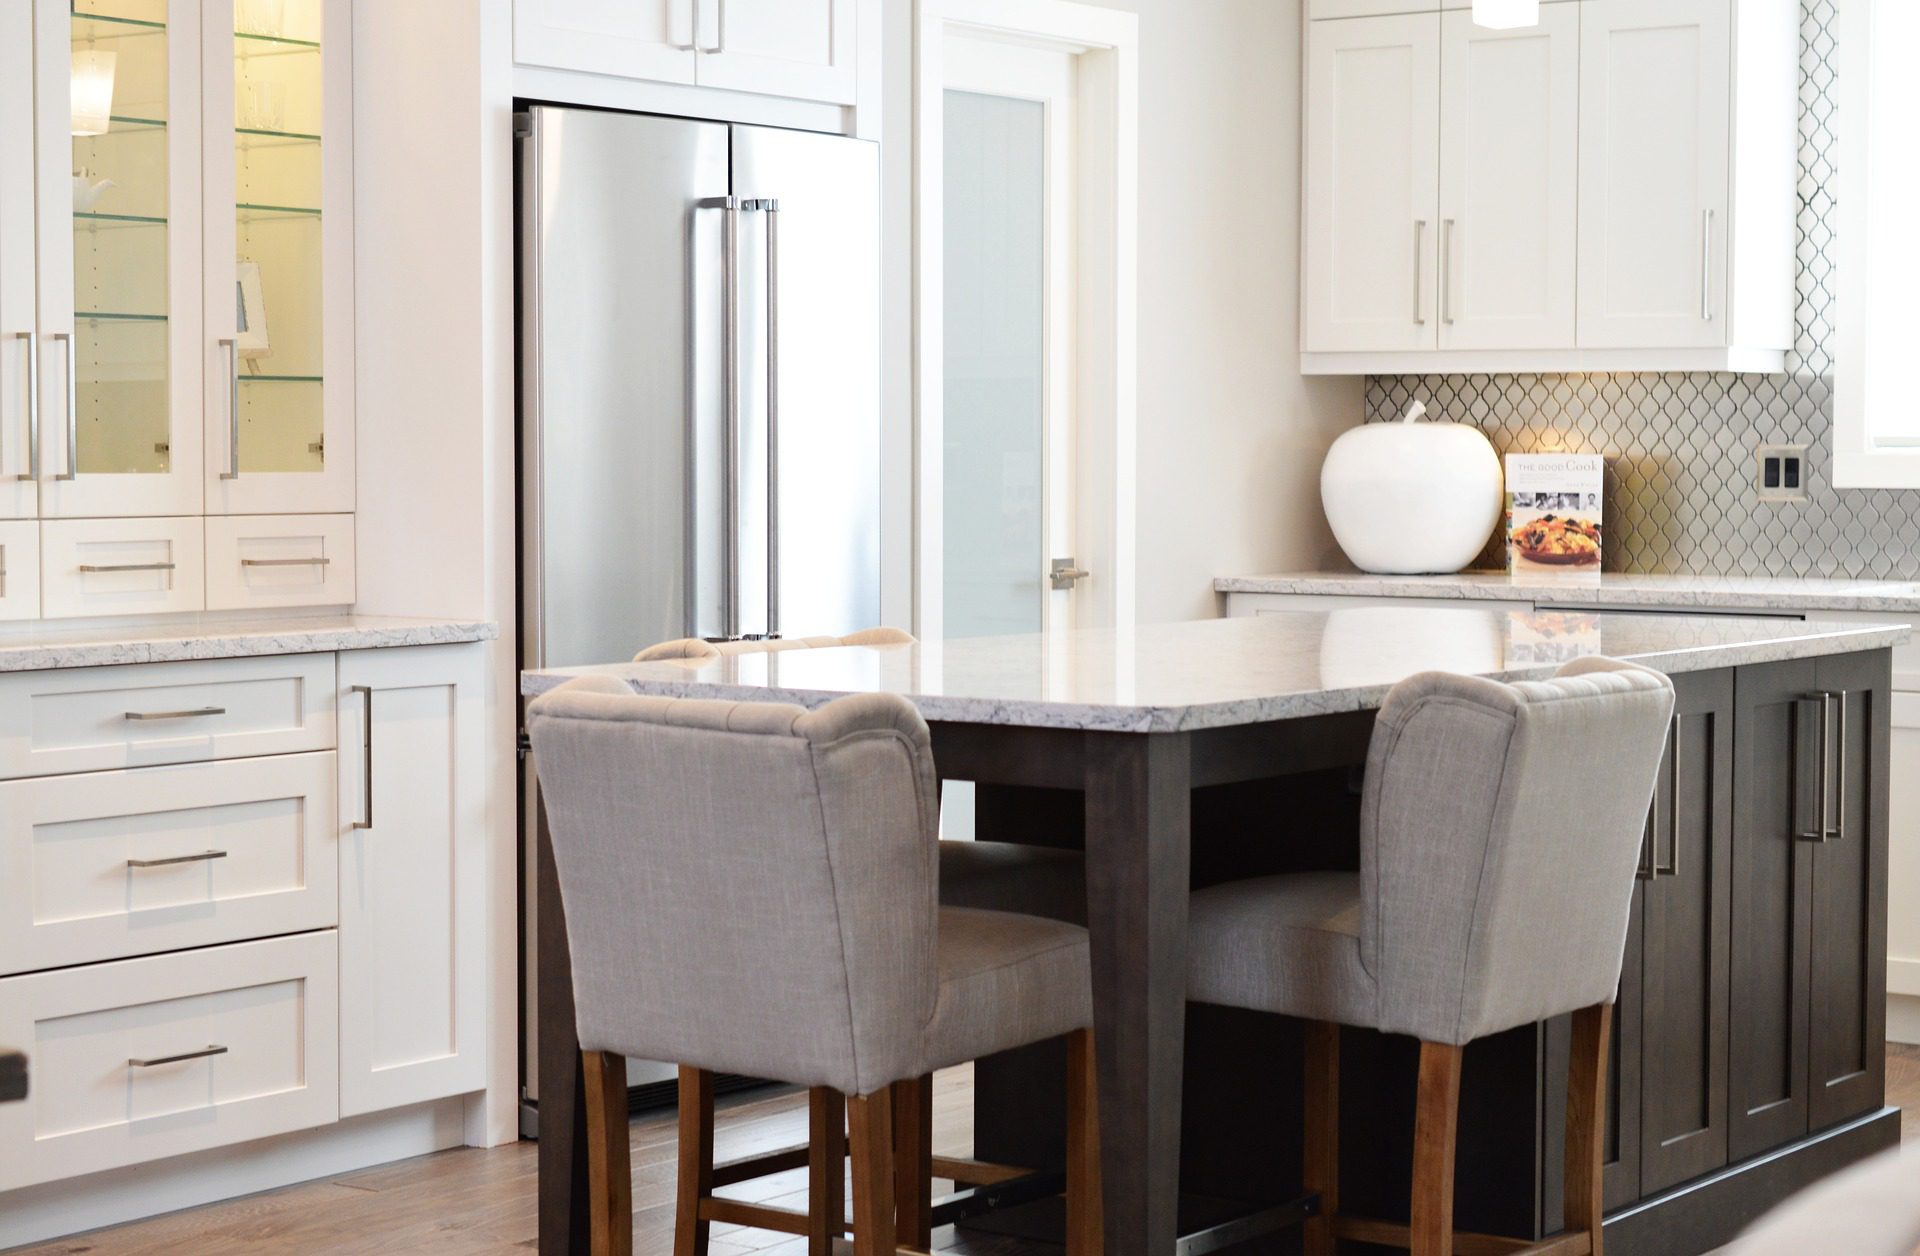
Fast forward to the dawn of apps and the powerful digital processing available on modern mobile devices and we’ve now got the opportunity to stage an empty home digitally, by artificially placing images of furniture and decor into 3D scans or photographs of rooms in our homes. And it’s amazingly affordable! As always, there are a couple of free apps available, but these can be quite limited. Better options include staging onto images which you’ve taken, typically costing around $20-$50 per room, and professional photographs, 3D scans and staging which can cost around $70-$150 per room. This may seem expensive, but it is substantially cheaper than physical staging. And, considering that you could increase your home’s value by 17%, the returns would far outweigh these staging costs. Even for entry level homes.
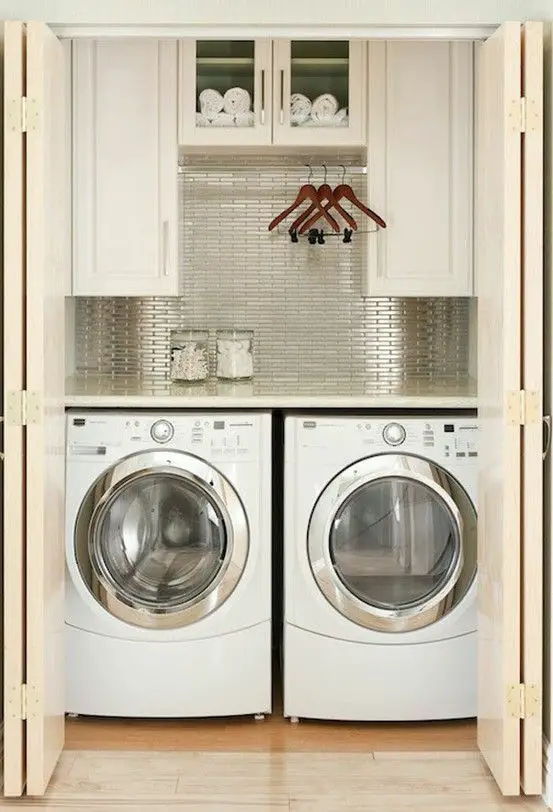
If you’re thinking about selling your home soon, here are some critical upgrades to make to your home before selling to ensure that you get the best return.
How Can You Use Virtual Staging When Selling Or Renting Your Home?
There are a couple of options available, depending on your budget and time allowance.
The quickest and cheapest would be through an app. There are a number of home design and home staging apps available for free or small fees, such as Design Home. These offer various levels of home staging tools and guidance, but you’ll essentially do all of the work yourself and you’ll have the most control over the final product. Provided of course that the app gives you enough options for furniture and decor. Some of the free and cheaper ones offer quite limited image databases.
If you’ve got a higher budget, you could make use of professional staging services, like that from Box Brownie. You take photos of your empty rooms and send the photos through to them to virtually stage. This service typically costs around $20-$50 per room (depending on the company and level of service required) and usually takes two to five days to complete.
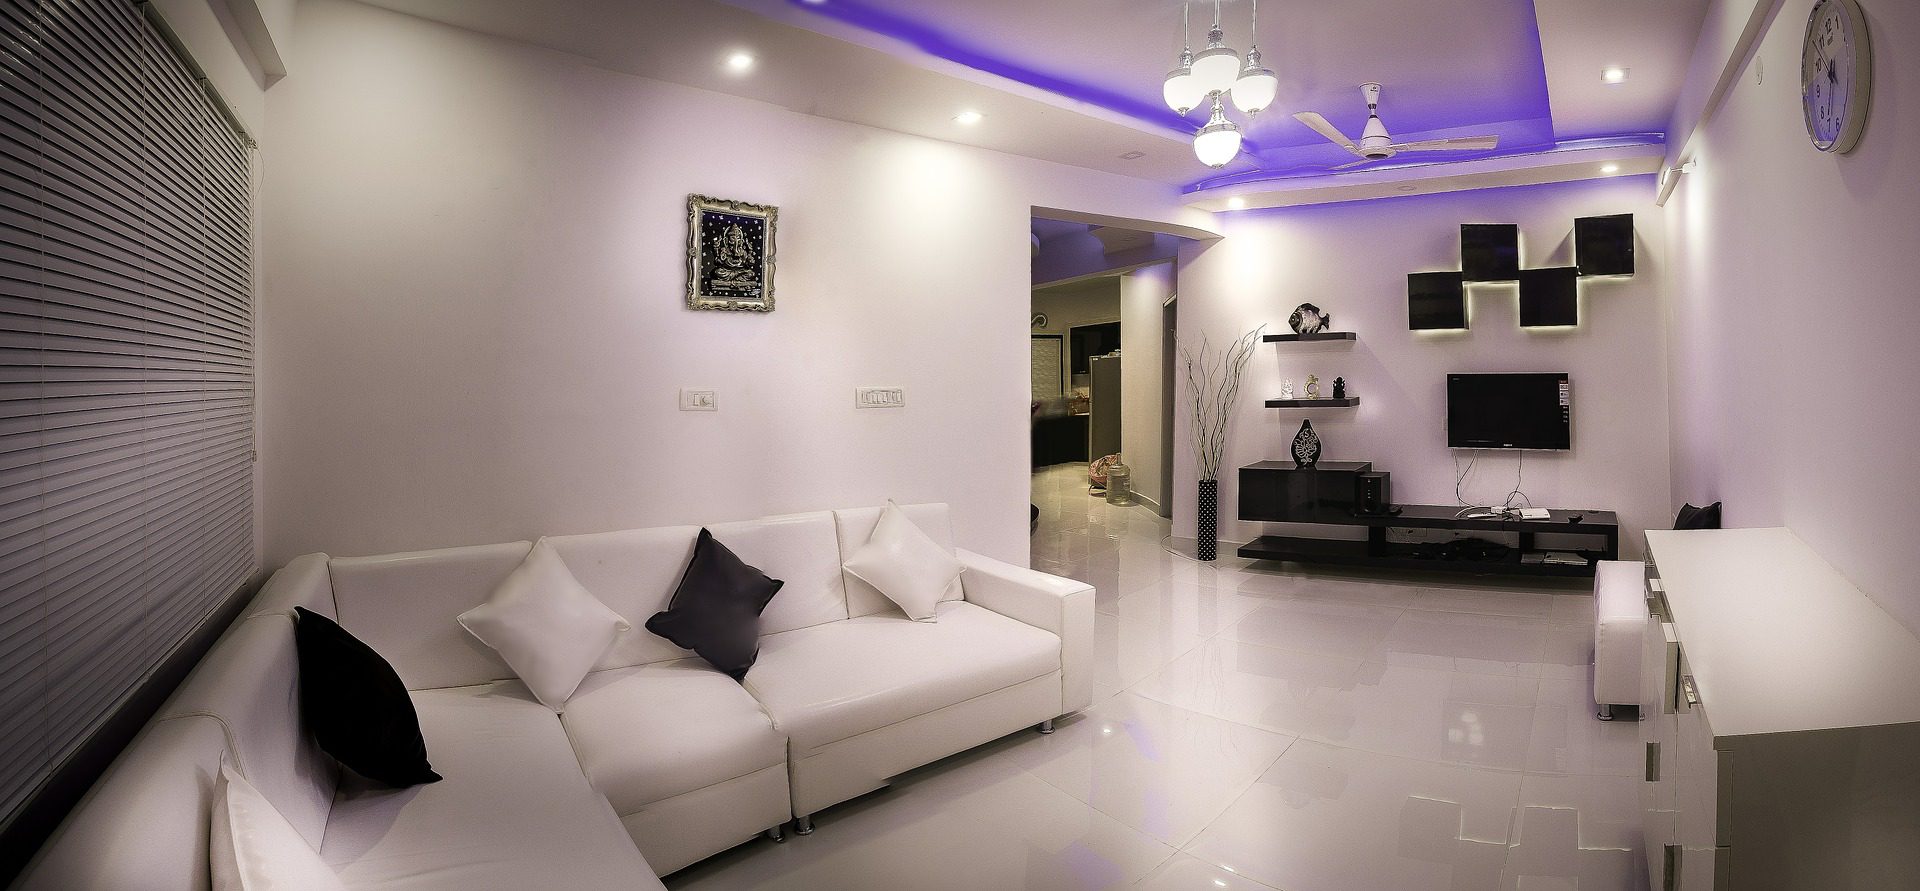
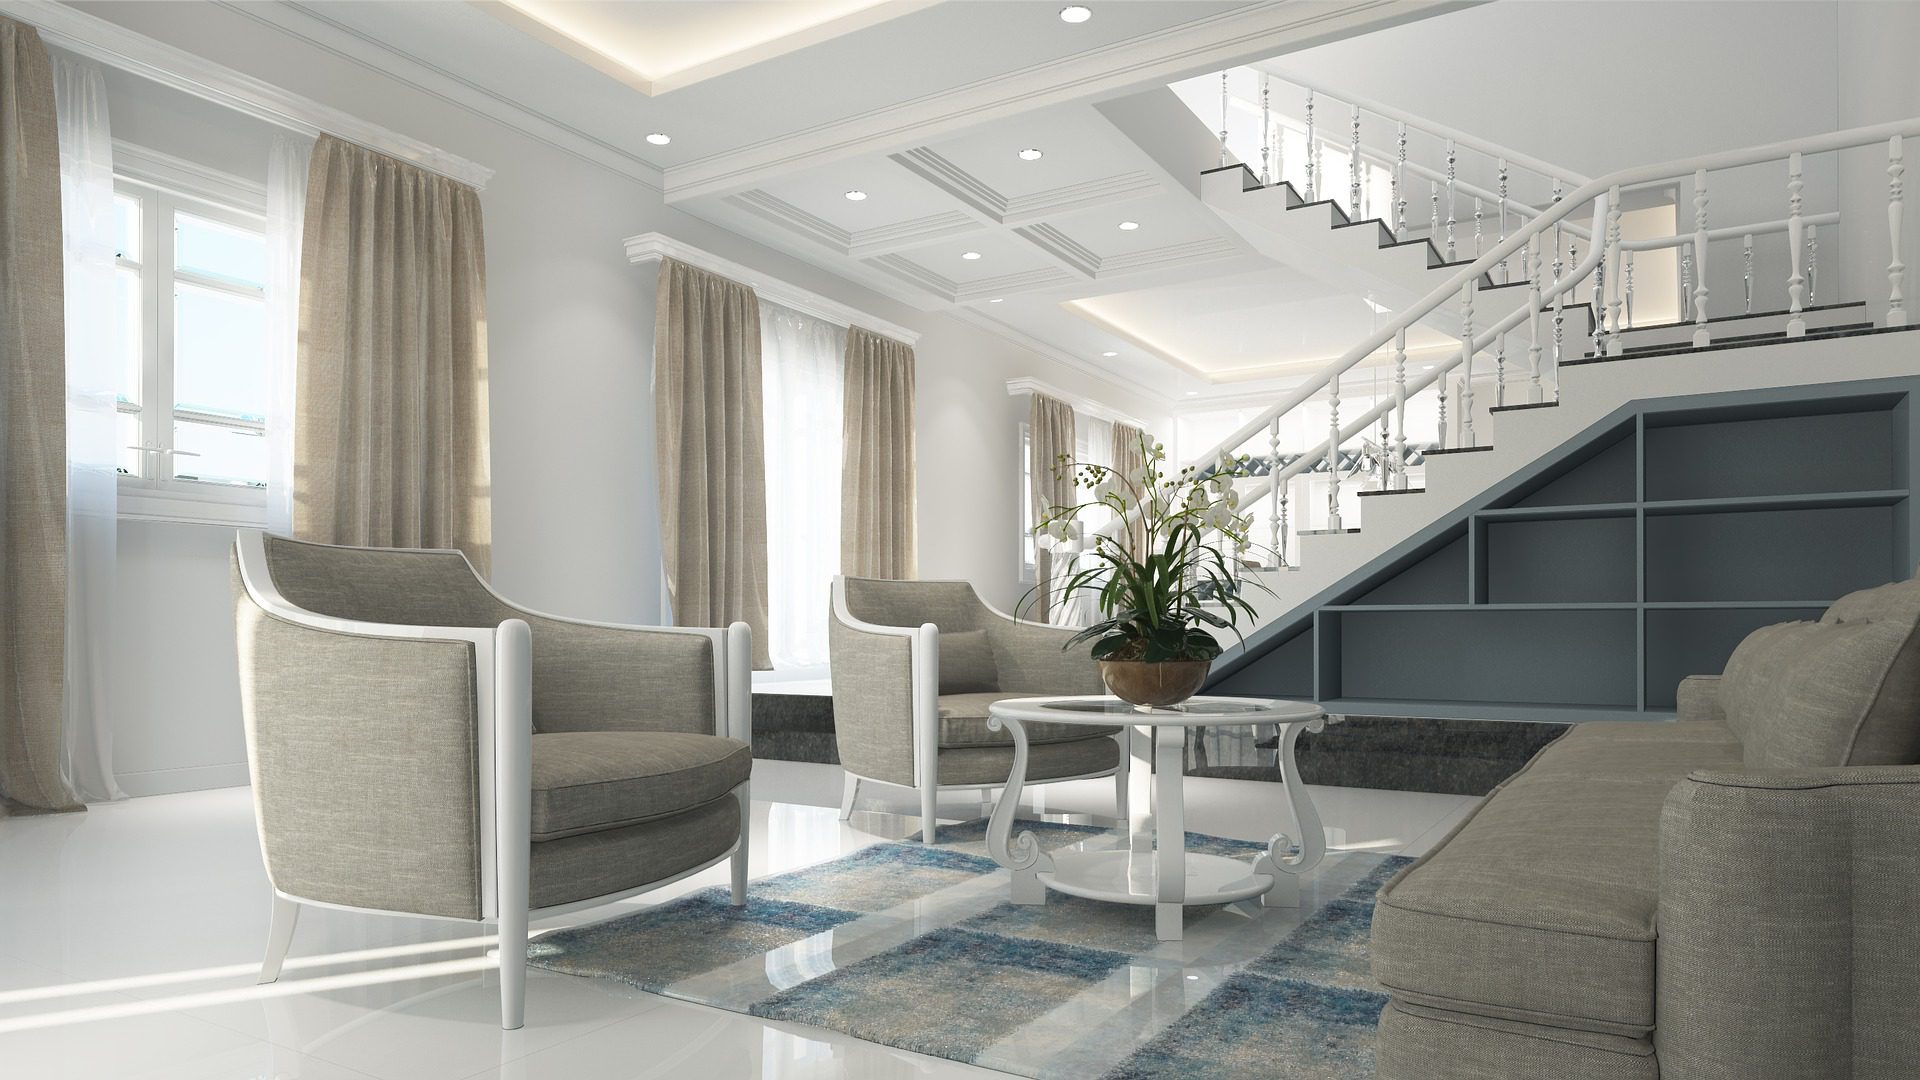
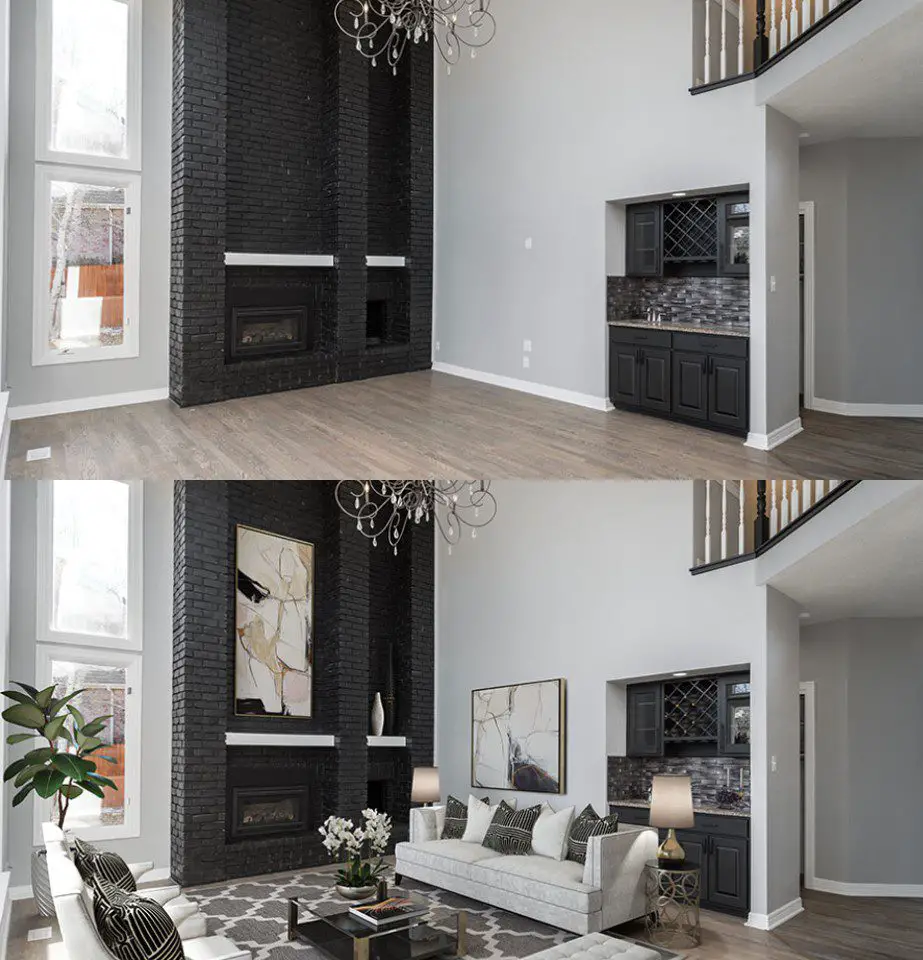
The results are fantastic, have a look at these examples from Box Brownie:

The last and most expensive option is to make use of a professional service which would send their own crew to your home and take their own photographs and 3D scans of each room. These services typically produce a 3D virtual tour of the home which can be viewed online through a browser or even with Virtual Reality goggles. These are great for very high end homes which are typically on the market for much longer periods of time.
Is It Legal?
There is some debate around the legality of virtual staging, with people accusing Real Estate Agents of misrepresentation and intentionally misleading buyers. As with most technology, there are always people who take it too far.
The key takeaways of these debates are:
- Virtual staging is a great tool, but it should be limited to the addition of furniture and decor. The scans or images should not be digitally enhanced to remove or cover up flaws in the property, such as cracks in walls, discolouration or staining, marks on carpets etc.
- Virtual staging should never be used to remove or alter permanent fixtures such as light fixtures, outlets or light switches, or to cover up power lines and cables.
- Where marks or cracks are covered by furniture, it’s a good idea to make the unedited image available as well so that any potential defects are clearly conveyed to the potential buyer.
- All of the images which have been virtual stages should be clearly stated as such to the potential buyer or renter.
- It’s a good idea to include a set of unaltered/unstaged images in the set as well, this will give potential buyers a clear understanding of the current condition of the home.
Have you tried home staging or virtual staging? Let us know in the comments section below.