


Cloud storage is really convenient. Your photos automatically back themselves up, your files are available everywhere, and all of your movies and TV shows are ready to stream whenever you want them. But the problem is that all of this comes with a monthly subscription, which only ever gets more expensive.
So I want to see how much of that I can replace with a tiny, cheap and low-power mini PC that I’m going to turn it into my own private home server. It’ll automatically back up and organise my photos, give me my own private cloud storage, and stream my entire media library to TVs and devices around my house.
Unlike a more traditional NAS or server, the goal here is to make this cheap to build, cheap to run, and simple enough that almost anyone can set one up.
Here’s my video of the build, read on for the write-up:
Buy The Hardware To Build Your Own Cheap Home Server
GMKtec Nucbox G5 – Buy Here
500GB SSD – Buy Here
USB to SATA Adaptor (Cheap) – Buy Here
USB to SATA Adaptor (Good Quality) – Buy Here
Beelink ME Mini – Buy Here
Zimaboard 2 – Buy Here
Tools & Equipment Used
USB C Pencil Screwdriver – Buy Here
Some of the above parts are affiliate links. By purchasing products through the above links, you’ll be supporting this channel, at no additional cost to you.
Hardware Options For The Server
There are loads of ways you could build something like this, but I’ve narrowed it down to three options that I think are reasonably good for this type of project.
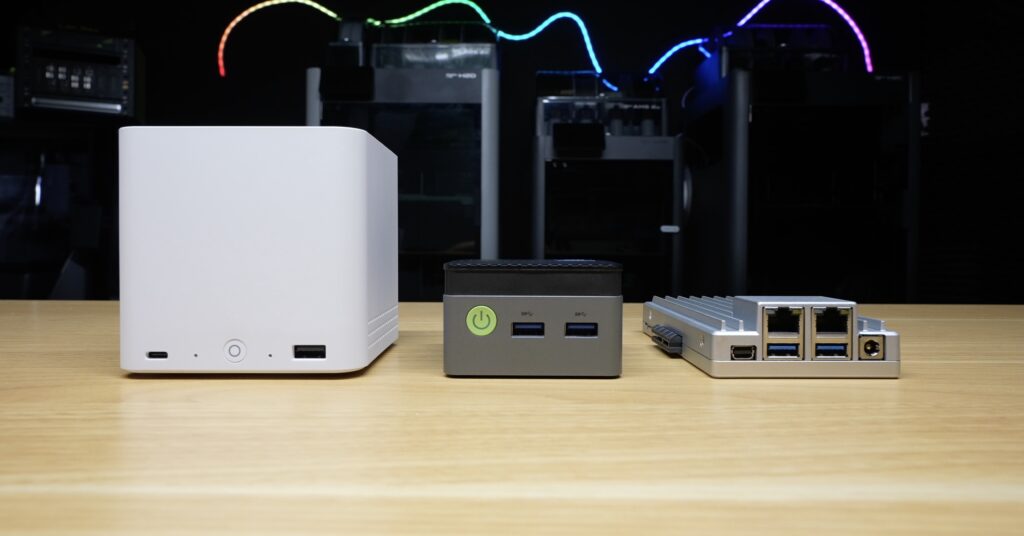
Option 1 – GMKtec Nucbox G5
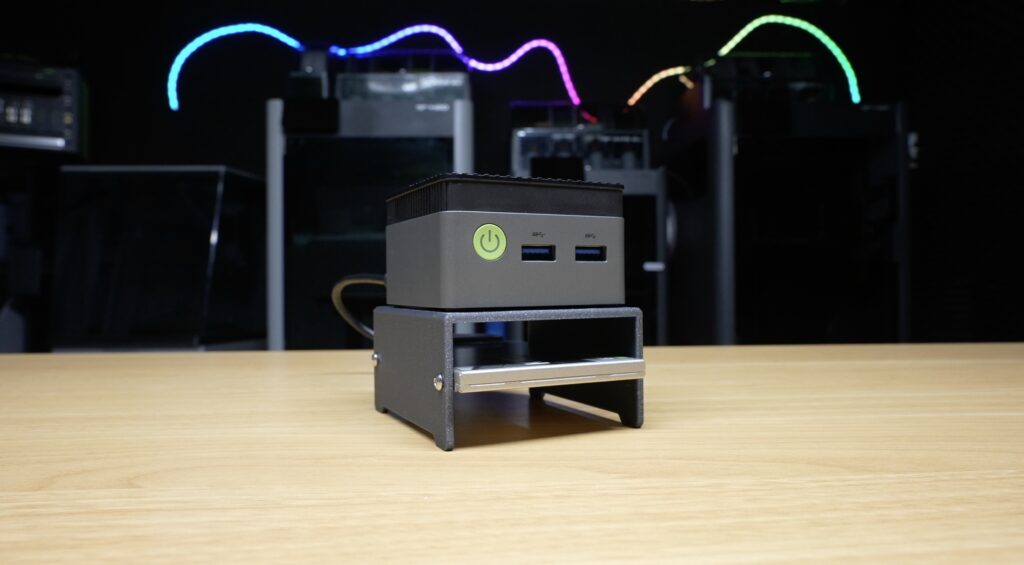
One of cheapest options is something like this GMKtec NucBox G5. This is what I’m going to use for this build.
It’s a mini PC built around an N97 processor. While this isn’t a particularly powerful CPU, for what we’re going to be doing, we don’t really need one. Most of the time our server is going to sit here doing almost nothing. It’s only when someone uploads photos, accesses a file or starts streaming something that it really has any work to do.
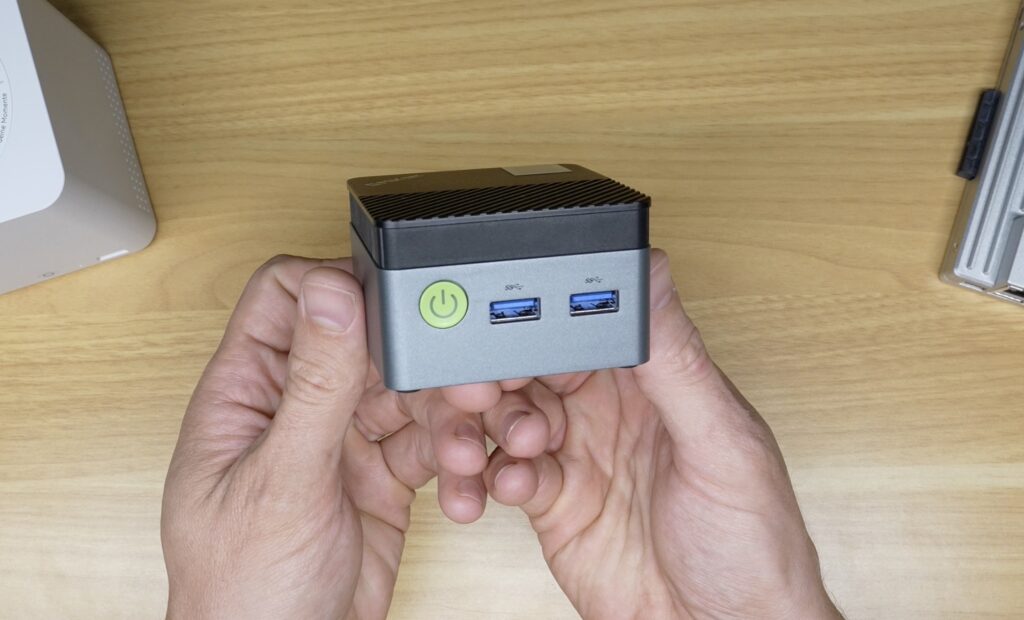
These low-power Intel chips are good for this. They also have integrated Intel graphics, which is useful when we get to Jellyfin because we can use the GPU to hardware accelerate video transcoding rather than using the CPU to do all of the work.
The biggest limitation with a little mini PC like this is storage, this one in particular doesn’t have any additional storage ports. But fortunately, that’s quite easy to solve. For this build I’ve got a 500GB Kioxia SSD, which I’m connecting over USB. 500GB obviously isn’t a huge amount of storage, but it’s good enough for a basic build and you can connect a larger drive if you have a significant media library.
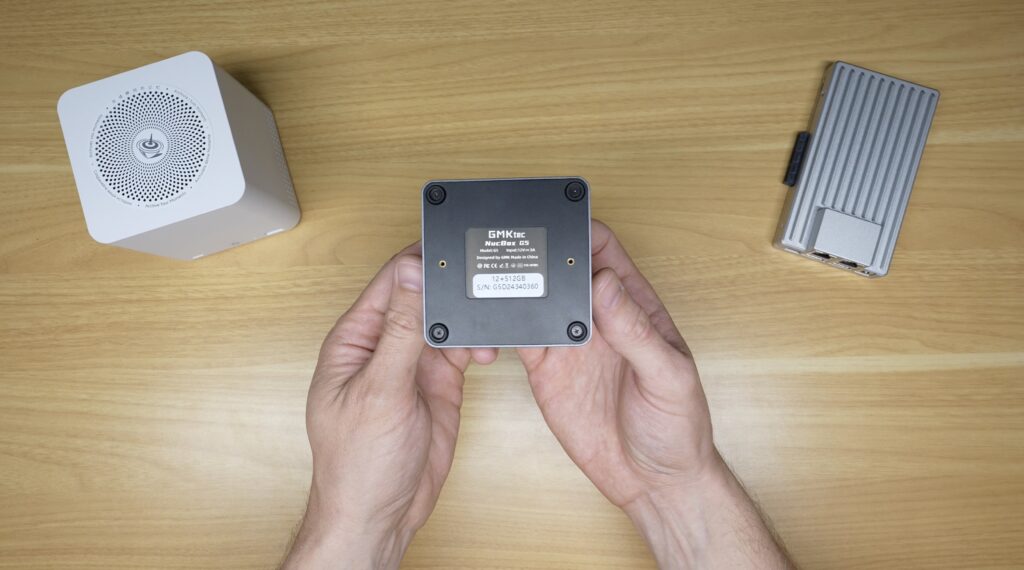
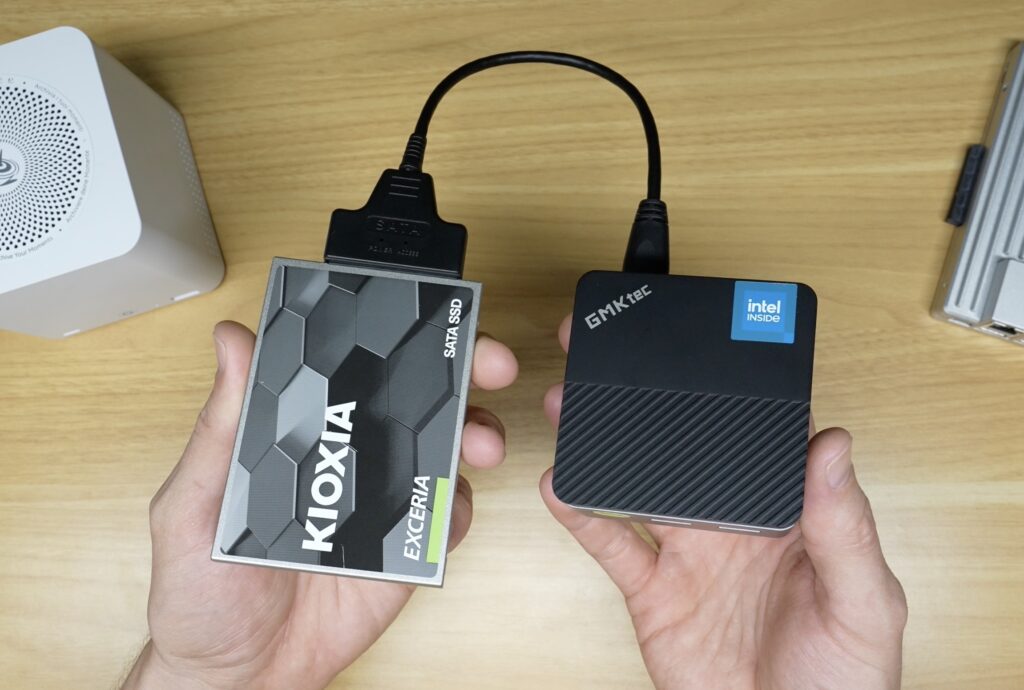
So this is essentially the budget option, a cheap mini PC, a USB SSD and an Ethernet cable to connect it to our network. I’ve also 3D printed a small stand to hold the drive under the PC. This attached with some M2 screws into the holes in the bottom of the mini PC and the drive is attached with 4 M3x8mm screws through the sides.
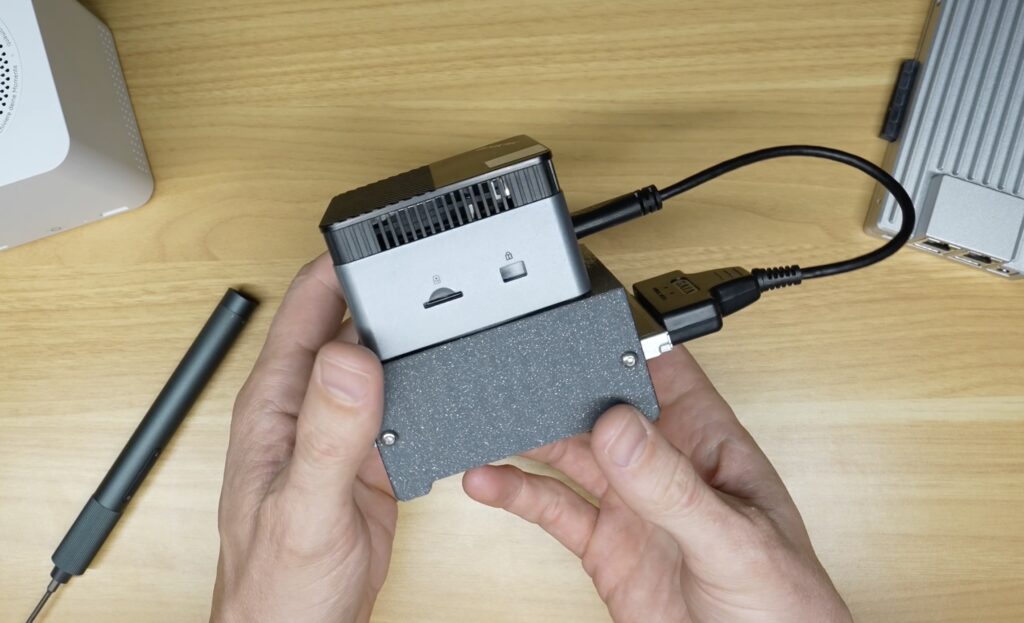
All up this setup costs around $180, and that’s all we really need.
Option 2 – Beelink ME Mini
If you want something a little more purpose-built, the Beelink ME Mini is a great alternate option.
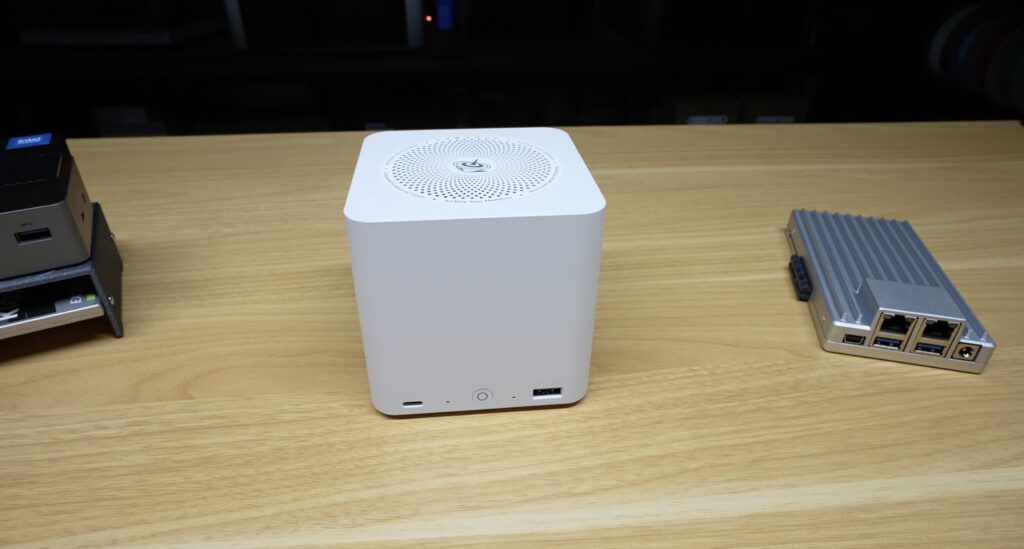
It’s still based around one of Intel’s low-power N150 processors, but instead of storage being an afterthought, the whole computer is designed around it.
It has six M.2 SSD slots, supports up to 24TB of solid-state storage, has 16GB of RAM, dual 2.5 gigabit Ethernet and an integrated power supply.
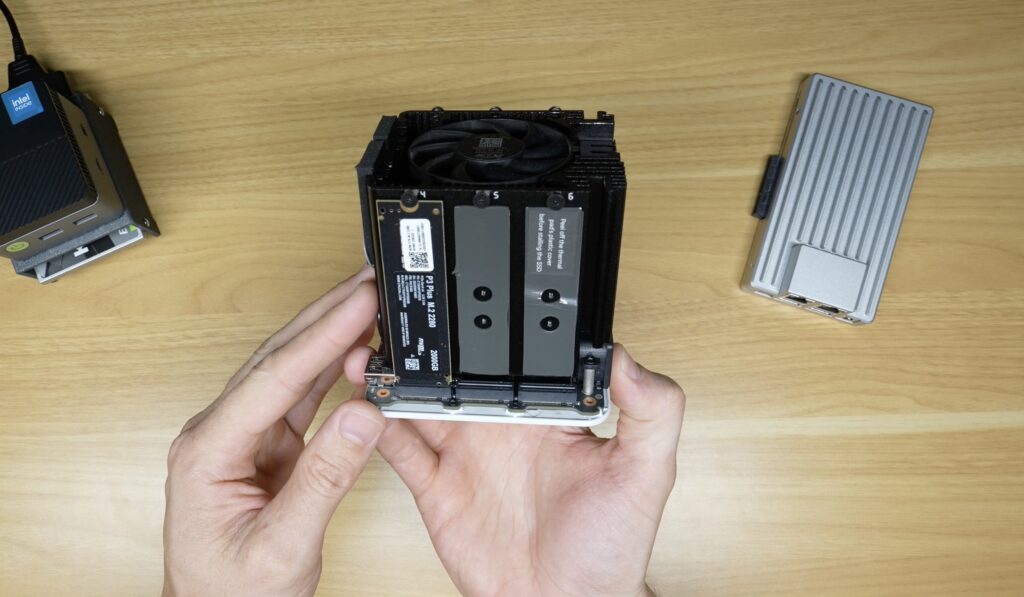
So rather than having USB drives hanging off the back of your system, you can build an all-flash storage home server inside a tiny enclosure.
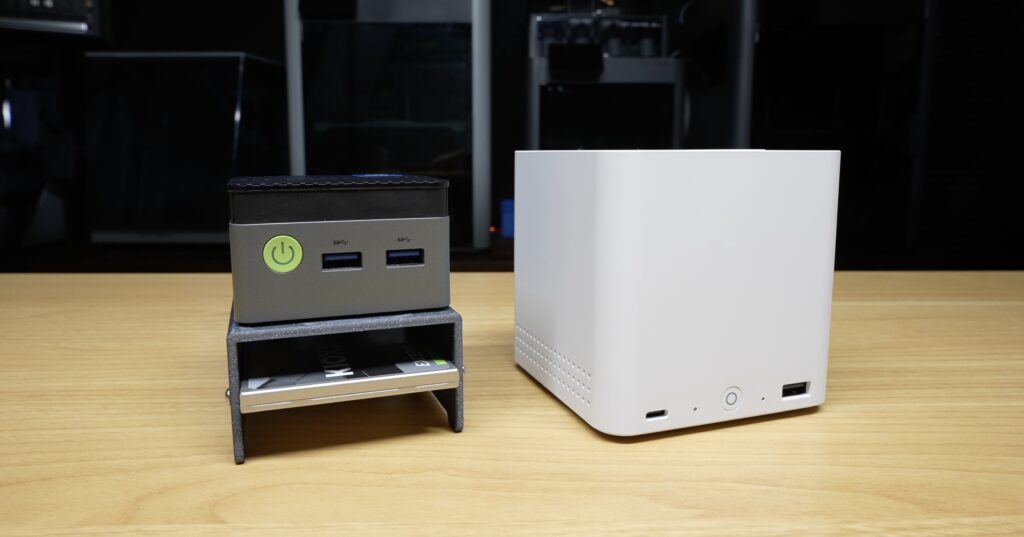
It’s a bit more expensive than the Nucbox, starting at around $280, and especially once you start filling those SSD slots, but it’s a nice option for a compact, quiet and self-contained build. I’ve actually had the Beelink ME Mini setup as my home media server for a while now.
Option 3 – Zimaboard 2
Then there’s probably the best option if you want to take this project further in the future. This is the ZimaBoard 2.
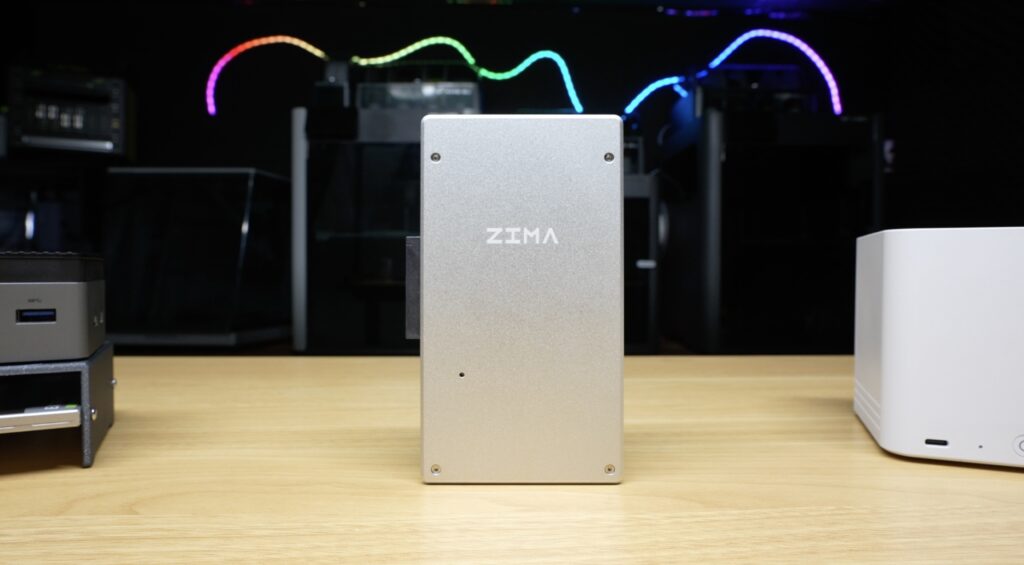
This also uses an Intel N150, but unlike a traditional mini PC, it’s specifically designed to be expanded. It’s got dual 2.5 gigabit Ethernet, two SATA ports that can directly connect hard drives or SSDs, and then a PCIe slot for expansion.
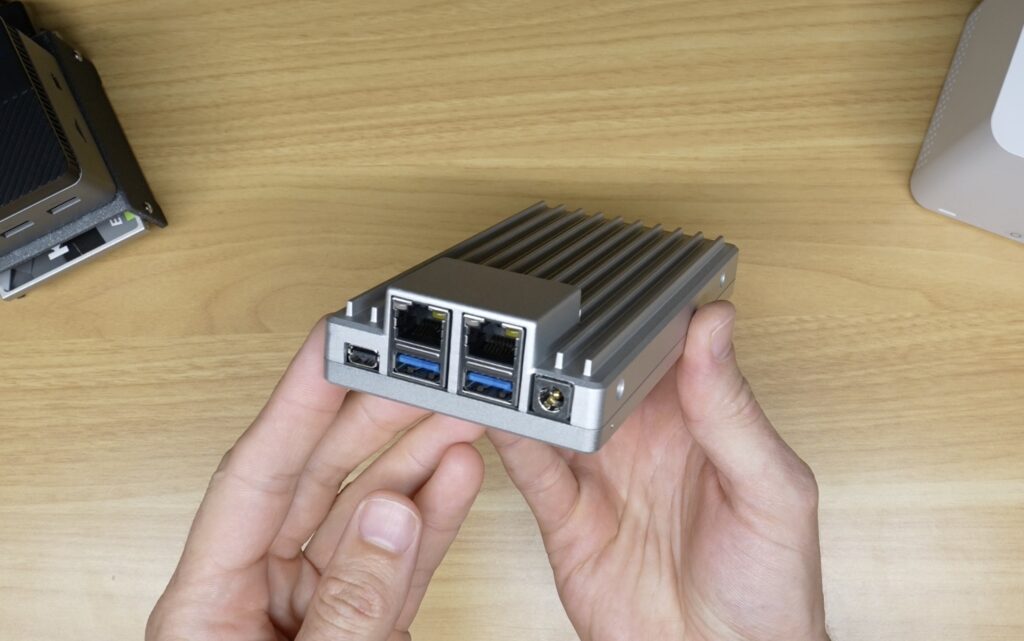
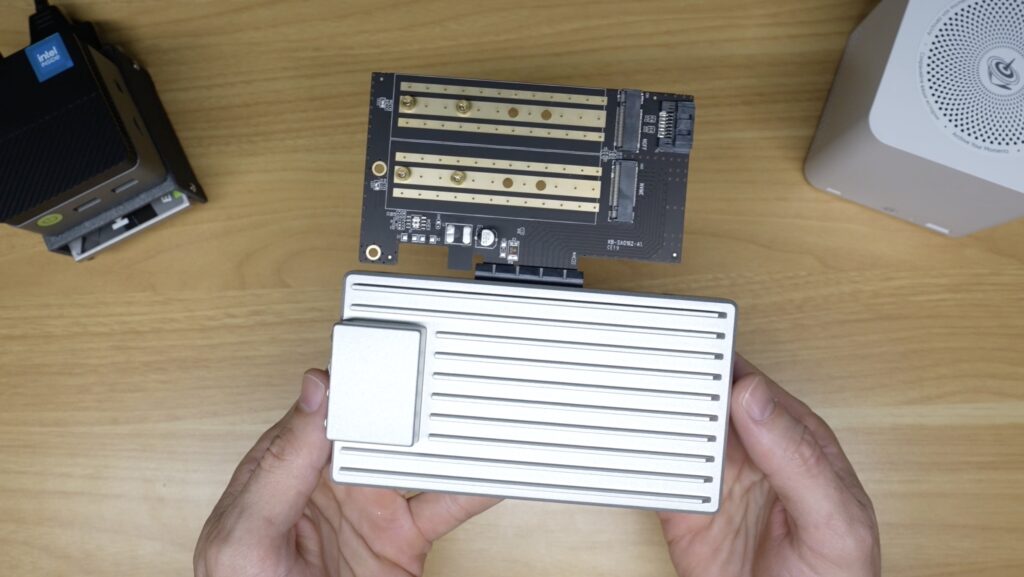
So you could add an NVMe adapter and run multiple SSDs, add faster networking, or use the SATA ports for a couple of large hard drives.
It also comes preloaded with ZimaOS, which makes setting up a home server quite easy, but you can also just install Ubuntu like we’re going to do here.
This costs around $300 too but I’d argue is a bit less complete than the ME Mini as you’d typically want to add a PCIe card and need some drives and cables to finish it off.
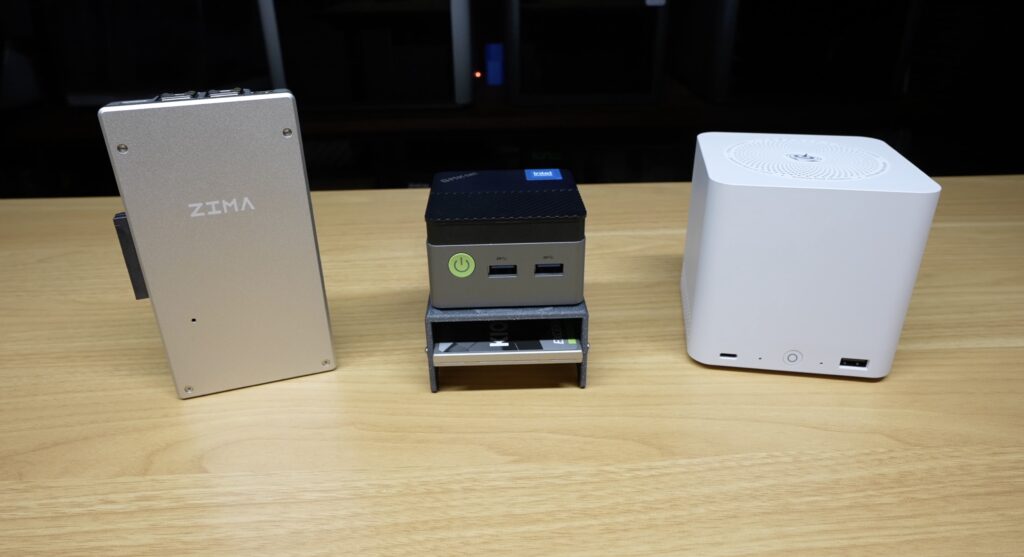
For this particular build, the focus is on cost and how little you need to get started, so I’m going with the NucBox and this 500GB SSD.
What We’re Building
Before we start installing the software, I’ve put together a full step by step guide along with terminal commands for all of the software as a GitHub repository Home Media Server, so visit that when you’re ready to start setting your server up.
Now let me explain what we’re actually going to run on it, there are four main applications.
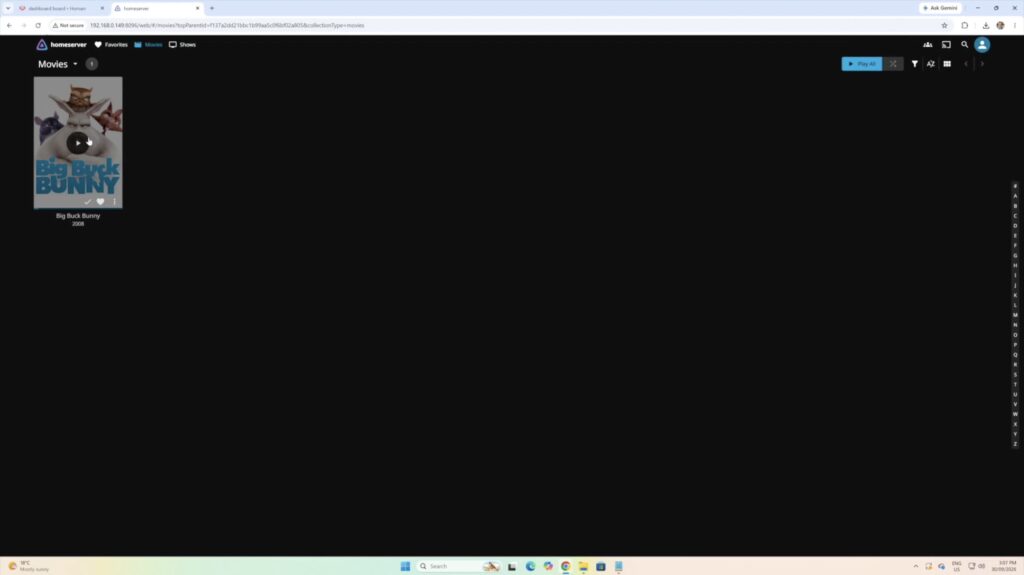
First is Jellyfin which is going to handle our movies and TV shows. This is sort of like your own personal Netflix, but with the media on your own server.
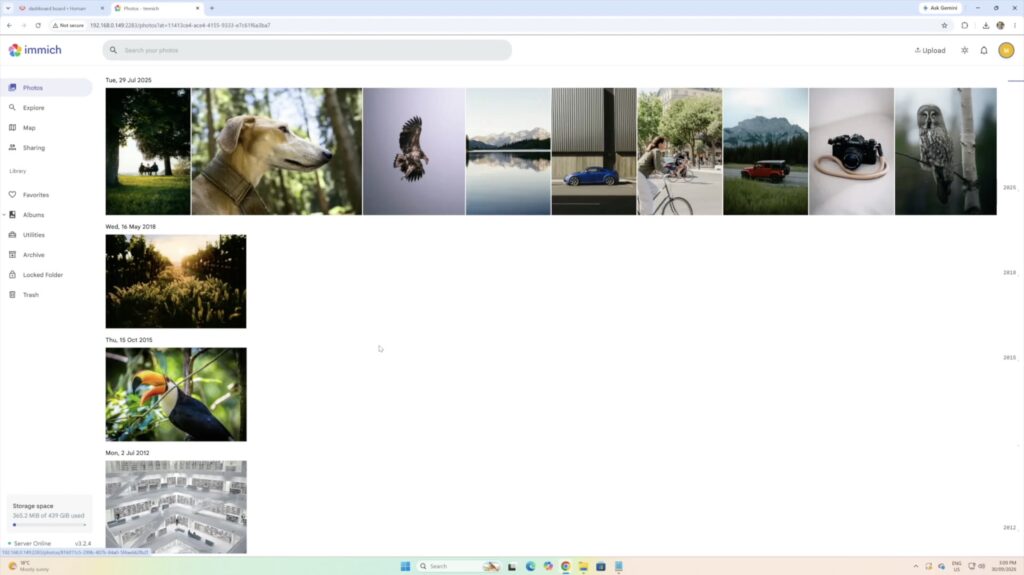
Next is Immich. This is one of my favourite self-hosted applications. It gives you a Google Photos-like interface for your photo library, and the Immich app can automatically back up photos from your phone to this server.
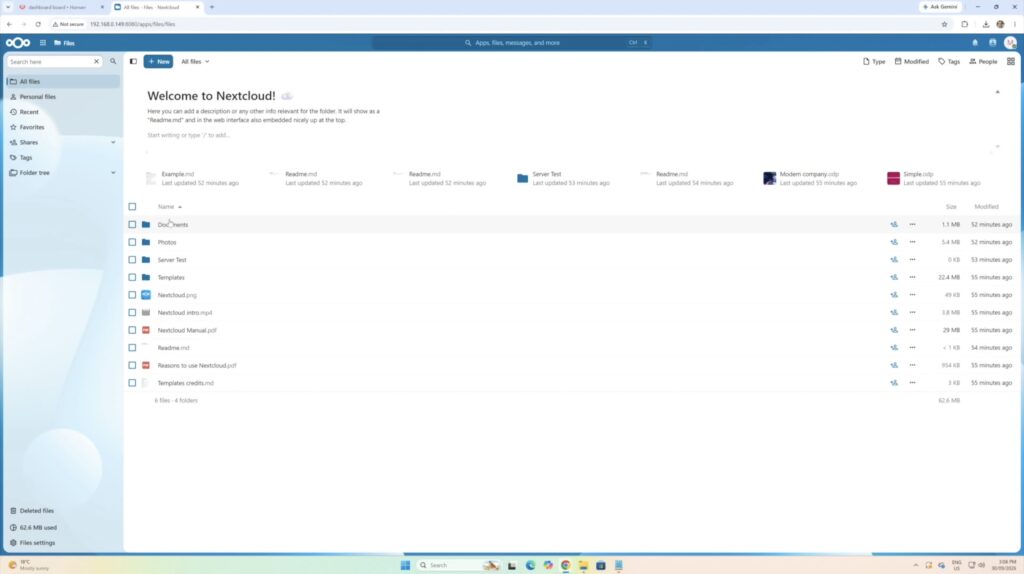
Then there’s Nextcloud, which gives us our own cloud storage. Files, folders and documents can be stored here and be accessed from our computers and phones rather than relying on Google Drive or Dropbox.
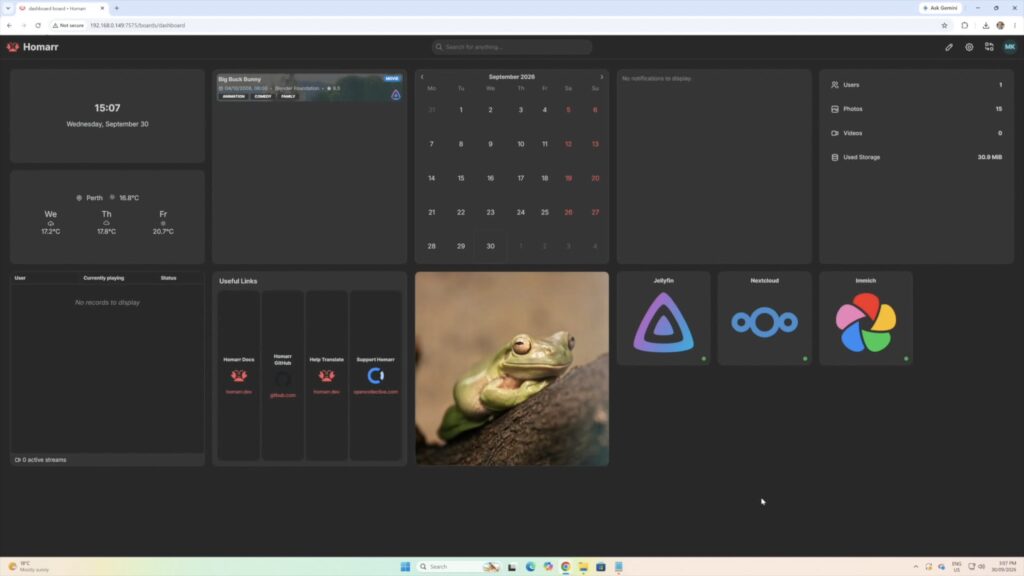
And finally I’m installing Homarr. Homarr doesn’t provide another service, but it gives us a dashboard that ties everything together and makes the finished server feel more user friendly.
To run all of this we’re going to use Docker, which keeps each application in its own container and makes the setup easier to maintain.
Installing Ubuntu Server
To start out, lets install our operating system. For this, I’m using Ubuntu Server.
There are some easier packaged alternatives, but Ubuntu gives us a lot of flexibility and isn’t tied to any particular piece of hardware. So you can follow the same process on your own system.
I’ve downloaded the Ubuntu Server disk image and written it to a USB drive. We’ll then boot the mini PC from that and go through the installation.
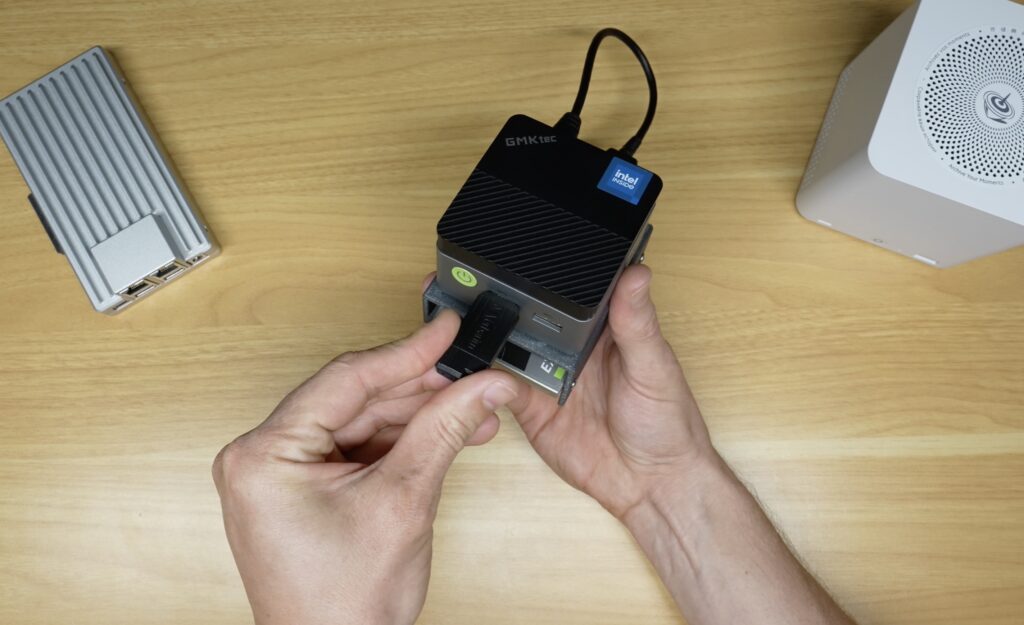
Being the server version, there’s no desktop environment, and that’s intentional. This computer is going to sit somewhere in my house without a monitor, keyboard or mouse connected to it, so there’s no point wasting resources running a graphical desktop that we’re never going to use.
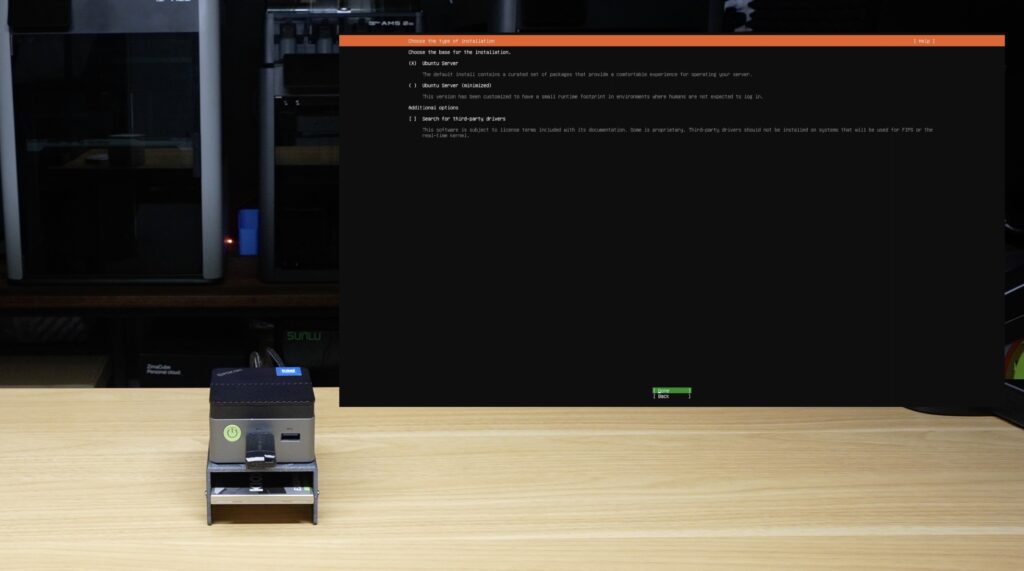
During setup remember to enable SSH so that you can remotely access it. Once Ubuntu is installed, we can disconnect the monitor and keyboard and manage everything remotely from another computer on my network.
Preparing The Server
Before installing the containers, I’ll first update Ubuntu and then mount the SSD and create some basic directories to store my media. So something like movies, series, photos and files. The exact folder structure isn’t particularly important, we just need a place for the containers we’re going to create to store their data.
The mini PC has its own internal storage, but I’m going to leave that primarily for Ubuntu, Docker and the applications themselves. The external SSD is the data drive. Separating the OS and our data like this makes the system much easier to rebuild later.
It’s also important to remember that this SSD is just storage. It is not a backup. If you’re putting your family photo library or important documents onto a server like this, you still need a backup copy somewhere else.
Why Run Docker?
Next we need to install Docker. The benefit of this is that most of the configuration data is stored in Docker Compose files. So if I eventually outgrow the N95 computer, I don’t necessarily have to start again. I can easily move my data and redeploy the containers.
I’ve installed Docker Engine and Docker Compose, and now we can start adding services.
Jellyfin – Movies & TV Shows
First up I’ve got Jellyfin.
I’ve created a directory for Jellyfin’s configuration and another for its cache. Then in the Compose file we map our media directories on the SSD to the Jellyfin container, and pass through the integrated GPU. This allows Jellyfin to use hardware acceleration for transcoding.
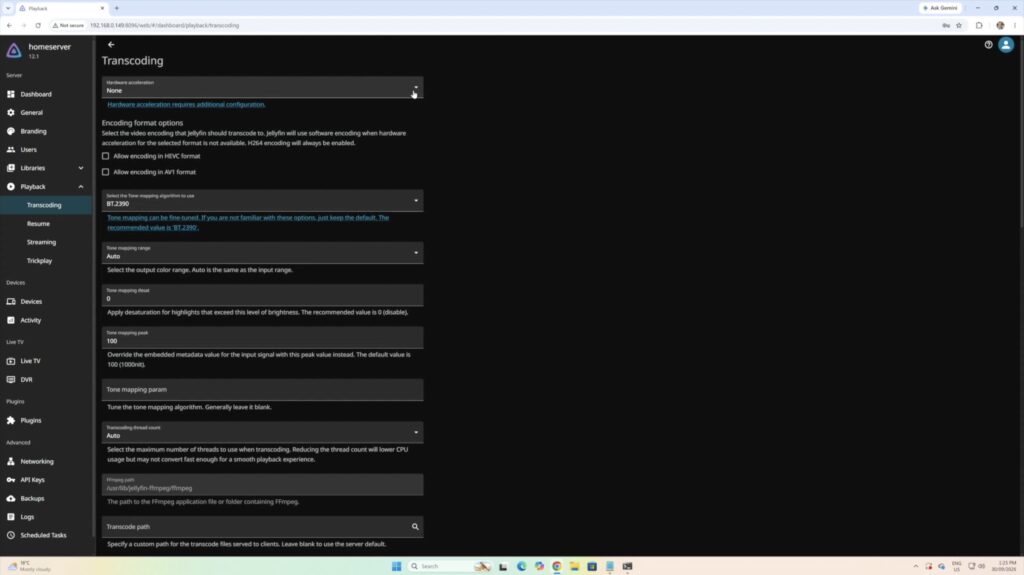
So if I’ve got a 4K movie stored on the server but I’m trying to watch it on a device or connection that needs a lower resolution or bitrate, Jellyfin can convert that stream using the integrated graphics rather than overloading the CPU.
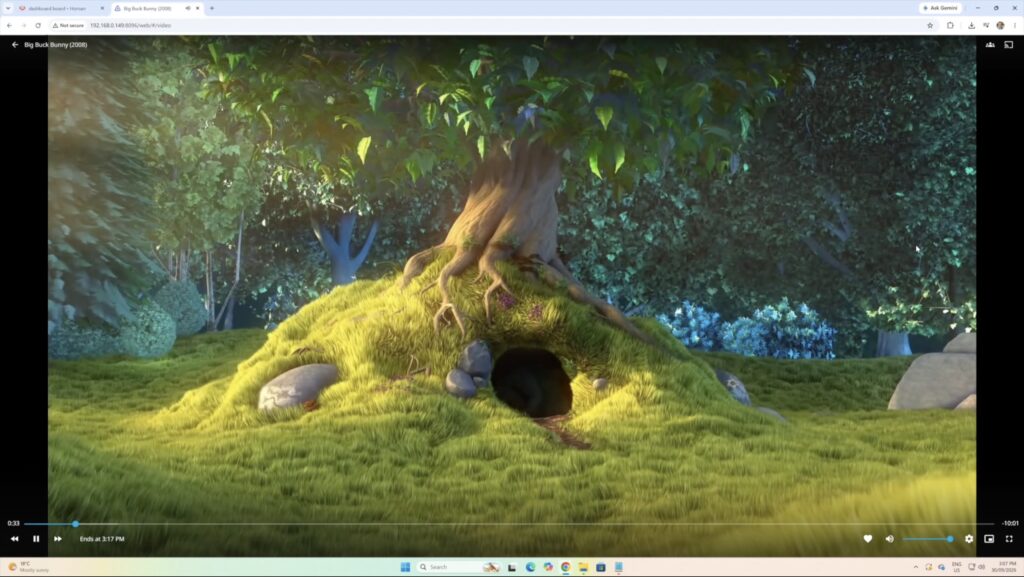
We can open Jellyfin from any browser on our network but they also have apps for Smart TVs, Apple TV or Firestick and for mobile devices. So now we’ve got our own media streaming service, and all of the files are sitting right here in my house.
Immich – Photos & Videos
Next up is photos using Immich.
Immich is a bit more complicated than Jellyfin because it’s actually several services working together, but that’s what Docker Compose is good at. Immich provides its own Compose configuration, so we’ll download that, configure where we want the photo library stored, set up the database credentials and bring the stack online.
From there I can also install the Immich app on my phone and connect it to the server. I can then select which albums I want backed up and Immich can automatically upload it to my own server. The interface is also really similar to the cloud photo services most people are already familiar with.
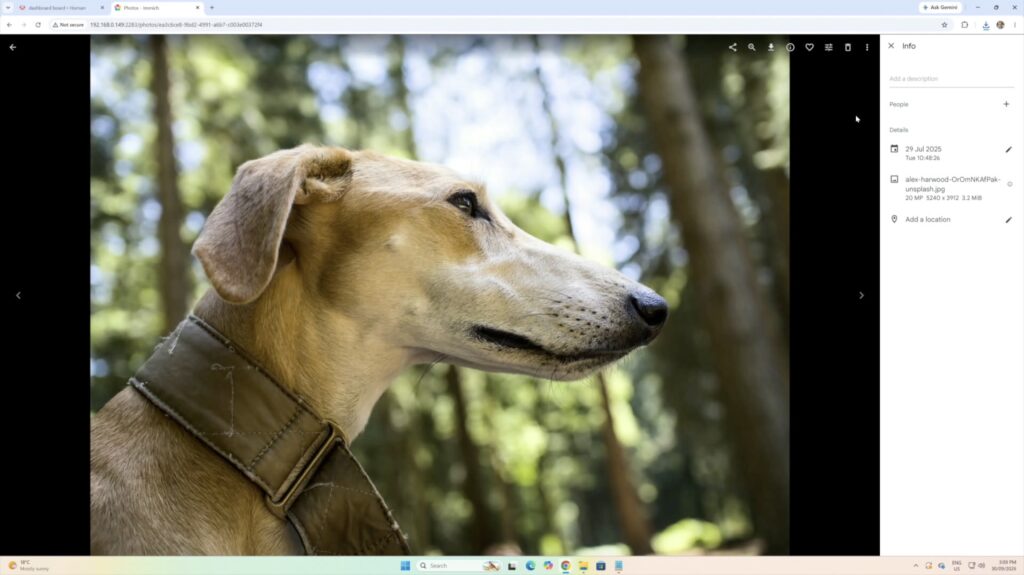
You get a timeline, albums, search and other organisation tools, except the original files are sitting on our own storage. For me, this was one of the main reasons I built a home server in the first place.
NextCloud – Documents & Cloud Storage
Now let’s add our general file storage using Nextcloud.
Nextcloud is basically going to give us our own version of Dropbox or Google Drive. Again, we’ll deploy it using Docker using persistent storage on our SSD and a database for its application data. Once that’s running, we can create folders, upload documents, images or any other files I want.
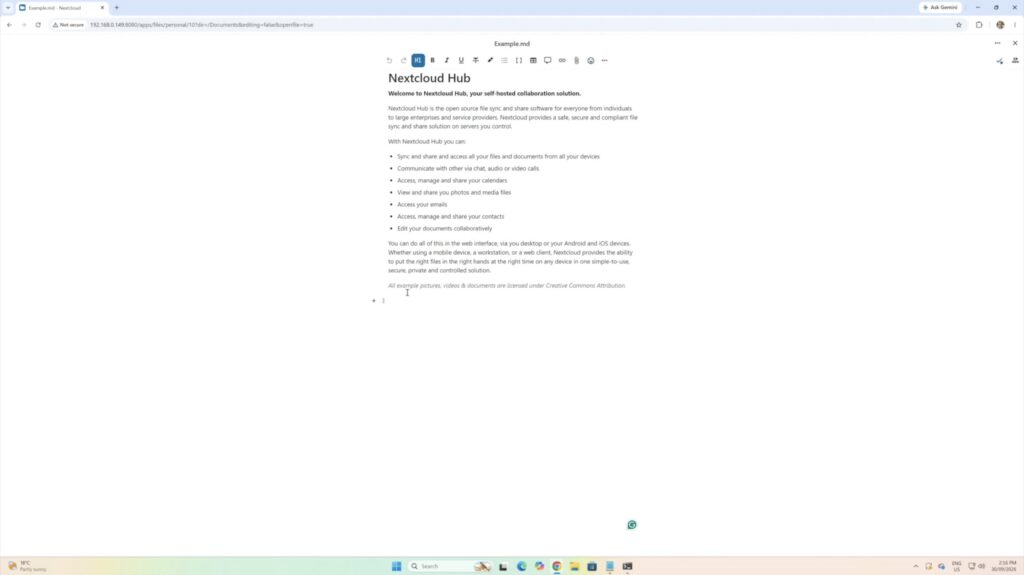
Like with the other two, there are desktop and mobile clients as well, so folders can be synchronised between computers in the same way they would with a conventional cloud storage provider.
Homarr – Convenient Dashboard
At this point the server is doing most of what we wanted it to but the problem is that we’ve got Jellyfin on one port, Immich on another, Nextcloud somewhere else and remembering all of those addresses is annoying. So the last application I’m installing is Homarr.
Homarr gives us a dashboard for the server. So instead of remembering a bunch of IP addresses and port numbers, we can create one page containing links to everything. We can also add widgets for things like system information and Docker containers.
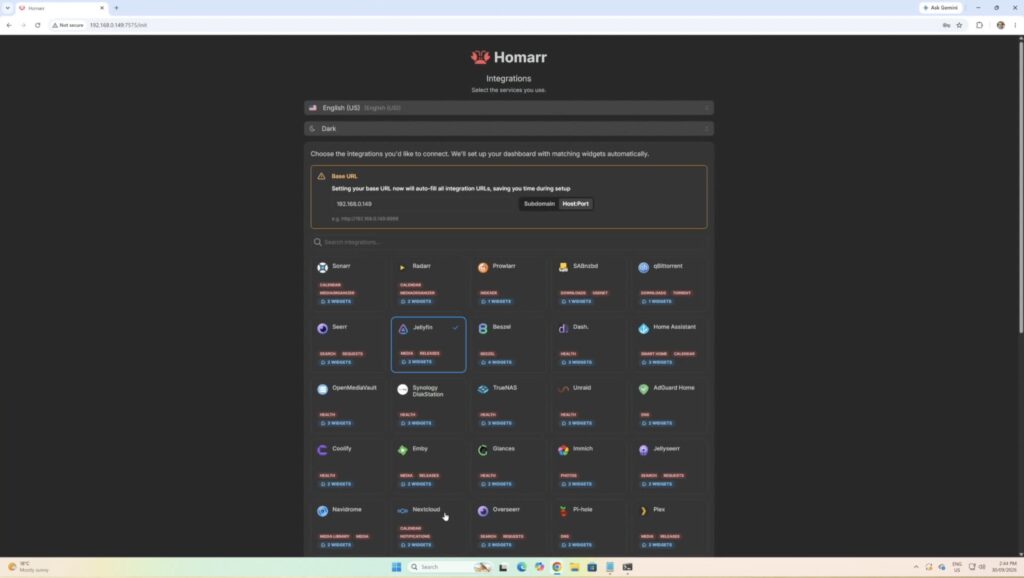
So this creates a nice single home-server interface that’s completely customisable. Mine looks a bit bare to start since I don’t have much stored on the server yet, but it’ll grow as my server develops.
Power Consumption
One of the main drawbacks to running a powerful NAS or homelab is the running costs if you live somewhere where electricity is expensive.
The nice thing about this setup is that at idle, we’re only drawing around 6 watts, and with a bit of load on it while streaming a movie we’re at around 10-15 watts.
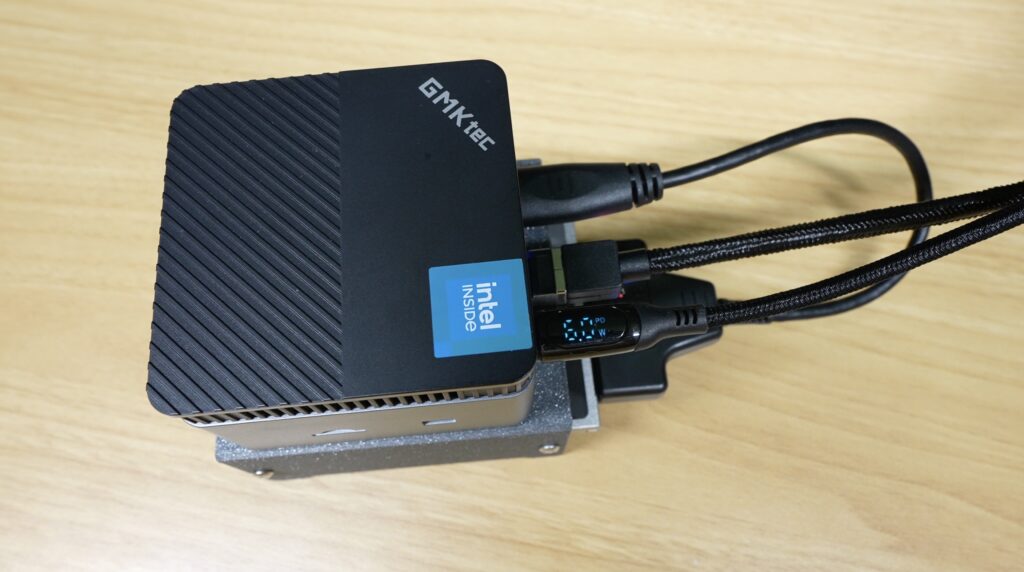
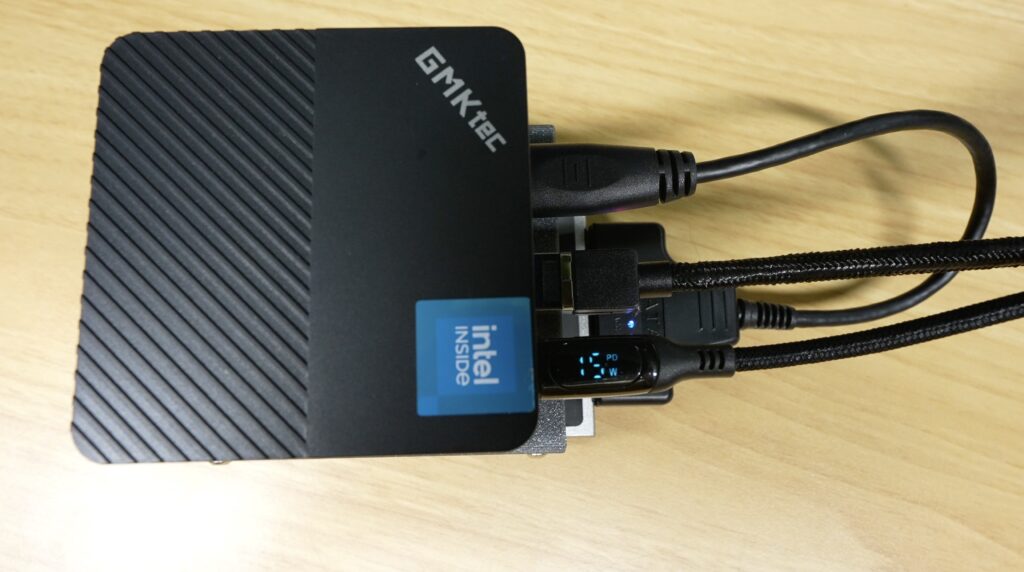
Even at the high end, running this server continuously for an entire year would use approximately 100 kilowatt-hours, which at my electricity rate amounts to around $30 a year. So the ongoing power cost is really small. Because we’re using an SSD rather than several spinning hard drives, the whole system is also quiet and compact.
Remote Access
There is also one major feature we haven’t tackled in this build and that’s remote access. For that I’d recommend Tailscale. You can install this as a container to and it creates a secure, encrypted private network between your devices and lets you securely access your home server while you’re away.
Final Thoughts On MY Cheap Home Server
That’s our little home server finished.
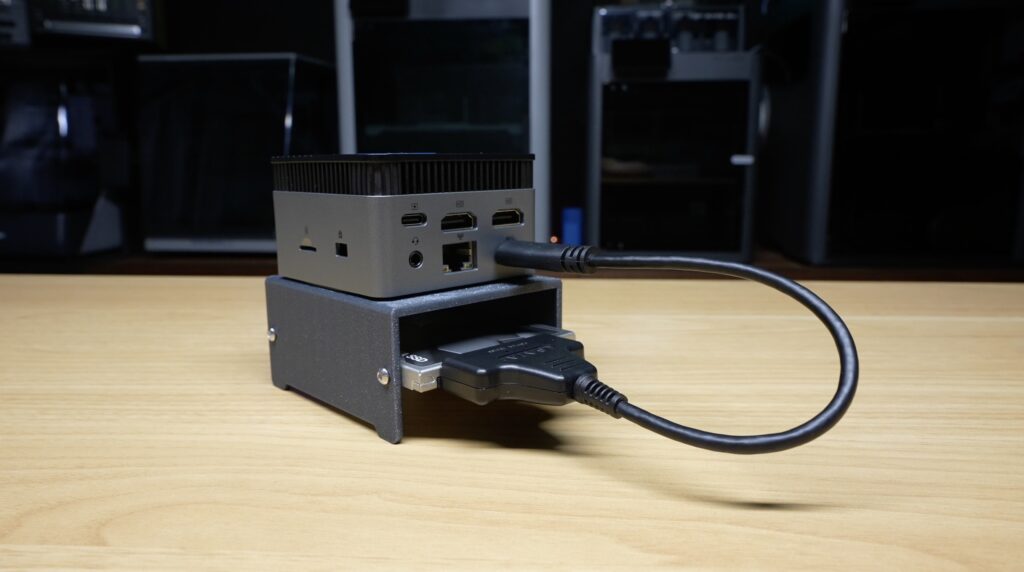
The best part about this project is that none of the hardware is particularly special. You could use a different mini PC, an old laptop you already own, or you could go with something modular like the ZimaBoard 2 and add NVMe drives and large SATA hard drives as your storage requirements grow. The software running on it remains the same, so this is a great entry point into self-hosting.
Let me know what other services you’ve got running on your home server down in the comments.
