If you’ve discovered the magic of baths and bath bombs then you’ve probably discovered they can also be quite expensive! It may be time to start making your own. They also make a lovely gift, place a couple on a homemade mini pallet coaster and wrap it up in cellophane for a thoughtful and inexpensive homemade gift. You could also pair them up with our homemade exfoliating coffee and brown sugar body scrub.
Making bath bombs is actually a super easy process! There are definitely some possible pit falls along the way, but we’ll guide you through the process and let you know when you need to do things a certain way. This moisturizing recipe is extra easy to make because we’re using more oil than water.
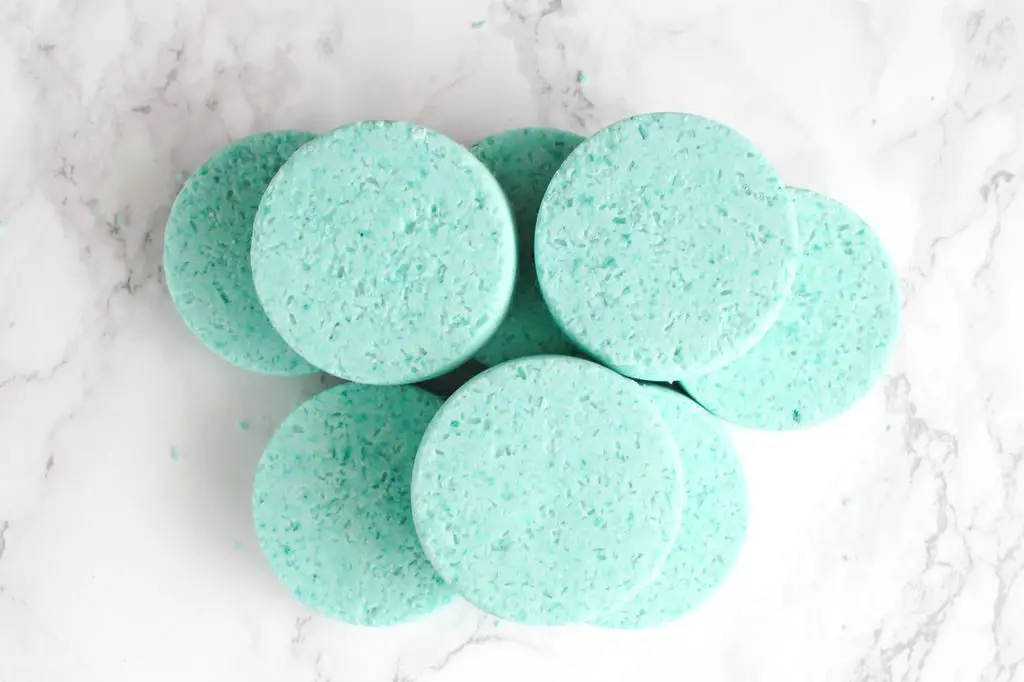
This bath bomb recipe produces a slightly fizzy and super moisturizing soak for your bath water!
What You Need To Make 8 Moisturising Bath Bombs
- Slightly Less than 1 cup Baking Soda – Buy Now
- 1/2 cup Citric Acid – Buy Now
- 3/4 cup Corn Starch – Buy Now
- Heaping 1/2 cup Epsom Salts – Buy Now
- 1 Tablespoon Water
- 3 Tablespoons Oil of Choice (I used avocado) – Buy Now
- 25-50 Drops of Essential Oil* – Buy Now
- Food Coloring (2-5 drops, depending on how intense you want the color!) – Buy Now
Important note regarding essential oils: oils like clove, cinnamon, tea tree, eucalyptus, lemongrass, and peppermint can cause a burning sensation and a red rash if you use too much. (Especially if you have sensitive skin) On the upside, these oils also smell VERY strongly, so you don’t have to use as much.
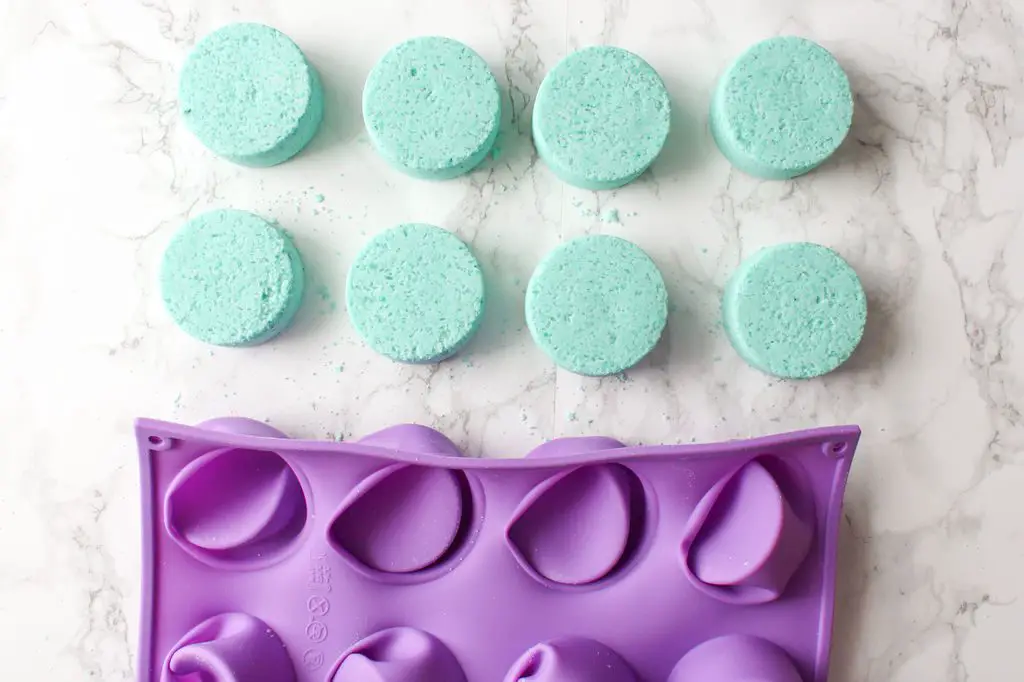
This recipe will make roughly 20 oz worth of bath bombs – around 8 bath bombs that weigh between 2 and 3 oz.
How To Make The Bath Bombs
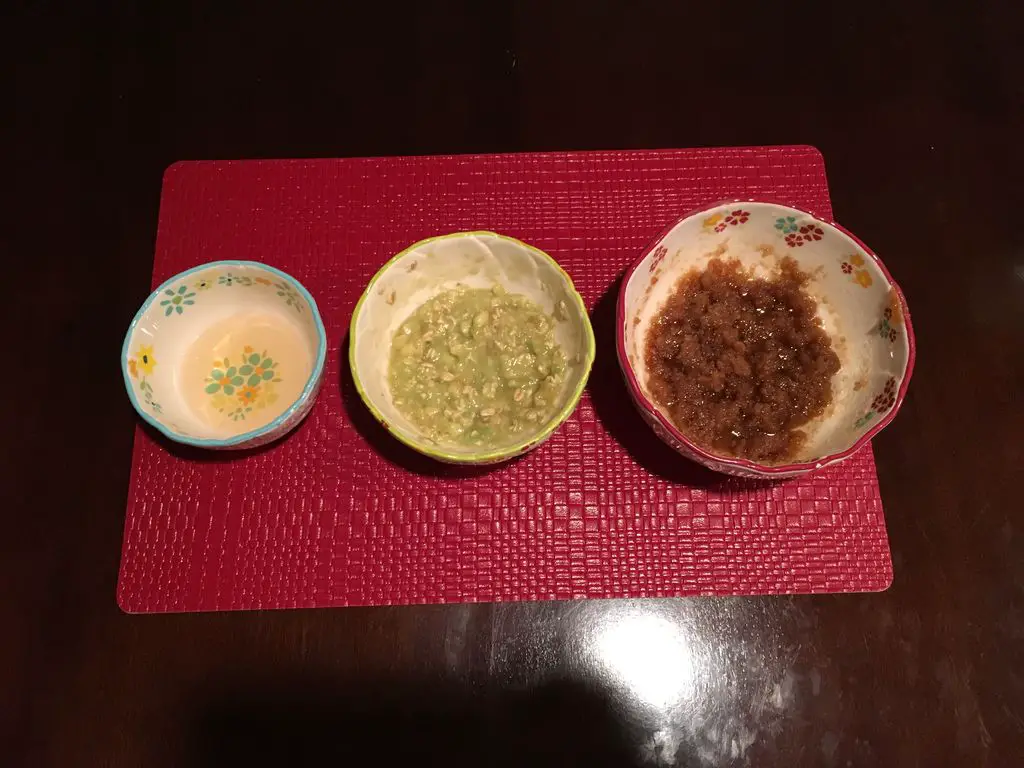
The first thing you want to do it measure out all your dry ingredients into a large bowl. (Baking soda, cornstarch, epsom salts, citric acid. Once you’ve measured them out, mix them together with your whisk for a minute or so. You want all the ingredients to be well incorporated.
Now you’ll want to mix the wet ingredients together in a small bowl. Add in the water, oil, essential oils and food coloring. Mix this together and check the color of the mix – if it looks too light add a little more food coloring if you want!
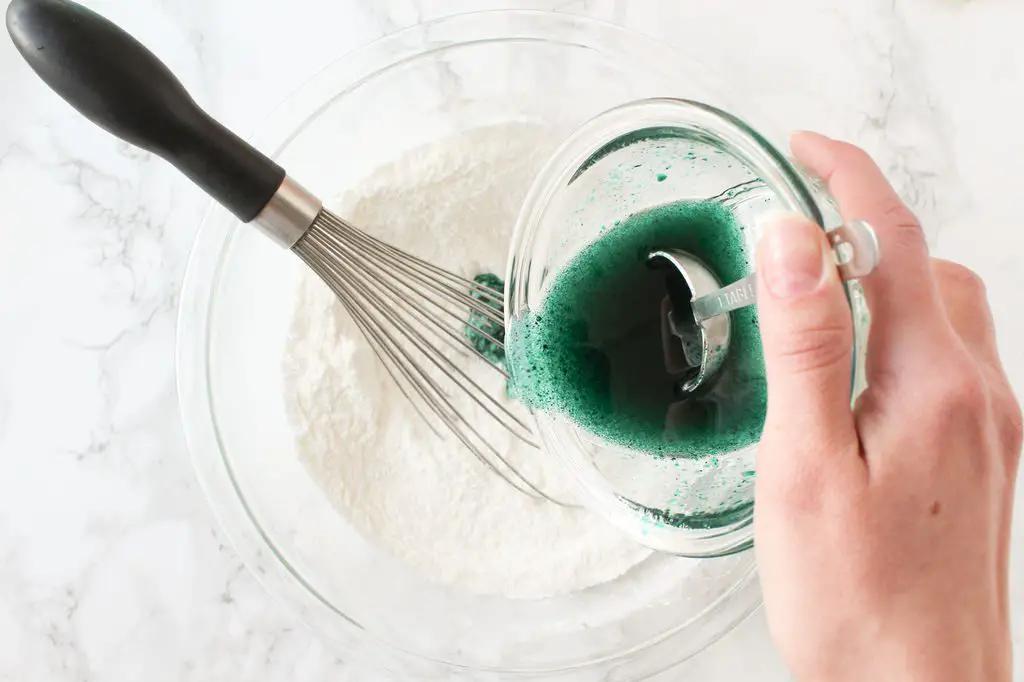
This is the step where you have to be careful! Pour the wet into the dry, just a little bit at a time. Mix with the whisk immediately to stop any bubbling that may occur. If you let the mix bubble now, you won’t get lots of fizziness when you put the bath bombs in your bath. Keep pouring and mixing until all the wet ingredients are mixed in. Break up any big clumps with the whisk as you go – they may have pockets of color or a certain ingredient inside!

Now we need to test the mix and see if it holds together! Grab a small bit and press it together in your hands. If it sticks together and smoothes out, you have enough moisture! If the mix is dry and crumbly and doesn’t want to stick to itself, you will need to add more water. Add it with a spray bottle if possible. If not, just add small amounts and mix well after.
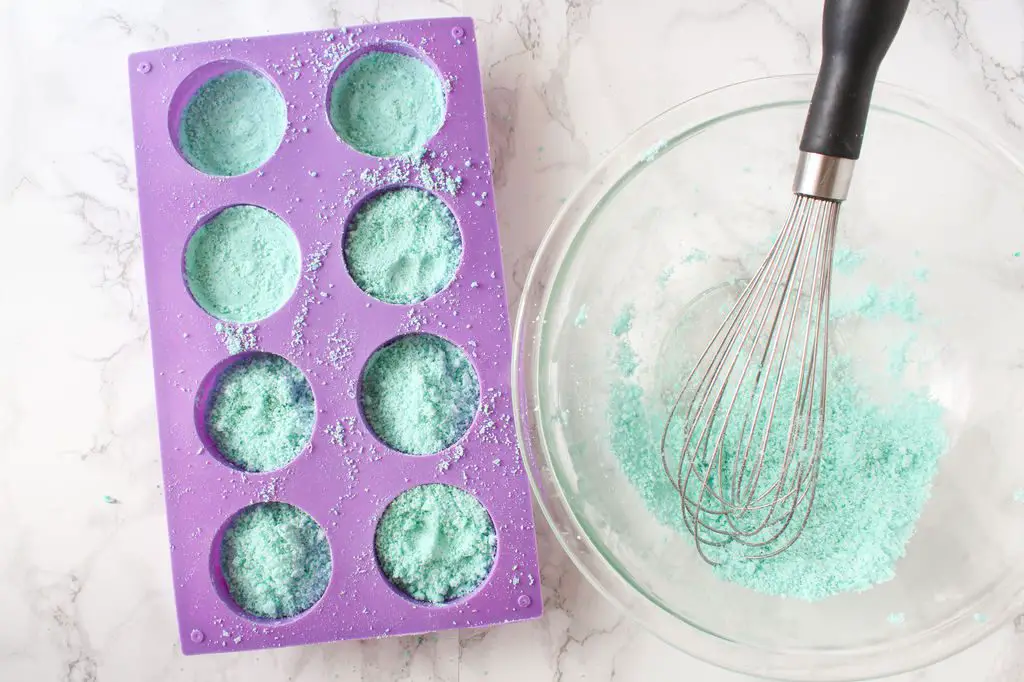
Use a silicone mold and pack the mix in extremely tightly. Add small amounts to the mold and pack it down with whatever you have around – use an essential oil bottle at first, and then a measuring cup to really push the mix down. If you don’t compact the bath bomb mix enough at this point, you’ll end up with bombs that crack and crumble when you release them from the mold.
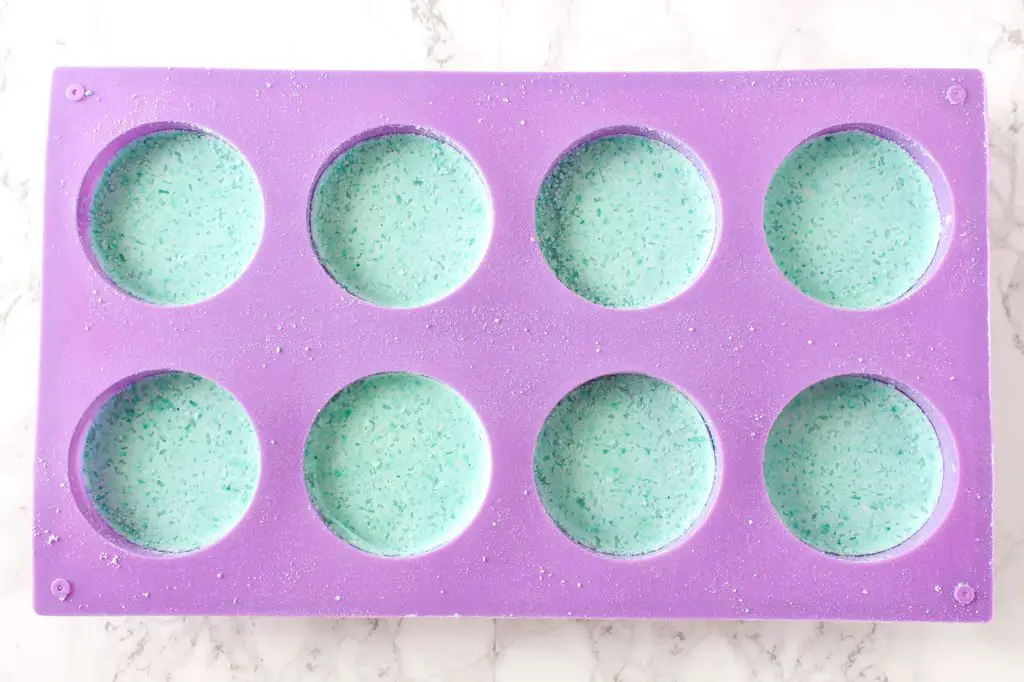
Once your bath bombs are packed into the molds, you need to let them dry completely. For best results, let them sit overnight.
When the bath bombs are still soft, you’ll be able to apply pressure with your finger and feel it sink in a bit. When the bombs are completely dry they’ll be hard as a rock!
Once they’re dry, gently push them out of the molds.
Make sure to store your bath bombs away from moisture in an air tight container for best results.
Enjoy your bath bombs!
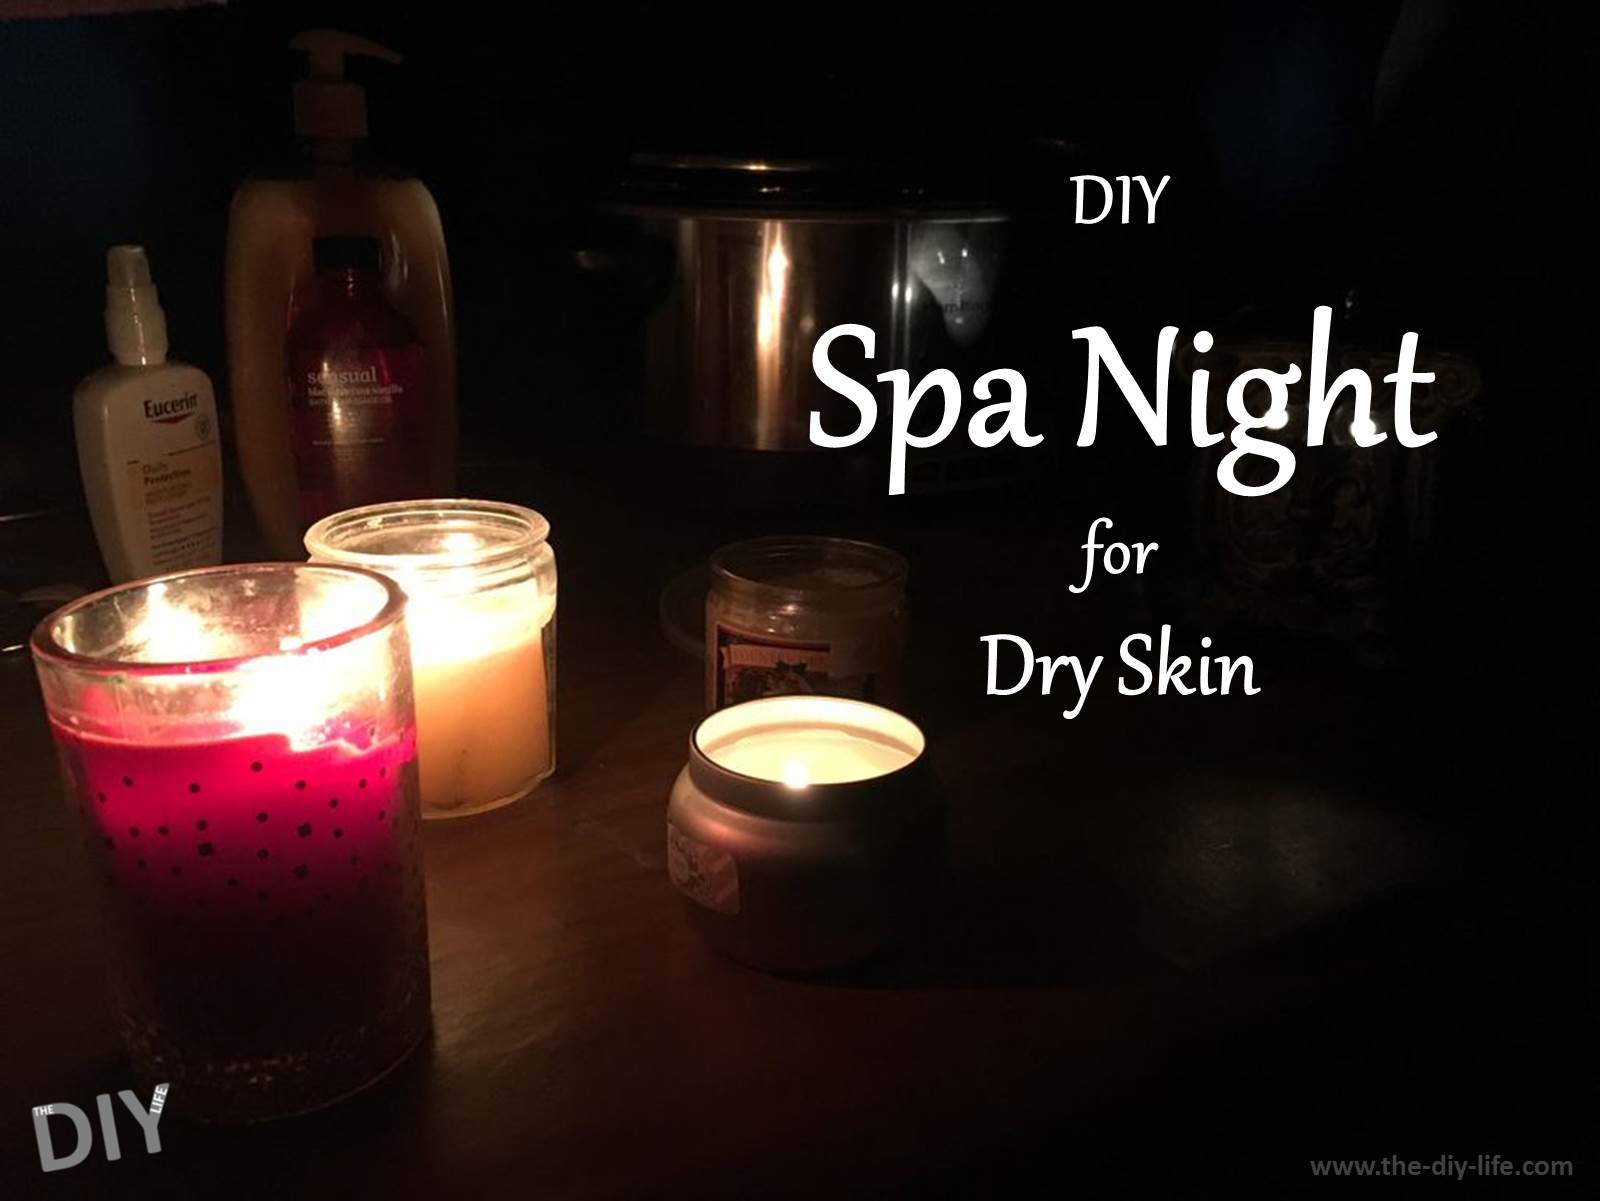
Why not plan a romantic stay at home spa evening for your partner and use these bath bombs as a little starting surprise gift?
This post was adapted from DIY Moisturizing Bath Bombs by jessyratfink and has been modified and used under the Creative Commons license CC BY NC SA.