Baking soda, or bicarbonate of soda is a wonderfully versatile household ingredient. Just a quick look on Pinterest will reveal hundreds, if not thousands, of uses for it, from baking to cleaning to some unlikely and surprising health benefits.
So here are a couple of the lesser known hacks which we’ve found to be particularly useful and different.
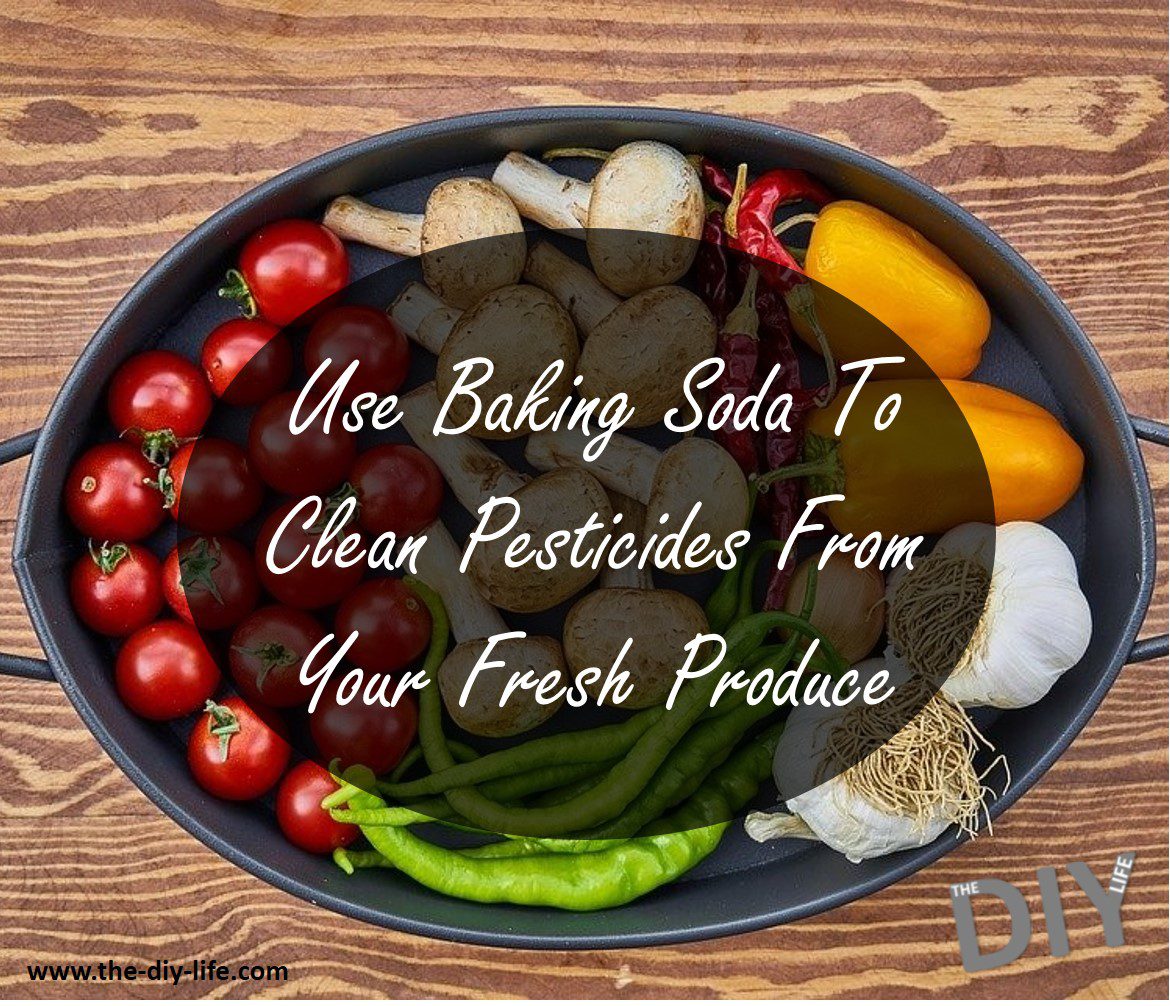
Clean your Fresh Produce

Get rid of any dirt and pesticides on your fruit and vegetables by giving them a quick clean with this solution. Fill a bowl with two cups of water and a teaspoon of baking soda and give your produce a wipe with a small sponge and you’re ready to go.
Treat Bug Bites and Stings
You’ve got an itchy or red insect bite which won’t go away and you don’t have any cream around. Make a paste from baking soda a cold water and apply it to the bite or sting for a few minutes, it’ll instantly relieve the itch as well as reduce the swelling and redness.
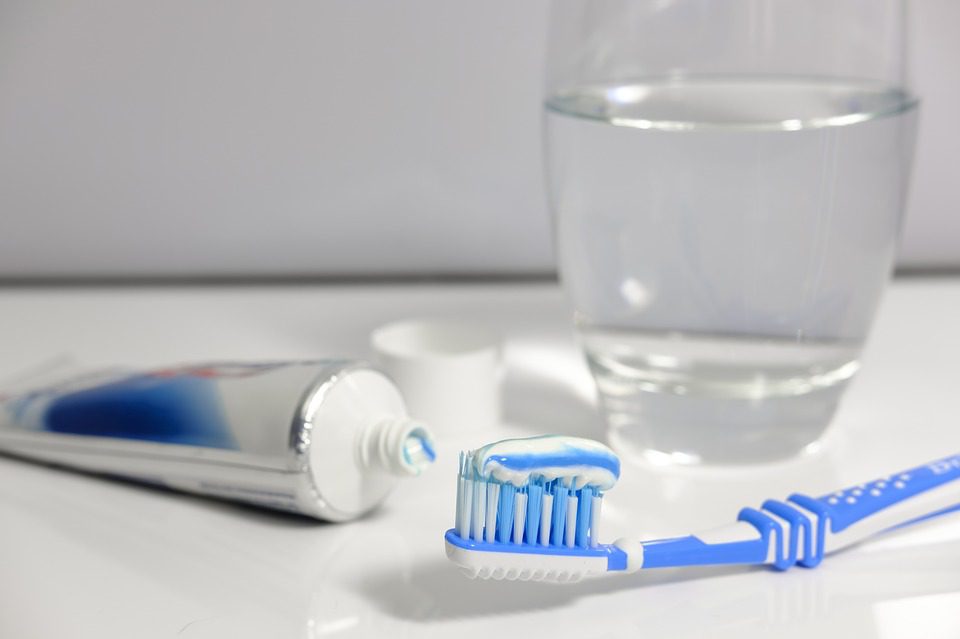
Make Your Own Mouthwash
If you suffer from bad breath, this mouthwash receipt might be just what you need to get your mouth freshened up. Mouth wash reaches all of the places which a toothbrush just can’t get to and baking soda has a range of antibacterial and antimicrobial benefits. Simply rinse your mouth out with a half teaspoon of baking soda and a little warm water. You can also add a drop of peppermint essential oil to it for a fresh and minty aftertaste. It also helps to whiten your teeth!
White Clothing and Sheets

We’ve mentioned this one before, but baking soda is really good at whitening your underarm stains on your shirts and whitening your old linen or bed sheets. Have a look at these two guides to learn how to use it for best results.
Baking Soda Deodoriser
Baking soda is great for getting rid of unwanted smells, it works amazingly well to deodorise smelly shoes or trainers. Simply sprinkle a generous amount into your shoes and leave them until you’re ready to wear them again. Then either dust or vacuum it out and your shoes will be great and fresh again.
Clean your Bathroom
Baking soda is a very cost effective cleaning product, with both whitening and disinfecting abilities. Create a mixture of baking soda a warm water and use it to scrub away any grease and grime built up in your tile grout lines or around the edges of your bathtub, basin or toilet.
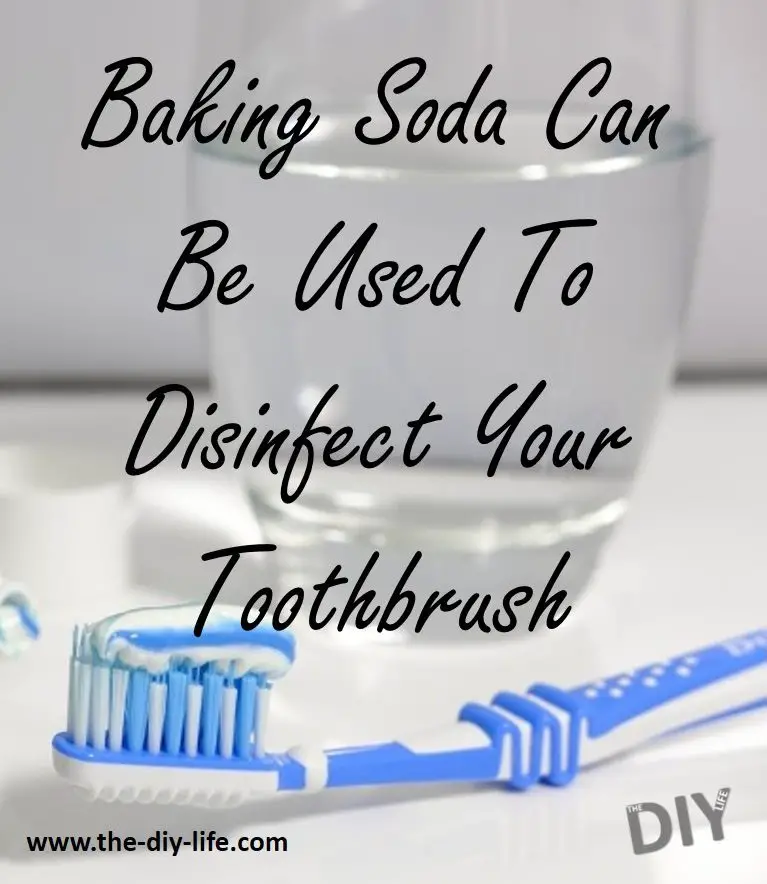
Disinfect your Toothbrush
Cleaning your toothbrush is probably not very high up on your priority list but it is something which you should be periodically doing. Soak your toothbrush in a cup of hot water mixed with a tablespoon of baking soda for 30 minutes and it will be clean and disinfected.
Give Yourself a Spa Treatment
If you’re feeling stressed or overwhelmed, it may be the perfect time to give yourself a relaxing spa treatment at home. Sprinkle a quarter cup of baking soda into a hot bath and you’re ready to have a relaxing and nourishing spa soak.
Polish Your Silverware
Did you know that you can remove the tarnish from your silverware or jewellery without actually having to polish it? Here is a guide to cleaning your silverware with baking soda and another for cleaning your jewellery with baking soda. These tricks are so easy you’ll be wondering why you ever bought silver polish.
Clean Your Carpets and Rugs
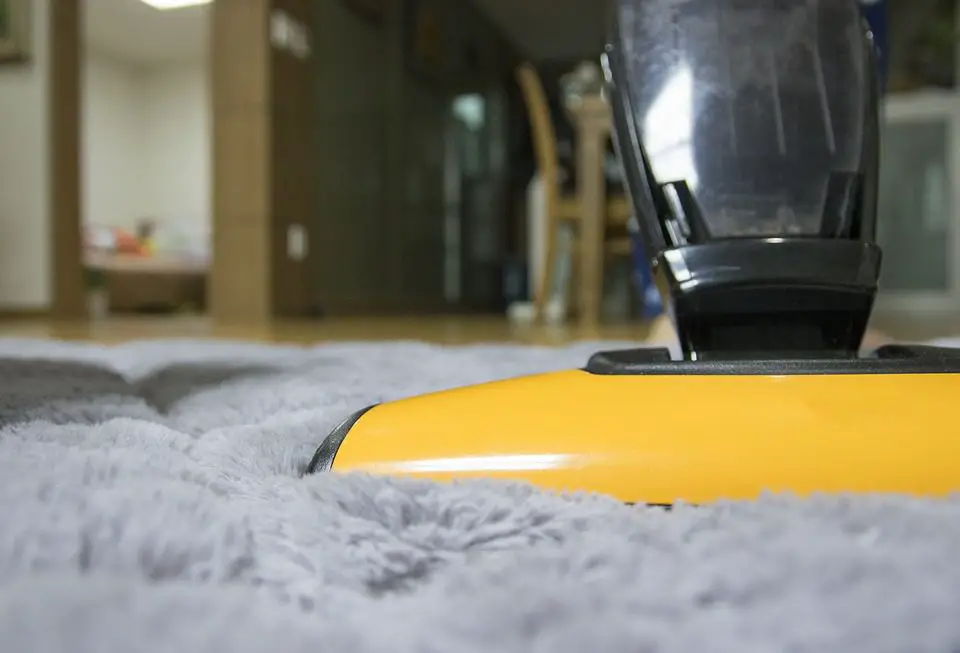
Freshen up your carpets or an old rug by sprinkling baking soda over it, allowing it to stand for a couple of hours to absorb the odours and any moisture and then vacuuming it up. If it’s a loose piece of carpet or rug, you can move it to a sunny spot on a hard surface and add a spray of hot water over it as well to further add to its stain and odour removing abilities.
Clean a Burnt Pot
You’ve scorched the bottom of your favourite pot or pan and now you’re faced with having to clean it. Sprinkle a generous amount of baking soda into the pot or pan and add a little hot water, now use a sponge to gently scour and lift the burn marks away.
Have you tried any of these hacks? Let us know your tips, tricks and hacks in the comments section below. We would love to hear from you.
Share These Hacks: