I got into the Philips Hue lighting system around two years ago, mainly because I was looking for a way to add a timer system to some lights around my home, which would also allow them to be controlled remotely. I’ve been pleasantly surprised by how well they’ve integrated into my home. I found myself buying a couple more bulbs shortly after getting the first ones, and my Philips Hue ecosystem has steadily been growing from there. Fast forward to a few weeks ago and I decided to try out the Philips Hue Play Light Bars to bring some colour to my living room, so here’s my experience unboxing and using them, including some great features and a couple of frustrations.
I picked up the Philips Hue Light Bars from Amazon for $85 on a sale, they typically retail for around $130. As with the other Philips Hue lighting equipment, they are quite expensive for what they are, and there certainly are cheaper options available, but I’ve found that the system works incredibly reliably, is really easy to setup and use and I’ve yet to have a bulb or switch fail.
Let have a look at the Philips Hue Play Light Bars…
Where To Buy Philips Hue Lighting
I’ve found that Amazon seems to stock the widest range and at pretty good pricing. They’re only usually beaten on their pricing if a store is running a good sale or special offer.
Here are some affiliate links to the products I’ve been using:
- Play Light Bars 2 Pack – Buy Here
- Philips Hue Bridge – Buy Here
- White Bulb Four Pack – Buy Here
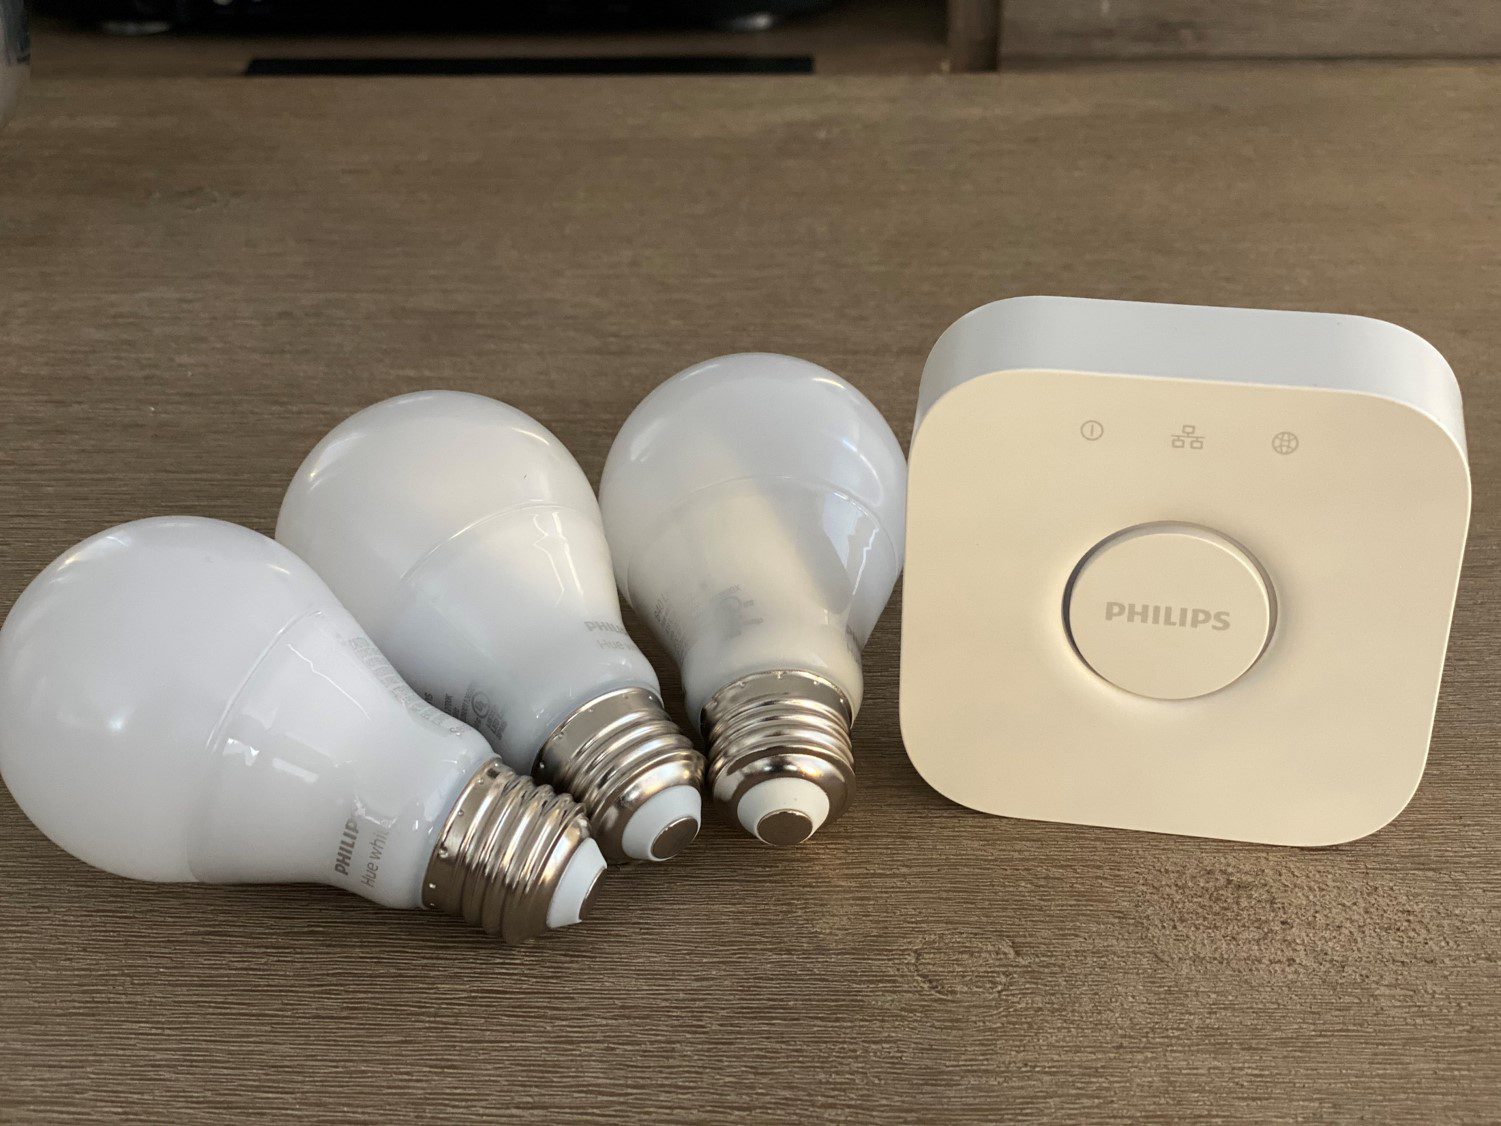
- Starter 3 White Bulb Pack with Bridge – Buy Here
- Dimmer Switch – Buy Here
Unboxing the Light Bars
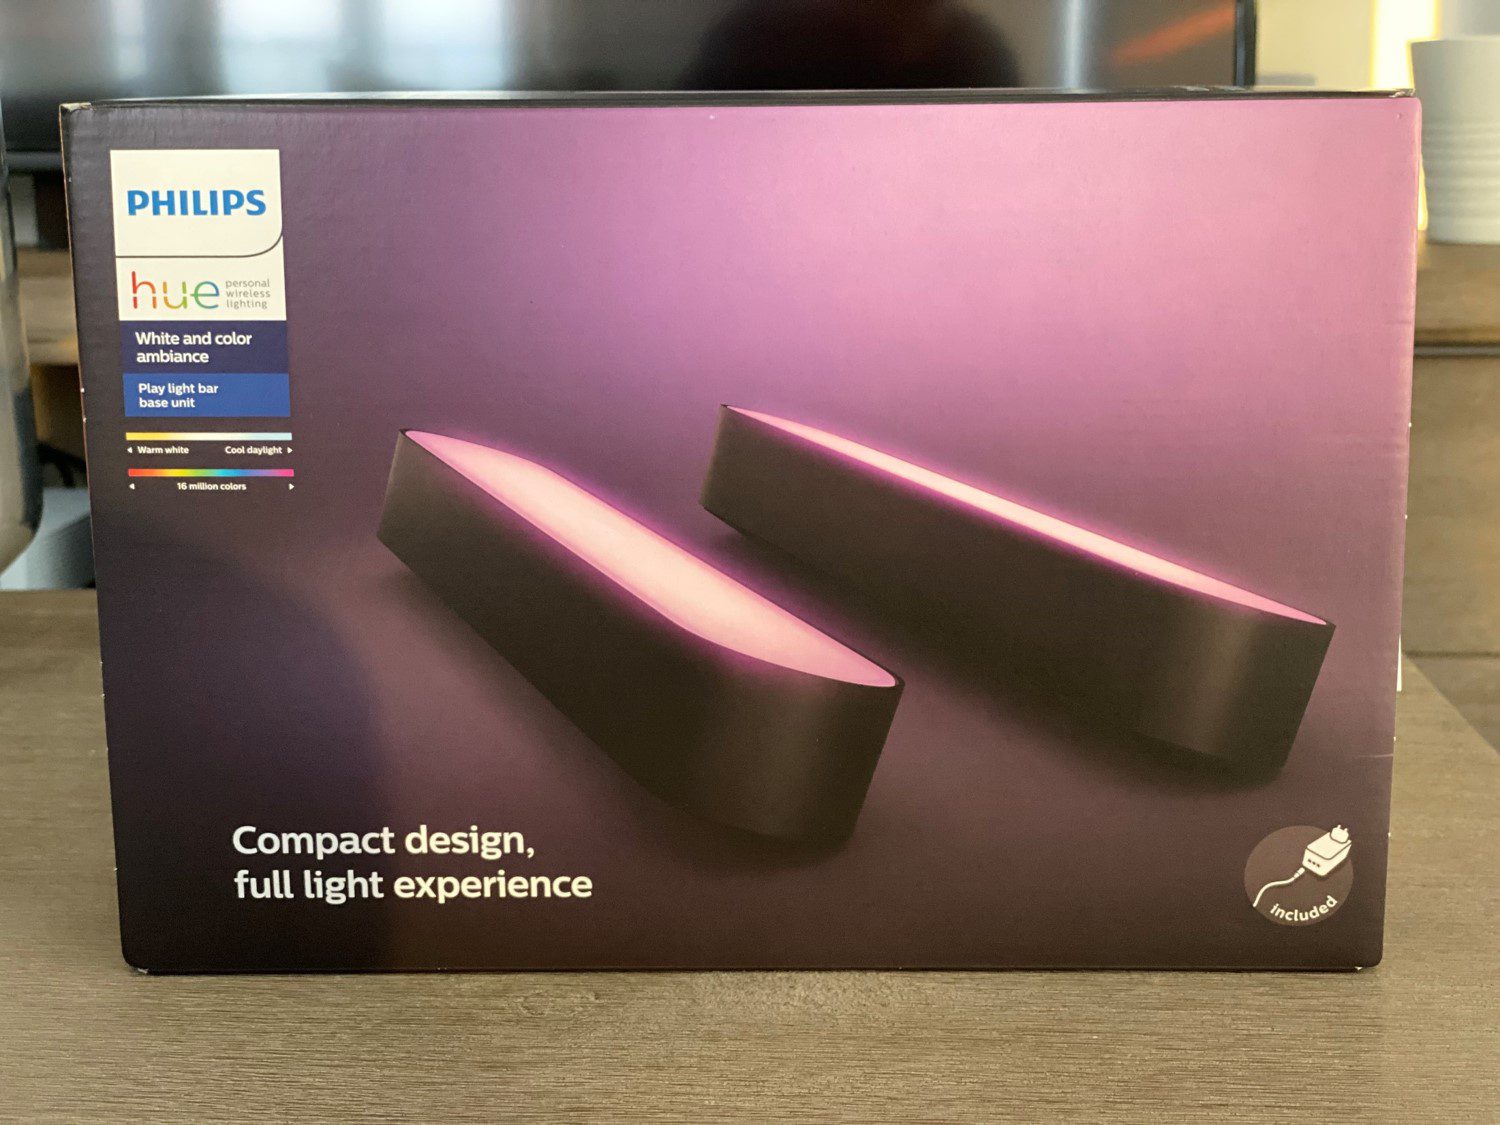
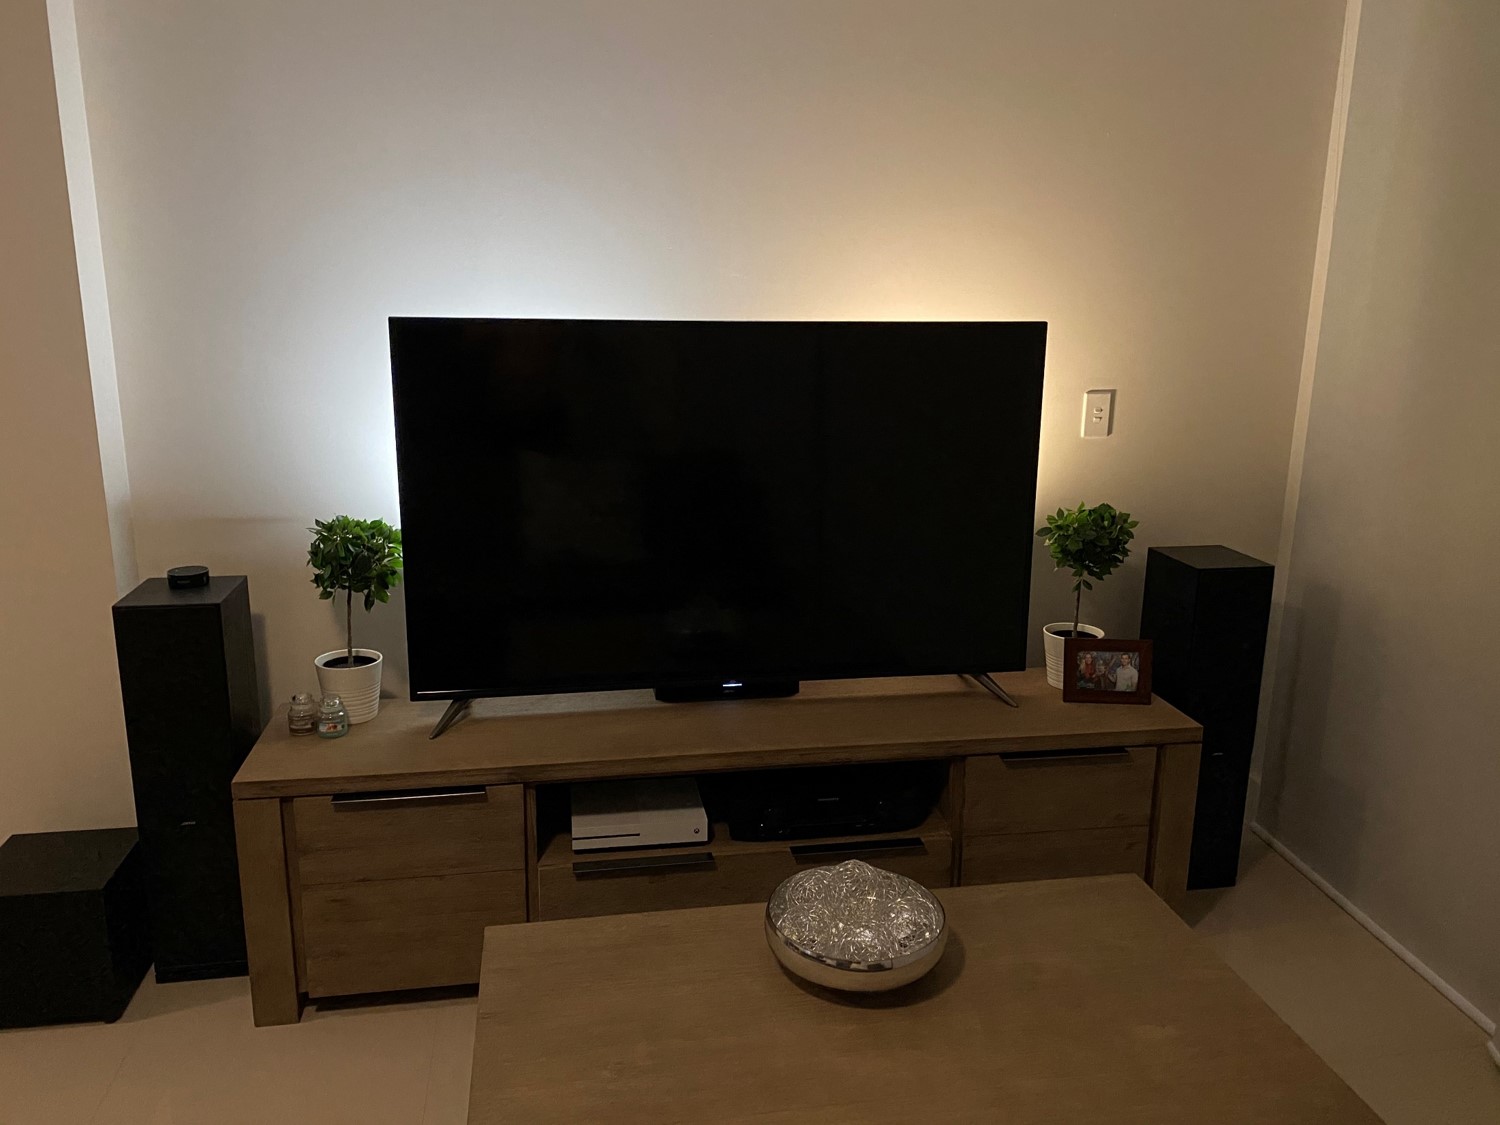
The Philips Hue Light Bars come in either an individual bar or as a bundled pack of two. I got the pack of two, which seemed like the best solution to be mounted behind my TV. I feel like it’s important to mention that while I bought them to mount onto my TV, they are primarily going to be used for ambient lighting and not for their TV sync capabilities. I’ve discussed this in more detail further on as it is one of the downfall of these light bars for the time being.
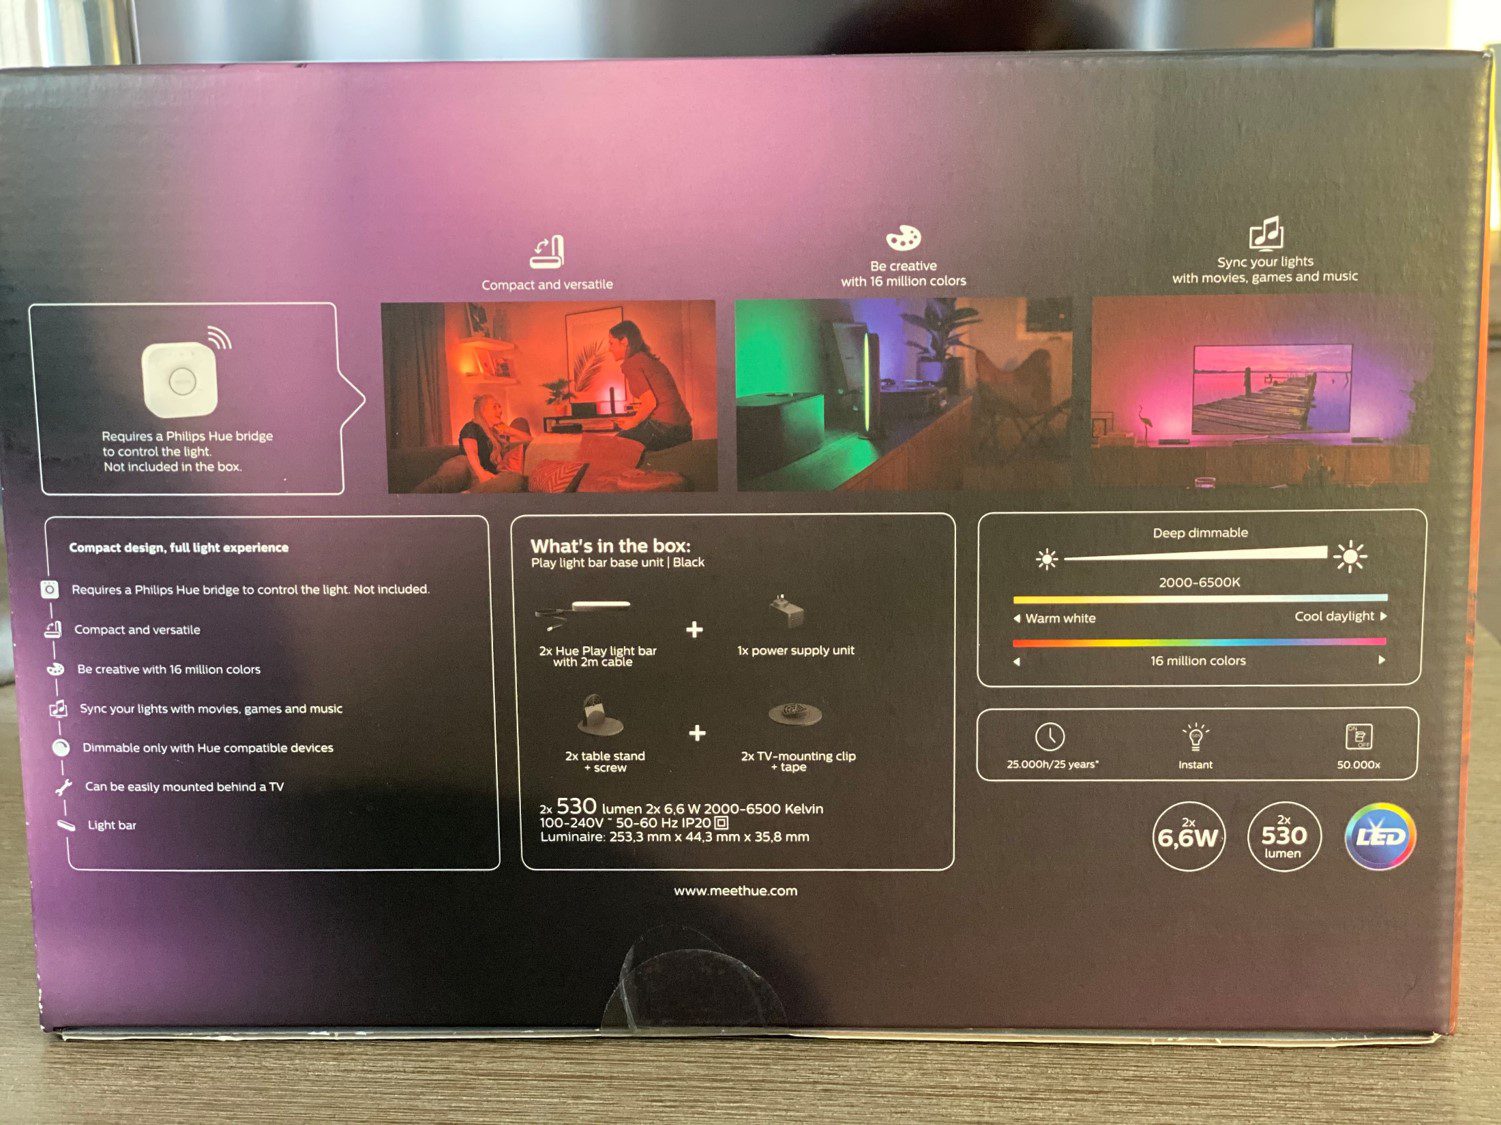
The box is a typically colourful Philips Hue box about the size of a shoe box with a couple of different lighting scenes on the back along with some technical information.
Technical Specifications
- Power: 6,6W Each
- Voltage: 100-240V, 50-60Hz
- Illumination: 530 Lumens Each
- Lifespan: 25,000 hours (Philips equates to 25 years of use)
- Switching Cycles: 50,000
- Colour Range: 16 Million Colours
- White Temperature Range: 2000-6500K (Warm White to Cool Daylight)
- Requires A Hue Bridge to control
What’s In The Box
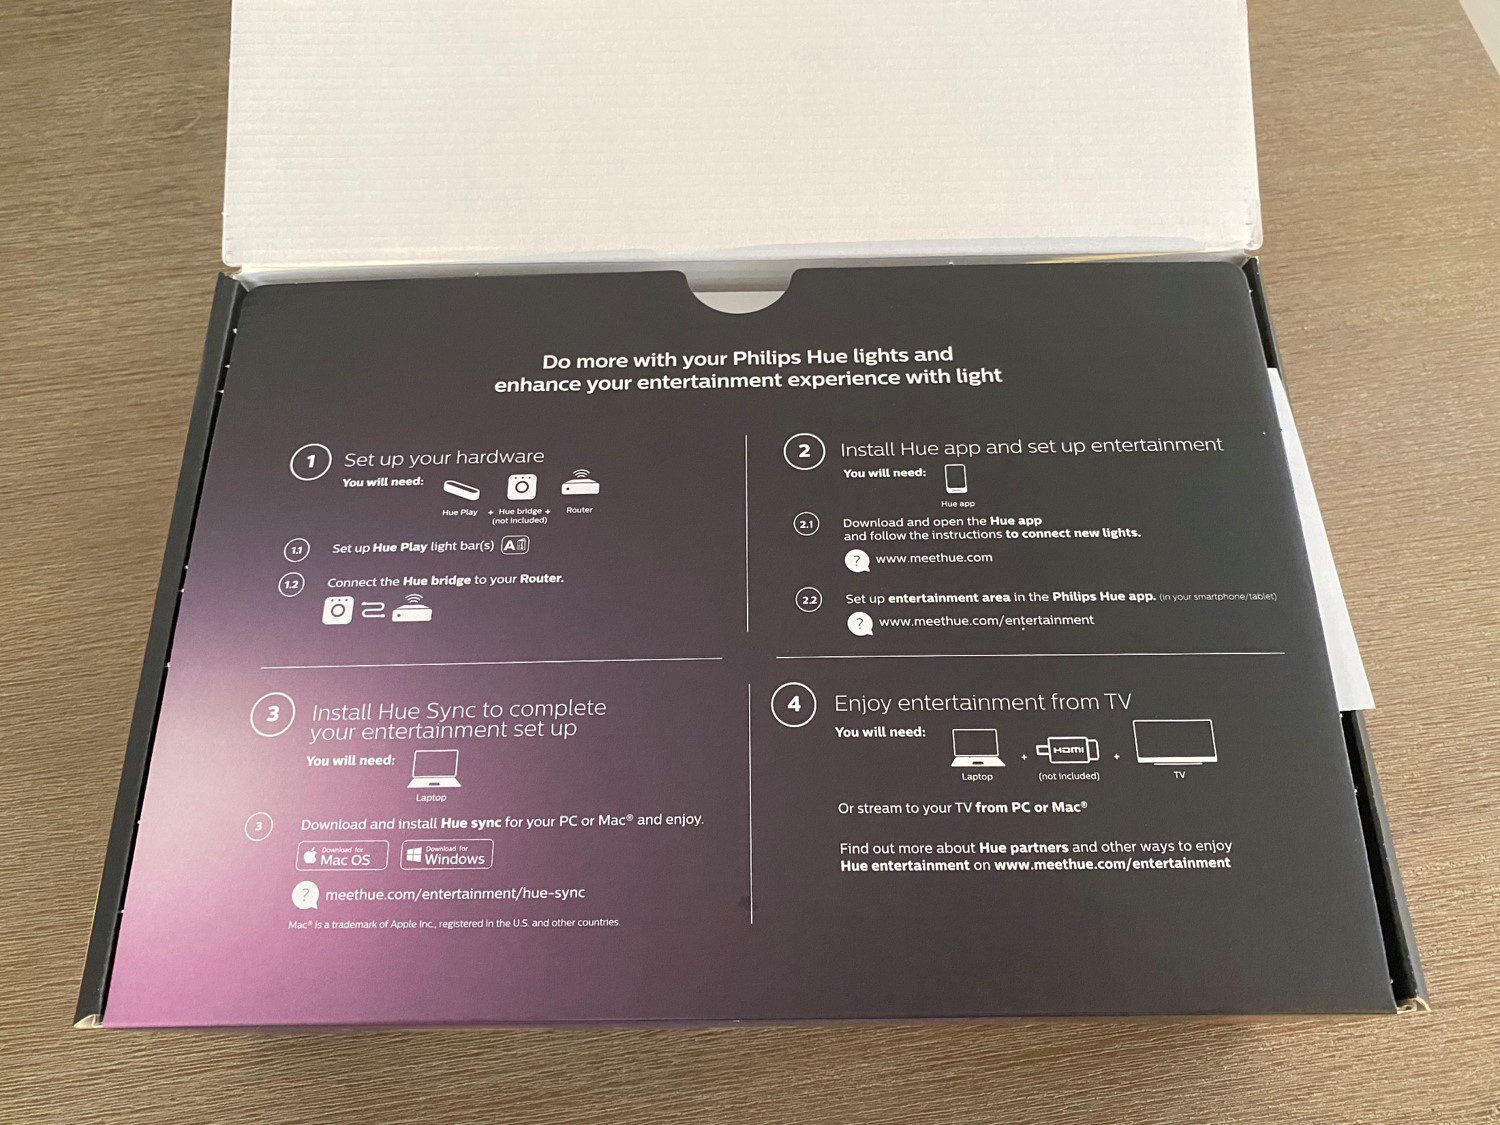
Opening up the lid of the box reveals a basic set of instructions which should be sufficient to get a tech savvy individual up and running. They also provide links to more information, which help out if you run into trouble.
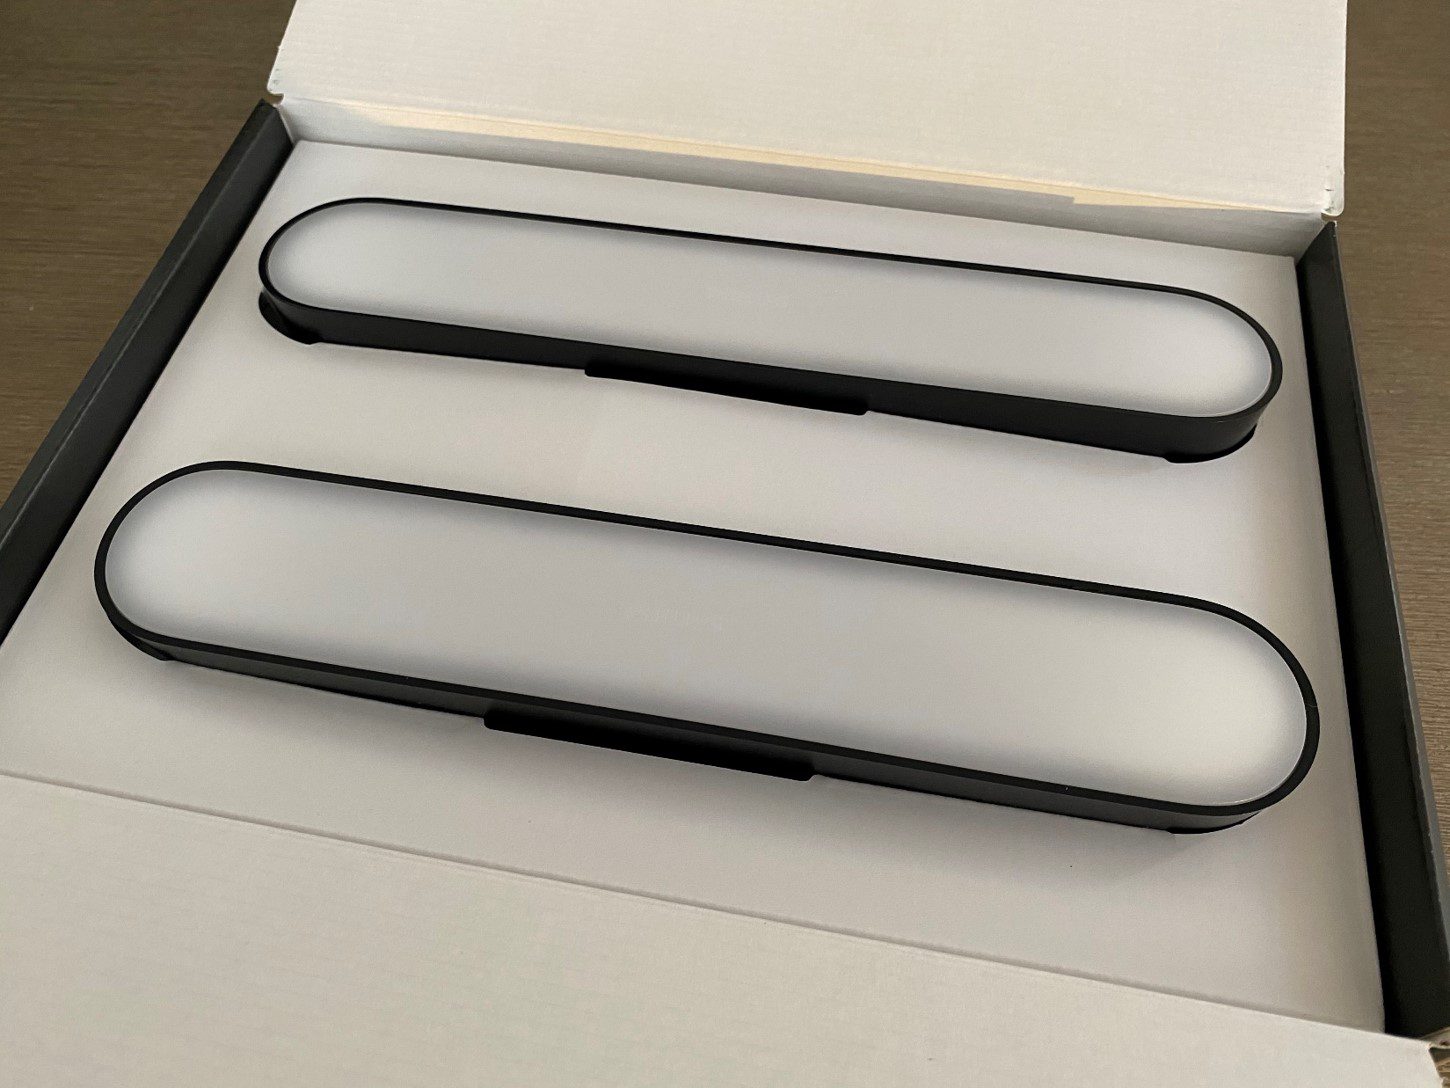
Folding this instruction panel away reveals the two light bars, which were a bit smaller than I was expecting. The packaging of the bars is neat and I understand what they were going for but it can be a bit frustrating to unpack. The bars are pretty well held in place, with the thin power cords wrapped into the backing sheet and no pull tab to lift them out or pull the cardboard insert out of the box. You kind of have to fiddle around a bit to pull them out enough to get the rest of the packaging out without pulling too much on the power cables. Maybe I’m just being overly critical, but a simple tab or lift here/pull here arrow or sticker would have made unboxing a bit easier.
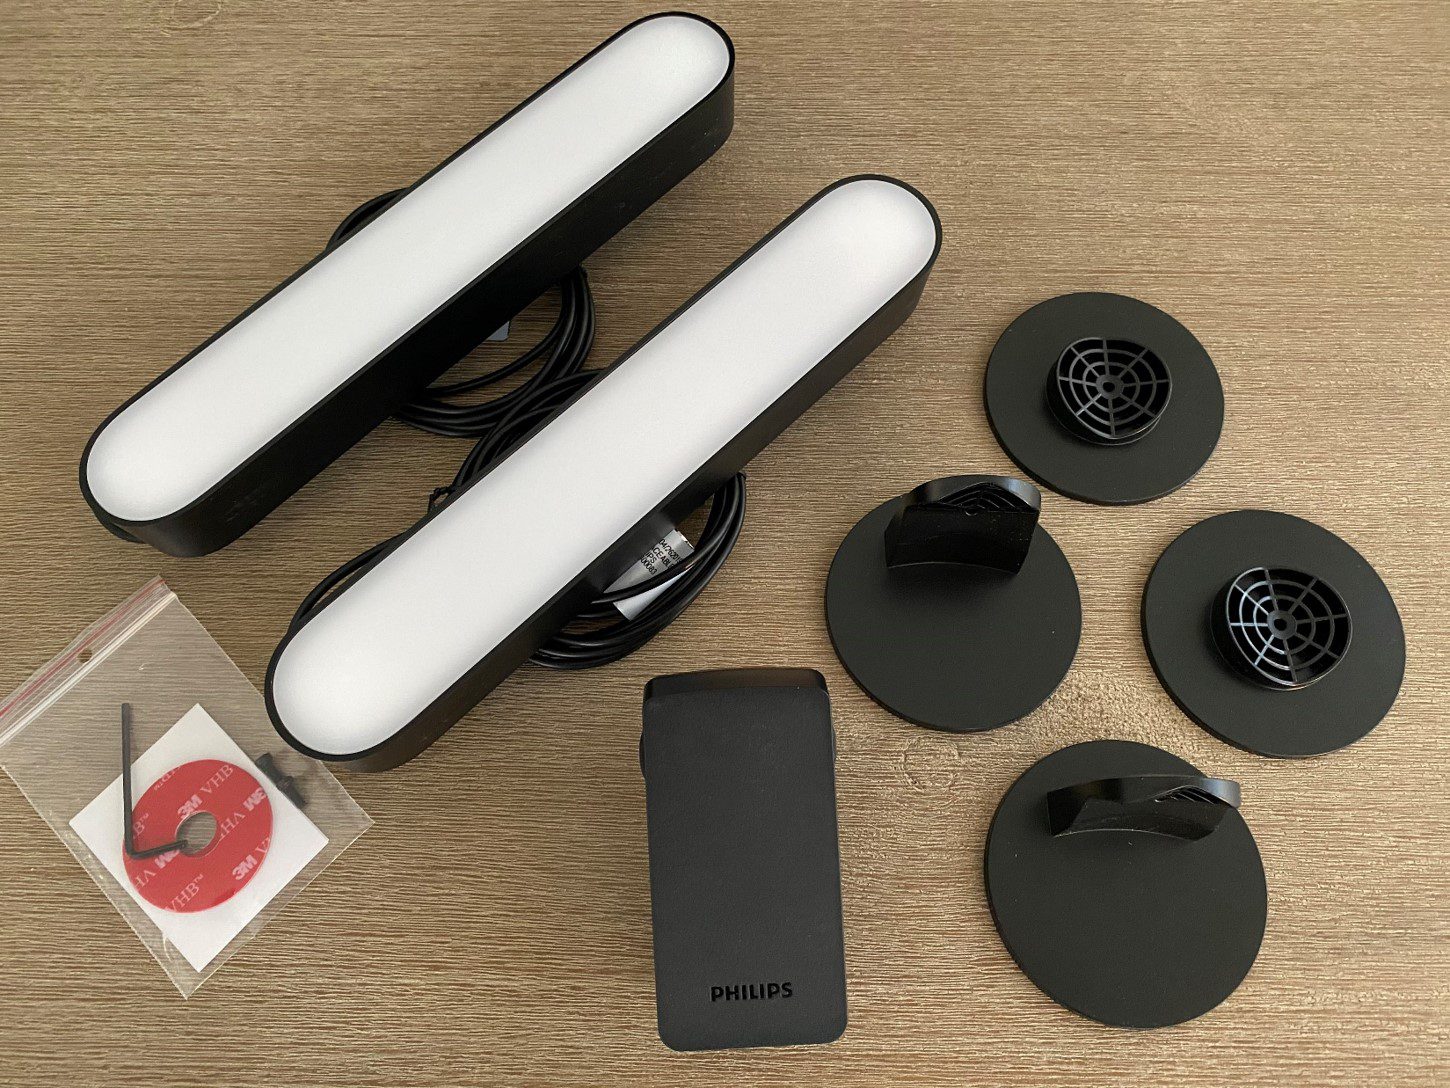
Inside the box are the two bars, the power adaptor (which can power up to three bars), two vertical stands, two horizontal stands, an allen/hex key and screws, two double sided stick on discs and two information guides.
The information guides are typically brief with links to more detailed information. I had no problem setting up the bars and pairing them to my bridge, app and switches. The app and interface is really intuitive but I can see how someone who’s not too familiar with technology may struggle a bit.
I also think they could have included a second set of double sided adhesive discs. If you change your mind about the positioning, get a new TV or move home then you’ll need to buy another set of discs to stick the stands on with, and given that they claim that the lights will last around 25 years, this seems pretty likely.
Installation & Pairing To The Hue Bridge
The installation of the light bars is quite easy as well. You’re given two sets of mounting stands, one vertical and one horizontal.
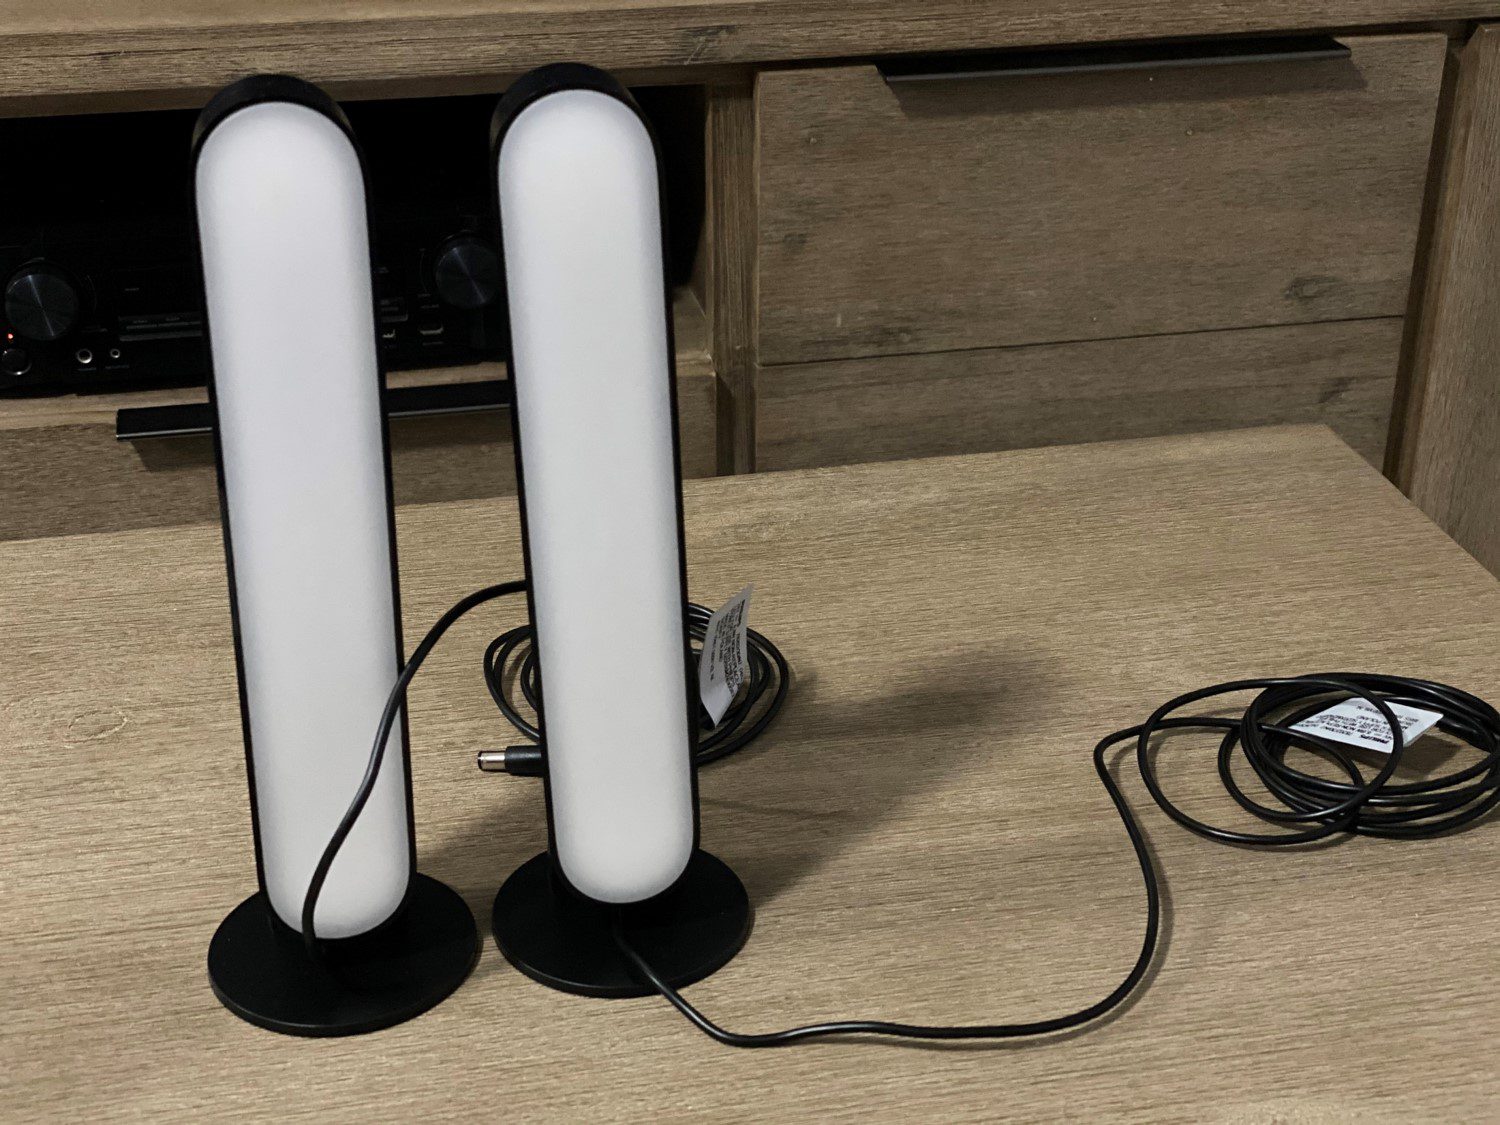
The vertical stands could be used to place the light bars upright on a shelf, behind a tv or in the corner of a room, facing a feature wall and are best suited for directing the light across the length of the wall.
The horizontal stands would be better suited to mounting on the back of the TV or lying them down on a TV stand, shelf or counter and directing the light up the wall and a little onto the ceiling.
Once your light bars are on their stands on a shelf or stuck to your TV, plug them into the adapter and power them on. Just like any of the other Hue products, they immediately turn on. They automatically switched on to a default warm white colour at around 70% brightness.
You then need to pair them to your Hue Bridge.
If this is your first Hue Bridge then you’ll first need to set it up by plugging it in, connecting it to your router (via Ethernet cable) and then following the prompts on the Hue app on your mobile phone. This shouldn’t take more than a couple of minutes, although it often requires a firmware update as well.
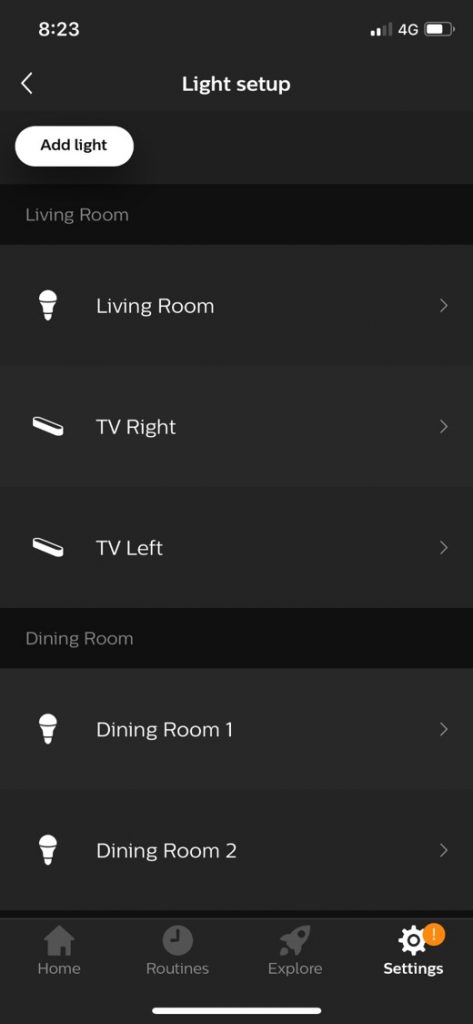
If you’ve already got a Hue Bridge or you’ve now got your new one up and running, you can open up the Hue app on your mobile phone and head over to the settings tab at the bottom and then click on light setup. This allows you to either enter the light’s serial number or wait for the app to automatically detect any unpaired lights. I usually just wait for it to automatically detect them and I’ve never had a problem with a light not being discovered, although I’ve never used the system in a really large house where I’d imagine you’d start running into signal strength issues. Your app should pick up the two light bars, after which you can name them and they’ll be ready to add to a room or zone.
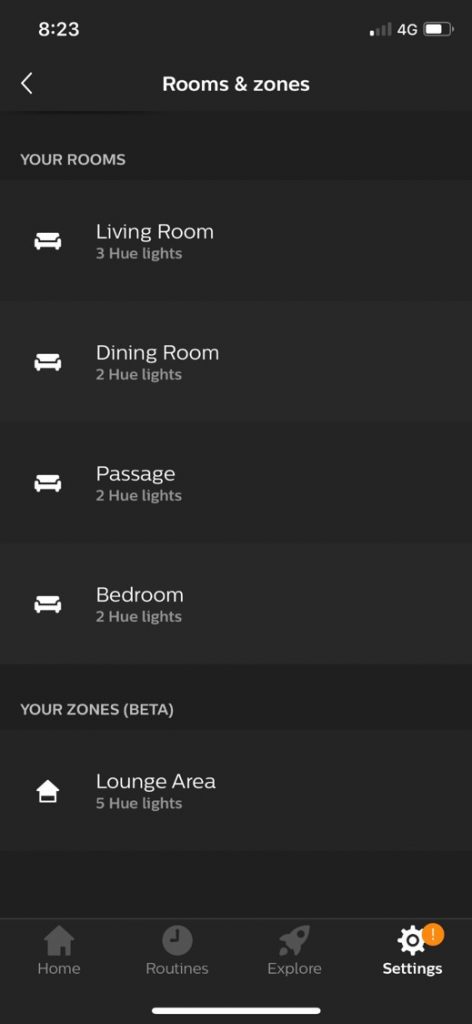
Zones are a fairly new feature to the Hue app which allow you to merge multiple rooms or individual lights into a single zone. This is a useful addition to control larger areas of lighting, such as all of the lights downstairs or all lights upstairs or in an open plan living and dining room like mine.
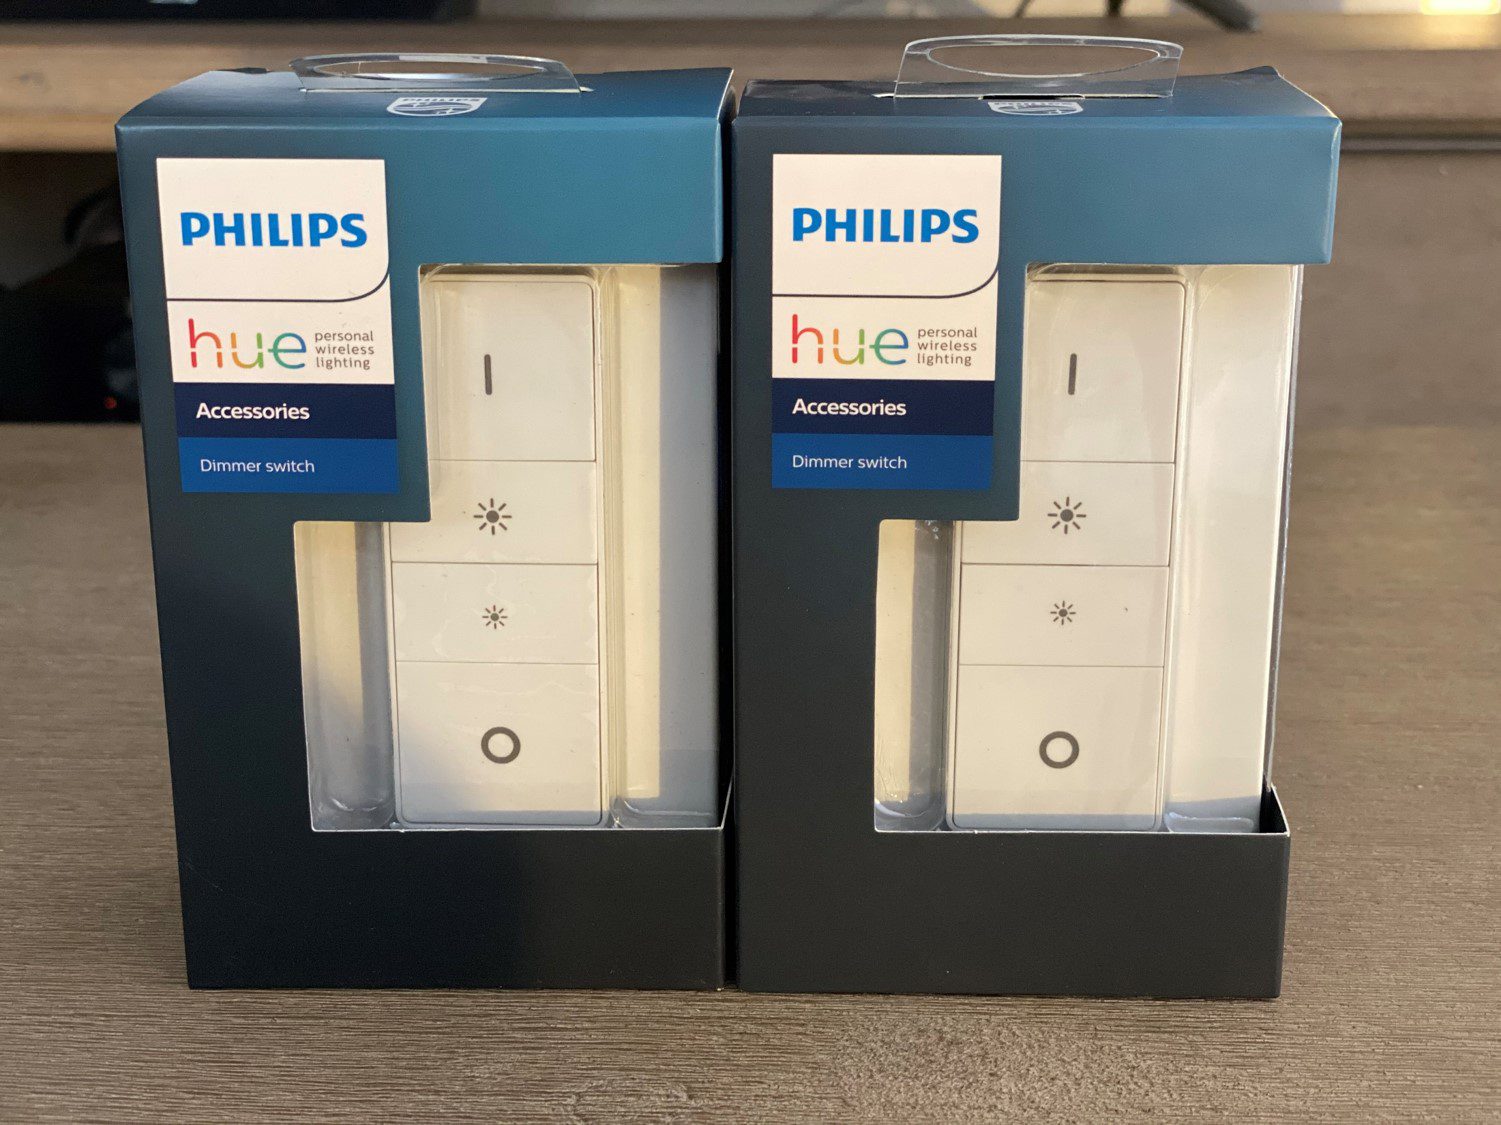
You can then also pair additional switches or dimmer switches to control the newly created room or zone. While you don’t really need to have these dimmer switches, as all of the functionality is available through your mobile phone’s app, they do play a big part in making the lighting system feel more integrated into your home. Having a physical switch or remote control on the wall or available in a room when you don’t have your mobile phone around makes it a lot easier to adapt to having a wirelessly controlled lighting system and not revert back to flicking the switches on the wall.
I’d like to see Philips come up with a solution to stick these switches over an existing light switch, as this would lessen the chance of someone turning the light off manually which would require a physical switch back on to get the connected lights running again. I have seen a couple of third party options available online though.
Using The Philips Hue Play Light Bars
Now that your Play Light Bars are set up and paired to a room, you can start playing around with the colour options and creating scenes.
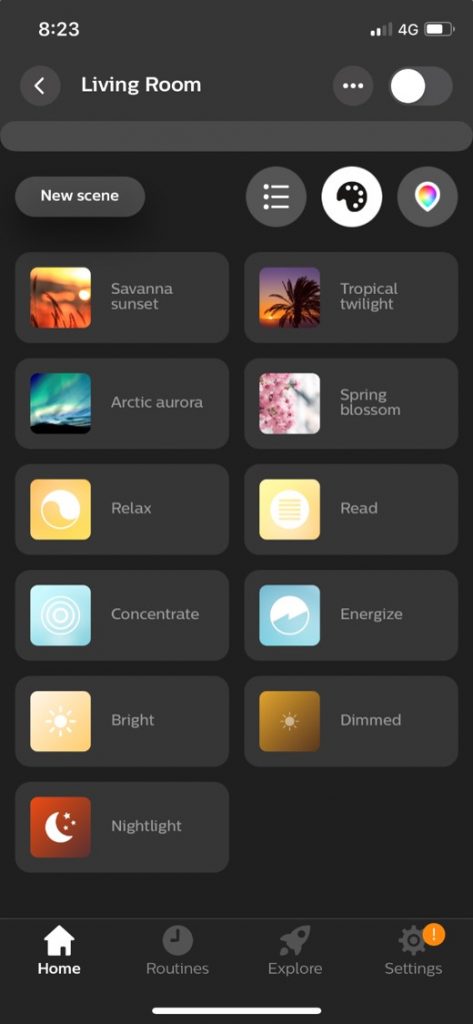
Scenes are effectively different colours and colour combinations displayed by the different lights in a room, saved under a pre-set with a title and image/icon. They make it easy to set your lighting up quickly for different moods or tasks.
You could set a scene up for watching TV which could involve turning off or dimming the main light and setting the play light bars to 60% brightness or create a scene for reading which turns all lights to a bright warm white. There are a number of built in scenes with pre-set lighting combinations which can be used by themselves or used as a base to create your own customized scene.
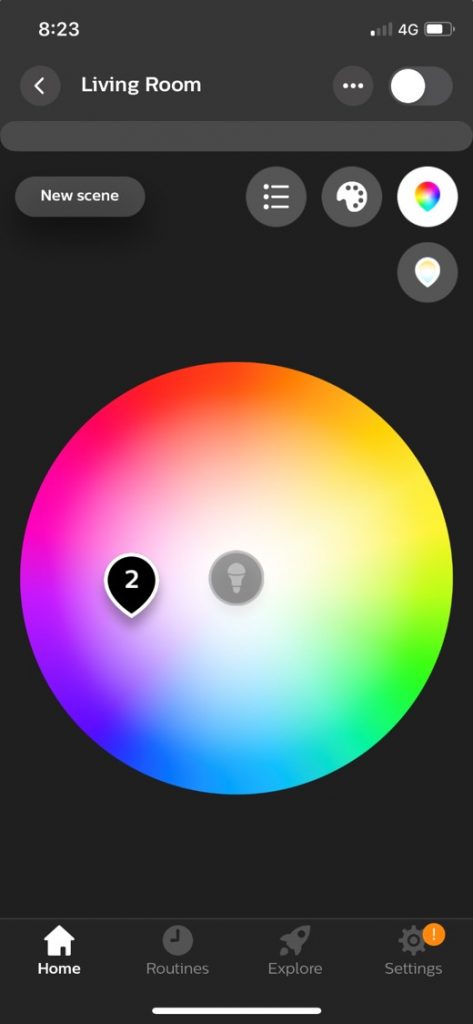
Scenes are set up by dragging the icon for each bulb around a colour pallet. You can also overlap bulbs to make them the same colour by dragging them onto each other, they’ll then show up as a number, representing the number of bulbs displaying this colour.
If you’ve got one or more of the dimmer switches, you can also use the “on” button to cycle through up to five different pre-set scenes and dimming options, a nice addition if you often do a few activities in the same room; like reading, watching tv or having drinks with friends all in the living room.
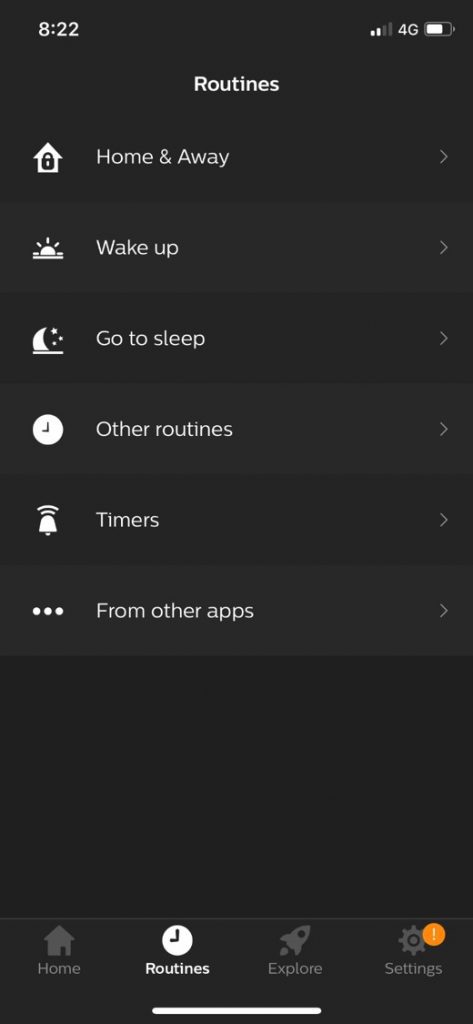
One of the feature’s which I use most often with the Philips Hue app are the routines. Routines enable you to create automated functions for your lighting based on timers or locations. This enables you to turn on certain rooms or zones at a particular time of day, simulate a sunrise or sunset or use location based services to turn off lights when you leave home and turn them back on when you get nearby your home again.
There are two particularly useful features to the routine timers which I think are useful addition. The first is the ability to turn lights on or off based on sunrise or sunset times. This prevents the usual problem with fixed timers turning your lights on well after dark or before sunset when used without adjustment over a longer period of time. The second is the random timer option, which is more of a security feature, allowing you to create a time window in which to turn the lights on or off and the Hue Bridge will then randomly switch the lights during this time frame. This create the impression that a person is home and the lights are not just on fixed timers.
Lastly, the Philips Hue lighting system pairs pretty well with Amazon’s Echo devices to allow voice controlled lighting around your home. You can ask Alexa to turn certain lights, rooms or scene on and integrate Hue lighting options into your Alexa apps routines as well.
Using Hue Sync For Immersive TV Back Lighting
One feature which is sort of fundamental to a lighting system which is designed to be mounted onto the back of a TV is the ability to synchronise the lighting with your movies, games or music. This feature, which is probably the Hue Play Bar’s greatest potential, is also the primary reason why I wouldn’t recommend getting them just yet.
There is some functionality provided out of the box, but it’s really not that practical and the best option for synchronisation is really expensive. You’re given the ability to install the Hue Sync app onto a PC or Mac, which allows the lighting system to sync up with the colours being displayed on your monitor and this seems to work pretty well. This is fine if you’re using your computer to watch TV or play games, but in the era of smart TV’s, having to pair your TV to your computer or cast content to your TV is a little cumbersome. Philip’s answer to this is an HDMI Sync Box, which essentially passes the HDMI signal through and uses the signal to sync the lighting, it looks like a great product online but it retails for $230! From what I’ve found, it’s their most expensive product. For a simply HDMI box. Just to get your lighting to sync with your TV, it seems like a heavy price tag for this functionality. And there isn’t any way to sync lighting if you’re using one of the apps on your smart TV and not an external box or consol.
If you’ve got an app for PC or Mac, why not expand this app to work directly on Android based TVs and gaming consoles? A simple free to download Xbox app would be able to drive the lighting and save me $230, it seems like a no brainer. From Philip’s Q&A platforms, it seems like this development is in the pipeline, so it may become available in the future. Until then, I wouldn’t recommend getting these lights for their syncing ability, unless you’re happy to fork out the extra $230.
You can learn a bit more about how the Hue entertainment syncing works on their website.
Should You Get The Play Light Bars
I think the decision shouldn’t be whether or not to get the Hue Play Bars, but rather the Hue Lighting System. If you’ve already got a Hue Bridge and a couple of lights then the Play Bars are a great way to add some colour to the room and create more dynamic scenes.
The TV back lighting synchronisation needs a bit more work to be really useful. If you’re just looking at getting the Play Light Bars and you’re not planning on expanding your lighting system then I think there are cheaper options available which have more functionality solely for TV back lighting and offer better value for money.
Philips have really gone a long way in making a broad range of good quality, easy to use, smart lighting products which work together really well together but they really need to be used together in order to really make use of the features and see the benefit in having a smart lighting system. It’s one of these systems where the more you buy into it, the better and more usable it gets.


