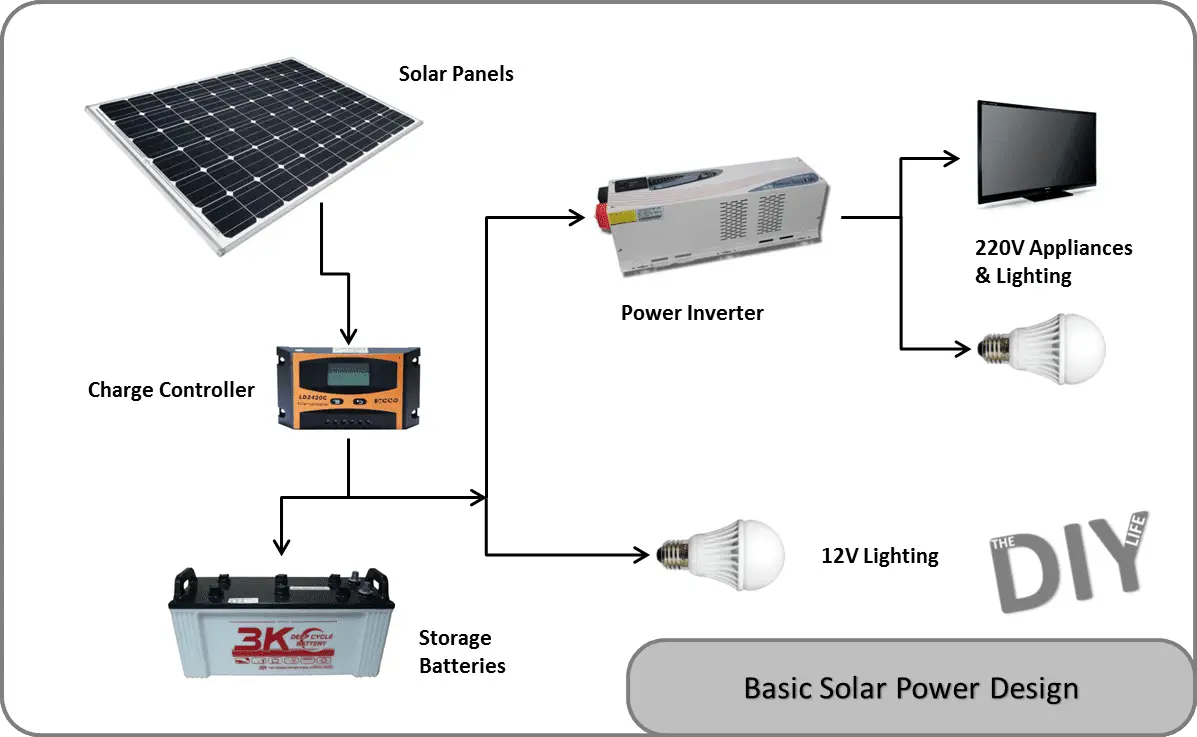
An inverter is one of the most important parts of a backup or solar power system as it converts the 12V DC stored in your batteries into 220V/110V AC for your appliances to run on. Assuming you are familiar with the basics of a backup, off grid or solar power system, this article specifically details how to select the correct inverter for your system depending on what you want to get out of it.
The first step is to determine your system voltage. 12V battery systems used to be the predominant standard for household backup and solar systems however 24V or 48V battery systems are now becoming more common. The higher the voltage the lower the current required for the same power output therefore the wiring is lighter and cheaper and the inverter efficiency is increased. 12V batteries or banks of batteries are connecting in series to make up 24V and 48V systems.
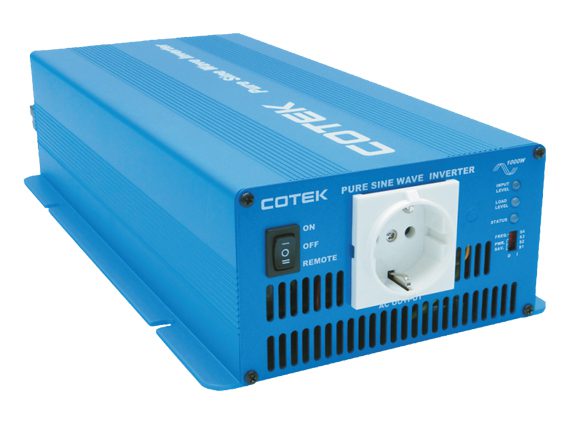
The second aspect is to decide on the power quality required. Inverters predominantly come in two types, pure sine wave and modified sine wave. A pure sine wave inverter produces the natural form of AC power and is usually even better than utility grid power, making it suitable for sensitive electronic equipment. This comes at a cost though as complex circuitry is required to produce a pure sine wave, these inverters are usually five to ten times the price of modified sine wave inverters. Modified sine wave inverters feature simple circuitry which produce a waveform similar to a sine wave, however, the wave is “dirty” and sensitive electronic devices function poorly or can be damaged by them. Below is a comparison of the waveform produced by modified and pure sine wave inverters.
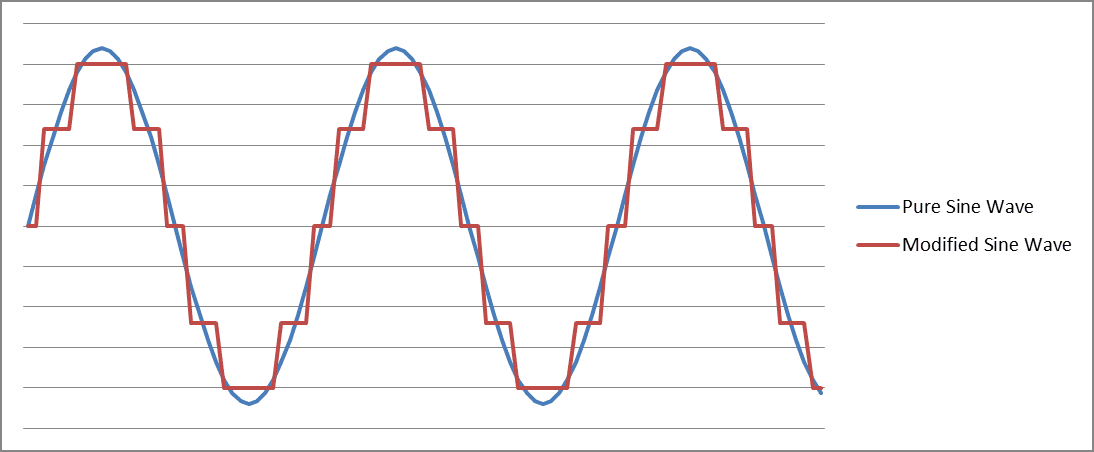
The modified waveform causes devices to run at poor efficiency, produce more heat and it confuses sensitive digital timing circuitry. A slight buzzing sounds will be heard from a range of appliances including lights, transformers, chargers, fans etc. Televisions and computer screens will generally show faint rolling lines on the screen. Unless cost is a major issue, pure sine wave inverters should be used for all applications and modified sine wave inverters should not be used for expensive equipment as their lifespan may be dramatically reduced.
The last step is to choose a power rating, inverters are sized based on their maximum continuous power output in watts. There are commonly two power ratings specified for an inverter, the continuous power which is the more commonly quoted power and the peak or maximum power which is the maximum power an inverter can supply for a short amount of time (usually 30 seconds to a minute) before it overheats. An interactive spreadsheet is available through this link to help you estimate the power requirements for sizing an inverter.

Electrical appliances typically have a power rating stated somewhere on the appliance also in watts or kilowatts. In order to select the correct size inverter, you need to know what the maximum continuous load you will be placing on the inverter is. See the below table for an estimate on various appliances and tools, this table is also available in a spreadsheet through the link mentioned above. In the type column, the PS refers to whether a pure sine wave inverter is recommended for the appliance instead of a cheaper modified sine wave inverter.
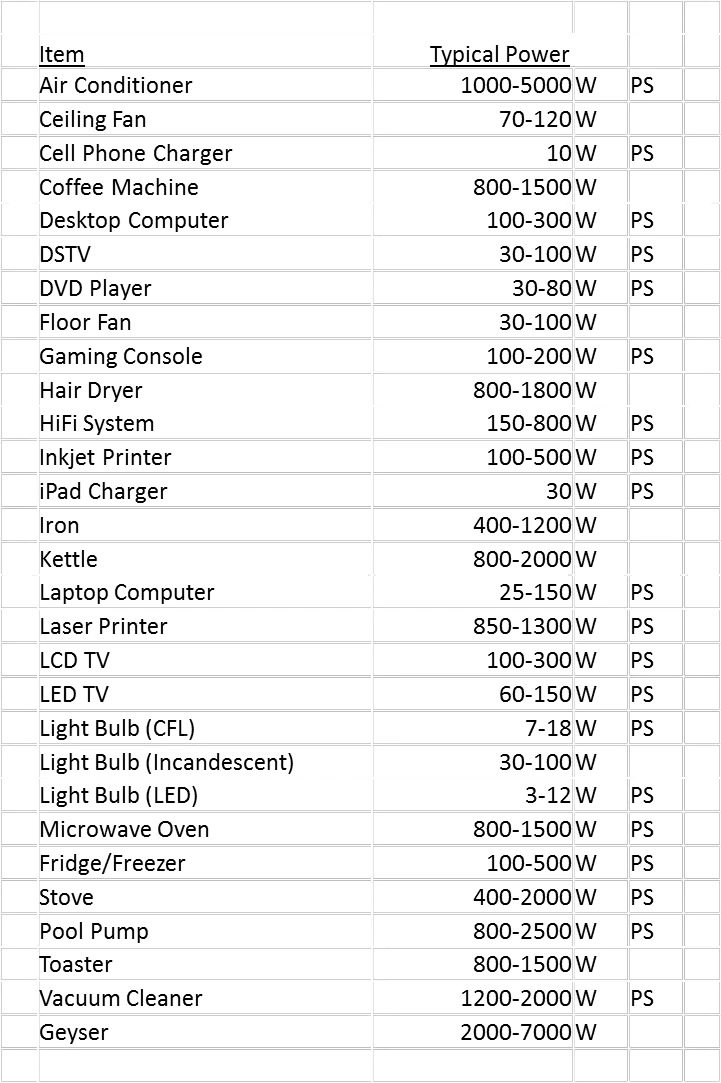
Please note that these are an estimate only and will not be exact for all appliances. Please consult the individual product manual or specification for the exact figures.
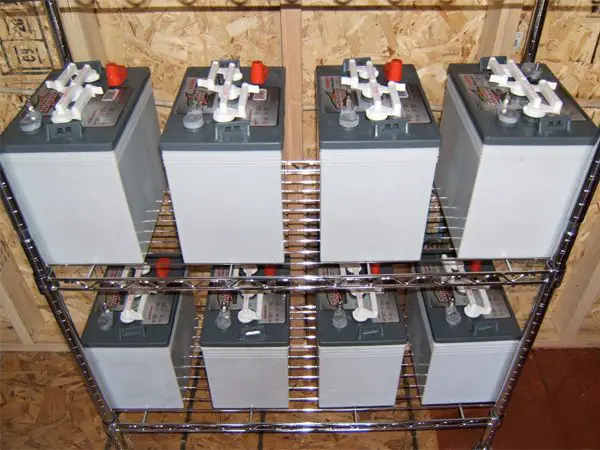
The last few things to consider are the inverters efficiency and its protection. The efficiency of a good quality inverter is usually over 95% however this is quoted at the maximum continuous power. The efficiency is lower when only half of the maximum load is being drawn and very poor at low loads. An inverter producing no AC power still requires some DC power to run (usually between 10-50W). The inverters electronics should also be adequately protected from power surges, over temperature, short circuits etc. In addition to these basic protection functions, an inverter may protect the battery system by not over discharging the batteries. A battery can be badly damaged if it is discharged below its minimum voltage which is costly to replace.
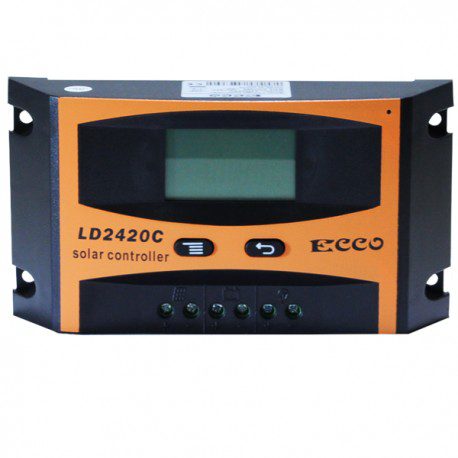
Inverters which are designed to act as UPS systems (for power outages) will have a built in battery charger. These inverters will have a plug to be put into a standard AC socket and will re-charge the batteries when the inverter is not being run and the house has power. If a solar power system is being designed, it is beneficial to have an inverter without a built in charger as the built in charger will interfere with the solar charge controller’s output. A separate battery charger can be used when needed when there are periods where there is not sufficient sun to recharge the batteries.
Do you have any comments, questions or suggestions? Please leave them in the comments section below, we would love to hear from you.