The Streamlabs water monitor is an innovative product which makes it super easy for almost anybody to install and get started monitoring their water consumption and protecting their home against leaks. The non-invasive monitor simply slips onto your water supply line and in a couple of steps, starts providing you with data on your water usage and habits through the app.
The Streamlabs Smart Home Water Monitor is available for purchase directly from their website https://streamlabswater.com for $199.00 including shipping. It is also available through Amazon for the same price – Buy Here.
Let’s have a look at my experience setting up and using the Streamlabs Water Monitor.
Unboxing
The Streamlabs device comes well packaged in a simple black box with the Streamlabs logo and a couple of images around the edges indicating how it is used and installed and what is required for it to operate.
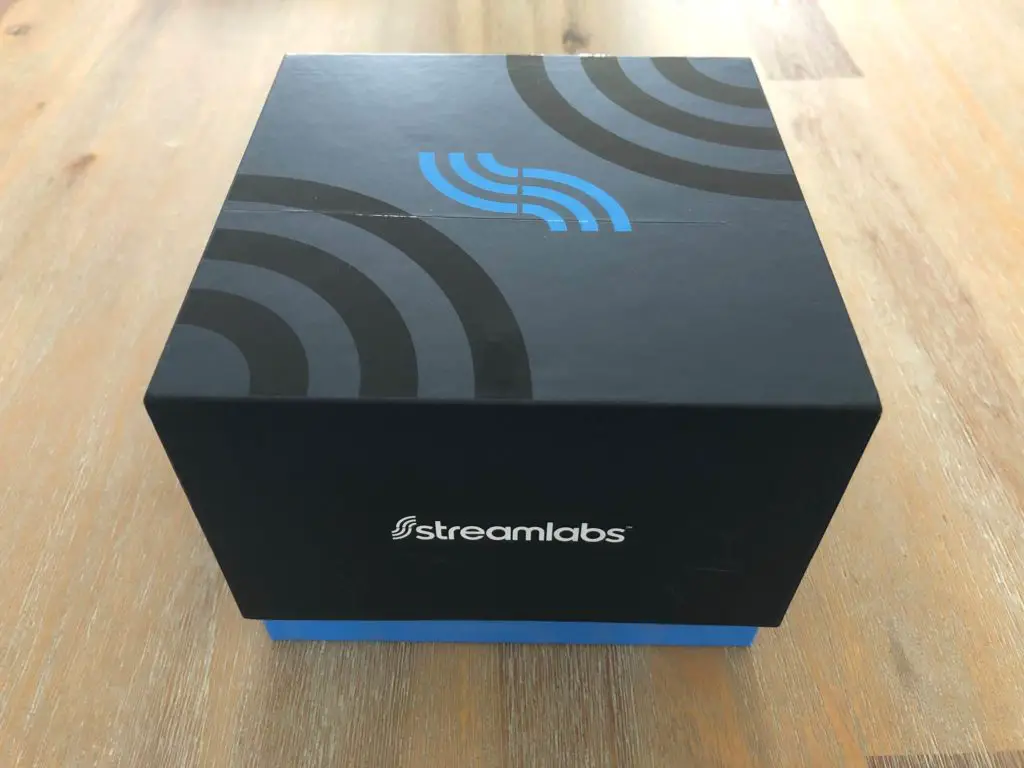
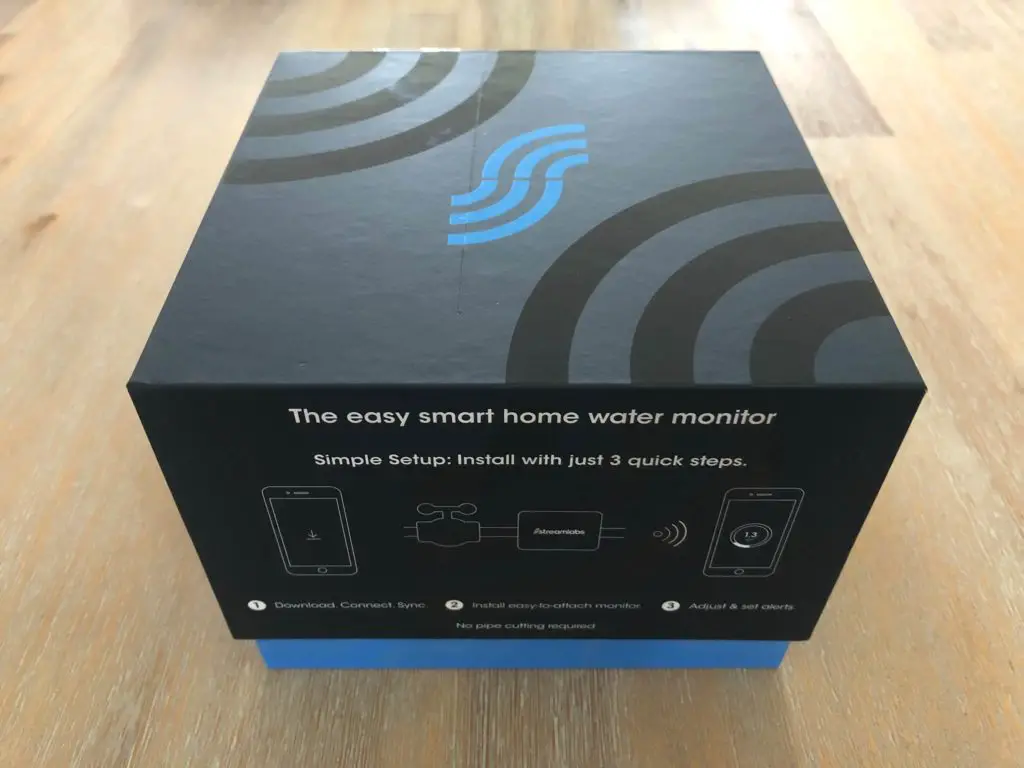
Slipping off the lid, you are first presented with the water monitor, and underneath it the installation ties, power supply and manual.
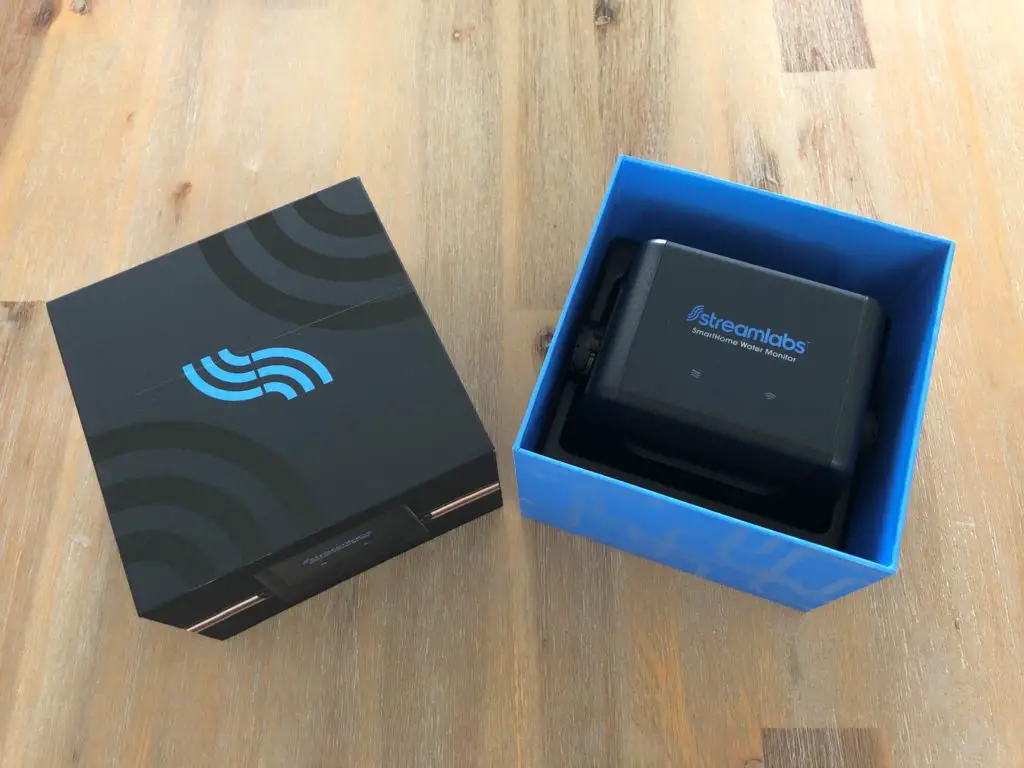
Included in the box is:
- The Streamlabs Water Monitor
- Power supply
- Installation zip ties plus one extra set and anextra set of contact pads
- An installation/operation manual booklet.
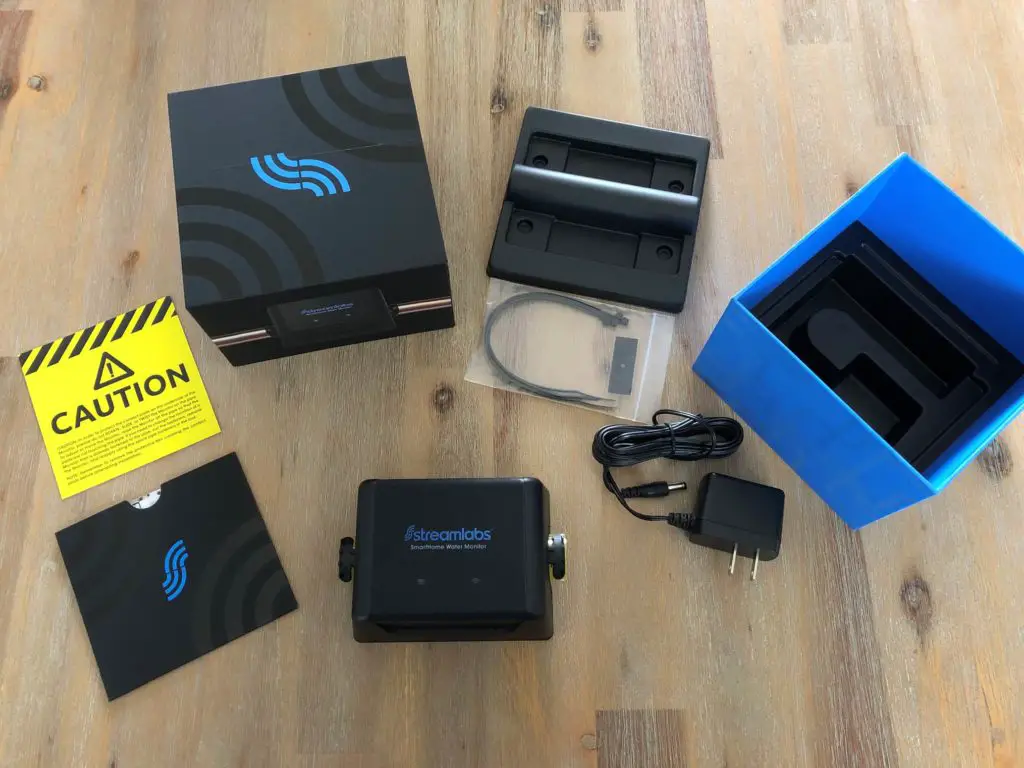
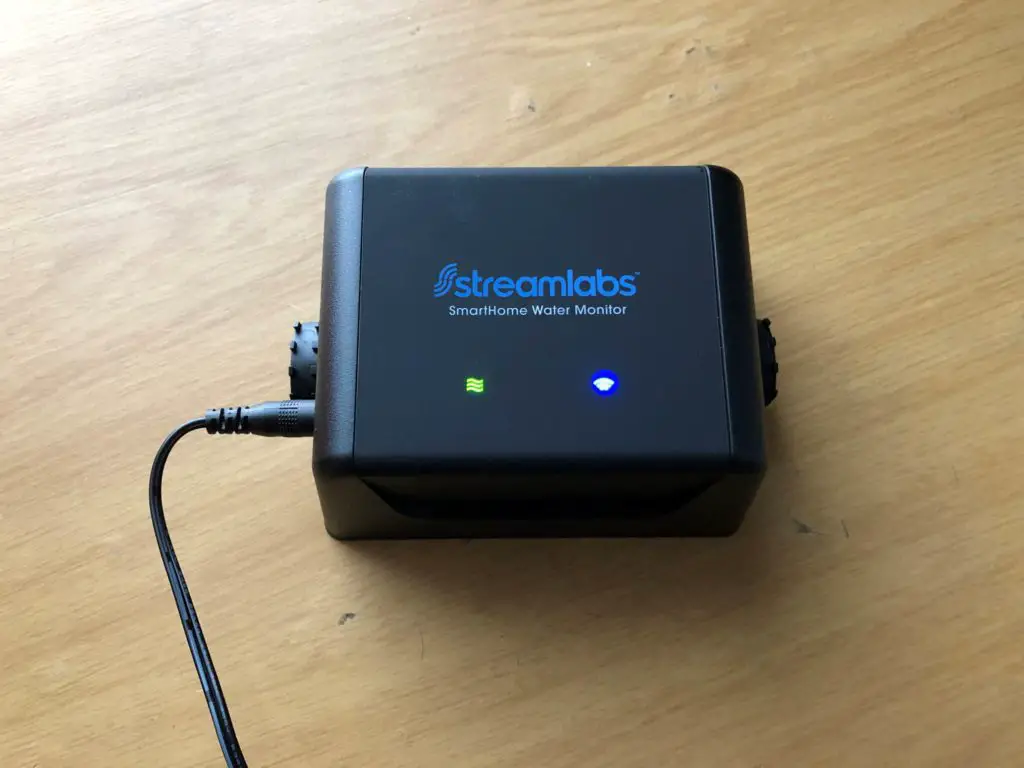
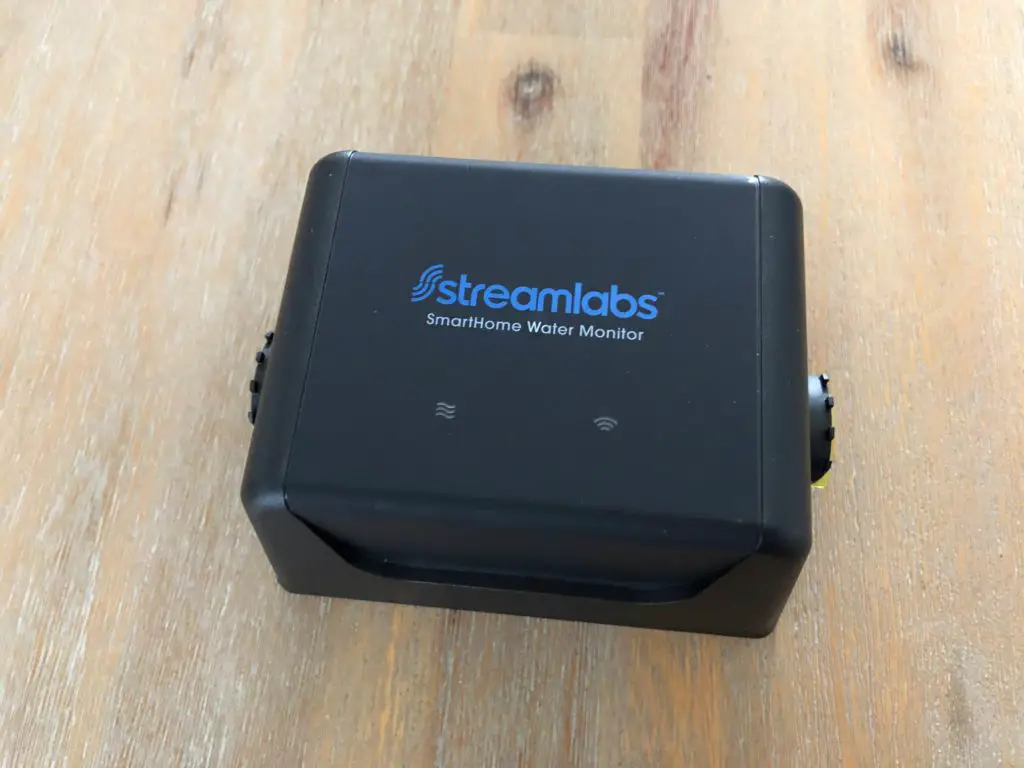
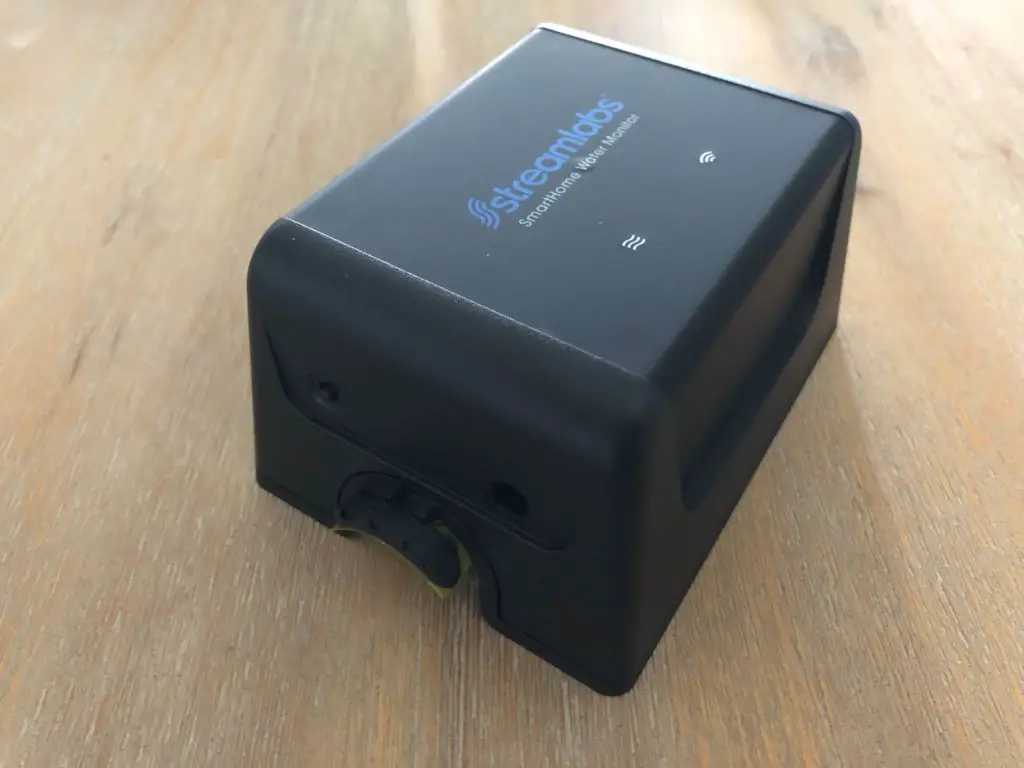
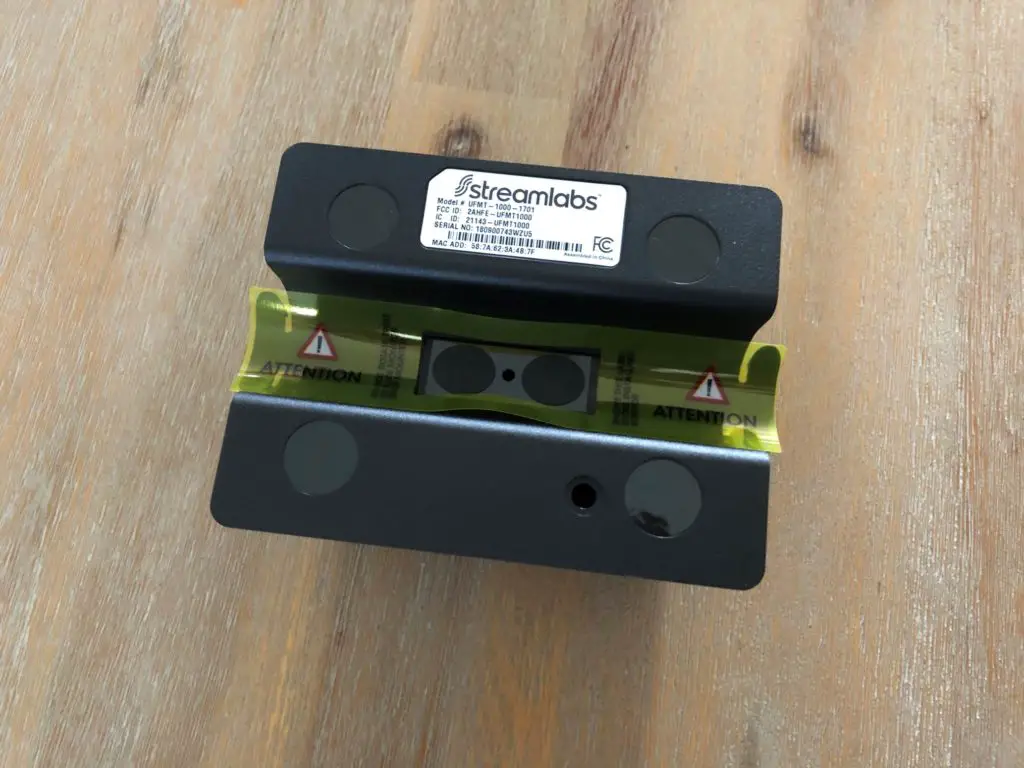
The physical water monitor has minimal user interfacing. There are two LEDs on the top surface which indicate that the unit is calibrated and connected to WiFi and there is a port for the power supply on the side along with a WiFi reset button. Apart from the sensors on the bottom, that’s all that there is to the outside of the monitor.
Technical Specs
If you’re not that interested in the technical details, skip to the next section.
- The app is available on iOS devices runningiOS11 or later and Android devices running Android 6 or later.
- It works on copper schedule M&L as well as PEX and CPVC piping in ¾” or 1” diameter sizes.
- The power supply is pretty universal and operates on 100-240VAC 50/60Hz.
- It is designed for indoor use with an ambient temperature range of 0°C (32°F) to 46°C (115°F) and a water temperature range of 4.5°C (40°F) to 26.5°C (80°F).
Installation & Set Up
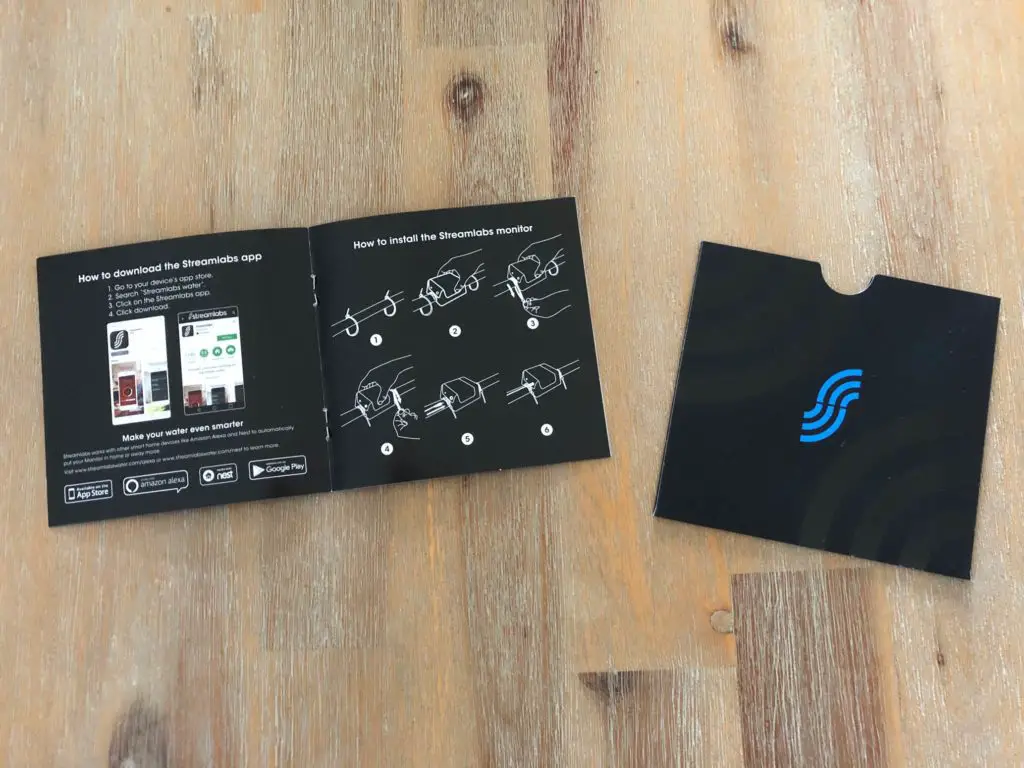
To start out, I had a quick flip through the manual which is only a couple of pages long. I have to admit that I was initially a bit sceptical about how simple the manual made the installation and set-up out to be and expected to run into a few problems along the way. My scepticism was quickly put to rest, it really is this simple.

The manual gives you a brief summary of the inputs and LEDs, the installation process and the technical specifications.
To start out you need to download the free Streamlabs app which is fairly simple to find in the App Store or on Google Play.
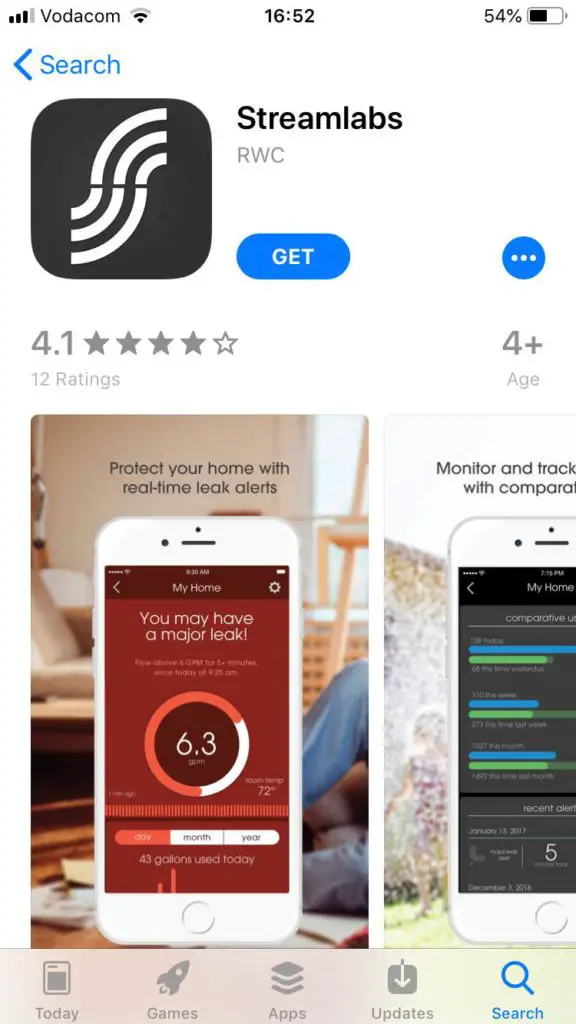
The app is quite compact and installs quickly. When you open it up, you’ll need to log in or register with your email address; this has become pretty standard amongst smart home devices.
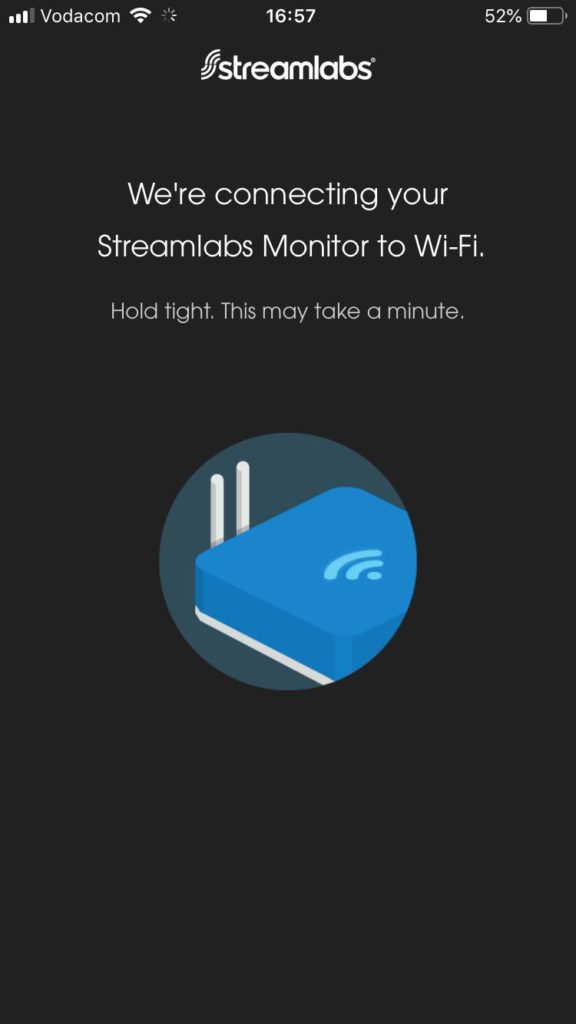
The app then guides you through connecting your water monitor to your home WiFi network. It recommends doing this before you install your water meter so I just plugged it in near my desk to complete the WiFi setup.
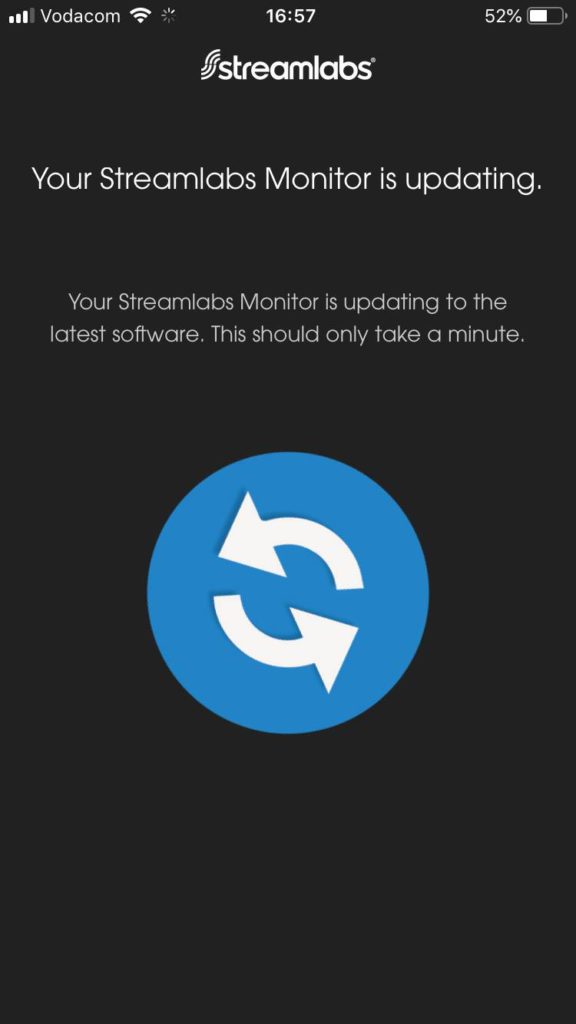
The whole process, including identifying my water monitor, connecting it to my WiFi network and updating the device’s software took about two minutes and worked first time. I was really impressed with how quickly and easily it connected to my WiFi network and just started working.
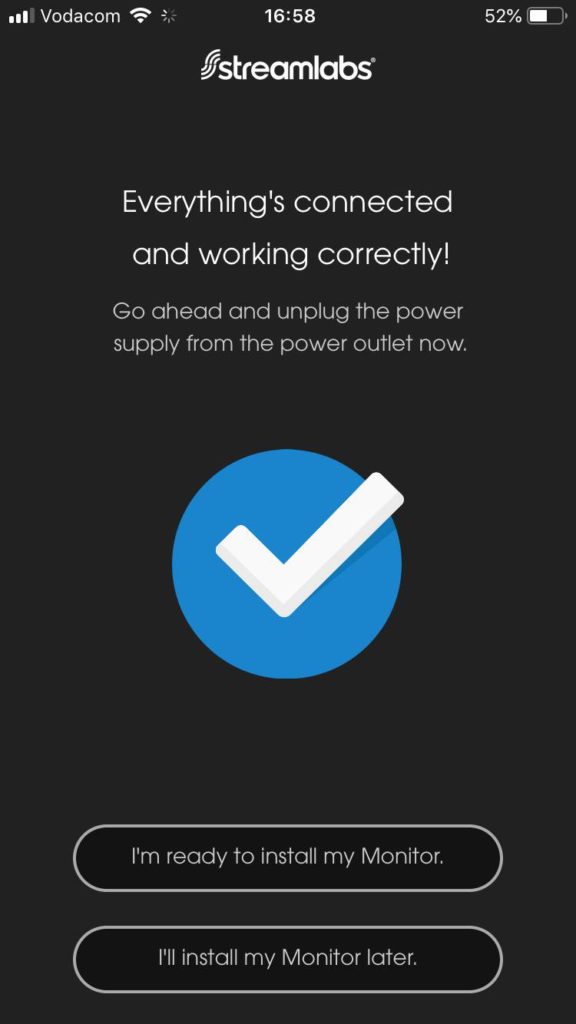
You’re then presented with a screen which lets you know that you can disconnect the power from the monitor and begin the installation process.
The app then guides you through the installation process step by step and even provides an on/off button for iPhone’s torch function to help you out if you’re installing your meter in a dark spot in the basement, attic or cupboard.
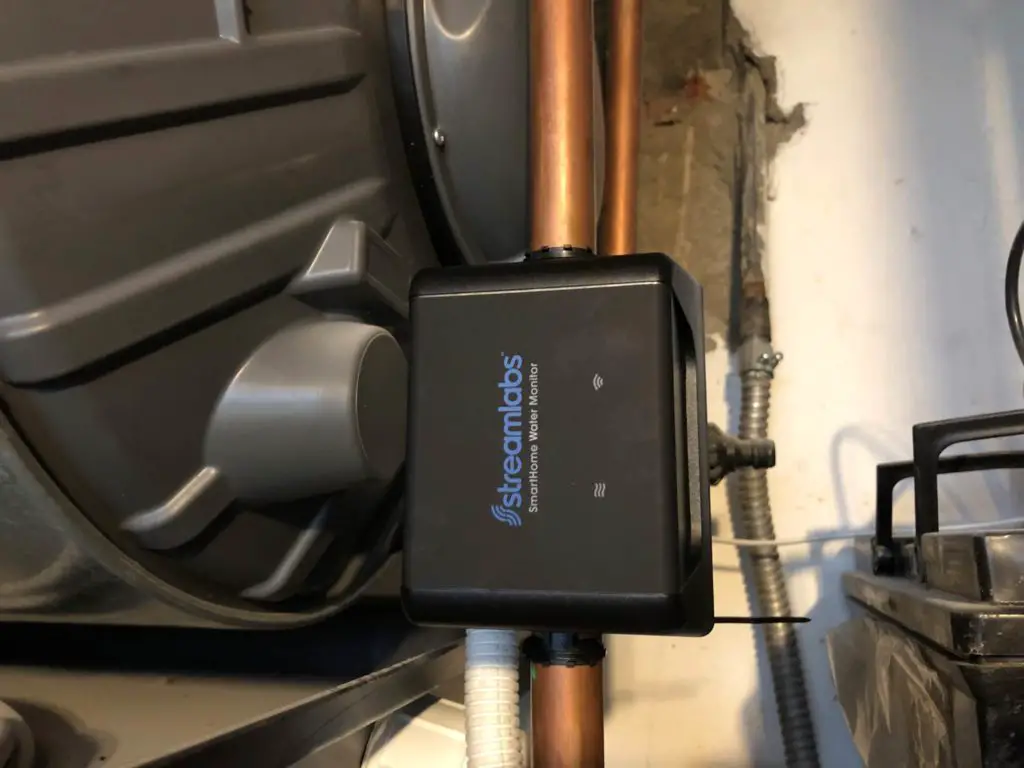
Once you’ve completed the installation, you plug the power cable back into the unit, wait for it to power on and reconnect to your network and then the unit automatically recognises the pipe material and size. The app asks you to verify that the detected material and size are correct but it did a perfect job recognising mine. This is just another example of how easy they’ve managed to make the installation and setup process, most devices ask you to plug information like this into the app yourself.
You’re then asked to calibrate the unit by shutting off the water supply for a few seconds and then flushing a toilet or opening a large faucet to get a high flow rate through the pipe. This also took a few seconds to complete and you’re then finally asked to set up leak alerts.
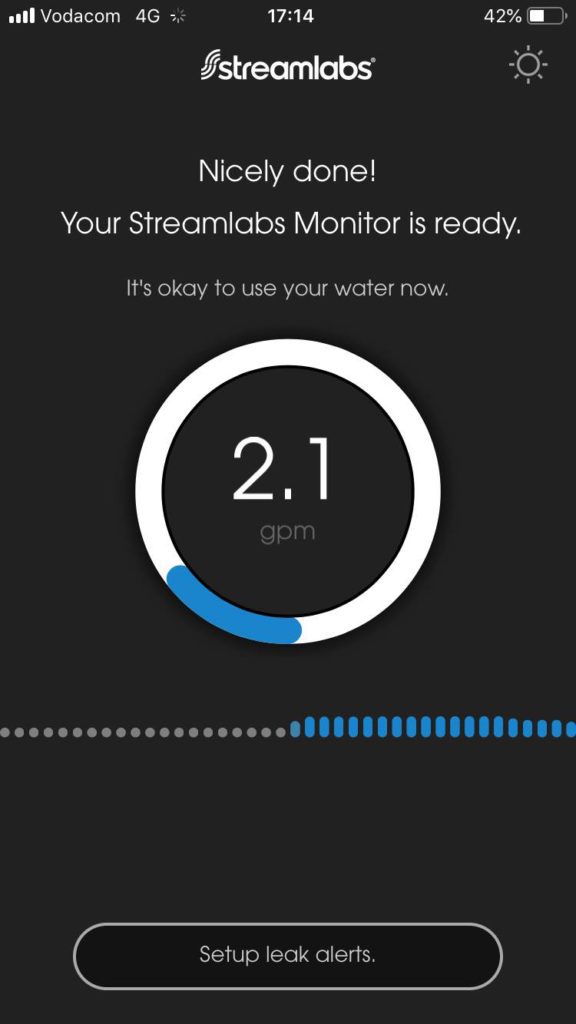
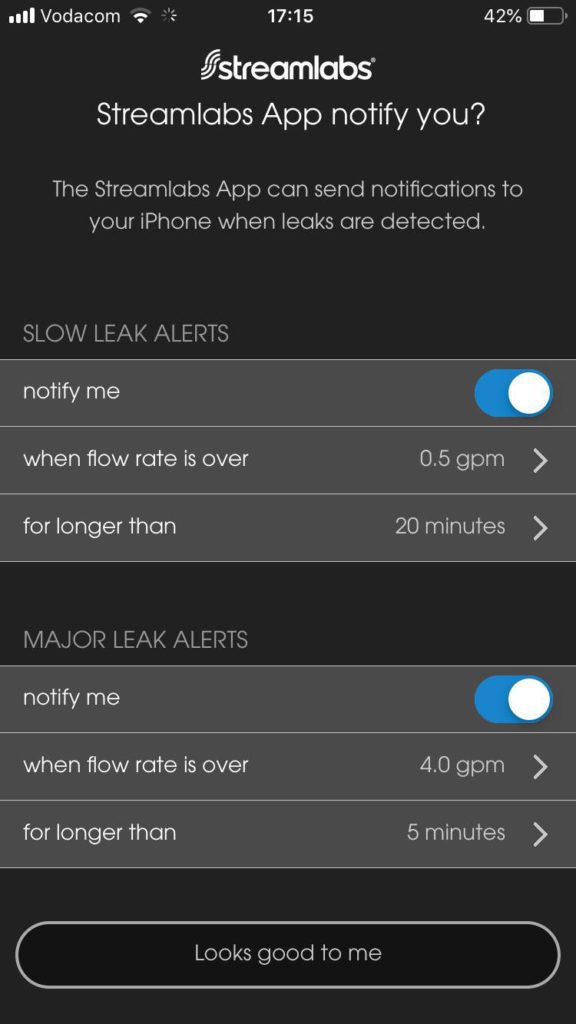
The leak alerts are broken down into two sections, one to detect slow leaks in which you set a low flow rate for a long period of time and one for major leaks (such as a burst pipe) in which you set a high flow rate for a short period of time. There are also toggles to enable or disable these alerts.
As somebody who has used a fairly wide range of smart home products, I can tell you that this product is definitely one of the easiest I have installed and set up. There is very little I could complain about throughout the installation and setup process.
If I really had to be critical, I could only come up with two things I’d prefer to be done differently. I would suggest that the choice of units – imperial or metric be included in one of the early setup steps on the app instead of a setting to be changed in the settings menu afterwards. The second is that I would allow the user to specify an internal pipe diameter if required, this obviously detracts from the simplicity of the device but providing the ability to do so, even if not during the primary setup procedure could make the meter a bit more versatile.
General Operation
In keeping with the overall simplicity of the product, the day to day operation is neat and fairly simple as well.
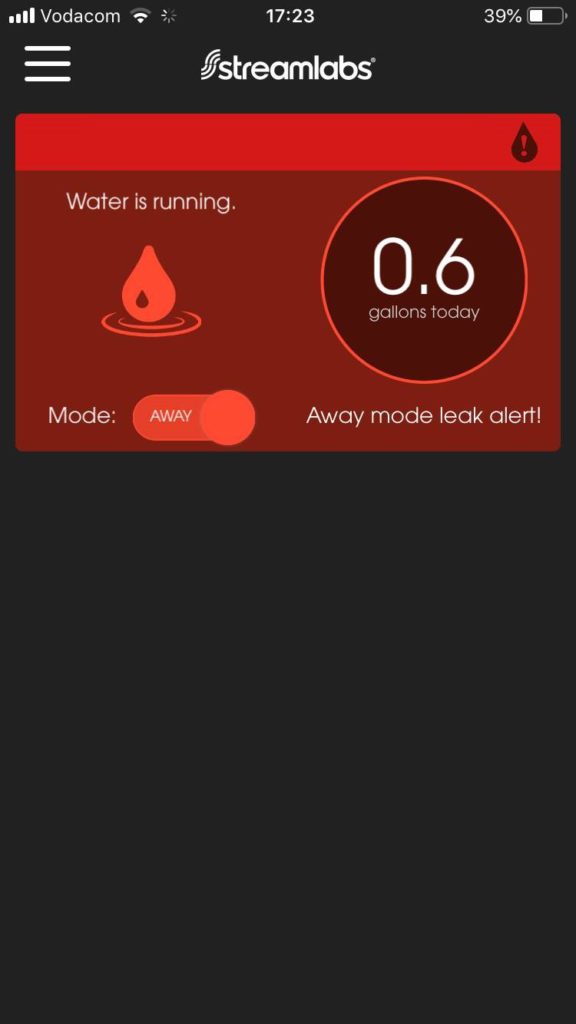
When you open up the app, you are presented with a summary home screen which displays your water usage for the day, a note on whether or not there is water currently being used and an indication of the status of the Home/Away mode.
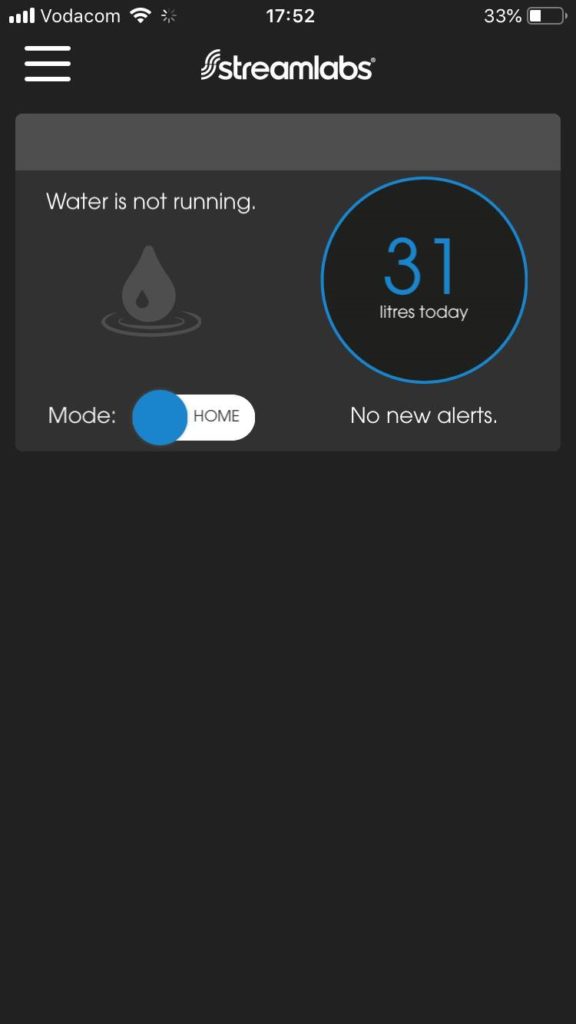
If you have multiple monitors set up in different locations then each of these summaries will be displayed one underneath the other on this home screen.
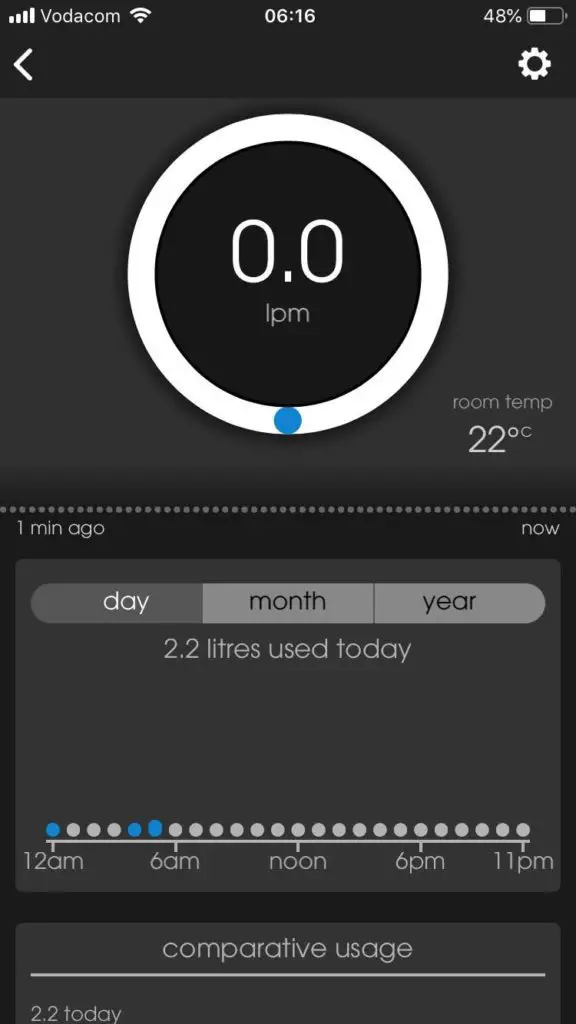
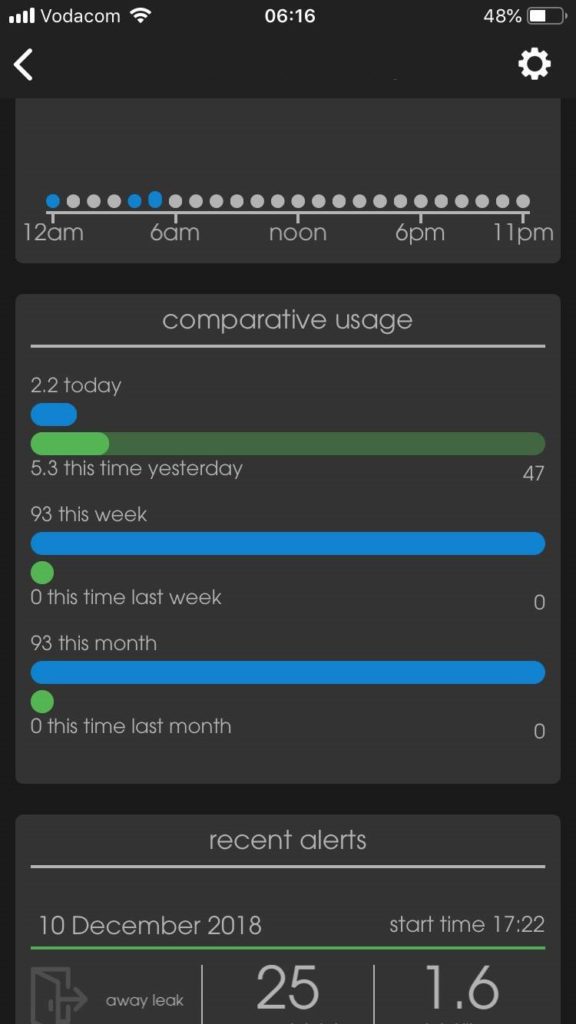
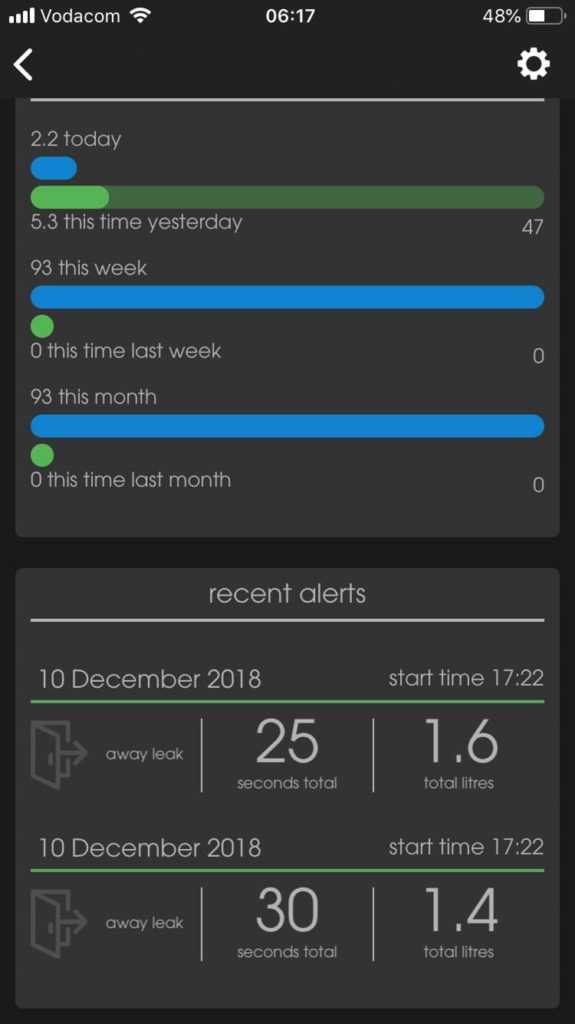
Touching the water usage for the day takes you to a detailed breakdown of your current water usage, room temperature, historic data for the past day, month and year as well as comparative usage for the past day, week and month. At the bottom of the page there is also a log of all of the leak alerts which have been triggered.
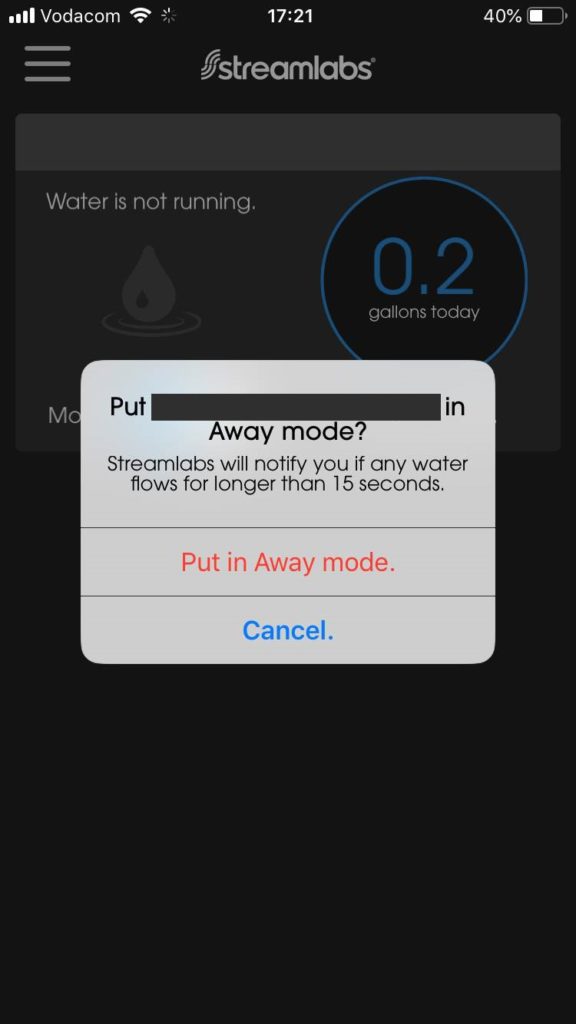
In addition to the major and minor leak alerts, there is an additional leak alert for when you are away from home. This function is particularly useful for weekends away or vacations during which the monitor will notify you if there is any water flow for longer than 15 seconds. You can turn on the away from home mode from the home screen on the app or through your smart home device like Amazon’s Alexa interface.
The app interface works quite well and seems to be stable, I haven’t experienced it crashing or hanging. It does however take a few seconds to “fetch information” when you load it or switch back to it from another app.
Additional Smart Home Integration
In addition to the WiFi connectivity and app, I noticed on the box that the monitor can be controlled by Amazon’s Alexa as well as Nest, so I thought I’d try that out as well.
The device doesn’t connect to Amazon’s Alexa platform with the traditional smart home device protocol like most universal remotes, smart plugs and smart bulbs but rather interfaces through a Skill which allows Alexa to control the state of the monitor. This essentially means that your Alexa device will not communicate directly with the monitor but rather control it through the cloud interface.
There’s nothing wrong with this interface, it is still easy to install and get running, it is just different to how you’d expect a smart device to connect to your existing smart home network.
The Skill is enabled through your Alexa app on your smartphone and you’ll then need to link your Streamlabs account after which you can start using your Alexa enabled products to control your water monitor.
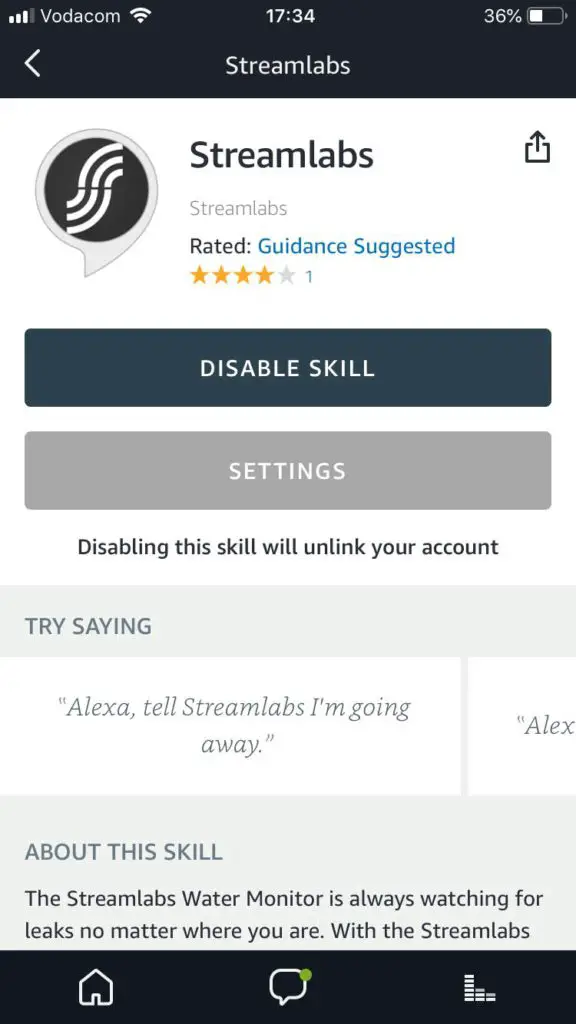
The available commands are pretty basic, you can ask Alexa to put your monitor in home or away mode if you just have one monitor or ask her to put a specific monitor into home or away mode if you have multiple.
This is one area which could be developed a bit further. I’d like to be able to get feedback from the device as well as change the modes. Being able to ask whether water is running or not or ask how many gallons or litres of water have been used today would be great additional functionality.
If you’ve got an Echo, Echo Dot or other Alexa enabled device, have a look at these 35 useful things to ask Alexa.
What I Like & Dislike About The Streamlabs Water Monitor
I Like
- It really is super easy to set up and install,the app guides you through every step and it requires no cutting of pipes or special tools.
- You don’t need any technical experience or knowledge to set up the monitor, it detects the pipe material and size automatically and the default settings are sufficient for most people.
- The out of home leak detection function is great peace of mind for vacations and weekends away.
- It’s a great tool to assist you in becoming more conscious of your water usage and reducing your environmental footprint.
- The price is right, at $199 this is one of the cheaper water monitoring devices with this level of functionality. It’s also a small price to pay for the peace of mind knowing about a major leak as it happens brings; a flood of a basement or in your apartment could easily cost thousands of dollars to repair.
- The device retains its settings and re-connects to the WiFi network automatically when the power is interrupted. You don’t have to reconnect it and set it up if the power is out for an hour or two.
I Dislike
- The app is a little too simple. While they’ve done a really great job at making it easy to use and understand, it would be nice to provide users with a little more information and metrics and a few more customisable settings. I’d like to be able to look at the actual figures as well as the more general graphs.
What I’d Like To See Added Or Changed
- I love how simple they’ve managed to make the setup and interface but I would like to be able to further customise the settings, even if it’s through an “advanced” settings page or something similar. I’d like to be able to set the alert flow rates and times to customisable values, perhaps within an allowable range.
- Further integration with Amazon’s Alexa. I’d like to be able to ask Alexa whether there is water running and how much water I’ve used in the day or this month.
- The WiFi status LED blinks every 4 seconds to indicate that it is connected. Also not really a problem but I’m used to LEDs staying on (like the calibration LED on this device) when everything is working correctly. A blinking LED generally indicates a problem or limited functionality.
- A smart home water isolation valve would be a great addition to this product as an optional extra. Getting a major leak alert when you are away from home is great but it would be even better if you could solve the problem from the app as well by turning off the water supply. This would obviously also require a more complicated installation.
Conclusion
The Streamlabs Smart Home Water Monitor is an incredibly easy to use and well priced device for it’s functionality. It provides users with useful metrics to keep track of their water usage and become more water conscious and it gives you peace of mind knowing that your home’s water supply is constantly being watched, even when you’re away from home.
The app is really well put together in guiding the user through the installation and setup process and while I’d like to see a bit more detail available for the historical recorded data, all of the important information is readily available.
If you’re interested in becoming more aware of your water usage or you’d benefit from the peace of mind that comes with having your water supply continuously monitored then I’d definitely recommend the Streamlabs Water Monitor.



What is the minimum flow rate that can be reliably detected?
It depends on the pipe size but I’d say around 1 litre per minute reliably, although it does detect flow rates lower than this, just not very accurately.
How accurate is the consumption tracking? If you fill up a 2 litre jug from a tap will it show you used exactly 2 litres?
Thanks
It’s not particularly accurate for small quantities like a litre or two, but it is pretty accurate for larger volumes. I found it was within 5% of my water bill each month, which for a non-contact meter is pretty good.