Today we’re going to be taking a look at the Rock 5 Model B, a new SBC or single-board computer from Radxa which is based on the powerful Rockchip RK3588 SOC.
The Rock 5B is available in three RAM configurations, 4GB, 8GB and 16GB. I’ve ordered the 8GB to try out and I’ve also got their passive heat sink to cool it with.
Here’s my video review of the board which shows some of the video playback capabilities, read on for the written review:
Where To Buy The Radxa Rock 5 Model B
The board is available through a number of online retailers, I got this one from ALLNET the 4GB board is $129, the 8GB $149 and the 16GB board is $189.
Unboxing & First Look At The Rock 5 Model B
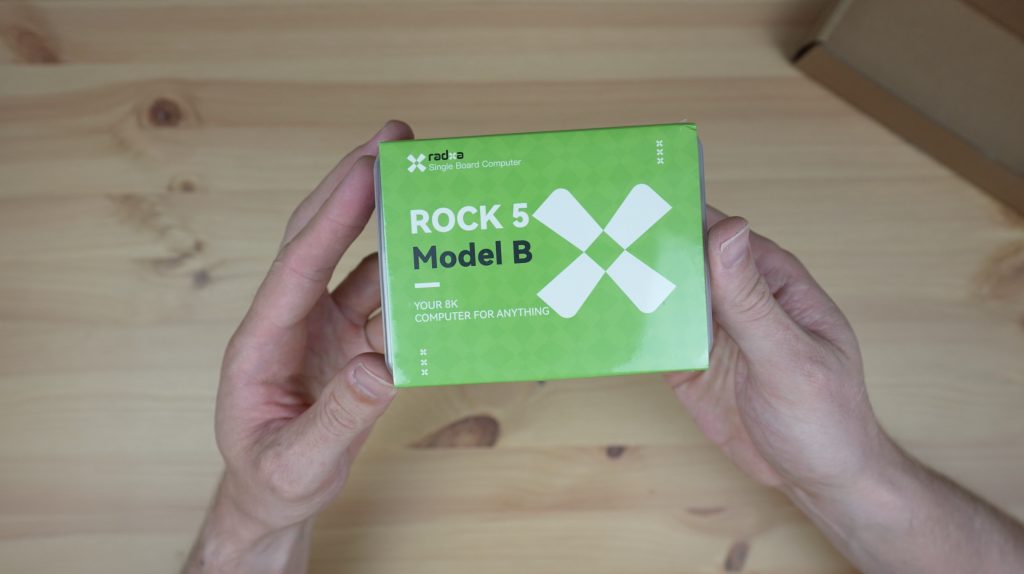
The Rock 5 Model B comes in a shrink-wrapped plastic case with a branded sleeve.
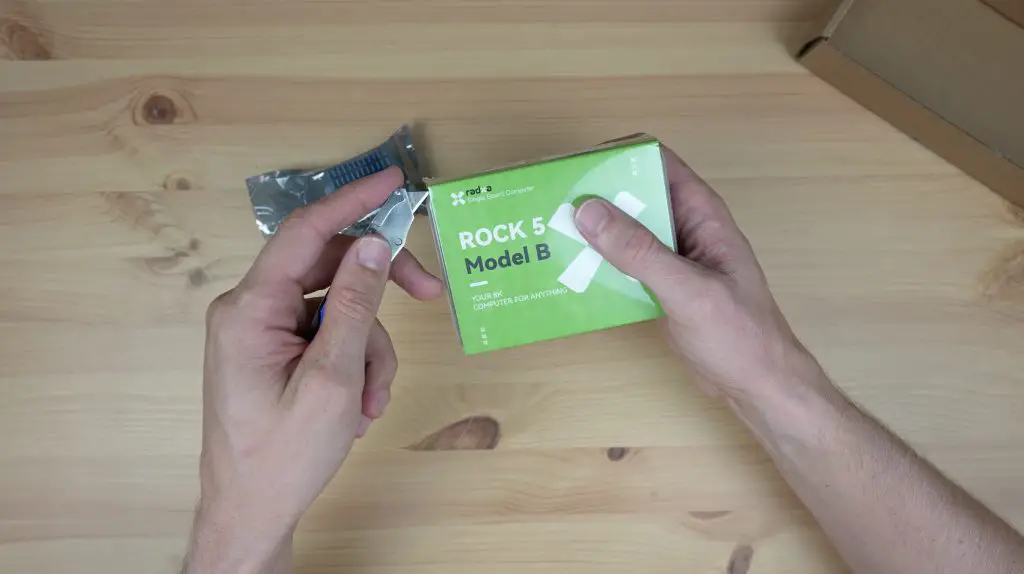
Inside the case is the Rock 5 Model B in an antistatic bag which is placed on a card spacer to hold it in place and protect the pins and ports on the bottom. There are no cables, adaptors or accessories included with the board.
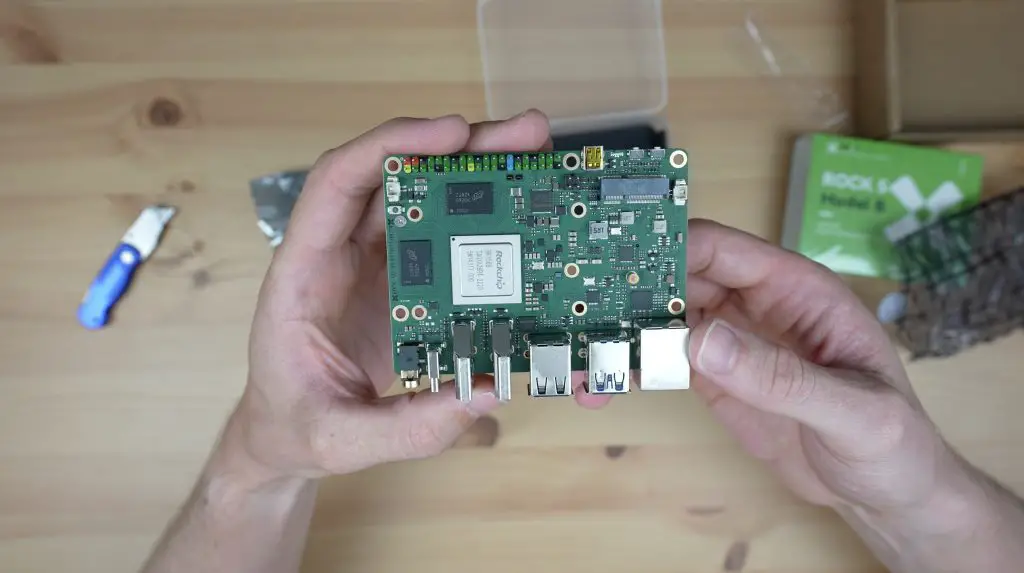
The RK3588 SOC has a 64-bit, 8-core processor which is made up of a quad-core A76 processor running at 2.4Ghz and a quad-core A55 processor running at a lower 1.8Ghz. The integrated Mali G610MP4 GPU can do up to 8K at 60 frames per second.
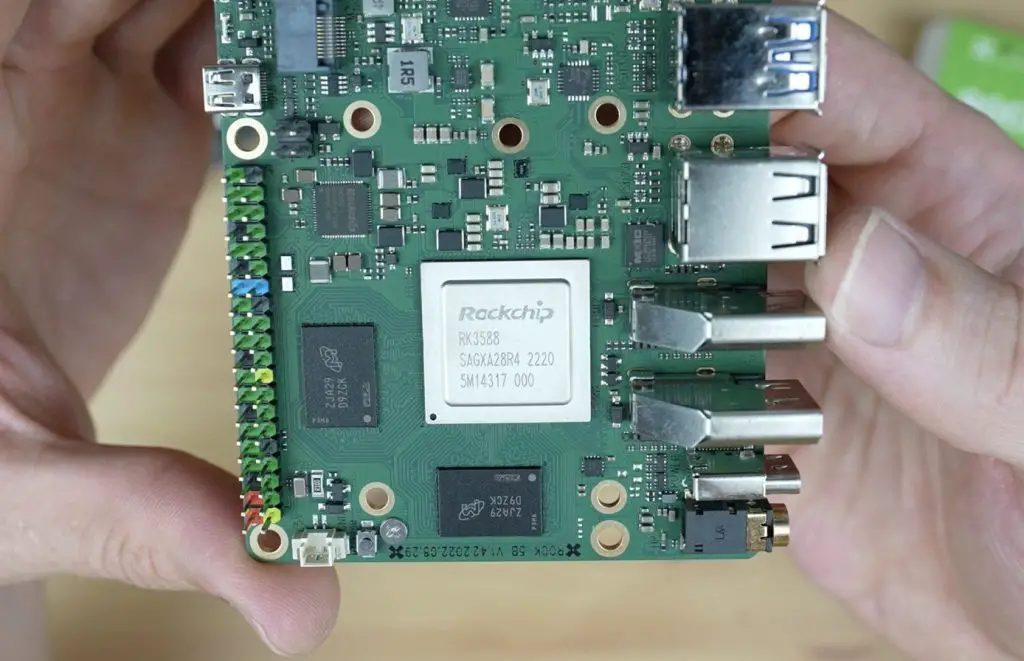
Taking a look at the primary ports along the side of the board, we’ve got a 3.5mm audio jack, a single USB C power input, that also supports power delivery. I’m not quite sure what its power delivery capabilities are as the product page had 9V and 12V listed while their wiki says 12V, 15V and 20V.
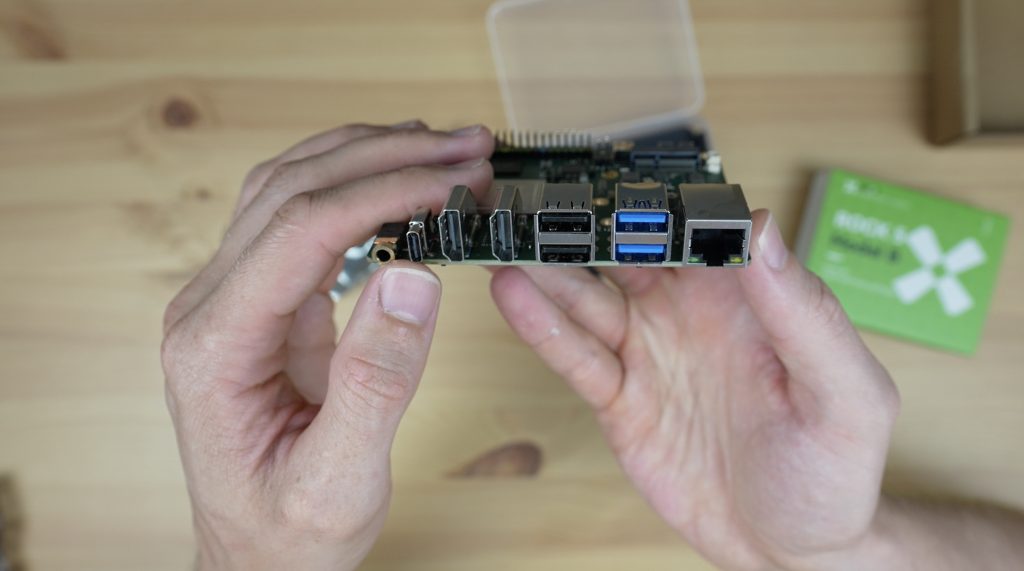
Next to that are 2 full-size HDMI ports, 2 USB 2.0 ports, 2 USB 3.0 ports and then a 2.5G Ethernet port, which is really great to see on an SBC. They also mention that it has POE support, what I presume this means is that they’ve brought out these pins which look to be in the same position relative to the GPIO pins as on a Raspberry Pi, so you can probably use a POE hat made for a Pi to power this – but I don’t have any POE hats to try out.
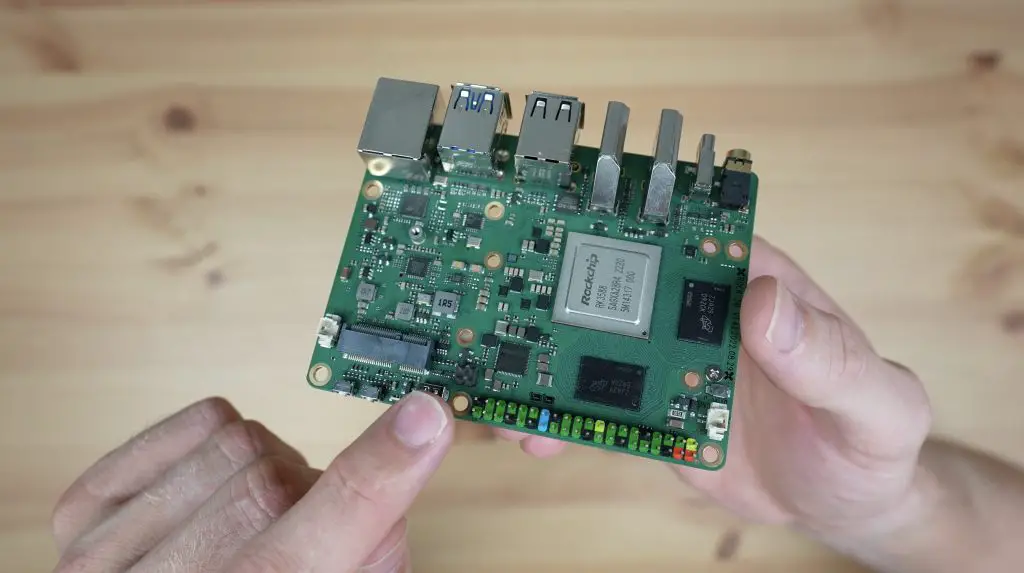
We’ve then got a white fan connector at the top to power the fan that comes with the active heat sink. Next to that is a 40-Pin GPIO header which follows the same general layout as a Raspberry Pi and is coloured coded which makes it a bit easier to identify the power pins.
Then there is a micro-HDMI input, which is a unique inclusion but essentially should allow you to input an HDMI video signal up to 4K 60 frames per second to display or record.
Next to that is a status LED and two buttons, one for power and one for recovery.
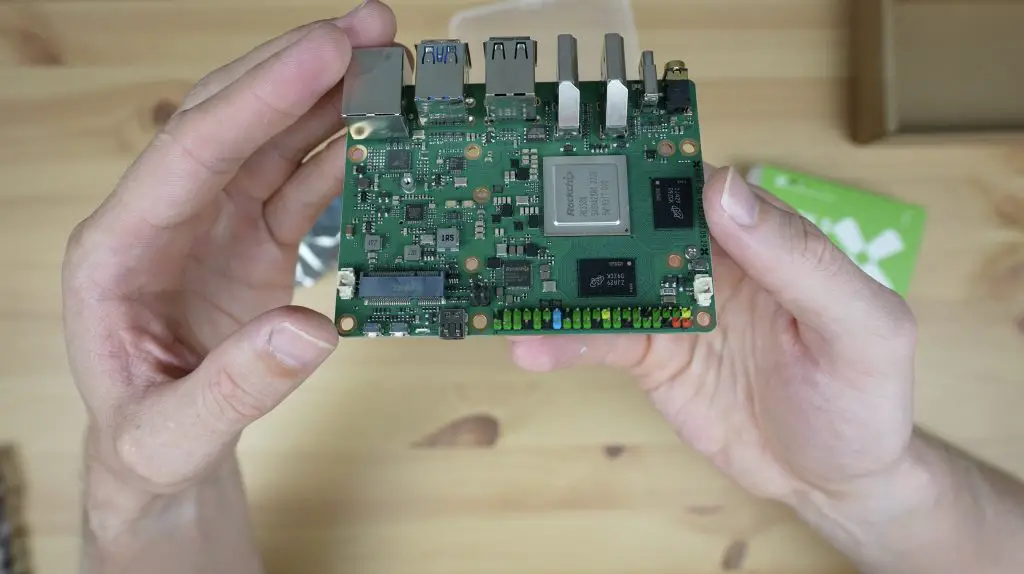
Alongside the power buttons, we’ve got a white RTC battery connector and an M.2 E Key slot. This can obviously be used for a couple of add-ons but the most likely is going to be a WiFi module because the Rock 5B doesn’t have any onboard WiFi. I haven’t gone with this optional add-on as I prefer to use a wired connection and the included 2.5G Ethernet port is a faster and more reliable option.
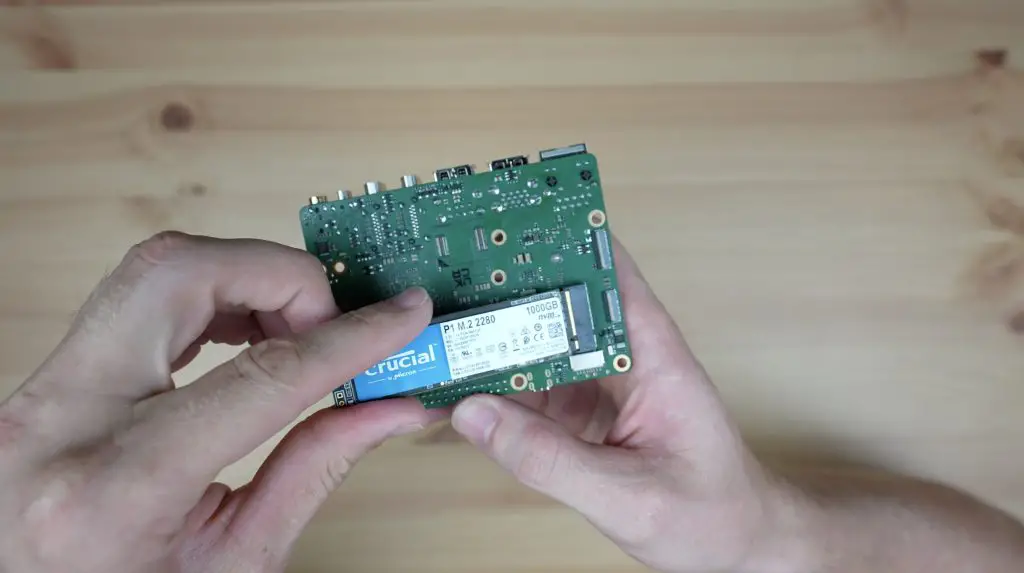
Flipping the board over, we’ve got a prominent M.2 M Key slot that supports a 2280 NVME SSD.
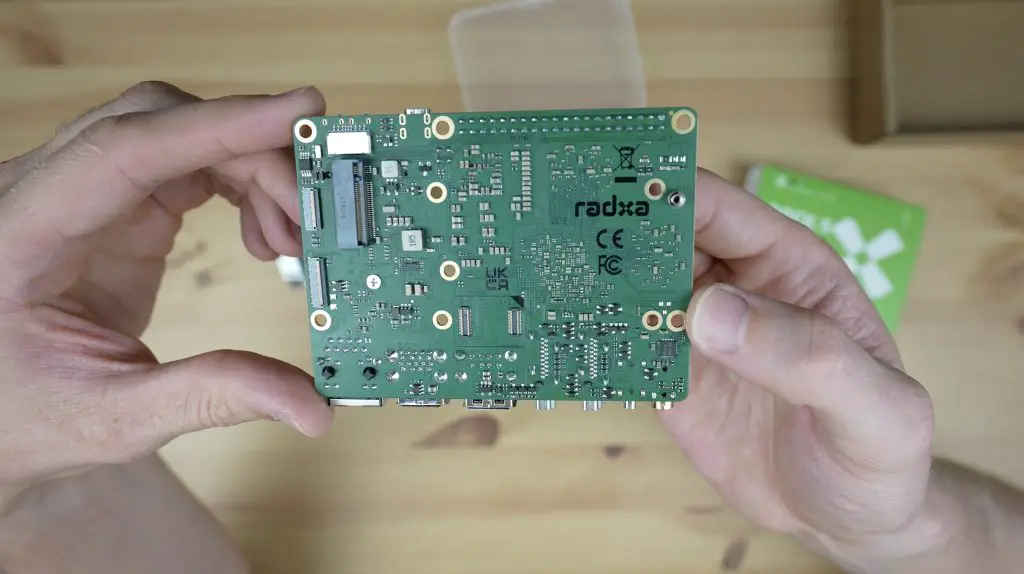
Along the shorter edge closest to the M.2 slot are a CSI and DSI port for a camera or display and alongside those and next to the M.2 slot is a microSD card slot. The microSD card slot is a sort of “half slot” that only holds the pin area of the microSD card.
There is also a socket for an optional eMMC module if you’d prefer to use that to boot off instead of an SD card or an SSD.
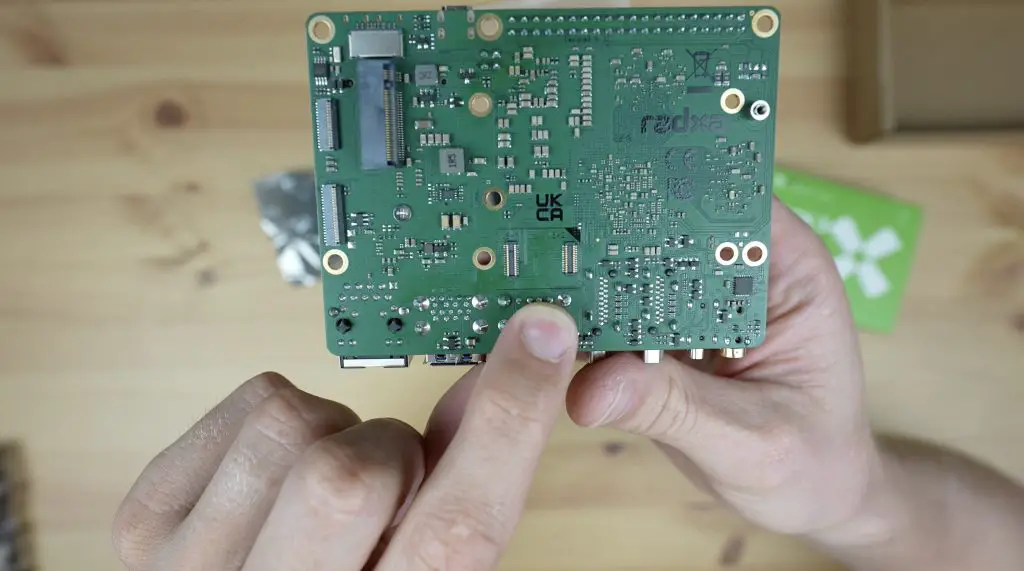
The board is designed in a Pico ITX form factor and is 100mm long and 72mm wide. Although this is technically a standard form factor, you’ll still have a hard time finding an enclosure for it outside of the ones offered by the manufacturer as it’s just a very uncommon size.
The passive heat sink is quite bulky so I don’t think we’ll have any cooling issues, even without a fan. They do have an option for a heatsink with a fan, which is a bit more compact but then you’ll obviously also have the fan noise.
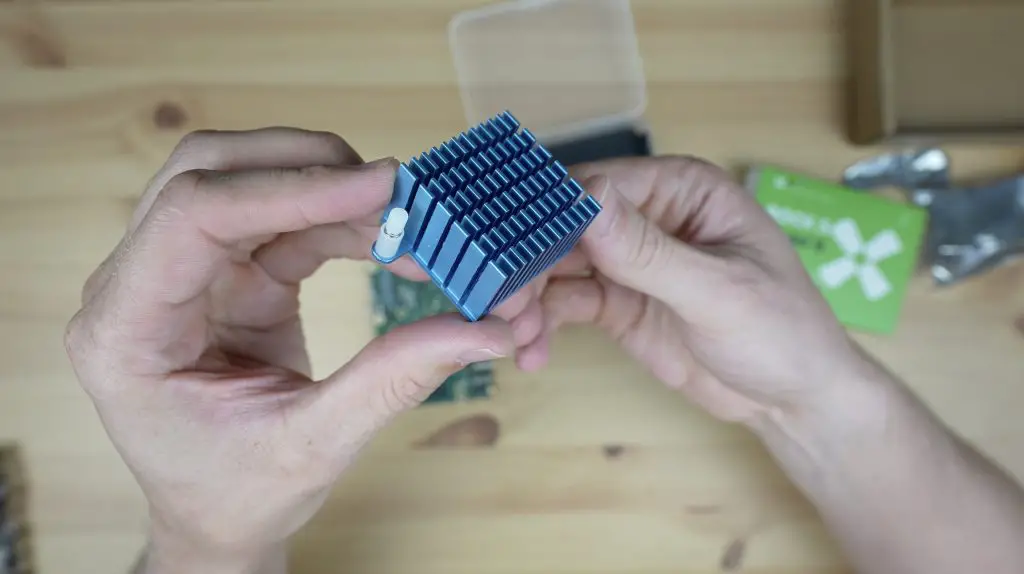
The heatsink just uses some snap-in pins to hold it in place over the CPU and has thermal pads preinstalled.
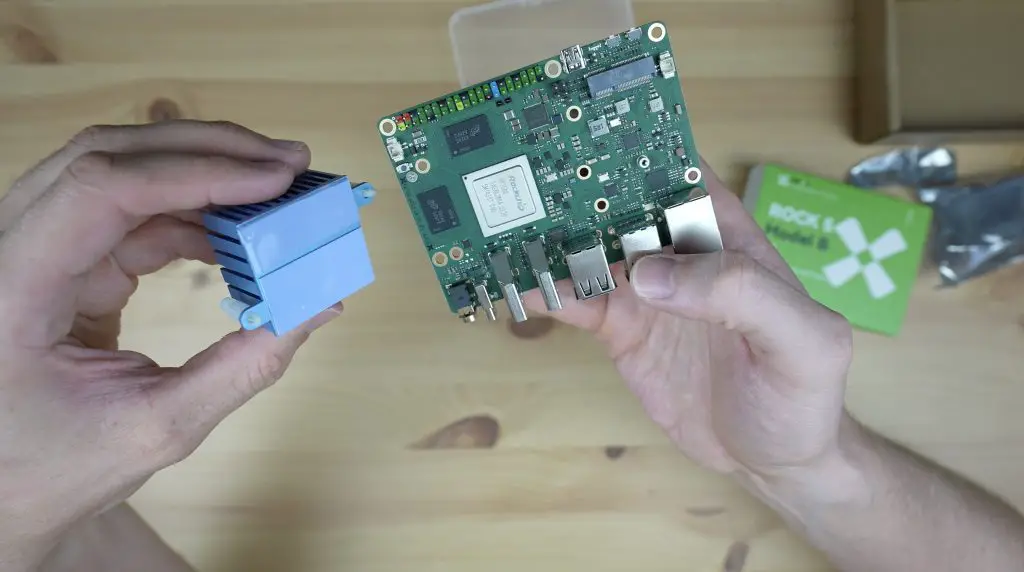
The RAM is split between the two black chips alongside the CPU and strangely the heatsink is offset from the centre of the CPU, but only covers one of them. I’m sure this won’t cause any issues it just seems a bit odd.
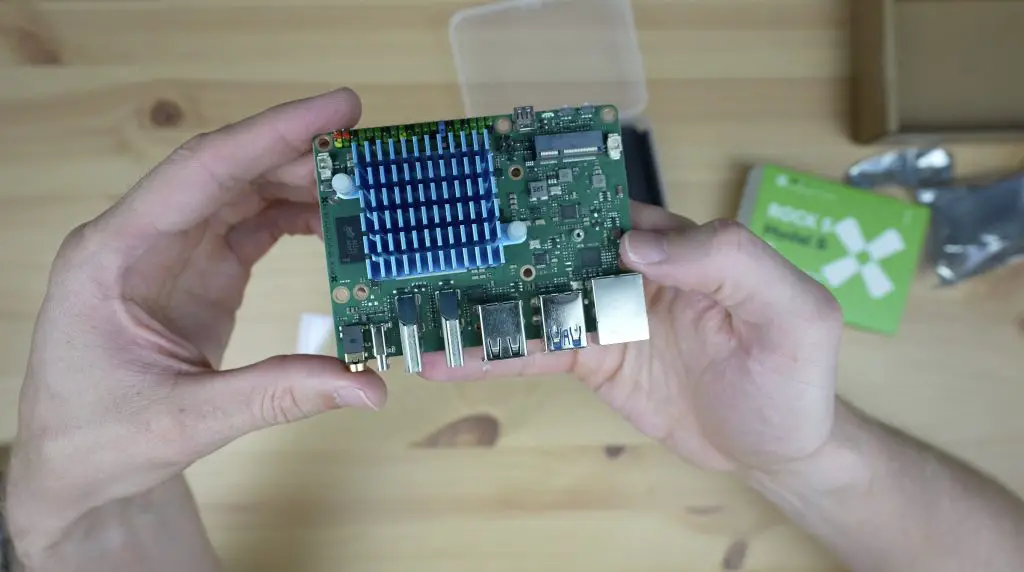
That’s all we need to do to prepare the board to be powered up, so we can move on to preparing the operating system on the boot drive.
Flashing The Operating System Onto A MicroSD Card
To start with, let’s get a microSD card prepared and then boot up the Rock 5 Model B.
Radxa provides images for Android, Debian and Ubuntu. I’m going to go with the Debian image for now and we’ll see how that runs. The Ubuntu image is a server OS and does not have a GUI/desktop.
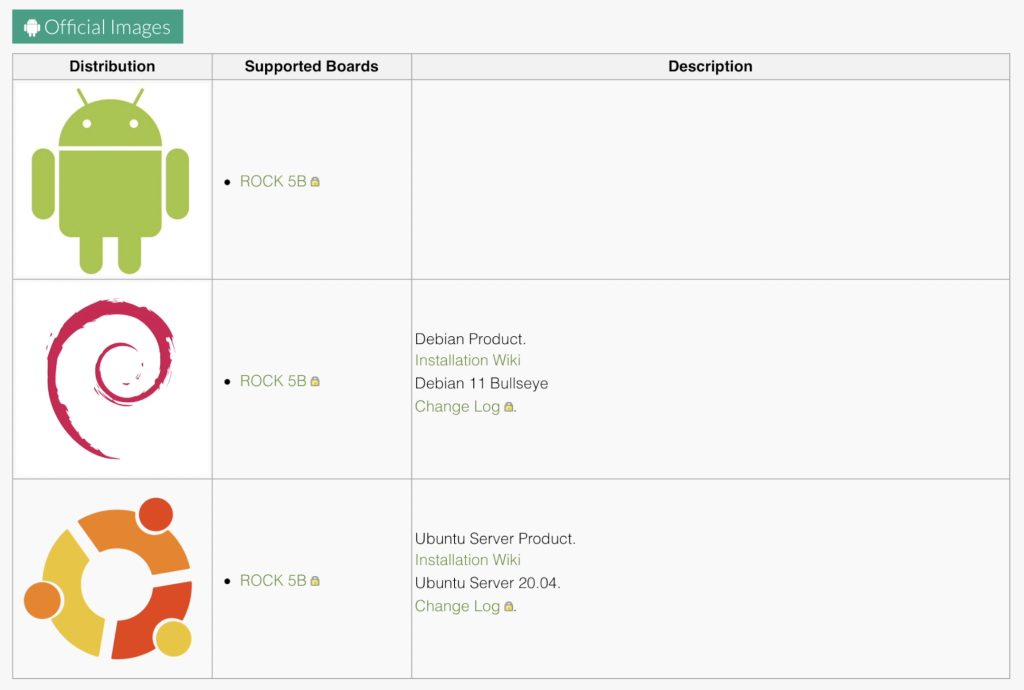
Flashing the microSD card is pretty simple, you just download the prepared operating system image, then flash the microSD card using a utility like Balena Etcher, then plug it into the board’s slot and it’s ready to go.
To power the Rock 5 B, I’m using a USB C adaptor with PD 2.0.
The first boot takes a little over 30 seconds and you’ll then be presented with a login screen. The default username and password are both Rock and you’ll then arrive at the Debian desktop.
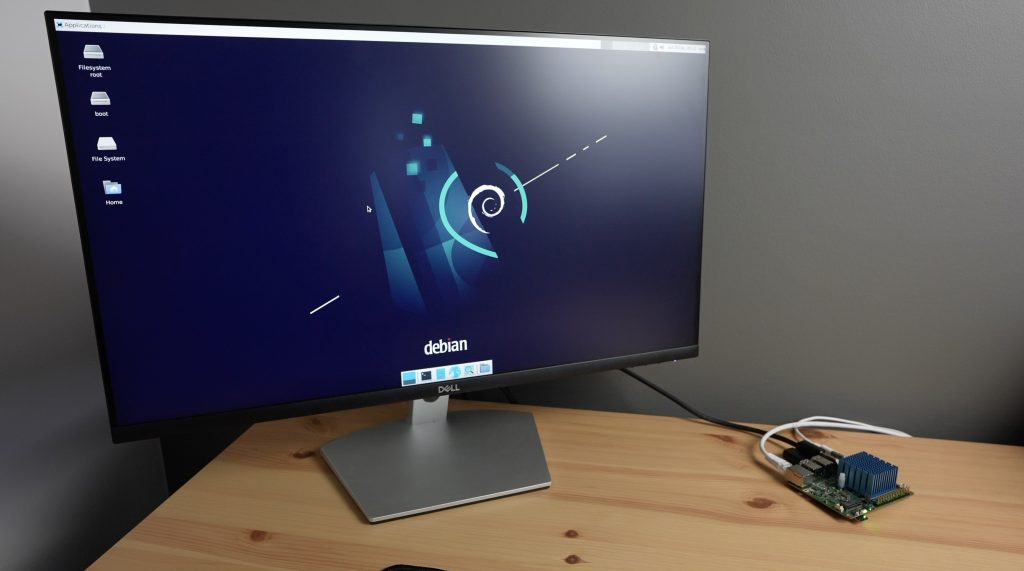
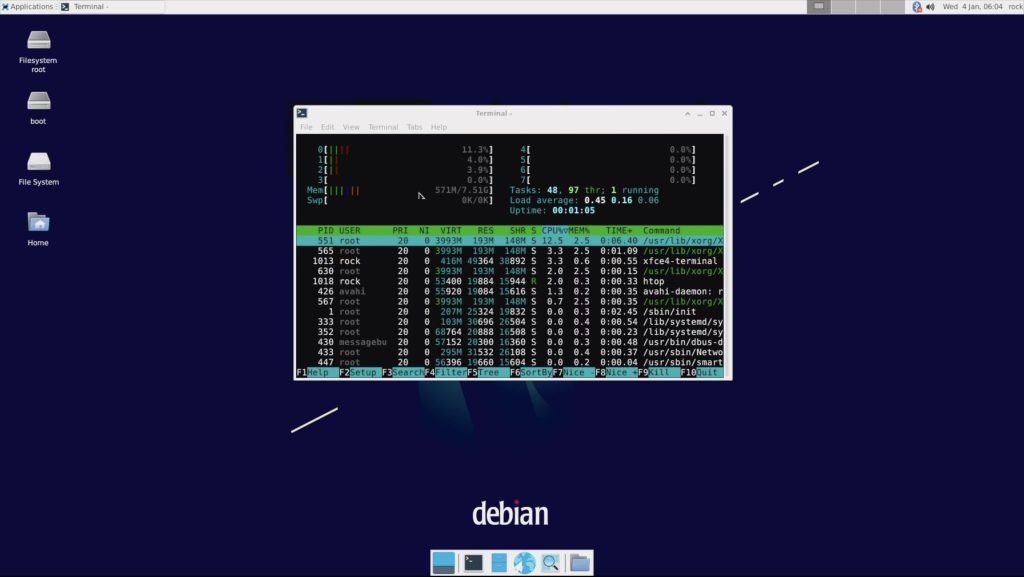
If we open up HTOP, you can see we have 8 processor cores listed, which don’t seem to be doing much at the moment and then our 8GB of RAM and we’re not using any swap.
Youtube Video Playback On The Rock 5 Model B
Next, let’s try playing back a Youtube video in the default browser – Chromium. I’ll try this at both 1080P and 4K video resolution.
For the first test, let’s set the monitor to 1080P and then open up Youtube.
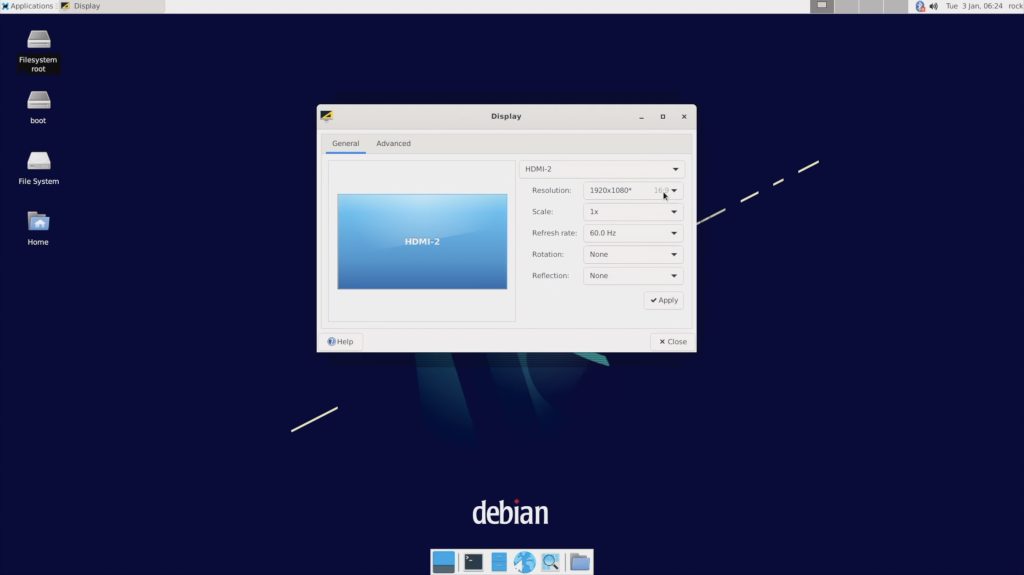
We can then set the video resolution to 1080P and open up stats for nerds.
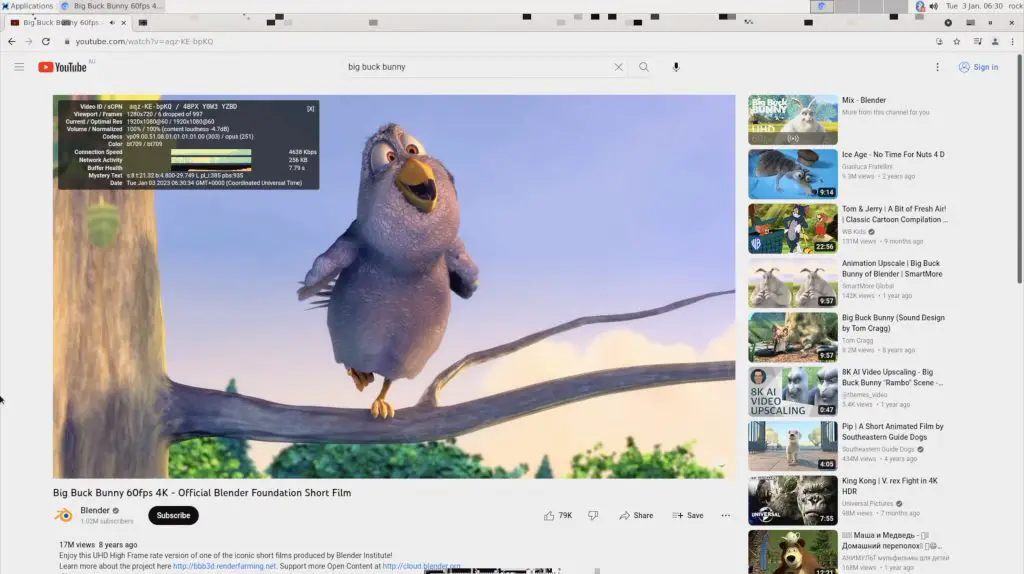
Video playback in the window is really smooth with a few dropped frames and playback is similar when we open it up to fullscreen. You can get a better feel for the video quality by watching my Youtube video at the beginning of the post – at 1080P, you have a really good quality stream that you wouldn’t have any trouble watching.
Next, let’s try to step it up to 4K.
Opening up the same video in 4K with playback in a window, we already start dropping some frames and playback is quite obviously stuttering. Opening it up to fullscreen is even worse, dropping a significant number of frames and stuttering to the point where playback is not really usable.

Like with the Khadas Edge 2, this is most likely because the browser is using software decoding instead of hardware decoding. This essentially means that we’re not using the GPU hardware for video playback but we’re relying on the CPU to do decoding through software, which is putting a lot of strain on it. We can see that if we open up HTOP while playing back the video, we’re basically maxing out our CPU continuously.
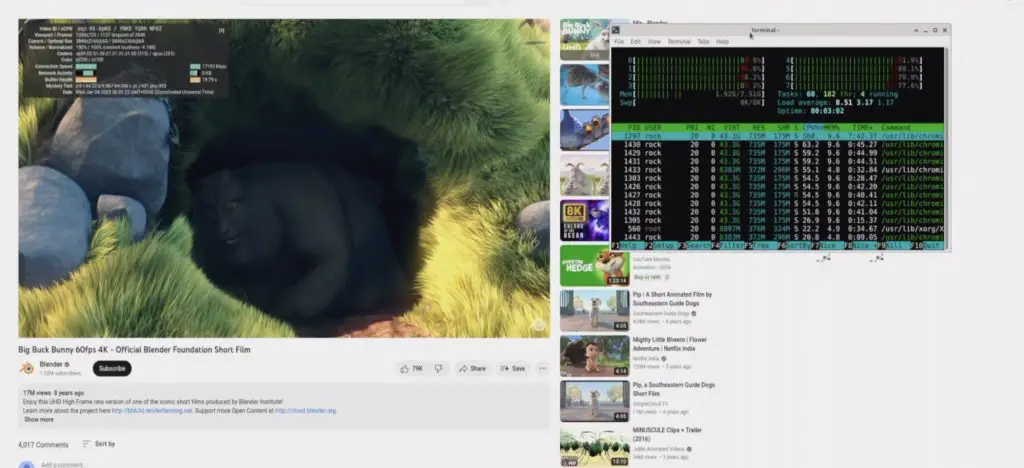
So if you’re wanting to use the Rock 5 Model B for 4K video playback from an online source, you’ll probably want to use the Android operating system rather than Debian.
Running The Sysbench CPU Benchmark
Next I’m going to try running the Sysbench CPU benchmark on it and I’ll also do this with HTOP running alongside it so that you can see the load on each CPU core. We’ll give it 8 threads, one for each core, and set the maximum prime number limit at 20,000.
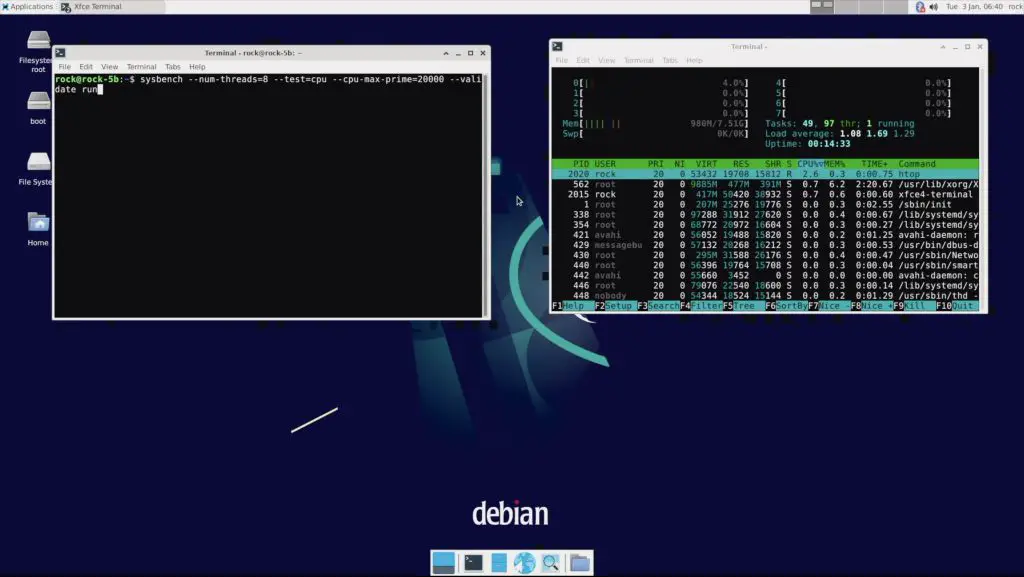
When we run the test, you’ll see all 8 cores are maxed out.
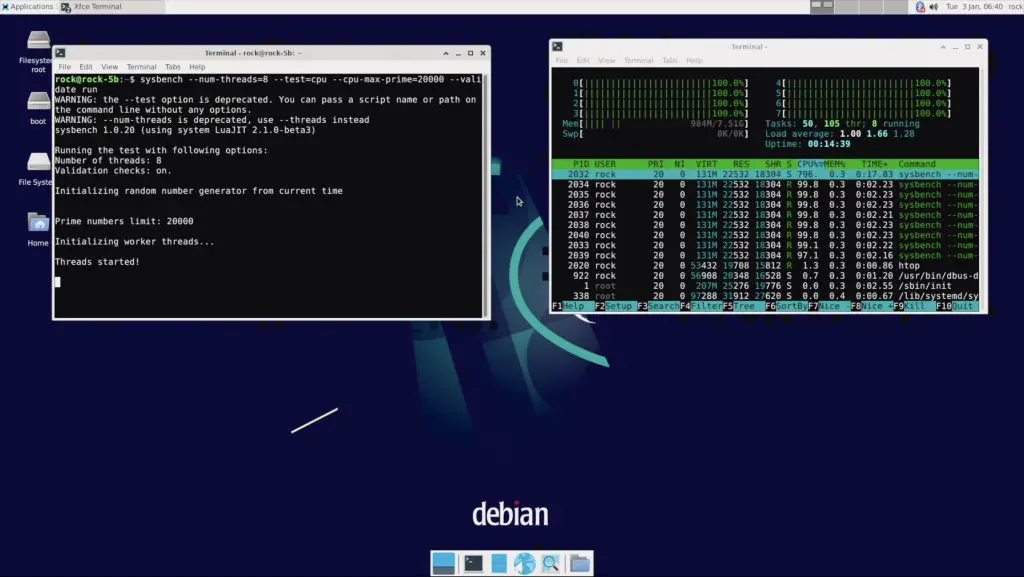
After 10 seconds, the benchmark is complete and the cores drop back down to idle. We managed to process a little over 5,300 events per second for a total of 53,600 events for the test.
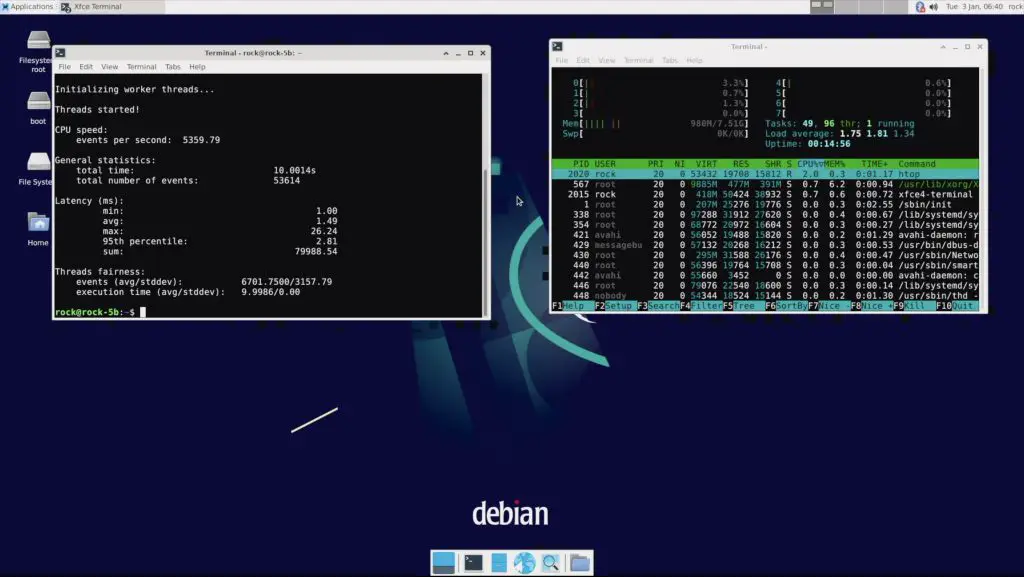
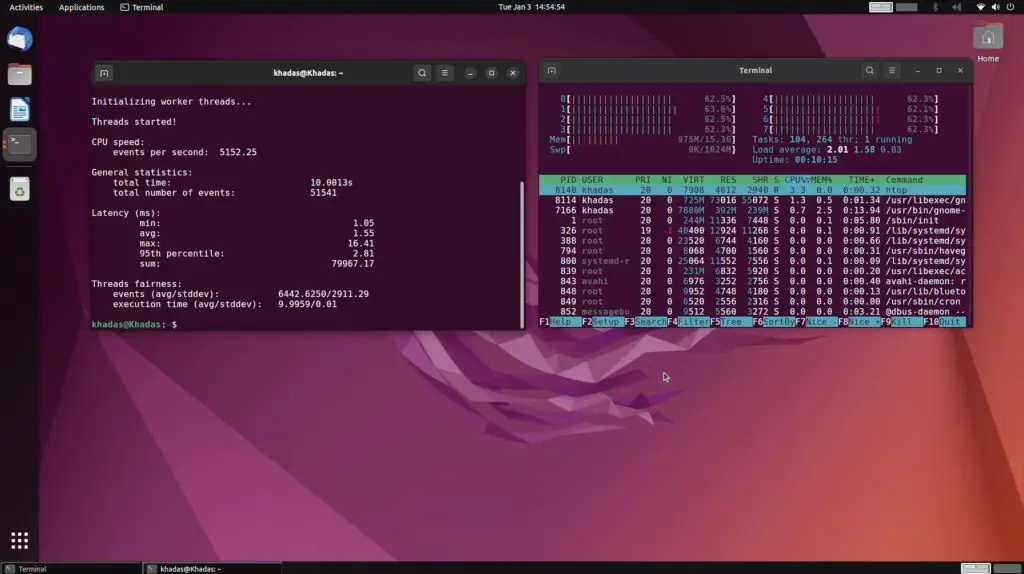
These numbers don’t really mean much on their own so I ran the test on the Khadas Edge 2 and a Raspberry Pi 4 for comparison.
The Edge 2 managed 5,150 events per second for a total of 51,500, which is about 4% slower than the Rock 5B in this benchmark.
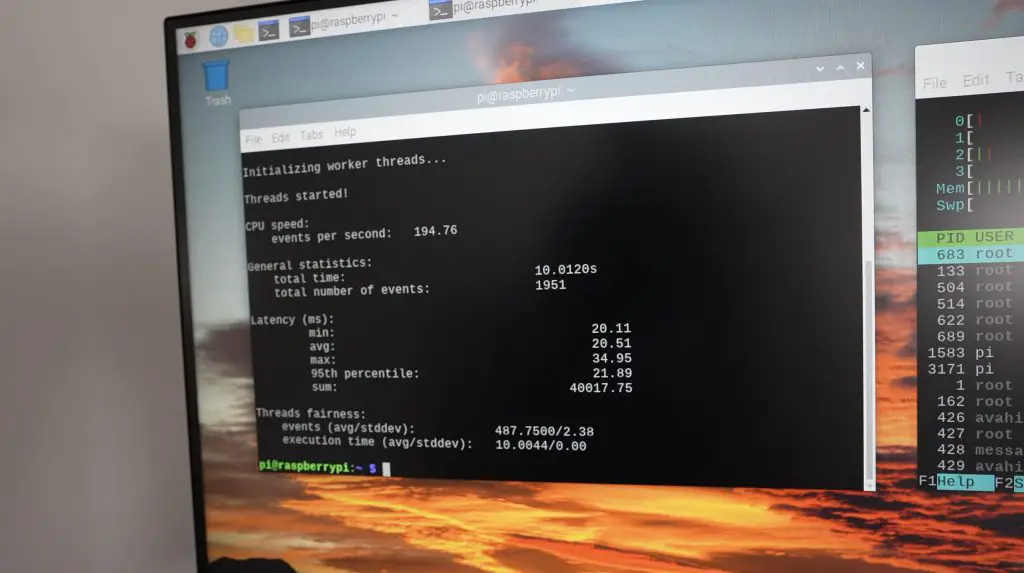
The Raspberry Pi only managed 195 events per second for a total of 1,950. This is obviously not a fair comparison as the Pi only has a 4-core CPU running at a lower frequency and is quite a bit cheaper than the Rock 5B. In any case, the Rock 5B and Khadas boards are both over 25 times faster than the Pi in this benchmark.
How Much Power Does The Rock 5 Model B Use?
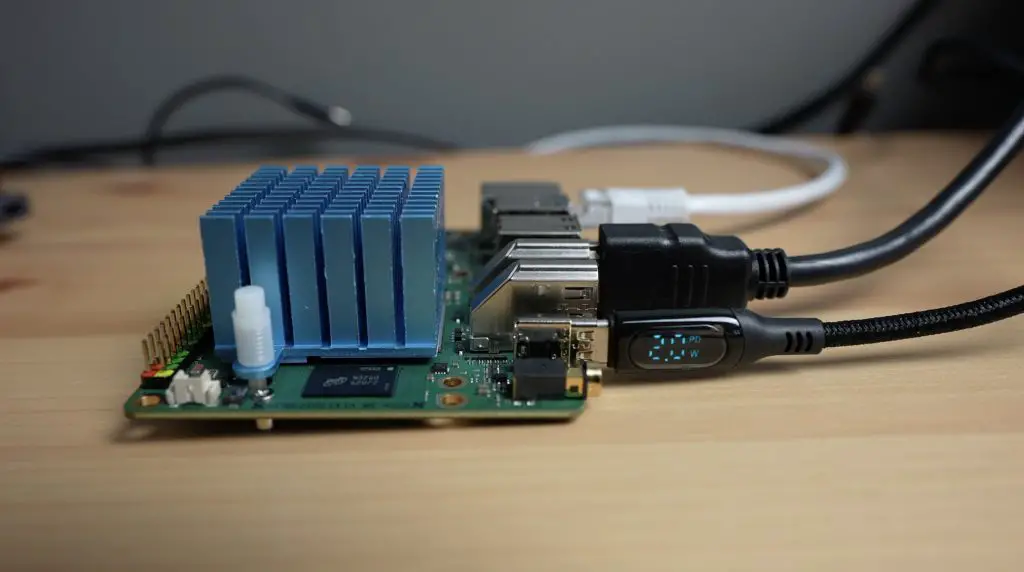
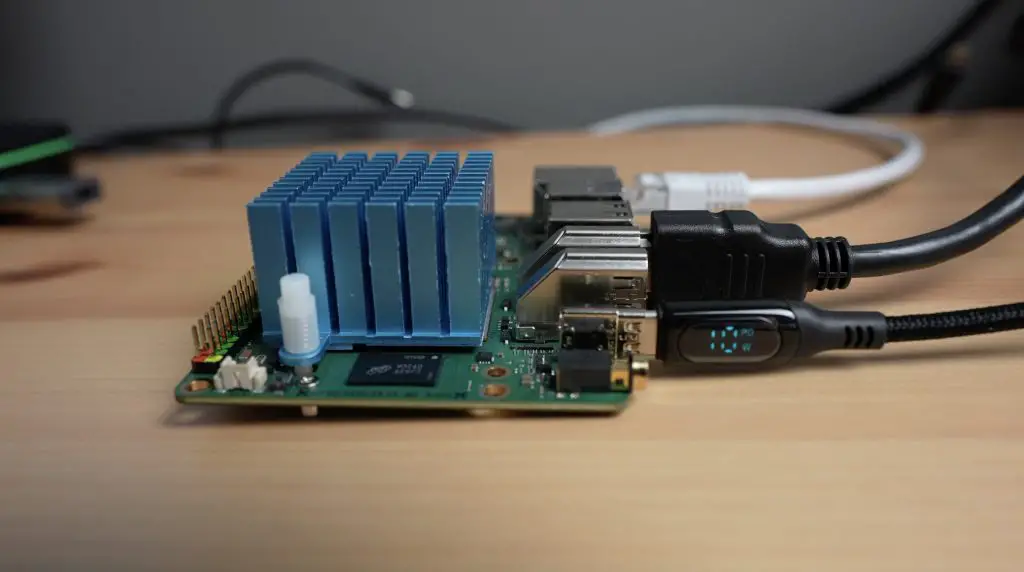
To measure the Rock 5’s power consumption, I used a USB C cable that supports power delivery. This shows that the Rock 5 Model B is indeed running on PD, indicated by the PD at the top. I found that the Rock 5B runs at 2W when idle and at 8-10W when the CPU is fully loaded.
Booting From An NVMe Drive
Lastly, I tried booting the Rock 5 Model B from an NVMe drive.
I prepared the NVMe drive in the same way that I did with the microSD card. I used the same disk image and flashed it to the drive using Etcher and an M.2 M Key to USB C adaptor.
I then tried following their guide to reflash the bootloader on the Rock 5 Model B. You need to do this because the default bootloader doesn’t support booting from an NVME drive. They run you through a process using a utility called RKDevTool which you’ll need to load a configuration file, loader and SPI image into. You then need to get the Rock 5B into maskrom mode and then reflash it. I was able to do all of the initial steps and the utility could see the board, but it crashed whenever it completed the device test, which is when it then starts flashing the image.
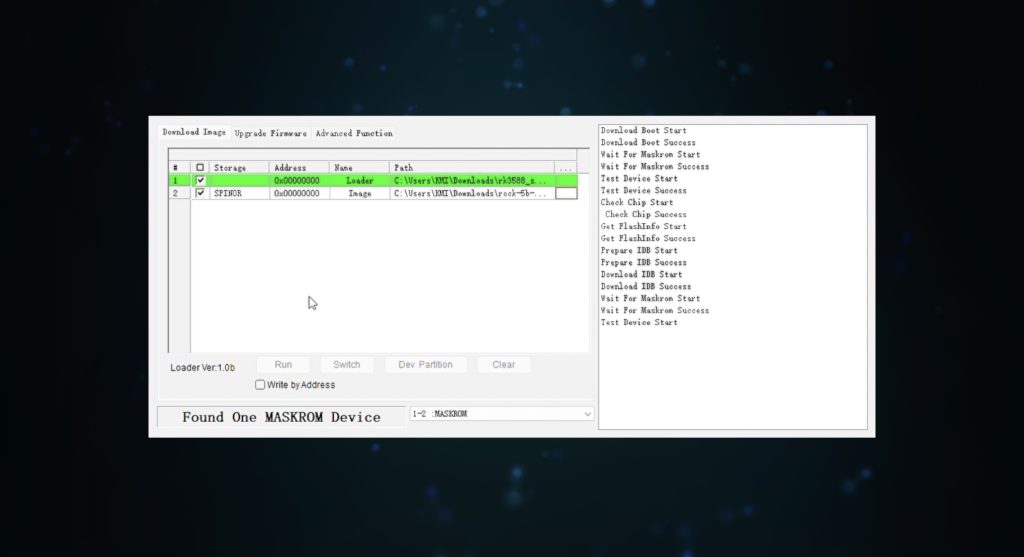
I tried this on two different computers and with a number of different cables and had the same result, so I wasn’t able to get the board to boot from the NVME drive.
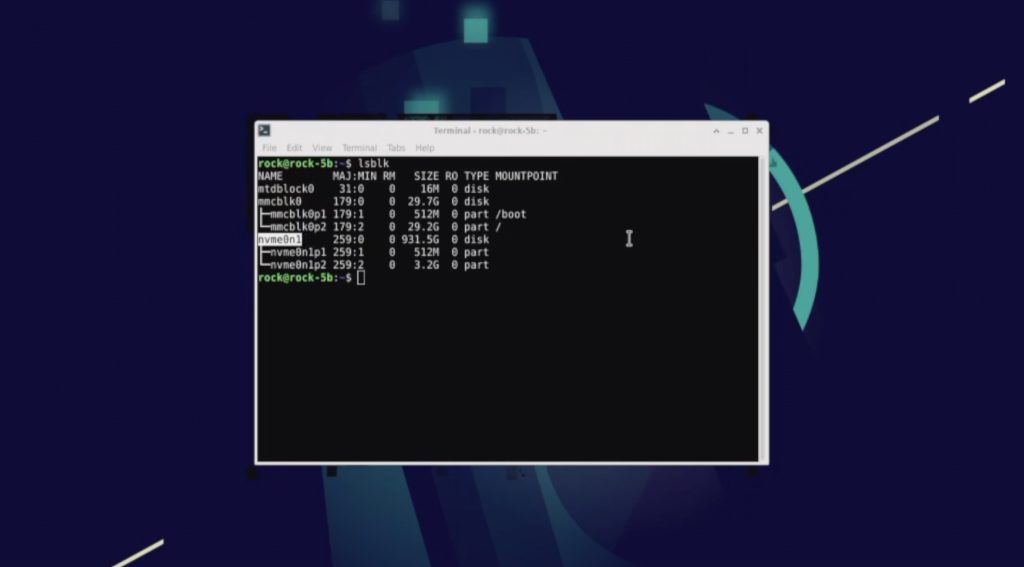
If I boot the Rock 5B form the microSD card with the NVME drive plugged in, we can see that the drive is being recognised but it obviously won’t boot from the drive without the bootloader being reflashed.
So it was a little disappointing that I wasn’t able to get this to work but hopefully there will be a fix for this issue soon.
Final Thoughts On The Rock 5 Model B
The Rock 5 Model B certainly has the potential to be a great choice for those looking for a powerful SBC with low power consumption. The RK3588 processor offers a significant performance improvement over a board like the Raspberry Pi 4, however, as with most of these alternatives, the Rock 5’s software and documentation still need a lot of work.
Most of the documentation and guides for the Rock 5 Model B are either at a very high level or are simply placeholders for development at this stage. I’d also like to see a full Ubuntu image for the Rock 5B as I personally prefer this OS over Debian.
With a starting price of just $129, this board is really good value for money given its specifications. The lack of WiFi is a bit disappointing, but I’m happy with the ability to add one through the M.2 E Key port if required and I really like that they’ve given us a 2.5G Ethernet port. I think the $20 increase to $149 is well worth it to double the RAM to 8GB. Most people won’t need 16GB of RAM, but it is nice to have this option if required.
Let me know what you think of the Rock 5B in the comments section below and let me know if there is anything you’d like to see me try to run on it.


Hello Michael brother
Very good review! Very well presented, no fluff, just most interesting points.
Mine keeps hanging on Removing network-manager, any advice?