Today I’m building a complete 10-inch homelab using only components bought from AliExpress. No name brands, no local retailers, no trusted vendors, just the cheapest parts I could find that technically met my requirements.
For this build, I wanted to find out a few things:
- Can you actually build a functional homelab by only using parts from AliExpress?
- Does it perform well enough to be usable and practical?
- And most importantly, is it actually any cheaper than buying entry-level name-brand gear locally?
By the end of the build, we’ll know whether this is a budget win, or just future e-waste.
Here’s my video of the build, read on for the write-up:
Purchase Links For Parts
Unlike with most of my builds, I’ve left these links here for reference only. I don’t think that these components are good value for money and don’t recommend that you buy them.
- Mini PC – Buy Here
- Ethernet Switch – No longer listed
- 2.5″ SATA SSDs – Buy Here
- AX3000 Router – Buy Here
- SATA Adaptors – Buy Here
These are ok to buy:
Tools & Equipment Used:
Some of the above parts are affiliate links. By purchasing products through the above links, you’ll be supporting my projects, at no additional cost to you.
What Does The Homelab Need To Include?
To set a goal for the build, I defined a basic homelab as something that could realistically live in a home or small office and actually be useful. For me, that means:
- A 5–6U 10-inch rack
- A router for internet access
- A mini PC to run services
- A gigabit switch to connect the homelab devices and others on my home network
- A patch panel for clean I/O access
- Some form of shared storage acting as a NAS
Every one of these components had to come from AliExpress, and for each category, I deliberately chose the cheapest option that met my minimum specs and obviously didn’t look like a total scam. All the pricing I talk about is in US dollars and includes delivery to my address.
The Aliexpress Homelab Parts That I Ordered
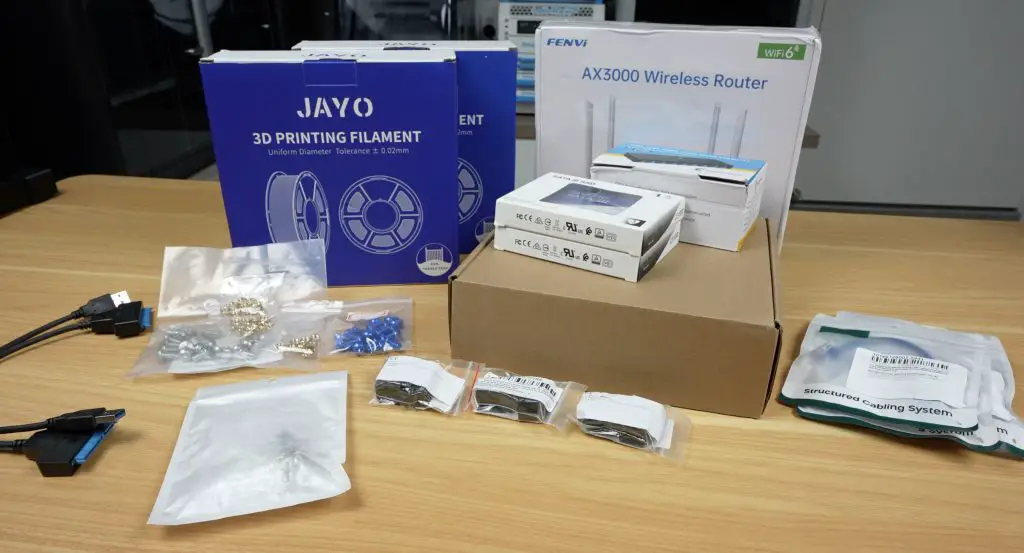
After around two weeks of waiting, this is what turned up.
Let’s start with the router. My requirements for the router were simple: I wanted Wi-Fi, preferably Wi-Fi 6, and gigabit Ethernet.
I found this FENVI AX3000 router, which claims Wi-Fi 6 on both 2.4 and 5GHz, gigabit networking, and even has a disclaimer about Australia’s 3G shutdown. That’s interesting, given it doesn’t appear to have 3G at all.
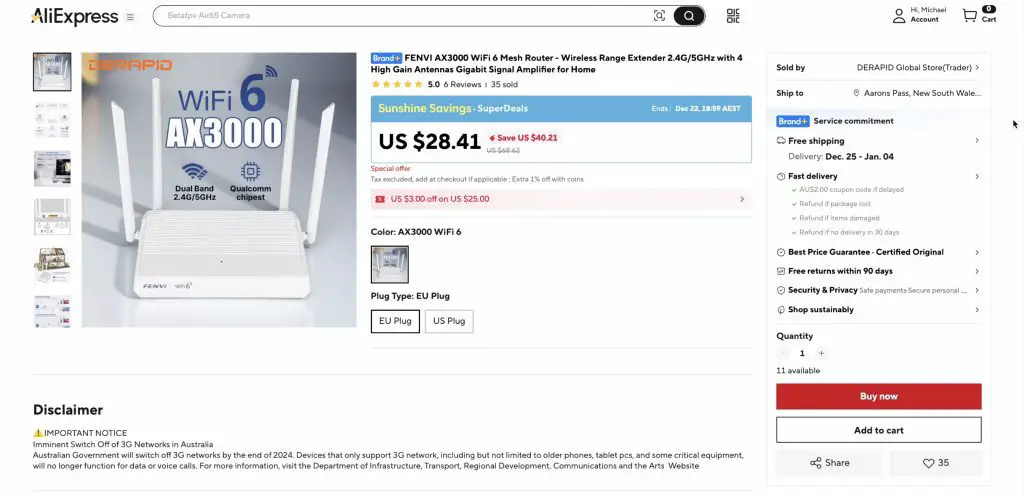
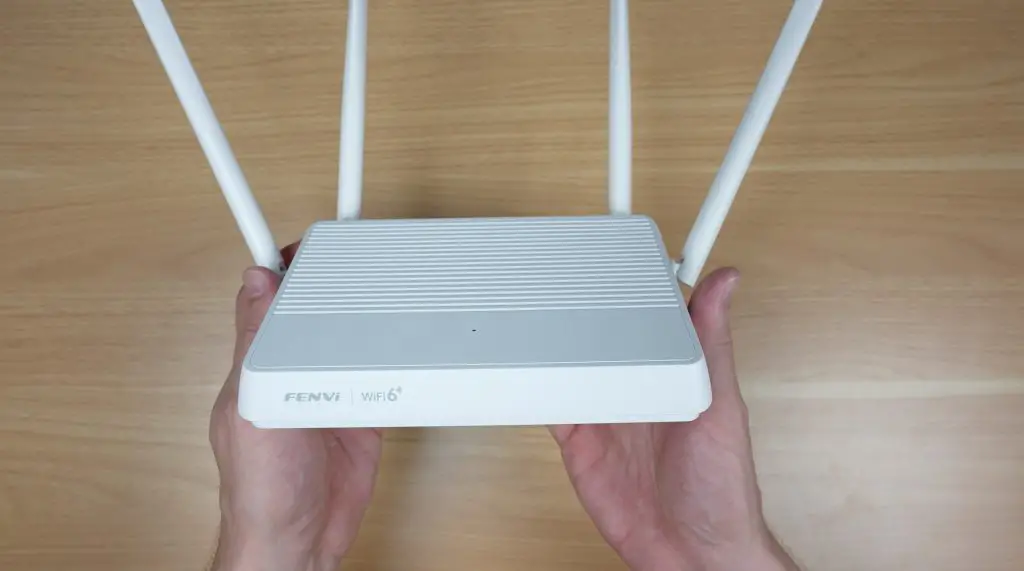
This cost me just $28.70. If it actually works as advertised, that’s quite a lot cheaper than an entry-level name-brand AX300 router locally, which would usually be closer to $80.
Next up is the network switch. This was more difficult to find than expected, because AliExpress is absolutely flooded with 10/100 switches that are still being sold for budget CCTV systems.
After some careful filtering, I found this Ling Pao 8-port gigabit switch, although it had a different name on the product listing. There’s not much to say here. If it switches packets at gigabit speed without dropping out, it’s technically done its job.
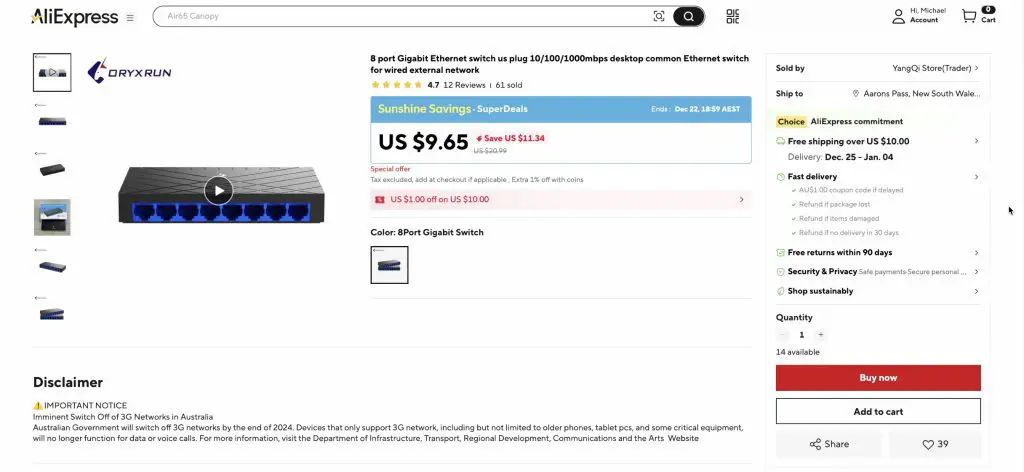

This cost me $9.73. Again, that’s quite good, as something similar locally would cost around $20.
Next up is the mini PC, and honestly this was a hard purchase. I wanted something that could actually run an OS from this decade, but I also didn’t want to spend a fortune on a component that’s likely going to end up being e-waste.
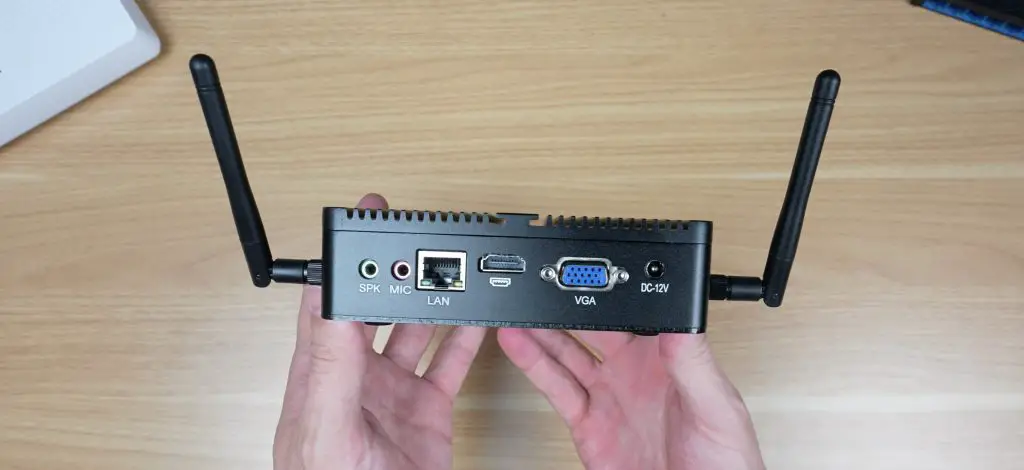
I settled for this brandless industrial fanless mini PC with an i3-4005U CPU, 8GB of RAM, and 128GB of SSD storage. It’s got pretty basic IO, including a now archaic VGA port and zero USB-C ports, but at least it has HDMI, gigabit Ethernet, and some USB 3 ports.
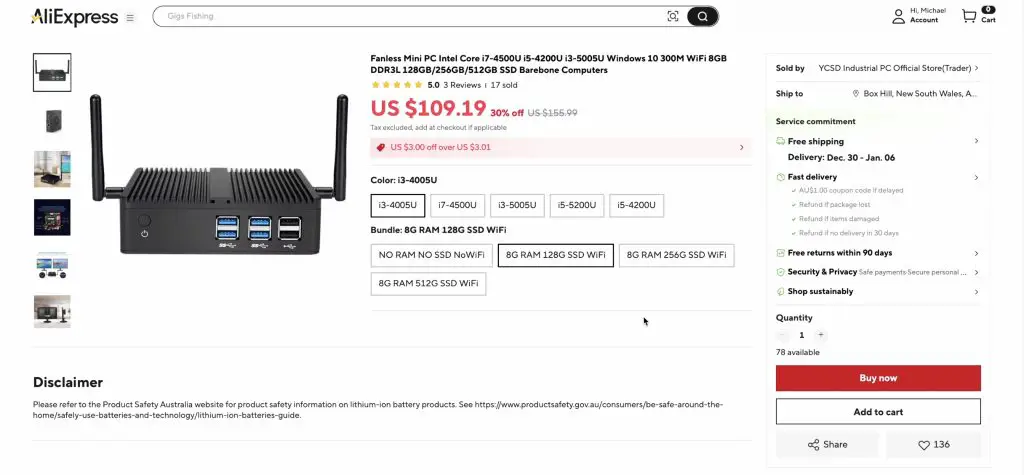
Finding a half-decent mini PC for a reasonable price is also made difficult because they often sell mini PCs on AliExpress without RAM or storage. Or they have listings that advertise an i7 at a cheap price, but when you click through, the i7 is actually much more expensive and the advertised price is for the i3 “coloured” PC.
For this mini PC I paid $104.26, which I feel a bit ripped off about. We’ll see how it performs, but this is essentially a 12-year-old piece of hardware, and you’d be able to buy a much better second-hand brand-name workstation locally for a similar price. The only things going for it are that it’s probably new hardware and likely low power draw, since it’s fanless.
Next is storage, and I know that buying storage on AliExpress is pretty high up on the list of things to never do, but for this build it had to be done.
To try to minimise the chance of being scammed, if that’s even possible, I decided to buy two 1TB drives. 1TB SSDs have been around for a while and aren’t high capacity or pushing any technical limits, so in my mind these were the least likely to be misrepresented or scammy.
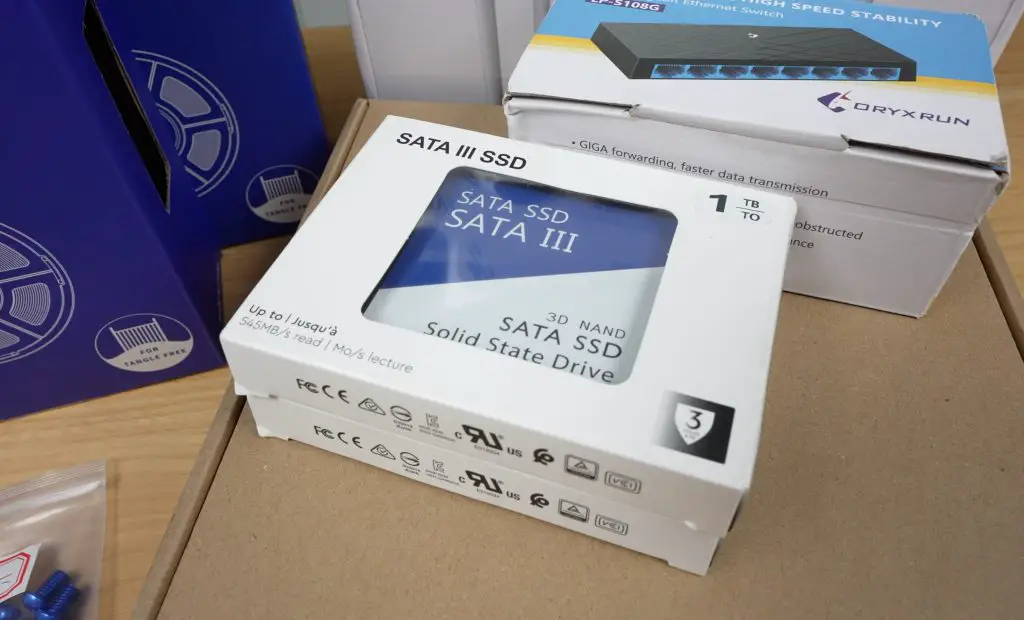
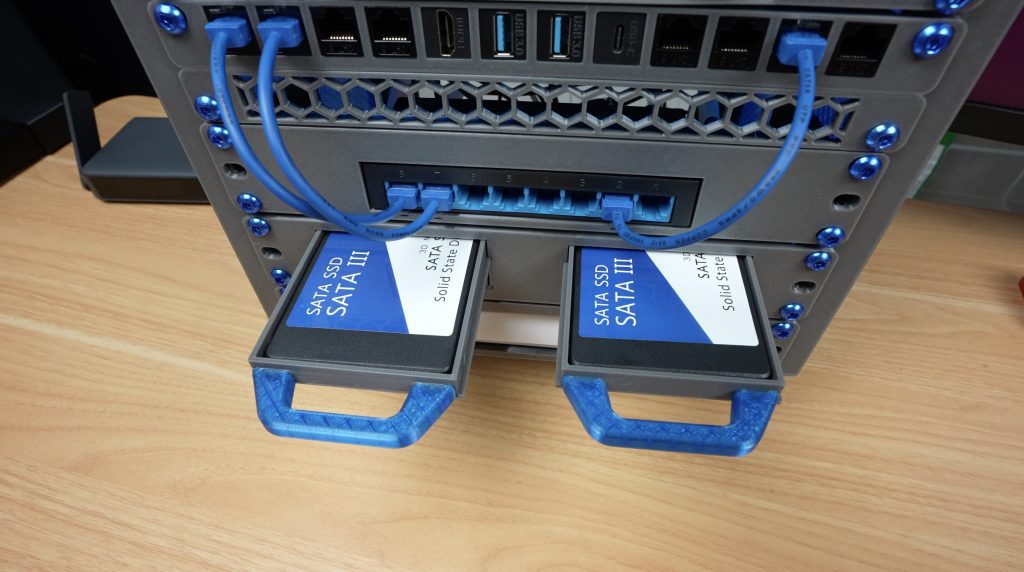
I set out looking for two 1TB SATA SSDs and found these “100% original” drives that look like they’re trying to knock off Western Digital’s colouring, although pricing between colours doesn’t change. They also had 79 reviews, with a lot of them being positive.
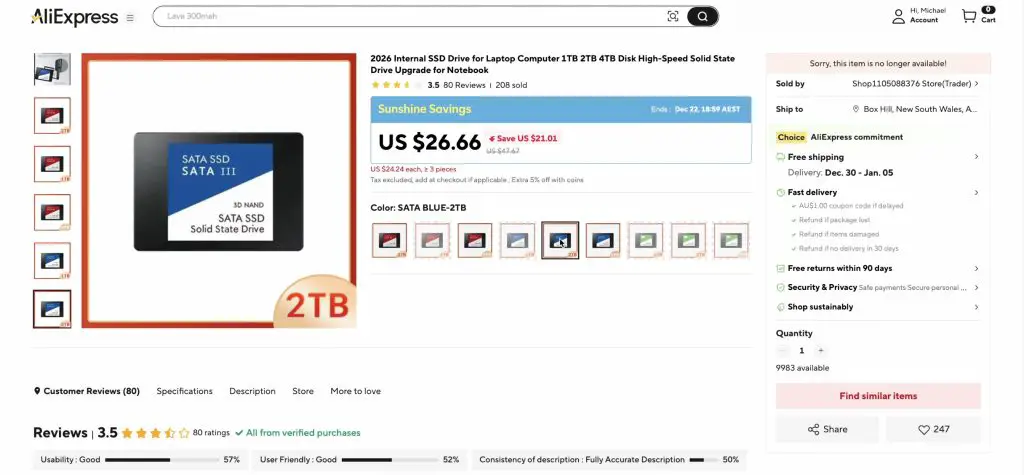
These drives cost me $20.36 each, which is about a fifth of what they should cost locally. They should be closer to $100.
To plug those into the mini PC, I used SATA-to-USB cables, which were $2.14 each.

I also picked up a few other components to finish off the homelab, including keystone jacks, patch leads, a cool power switch, and a 120mm fan. We’ll take a look at the total cost of everything once it’s fully assembled and compare that to a name-brand system.
Finding A 10″ Homelab Rack
Next comes the homelab rack. Being a 10-inch rack, there aren’t many prebuilt options available. I could buy a DeskPi Rackmate for around $80–120 depending on size and accessories, or I could 3D print my own.
I went with 3D printing a 5U Lab Rax homelab using materials sourced from AliExpress. I bought two rolls of PETG, some M6 brass inserts, M6 screws, and some coloured M6 screws for the front. All of this came to a total of $34.00 and was enough to print shelves to hold all of the components, so I didn’t need to buy any additional shelving hardware.
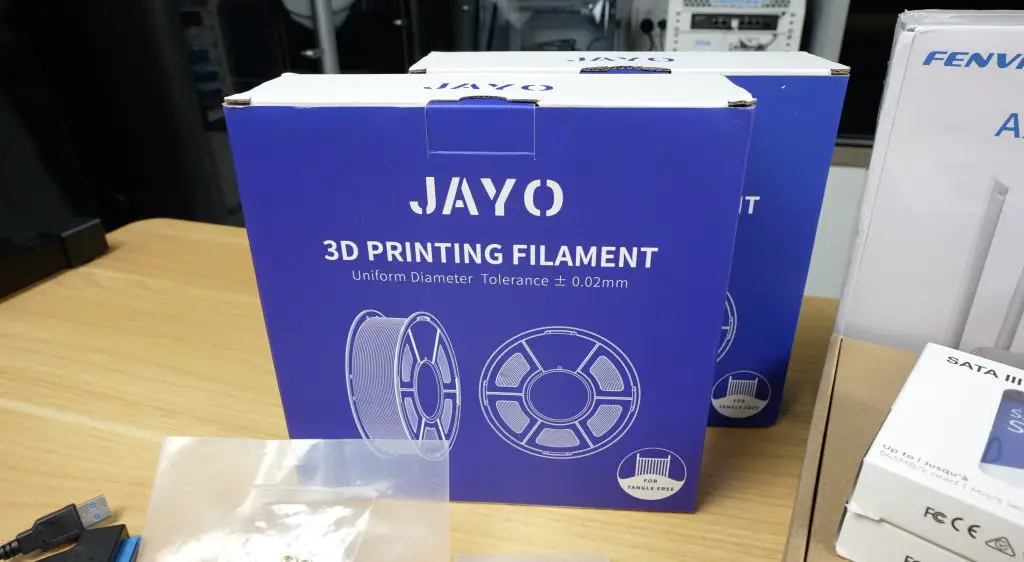
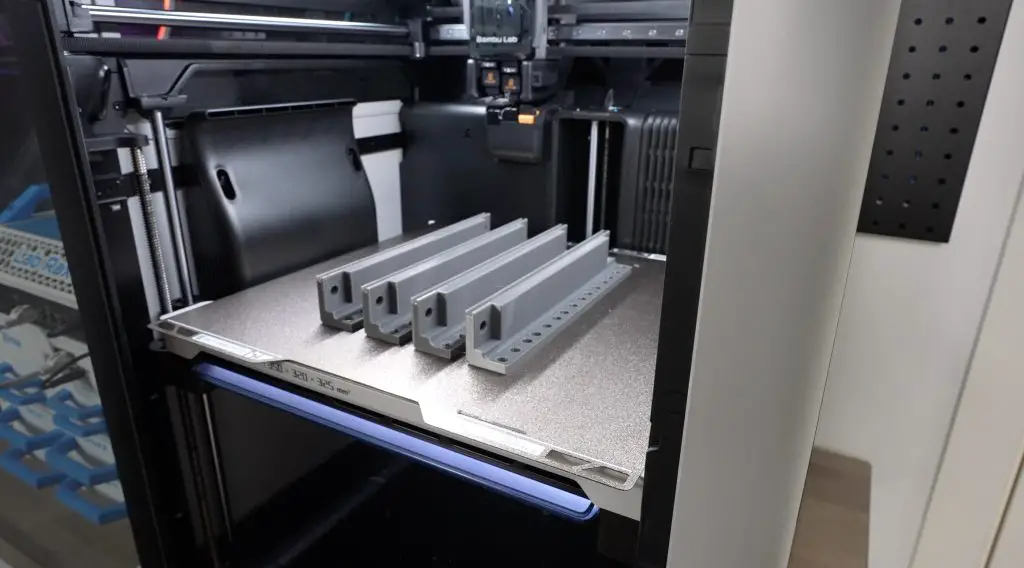
Next, I printed the homelab and shelves. Honestly, this went quite well. I dried the filament for eight hours before printing and all of the parts came out nicely, so I can’t really complain. These two 1kg rolls were each just over $10 including delivery, which is quite good.
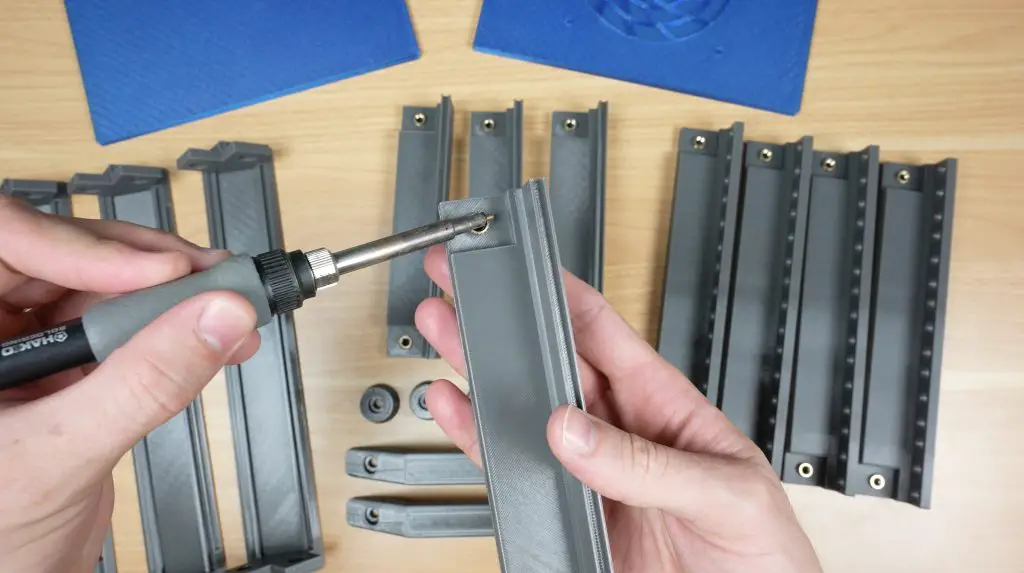
As with my other builds, this version of the Lab Rax system uses brass inserts melted into the parts with a soldering iron and M6 screws to hold everything together.
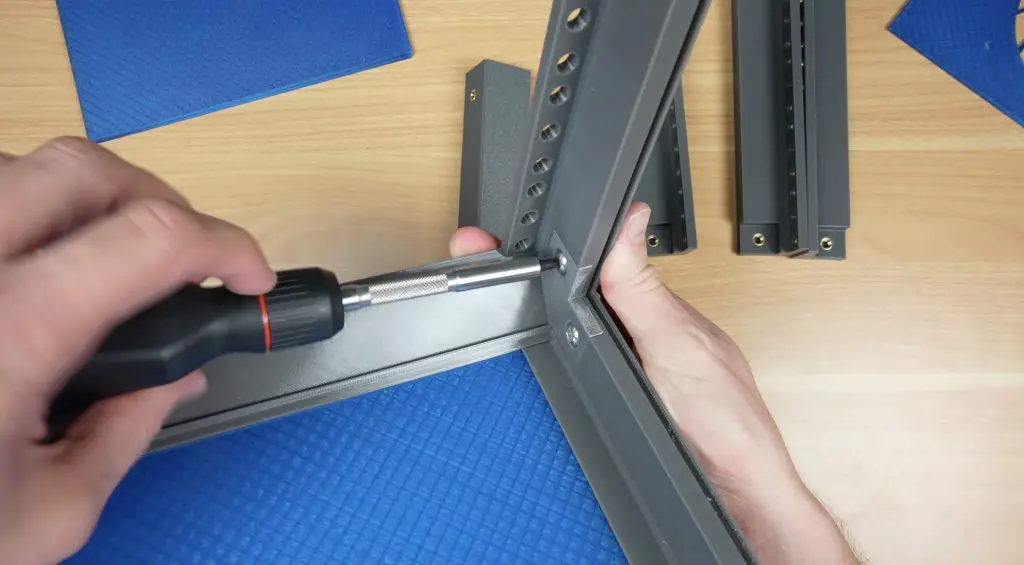
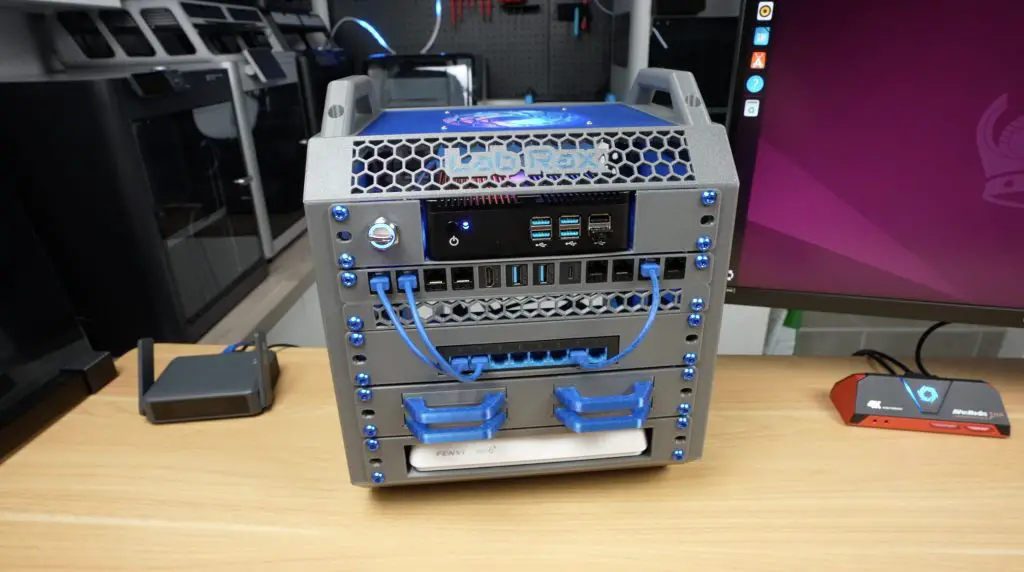
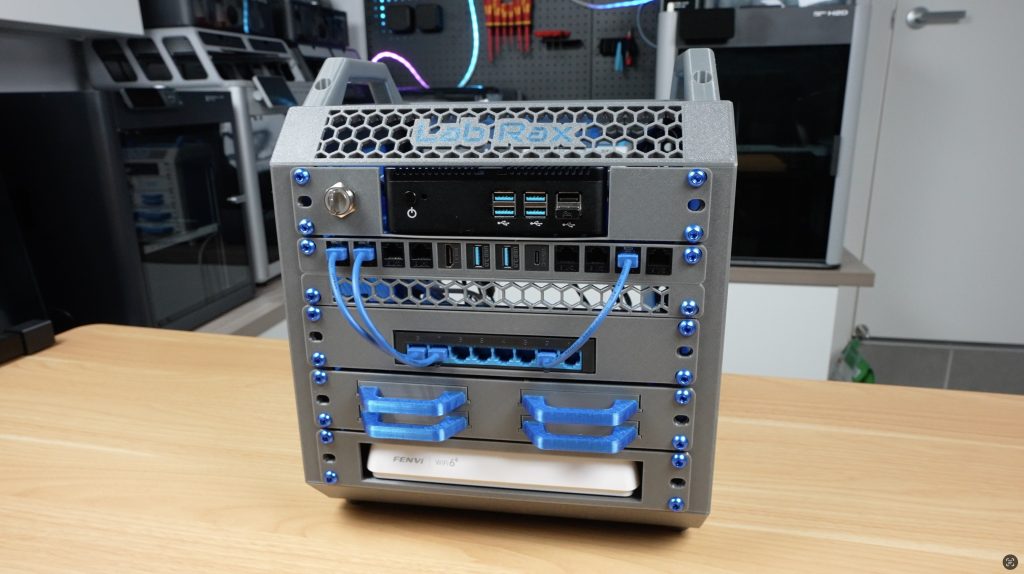
And that’s my 3D printed 10″ homelab rack complete and ready for the heardware to be added. I’m quite happy with how this has come out.
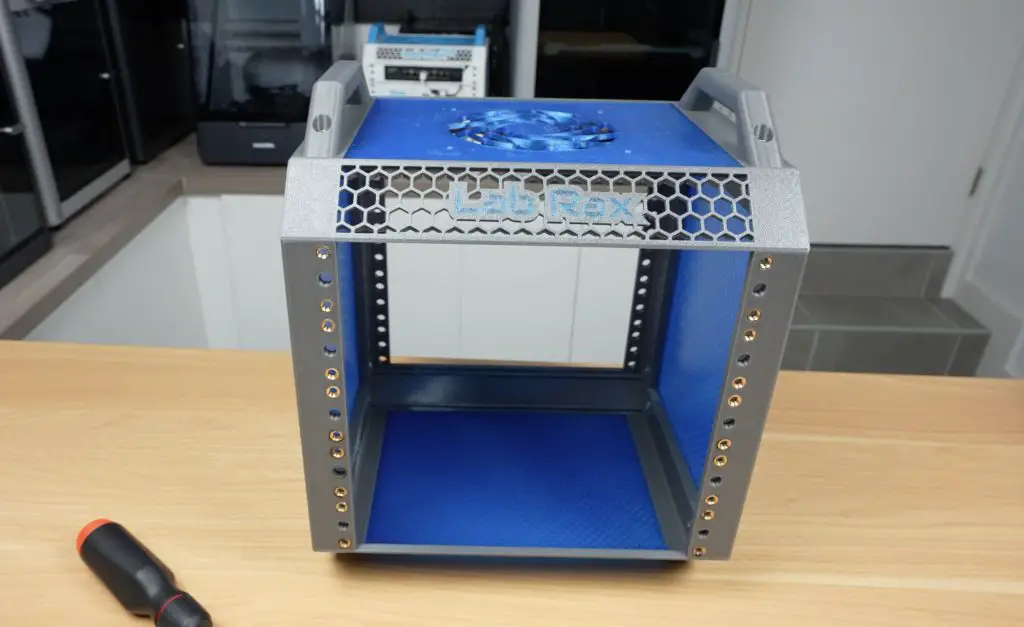
Assembling The Aliexpress Homelab Hardware Into The Rack
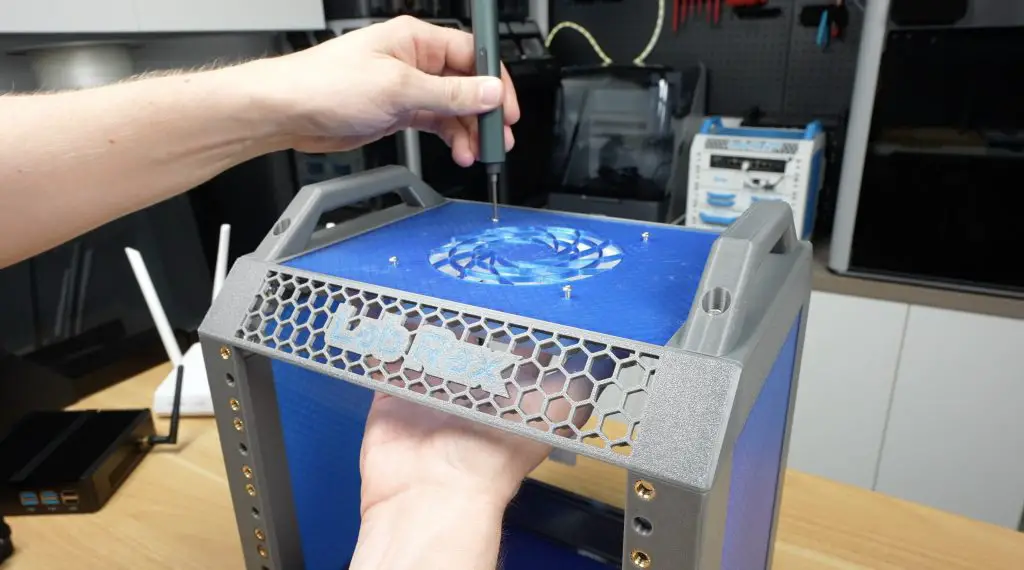
I started off assembling the Aliexpress homelab hardware by installing the 120mm fan on the top panel using M3 screws.
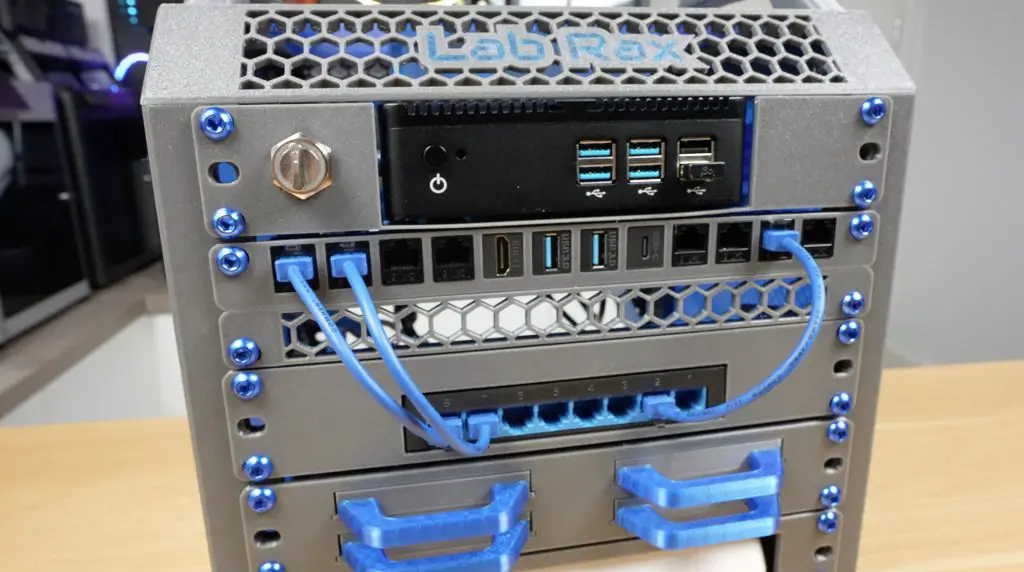
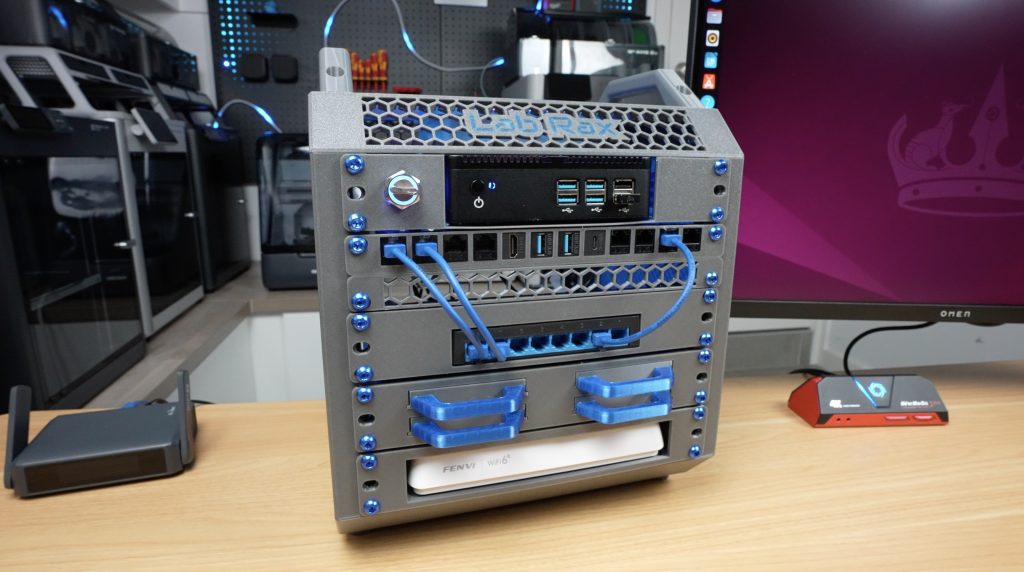
Next, I started populating the shelves. I initially went top down from smallest to largest so that the fan at the top would be most effective at cooling the lower components. So, at the top is the switch, then the mini PC below that. Under the mini PC I installed the drives in my NAS tray setup, followed by the half-U patch panel and half-U vent panel. The router sits at the bottom.
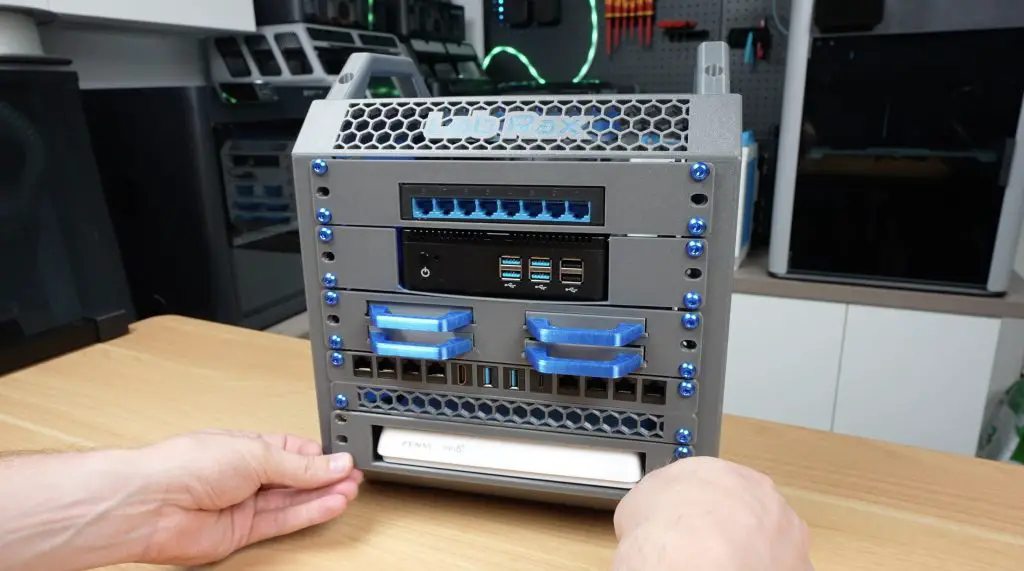
When I started plugging in patch leads and other cables, I realised that my layout wasn’t going to work with the hardware that I had available, so I had to rearrange the shelves slightly to get everything to fit. At this point, the AliExpress homelab is effectively complete.


Totalling everything up, the homelab cost me $216.05. That actually seems like a fairly good deal, assuming all of the components do what they claim and hopefully for longer than a couple of hours. I did a rough estimate of what this would cost using locally available, budget-friendly name-brand components and came out at around $490.00, so this build is less than half the price.
Testing The Aliexpress Homelab To See If It Was A Good Deal
Next, it was time to test everything and see how the components perform, or whether they work at all.
I wasn’t going to hook this homelab up to my main home network. I have no idea what spyware or other questionable software might be installed, so I ran it on an isolated guest network with internet access only, just in case.
The mini PC arrived with Windows 10 installed, but I wasn’t sure what else might be on it, so I wiped the OS drive and installed Ubuntu, which is more appropriate for a homelab anyway.

Testing The Mini PC
Starting with the PC, I ran a CPU stress test. It’s passively cooled, but I had the 120mm fan above it turned on, which likely helped.
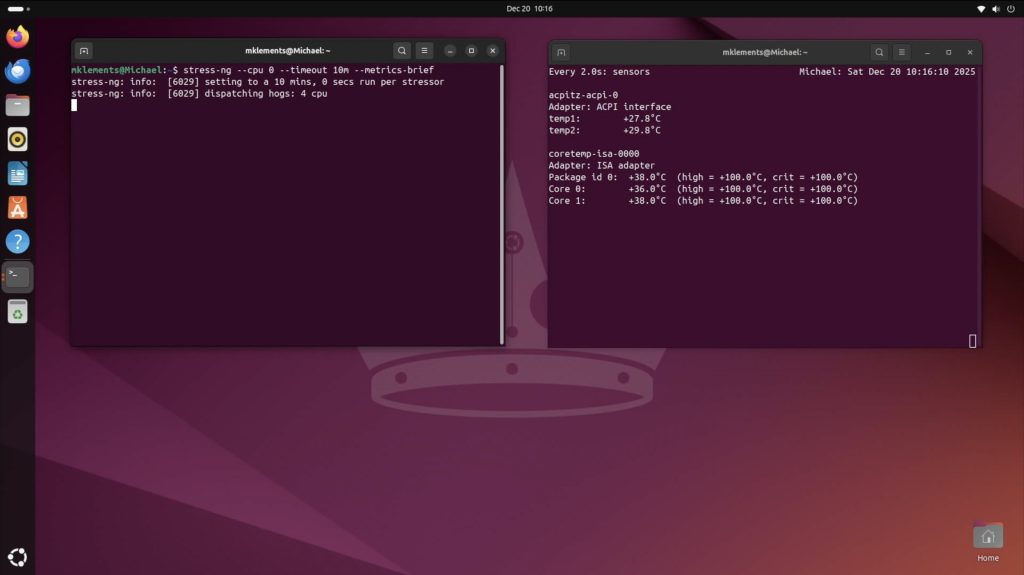
It did reasonably well. Temperatures started at around 35 degrees and stabilised at about 45 degrees after ten minutes.
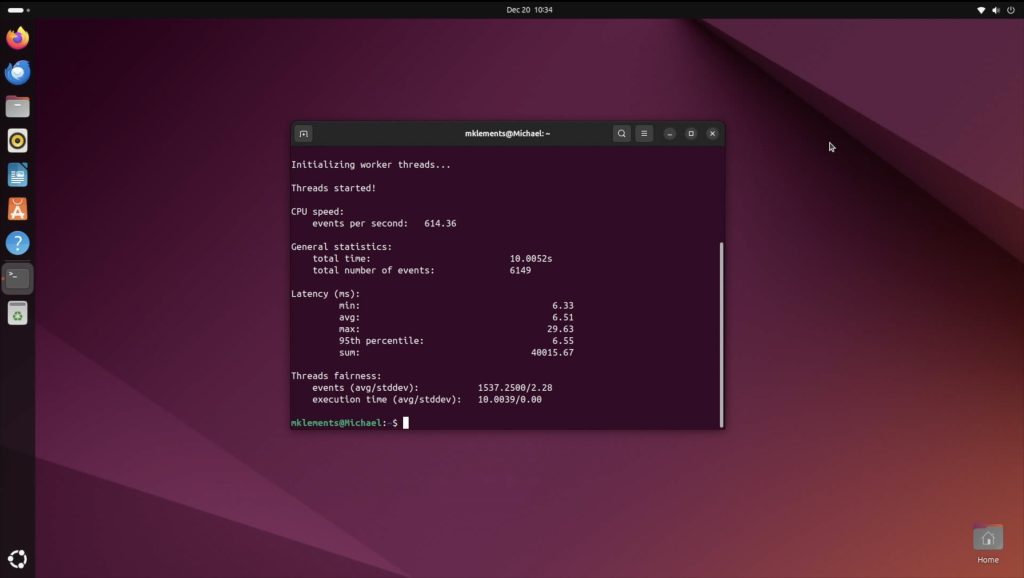
Running a Sysbench CPU benchmark, I got an average score of 6,148 over three tests. That’s not great and is roughly on par with a Raspberry Pi 4, which is a bit disappointing, although not entirely unexpected for a 12-year-old CPU.
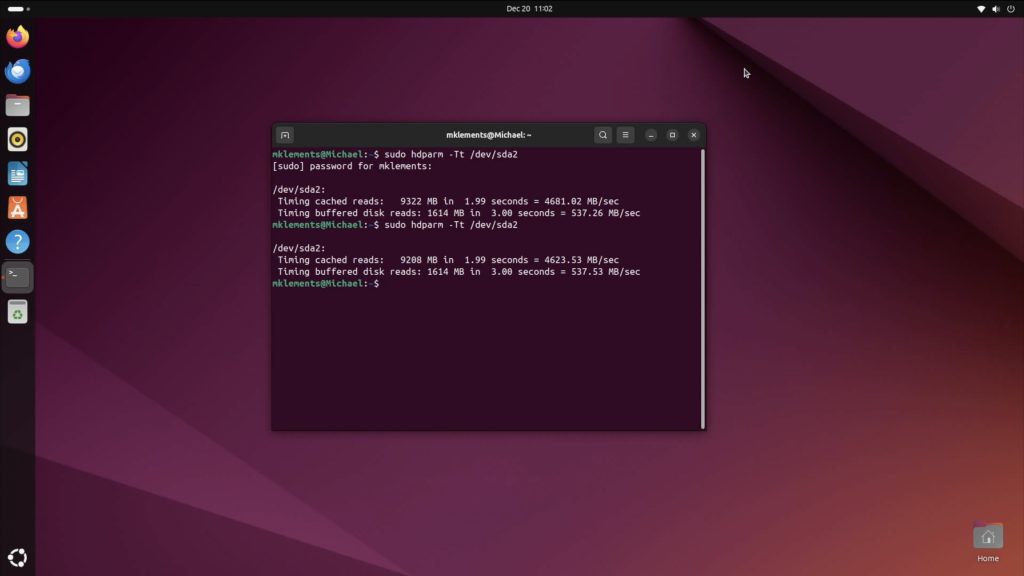
Testing the OS drive speed showed around 537MB/s buffered reads, which is quite good for a SATA drive.
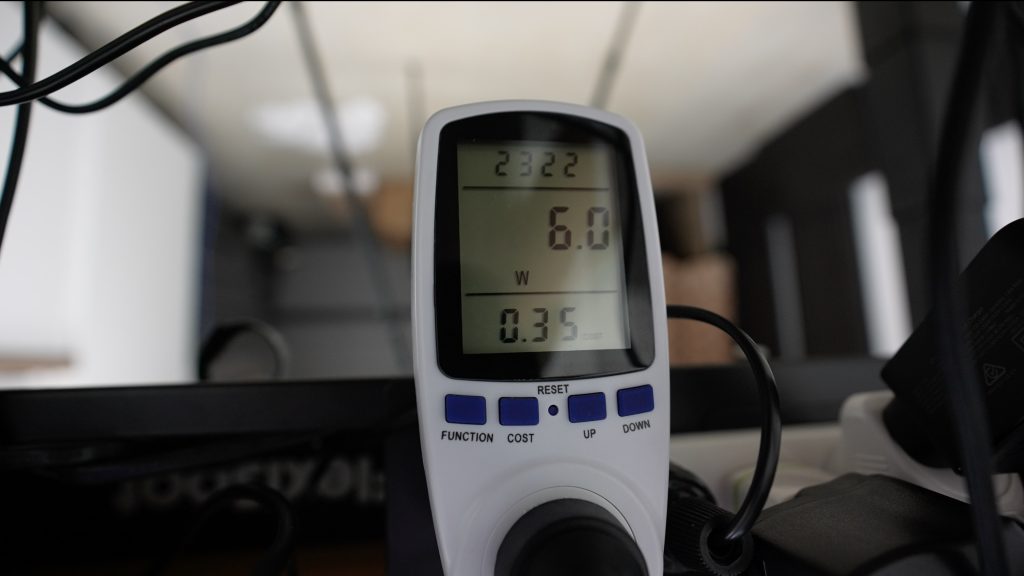
In terms of power consumption, the mini PC uses 6W at idle and 14W under full load. That’s a bit higher than more modern systems using something like an N100 or N150 CPU, but it’s still reasonable for a simple homelab PC.

Overall, I can’t really fault the PC. The CPU is old, but that was known going in, and it performed as expected. Being passively cooled is also a plus, as it produces no noise.
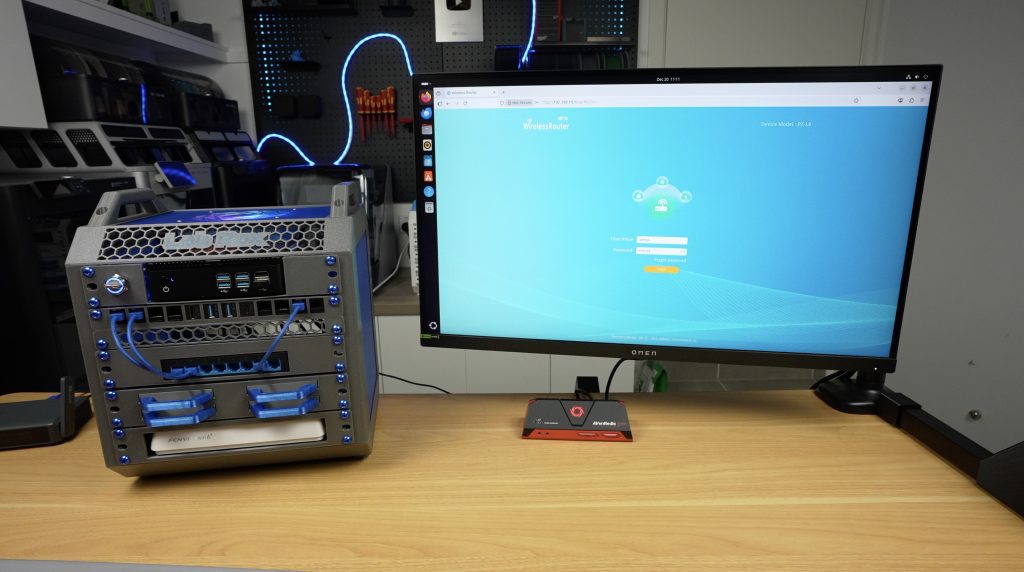
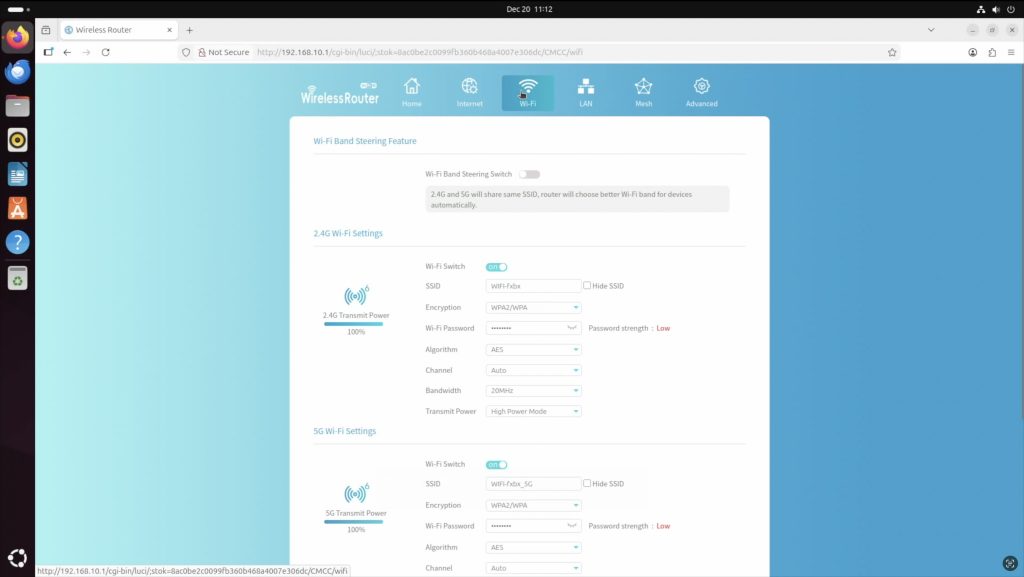
Testing The Router
Next, I tested the router. The web interface seems fine, it’s in English and has all of the basic features you’d expect. It even includes parental controls and blocklist features.
I tested internet speed over both wired and wireless connections. Wired, I saw between 850 and 900 Mbps download and around 95 Mbps upload, with a ping of 5 to 7ms.
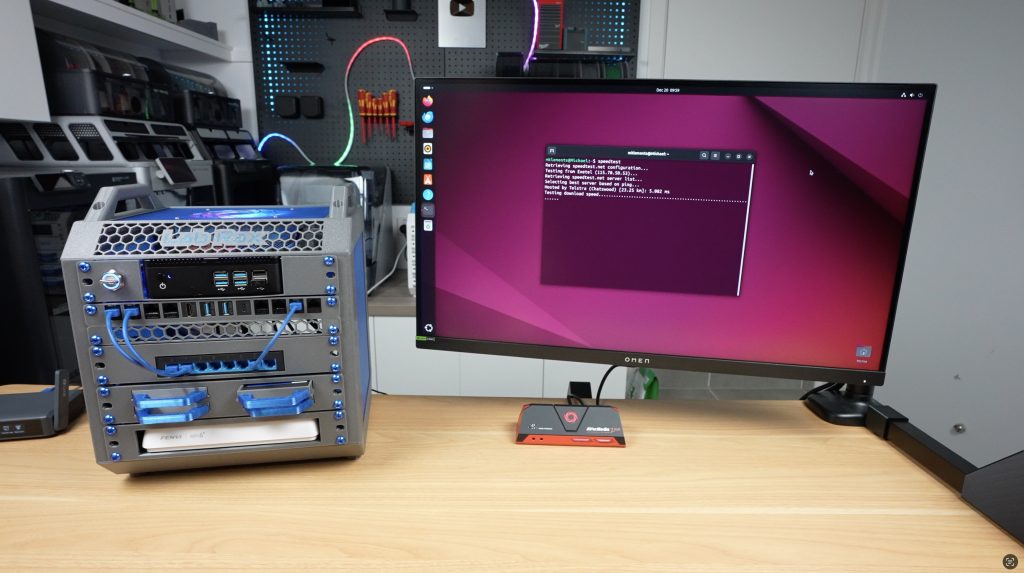
Wireless speeds were between 60 and 110 Mbps download and a little over 80 Mbps upload, with similar ping times.
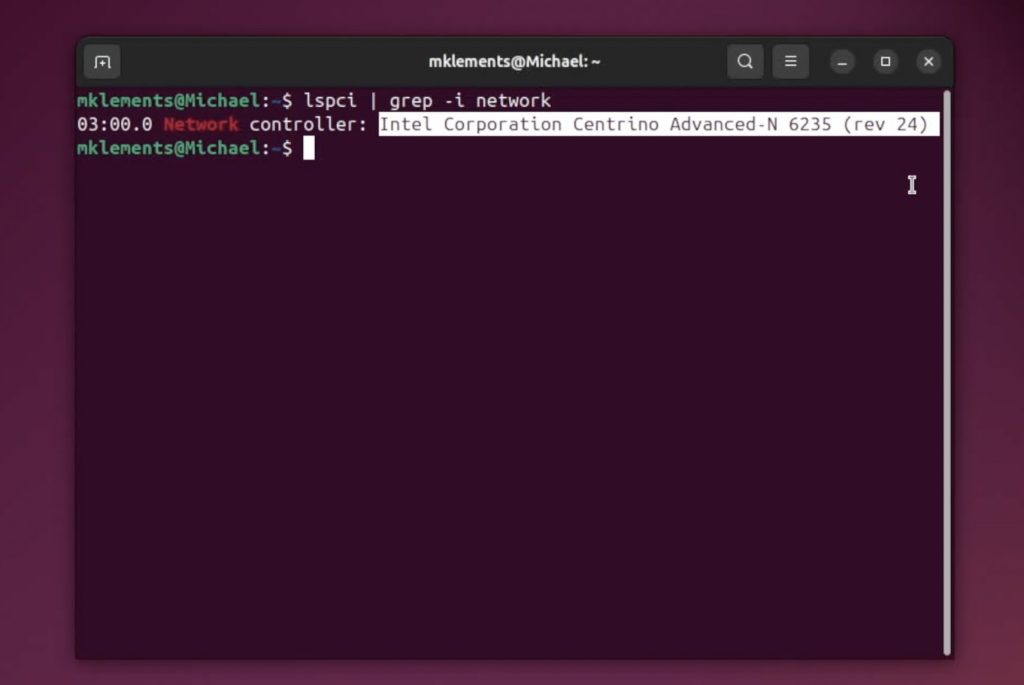
The wired results were reasonably close to what I get from my main router. The ping was slightly slower, but this router was on an isolated guest network and had the overhead of another router and switch in the path, so the results weren’t too bad. Wireless performance was pretty poor, but the mini PC is using a Wi-Fi 4 adapter from around 2012, which is almost certainly the limiting factor.
Testing The Network Switch
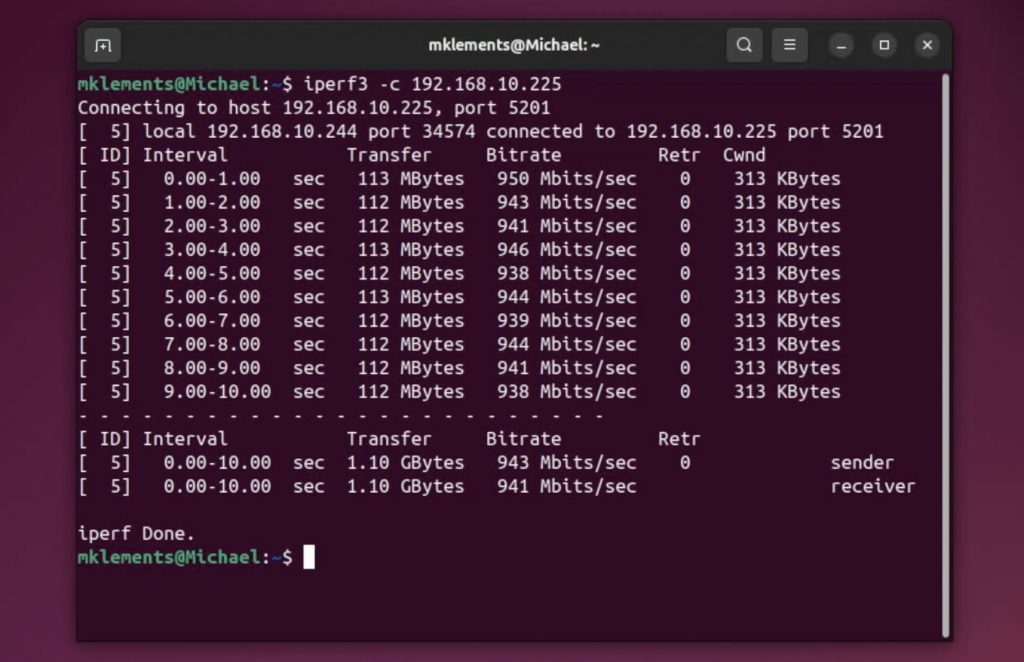
Next, I tested the switch. Running iperf3, I saw transfer speeds just over 940 Mbps, which is solid. I didn’t want to connect more of my everyday devices to this network, but heavier traffic would have made the test more demanding.
Testing The Storage Drives
Then it was time to test the storage drives, where I didn’t have high hopes that I had avoided being scammed.
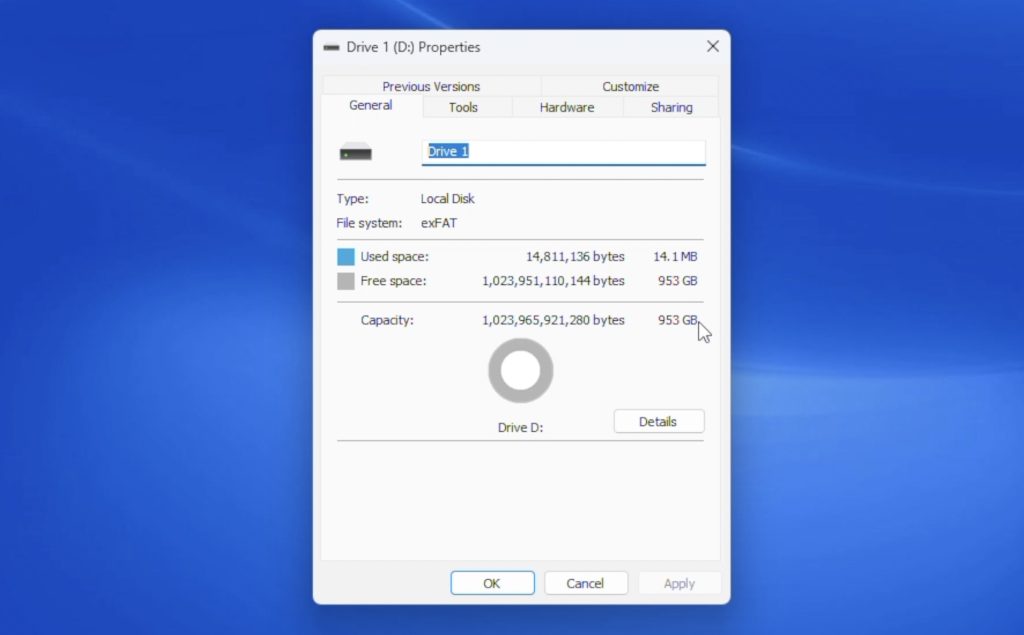
I started by formatting the drives on a burner PC, just in case they had anything on them. After that, the drive showed up as readable and appeared to have its stated 1TB capacity, or very close to it at 953GB.
However, what often happens with these drives is that they actually only have 32GB or 64GB of real capacity. They either refuse to write more data or silently overwrite older data, so files seem fine at first but disappear later.
To test this, I used H2testw, which writes the drive full and then verifies the data to check for errors or fake capacity.
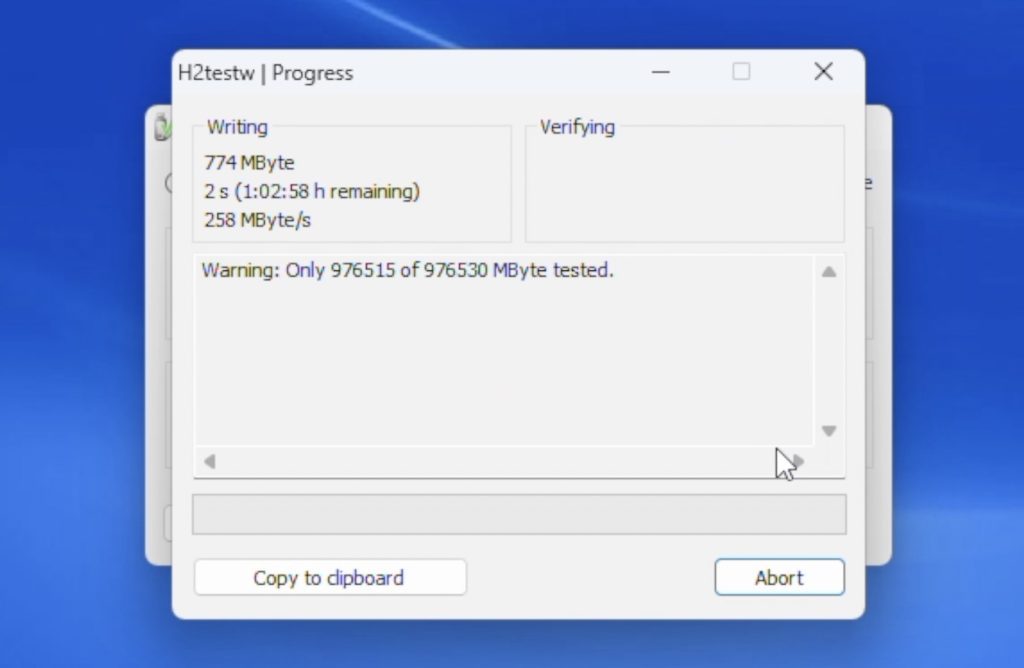
The test initially estimated just over an hour. Write speeds started above 250MB/s, dropped under 80MB/s after about ten minutes and around 50GB written, and then fell below 30MB/s for the remainder of the test. There are several reasons for this drop, but it clearly shows the drive is using very budget-tier hardware.
After two and a half hours, the real issue appeared. The test stopped being able to write at 122GB. I was able to verify the data written up to that point successfully, but the drive would not allow any more data to be written. I ran the test again on the same drive and then on the second drive, and got similar results every time. Sometimes the test ran faster, but it always stopped around 122GB.
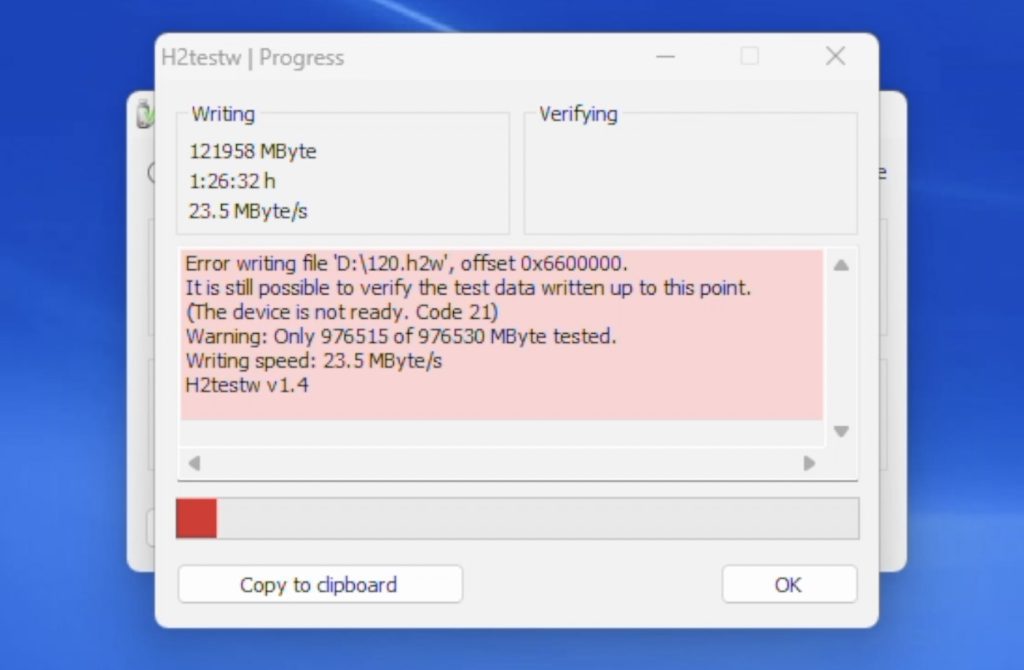
So it looks like these are actually 128GB drives, which aligns much more closely with the price I paid.
Running transfer tests from the mini PC showed buffered read speeds of just 23MB/s, which is very poor.
The drives also don’t report any useful manufacturer or model information. I opened one up and found a reasonably normal-looking PCB. These SSDs are never physically full; they’re only that size to match the old 2.5-inch mechanical drive form factor.
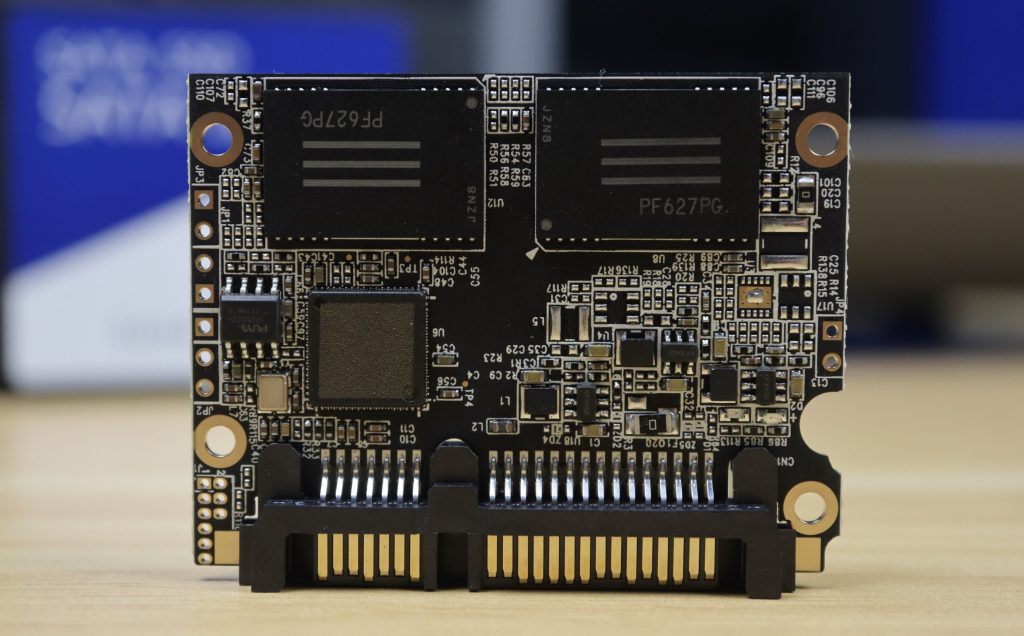
Searching the chip part numbers didn’t bring up technical documentation, only other people complaining about being scammed by drives with the same chips from unreliable sellers.
So this result aligned with my expectations. I suspected I’d be scammed, and despite trying to avoid it, I wasn’t successful.
Final Thoughts On My Aliexpress Homelab Build – Was It Worth It?
Completing my testing leaves the question of whether it’s worth building a homelab from AliExpress, or whether you’re better off buying name-brand hardware.
From a pure “does it function” perspective, this homelab does work. But realistically, you’d be far better off spending a similar amount of money on higher-quality used hardware.
The homelab frame itself, made from AliExpress filament, brass inserts, screws, and even the fan, is actually quite good. It printed well, everything fits properly, and there are no issues. If you’re prepared to wait, AliExpress makes sense for these kinds of passive components.
The mini PC is usable, but it’s already a decade out of date. You could likely get a better deal on a second-hand workstation like a Lenovo ThinkStation or Dell Precision T-Series.
The router is similar. It works, but you could probably find an older Netgear Nighthawk or TP-Link Archer locally for a similar price.
The switch is decent value for an 8-port model, but I doubt it will last very long. For an extra $15, you’d be better off buying a name-brand one.
The drives are a straight-up scam and reinforce the rule that you should never buy storage from AliExpress. At their real 128GB capacity, they’re actually more expensive than equivalent name-brand drives.
So, my takeaway is this. AliExpress can make sense for passive components like mechanical parts, cabling, hardware accessories, and even racks or enclosures if you’re willing to wait. But for core infrastructure, you’re almost always better off spending similar money on used, name-brand hardware that was designed to last.
Let me know what you think of the build in the comments section below, and what you think I should do with this homelab next.
The test initially estimated just over an hour. Write speeds started above 250MB/s, dropped under 80MB/s after about ten minutes and around 50GB written
Where can I download a 3D model of the parts for self-assembly?