Hanging pictures, mirrors, even mirrors cut to size and art around your home adds height to each room and gives them a personal touch.
The first decision to make is whether to put in a nail or screw to hang the picture. Both can be used in either masonry or wood and plaster board walls however screws take quite a bit longer to install in masonry walls. The advantage is that a screw in a masonry wall can take a much higher load than a nail. If it’s a small frame or picture then go with a nail, anything heavy or larger than an A1 page should rather be hung with a screw or multiple nails.
What You’ll Need To Hang A Picture or Mirror
For A Nail Mount
- Wall Nail (Hilti brand if using picture hanger)
- Hilti Picture Hanging Tool
- Hammer
For A Screw Mount In Wood
- Wood Screw
- Screwdriver
- Drill & Small Drill Bit (Only for hard wood)
For A Screw Mount In Masonry
- Screw & Wall Plug (Sold as a set)
- Screwdriver
- Drill & Drill Bit (To match wall plug, usually stated on packaging)
How To Hand The Picture Or Mirror
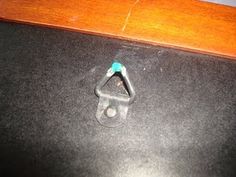
There are usually three methods used on frames and decor to hang, a steel loop or hook on each back side, a wire or string across the back or a single catch or hook in the middle. The single hook and the string method are the easiest to hang because you don’t have to worry about getting the picture straight or centering the picture. The double hooks are usually used on large and heavy mirrors and frames which would not hold on a single nail.
For A Nail Mount

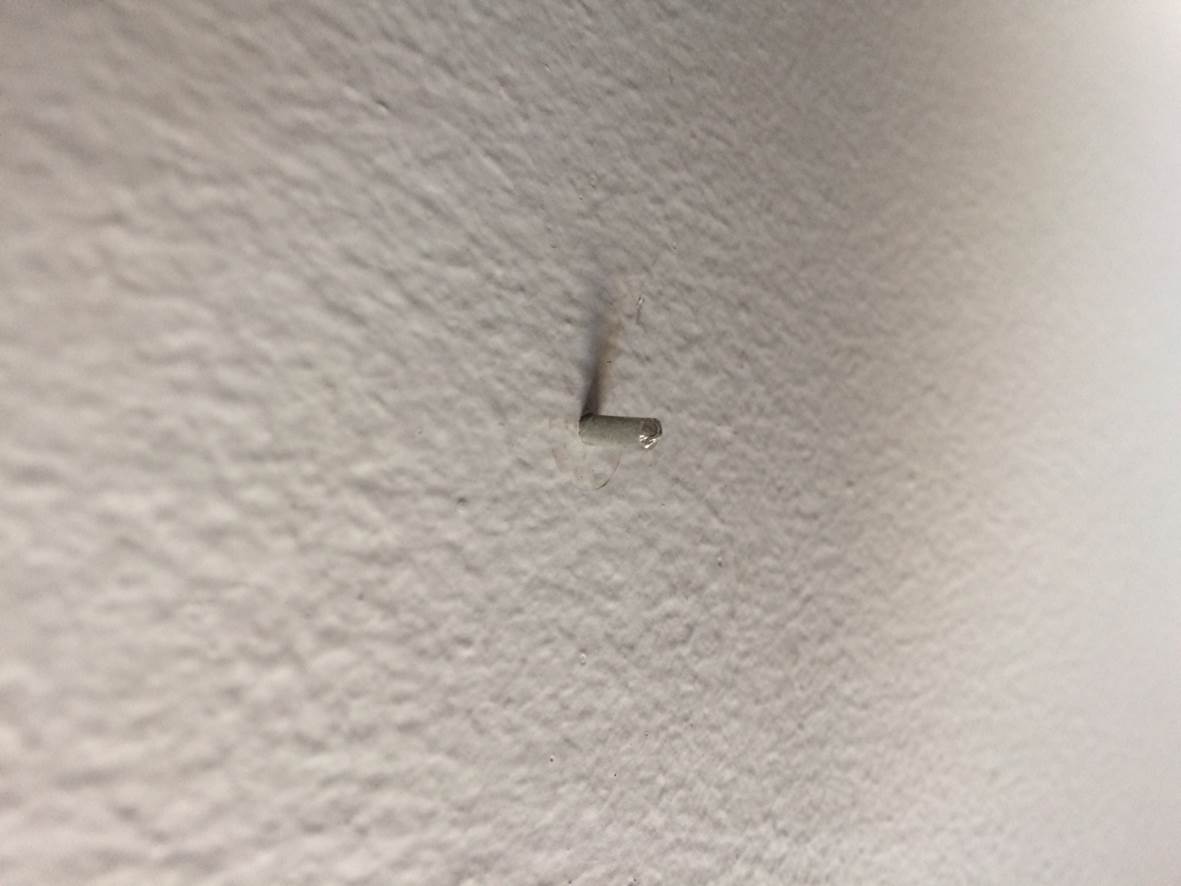
If you are using a nail, measure the center of the picture and the height of the hook on the back of the picture and make a mark on the wall. If you need to use two nails then mark both spots and make sure they are level using a digital level or spirit level. An easy way to mark off a hook or multiple hooks hidden behind the frame is to put a dab of toothpaste on the tip of each hook. Place the picture in position on the wall, ensure it is level and then gently press the back onto the wall. The toothpaste will mark the wall where the nails need to be. Now use the Hilti nail tool or your fingers (be careful) to hold the nail and hammer it into place leaving a short head protruding on which to hang the picture.
For A Screw Mount In Wood
If you are using a screw on a wood and plaster board wall, you need to make sure you a screwing it into a wooden support column behind the plaster board. Tap the wall lightly along its length and you will hear hollow and dull sounding sections. The dull sections are the wooden beams. Alternatively there may be nail heads slightly visible along the wooden sections. Screw the screw into the wood until just a portion of the head remains on which to hang the picture. If you are screwing a screw directly into a very hard wood, it may be necessary to drill a small pilot hole into the wood first to guide the screw.
For A Screw Mount In Masonry
If you are using a screw on a masonry wall, you’ll need to make off where the screws are going to be. Now you’ll need to use a pack of masonry wall screws with plastic or wooden wall plugs. Use a drill bit slightly larger than the plug, the recommended drill bit size is usually written on the packaging. Drill a hole in the wall as deep as the screw is long. Now insert the wall plug and then screw the screw into the plug, leaving a portion of the screw sticking out on which to hang the picture. Here is a “how to” guide on installing screws in a brick or concrete wall.
Finally, hang the picture up on your newly installed nails or screws.


