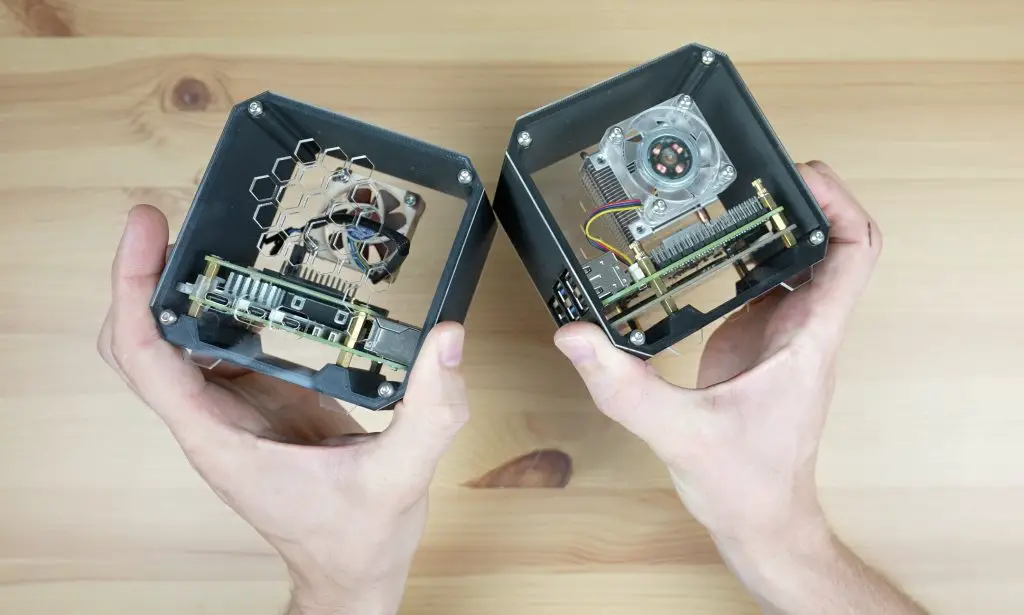
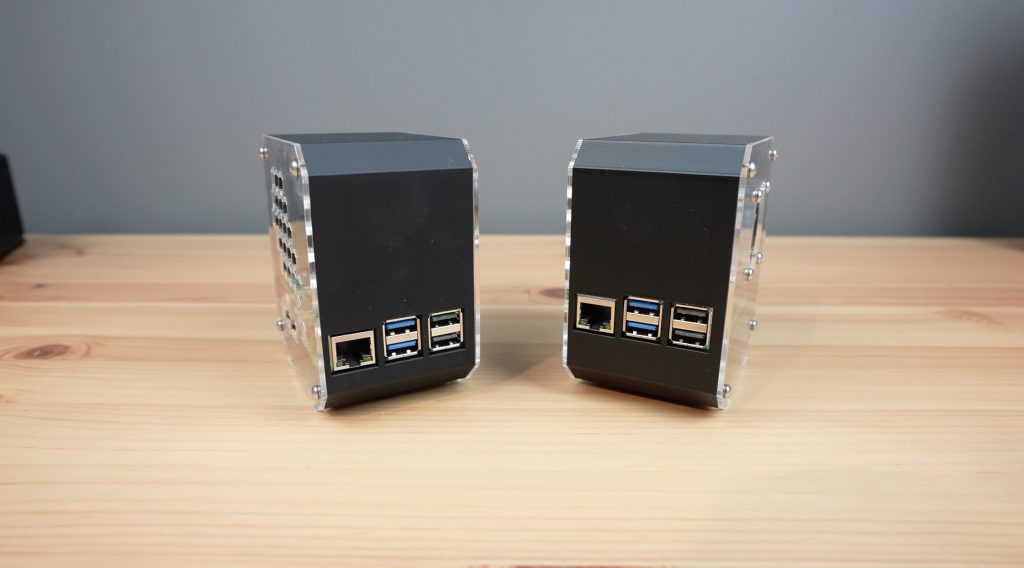
If you don’t know already, I’ve been selling these 3D printed cases for Raspberry Pi’s online for a few years now. With the launch of a number of NVMe drive hats for the Pi 5’s PCIe port, I get asked quite a lot which hat is best for it and which case to choose. So today, I set out to find out.
Here’s my video of the test, read on for the write-up and detailed results:
These NVMe hat’s have a few common features, so let’s have a look at those first.
They all connect to the Pi 5 through an impedance-controlled ribbon cable at the back of the Pi and then either sit on top of or underneath it. They feature an M.2 M-Key port that the drive plugs into and although the Pi supplies power to them directly through the ribbon cable, they often have an option for an external power source as well.
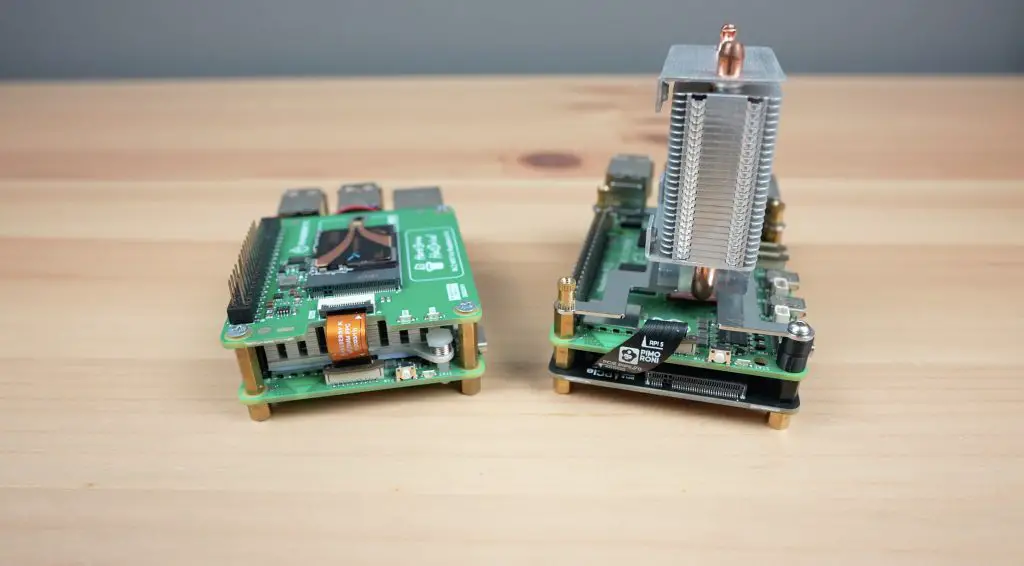
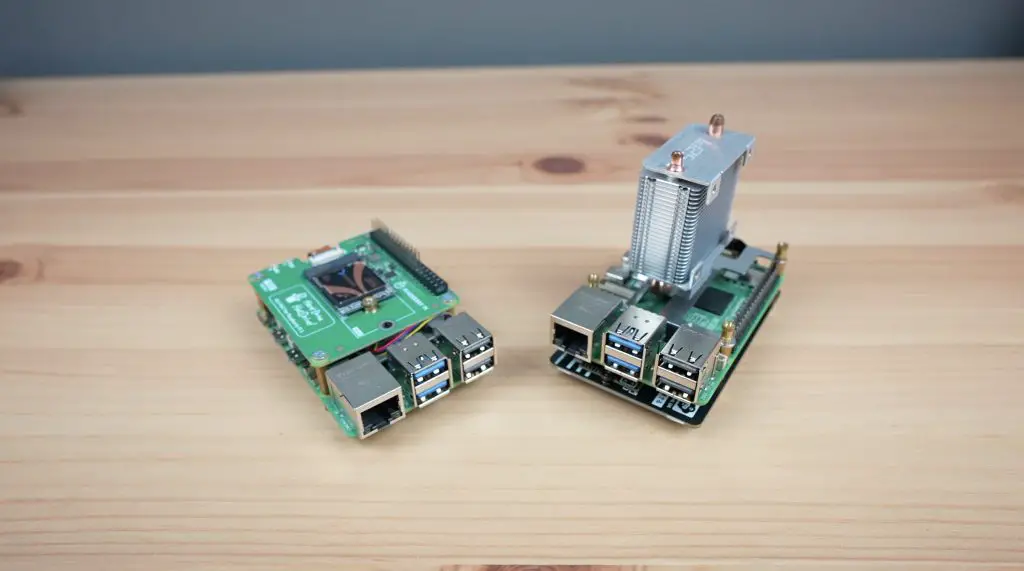
To accommodate these hats, I’ve got two case designs. One which takes the Pineberry HatDrive! Top and another which takes either the Pimoroni NVMe Base or the Pineberry HatDrive! Bottom.
Purchase Links For Components Used In This Test
NVMe Hats Tested:
- Pineberry HatDrive! Top – Buy Here
- Pineberry HatDrive! Bottom – Buy Here
- Pimoroni NVMe Base – Buy Here
- Geekworm X1001 – Buy Here
Test Components & Equipment Used:
- Raspberry Pi 5 – Buy Here
- Sabrent Rocket 4.0 – Buy Here
- Pi 5 Power Supply – Buy Here
- Pi 5 Active Cooler – Buy Here
- ClonerAlliance UHD Pro Video Capture – Buy Here
Is A Top or Bottom Mount Hat Better?
In terms of which physical layout is best, I have a preference for the top-mounted hat but there are a lot of benefits to the bottom-mount as well.
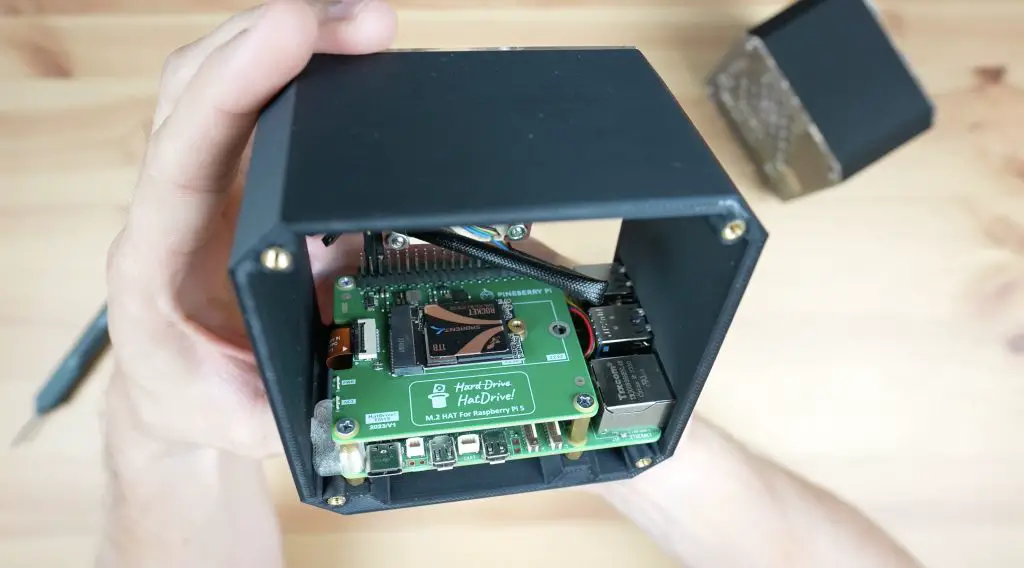
The top mount allows you to fit a Pi 5 active cooler in between the hat and the Pi, so that takes care of cooling, and you’ve then got the hat and NVMe drive on the top. This leaves you plenty of room to add a heatsink to the NVMe drive and it stays reasonably cool without a heatsink just because it isn’t boxed in underneath another board. Its also quick and easy to swap the drive out for a different one if you’re switching operating systems or storage.
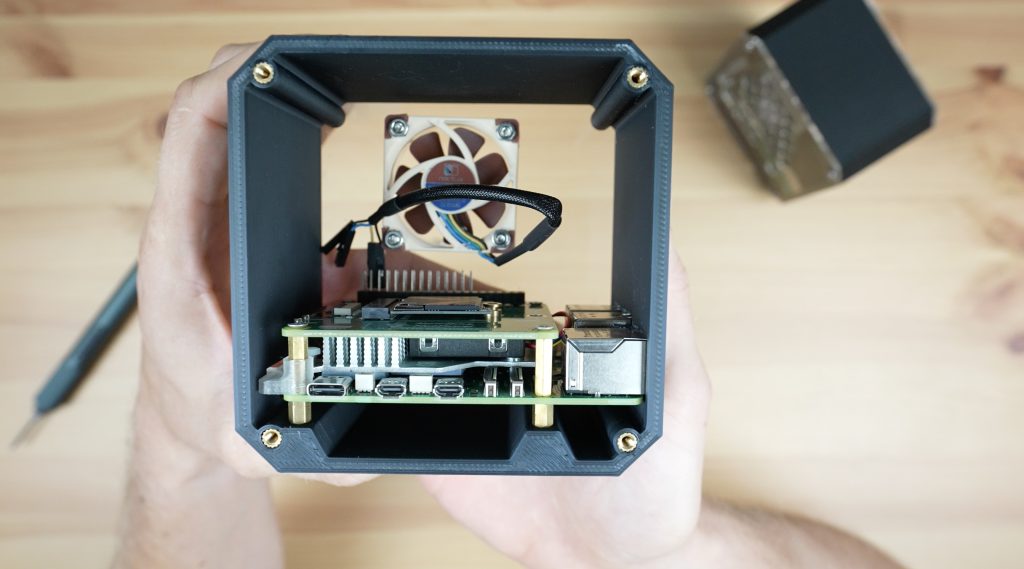
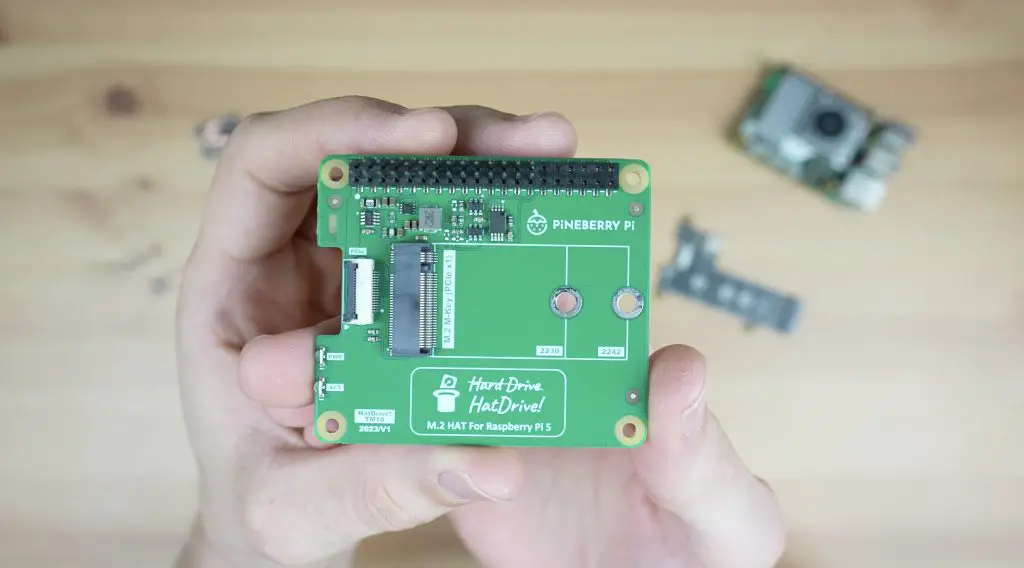
The drawbacks of the top-mounted NVMe drive are that the Pineberry version is limited to a more compact 2230 and 2242 size drive. These are a little bit less common and more expensive. You also don’t have access to the Pi’s CPU to put a larger cooler like an Ice Tower onto it and it blocks some of the GPIO pins.
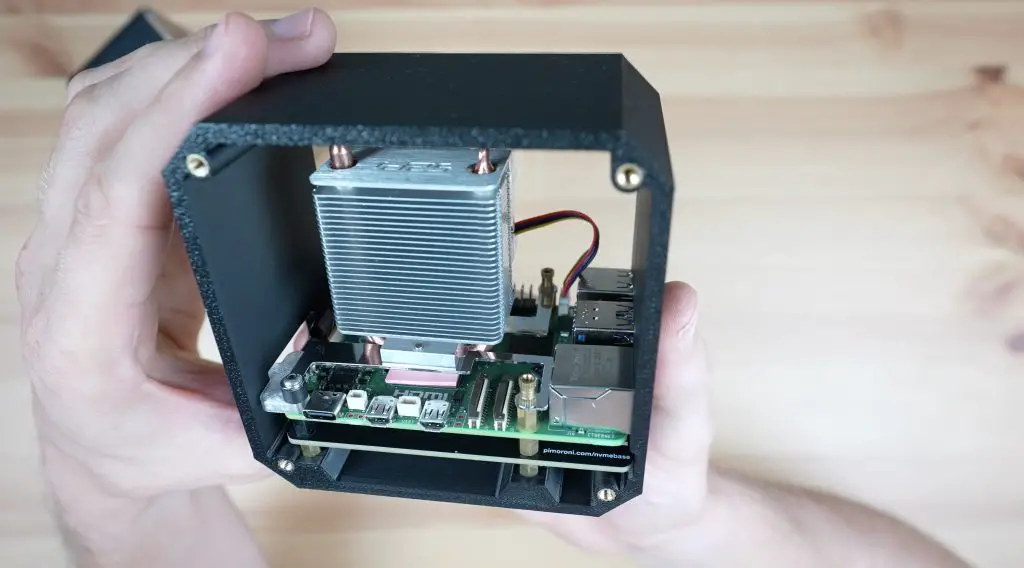
The bottom mount has the NVMe drive underneath the Pi which means you can now access all of the GPIO pins and add a larger cooler onto the CPU. You can now also use 2280 size drives, and in the case of the Pimoroni NVMe base, 2260 drives as well.
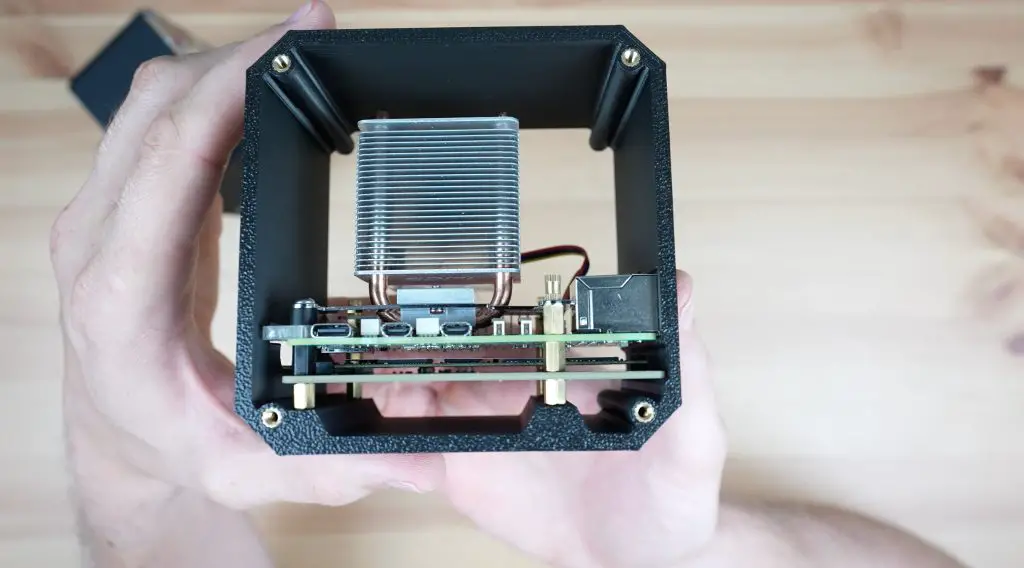
The drawbacks of the bottom mount are that the NVMe drive is covered and is in a relatively small space, so it gets hot. You’re also quite limited in options for a heatsink since it has to be very compact. As someone who experiments quite a bit with different operating systems, I find having to disassemble the stack to get to the drive the biggest drawback and the main reason why I prefer the top mounted hat.
So that’s an overview of the physical differences, pros and cons. I’d say that if you tend to need to swap NVMe drives around often then you’d probably prefer the top-mounted hat but if you’re happy to install a drive and leave it in place long-term then the bottom mount is probably the more versatile option.
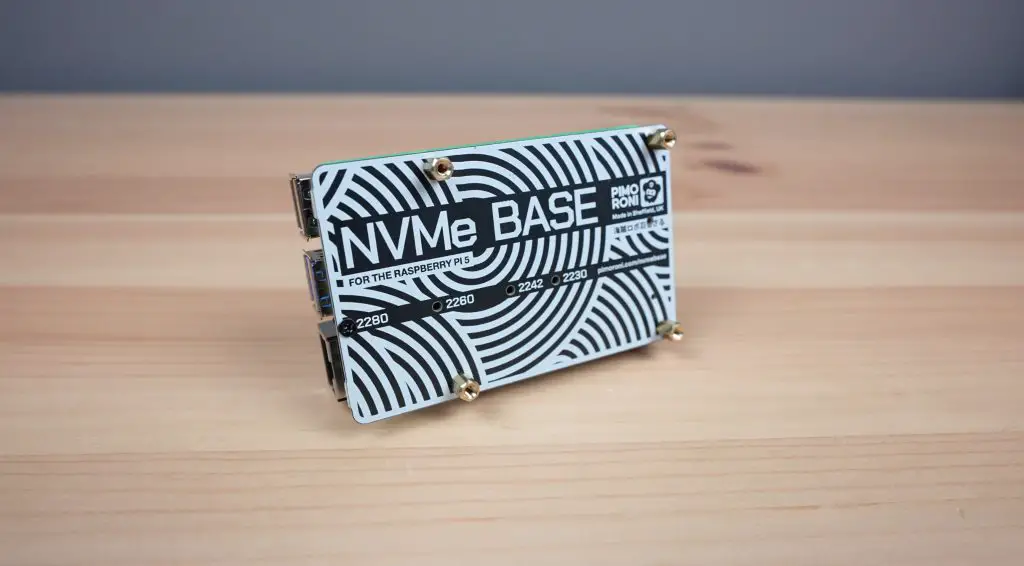
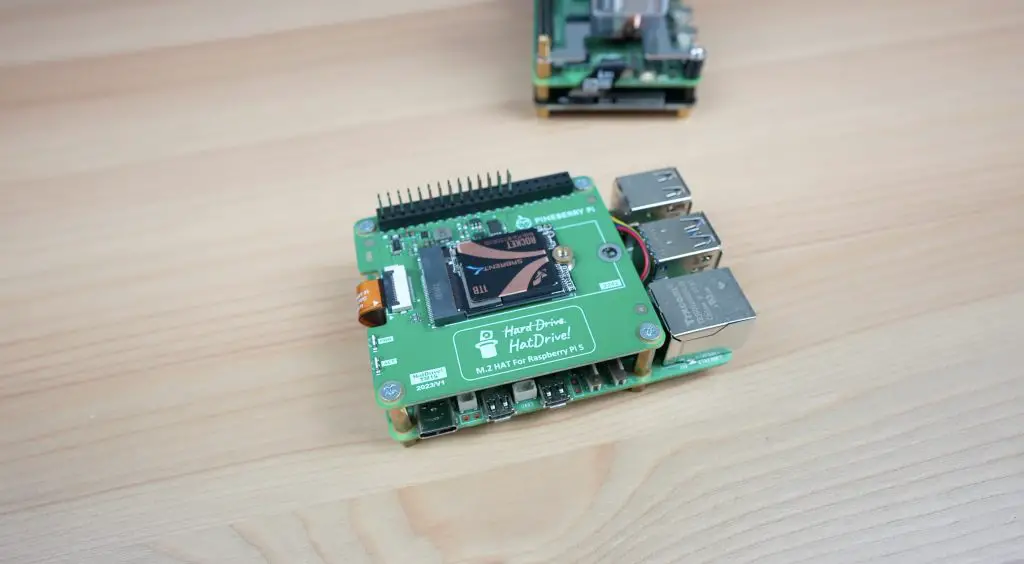
Performance Testing The NVMe Drive Hats
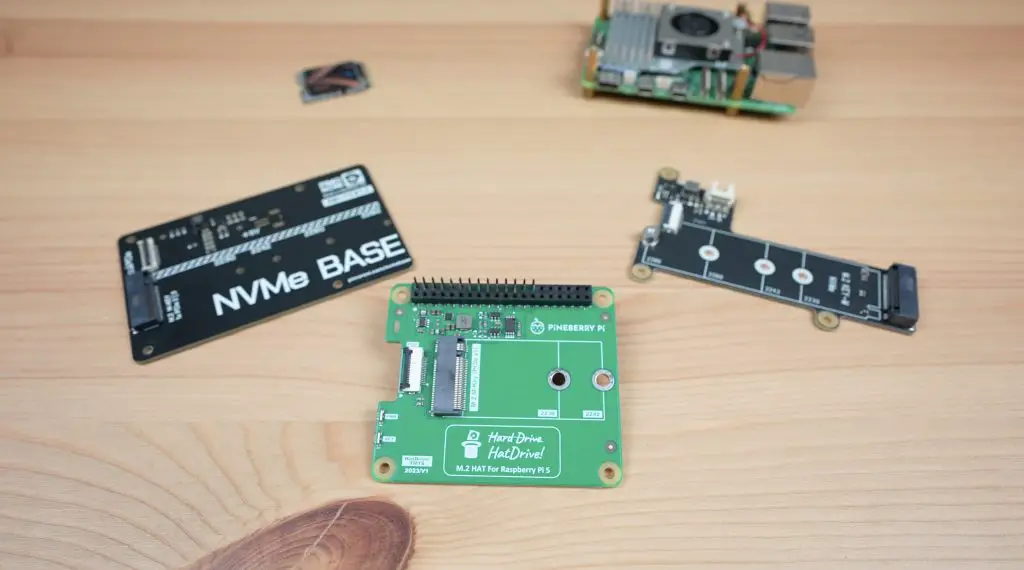
I’m going to be testing three different NVME drive hats.
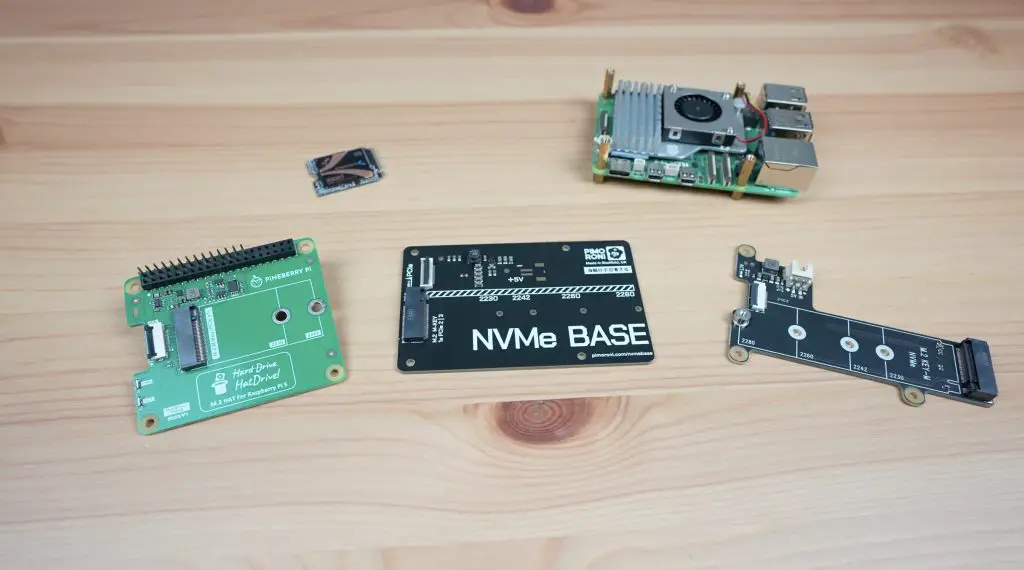
First up is the Pineberry HatDrive. The HatDrive Top and Bottom have the same onboard components and circuitry, just a different layout, so I’ll use the HatDrive Top for testing and the results as a representation of both.
Next is the Pimoroni NVMe Base. This offers a wider range of drive size options than the HatDrive options but only comes in a bottom mount variant.
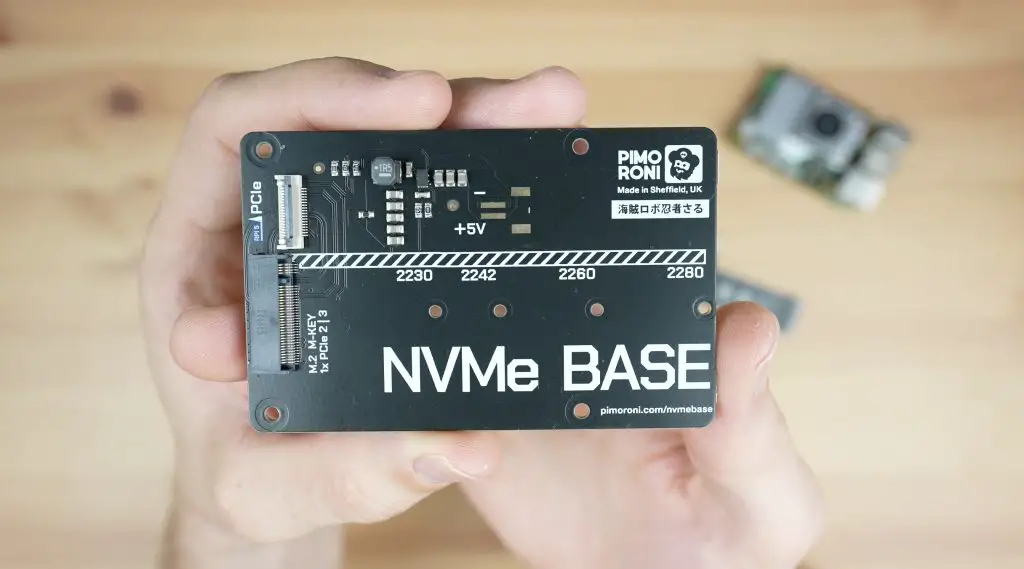
Lastly, we’ve got the Geekworm X1001 NVMe shield. You don’t get any additional PCB for your money with this board, they’re really kept it as compact as possible. Similar to the Pimoroni base, it supports four different size drives, but is a top-mount hat.
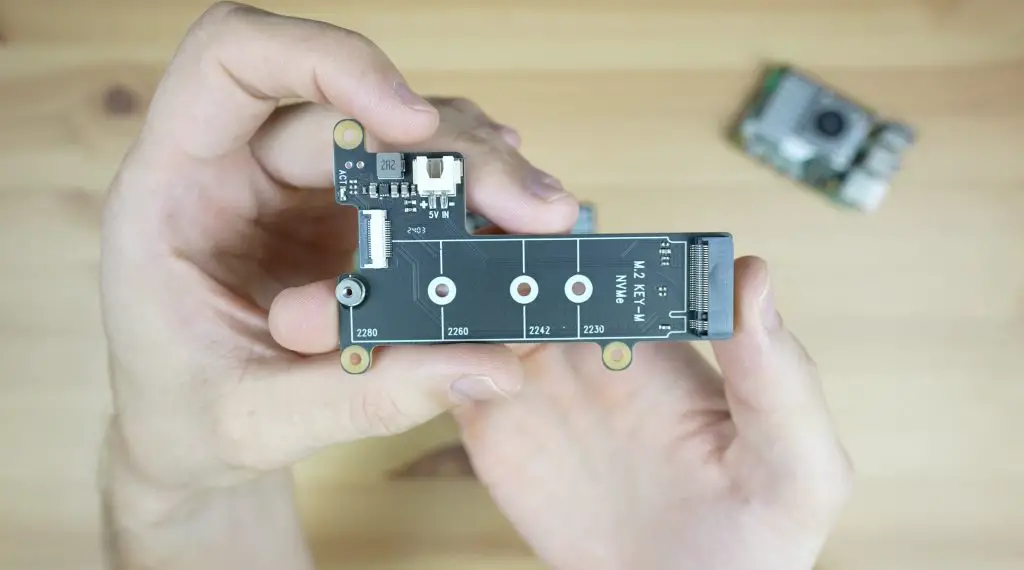
In terms of cost, from the manufacturer’s official websites, converted to US dollars and excluding shipping;
- The HatDrive Top costs $21 and the bottom variant is a bit more, costing $24.
- The Pimoroni NVMe base is a bit cheaper at only $14.
- The Geekworm X1001 is a dollar more than the Pimoroni hat at $15.
So Pineberry’s boards are a fair bit more expensive than the other two.
Next, let’s take a look at the performance of each hat.
For this, I’m going to use the same Raspberry Pi 5 with an active cooler installed, and the same NVMe drive for each test which I’ll swap between the hats.
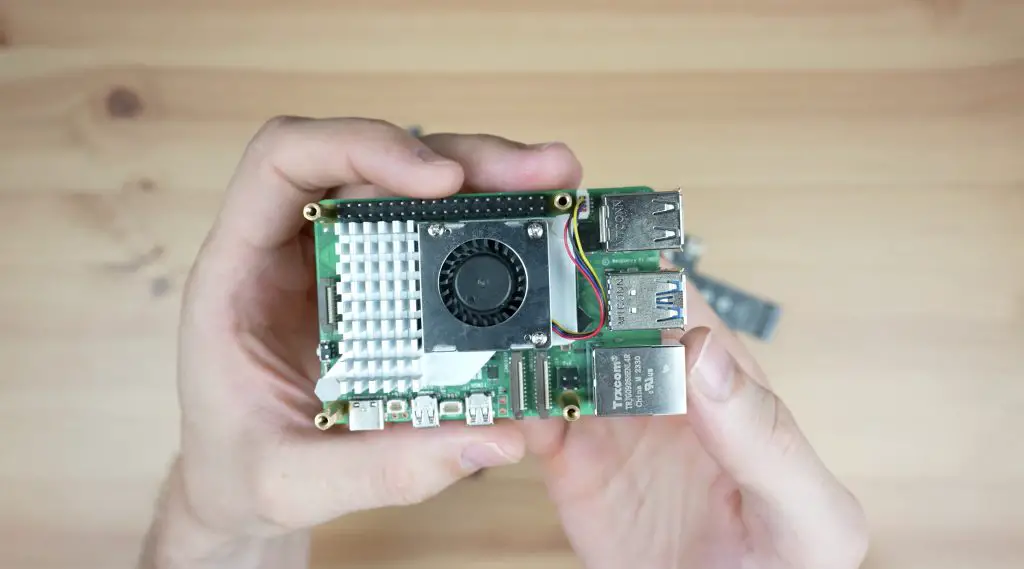
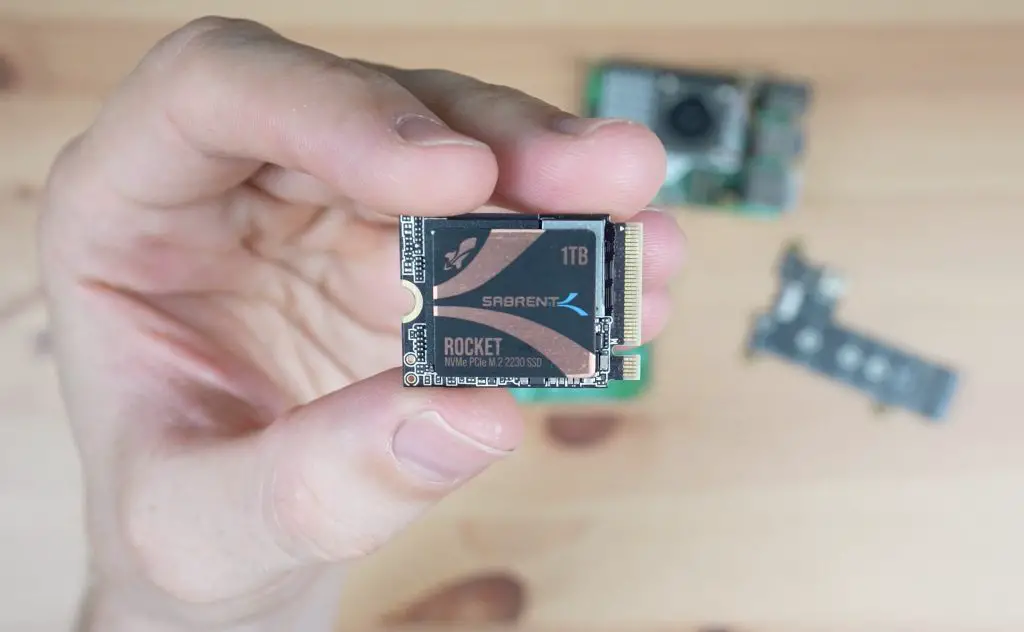
I’m using a Sabrent Rocket 4.0 as this drive is listed as officially supported on all of the hat’s product pages. It’s also known to be a reliable and fast drive. It is probably a little overkill as it’s a Gen 4 drive and the Pi only supports up to Gen 3, but at least we’ll know that the drive isn’t the bottleneck. I’m using a 2230 size drive so that it is compatible with all of the hats since the Pineberry HatDrive! Top only supports 2230 and 2242 size drives.
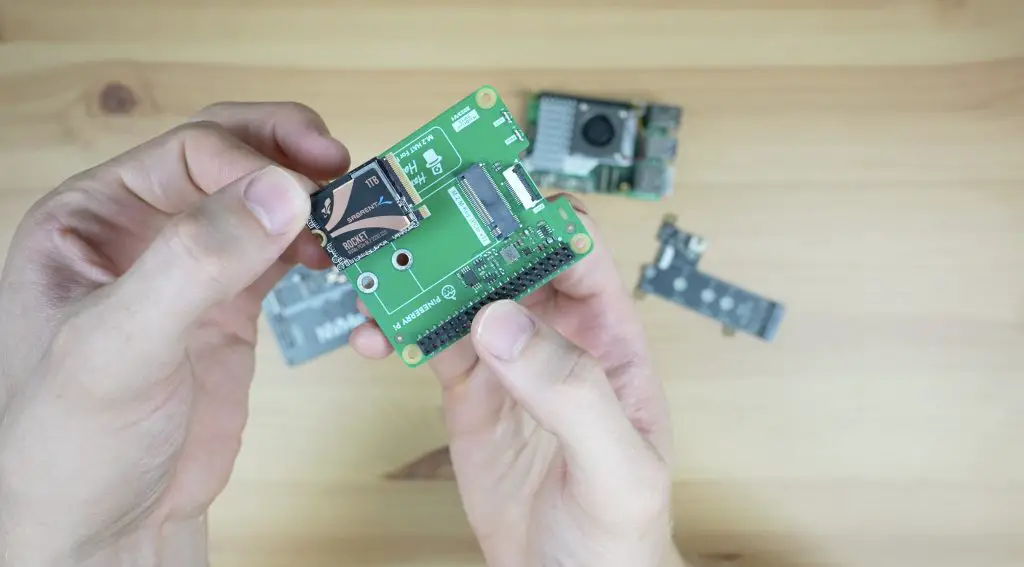
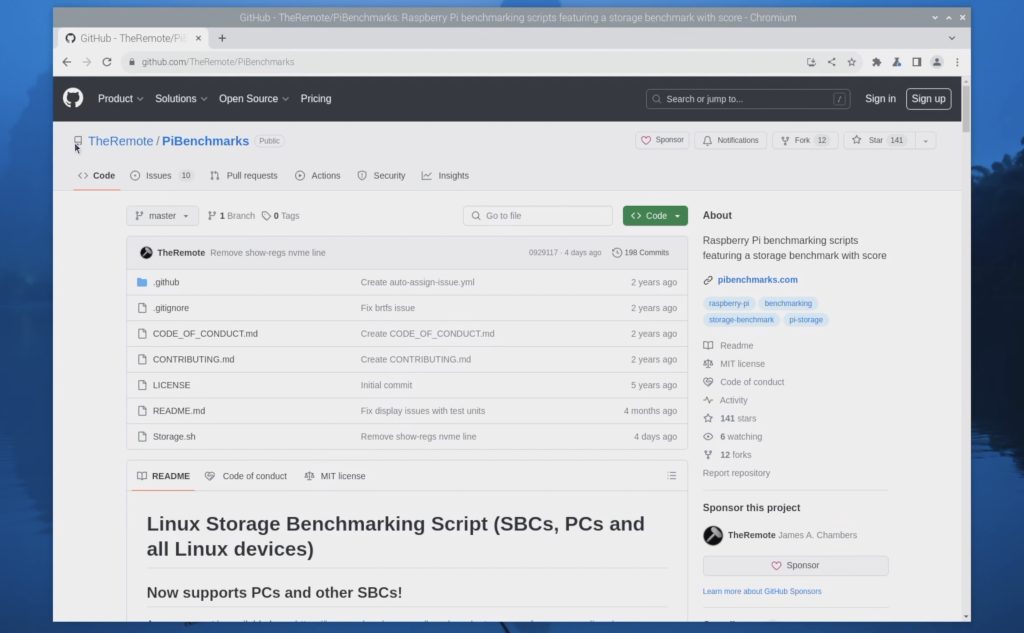
To test performance, I’m going to be using James Chamber’s PiBenchmarks script. This benchmark favours better random read/write performance, but this is a much better representation of how the drive would typically be used as a OS drive rather than just reading or writing single large files to it. This benchmark will run on SBCs running most Linux distributions, so you can try it out on your setup as well.
As I mentioned earlier, the Pi only supports PCIe Gen 3, but this is not supported by default so we’ll need to modify the Pi’s config file to enable it. We just need to add the below line to the config file [/boot/firmware/config.txt] and then reboot the Pi.
dtparam=pciex1_gen=3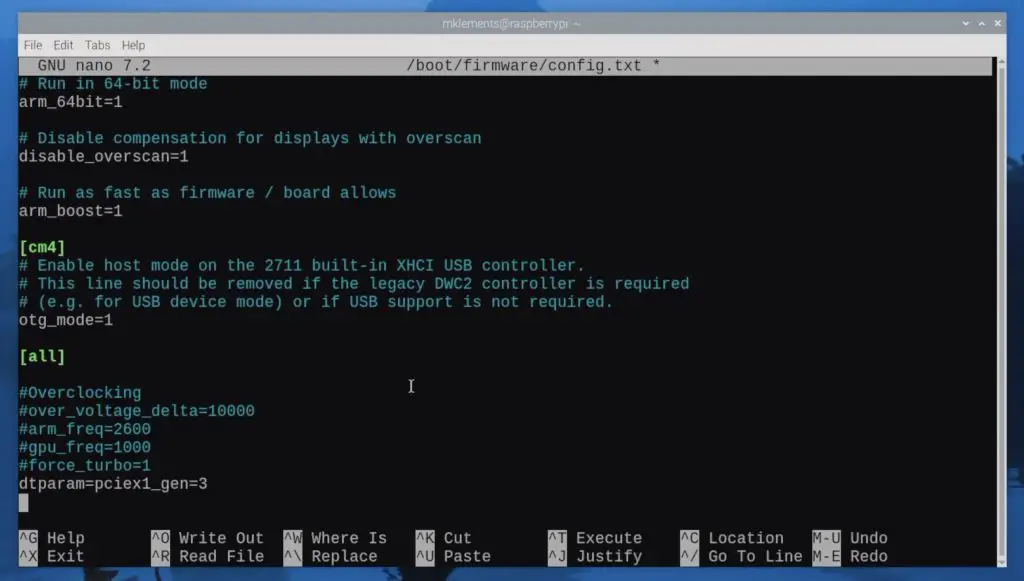
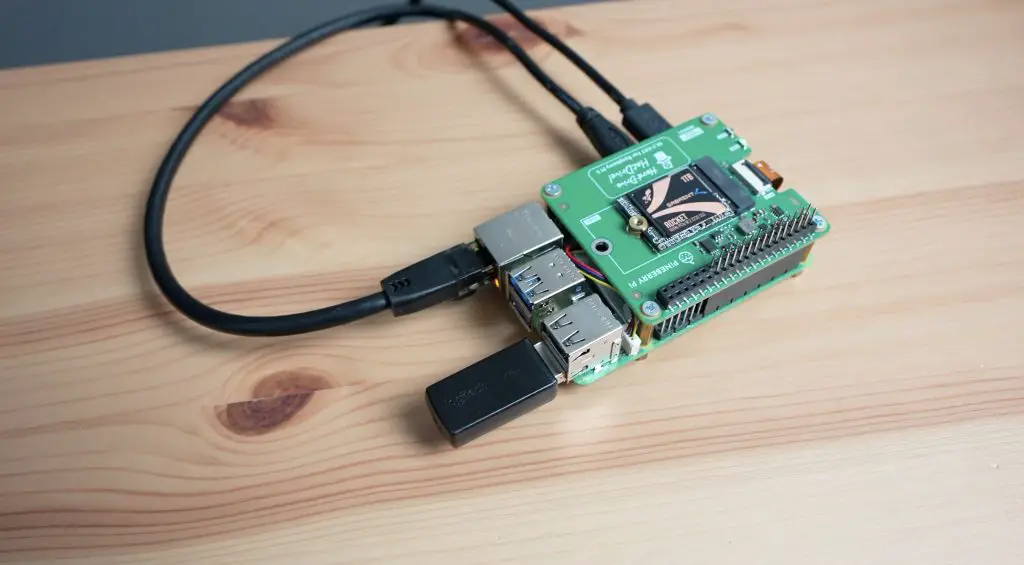
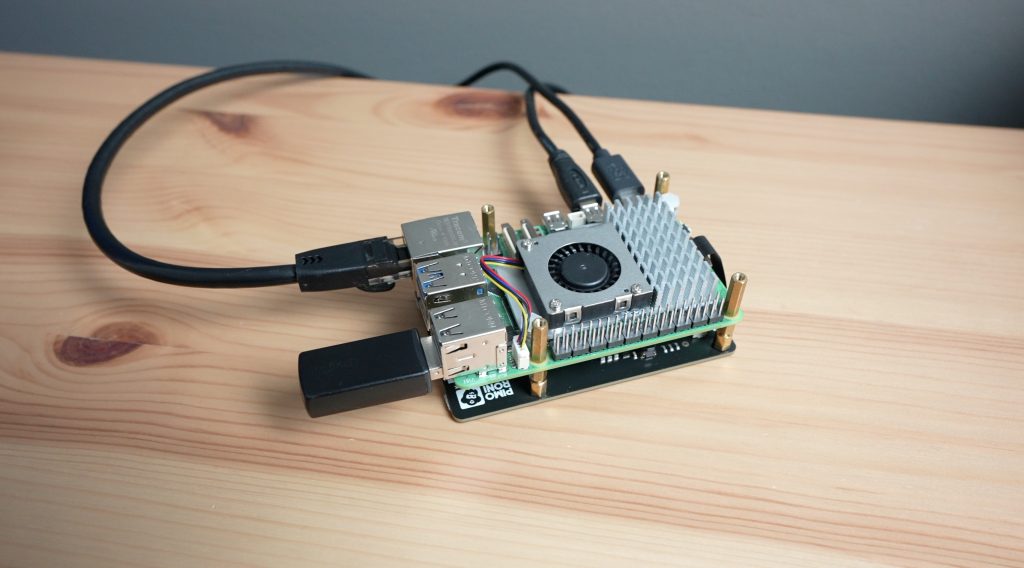
Let’s start testing with the Pineberry HatDrive! Top, which I’ve now got connected up.
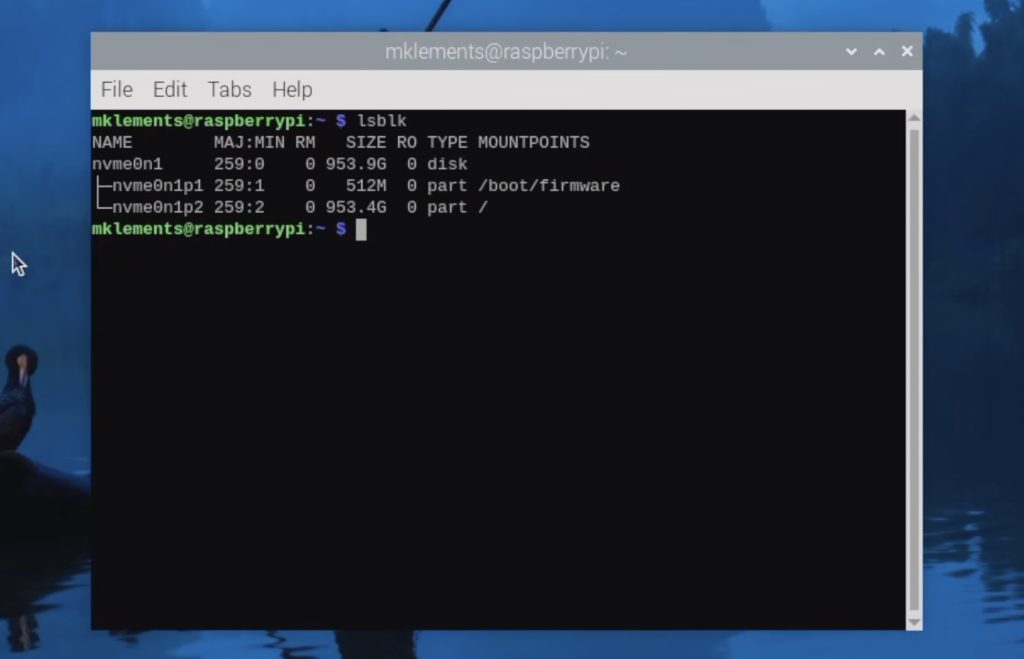
With the Pi rebooted, we can obviously see our NVMe drive.
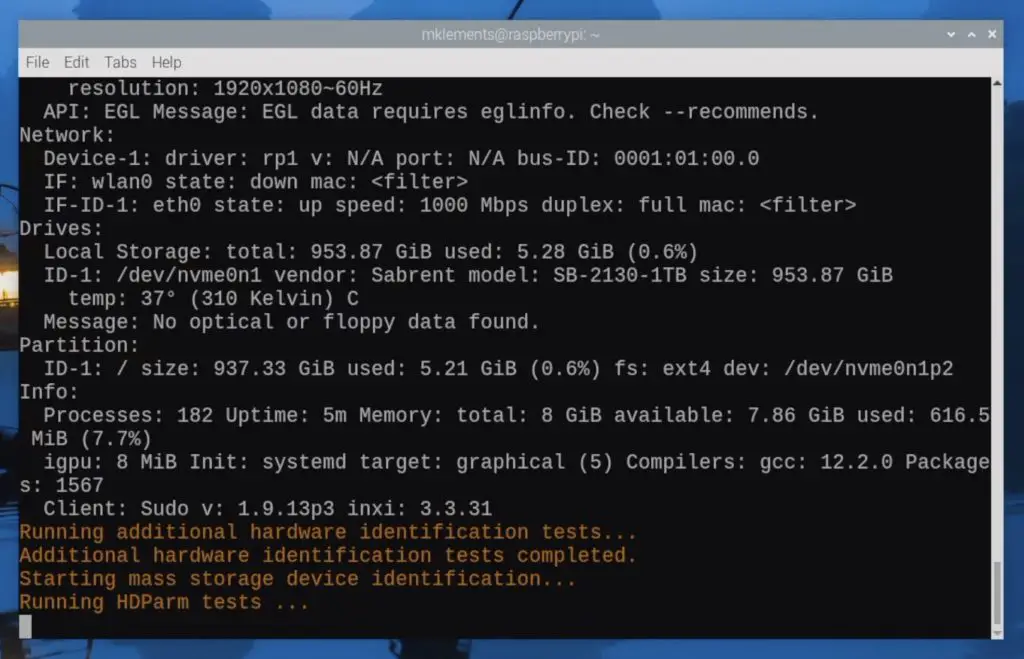
Running the benchmark is as simple as copying the below single line into your terminal and hitting enter.
sudo curl https://raw.githubusercontent.com/TheRemote/PiBenchmarks/master/Storage.sh | sudo bash
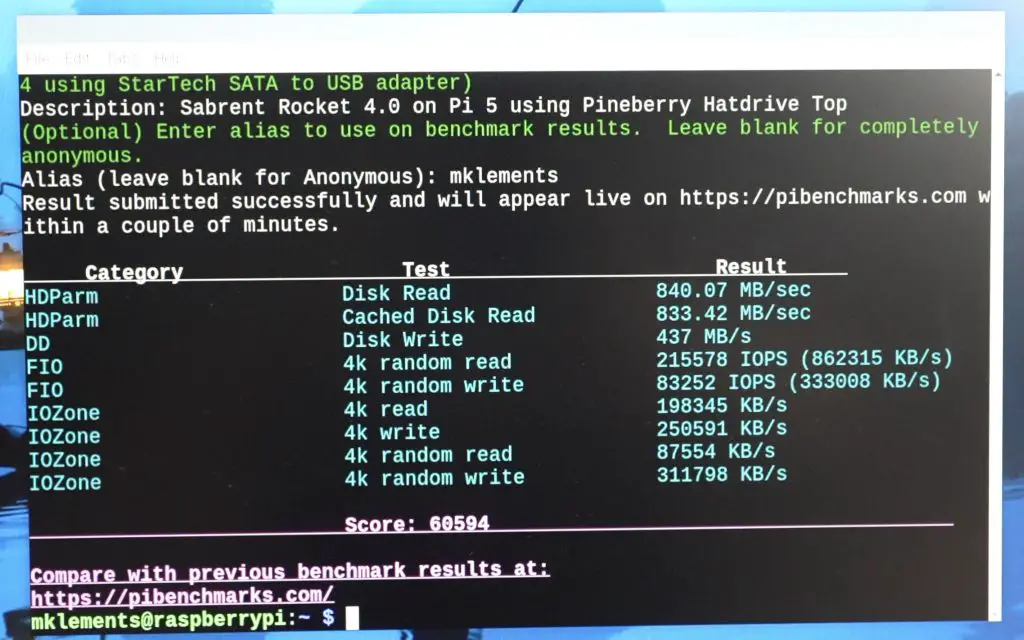
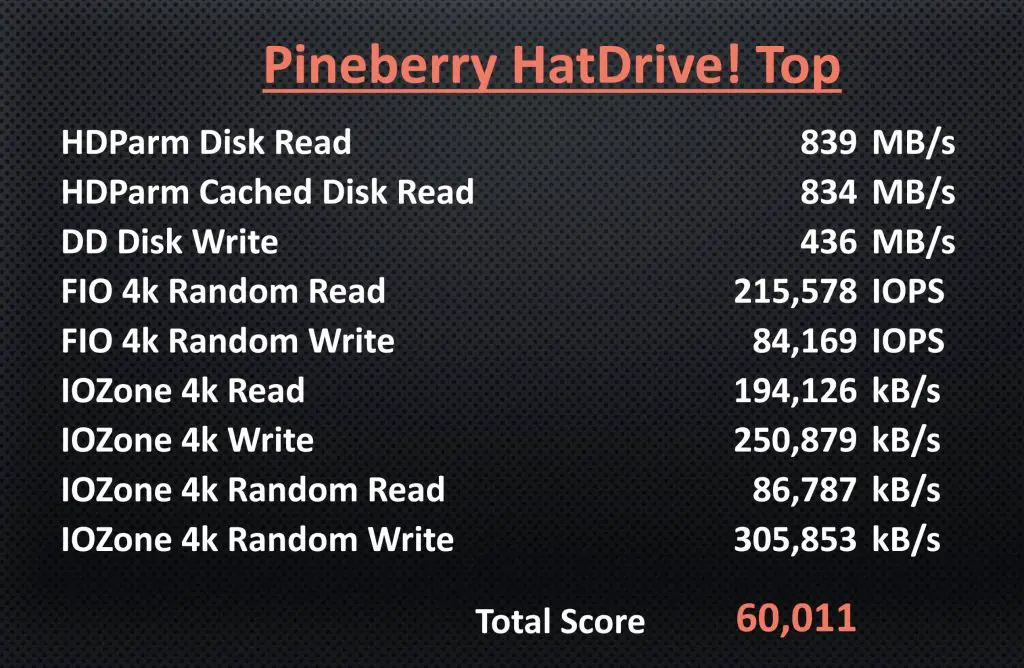
I ran the test three times and got the following average results with an average total score of 60,011.
Next up is the Pimoroni NVMe base.
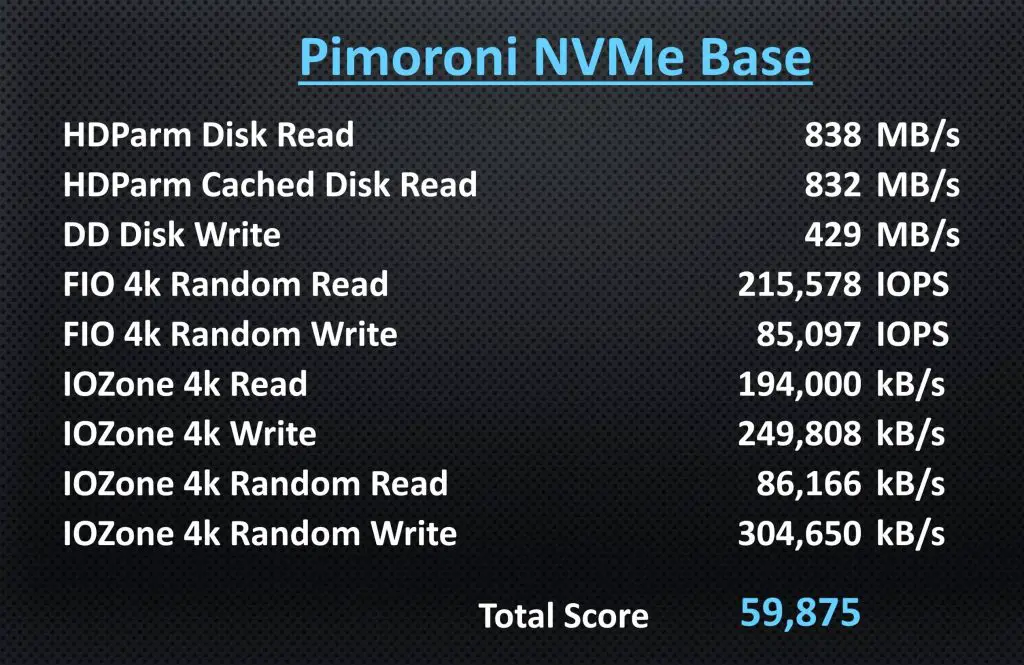
Running the same script three times, I got the following average results with an average total score of a fractionally lower 59,875.
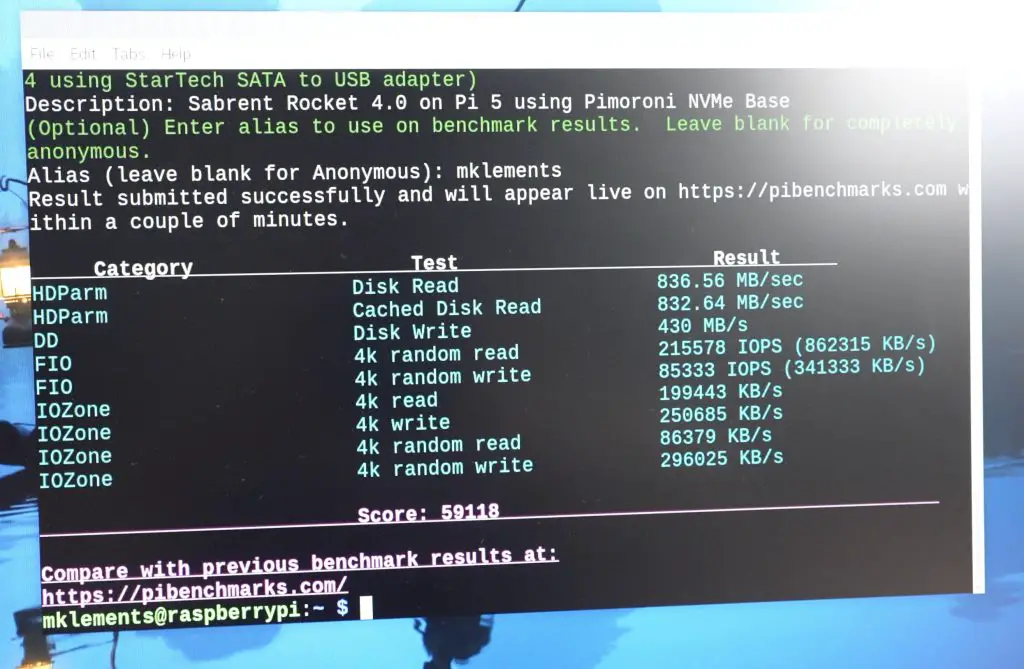
Lastly, I tested the Geekworm X1001 hat.
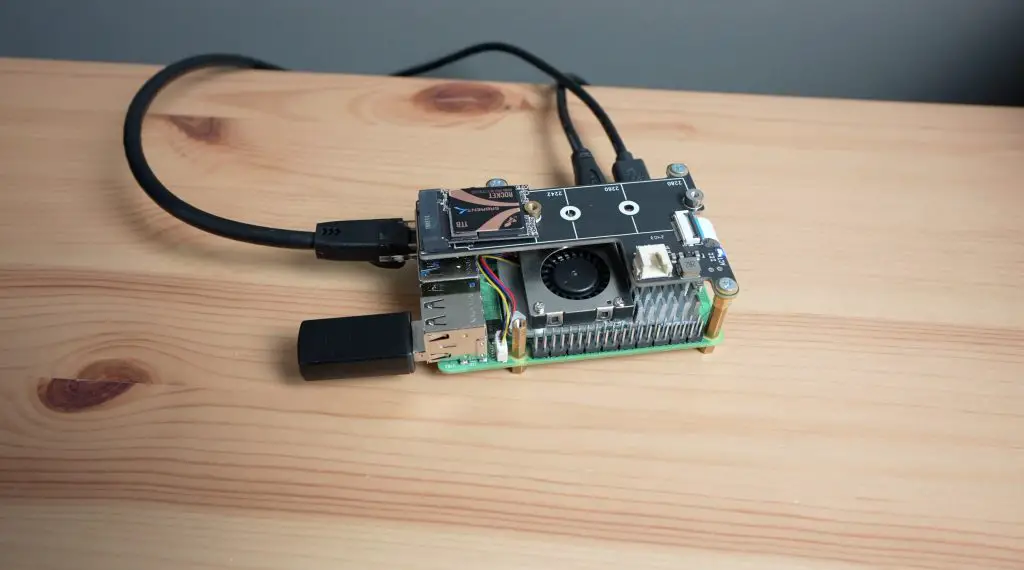
I got the following average results with an average total score of 59,950.
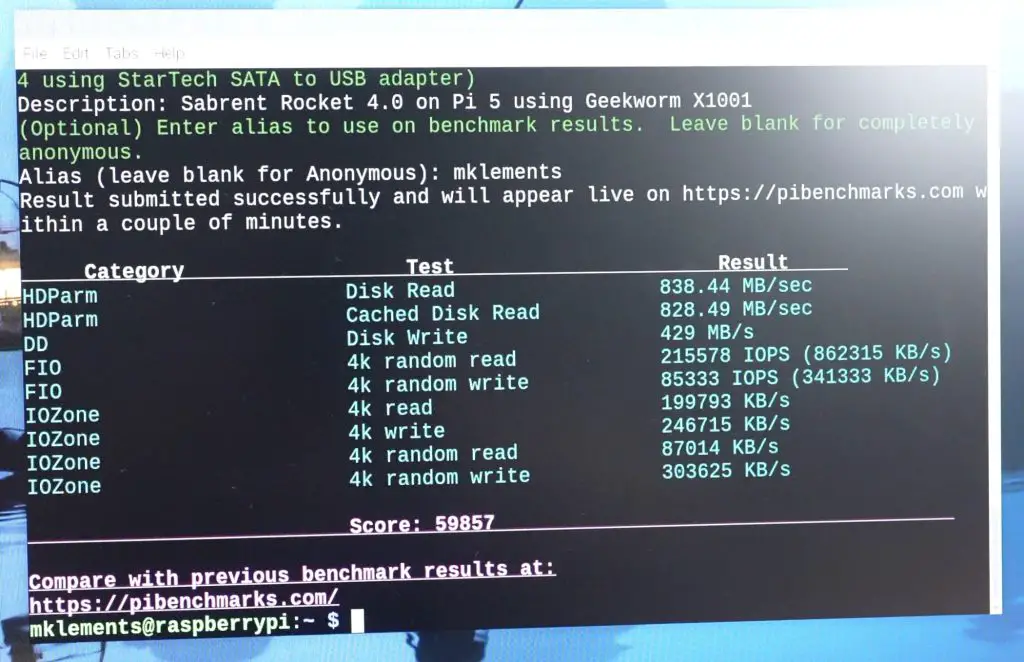
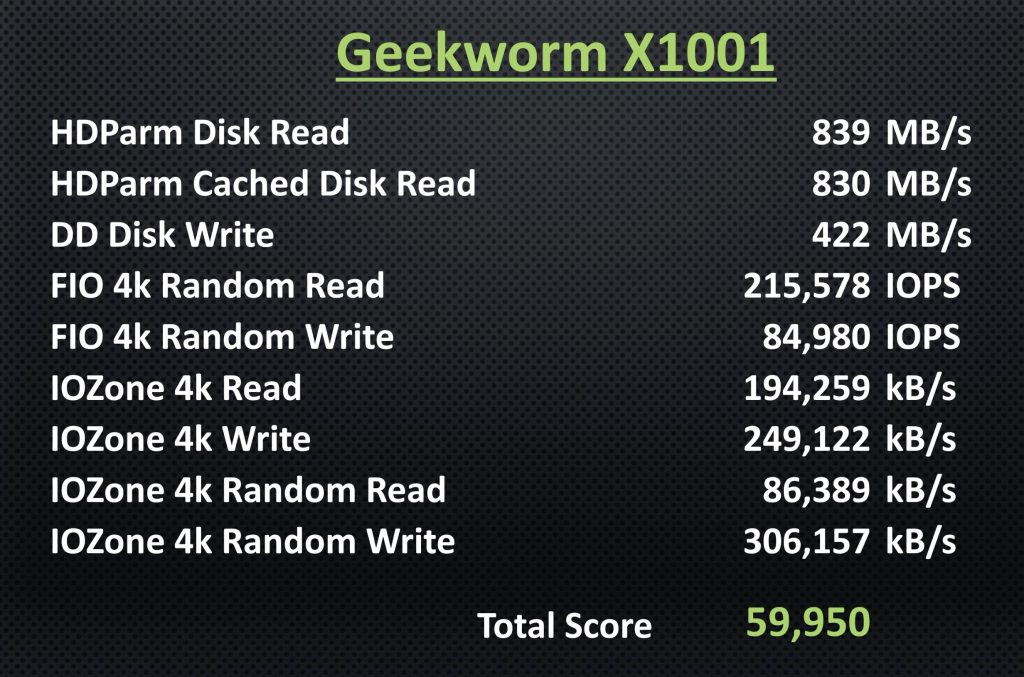
You can download a full table of the results here:
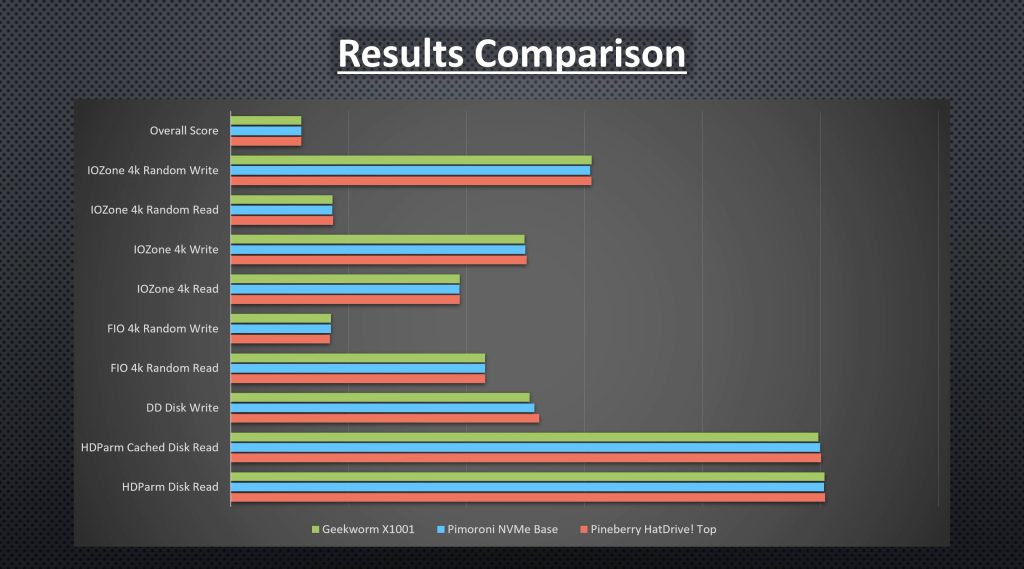
Looking at the combined results, they all performed quite similarly, with almost all results being within 1% of each other and most within 0.5%. The only result that was outside of this was the Disk Write speed, which was within 3%. This had the Pineberry HatDrive! performing the fastest and the Geekworm X1001 performing the slowest.
Final Thoughts On The NVMe Drive Hats
The similar results are not all that surprising, since the NVMe controller is physically located on the NVMe drive, which we’re swapping between hats. These hats with a single M.2 port are actually quite simple and most of the onboard components are for the power to the drive and status LED circuitry. There could have been design issues like incorrect impedance matching that may have affected the results, so it was worthwhile doing the test to demonstrate that we’re getting similar results from each of them.
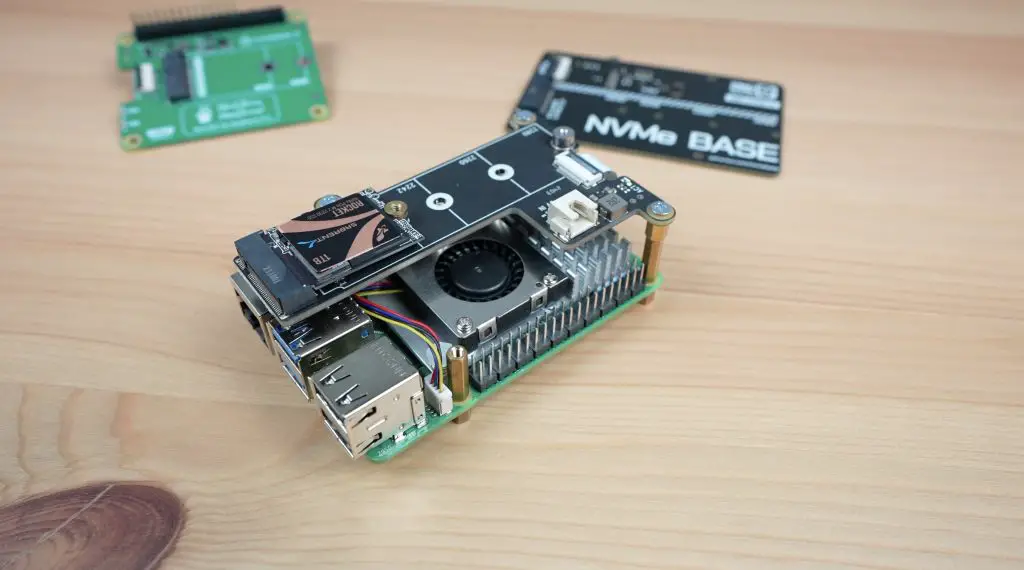
I guess the takeaways from the results are that the most significant considerations in deciding between the NVMe drive hats are the cost and whether to go with a top or bottom hat.
From my hands-on experience with all three of these hats, the Pineberry Hat and the Pimoroni Hat seem to be better quality than the Geekworm one. The Pimoroni one is the best value for money, so go with that one if you are happy with a bottom mount hat.
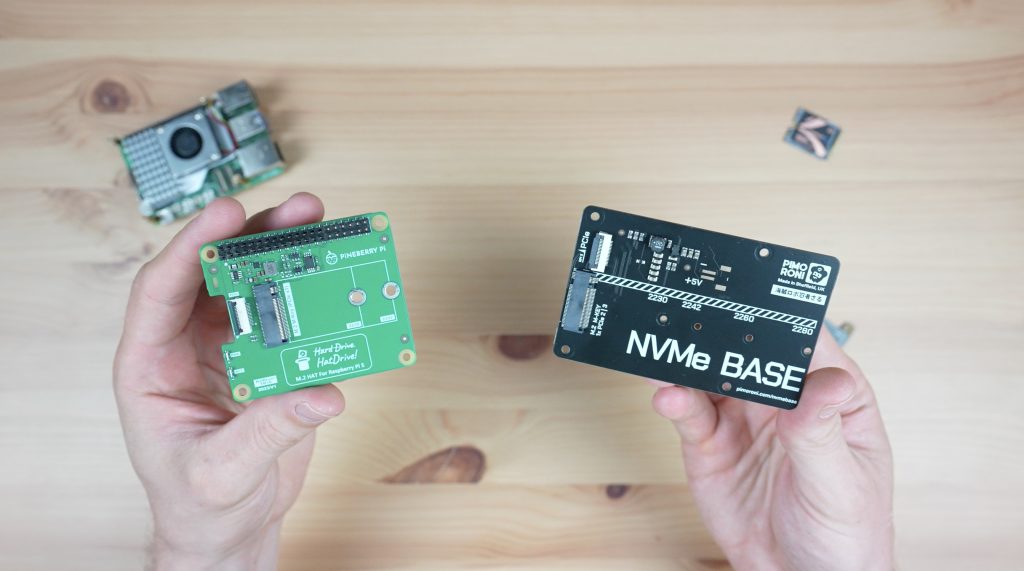
If you want a top mount hat then you’ll need to decide whether you value the lower price of the Geekworm one or favour the slightly better performance and quality of the Pineberry hat.
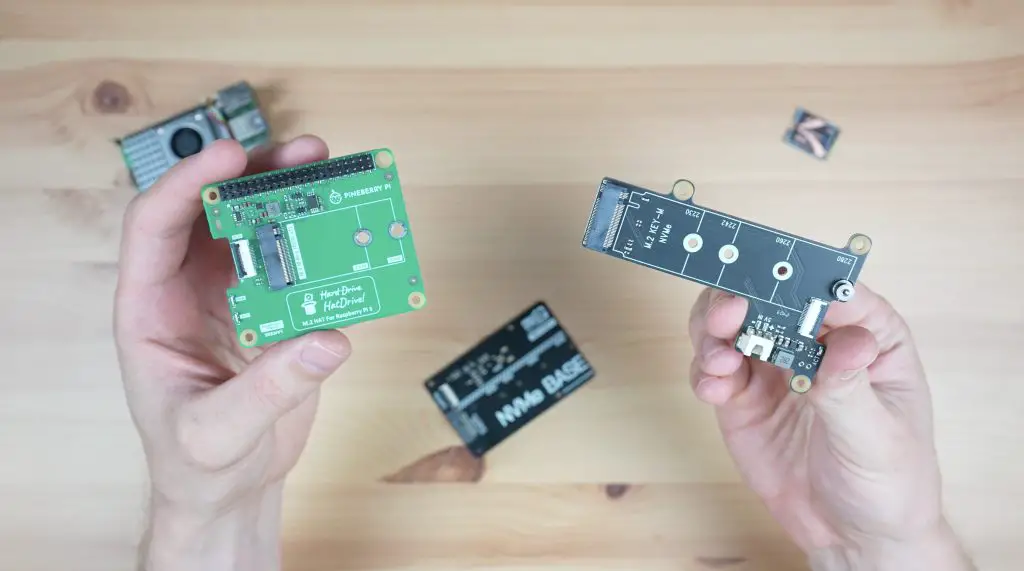
Let me know which hat you prefer or if there are some other drives you’d like to see me test with them in the comments section below.


Hi, thanks for these nice write-ups and making the cases available ready for assembly!
Have you considered creating a case for the Radxa Penta SATA head?
https://www.jeffgeerling.com/blog/2024/radxas-sata-hat-makes-compact-pi-5-nas
Cheers!
Yes I’m actually working on that project at the moment and it’ll hopefully be complete in two weeks time.
Nice!
Is it possible to buy this 4 bay enclosure and where?
Hey,
I’m struggling with assembling the button adaptor. I understand it is meant to slide onto the brass corner “standoff” screw . You also mention tight fit, but for me its way too narrow. Did you use the original standoff screws from the radxa kit? Or something slimmer? Alternatively would you recommend trying to print the adopter again at 105 or 110% the size to increase the eyelet? I’m worried the pivot length will get out of proportion though..
Oops sorry ignore this comment, it was meant for another article but the website and mobile browser got the better of me 😅