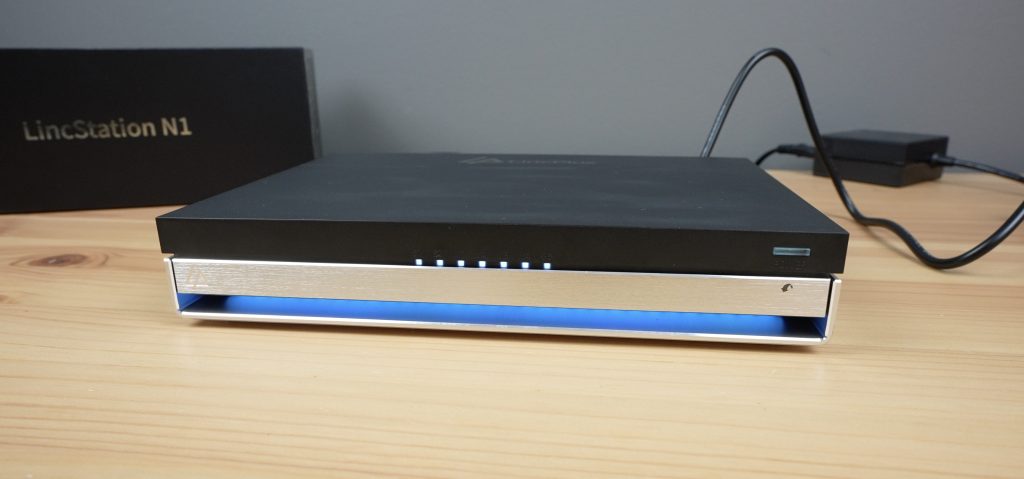
Today we’re going to be taking a look at the LincStation N1, a 6-bay all-SSD NAS by LincPlus. It is marketed as being great for a home or small office, being silent, powerful and easy-to-use. Let’s find out if it stands up to these claims.
Here’s my video review of the LincStation N1, read on for my written review;
Where To Buy The LincStation N1
- LincStation N1 – Buy Here
- Crucial P3 Plus NVMe SSDs – Buy Here
- Crucial 2.5″ BX500 SSDs – Buy Here
- QNAP 2.5G Ethernet Switch – Buy Here
- Power Meter – Buy Here
- Infiray P2 Pro Thermal Camera – Buy Here
Unboxing and First Look
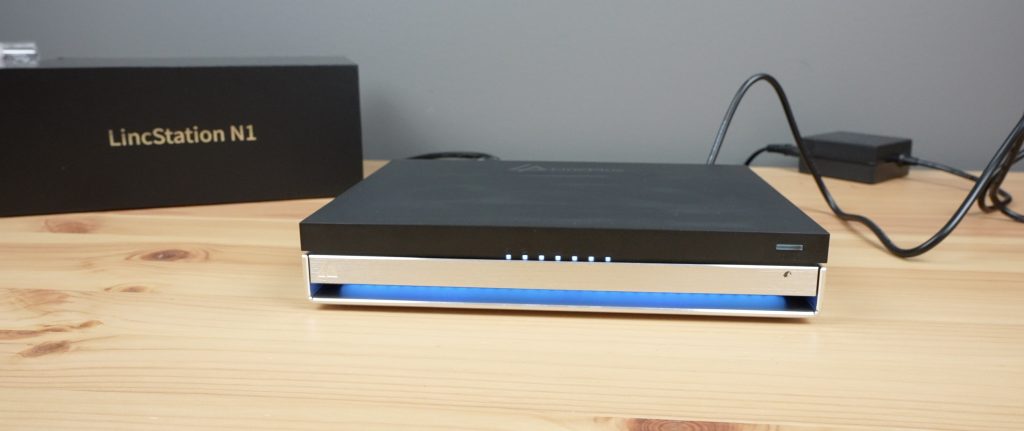
The LincStation N1 comes in a fairly minimalistic black branded box.
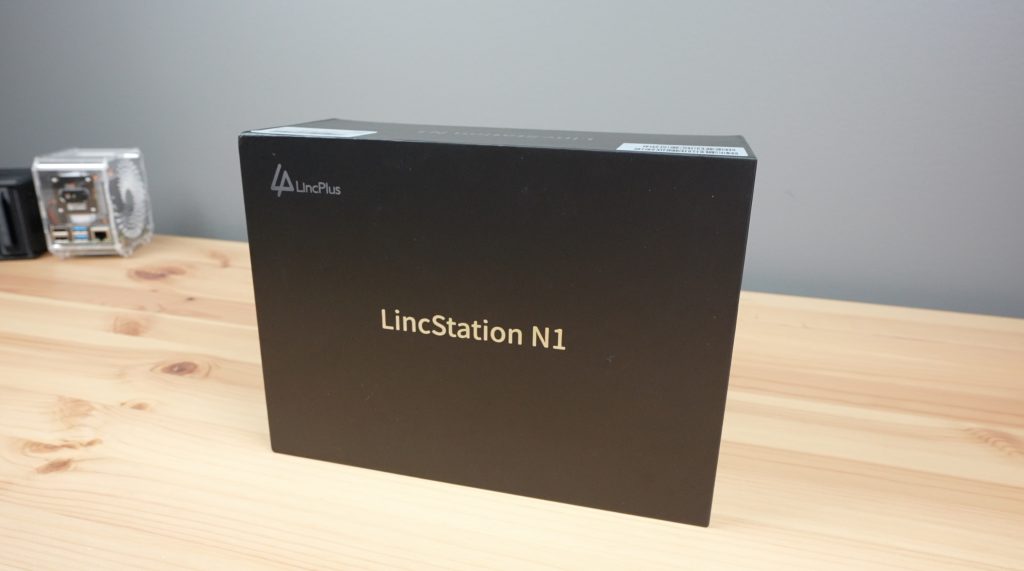
Inside the box, the NAS is on the top in a white protective sleeve.
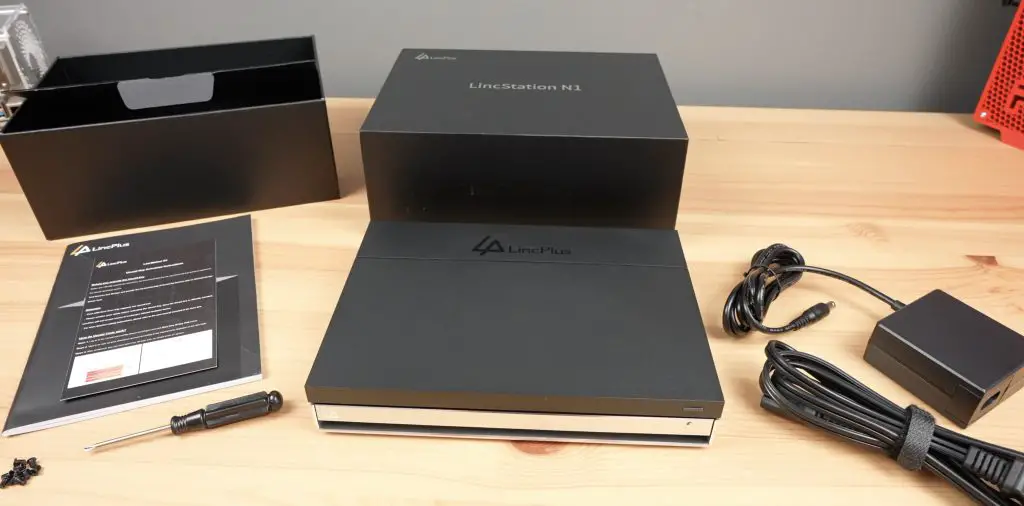
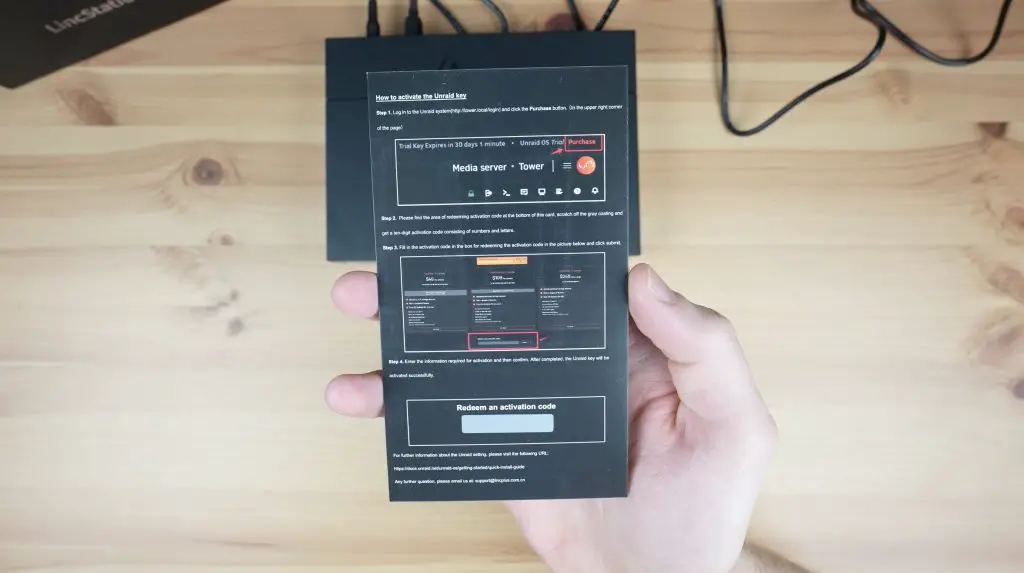
Underneath that is the Software License key card and a user manual, and in the bottom compartment is a screwdriver along with screws for the drives, as well as a 60W power adaptor and mains cable.
Unlike most NAS products, this one doesn’t come with an Ethernet cable.
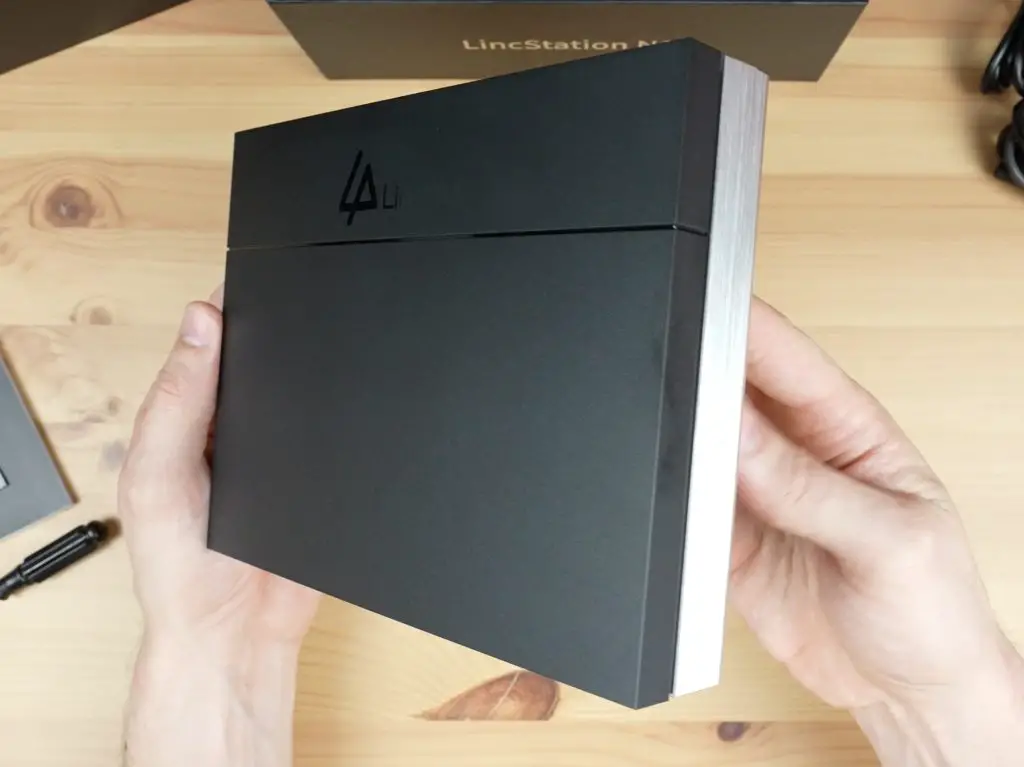
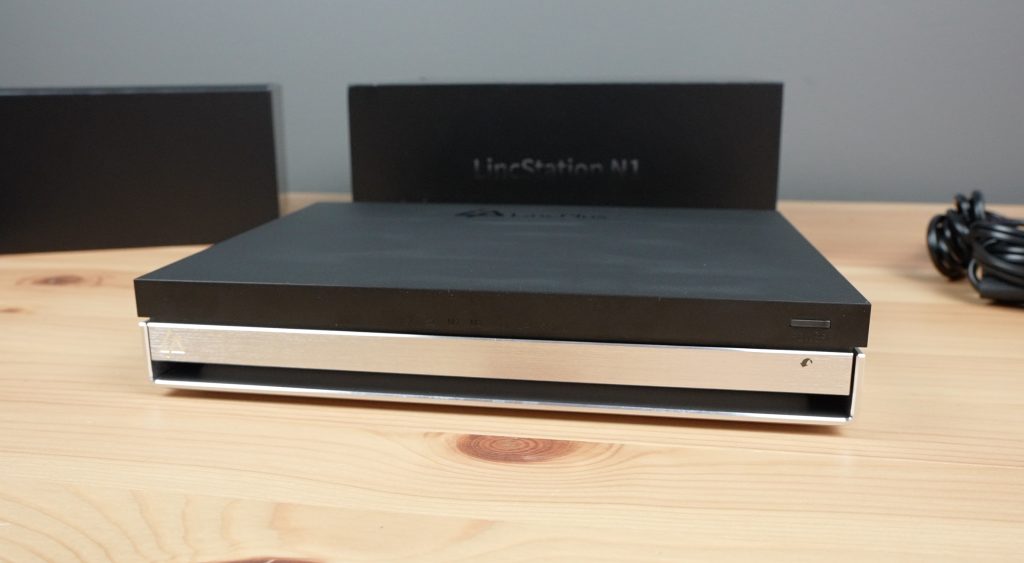
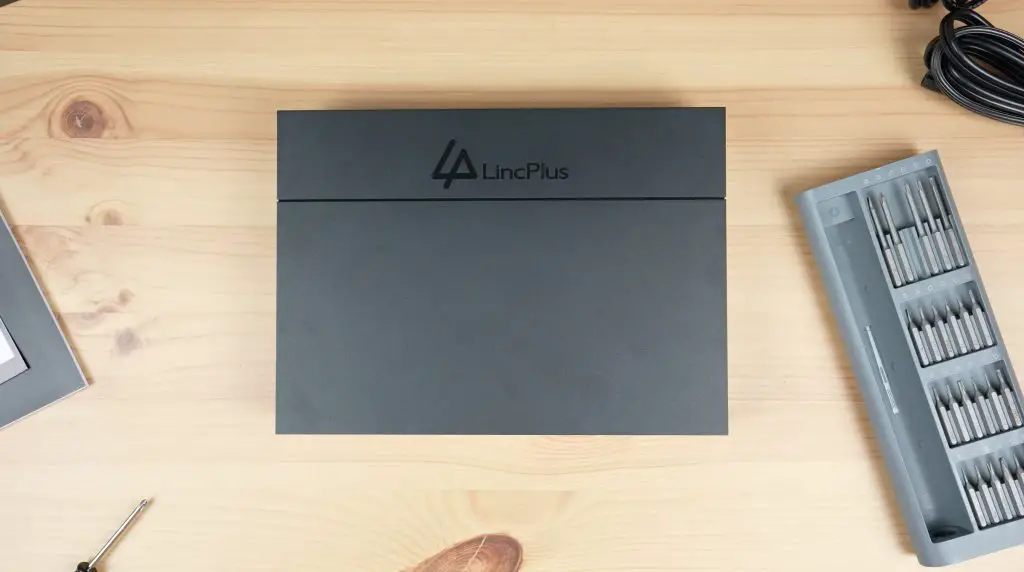
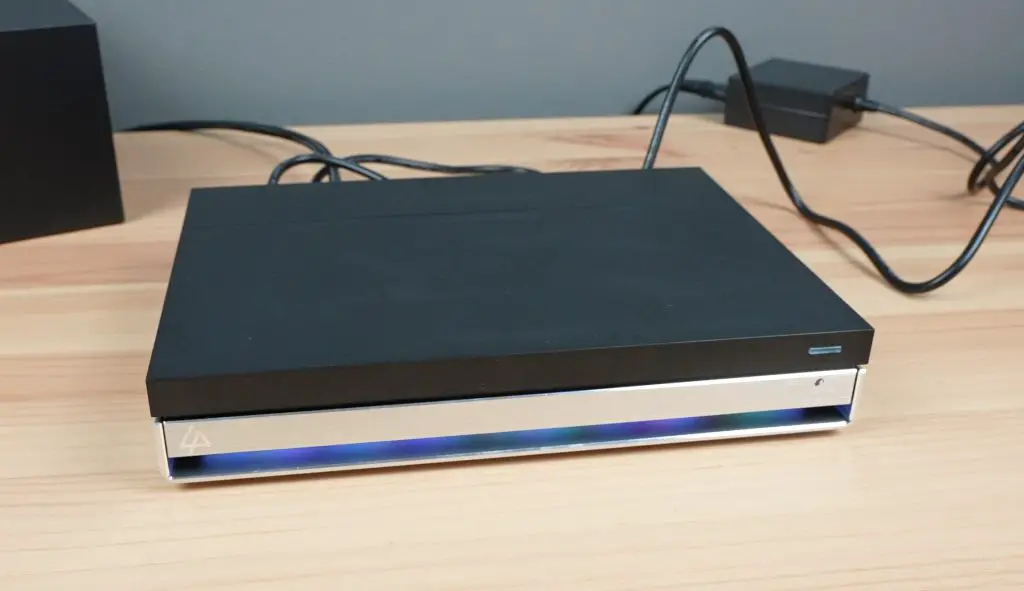
Taking a look around the LincStation N1. The enclosure is a 2-part design with the top being matt black plastic with a LincPlus logo on it and the bottom being a single piece of aluminium with turned up edges. The top and two sides don’t have any ports on them.
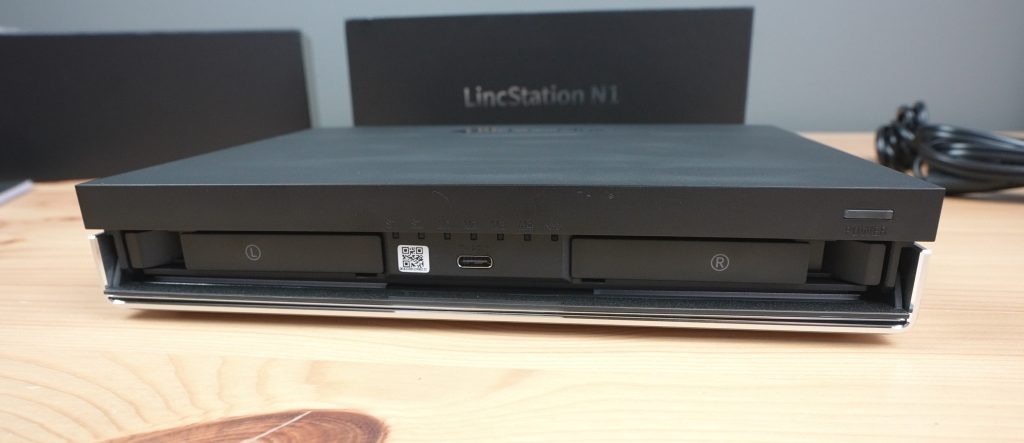
At the front we’ve got a power button which doubles up as an LED power indicator on the right.
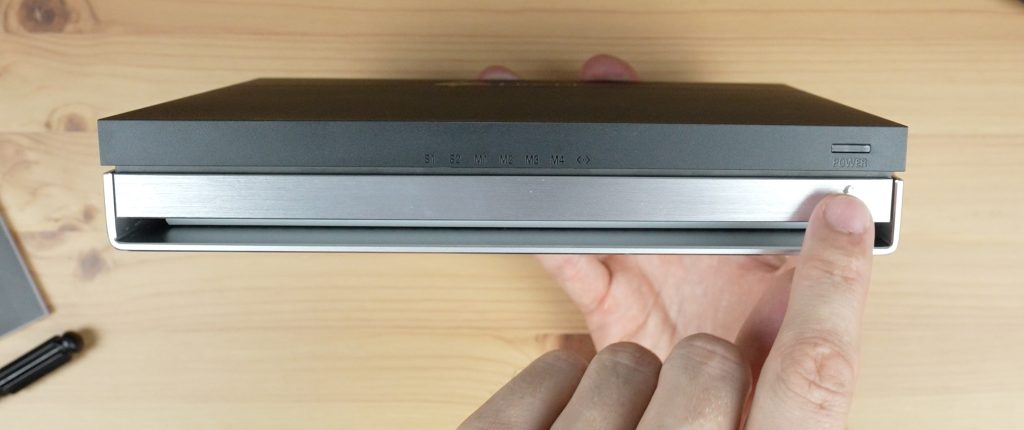
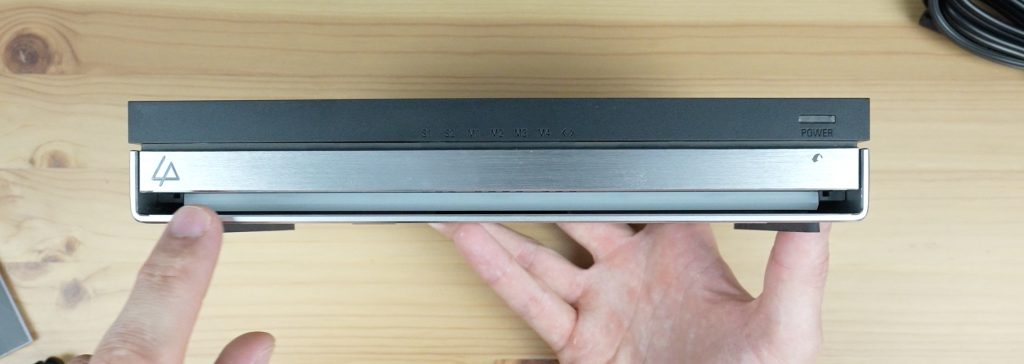
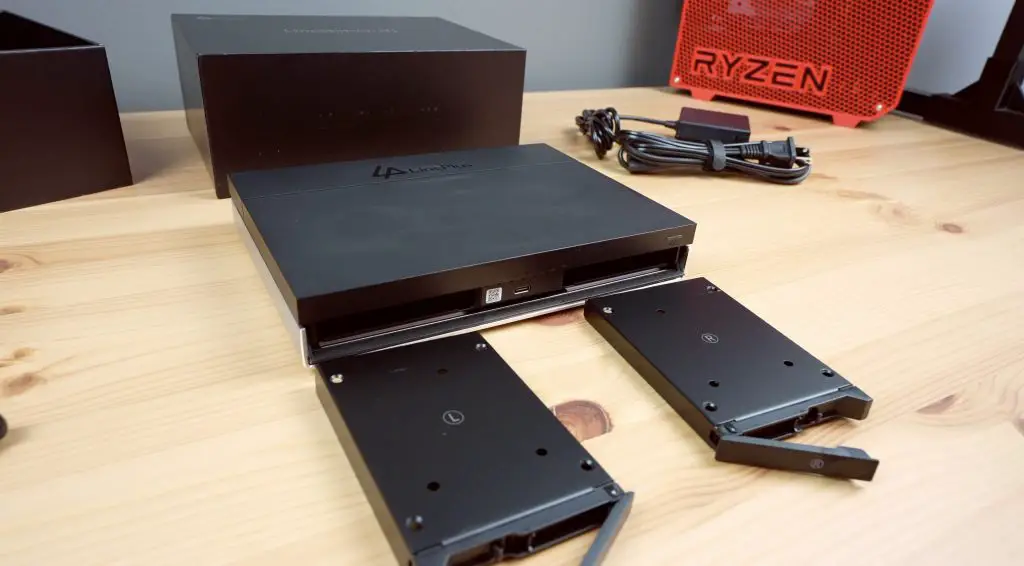
Underneath the power button is a this flip down cover, and beneath that is a single USB type C port and two SATA drive bays.

There is also a row of seven drive and network activity LEDs above the USB C port.
Underneath the flip-down cover is an LED strip. This looks like an RGB strip as it includes other colours when booting up but then just pulses in a dark blue while the NAS is running.
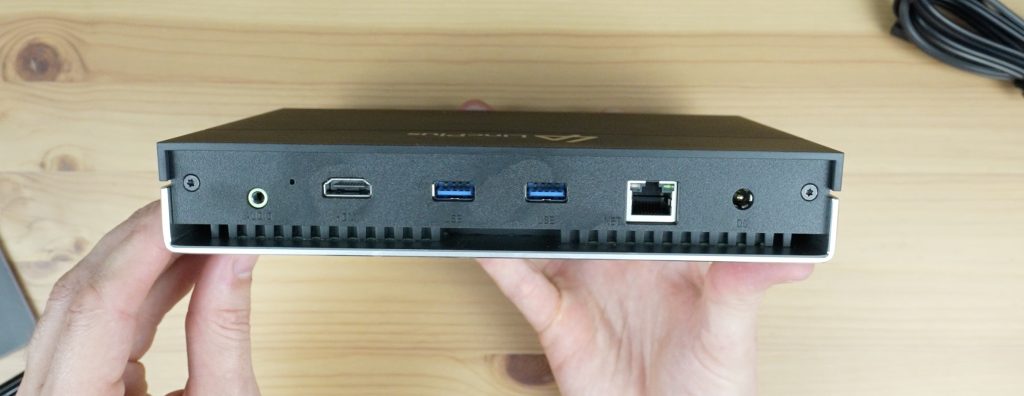
At the back, we’ve got a 3.5mm audio port, which is a bit of a strange addition for a NAS, alongside it is an HDMI 2.0 port, then we’ve got two USB 3.2 gen. 2 ports, a 2.5G Ethernet port and a 12V power input.
Underneath the ports are some ventilation holes for the internal fan.
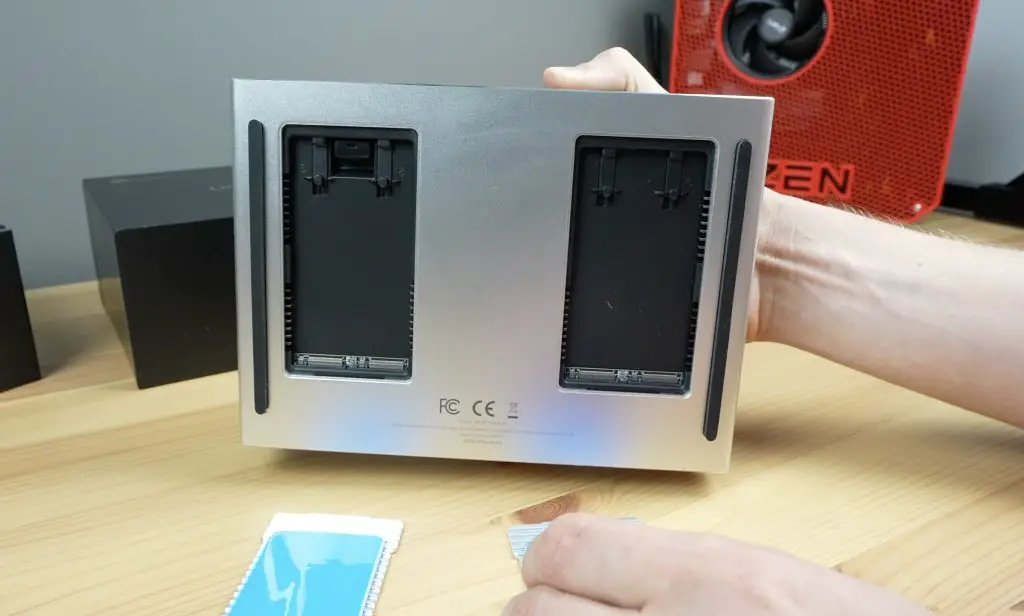
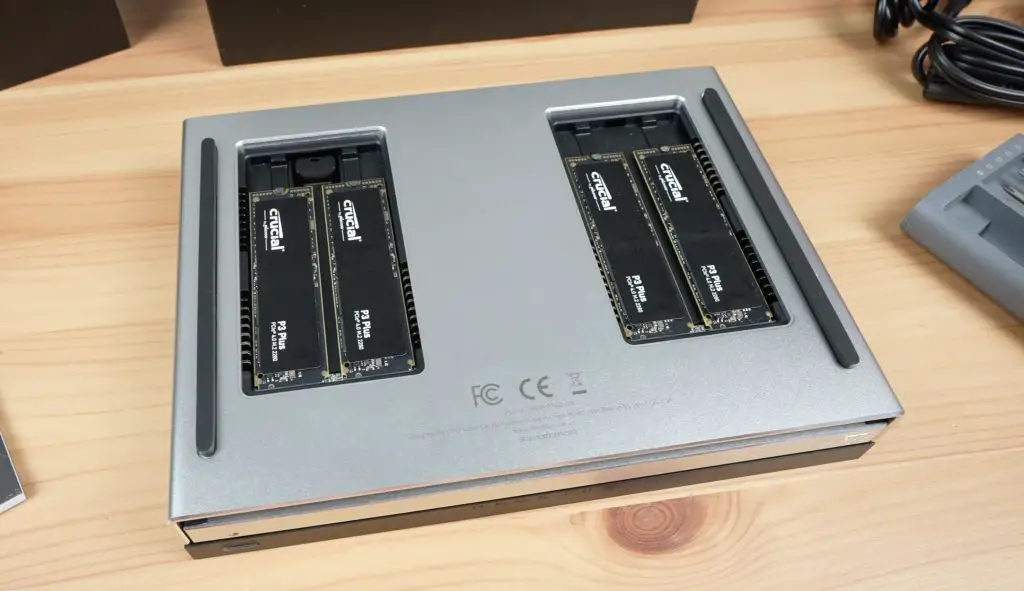
The bottom has two rubber strips on it that act as feet, and has two drive bay covers for the NVMe drives.
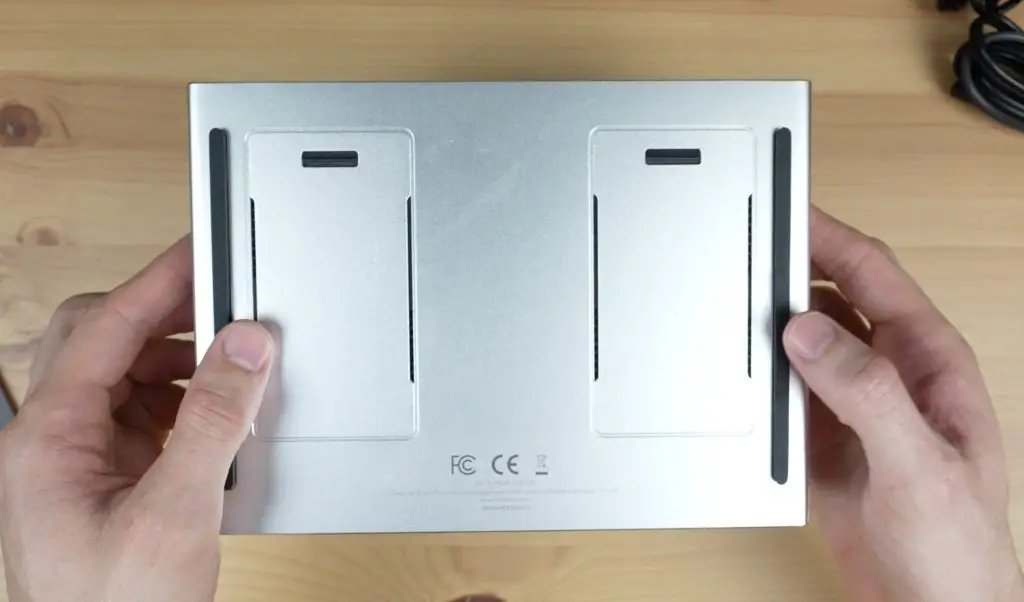
Size wise, being an all SSD NAS, it is quite compact. It measures 21cm long, 15cm wide and 3.5cm high. They advertise the LincStation N1 as being the same footprint as an A5 sheet of paper.
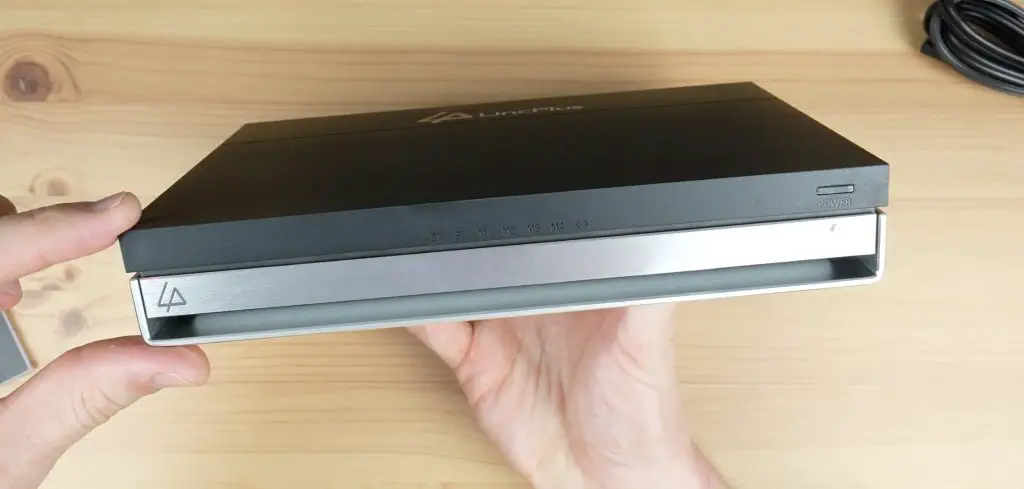
I quite like the look of this NAS, it looks like something you wouldn’t mind having visible on a desk rather than hidden away in a rack or behind closed doors.
Drive Bays and Specifications
The six drive bays are a little different to most other NAS’s I’ve seen, which either have 2.5” SATA bays or M.2 bays for NVMe drives. This NAS has a combination; two 2.5” SATA drive bays that can be swapped out at the front, and then four M.2 bays for NVMe drives that are installed though covers underneath it. Through these six bays you can install up to 48TB of storage.
I guess technically you could use the SATA bays for mechanical drives if you wanted cheaper storage capacity, but that would sort of defeat the object of an all flash storage NAS.
The LincStation N1 powered by an Intel N5105 CPU. This is a 4-core CPU running at 2.0GHz. While this means that it’s not as powerful as a NAS like the F8 SSD Plus that I recently reviewed, it costs less than half the price. It is currently available for $399 from their web store or on Amazon.
It’s got 16GB of DDR4 RAM and 128GB of flash storage. The RAM is soldered to the motherboard, so is non-removable, but it’s the maximum that the CPU supports in any case.
The NAS also has Bluetooth 5.2 and WiFi 6 although we’ll talk about the limitations of these a bit later when we look at software.
Installing SSDs Into The LincStation N1’s Drive Bays
Now let’s install some drives into the LincStation N1’s drive bays so that we can test its performance.
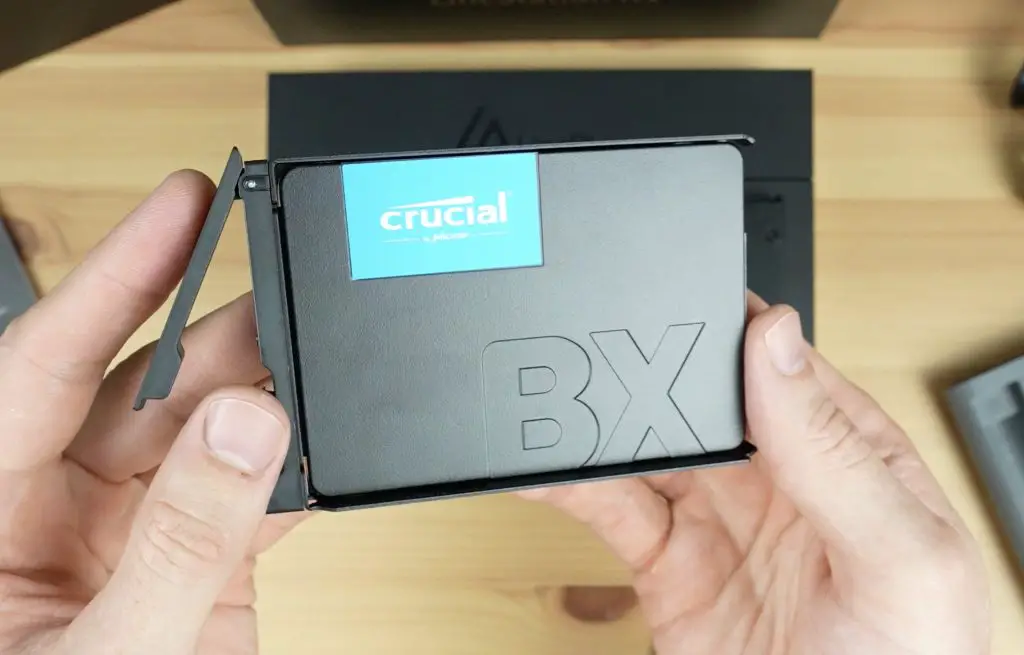
I’m populating the two 2.5” drive bays with Crucial BX500 drives and the four M.2 drive bays with Crucial P3 Plus drives.
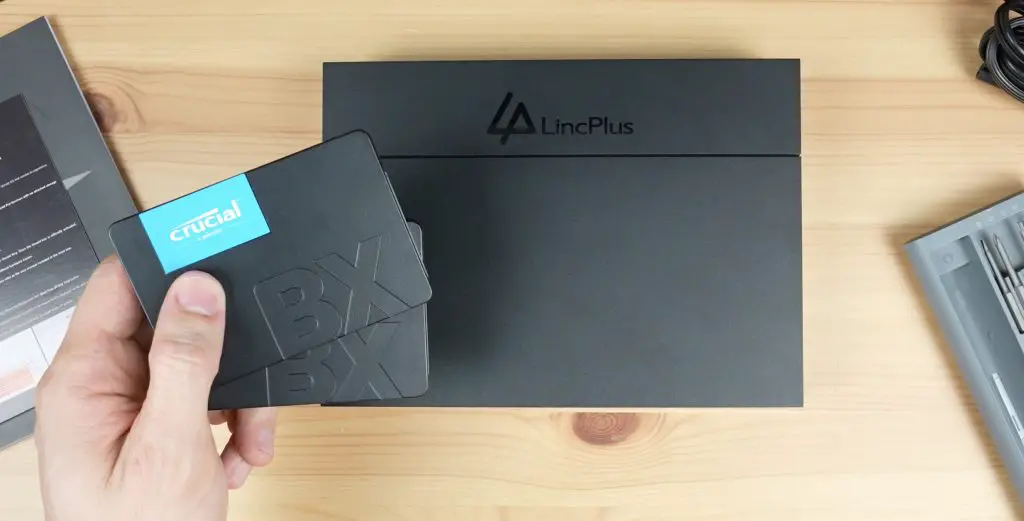

These are just for testing, you should use NAS-grade drives if you’re going to be using them in a NAS long term.
The 2.5” drives are mounted into the trays using the included screws and the trays then slide into place like traditional NAS drive bays.
The M.2 bays are PCIe gen. 3 x 1, so a fairly slow interface by today’s standards. This is likely constrained by the CPU, but the speed would easily saturate the 2.5G network connection in any case. This limitation is something to keep in mind though, as you could save yourself some money by going for older and slower drives without affecting overall performance.
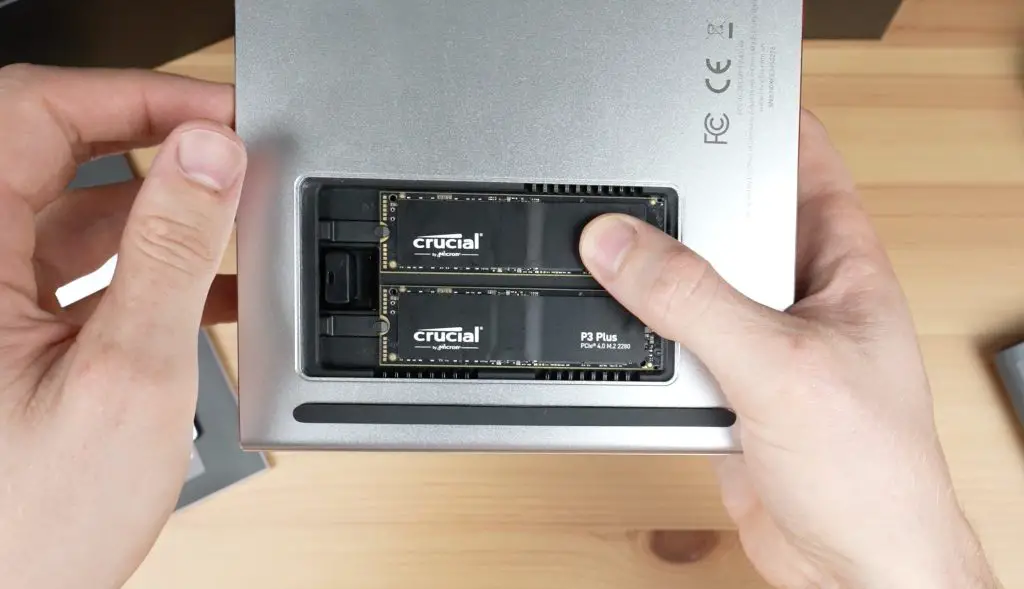
The bays only support 2280-size drives and have tool-less clasps that hold each drive into place. I really like this feature, it makes installing the drives a breeze.
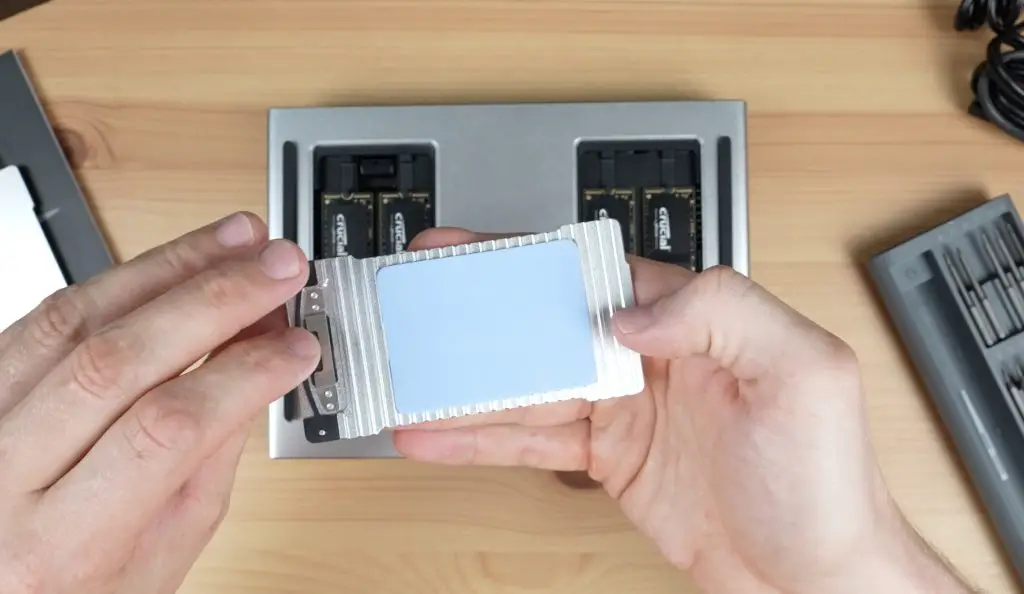
The covers also act as heatsinks for the drives so there is a large thermal pad on each. You’ll also need to remember to remove the protective film from each pad before replacing the covers.
Now we just need to plug in a network cable and power cable, then press the power button to boot it up.
Setting Up Unraid For The First Time
Unlike a lot of other NAS manufacturers, LincPlus haven’t tried to develop their software for the LincStation N1, but have rather shipped it out with an included Unraid License.
I think this is a good choice. A product can have the greatest hardware and be let down quite significantly by its software. We’ve seen this over and over with SBCs that try to compete with the Raspberry Pi. Unraid has been around for a while and is a reputable software package for NAS setups.
When you first boot it up, you’ll need to enter the included Unraid license key to activate it or you can run a trial of the software for 30 days before activating it.

The Unraid installation is about as clean as it gets. LincPlus haven’t preconfigured anything or installed any supplementary applications. This is probably a pro for an experienced user but may be a con if you’re new to Unraid and are still finding your way around.
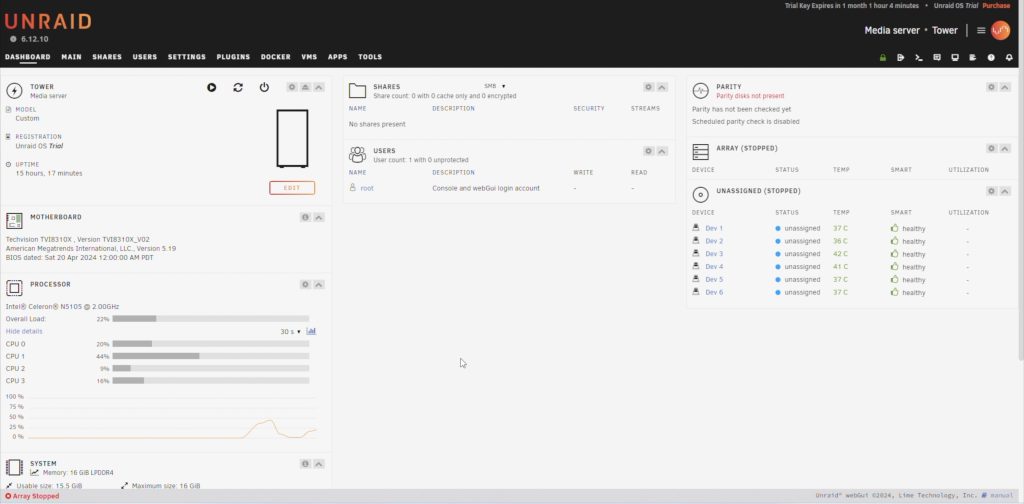
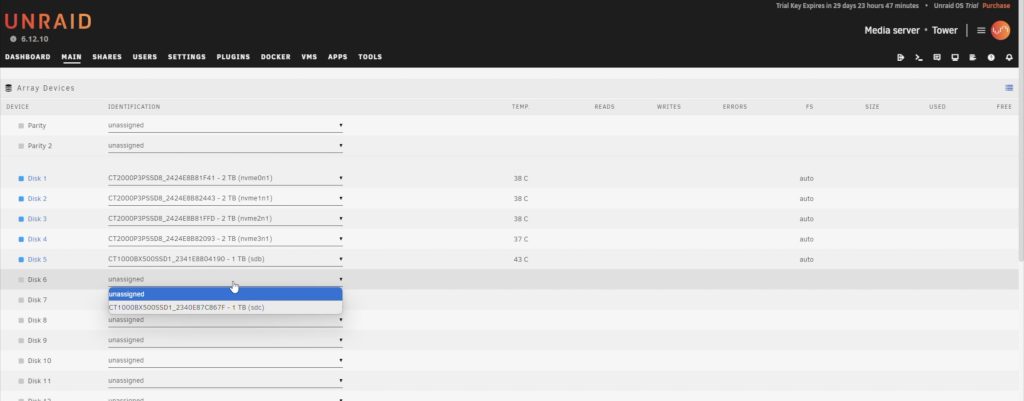
You’ll then need to assign your disks, start your array and then create a network share.
Unraid also allows you to install plugins, configure and run Docker Containers, create and run Virtual Machines and they have an App Store with over 2000 apps available to install to add functionality to your NAS.
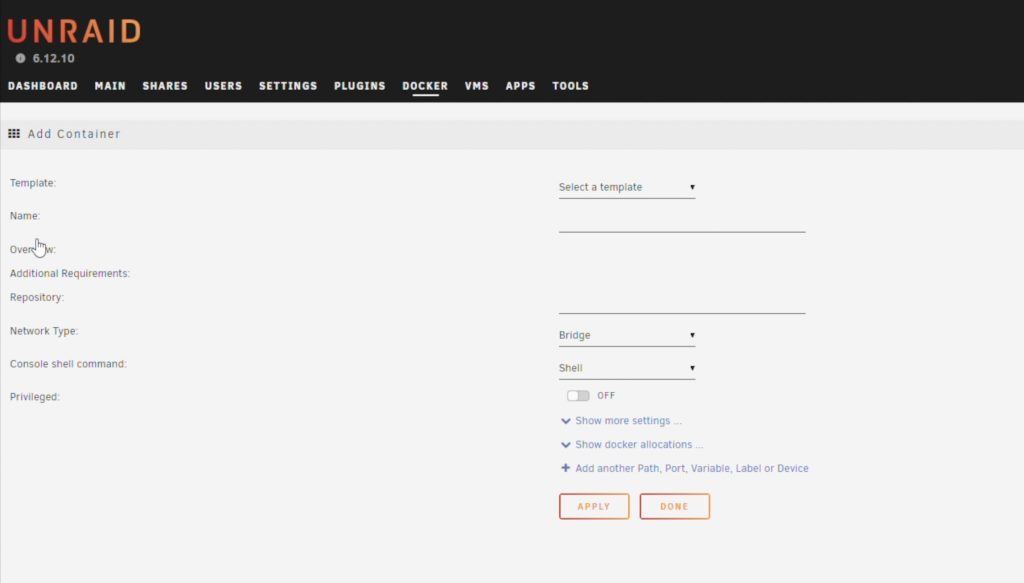
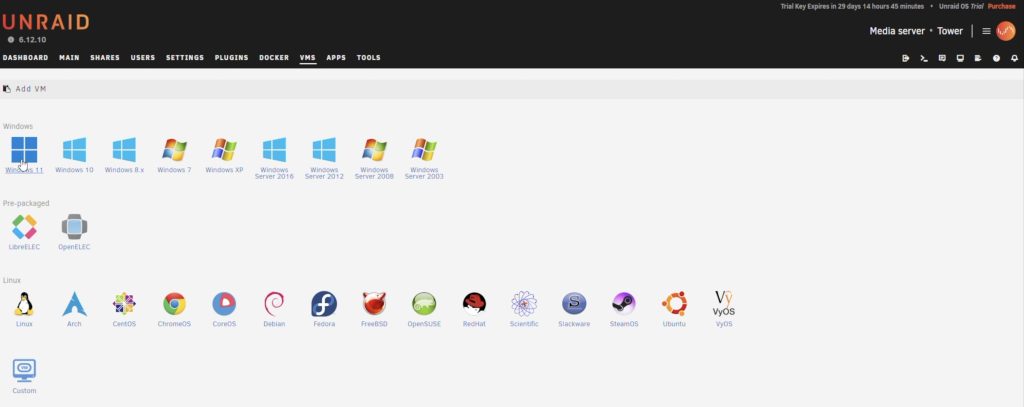

There are some downsides and limitations to Unraid in the N1. The standard version of Unraid supplied with the N1 doesn’t support the available WiFi and Bluetooth features, so you can’t use either of these as part of the core NAS functionality. You can however use them through a virtual machine.
The more significant issue is that Unraid is focused around physical mechanical drives and hasn’t really been optimised to work with SSDs. There is a risk with some SSDs that they may do on device data management which would damage the parity data. Unraid’s recommendation is to use SSDs as cache drives and mechanical drives for the array, which is obviously not the purpose of the N1.
Testing The Performance Of The LincStation N1
On the product page, LincPlus claim transfer speeds of up to 800MB/s. This is likely referring to the maximum read speed that can be achieved from a single NVMe drive. While this is important in some respects, you’re not going to get anywhere near this speed over the 2.5G network connection. You’d be lucky to get real-world results of around 280MB/s.
You could potentially improve the network speed by adding a second 2.5G ethernet adaptor to one of the USB ports to take advantage of link aggregation but this is just a limitation of the NAS to keep in mind. Most people aren’t running more than 2.5G in their homes in any case.
Testing transfer speeds with a small 256 MB file I got average writes a little over 250 MB/s and reads of a little under 270MB/s.
With a larger 1 GB file I got average writes of a little under 250MB/s and reads a little under 260MB/s.
And with a very large 64GB file I got average writes around 240MB/s and average reads a little over 250MB/s.
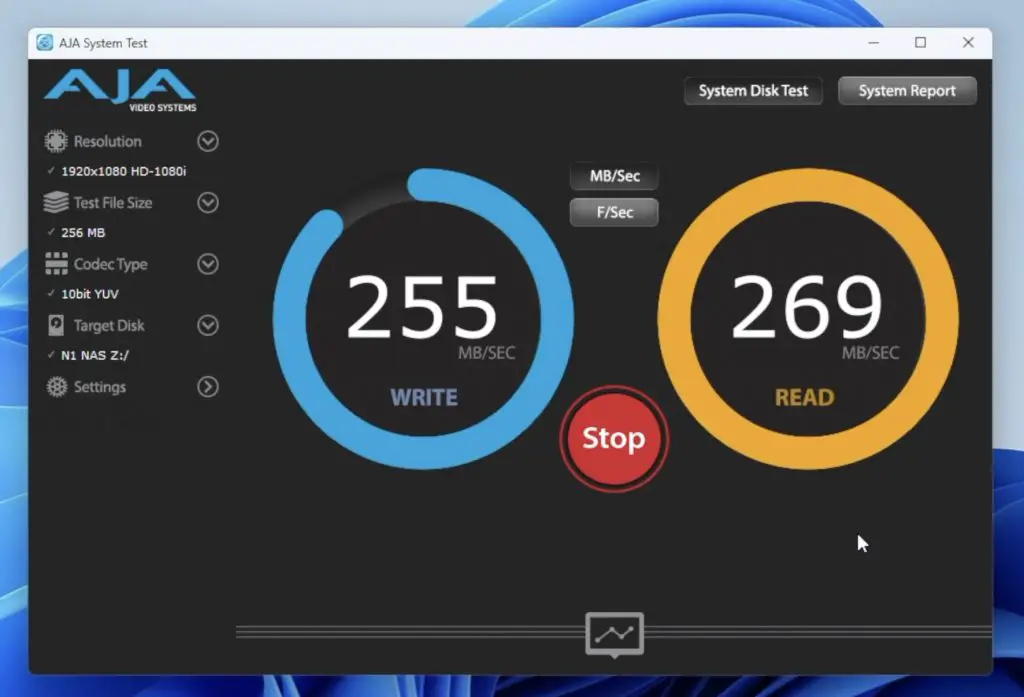
So quite consistent results across the three file sizes. Reads come fairly close to saturating the 2.5G network connection and writes are just a little slower.
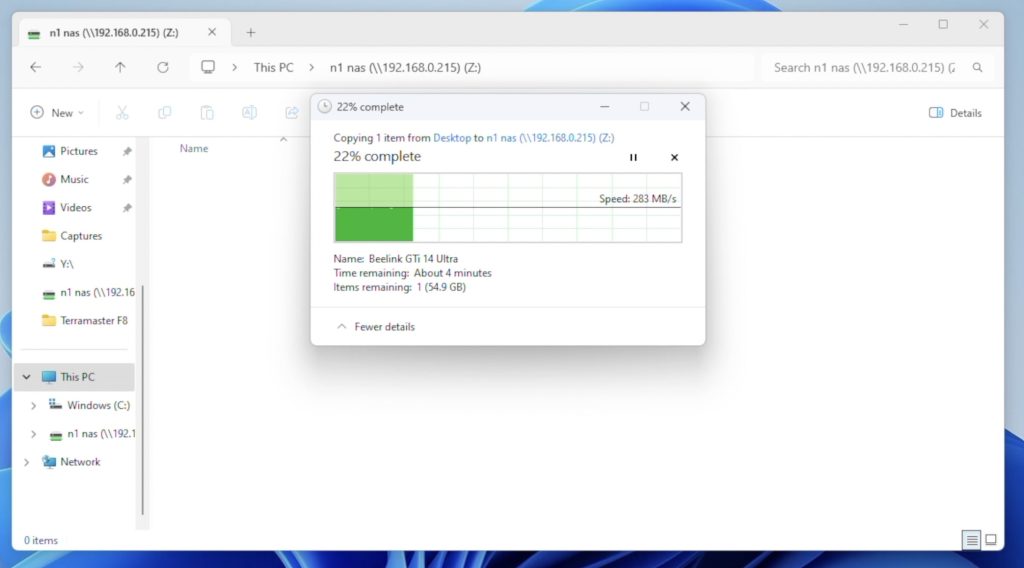
I then tried running a real-world file transfer test in Windows 11, transferring a large 70G video file.
Writing to the NAS we get a very consistent write speed of a little over 280MB/s and reading from the NAS we get a similarly consistent but slightly slower average transfer speed of about 255MB/s.
Noise and Power Consumption
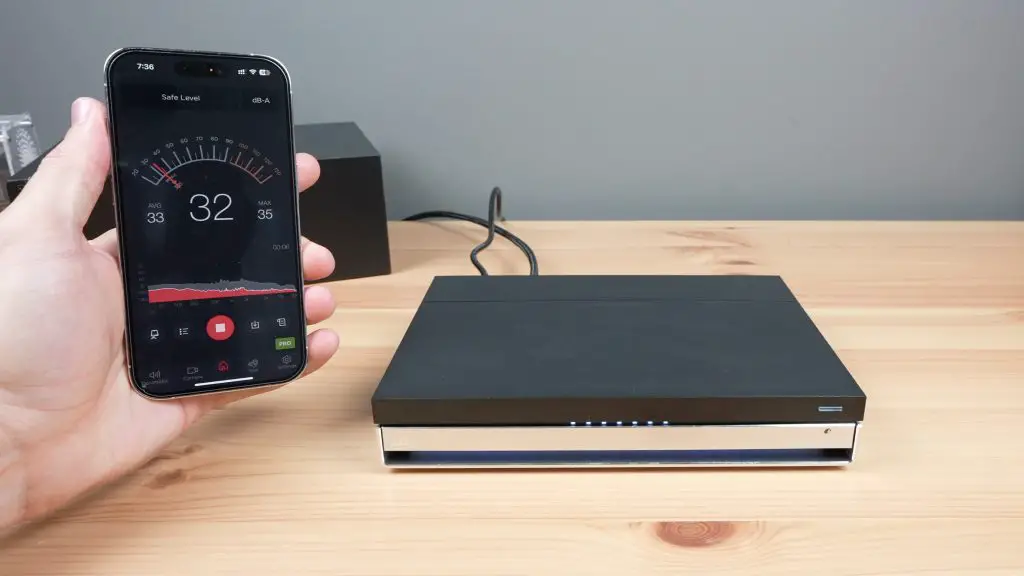
In agreement with LincPlus’ claims, the LincStation N1 is almost silent. It obviously doesn’t have any mechanical drives in it, which eliminates drive noise. If there is nothing else running in the room, you can faintly hear a fan running when it is on but it is impressively quiet. I also couldn’t hear or measure any difference between the fan noise at idle and when reading or writing to the drives.
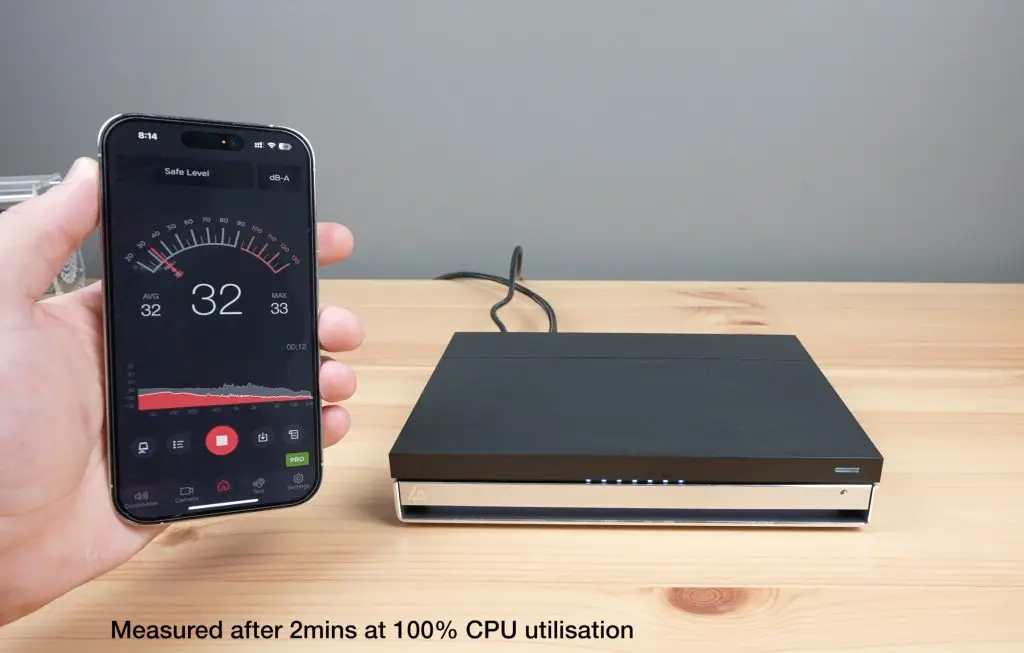
Under a full CPU load the fan is a bit more audible but it’s still pretty quiet. You can’t hear it from more than 2 meters away in a quiet room.
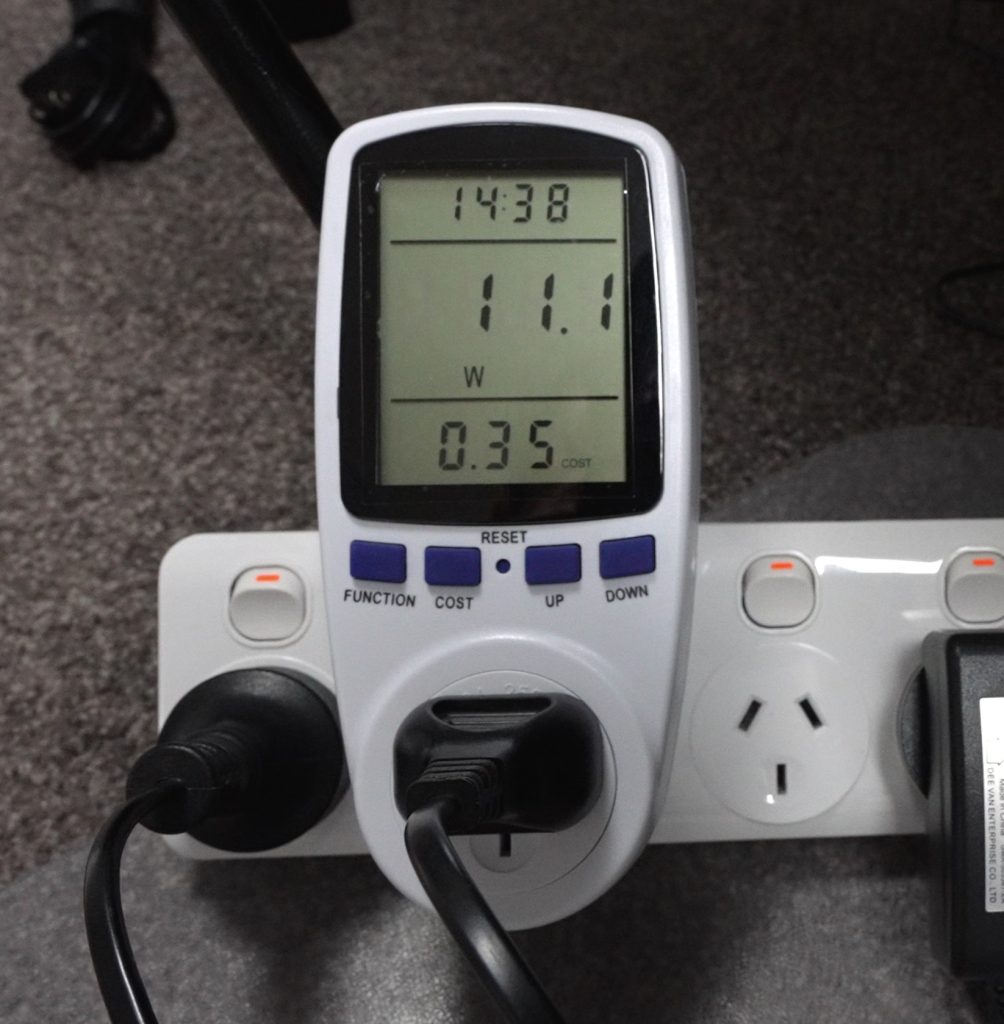
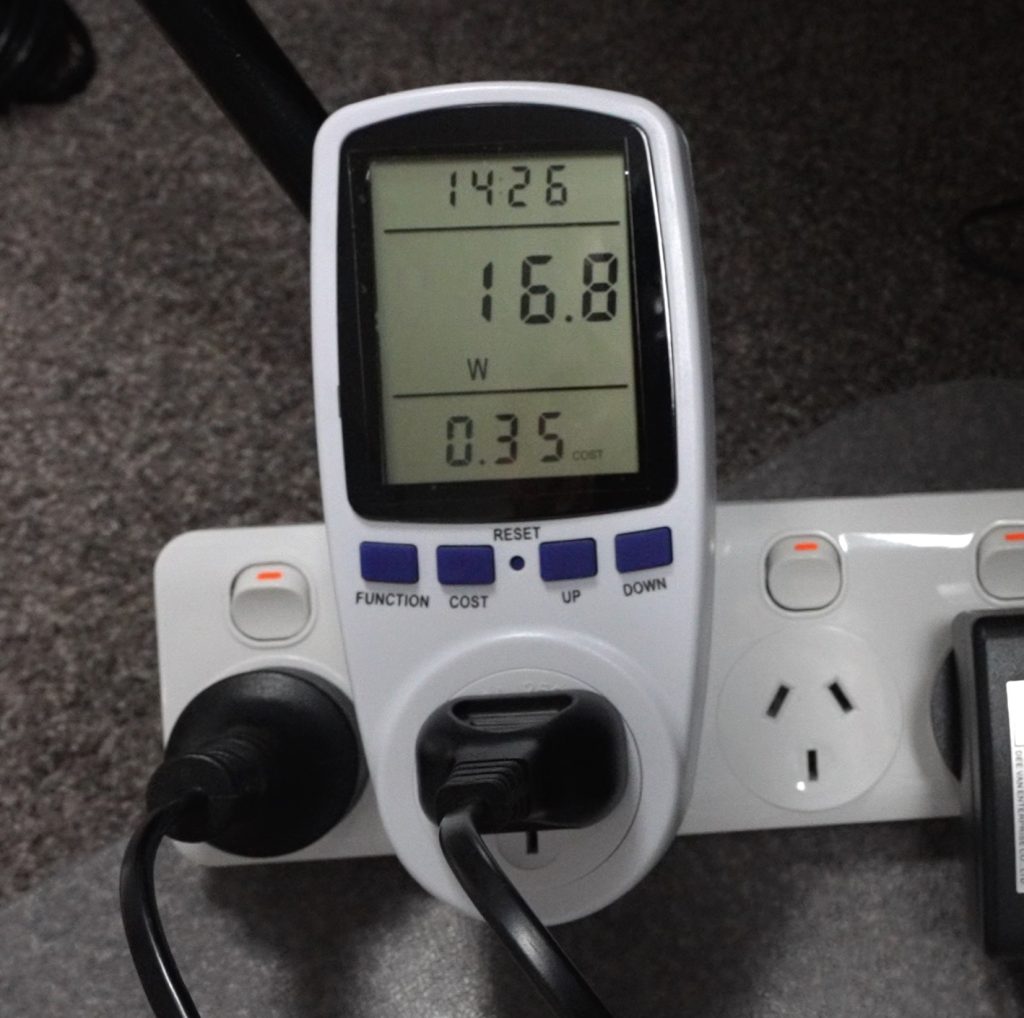
Power consumption on the N1 is also great. It uses just 11W at idle and this only goes up to around 17-18W when reading or writing to the drives.
Final Thoughts On The LincStation N1
Overall I think the LincStation N1 is quite a nice entry-level all-flash storage NAS package. It has a well-balanced set of features and although it is limited by the single 2.5G Ethernet connection, this is likely good enough for most home or small office use cases. I think their decision to include an Unraid license rather than developing their own software is a really good one and you’ve obviously still got the flexibility to go with a different OS if you’d like to.
Let me know what you think of the LincStation N1 in the comments section below.
