Anyone who has done laundry in their life knows that with every load, one or two single socks seem to escape to some sort of sock island for a get together. The monthly loads of laundry always result in a collection of sock singles. How about making a board to pin up the sock singles in the laundry in case their friends come looking for them again? This is a really easy project and can be customised to suite what you have available, there are a few different ideas at the end.
What You Will Need To Build A Socks Laundry Sign
- A Sheet of Wood (Plywood works well around the size of an A3 page)
- Paint (For the background)
- Lettering (Either stickers, cutouts or stenciling)
- Some Clothes Pegs (5-10 depending on the board size)
- Small Wood Screws (The name number as clothes pegs)
How To Build Your Socks Laundry Sign
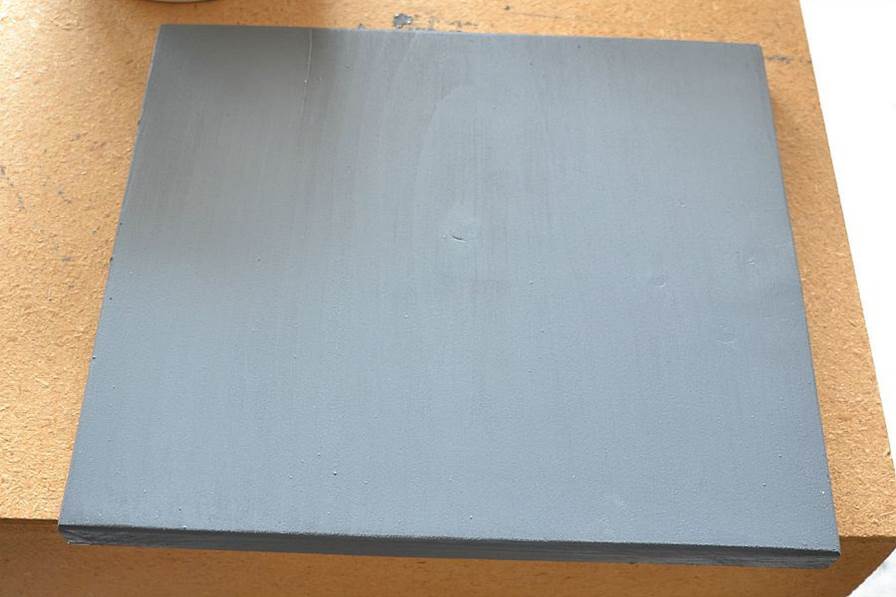
Start out by painting your board with the background colour, this colour should work well with your lettering so that it stands out. Try a dark background with light lettering or light lettering with a dark background.
When the paint has dried, you can stick on the lettering. Stick the lettering to the top two thirds of the board so that there is space for a line of pegs to be screwed onto the board below them. You can also modge podge lettering onto the board or use a stencil and paint the lettering on.
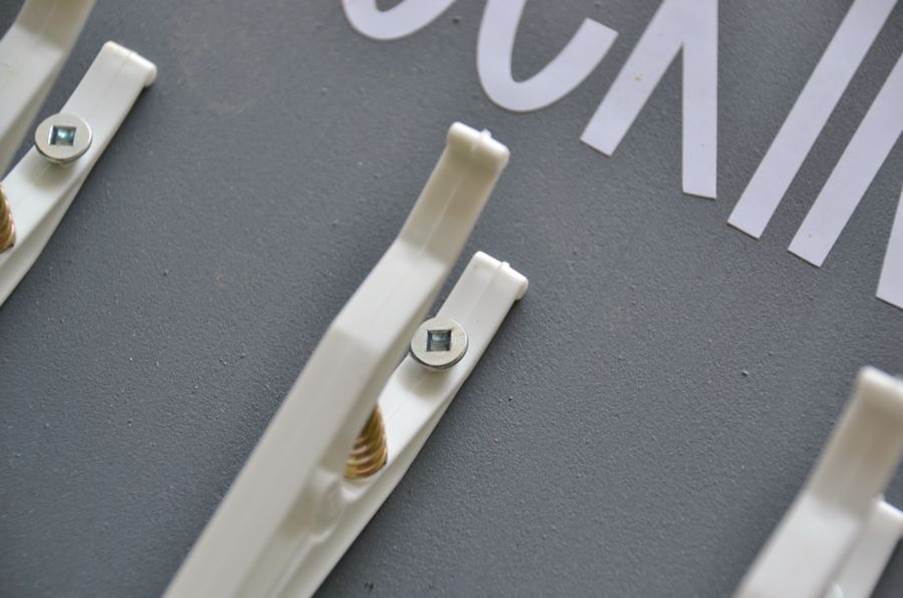
Finally, you can screw the pegs onto the board. Drill a small hole through each peg and then screw through them and into the board to secure them. If you are not comfortable with using a drill or screw driver, you could also use double sided tape or a glue gun although screws will be the most robust.
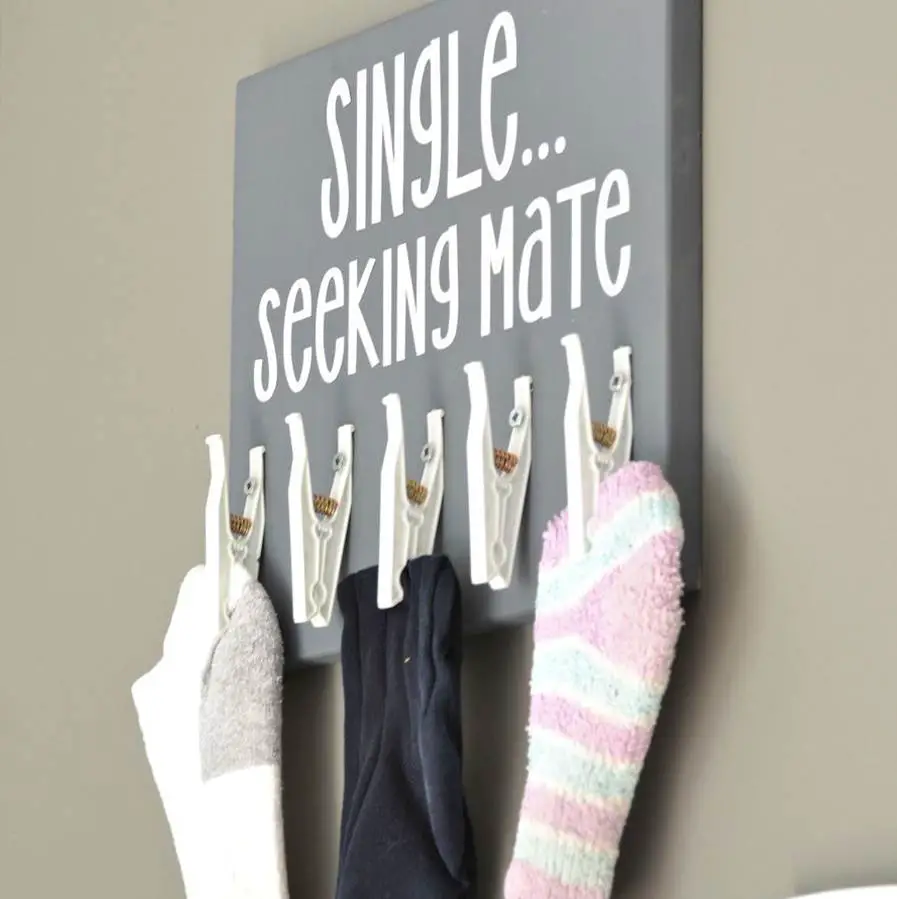
Your pin up sign is now ready to be hung up in your laundry. Hang it up using a screw in picture hanger, a string tied across the back, screw it into the wall or again use double sided tape and tape it to the wall. All of your single socks can now be pinned up to wait for their better halves to be found. Here’s a guide to hanging pictures.
Here are some more ideas:


