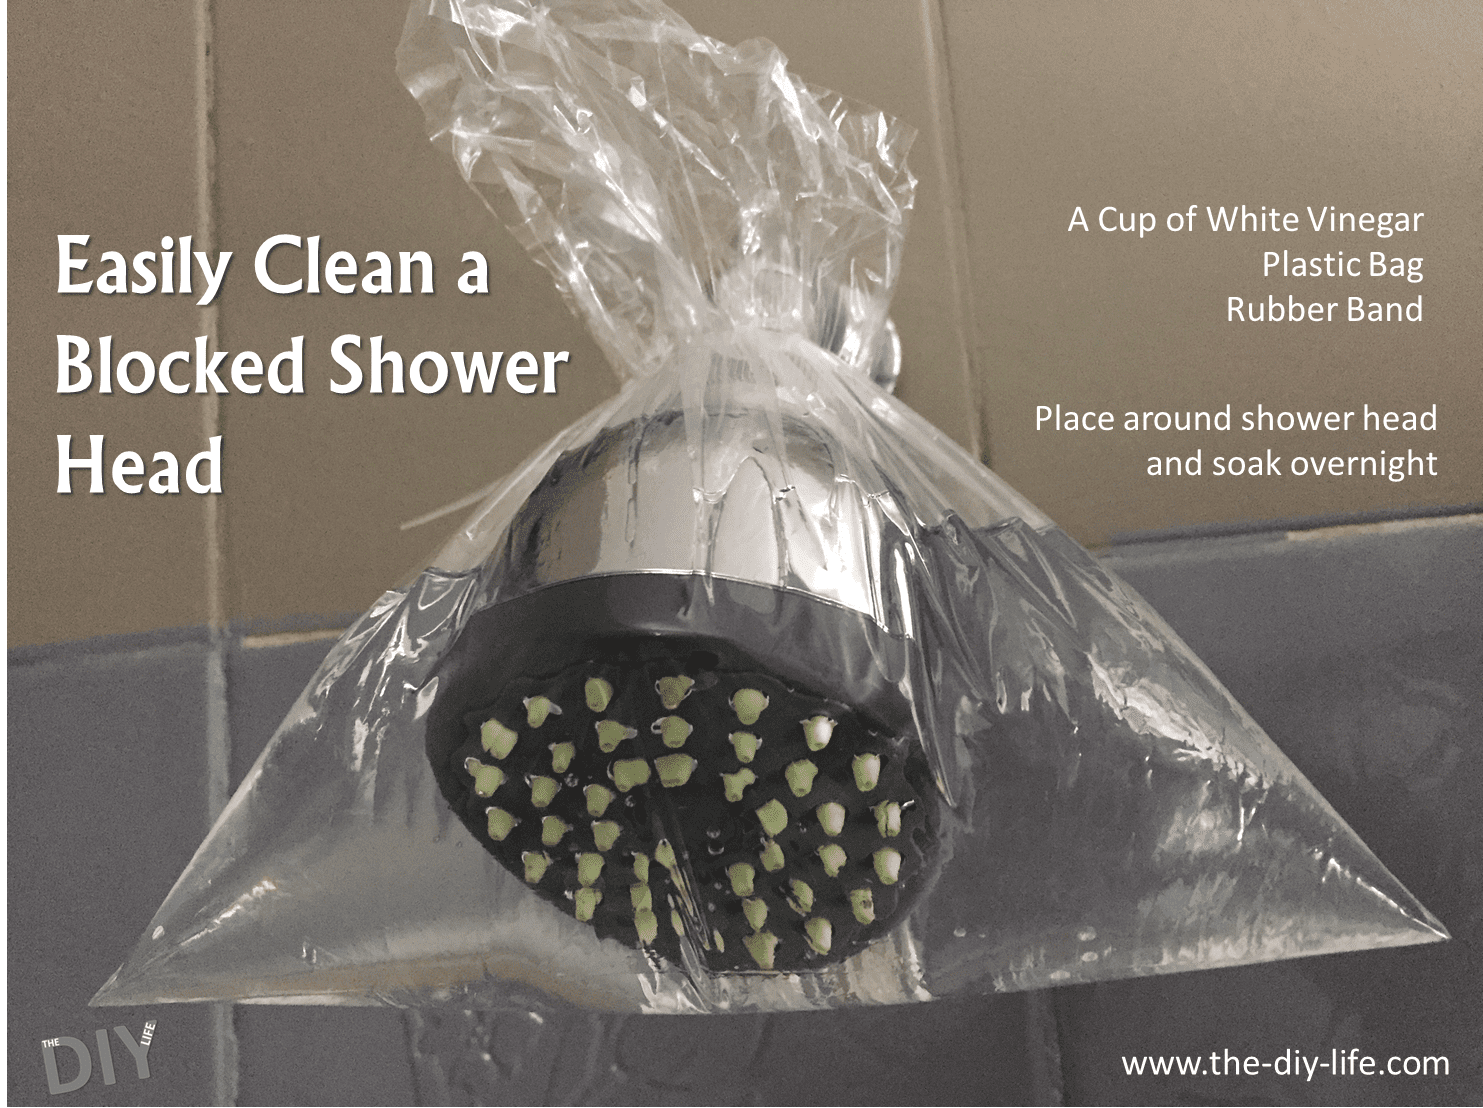
Has your shower head started spraying in different directions or have some holes become blocked. This is due to mineral deposits which have built up and stopped the water from being able to flow freely. Fortunately, there is an easy way to get rid of these mineral deposits which doesn’t require the head to be removed or scrubbing and brushing.
What You Will Need To Dissolve The Mineral Deposits
- White Spirit Vinegar
- Plastic Sandwich Bag
- Rubber Band or Zip Tie
How To Remove The Mineral Deposits From Your Shower Head
If you are using a rubber band then slip this over the shower head first. You may need to loop it around the stem of the shower head a few times so that it is snug. Next fill the sandwich bag halfway with the vinegar. Slip the bag over the shower head so that the head and especially the holes are completely submerged in the vinegar. Slide the rubber band down around the bag to hold it in place. If you are using a zip tie then zip it around the neck of the back onto the stem. Leave the bag around it for a few hours or overnight. Remove the bag and wipe the head down with a soft cloth.
If That Doesn’t Work
If it is still not spraying correctly then there may be dirt trapped inside the head. You’ll have to remove the shower head with a plumbing wrench by unscrewing the nut on the arm. Place a cloth between the wrench and the nut so that you do not scratch the chrome finish. Now spray water backwards through the shower head nozzle. Hold it under a faucet and try to rinse any debris out of each hole. You want the water pressure to be as high as possible. Once this has been done and the head is rinsed out, screw it back onto the stem.
Follow this guide if your shower head is leaking from the stem, it is usually a quick fix. You can also easily fix a loose stem.
Share this tip on Pinterest:
Your shower head should now be clean and working as well as when it was new.


