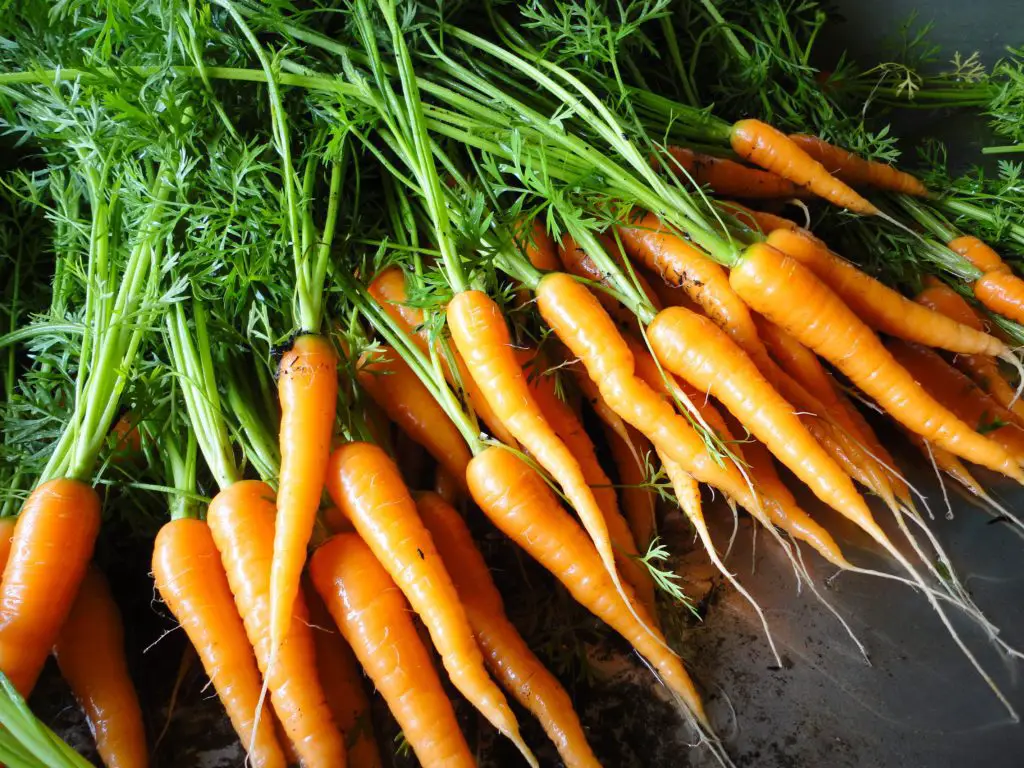
Have you ever bought a bunch of organic carrots and thought it’s a waste to throw out the tops but wondered what you could do with them? Next time, save the carrot tops and turn them into a delicious pesto which can be used in a pasta sauce on homemade gnocchi or to make a cracker topping using pesto, sun-dried tomatoes and cream cheese.
What You Will Need For 1 Cup Of Carrot Top Pesto
- 3 Tbsp Nuts – Pecans, Cashews & Walnuts Work Well
- 2 Cups Roughly Chopped Carrot Tops
- 1/2 Cup Roughly Chopped Fresh Basil
- 1 Garlic Clove
- 1/2 Cup of Olive Oil
How To Make The Carrot Top Pesto
Place the nuts and garlic into a food processor and pulse into a rough paste. Add the carrot tops and basil and pulse again until a thicker green paste forms. Add the half cup of olive oil and finally blend the mixture until the paste becomes smooth. If the paste is too thick, add some olive oil, one teaspoon at a time, until the correct consistency is reached. The paste should be thick but easily spreadable. Season with some salt and pepper before giving it a final few pulses and you are done.
The pesto can be stored in an air tight jar in the fridge for a few weeks. Occasionally the pesto may solidify in the fridge, allow it to stand at room temperature for about 15 minutes and it will return to it’s paste consistency.
For some other twists on the recipe, consider interchanging the nuts and herbs for equal quantities of other types. You can use peanuts and coriander/cilantro for stronger herb and nut flavors or macadamias and Italian parsley for more subtle flavours.
What are some of the combinations you have tried? Let us know in the comments section below.


