Today I’m taking my Raspberry Pi 5 to the next level by building the ultimate desktop server. This build will feature an NVMe drive for fast storage, a UPS to keep it running during power cuts, and a real-time OLED display to show system stats. I’ll also be designing a custom 3D-printed case for it, complete with active cooling for overclocking.
Here’s my video of the build, read on for the write-up;
Components Used To Build The Ultimate Pi 5 Server
- Raspberry Pi 5 – Buy Here
- MicroSD Card – Buy Here
- Raspberry Pi 5 Power Supply – Buy Here
- 18650 Batteries – Buy Here
- SupTronics X1200 UPS – Buy Here
- Pimoroni NVMe Base – Buy Here
- (All shown NVMe bases will need a 50mm PCIe extension, or longer)
Pi 5 Ice Tower Cooler – Buy Here - SSD1306 I2C OLED Display – Buy Here
- 15cm Female to Female Jumper – Buy Here
- M2.5 x 6mm Button Head Screws – Buy Here
- M3 x 8mm Button Head Screws – Buy Here
- M3 Brass Inserts (Set For Sides & Display) – Buy Here
- M2.5x20mm Standoffs – Buy Here
- M2.5x8mm Standoffs – Buy Here
- 2mm Clear Acrylic – Buy Here
Tool & Equipment Used:
- Elegoo Centauri Carbon 3D Printer – Buy Here
- USB-C Pencil Screwdriver – Buy Here
- Fnirsi HS-02B Soldering Iron – Buy Here
- Omtech Polar Laser Cutter – Buy Here
Ultimate Pi 5 Server Hardware
Let’s start out by taking a look at the hardware that I’m going to use.
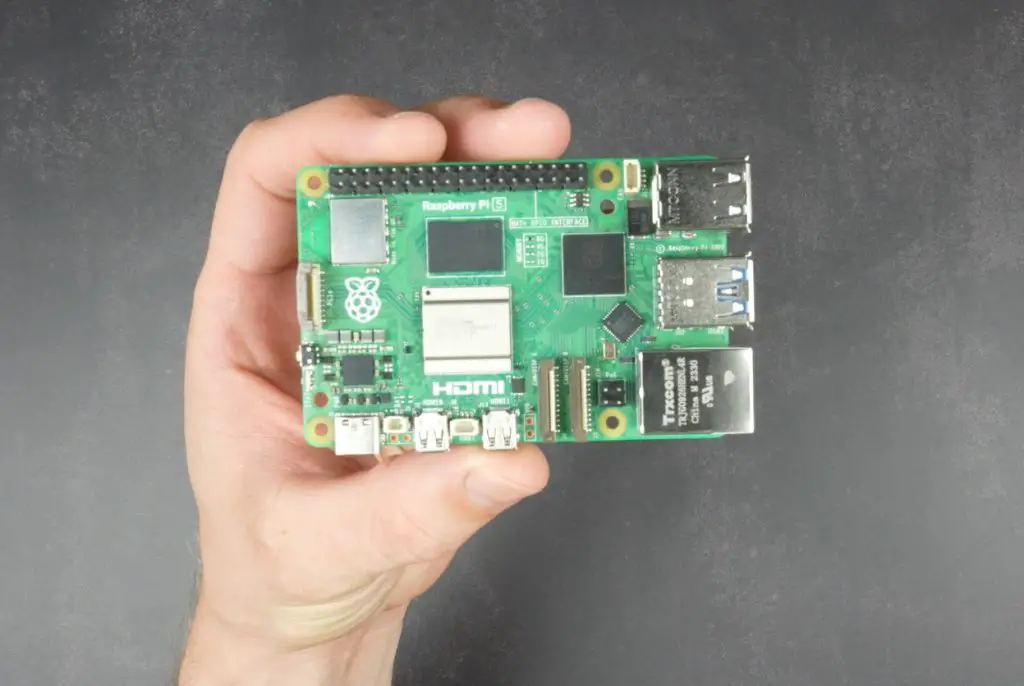
The Pi 5 is the brain of the project. I’m using the 8GB variant, so it’s got 8GB of LPDDR4x RAM and a BCM2712 SOC that has 4 arm cores running at up to 2.4GHz.
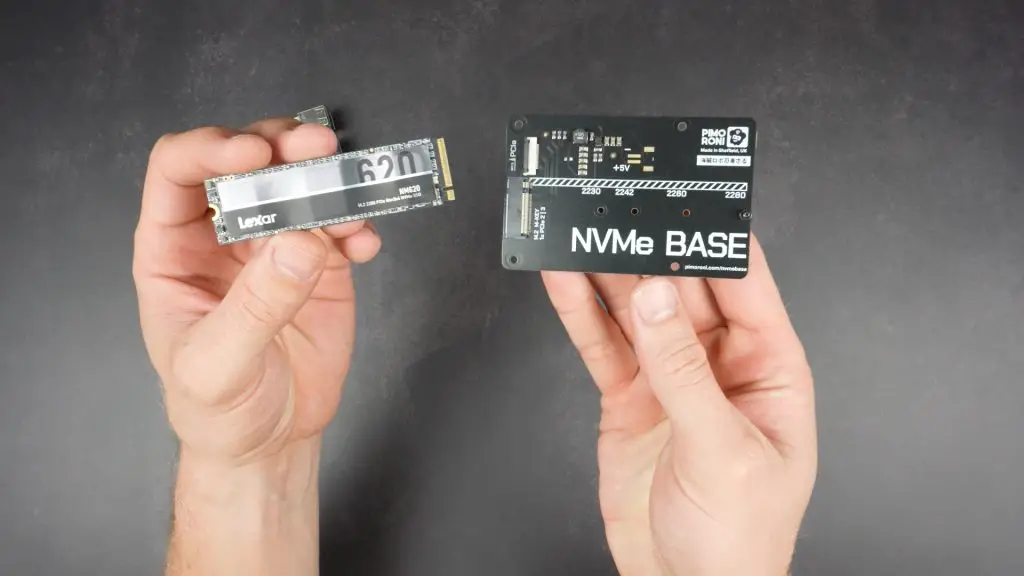
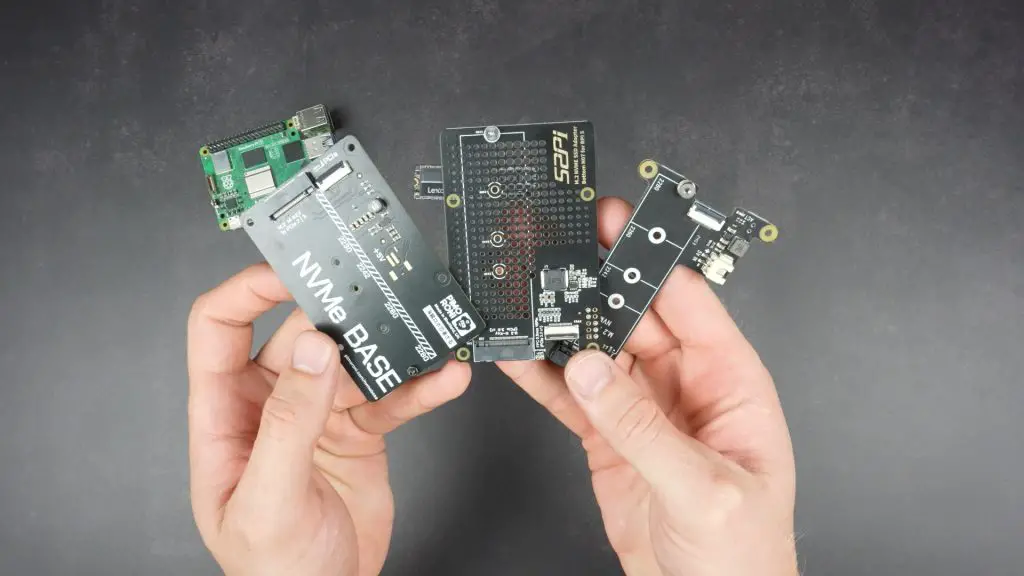
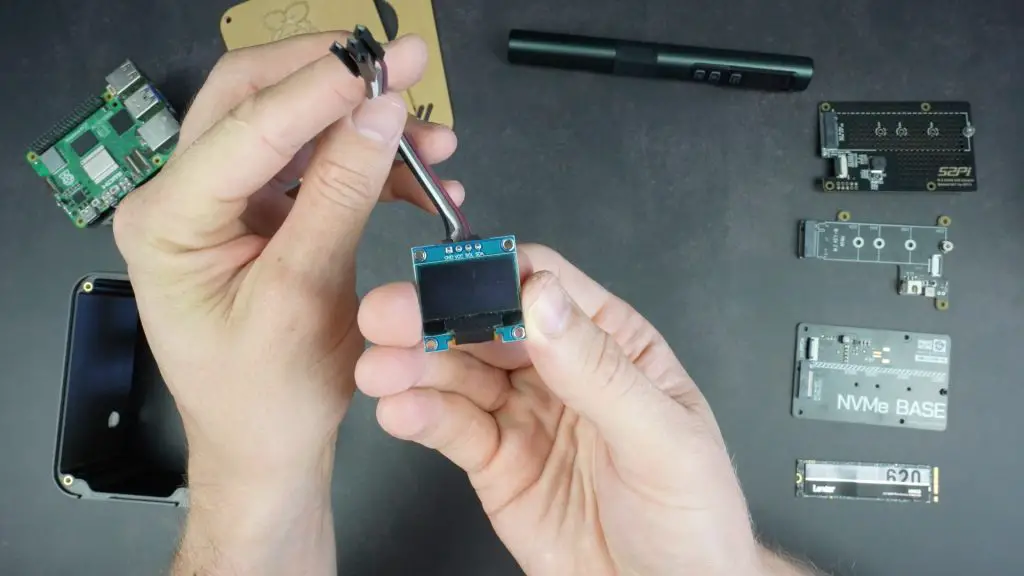
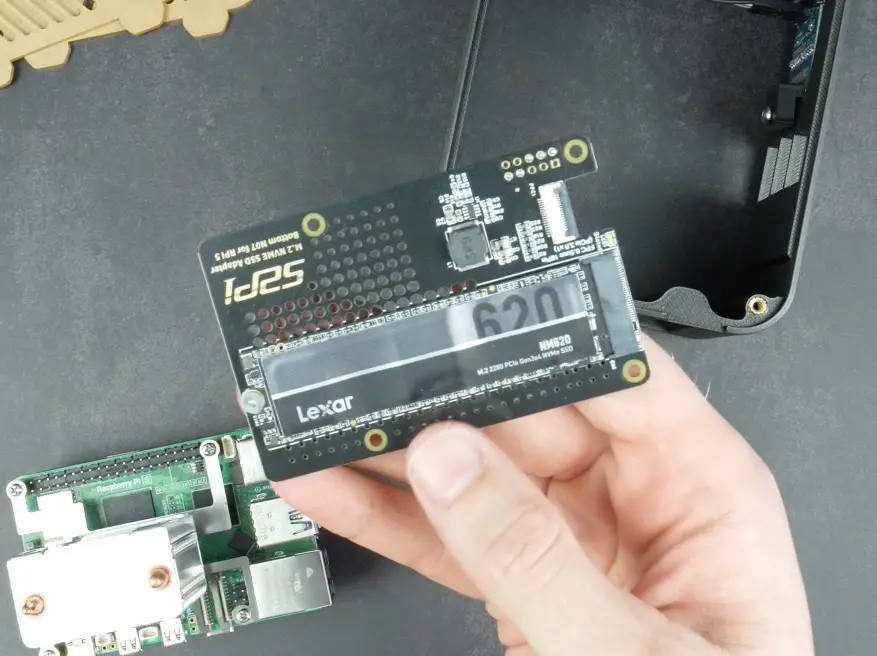
For storage, I’m going to add a 512GB NVMe SSD which will be connected to the Pi’s PCIe port using an NVMe hat. I wanted to keep the design as generic as possible to accommodate a range of NVMe hats, so it will accommodate most NVMe hats that have a similar footprint to the Pi and don’t need the GPIO pins for power. All NVMe bases will need a 50mm PCIe extension, or longer to get up over the UPS.
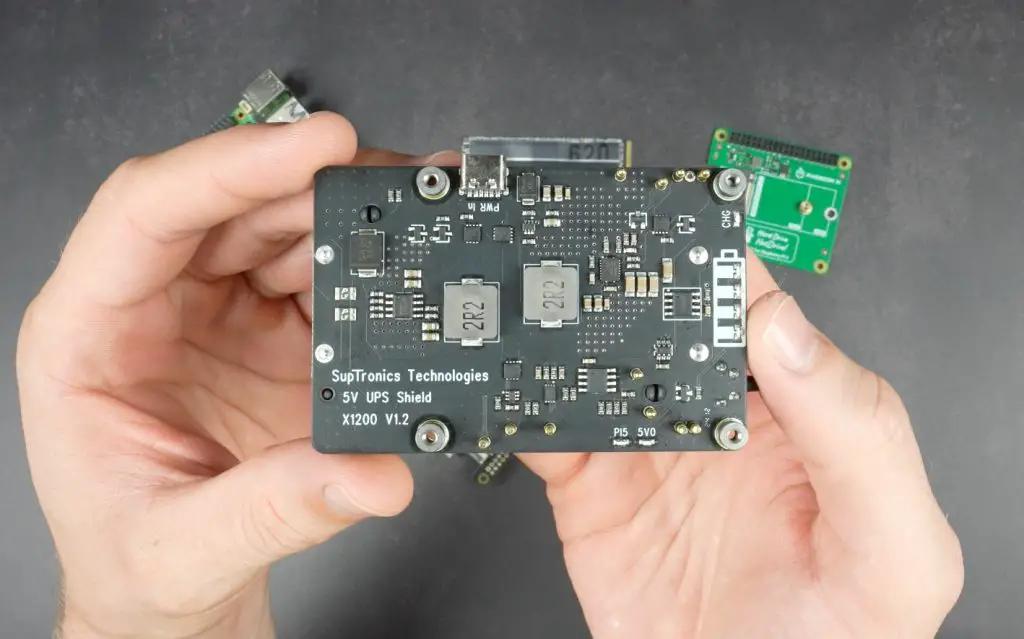
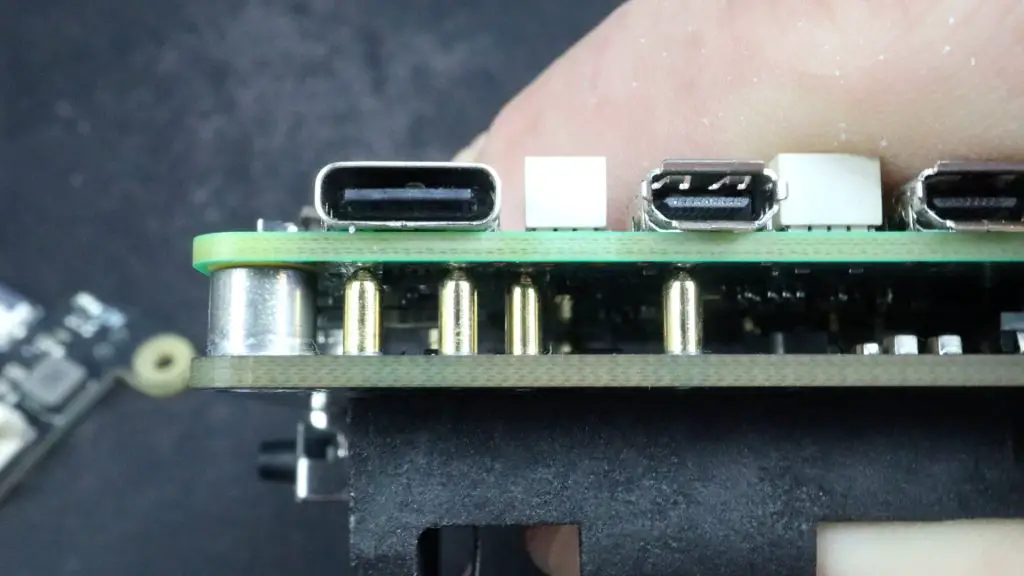
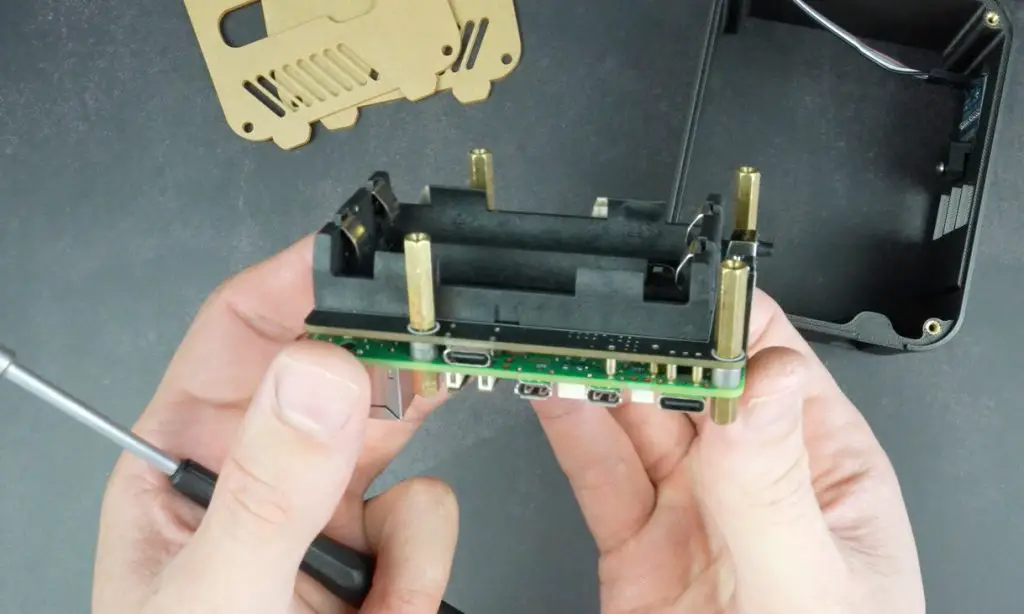
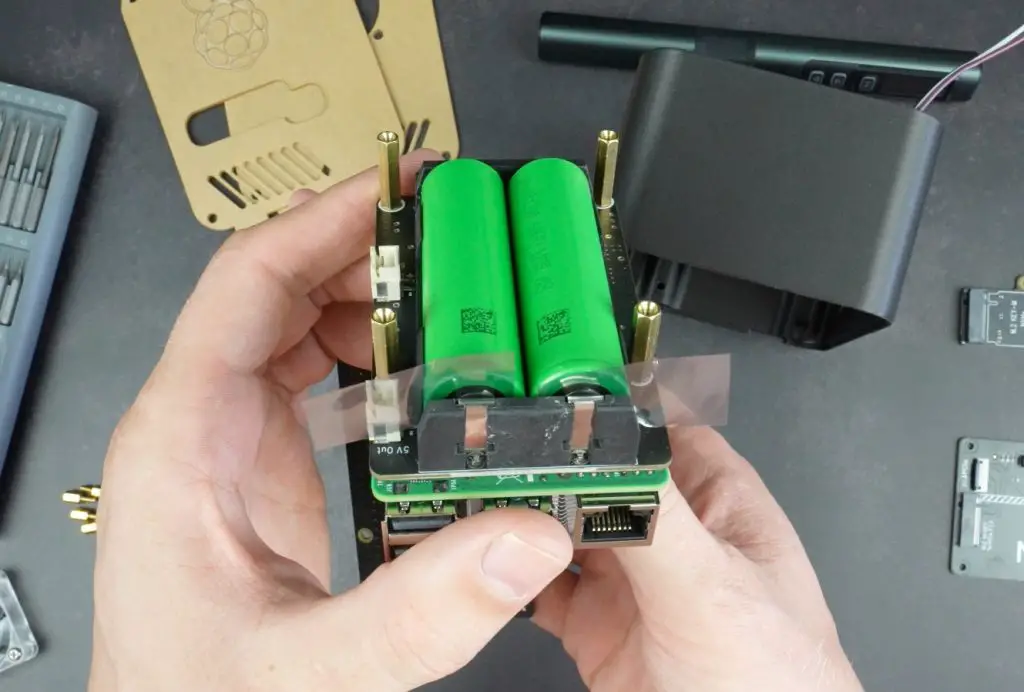
The reason they can’t use the GPIO pins is that between the Pi and NVMe hat, I’m going to install a UPS hat. I’m using the SupTronics X1200 UPS that is powered by a USB C power supply like the Pi. It then passes power through to the Pi using a range of pogo pins that make contact with the test points and GPIO pins underneath it. It stores power in two 18650 cells which can be used to power the Pi for up to 2 hours in the event of a power outage.
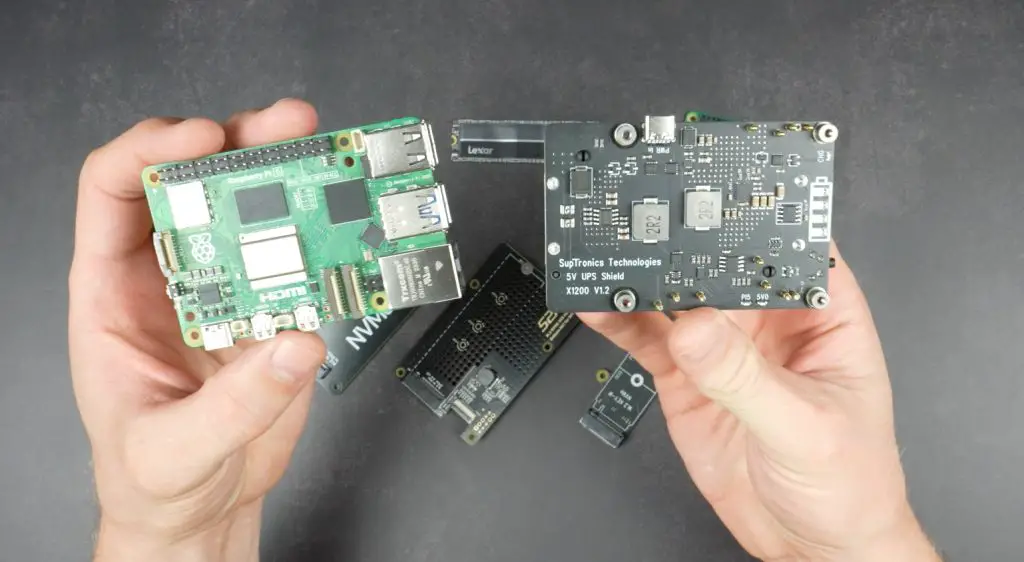
Because this hat has so many contact points, it has to be installed underneath the Pi, which means that the NVMe hat needs to be installed either on top of the Pi or below the UPS.
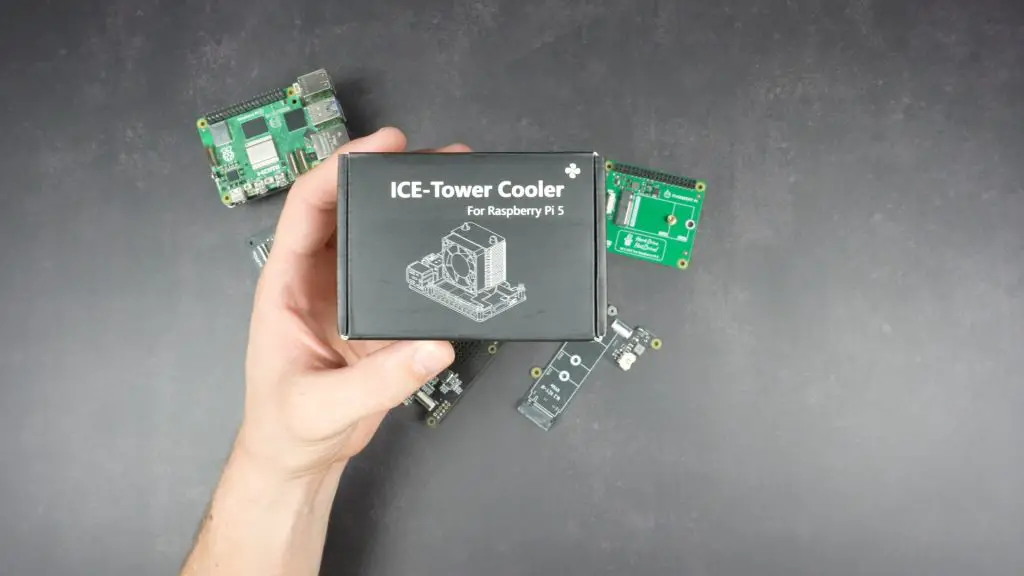
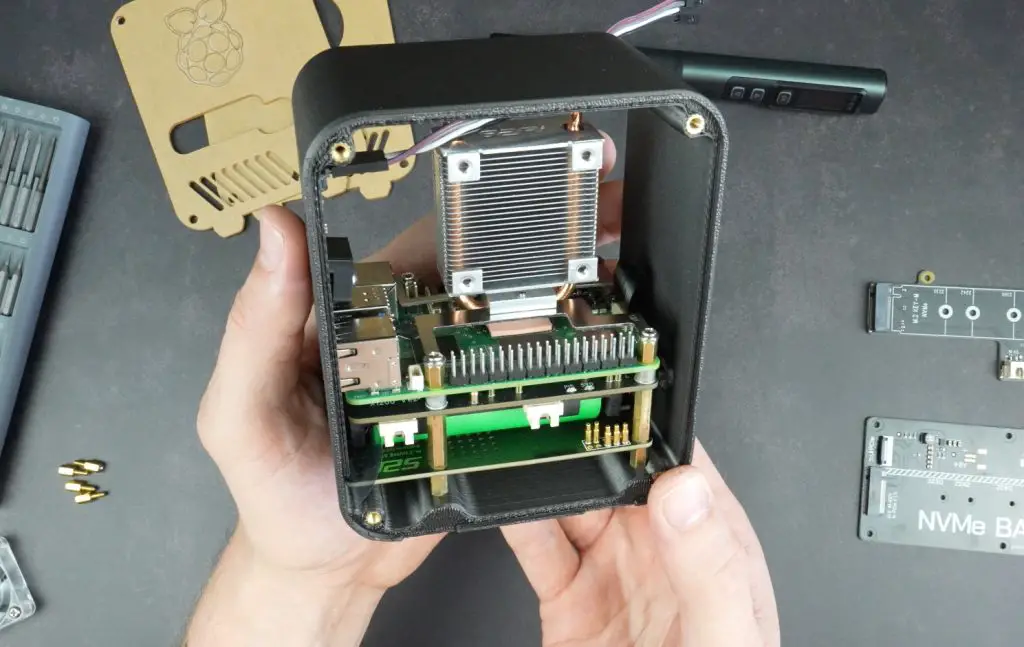
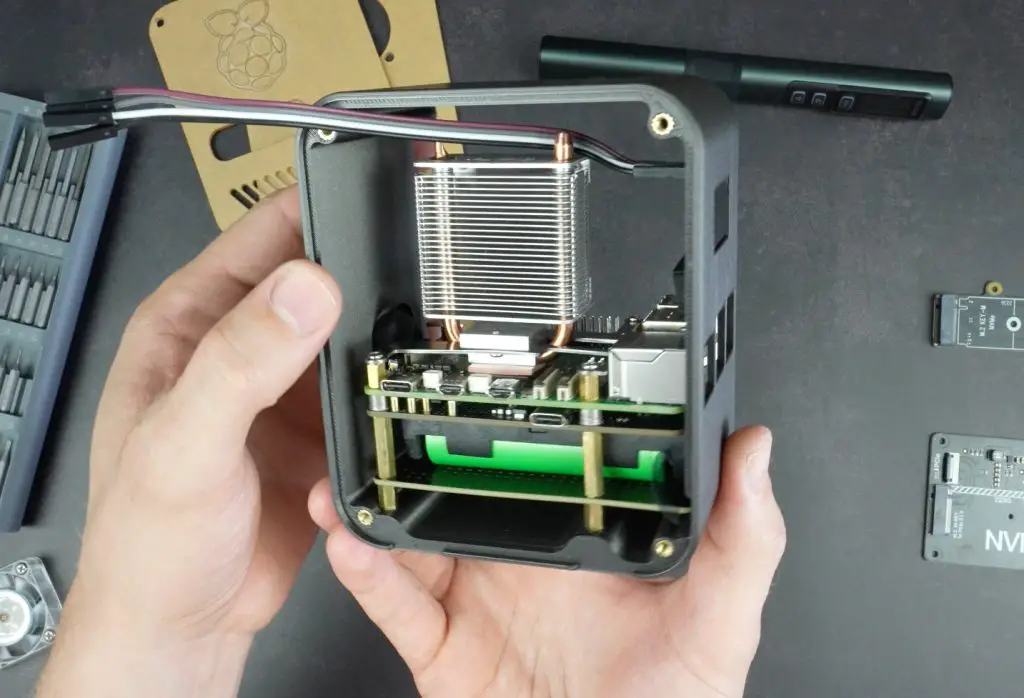
I’m going to go with below the UPS so that I can still use an Ice Tower cooler on the CPU for cooling. This will provide a lot of additional cooling headroom for overclocking.
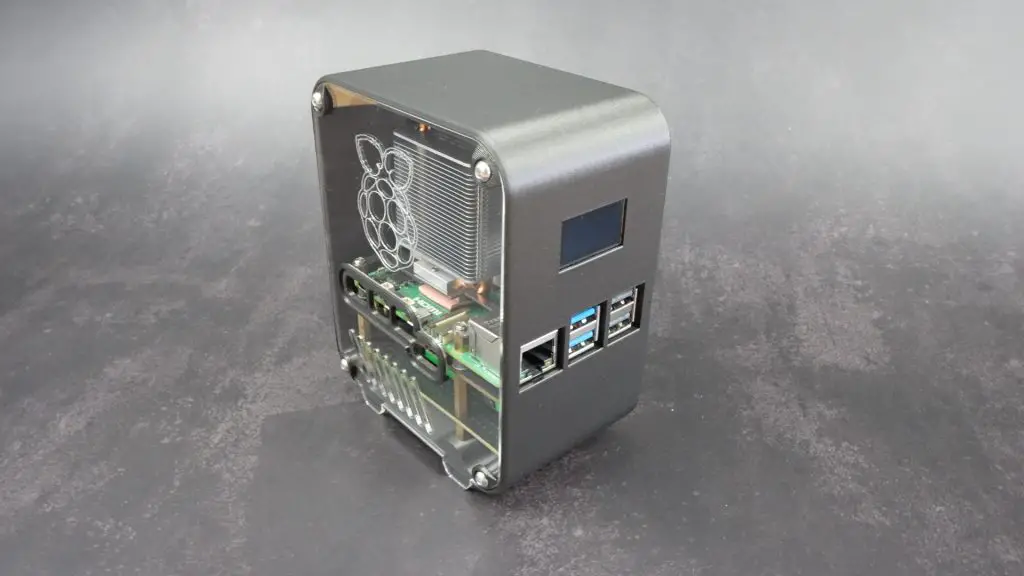
So that’s my Pi mini server stack, now I need to get the case designed for it.

Designing The Pi 5 Desktop Server Enclosure
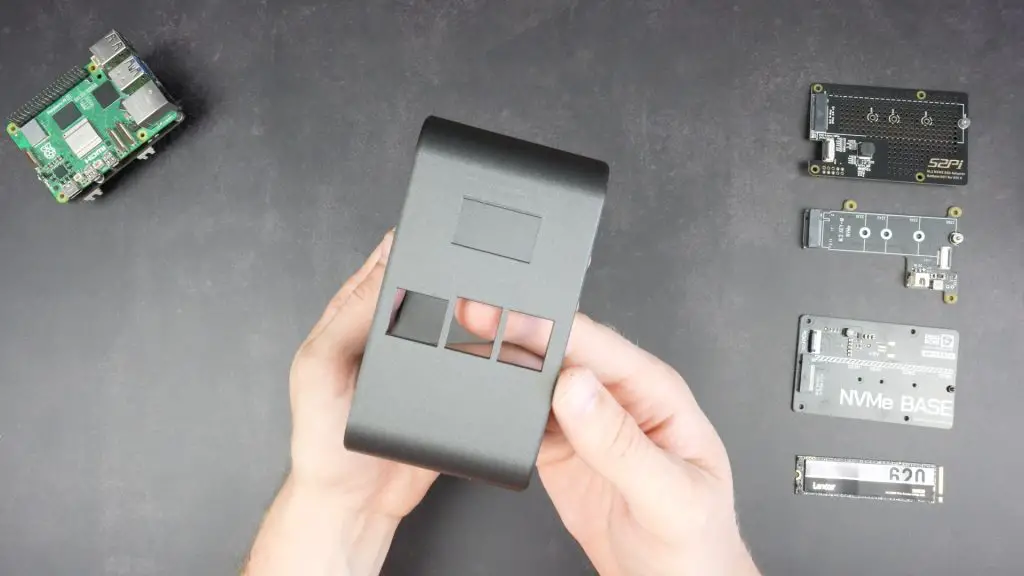
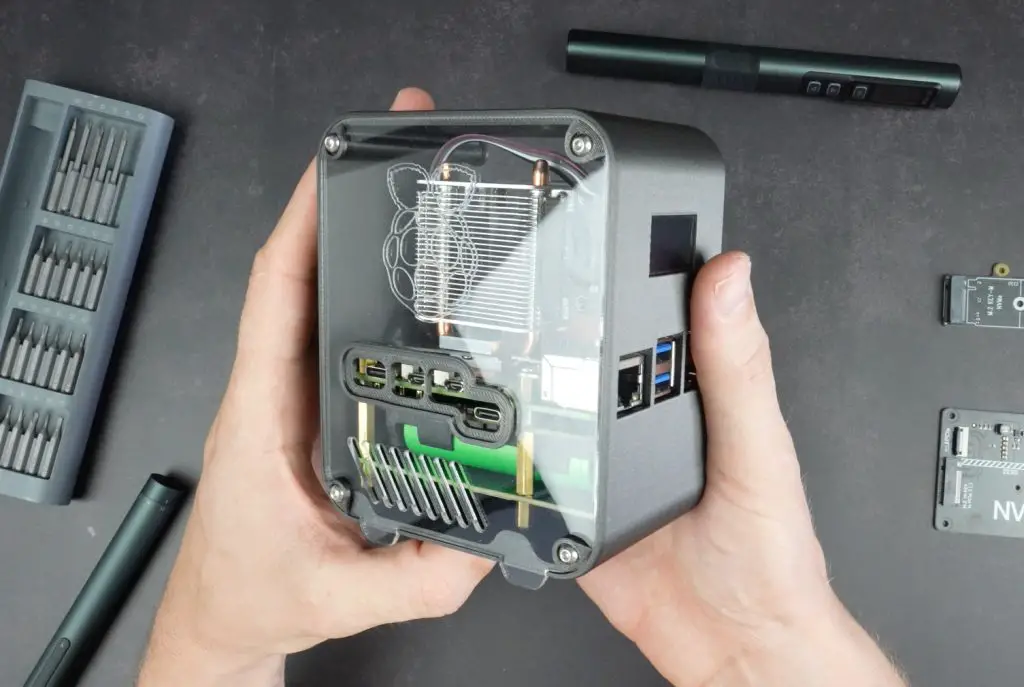
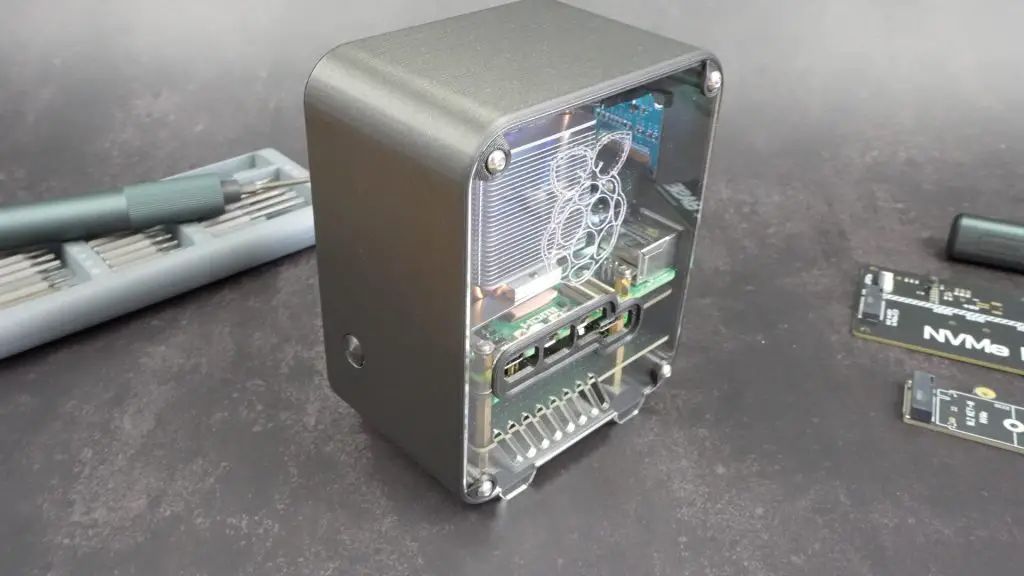
Like my previous projects, I modelled this case in Fusion 360. I refined my previous Pi 4 case design to make assembly smoother and to accommodate the increased stack height. The Pi 5 sits on top, with the UPS shield directly underneath and the NVMe shield below that, connected via a long PCIe ribbon cable.
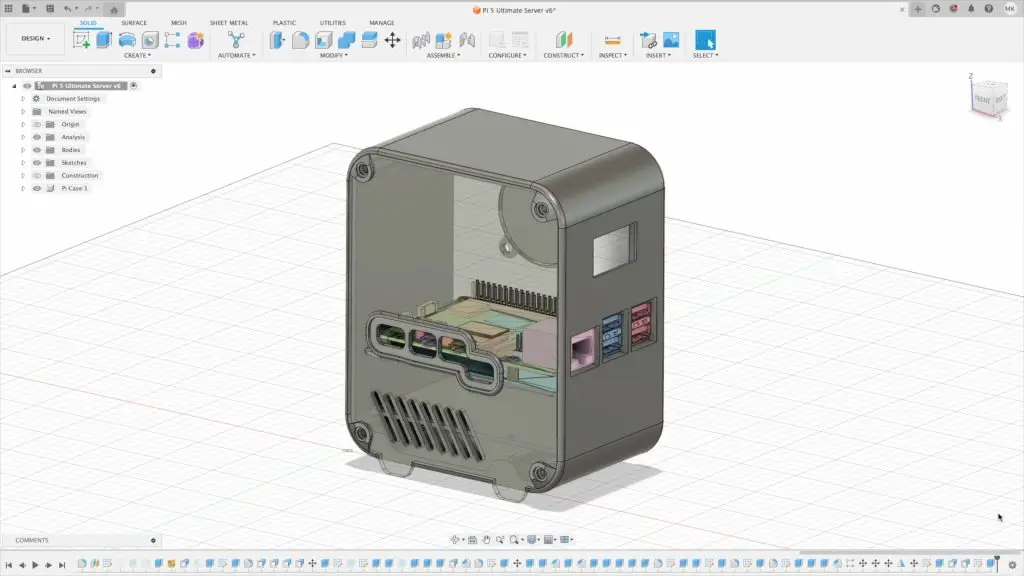
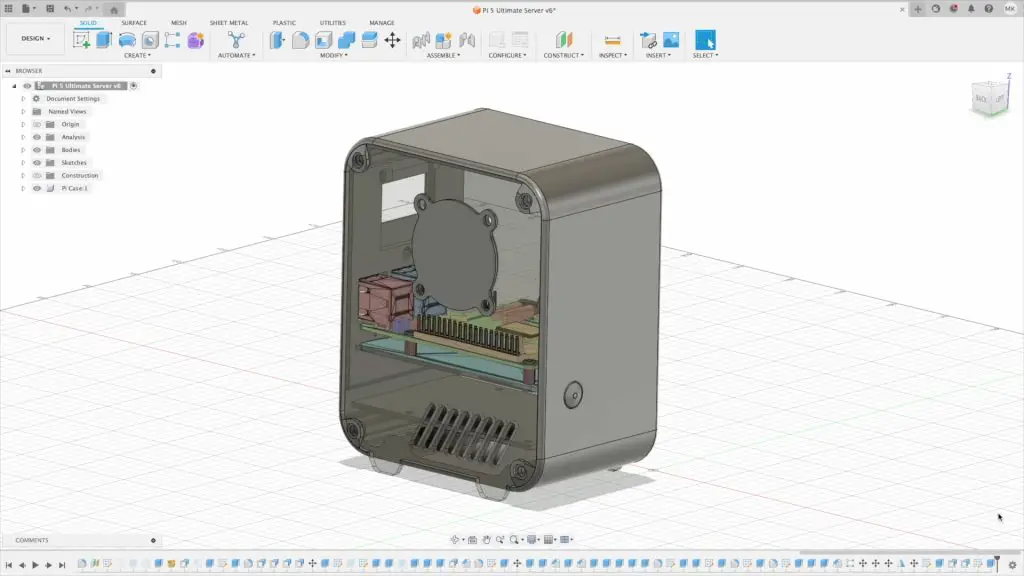
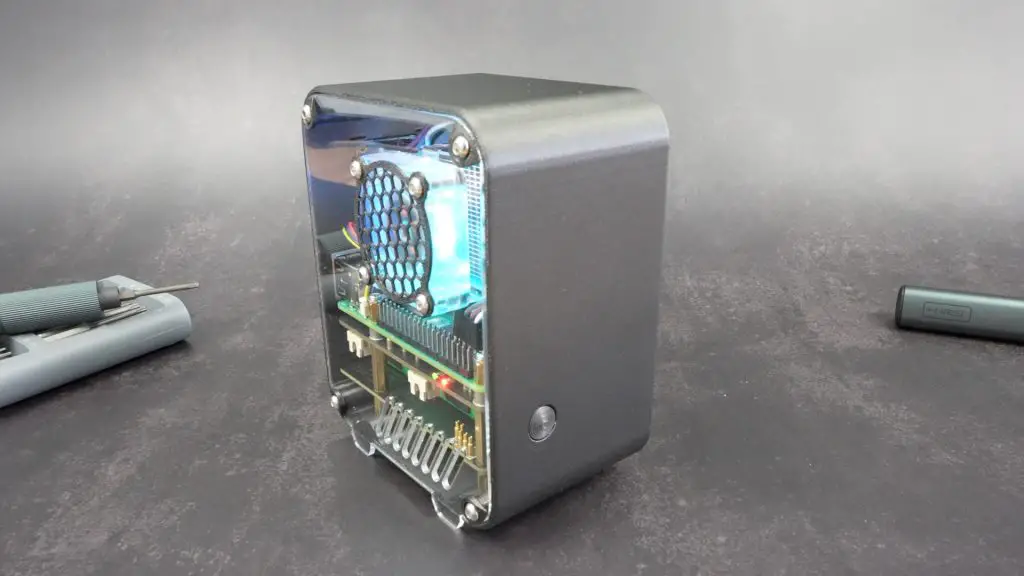
For the side panels, I’m still using clear acrylic, giving it a sleek look while keeping the internals visible but the acrylic is now recessed into the side of the case so that the acrylic edges aren’t visible. The panels screw into place using M3 screws into brass inserts, making the whole build sturdy and easy to disassemble if needed.
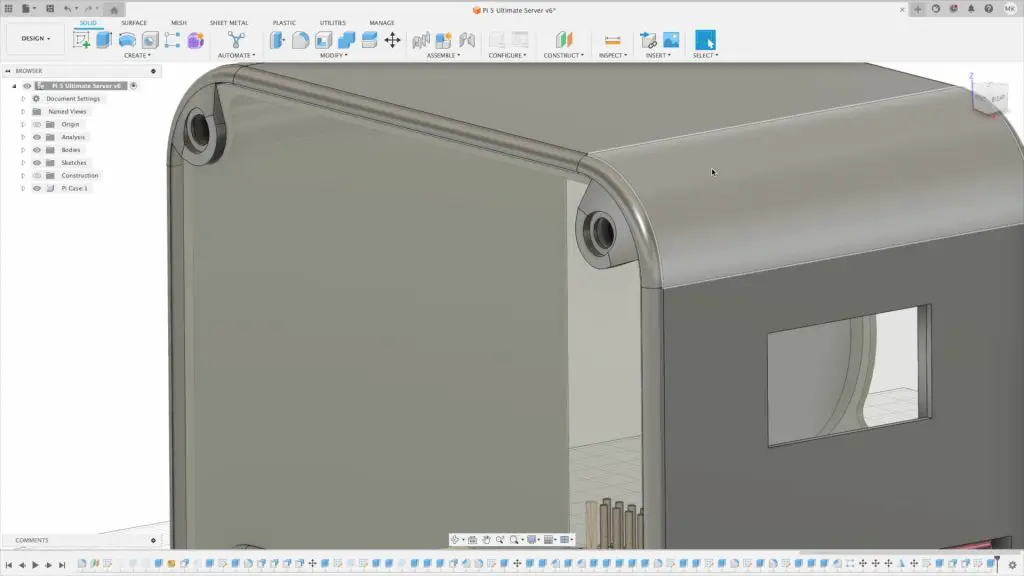
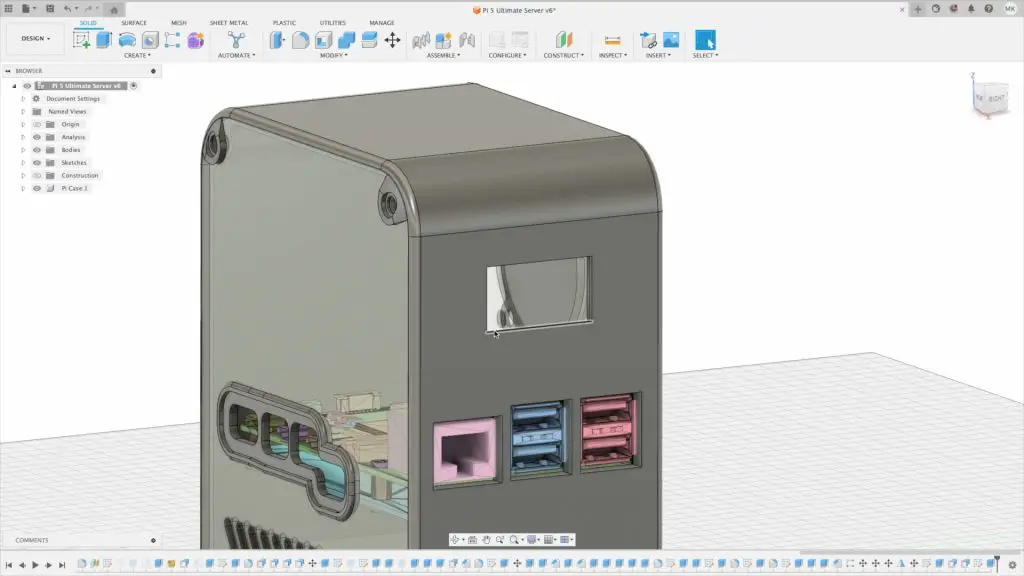
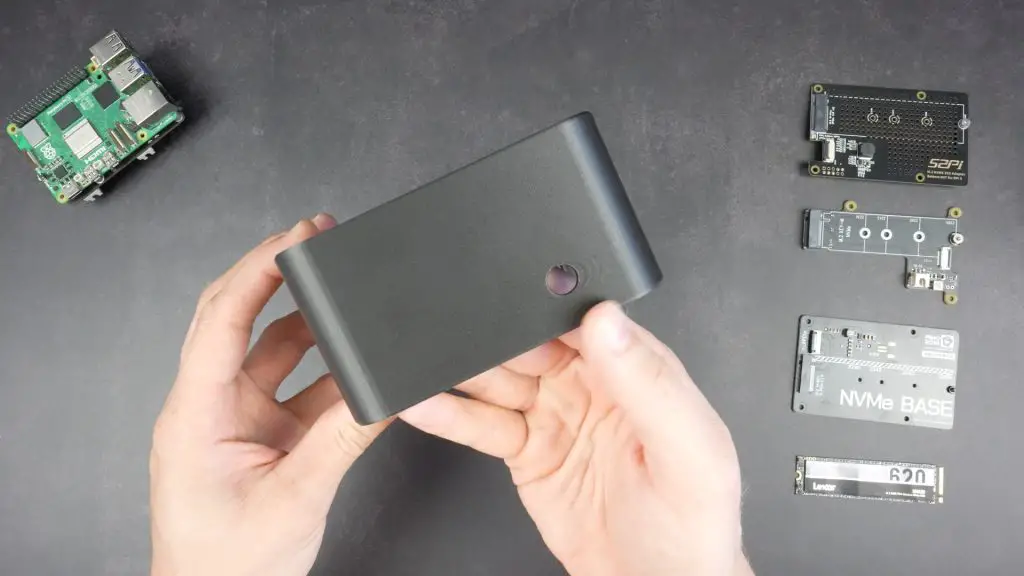
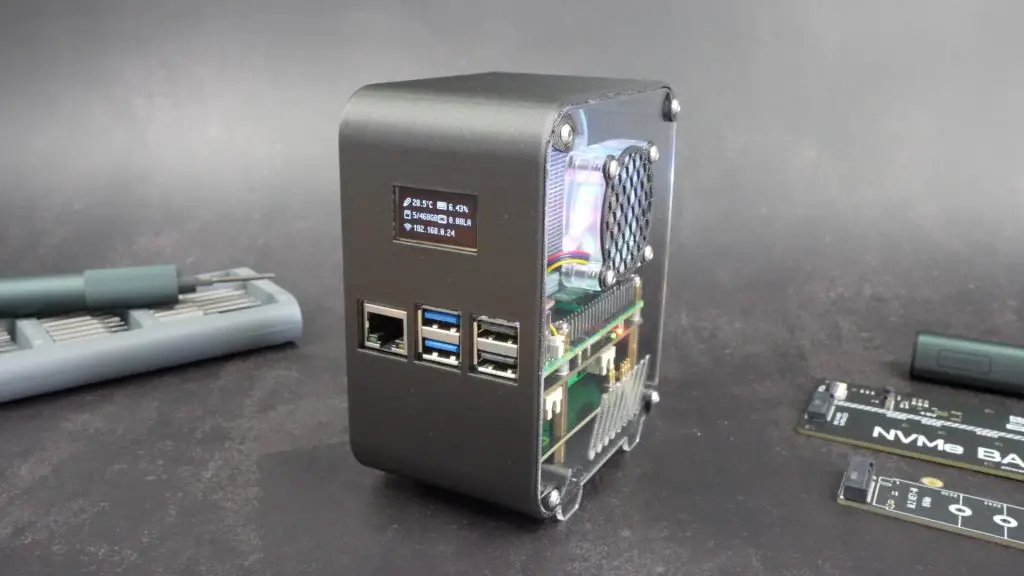
I added a button adaptor to the back to press the Power button on the UPS and I’ve added some design features to the sides.
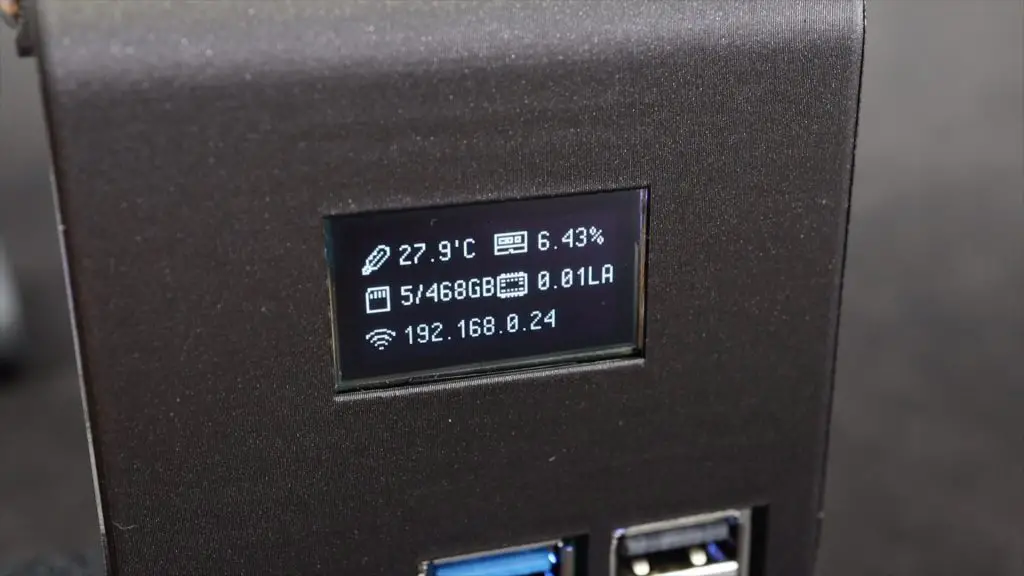
This case also features an I2C OLED display which will be used to display some stats for the Pi 5 and UPS.
With the case design complete, we now need to print out the components.
3D Printing The Components Using The Elegoo Centauri Carbon
To print out the case components, Elegoo have sent me their new Centauri Carbon core XY 3D printer to try out.
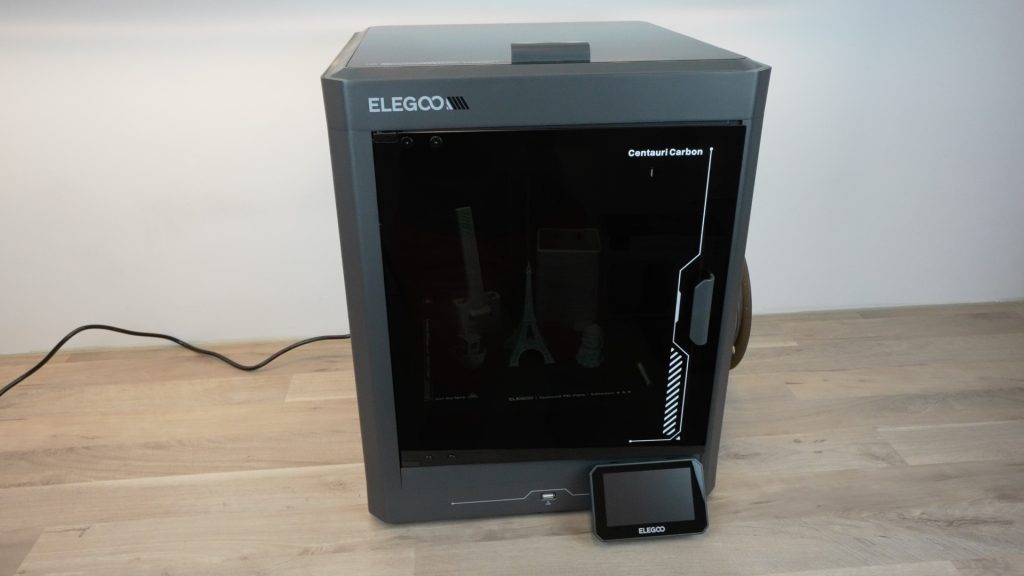
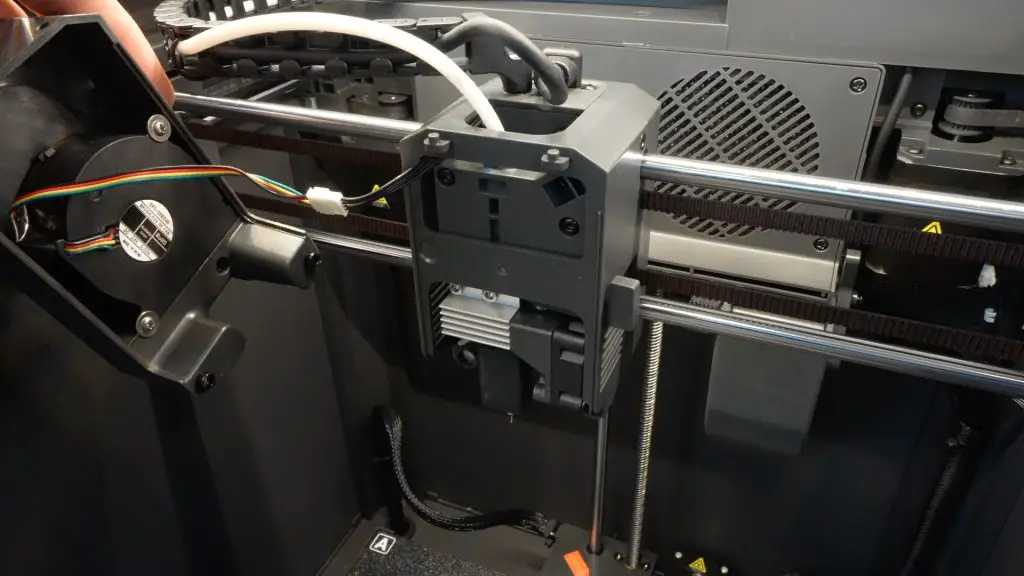
The Centauri Carbon is their first FDM 3D printer with a CoreXY motion system that provides much better precision, stability and speed. It comes fully assembled and ready to print so you don’t need to tinker with levelling the print bed, adjusting belt tensions or squaring up the gantry.
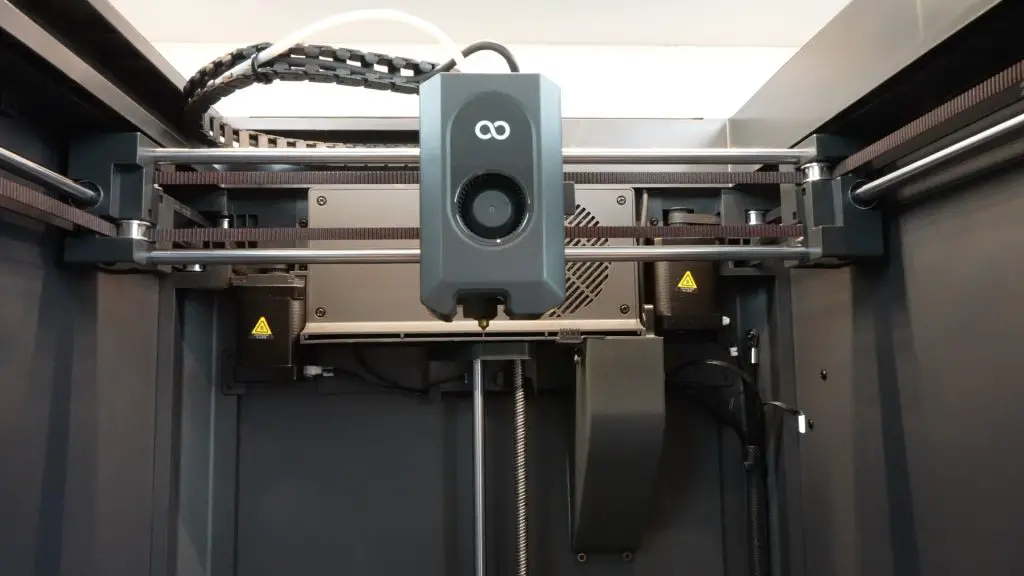
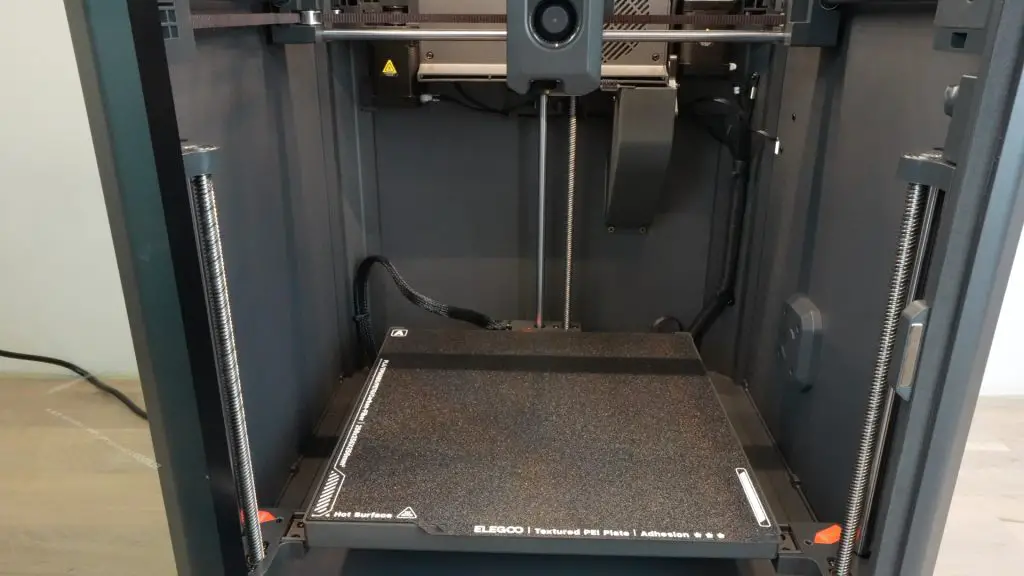
It has a direct drive extruder and a fully enclosed print volume, which means that it can tackle a wide range of print materials.It also includes automatic bed levelling and a magnetic PEI textured build plate.
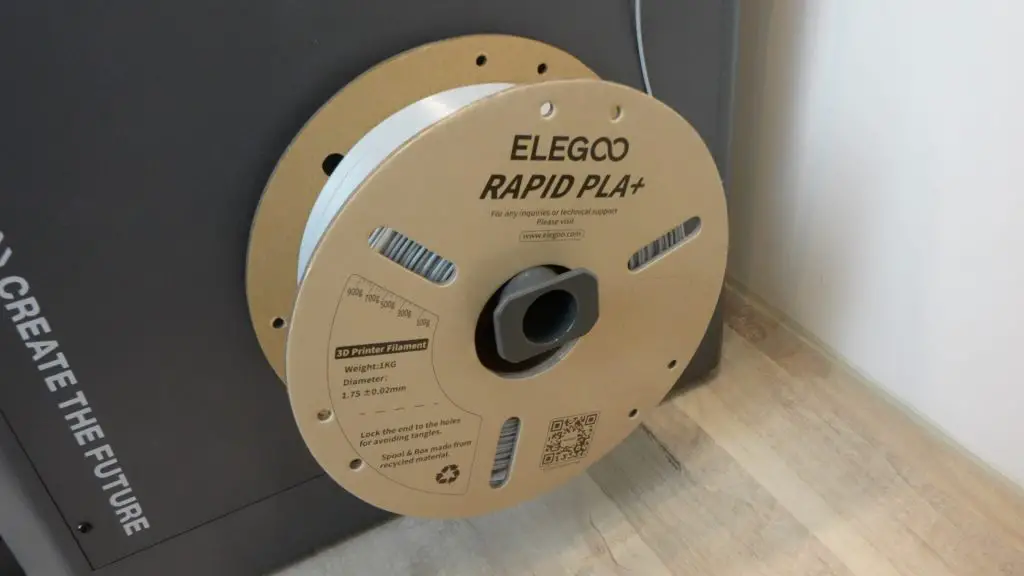
It does not yet support multicolour printing, filament is mounted on the side with a filament runout sensor above it.
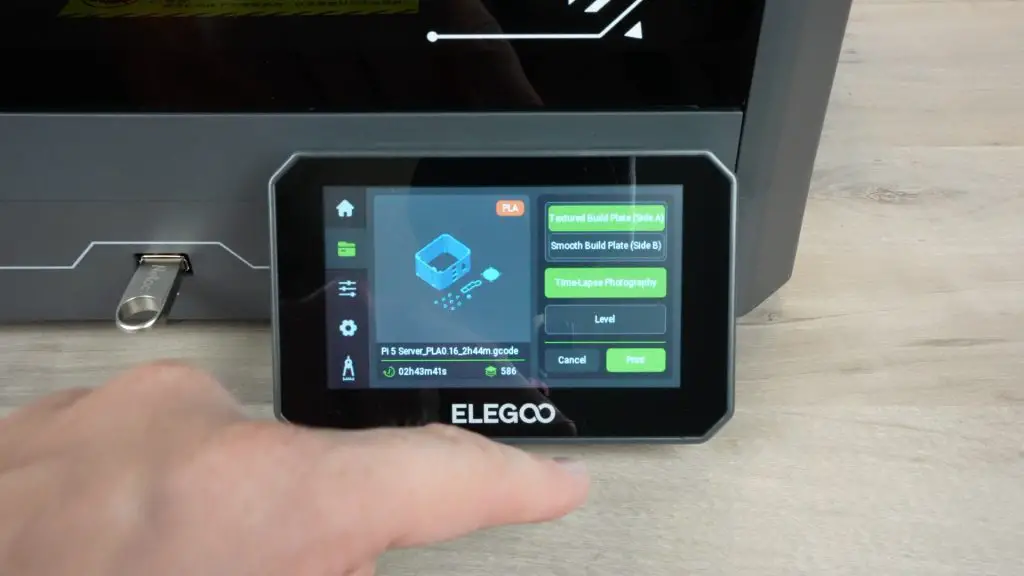
Prints can be started locally using the USB port and full-colour touchscreen or they can be sent over WiFi.
This printer is aimed at being a low-cost Core XY option but Elegoo haven’t cut corners on quality. It still feels like a well-built machine and even has high-end features like a glass door and top cover.
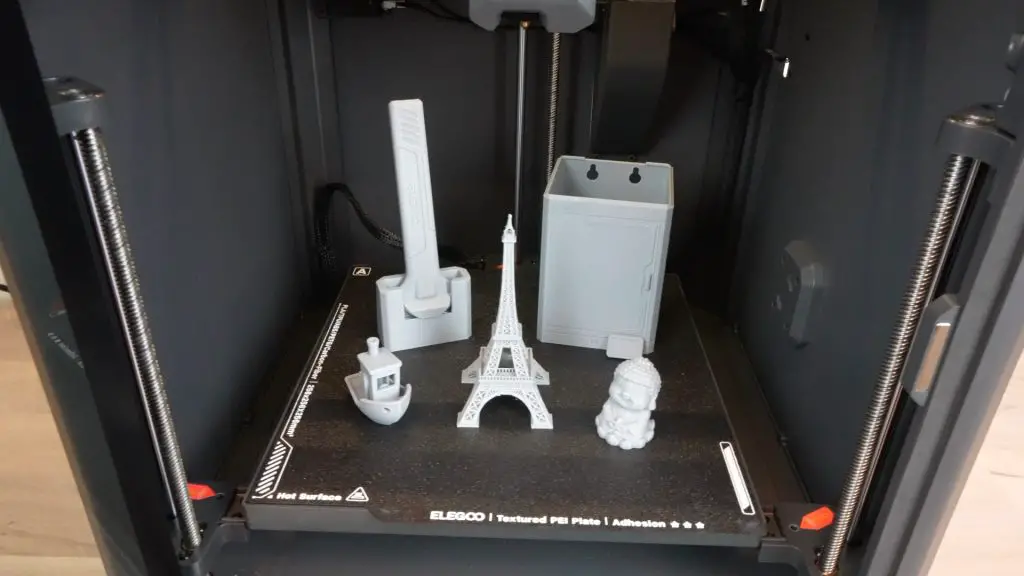
It can tackle a 15-minute benchy and gets pretty good results for the speed.
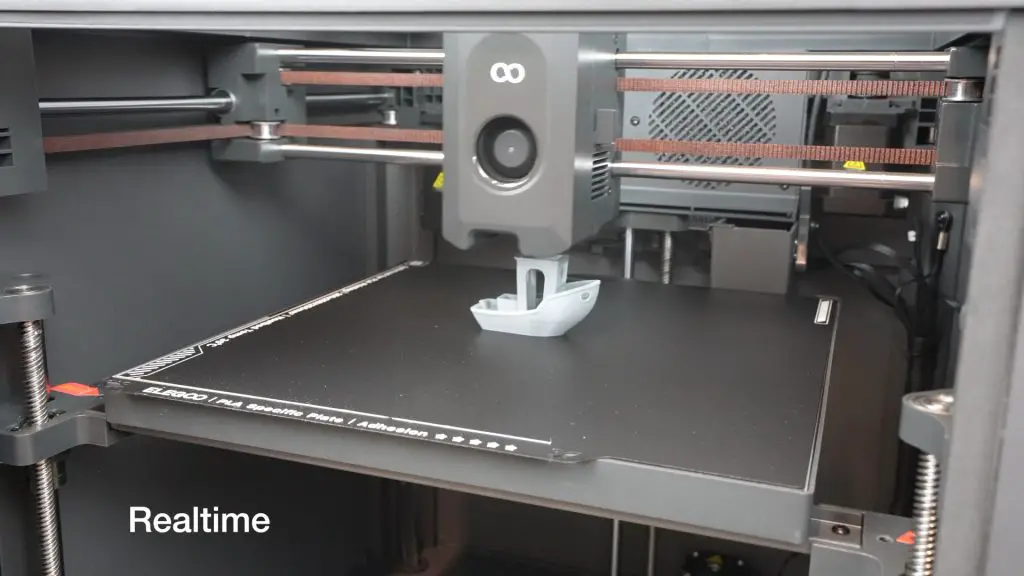
I printed out a couple of other test prints and aside from a little under-extrusion on the scraper which can be resolved by dialing in the filament settings, I was quite impressed by the results. These were all out-of-the-box prints with no setup or tinkering and I didn’t have a single print failure.
I then prepared my Pi server case print in Elegoo slicer to be printed from PLA with a 0.16mm layer height. The components all easily fit onto the 256mm square build plate so they can be printed in one go.
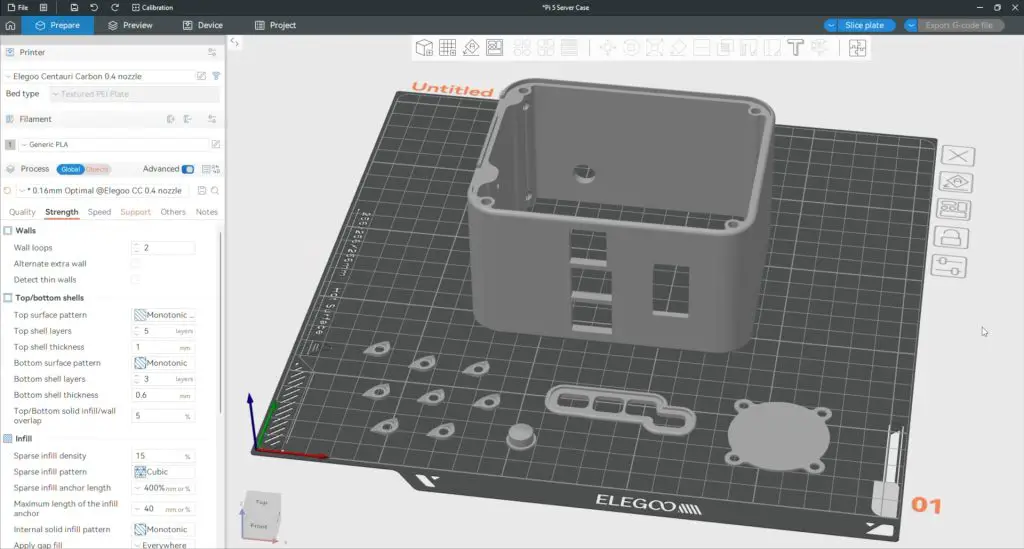
I’ve left all of the settings on their defaults, I’ve only added some supports to the overhung areas and I’ve made some changes to the fan grill settings to get the infill pattern to use as the fan mesh.
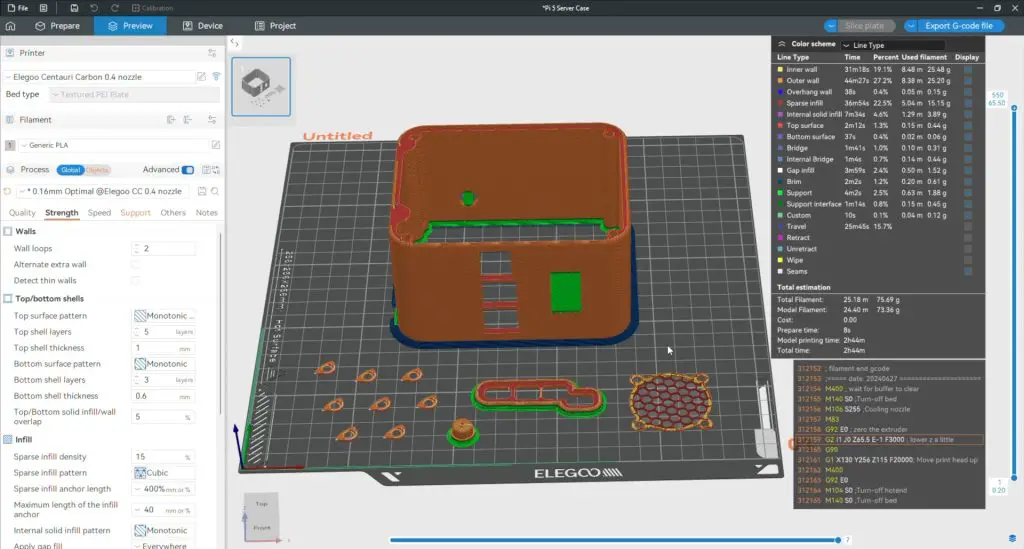
All up the print should take 2 hours and 45 minutes and it’ll only use 75g of filament.
The print can then be sent to the printer over WiFi or it can be started locally from a connected USB drive.
I’m using a metallic grey-coloured filament for all of the case components, hopefully, that looks good with the clear acrylic side panels.
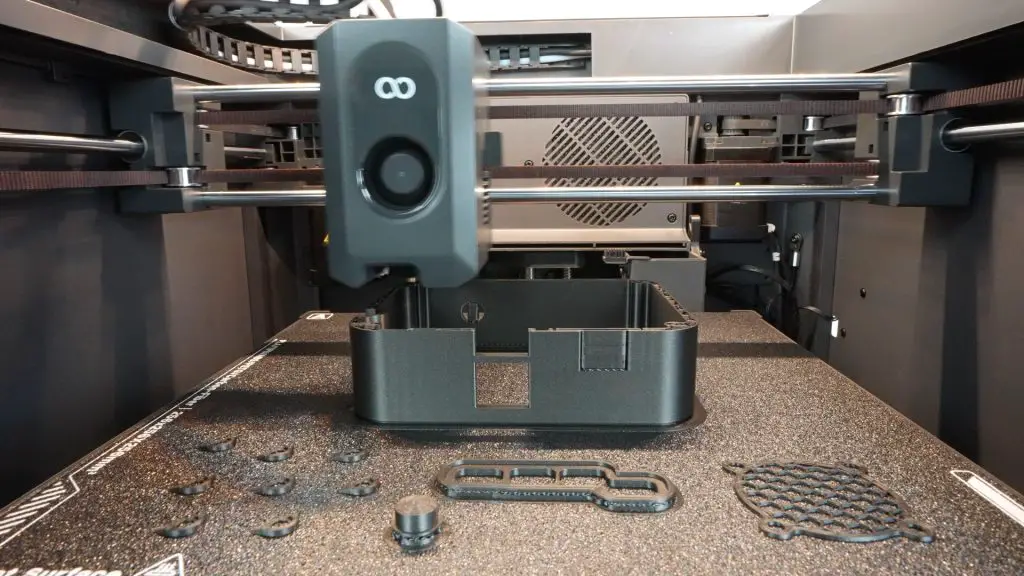
With start-up and levelling, the print took a little under 3 hours to complete but I’m really happy with the quality. The finish is smooth and the layer lines are barely visible. There is some very minor ringing around the button and display cutouts but you have to look hard under bright light to see this.
Finishing Off The Pi 5 Desktop Server Case
Next, let’s make up the side panels from some 2mm laser-cut acrylic. These are slightly undersized so that they fit into the recess that has been designed onto each side of the case.
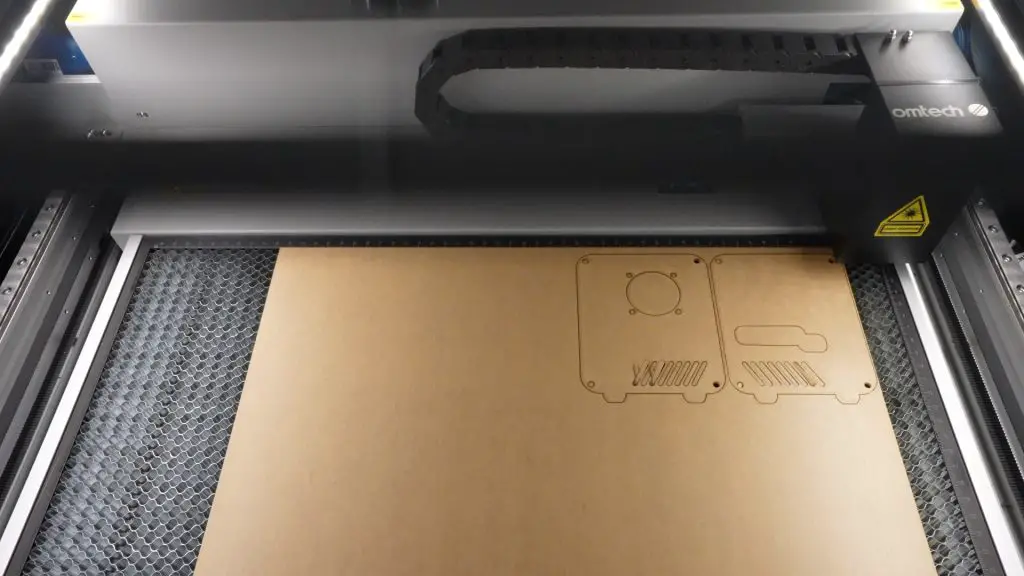
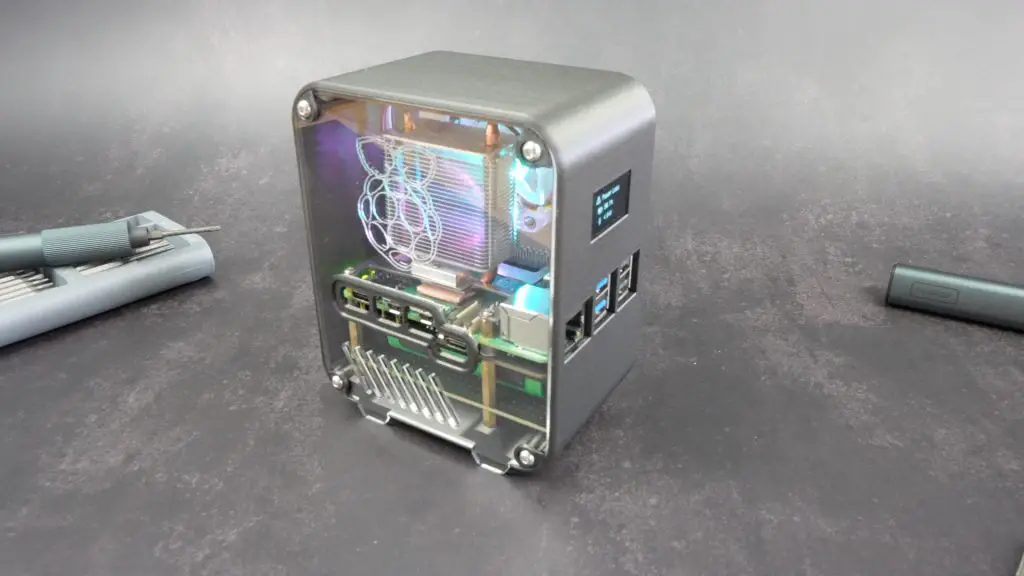
I initially made these up without a Pi logo on the side but I decided that the logo outline would look quite nice so I added it in afterwards.
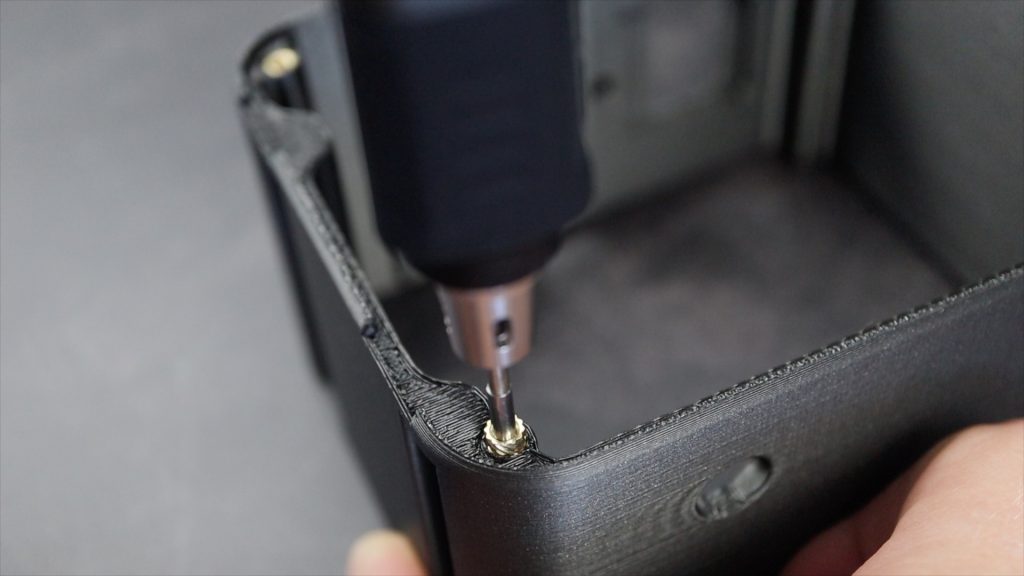
After the supports are removed, to finish the case off we need to add some M3 threaded brass inserts to the corners to hold the side panels and to the inside of the case to hold the display. These are M3x4.4mm inserts and they’re 6mm deep for the side panels and 3mm deep for the display.
These are melted into place using a soldering iron with a pointed tip. I’m using the Fnirsi HS-02B which has a nice pointed tip for these style inserts and it runs off a USB C power supply.


I’ve already connected the ribbon cable up to the display’s pins to plug into the Pi’s GPIO pins. Remember to take note of the terminal labels as they’re hidden once the display is installed.
The display slides in under the retaining clips in the body of the case and a single screw and bracket secure it.

Assembling The Raspberry Pi Stack
Now we can start assembling the Pi stack to mount into the case.
First, let’s get the UPS attached to the Pi. Rather than using the included screws, I’m going to use the standoffs from the Ice Tower cooler. I’ve trimmed down their threads slightly because we’ll also need to screw another set of standoffs into the bottom of the UPS hat. My standoffs had 6mm threads, which is their usual length, but you can sometimes get standoffs with a 3mm thread length.
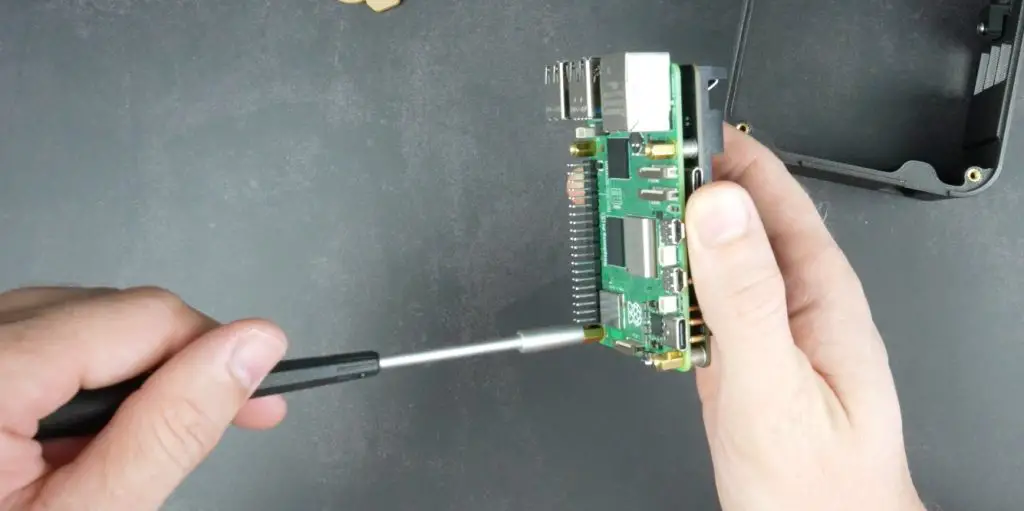
Below the UPS I’m using a set of 20mm standoffs that I’ve also trimmed the thread down on.
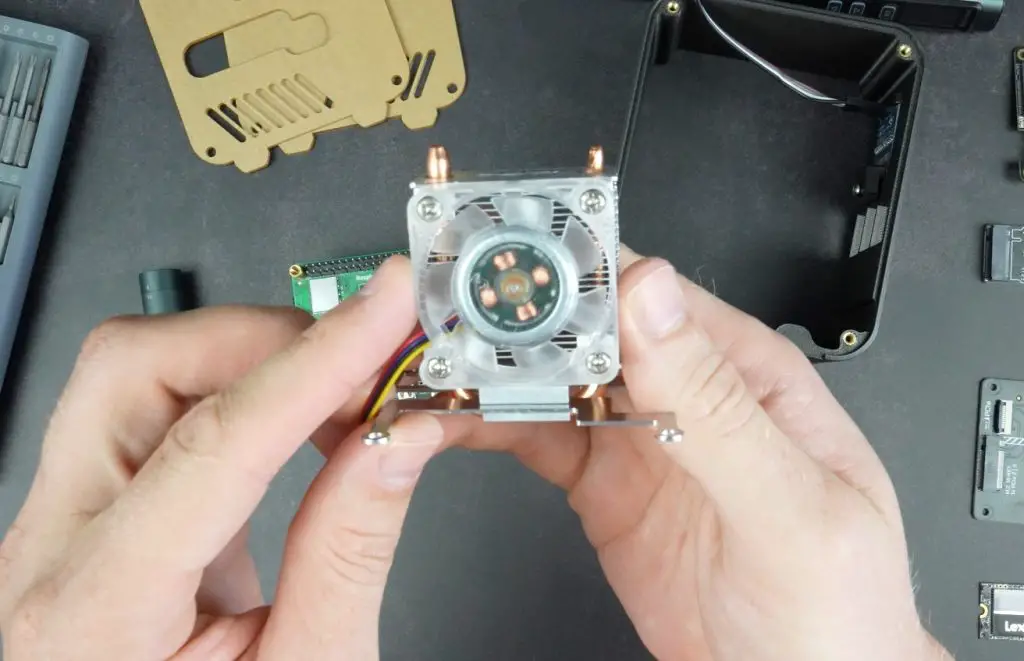
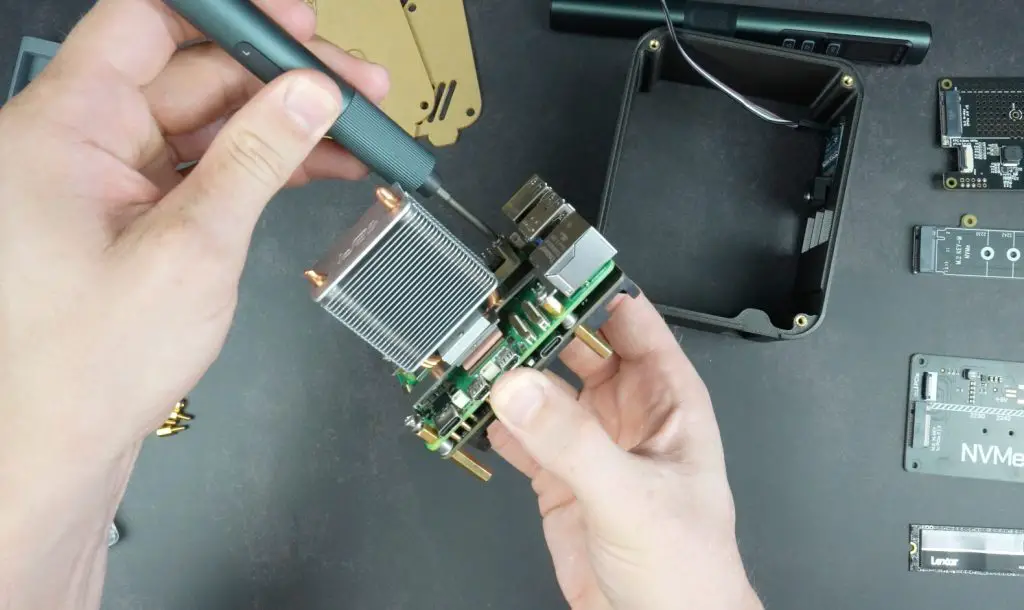
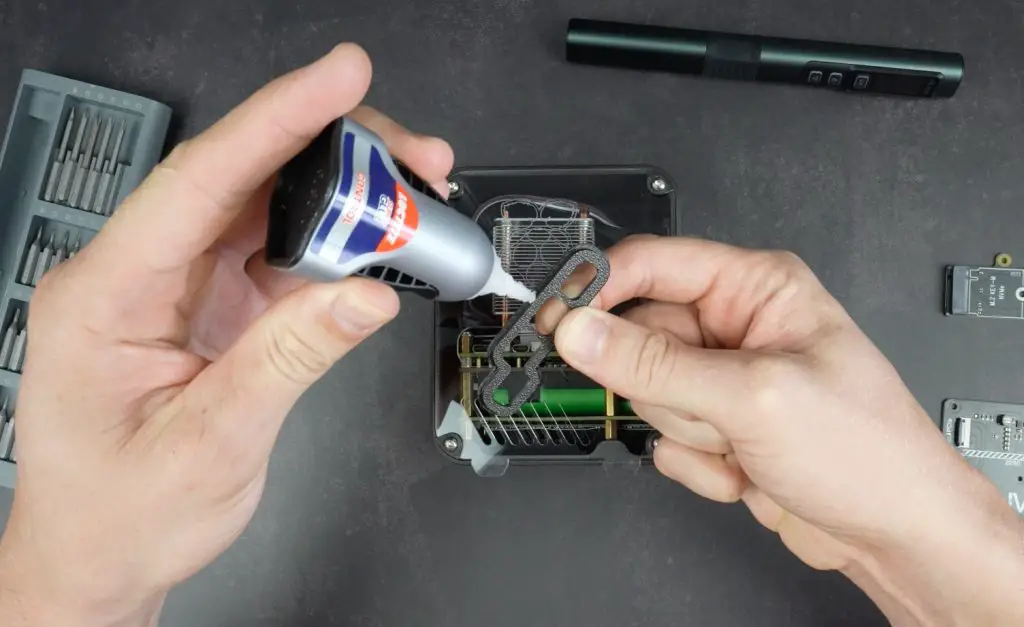
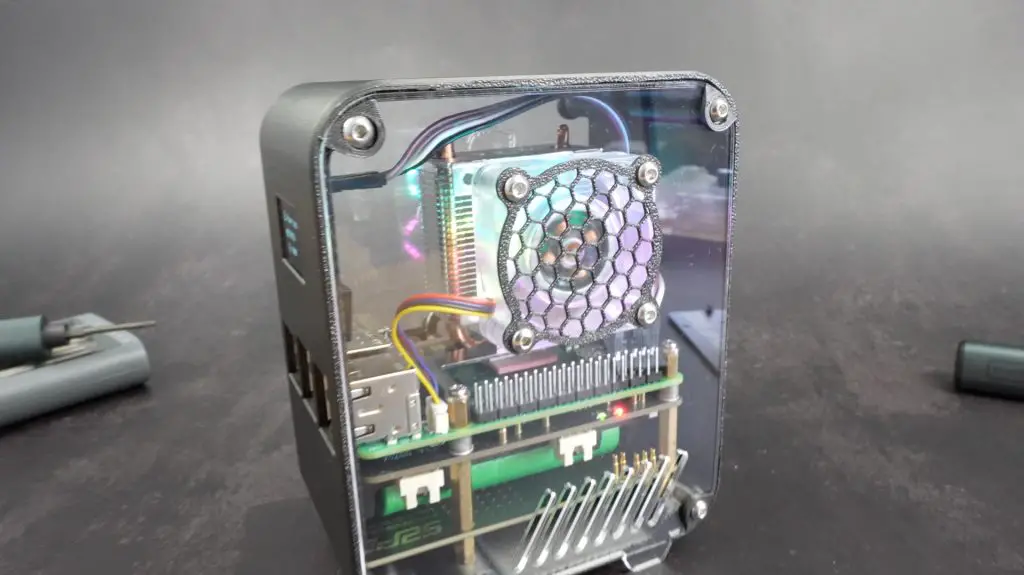
Next, we can install the Ice Tower cooler on top of the Pi. I’m going to take the fan off the heatsink as we’ll move this onto the side panel.
If you’ve got thermal paste, this works better than a cooling pad between the CPU and heatsink. If not, or if you plan on removing the cooler frequently then use the included thermal pad.
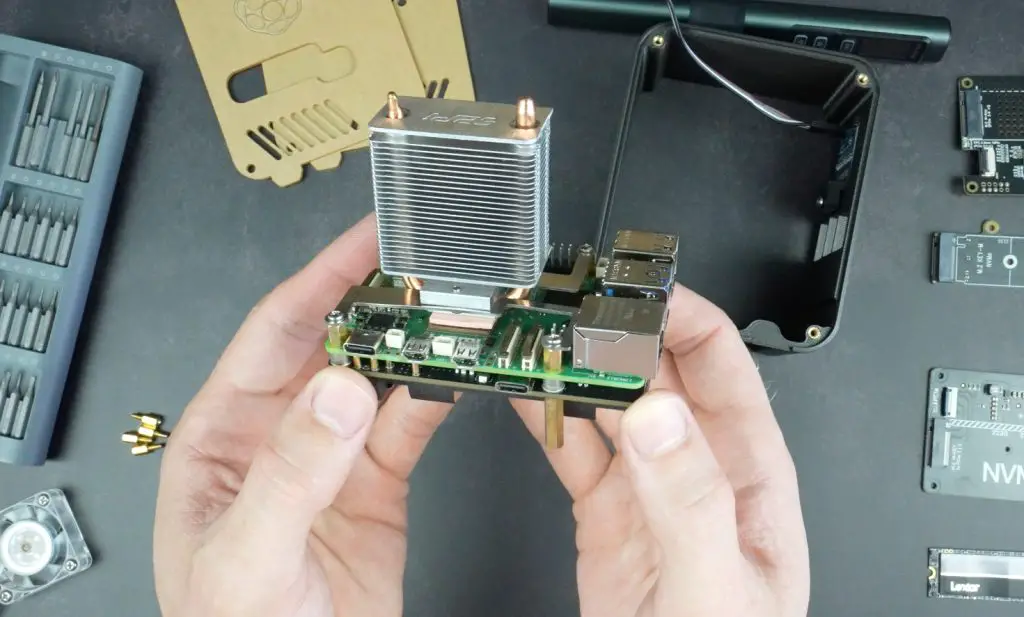
To finish off the stack, let’s install our NVME drive and then install the hat underneath the Pi. Make sure that you flash your OS onto the NVMe drive before installing it as well. I’m using Raspberry Pi OS Bookworm on it. I’m installing the desktop version for now but it’ll be running an installation of TrueNAS on it long term.
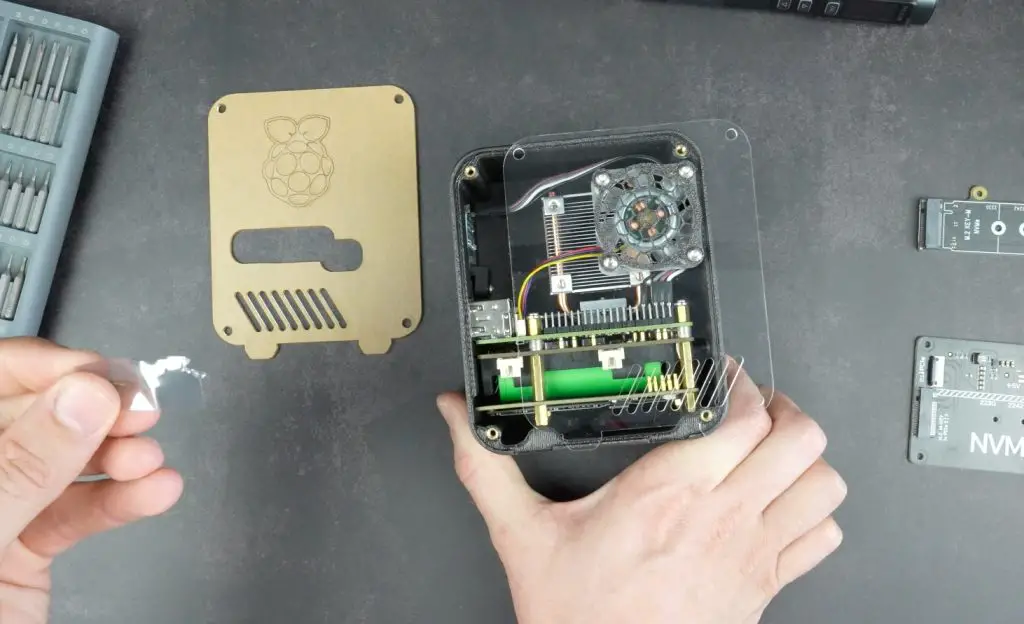
The hat closes off access to the batteries so we need to install those first and then be careful not to short out contacts on the UPS or press the power button.
Better yet, put some thin strips of film between the battery terminals and UPS contacts and you can pull them out before fitting the side panels to ensure the stack remains unpowered.
The NVMe hat is then held in place with some 8mm standoffs to give the drive some room for airflow at the bottom of the case.
Installing The Stack In The Case
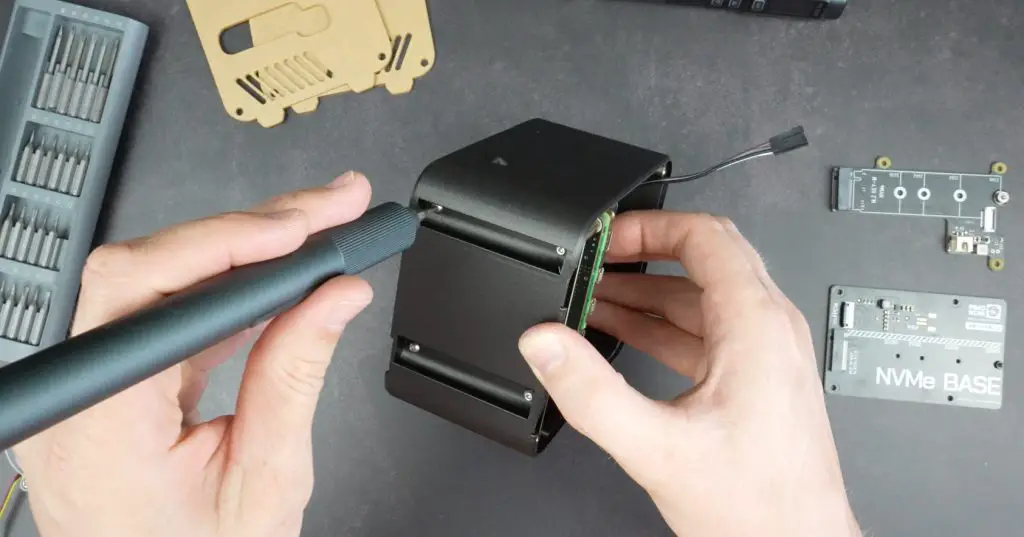
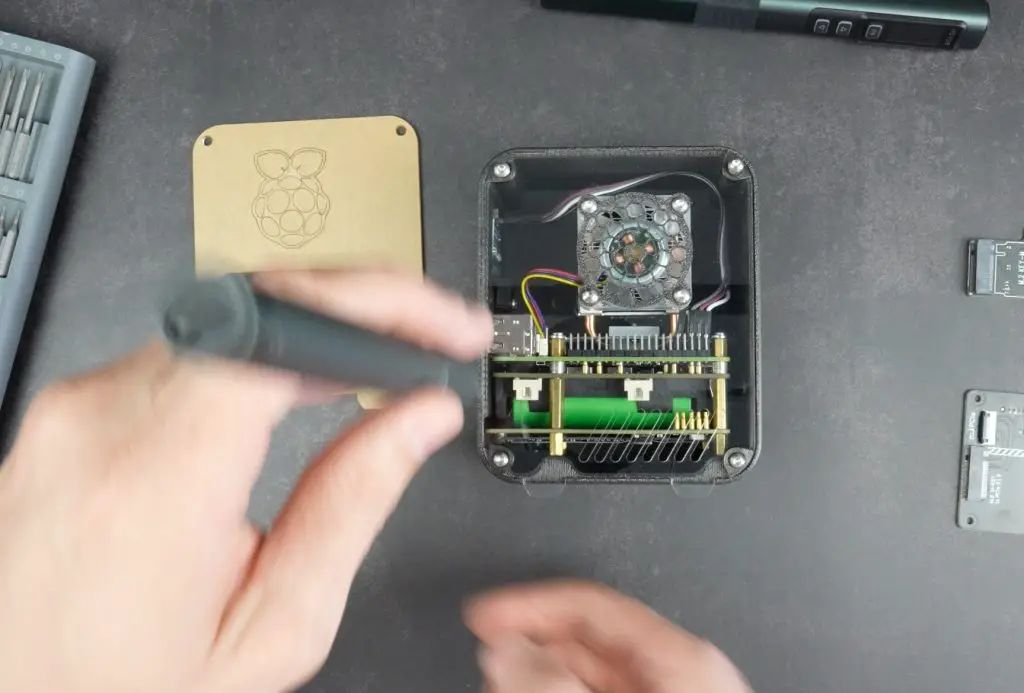
The button adaptor goes into the back of the case and we can then install the stack in the case. This is held in place with four M2.5 screws through the bottom of the case.
We can then plug the display into the power and I2C pins on the Pi.
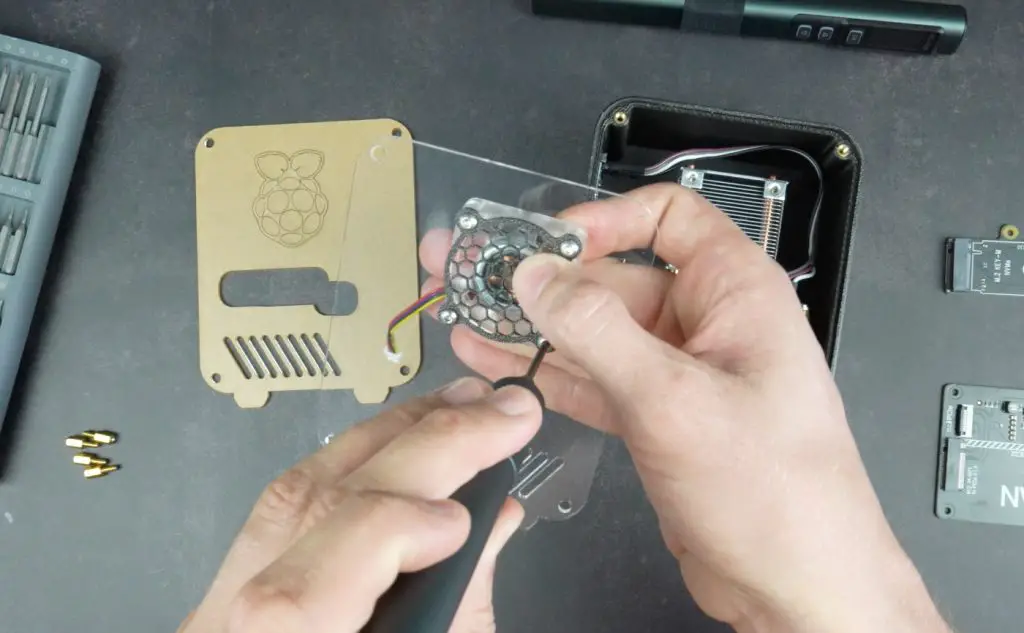
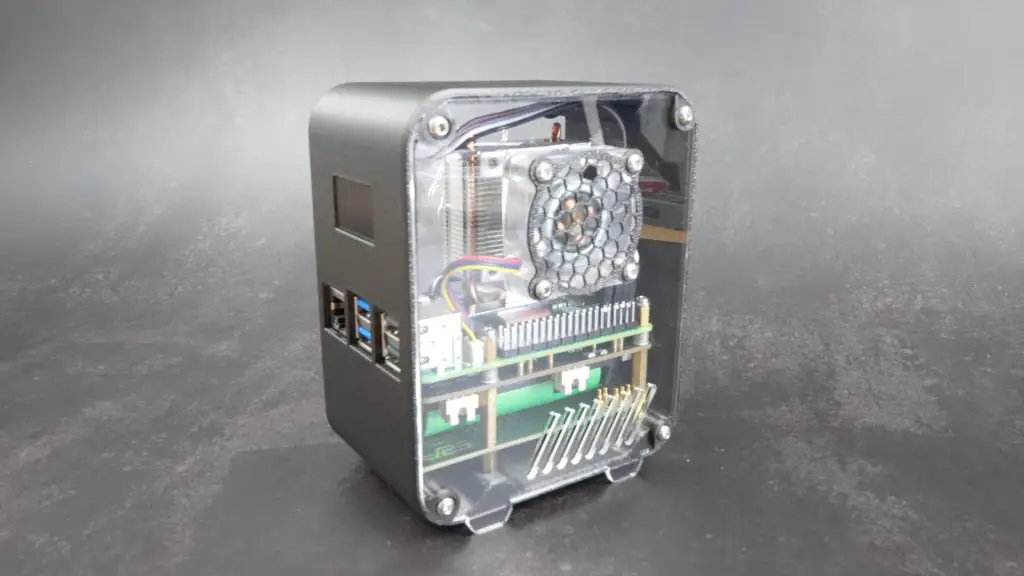
Next, let’s mount the Ice Tower fan onto the side panel with the fan grill.
I’ve pressed some M3 nuts into the pockets on the back of the fan and some M3x16mm screws hold it in place.
Plug the fan into the fan port before closing the case up and remember to pull out the film on the battery terminals.
The side panels are each held in place with four M3x8mm button head screws. I’ve got a small 3D-printed accent piece around each screw head.
On the side with the ports, I’ve got another 3D-printed accent piece that is held in place with some super glue.
That’s the case complete and the Pi ready for it’s first boot.
Installing The OLED Stats Display Script
All that is left to do is install the modified stats script which I’ve upgraded for this use case.
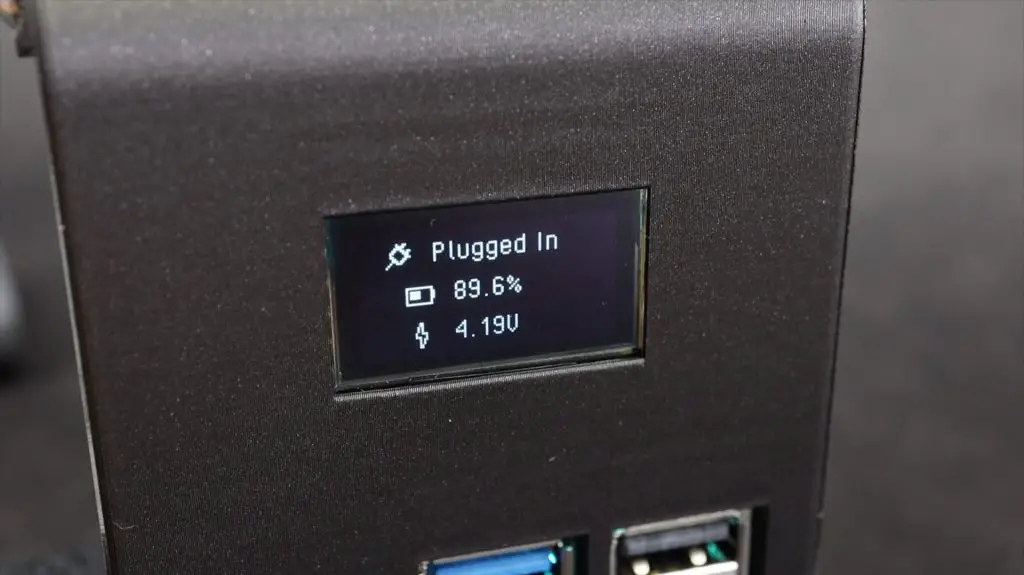
The UPSMonitor.py script cycles between two screens — one showing system stats like temperature, CPU load and the IP address, and another dedicated to the UPS status, displaying the power state and battery level at a glance.
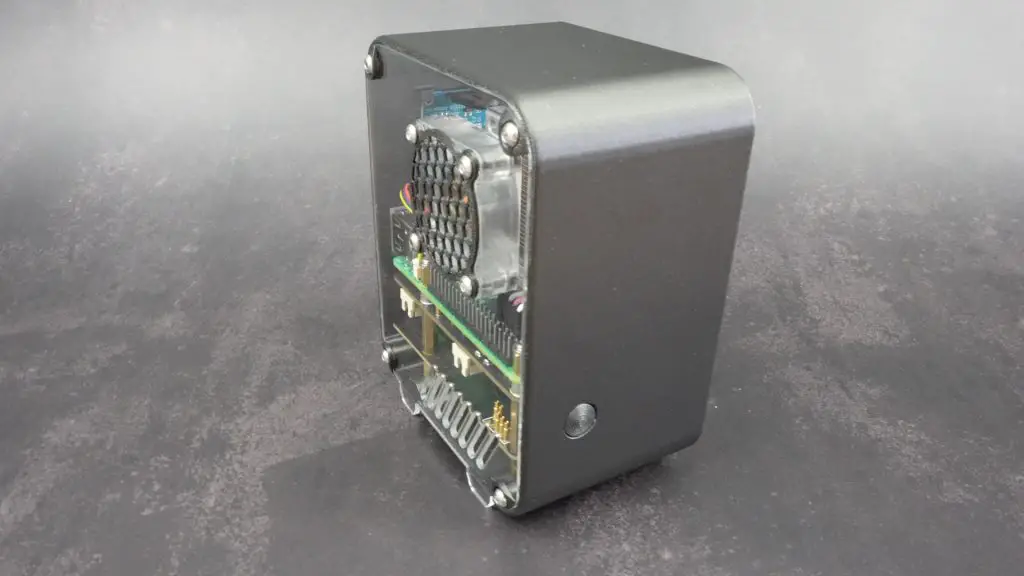
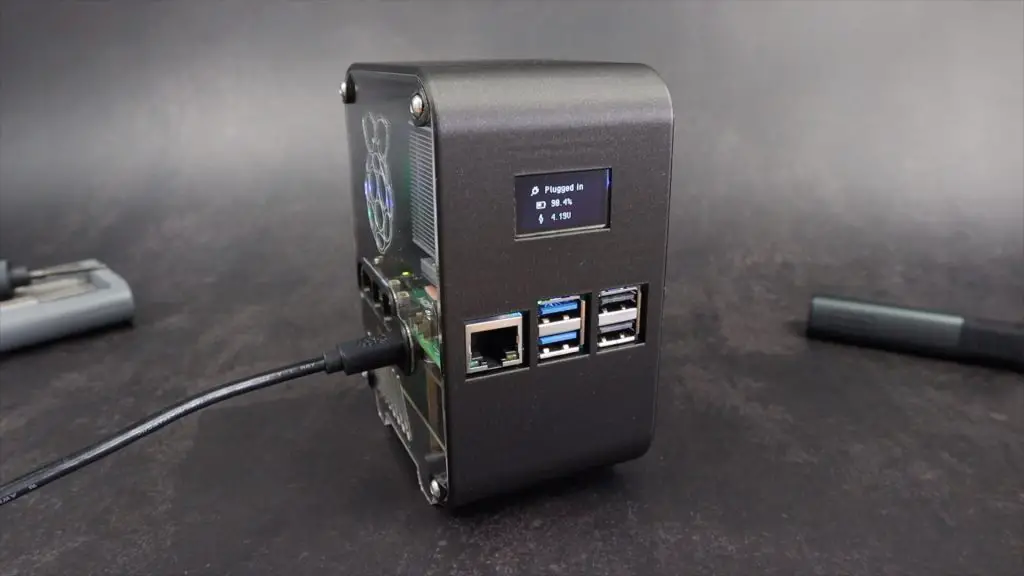
Final Thoughts On My Pi 5 Desktop Server
With the UPS and NVMe drive, this Pi 5 build is now fast and reliable. The clear acrylic design, optimised cooling, and OLED display make it functional and great to look at.
What do you think of this build and case design? Let me know in the comments if you’d add any features or change anything up!
The modified UPS stats script is available to install from my GitHub repository and you can download the 3D printing files to print your own case from my Etsy store.
The Elegoo Centauri Carbon is available for preorder from the 17th of February:
- Preorder The Elegoo Centauri Carbon – https://elegoo.sjv.io/Z6yJXR
- US: https://elegoo.sjv.io/3JdXjv
- EU: https://elegoo.sjv.io/vPZ1yA
- CA: https://elegoo.sjv.io/YRy41O
- UK: https://elegoo.sjv.io/7aJLy3
- AU: https://elegoo.sjv.io/LKZoxa
- JP: https://elegoo.sjv.io/xLNX2k
Hi! You had a micro sd card in the stuff you bought for it and i was wondering what it was for. I am thinking about making one myself too.
Hi, the link for the batteries are wrong it seems. It redirects to some brass standoffs. Could you update the link please 🙂
r
Thank you, I have corrected it
hello great project but I have a question and an idea, I installed Windows 11 on my RPI 5, and now the question is can I integrate such a display with statistics under Win 11? and if so, how to do it, best regards Jerzy
This is an epic Pi 5 build! Loving the NVMe drive for speed. How did you decide on the 512GB size? And did you have any crazy moments during the 3D printing of the custom case? 😜
This is an epic Pi 5 build! Loving the idea of an NVMe drive for speed. I once tried to add extra storage to my Pi and it was a bit of a headache. How did you manage to fit all that tech into a custom 3D-printed case? And does the active cooling really make a big difference when overclocking?
Hi beautiful project! Congratulations. Any plan to sell the complete build (I’m a little nervous to build it by myself). Thanks!!