One of the first questions you may ask yourself when starting a new tiling job is: “Can I tile over my existing tiles”. The question largely depends on the condition of the current tiles. In practice, tiling over existing tiles is usually avoided however there is a huge benefit in not having to pull up the existing tiles and dispose of the rubble. Read these additional tips and tricks for tiling to make the job easier and get a more professional finish.
What You Need To Tile Over Existing Tiles
Tools you need:
- Grinder – Buy Here
- Orbital or Belt Sander – Buy Here
- Notched Tiling Trowel – Buy Here
- Ceramic Tile Cutter – Buy Here
Materials you need:
- 80 Grit Sandpaper or Sandpaper Belts
- Ceramic Tiles
- Tile Adhesive (Latex Modified Thin Set / Flexible)
- Latex Bonding Liquid
- Tile Grout
Begin Tiling Over Your Existing Tiles
Before you start, inspect the state of the current tiles as this will be the foundation for your new tiling job. Your tiling needs to be in good condition and well bonded with the base. Taping the surface of the tiles with a broom stick will reveal any “hollow” sounding tiles which is usually an indication that the tile adhesive has separated from the base layer. If there are any loose tiles, tiling over them should be avoided. If only one or two tiles are loose then these may be pulled up and relayed with thin set adhesive or the gap may be made up with mortar.
Keep in mind that the new floor will be 1cm to 3cm (1/3” to 1”) higher than the existing floor so you will have to trim the bottom of the doors and there may be problems with the height of some under counter appliances.
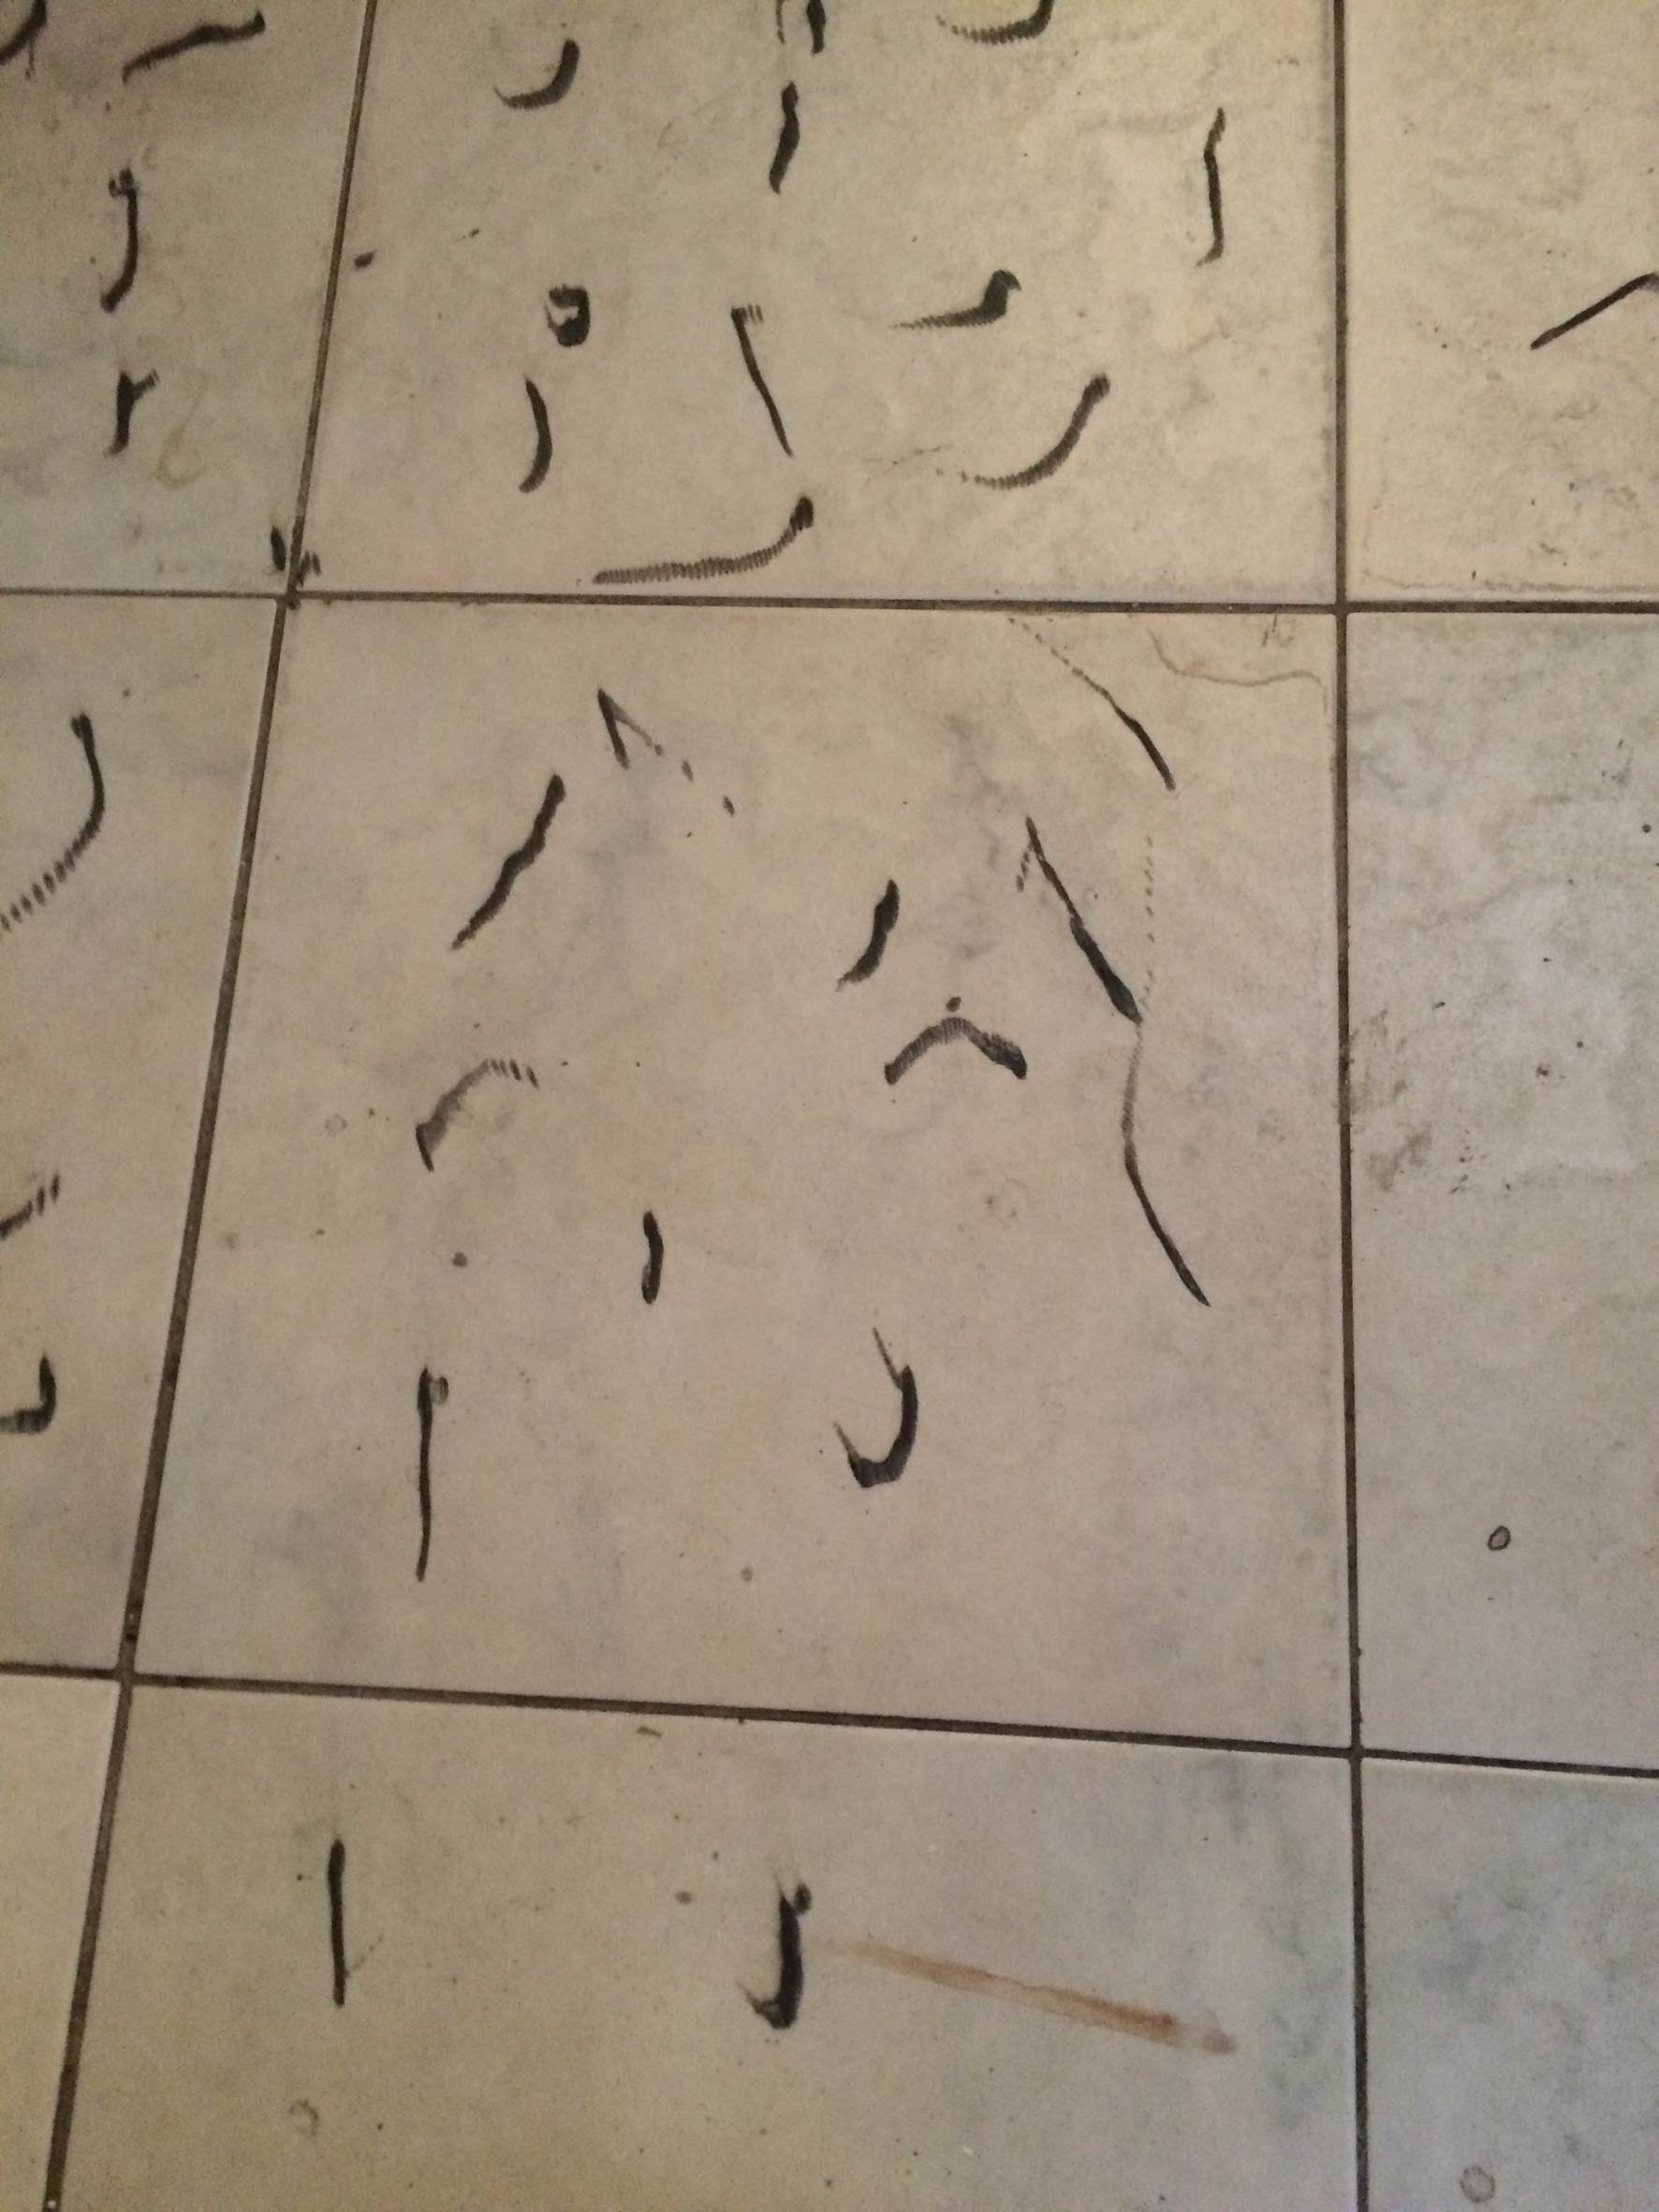
As preparation work, ensure that your existing tiles are well cleaned and de-greased before you start. Roughen up the surface of your existing tiles with 80 grit sandpaper or a grinder. If you are tiling over glazed tiles then be sure to remove as much of the glazing as possible.
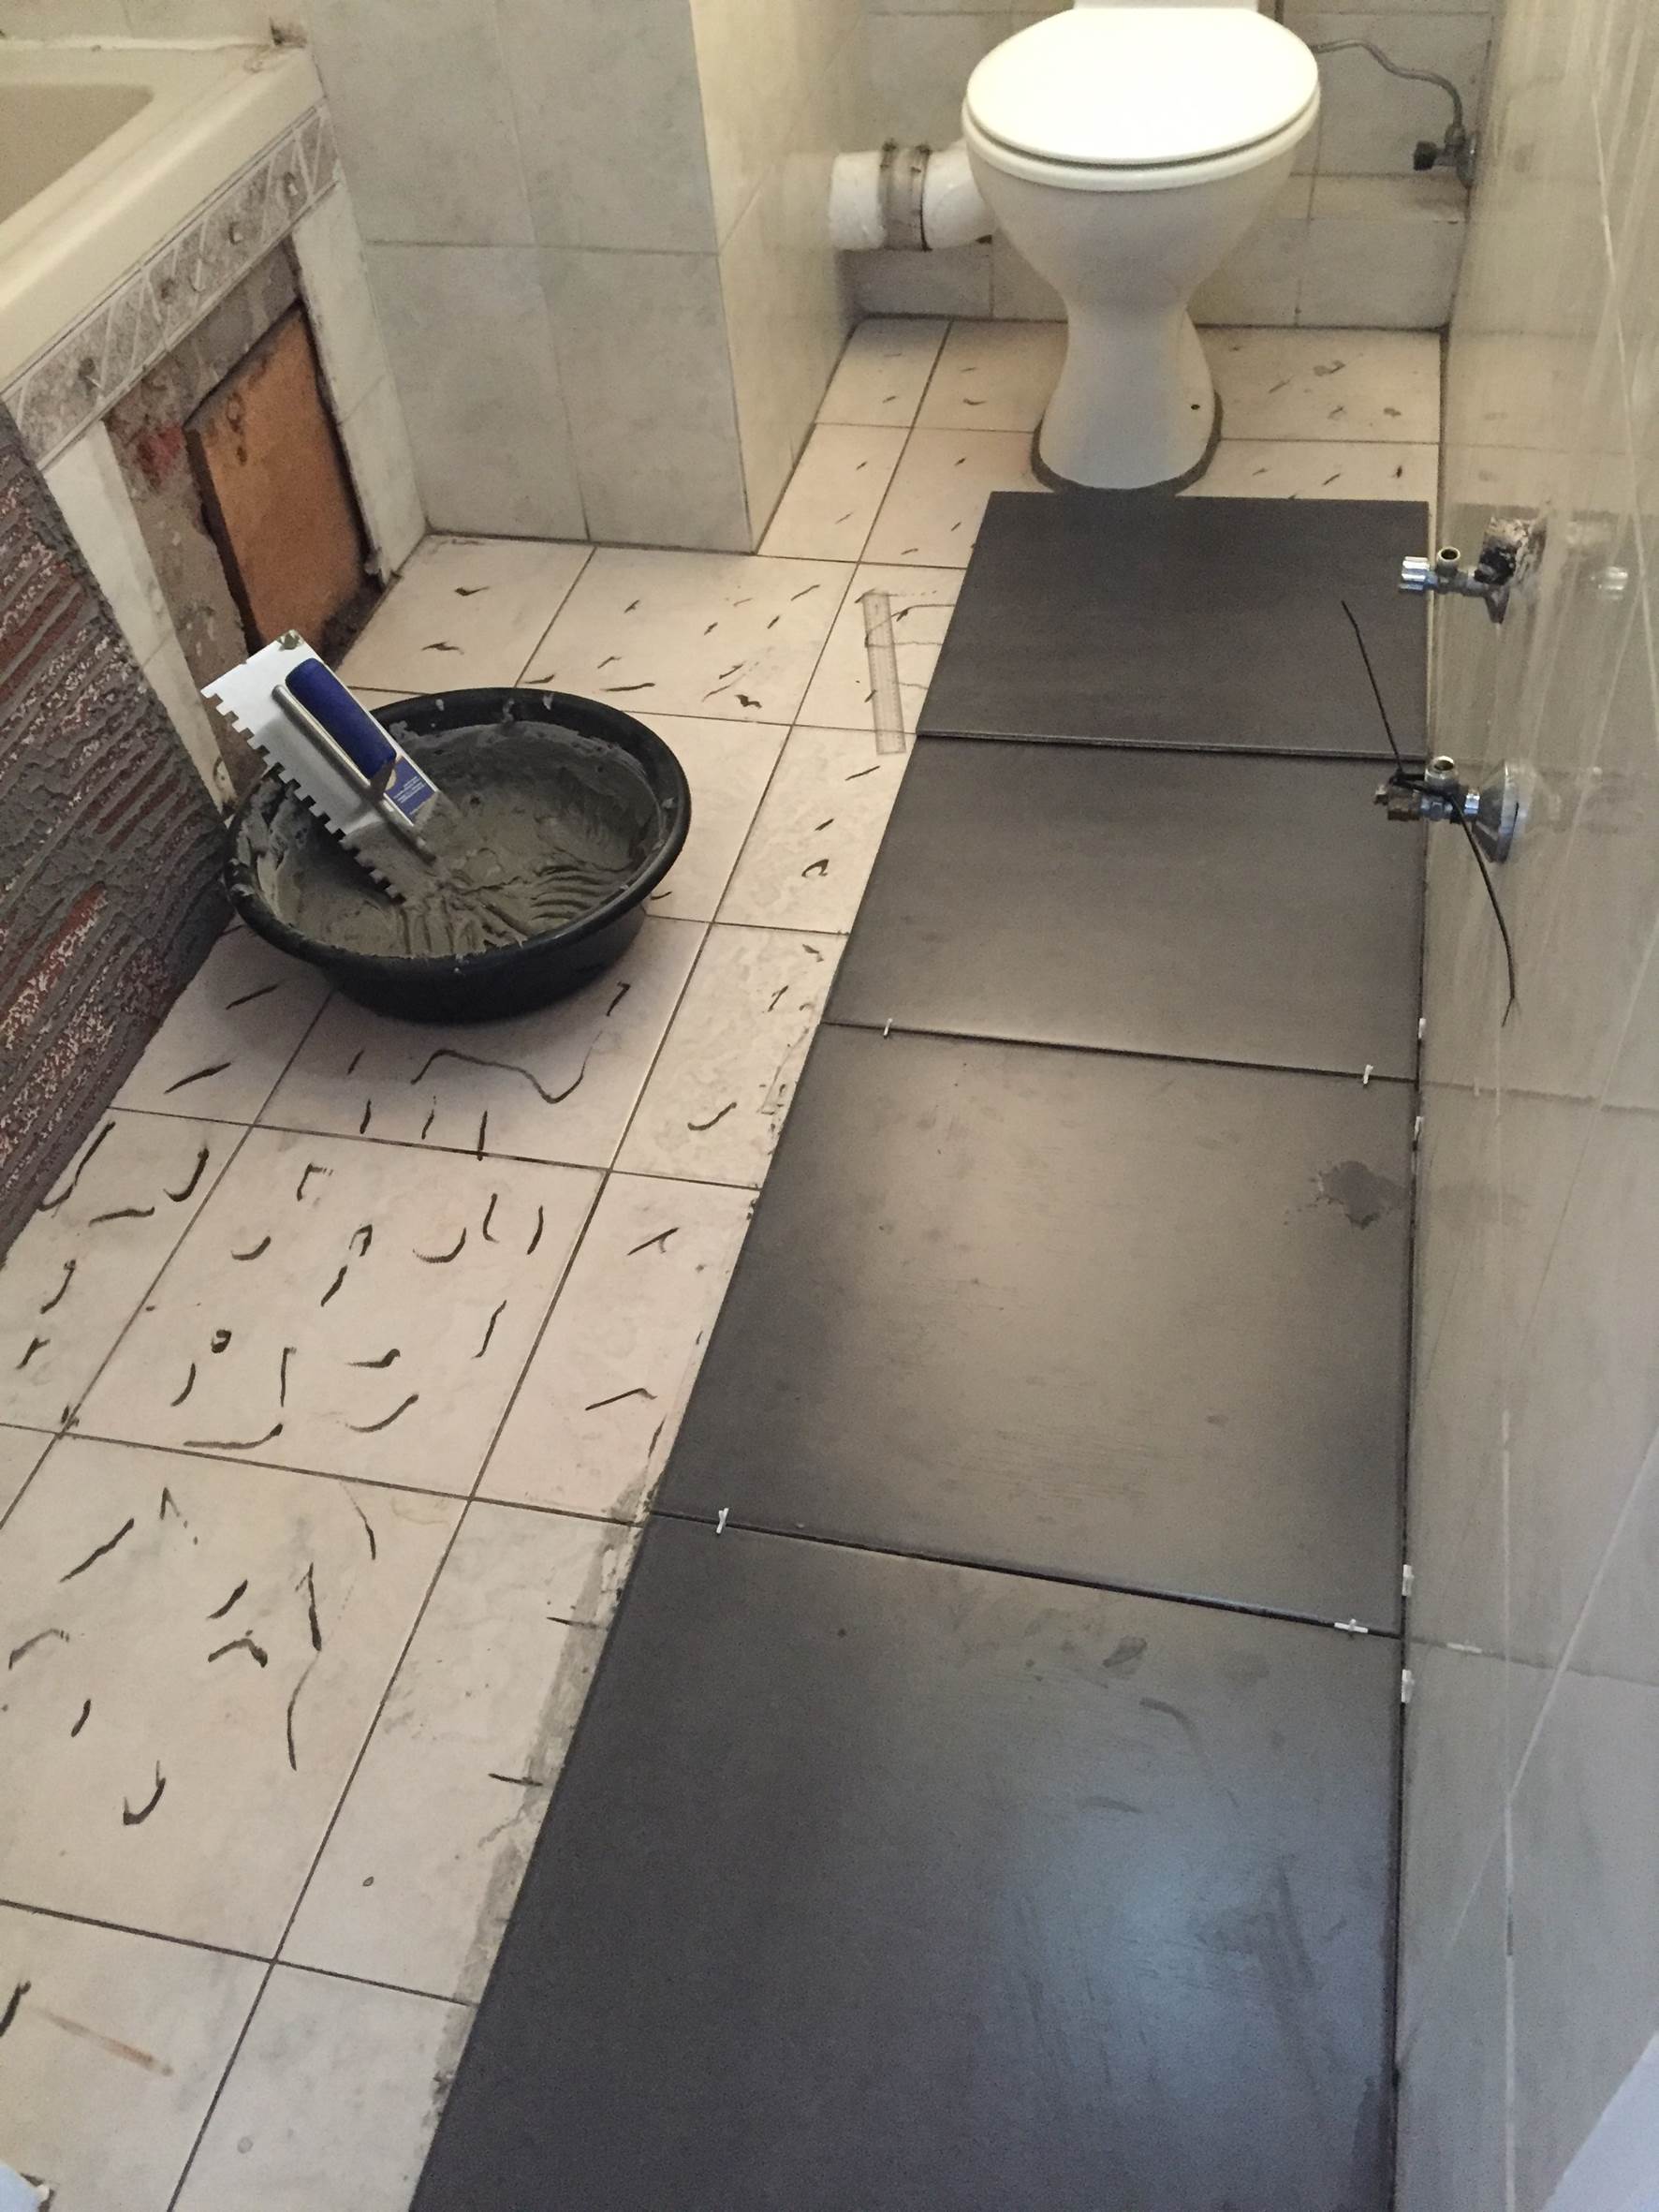
Use a latex-modified thin-set adhesive or alternatively mix a latex bonding liquid into a good quality adhesive in place of water and mix it in small batches to avoid it drying out or skinning over. Complete adhesive coverage is important when tiling over existing tiles, use a notched trowel to lay the adhesive in a single direction and then slide the tile in perpendicular to the comb direction before lightly knocking the tile down with a rubber tiling mallet.
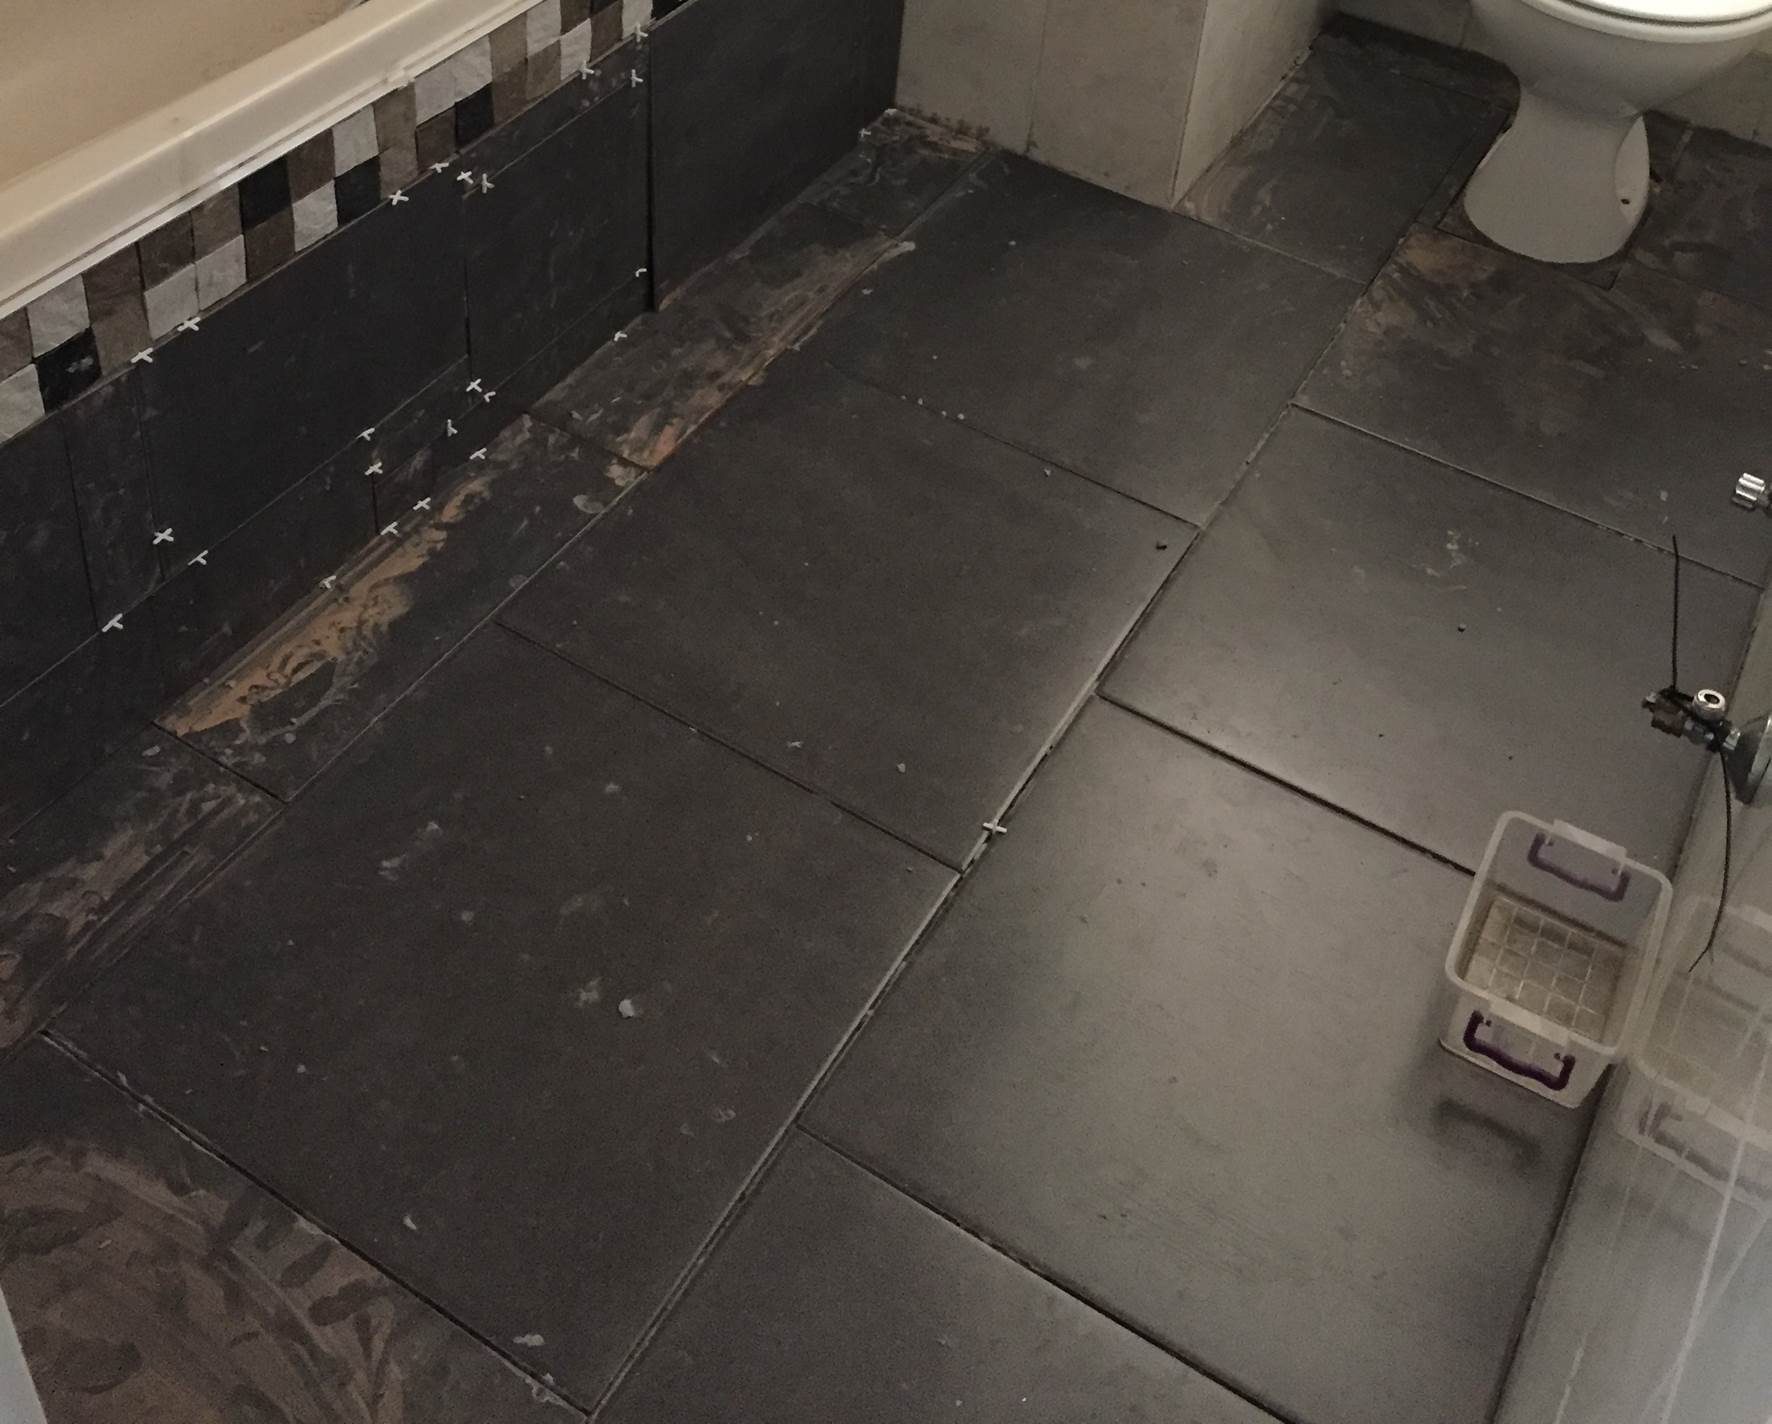
Once all of your tiles are laid, allow the adhesive to fully cure as per the adhesive data sheet. Because the adhesive lies between the old and new tiles, there is very little room for air to get in so the curing process may take a bit longer than on a wood or cement substrate depending on the composition of the adhesive.
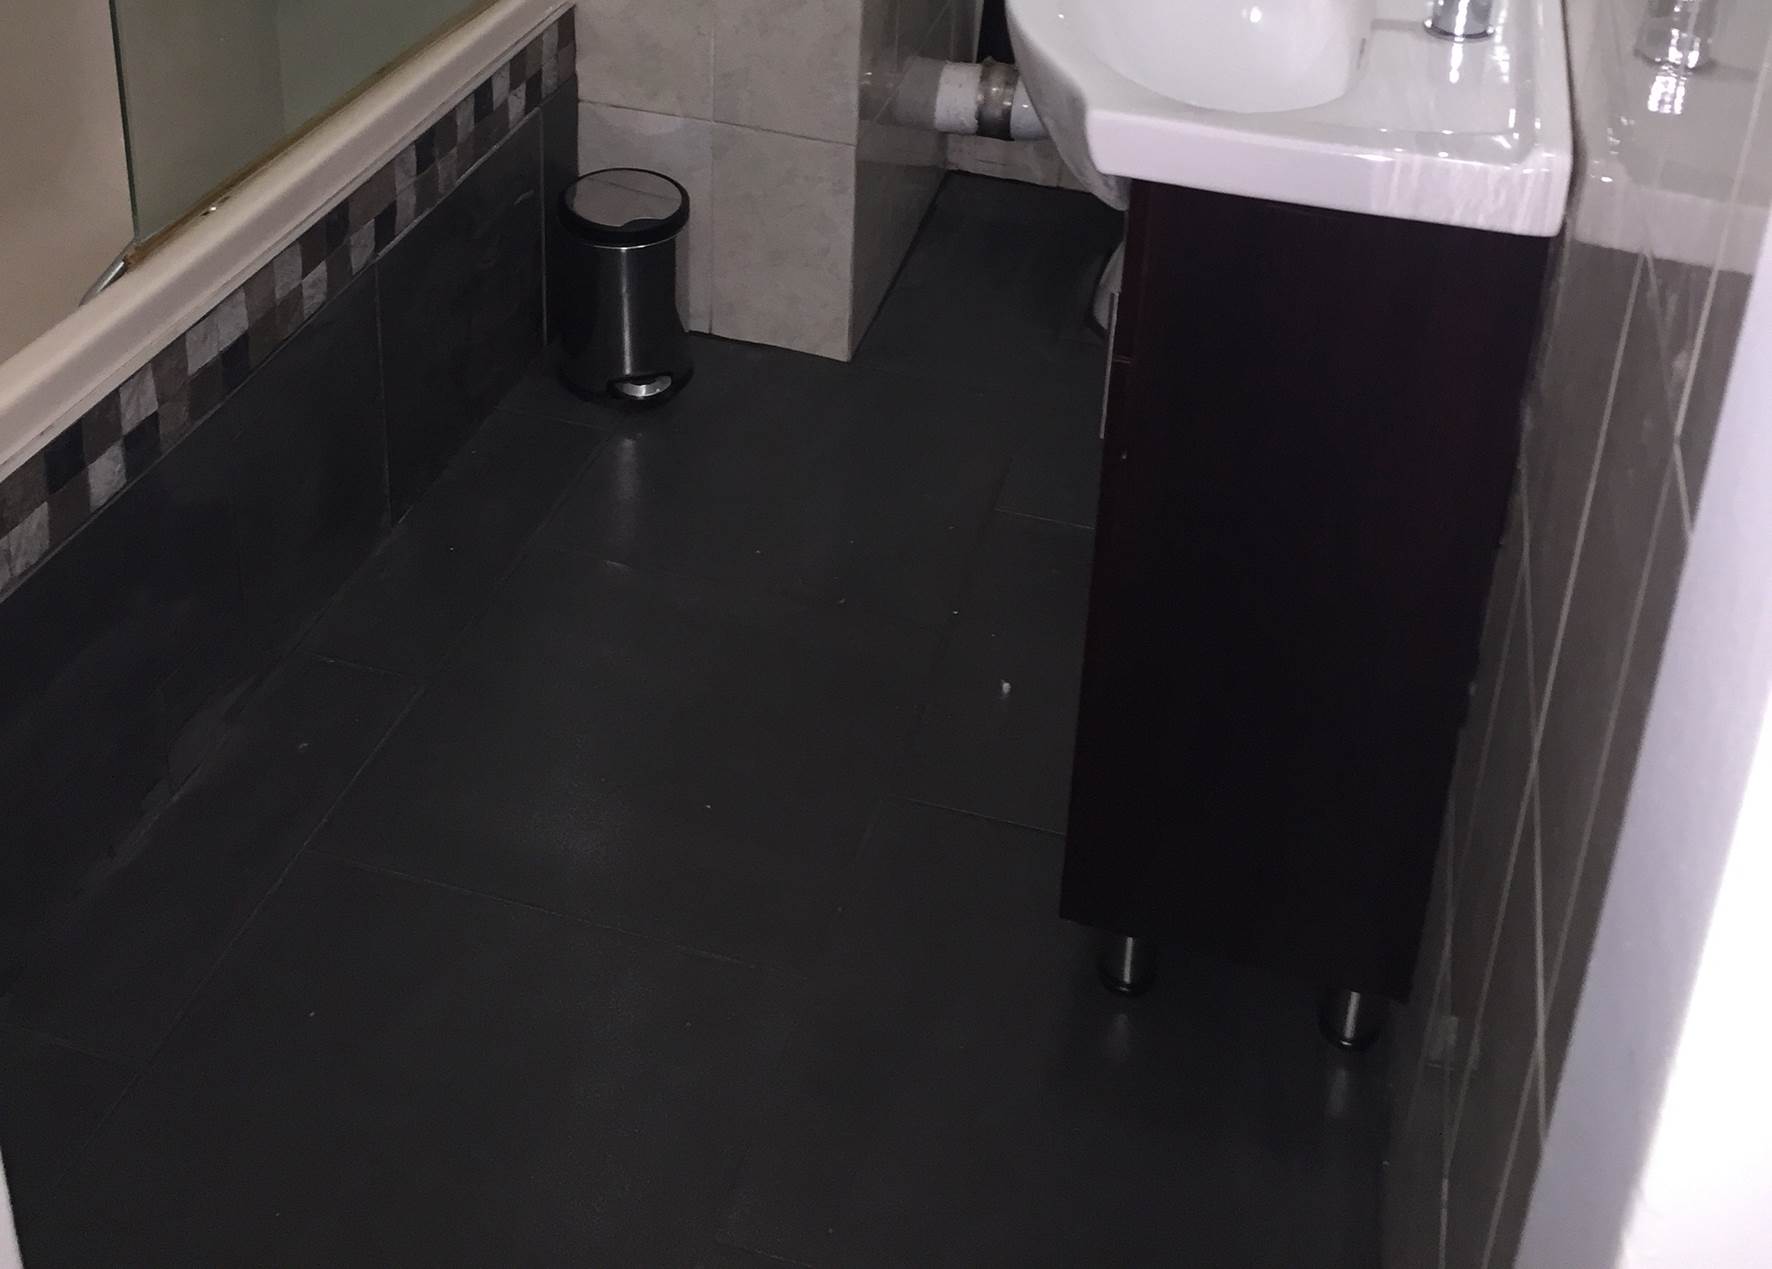
Finish the tiling off by grouting between the tiles. If the tiles are laid in an area which is exposed to water or rain then it is a good idea to mix latex bonding liquid into the grout mixture as well to improve the grout bond strength.
Have you tried tiling over existing tiles in your home? Let us know in the comments section below, we would love to hear your tips and tricks.


