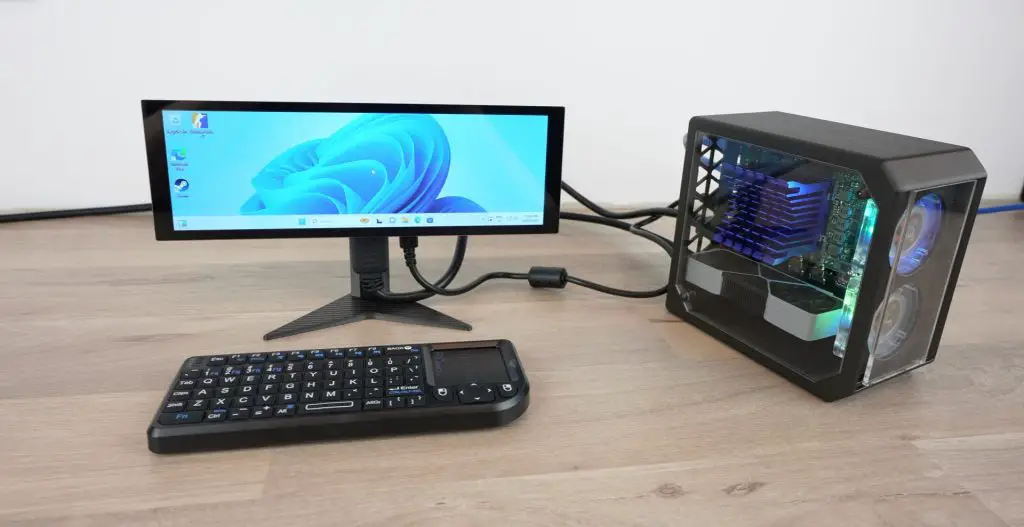
This tiny gaming PC is smaller than a can of Coke, runs Windows 11, and can even play Counter-Strike 2! While this might not be the most practical gaming setup, the Radxa X4 is an impressive single-board computer (SBC) for its size and has plenty of potential.
Here’s my video of the build, read on for the write-up;
What You Need To Build Your Own N100 Mini Gaming PC
- Radxa X4 – Buy Here
- Sabrent Rocket 2230 NVMe – Buy Here
- Power Supply – Buy Here
- 40mm Northbridge Heatsink – Buy Here
- Waveshare Pi 5 Port Adaptor – Buy Here
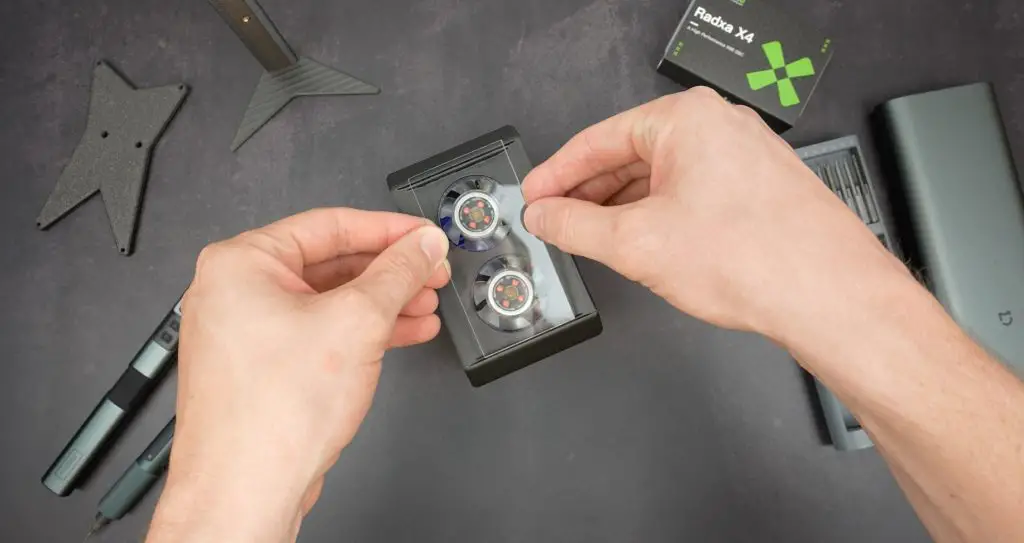
- 40mm RGB 5V Fans – Buy Here
- Waveshare 7.9″ Display – Buy Here
- Mini Keyboard & Mouse – Buy Here
- PLA Metallic Iron Gray – Buy Here
- M2.5 x 6mm Button Head Screws – Buy Here
- M2.5 x 8mm Button Head Screws – Buy Here
- M2.5 x 12mm Button Head Screw – Buy Here
- M3 x 8mm Button Head Screws – Buy Here
- M2.5 Brass Inserts – Buy Here
- M3 Brass Inserts – Buy Here
- M2.5 x 6mm Standoffs – Buy Here
- 2mm Clear Acrylic – Buy Here
Tools & Equipment Used:
- Bambulab A1 Combo – Buy Here
- USB-C Pencil Screwdriver – Buy Here
- Fnirsi HS-02B Soldering Iron – Buy Here
- Fnirsi FNAC-28 USB Tester – Buy Here
- Omtech Polar Laser Cutter – Buy Here
Some of the above parts are affiliate links. By purchasing products through the above links, you’ll be supporting this channel, at no additional cost to you.
What Is the Radxa X4?
The Radxa X4 is a single-board computer powered by an Intel N100 CPU. It’s nearly the same size as a Raspberry Pi 5, with the only difference being a slight step out where the GPIO pins are located.
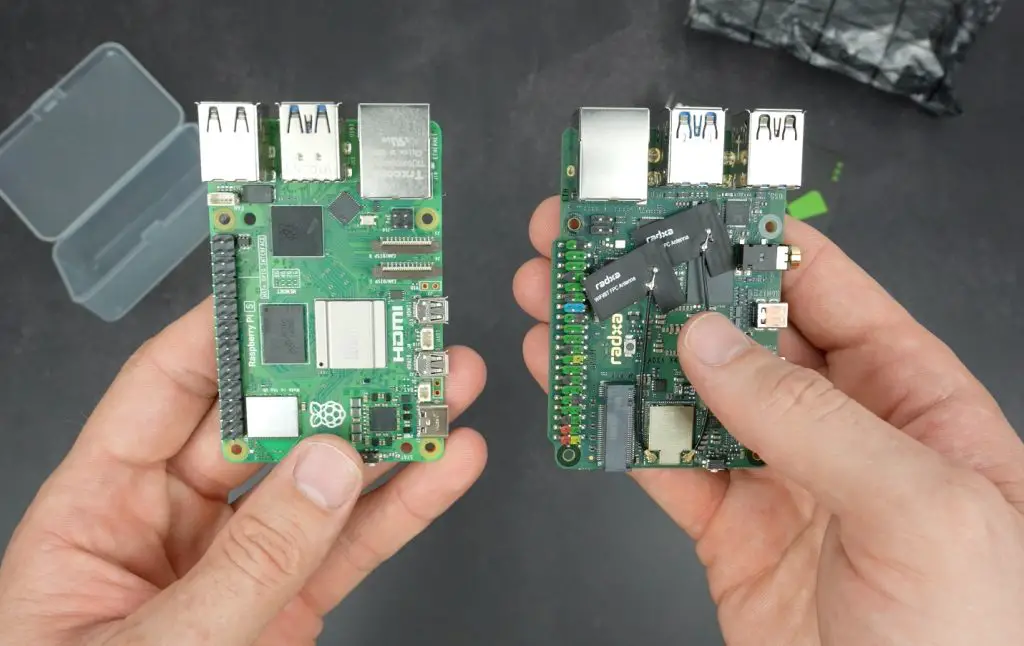
The N100 processor features four efficiency cores that run up to 3.4GHz, with integrated Intel UHD graphics capable of reaching 750MHz.
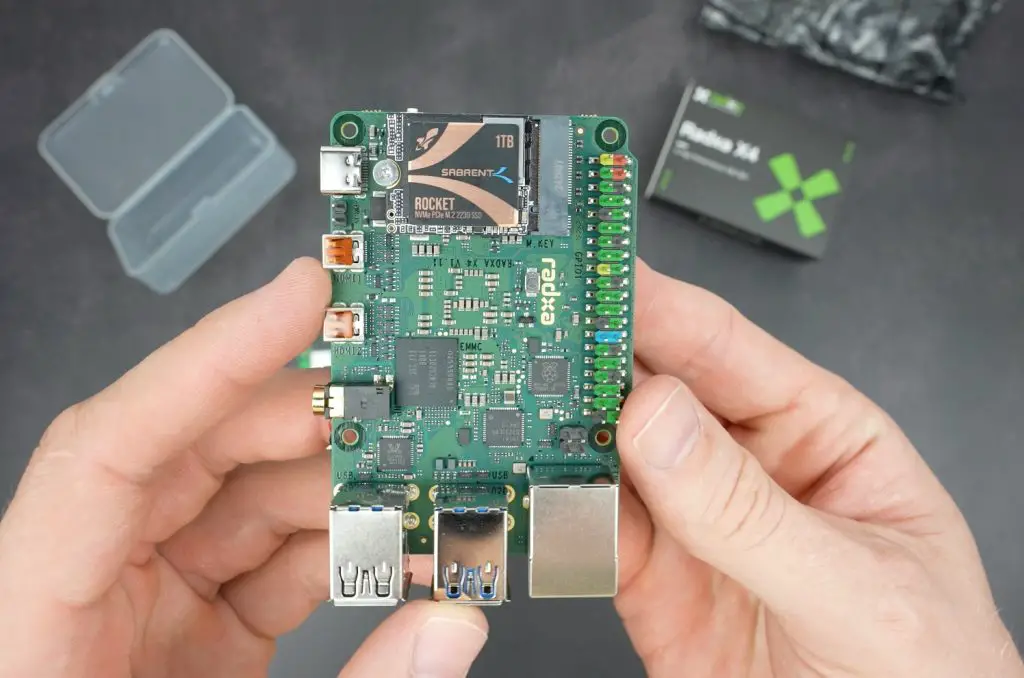
It is available in a range of RAM and storage options. This particular version of the Radxa X4 comes with 8GB of LPDDR5 RAM and 64GB of onboard eMMC storage, though I’m using it with a Sabrent Rocket NVMe drive as the boot drive for additional performance.
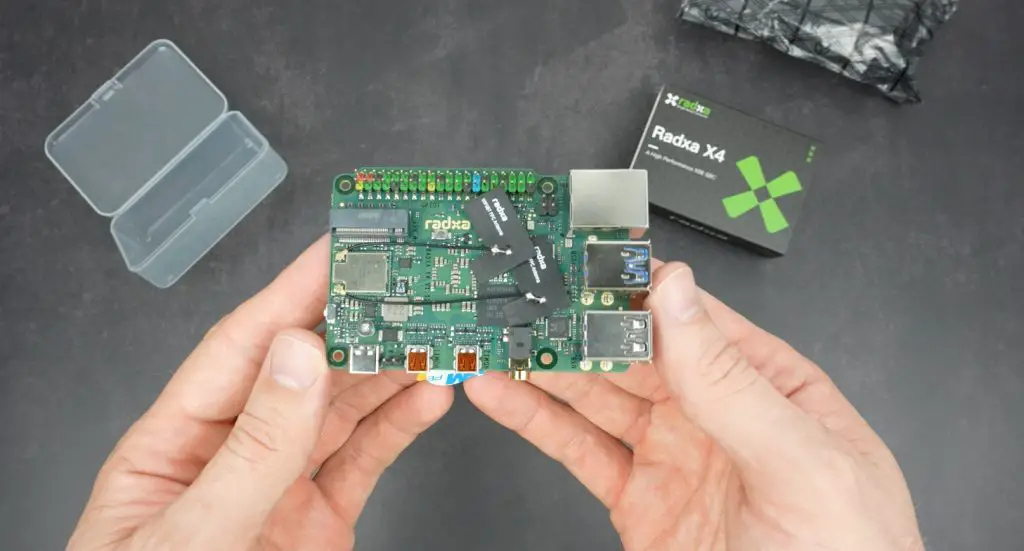
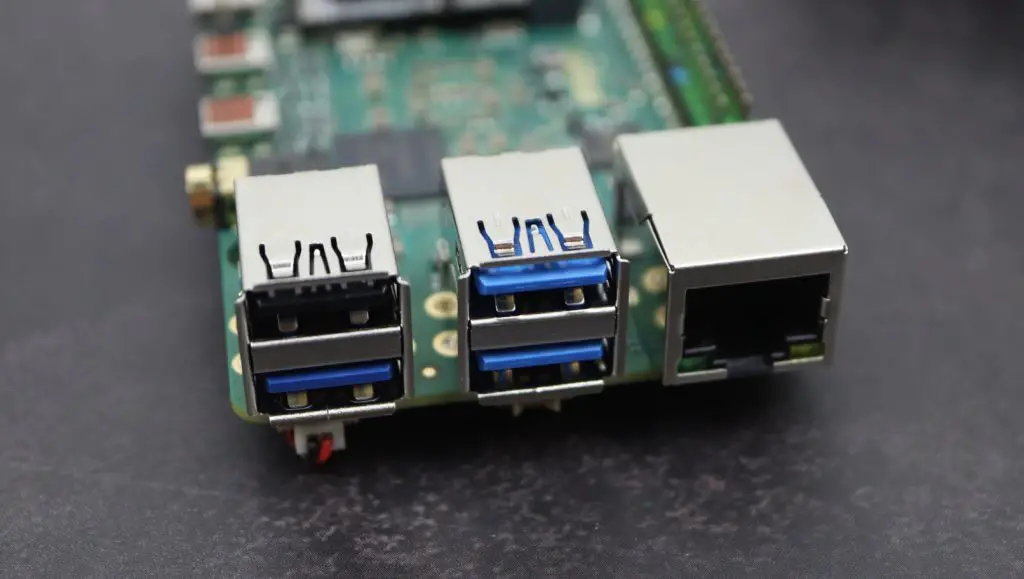
Connectivity wise, it’s got a 2.5G Ethernet port, WiFi 6, three USB 3.0 ports and one USB 2.0 port.
In terms of raw hardware, the Radxa X4 significantly outperforms the Raspberry Pi 5 while remaining quite affordable. I paid $90 for this 8GB version, which is just $10 more than the 8GB Pi 5, and it includes the 64GB of eMMC storage (which is a $9 add-on).
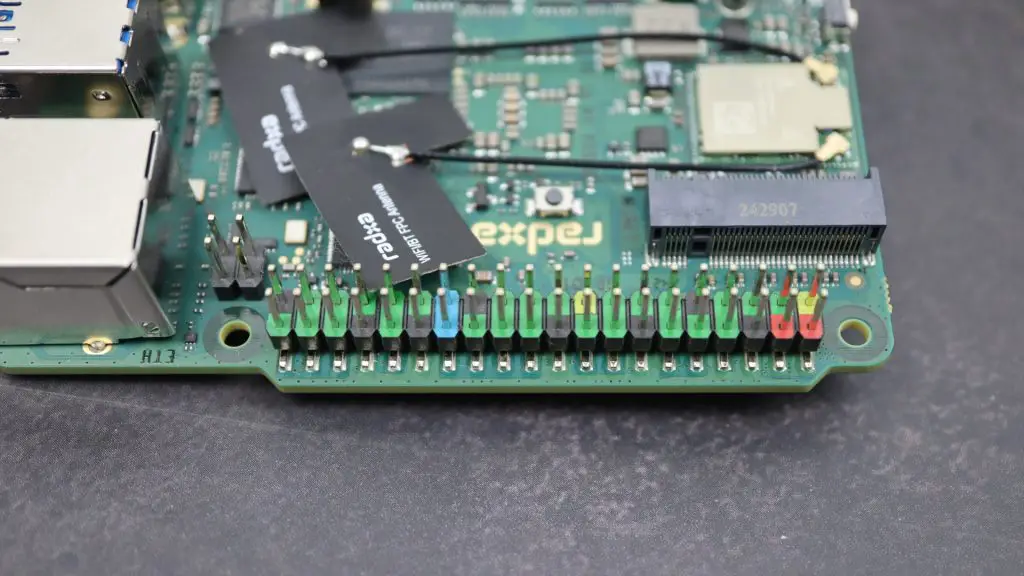
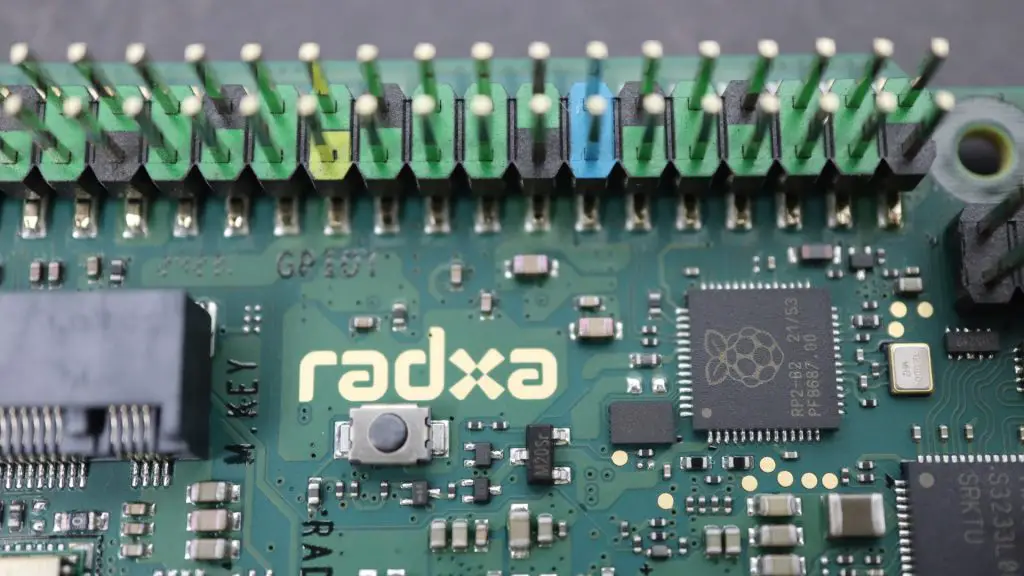
As I showed earlier, it’s even got a 40-pin GPIO header which is powered by an onboard RP2040 chip, so you can tinker with electronics projects with it too. This is conveniently mountable through the adjacent pushbutton.
Cooling Challenges On The Radxa X4
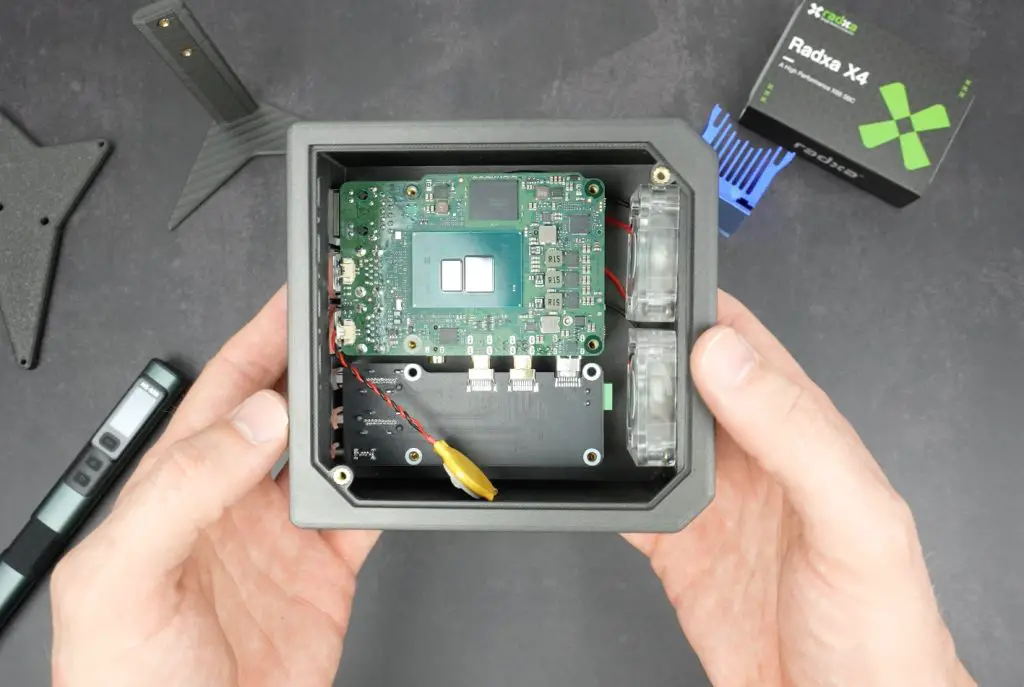
Unfortunately, it’s not all rainbows. While the X4 has excellent features, it does come with a fairly significant issue – cooling. The N100 processor gets quite hot, and on the Radxa X4 it is on the bottom of the board, which doesn’t help!
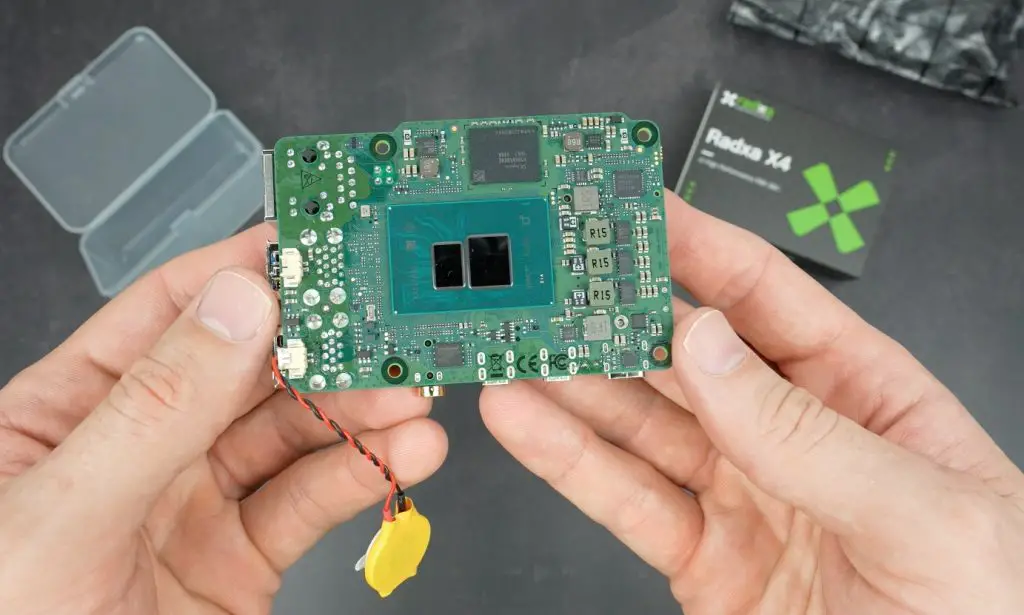
They did this because it doesn’t fit in among all of the ports on the top of the board, but we all know hot air rises, so having the heatsink underneath the board is not the best place for it. It also makes it clumsy to use because the assembly is either going to be resting on the heatsink on a desk, or if the heatsink is at the top, then the board is upside down.
The board is upside down in the Radxa X4’s official heatsink case, which makes it difficult to access things like the GPIO pins.

I’m going to hopefully help out with the cooling issue by mounting it on its side.
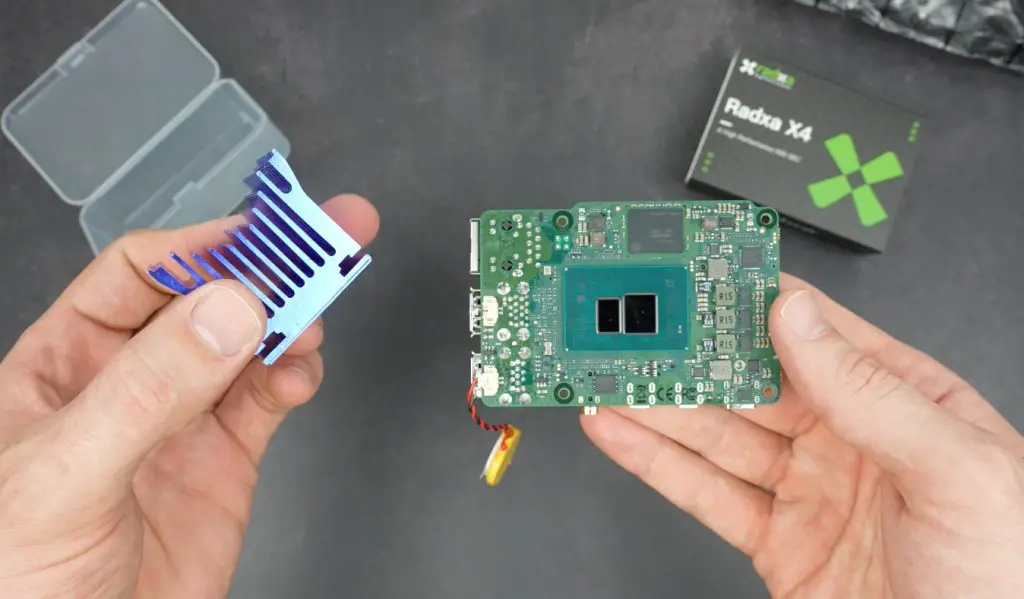
I also needed to find a suitable heatsink for it, which was a challenge in itself. Traditional CPU coolers are too large for the board, and Raspberry Pi coolers don’t fit the X4’s mounting arrangement. I ended up purchasing a 40mm square northbridge heatsink from AliExpress, which looked like it could do the job.
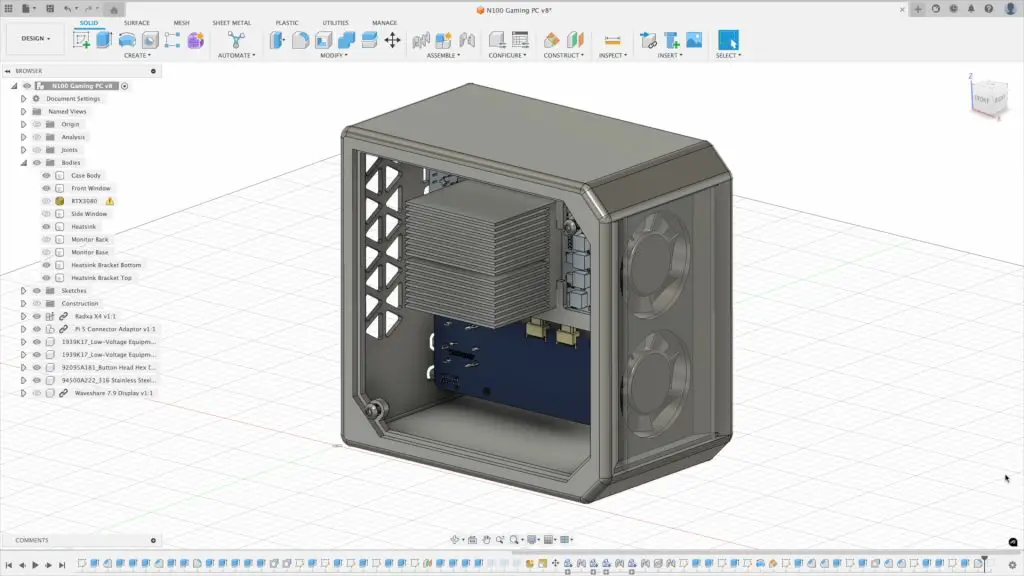
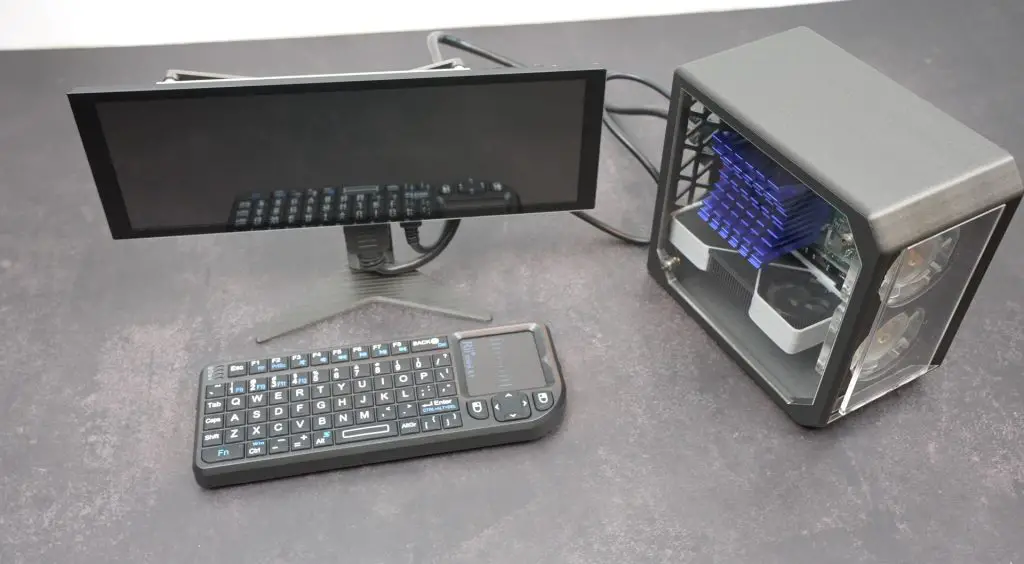
Custom 3D Printable Case Design For The Radxa X4 and Monitor
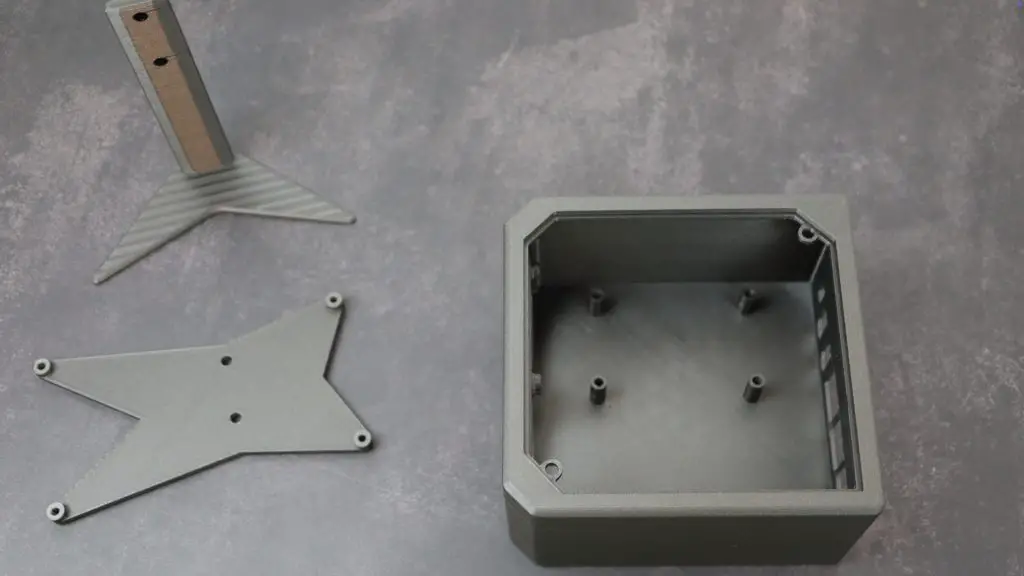
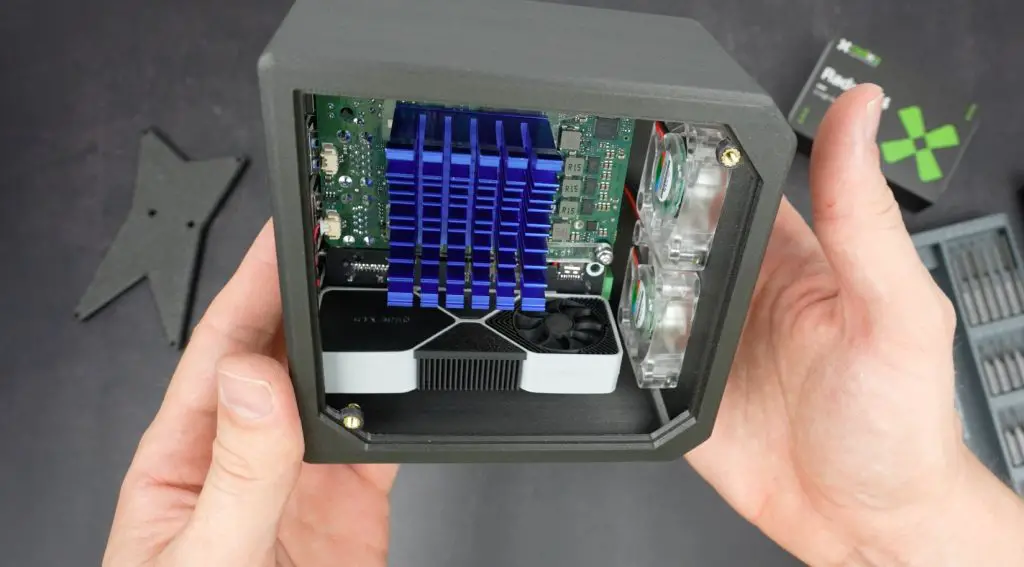
Now, obviously, I couldn’t just leave the board exposed, so I designed a custom 3D-printed case using Fusion360. The goal was to give it a full-sized gaming PC aesthetic while keeping it functional.
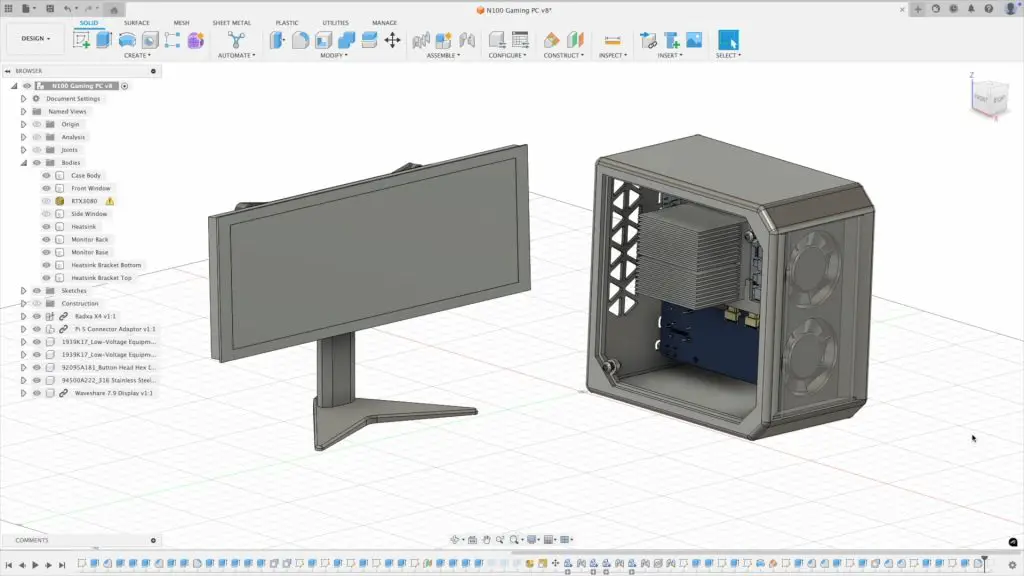
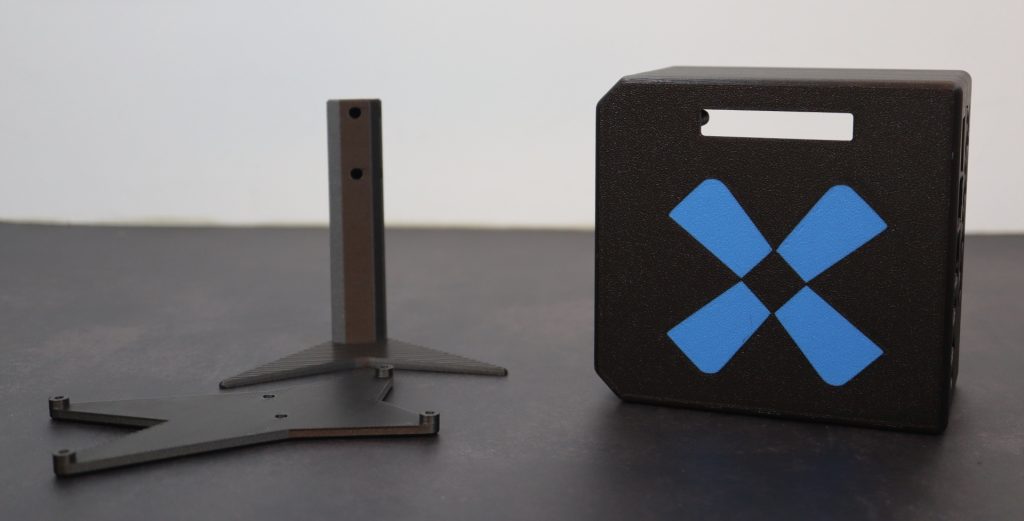
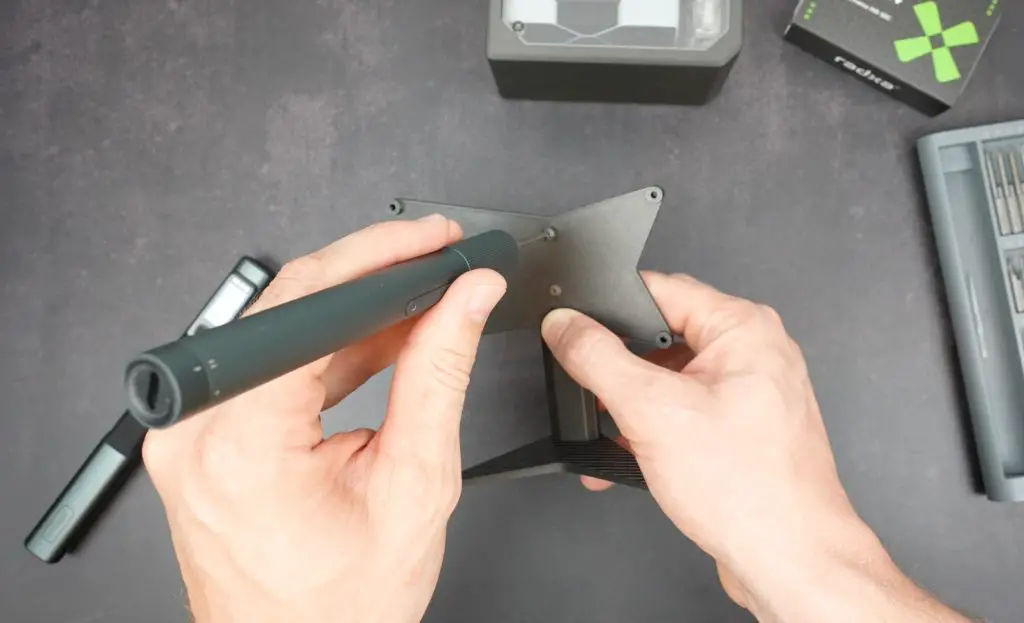
I also designed a monitor stand that holds a 7.9″ Waveshare display to look like a scale ultra-wide monitor to compliment the mini gaming PC.
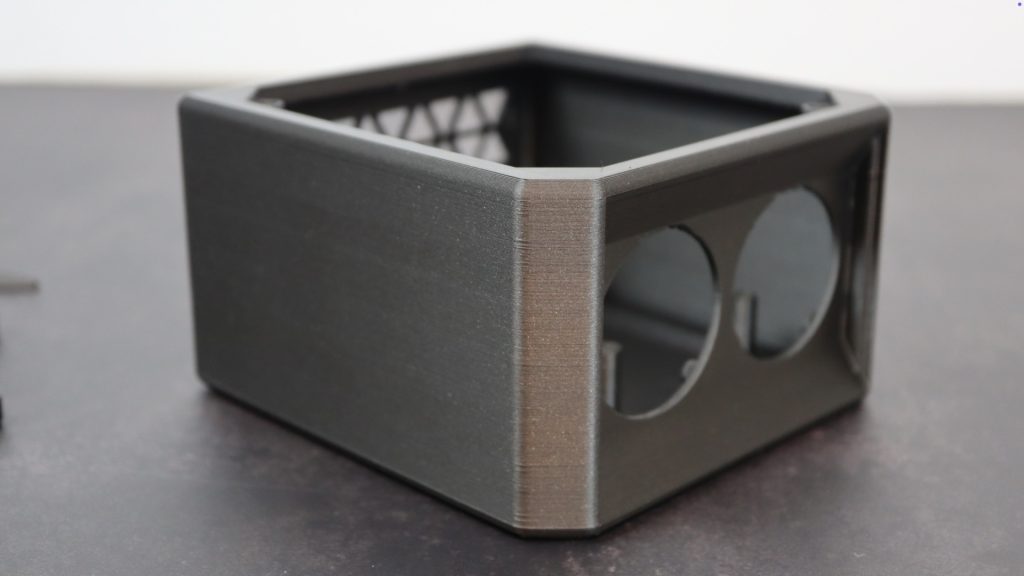
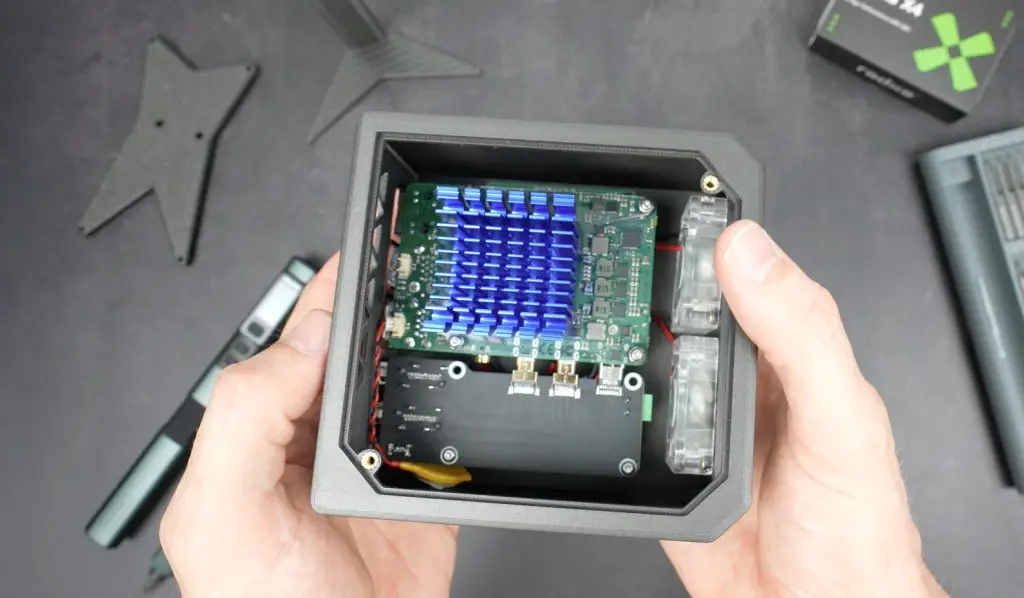
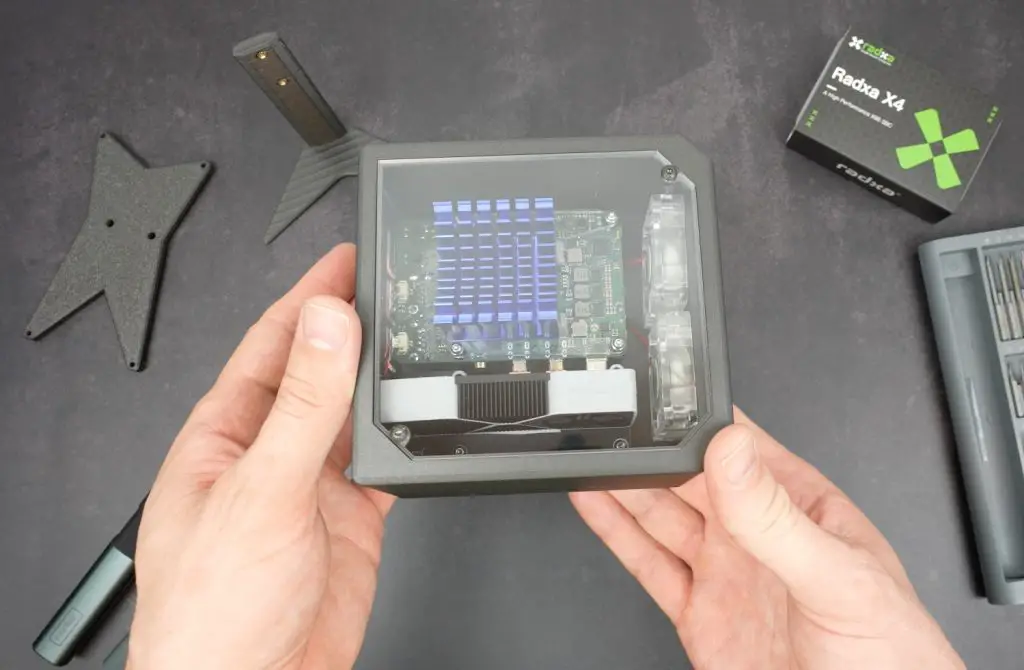
The case has a clear acrylic side panel to keep the internals visible and a clear panel on the front as a kind of fan guard that allows airflow into the case down the sides.
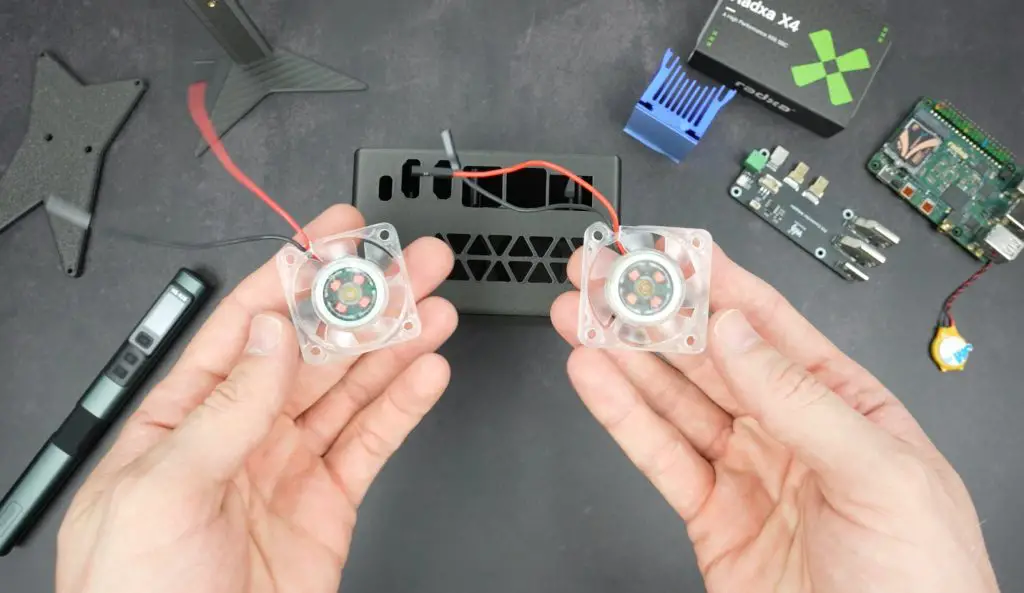
Two 40mm fans provide cooling to the CPU, blowing across the heatsink and out of vents on the back of the case. The heatsink is held in place with some custom brackets that I’ll cut from clear acrylic as well.
With the Radxa X4 positioned vertically, we need a way to bring the ports out to the back and for that I’ve used a Waveshare port adaptor that is meant to be used with the Pi 5. The ports on the X4 are the same, so it works on both.
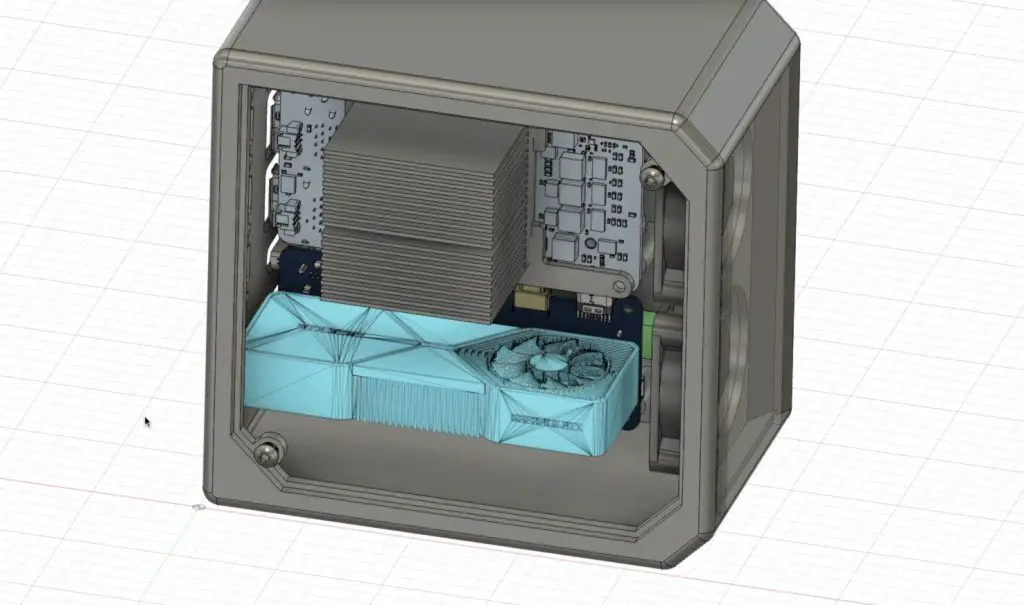
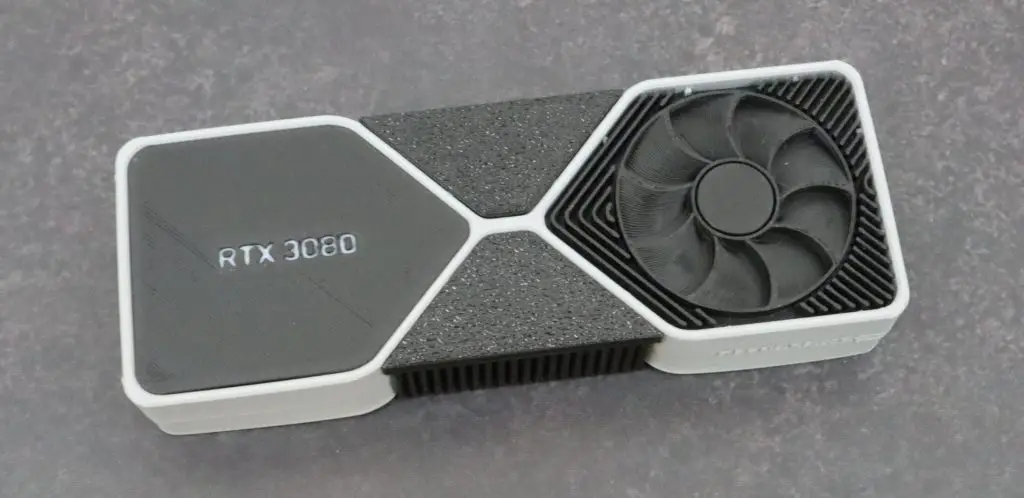
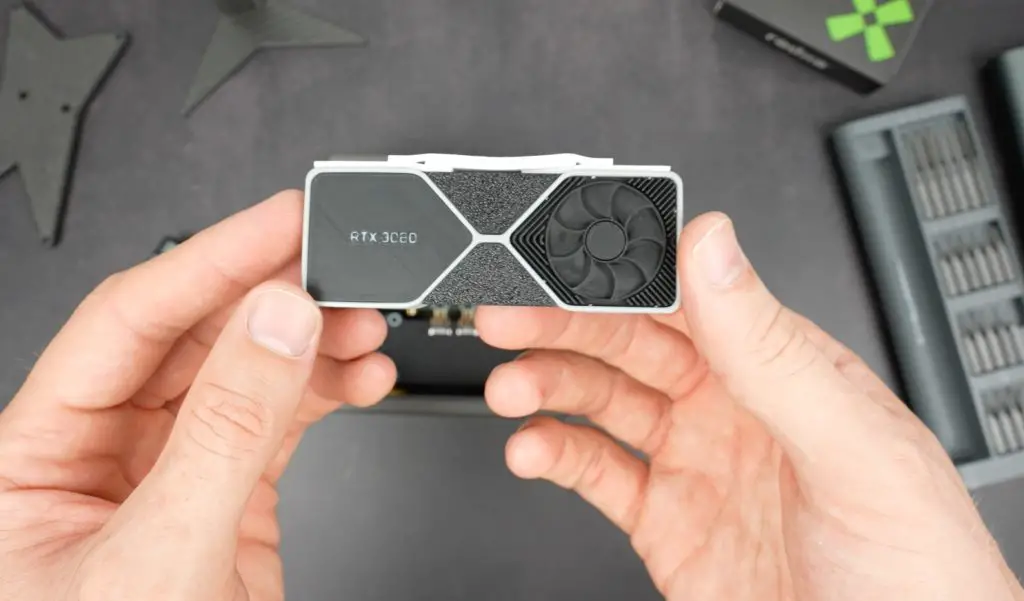
To complete the gaming PC look, I also scaled down a version of an RTX3080 that I previously built a Pi 4 into. This will be attached to the back side of the port adaptor.
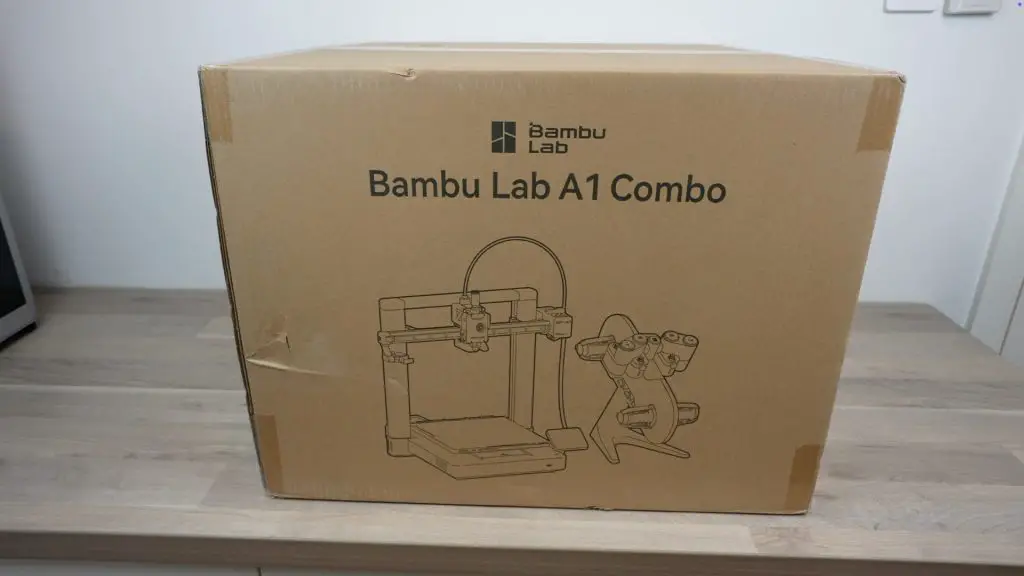
Printing the Case with the Bambu Lab A1 Combo
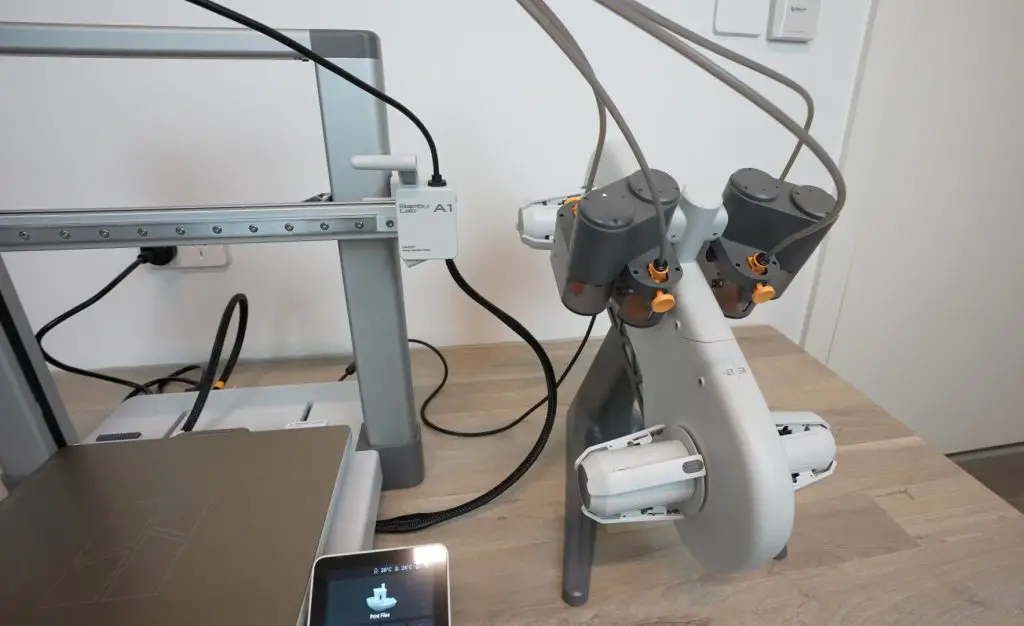
To print the case, Bambu Lab have sent me their A1 Combo to try out.
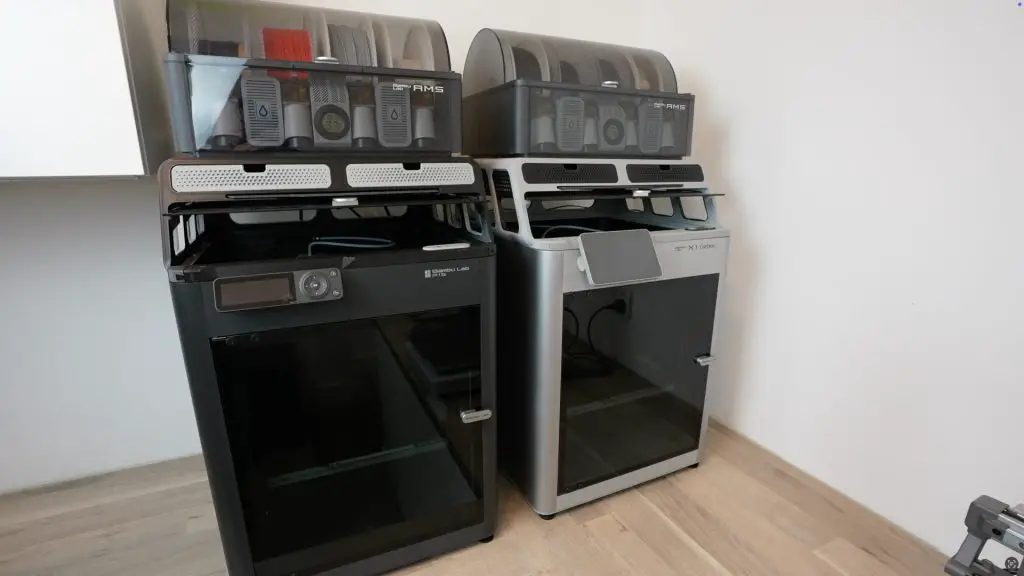
I’ve been using their X1C and P1S for the past year and a half, and compared to my old desk full of Ender 3s and spare parts, the upgrade has been a game-changer. These two printers are significantly faster and more reliable than my old printers.
The A1 series is Bambu Lab’s entry-level printer lineup, with the A1 Mini priced at $239 and the A1 Combo (with AMS Lite for multi-color printing) at $529.
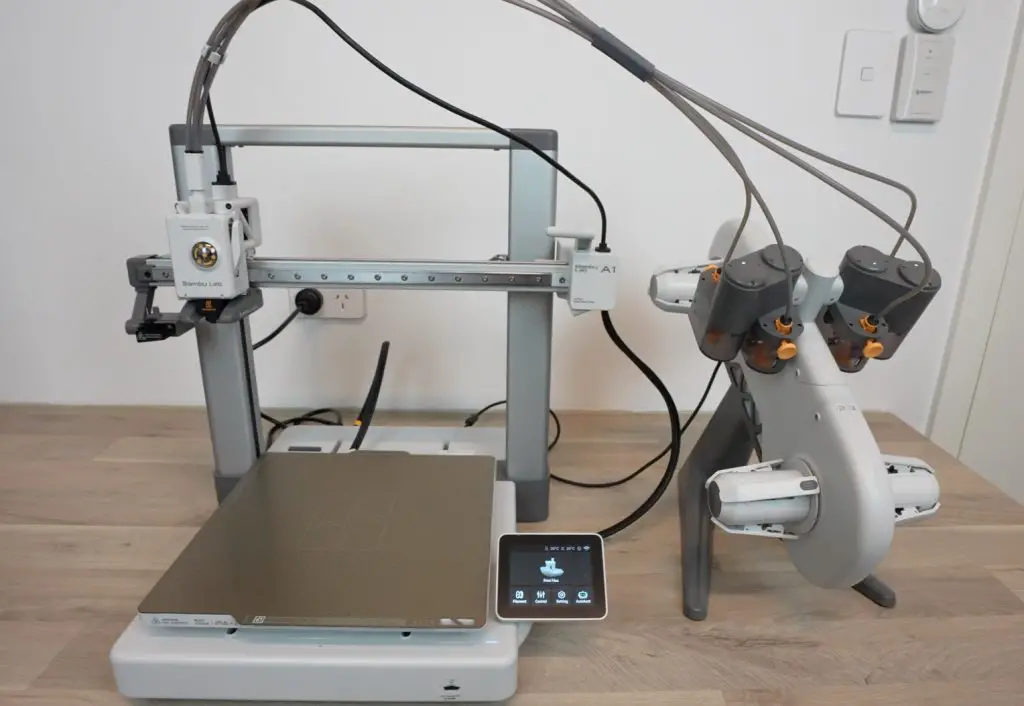
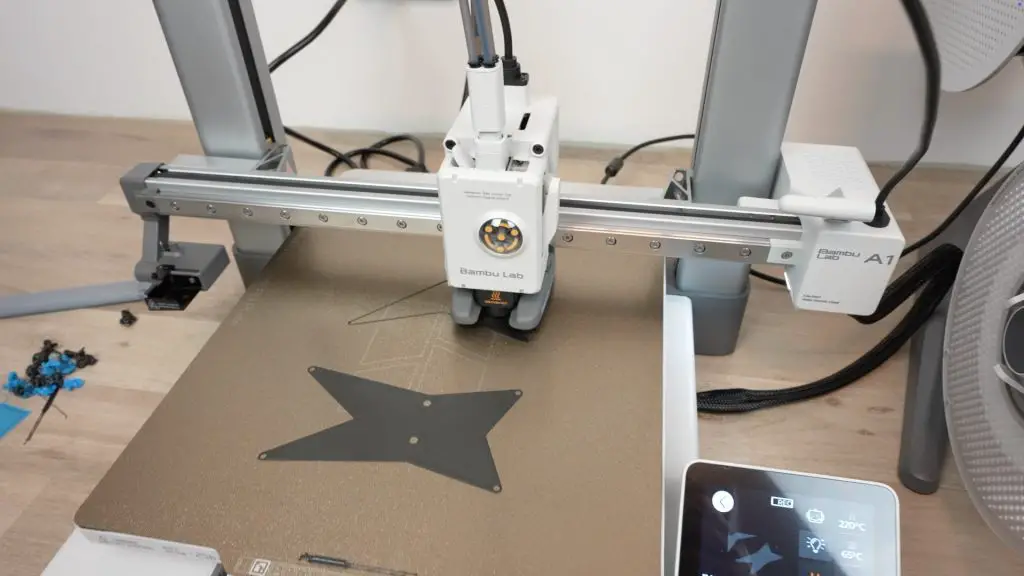
The A1 is incredibly easy to use; it loads the filament automatically, calibrates itself and does automatic bed levelling before every print. It even monitors the belt tensions and will notify you if a belt needs adjustment.
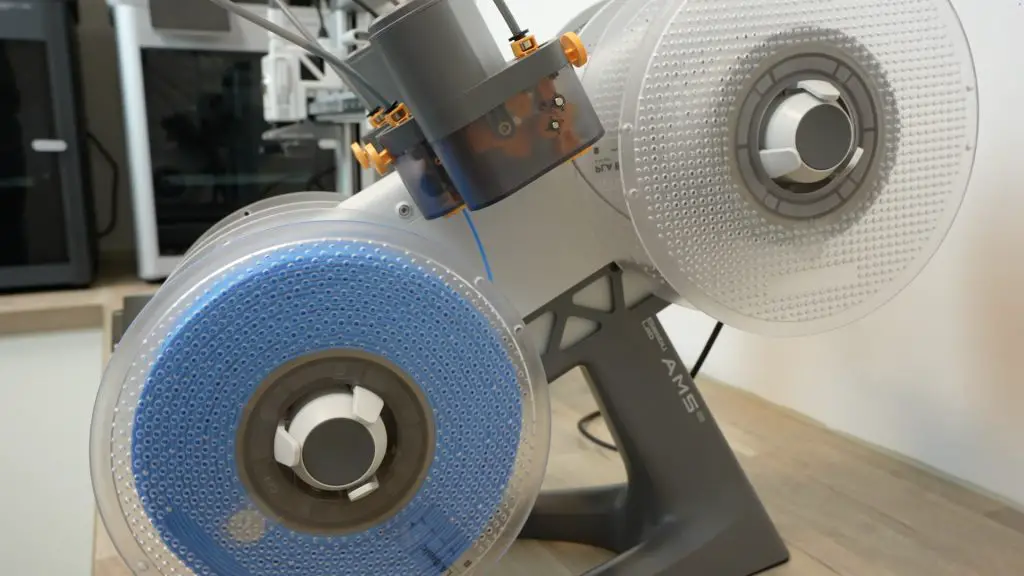
The AMS Lite is a stripped-down version of the AMS, the main difference being that it is not enclosed. This means you can’t store filament that absorbs moisture like PETG on it long-term, but it otherwise offers the same functionality.
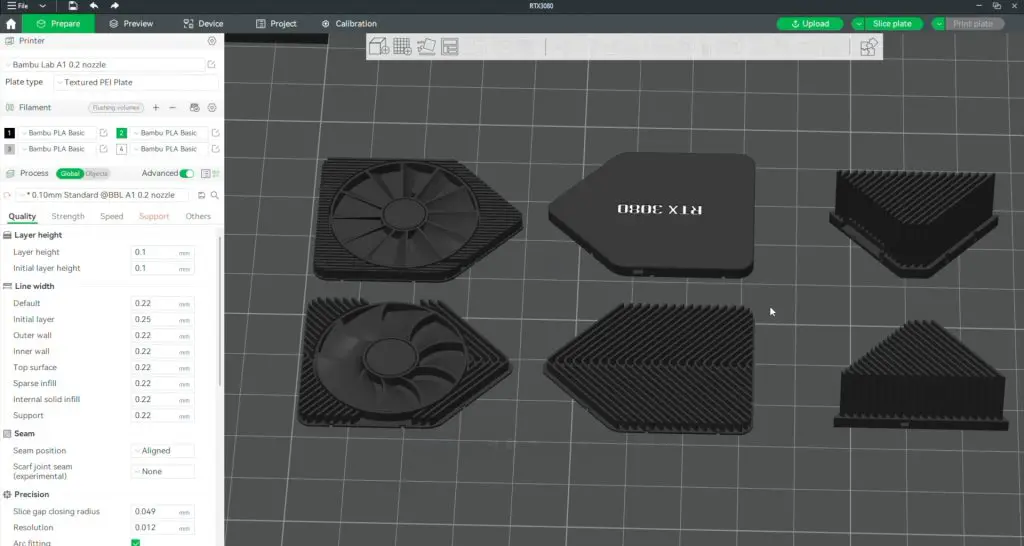
I opened the case and monitor stand up across two beds in Bambu Studio. I’ve coloured the Radxa logo on the back of the case in blue to match the heatsink.
I then sliced the plates and sent them to the A1.
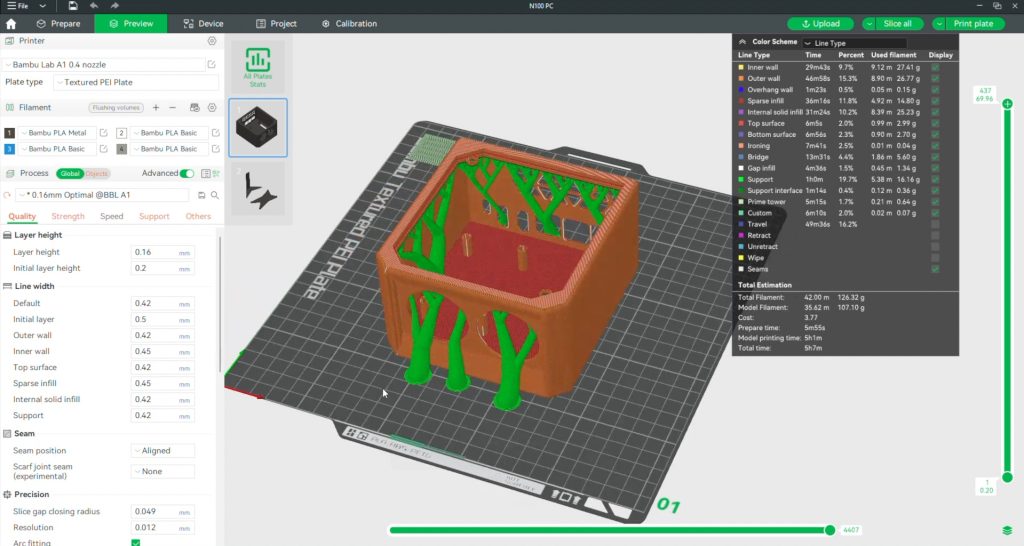
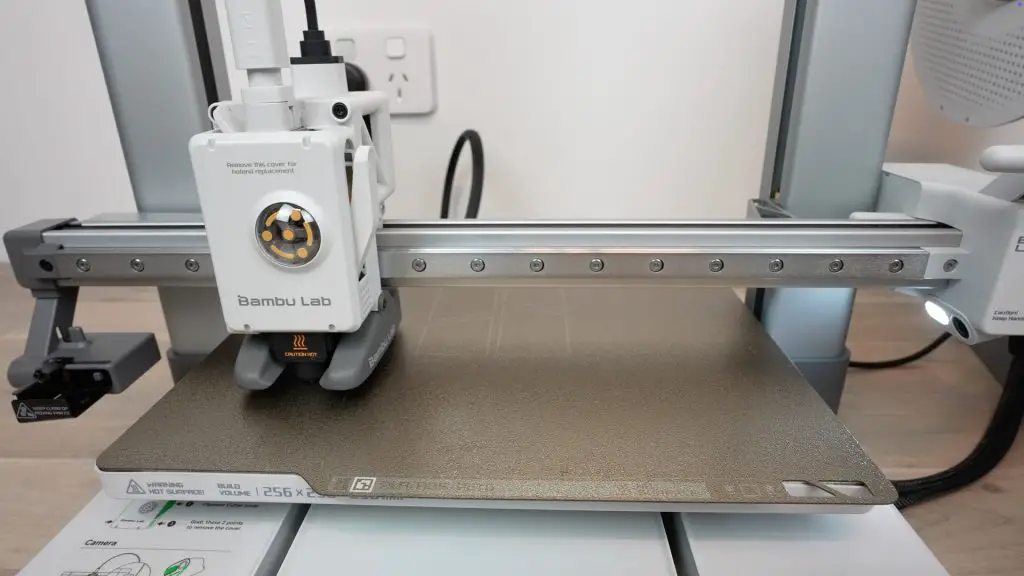
I printed the case in metallic PLA, which came out great. The quality and speed of the prints are impressive for a traditional bed-slinger printer.
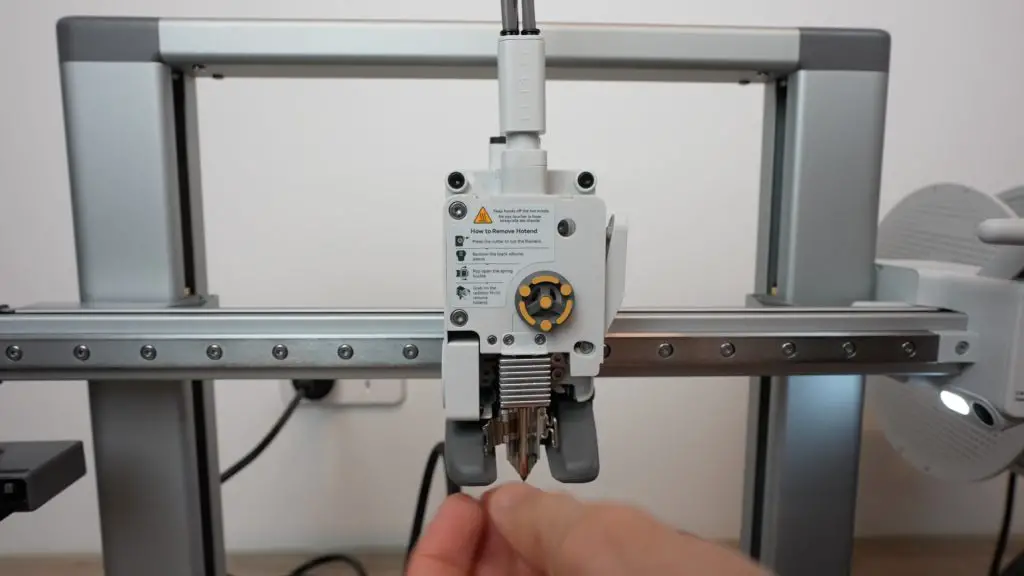
With the case and monitor stand complete, we can move on to the graphics cards. Because it is so small, and I’d like to try to get the text to come out, I’m going to swap nozzles on the A1 over to a 0.2mm nozzle. This is also an improvement over the P1 and X1 printers, which involve quite a bit of effort to swap nozzles. The whole hot-end on the A1 is held in place by a single clip, so it’s a quick process to swap nozzles over. It would be great if they were able to put an RFID tag onto the hot-ends on their printers so that the printer automatically knows what the nozzle size is.
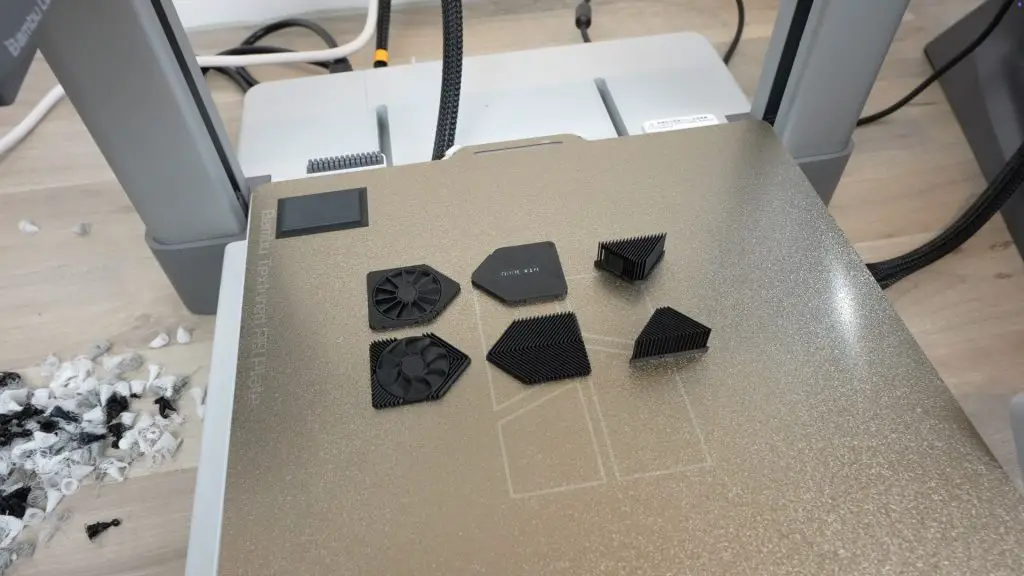
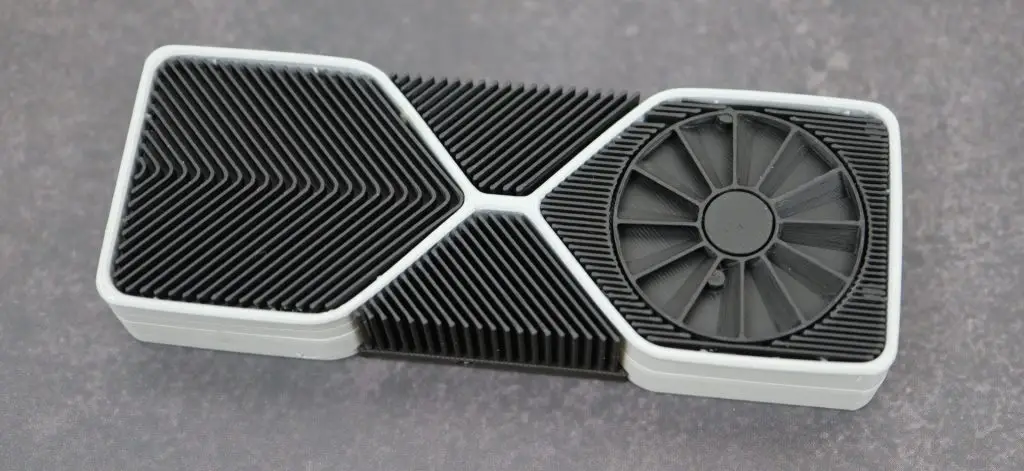
I really like how the GPU came out. The text on the side is readable, although the white doesn’t show up as clearly as I hoped, and there is a step in the side where the text is. It looks like too much filament is extruded in this area, so it probably needs a bit of dialing in. But the text on top is clear, and the heatsink fins came out looking great!

The assembled GPU looks amazingly detailed for its size.
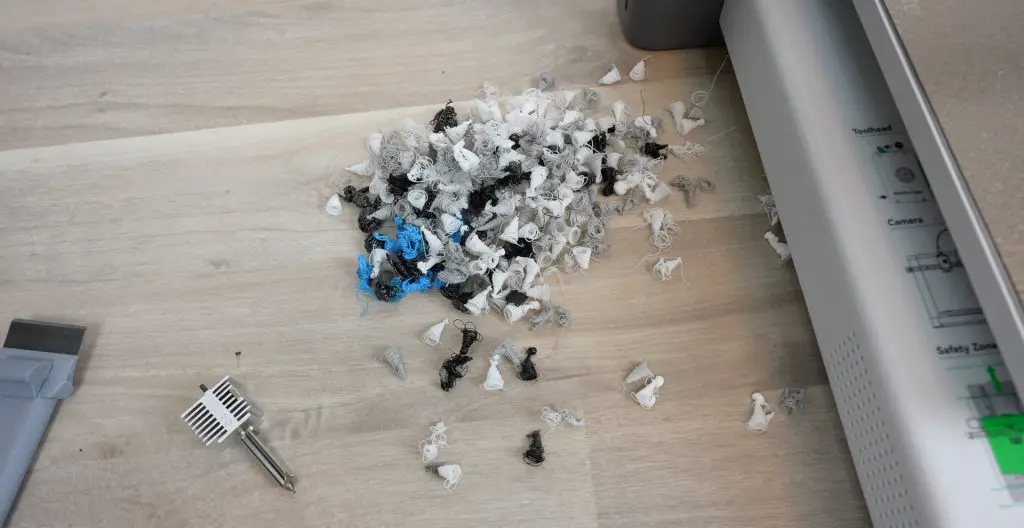
Multicolour printing produces quite a lot of waste, but if you’re smart about the layout and print order, you can minimise it. Try not to have different colours span across too many layers.
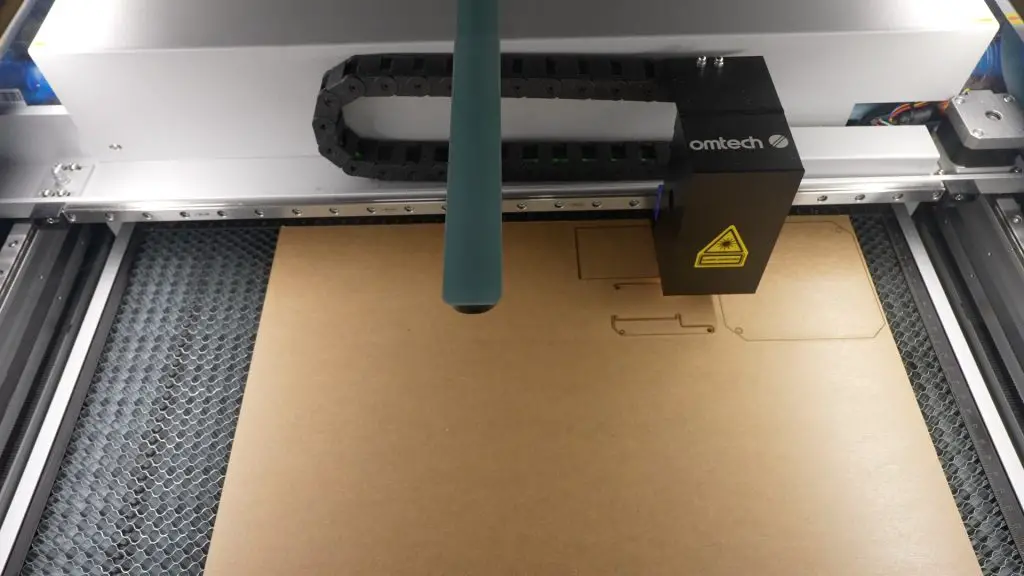
Next, I need to cut out the clear components. These are all cut from a sheet of 2mm clear acrylic.
Assembling The Radxa X4 Mini PC Case
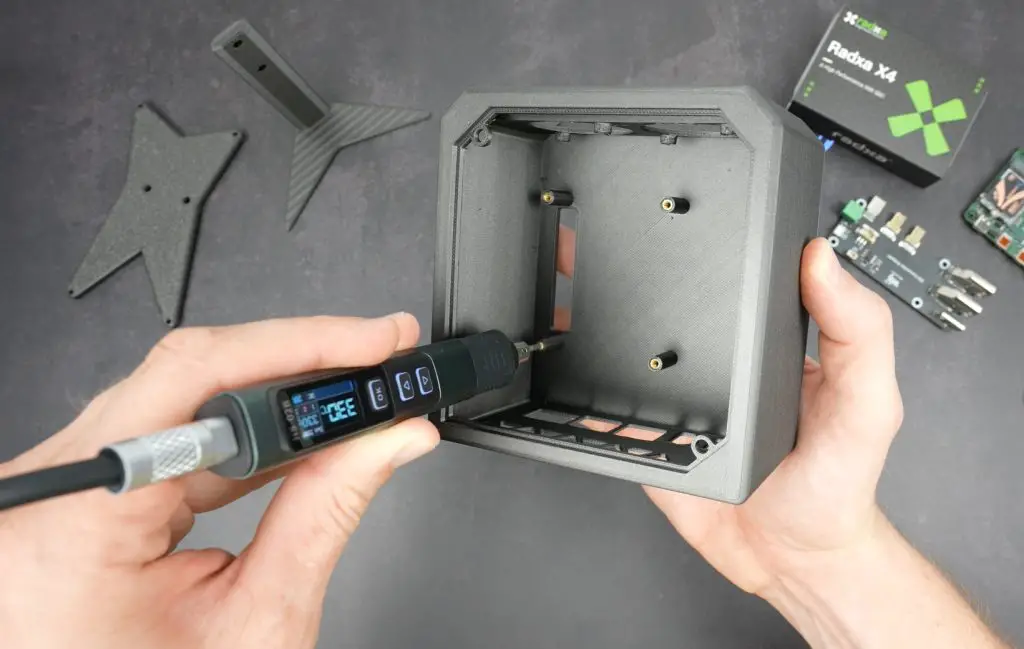
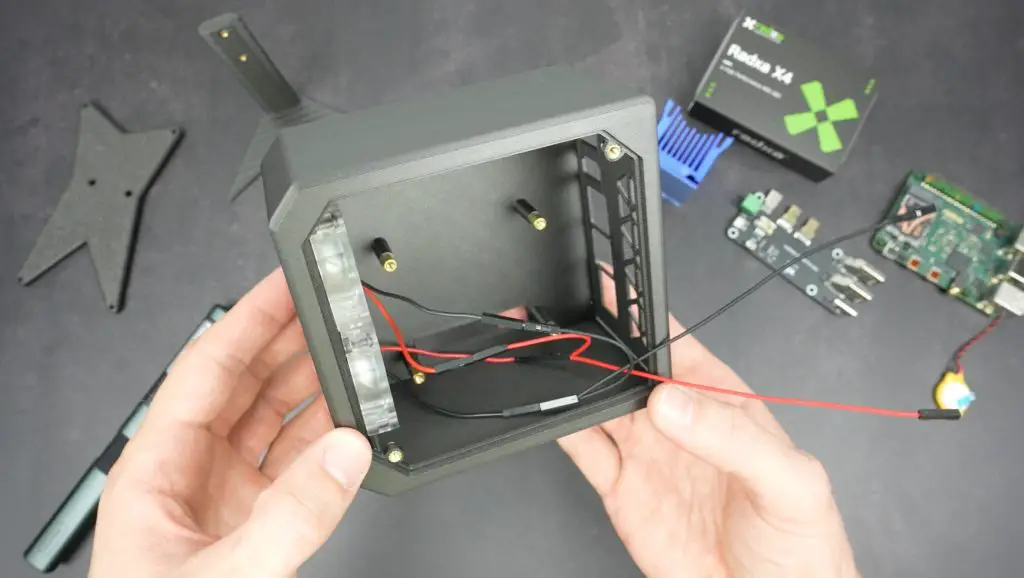
To assemble the mini PC, we need to start by installing some brass inserts in the body of the case. These are melted into place using a soldering iron. We’ve got M2.5 brass inserts for the Radxa X4 and adaptor to be mounted onto and then some M3 inserts for the two fans and the side panel.
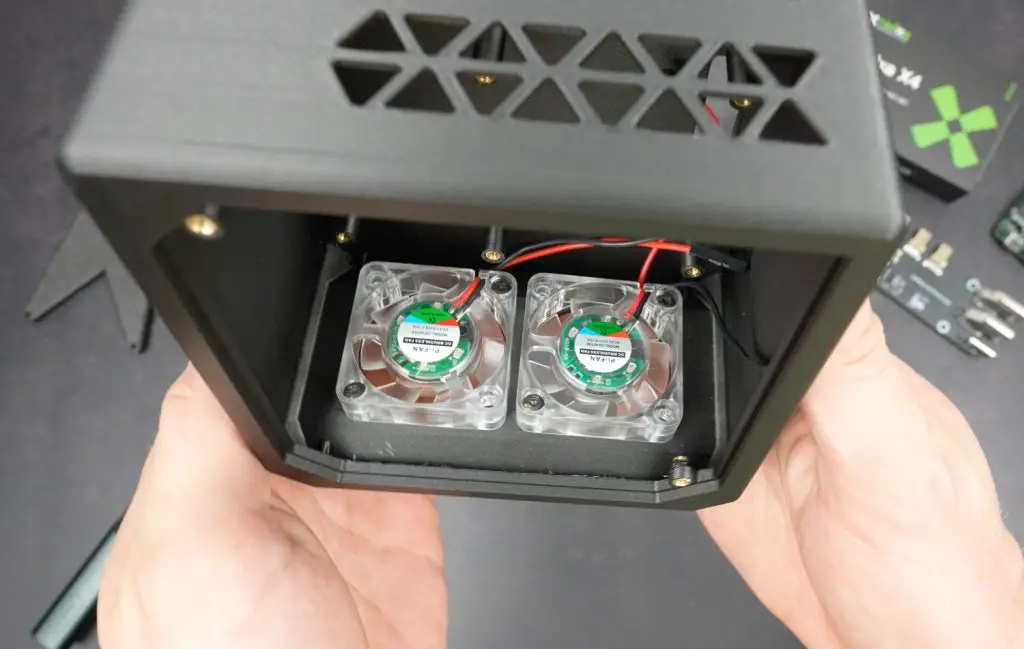
Next, we can mount the fans onto the front of the case. These are each secured by two M3x8mm button head screws from the inside.
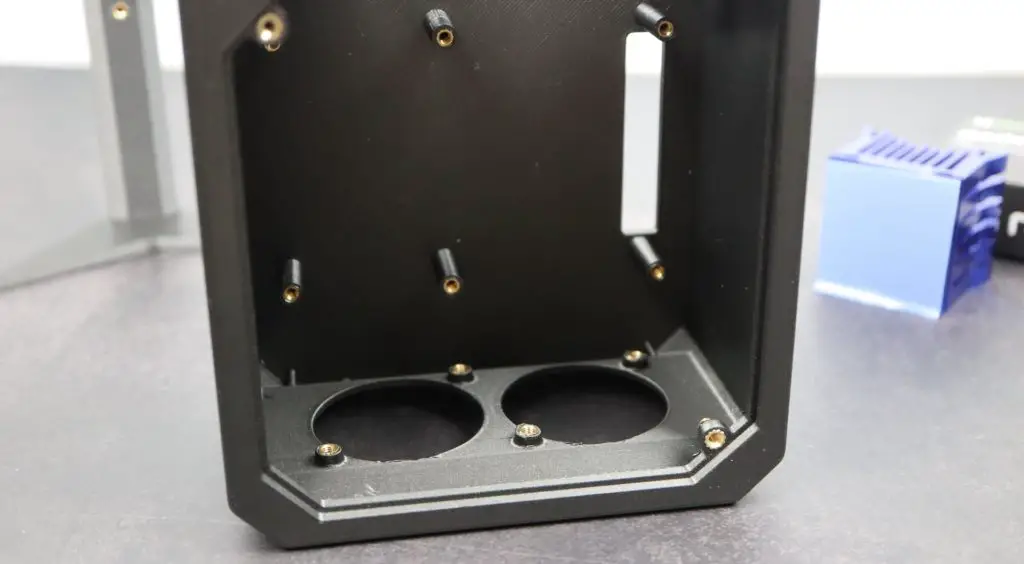
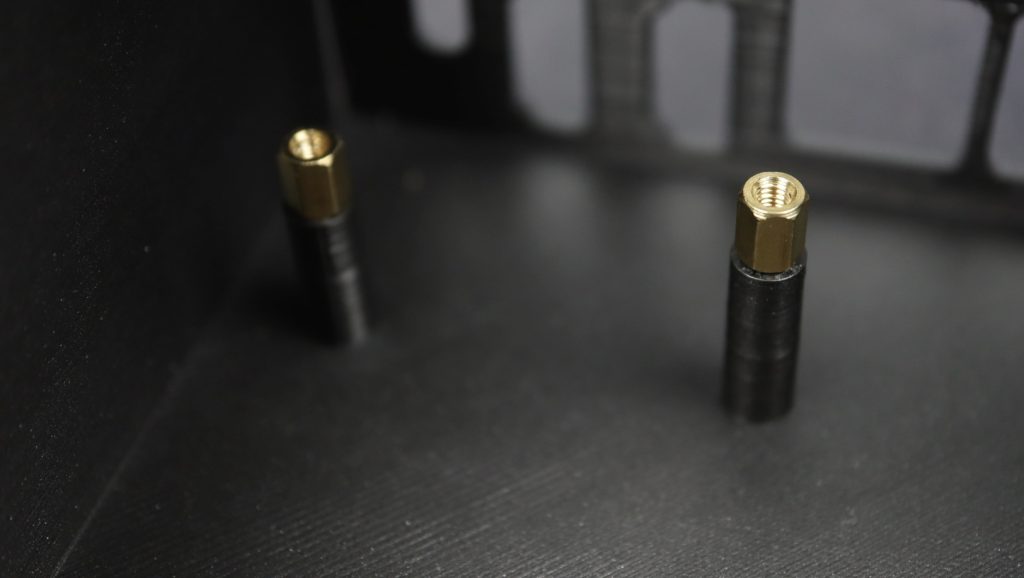
Six M2.5x6mm brass standoffs go into the brass inserts to mount the Radxa X4 and adaptor onto.
We can then plug the port adaptor into the Radxa X4 and install it into the case. I’ve made up an extension for the fans to plug both into a single set of 5V pins with some extra length to allow them to be plugged into the GPIO pins before the board is installed in the case.
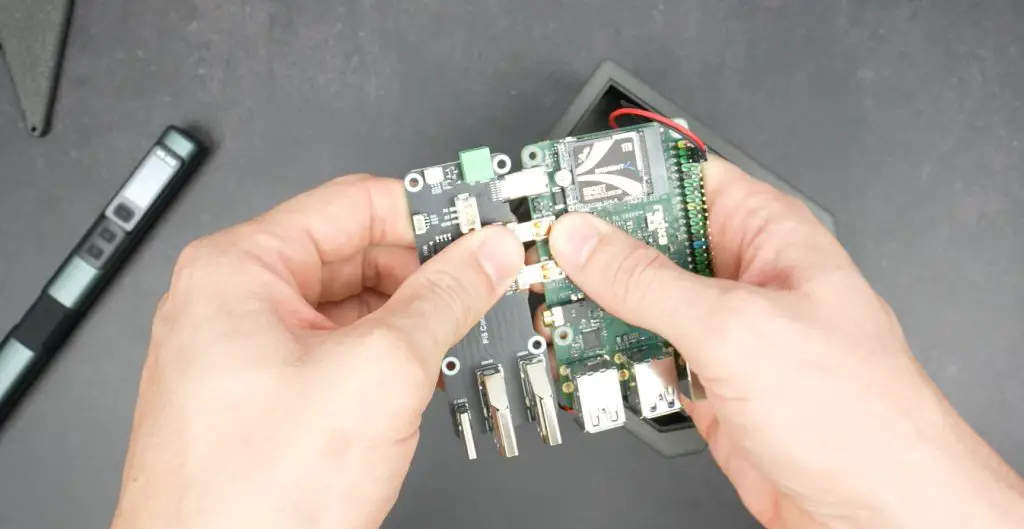
The adaptor is then held in place with some M2.5 x 6mm button head screws.
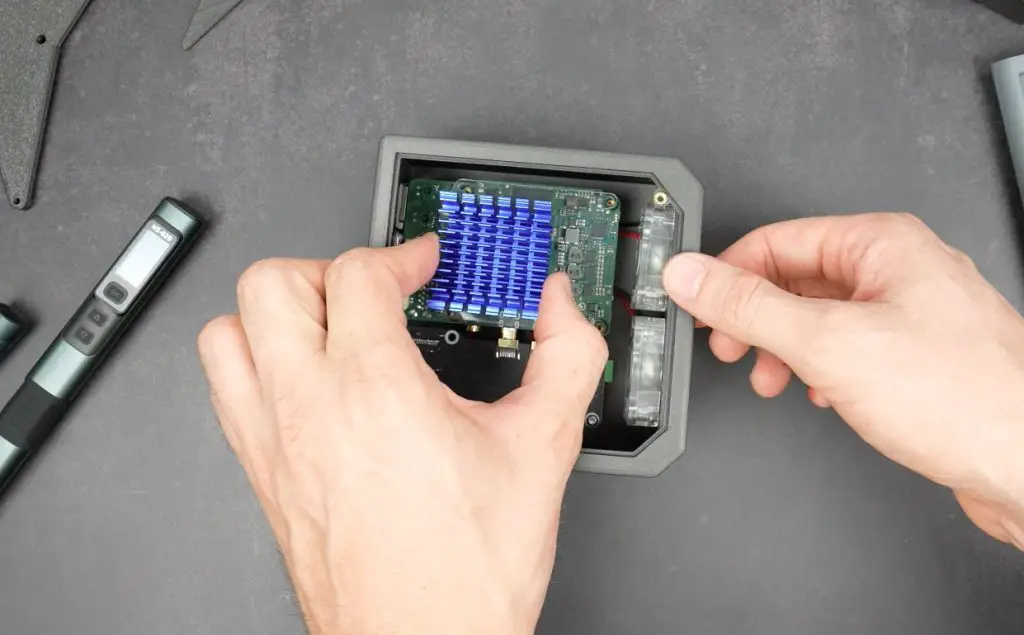
We can apply some thermal paste to the CPU, and the heatsink can be positioned over the X4using the acrylic brackets. The whole assembly is then clamped down with some M2.5 x 8mm button head screws. Be careful not to overtighten the screws or you might break the acrylic arms.
Next, let’s attach the GPU to the adaptor, which I’m just going to do with some double-sided tape.

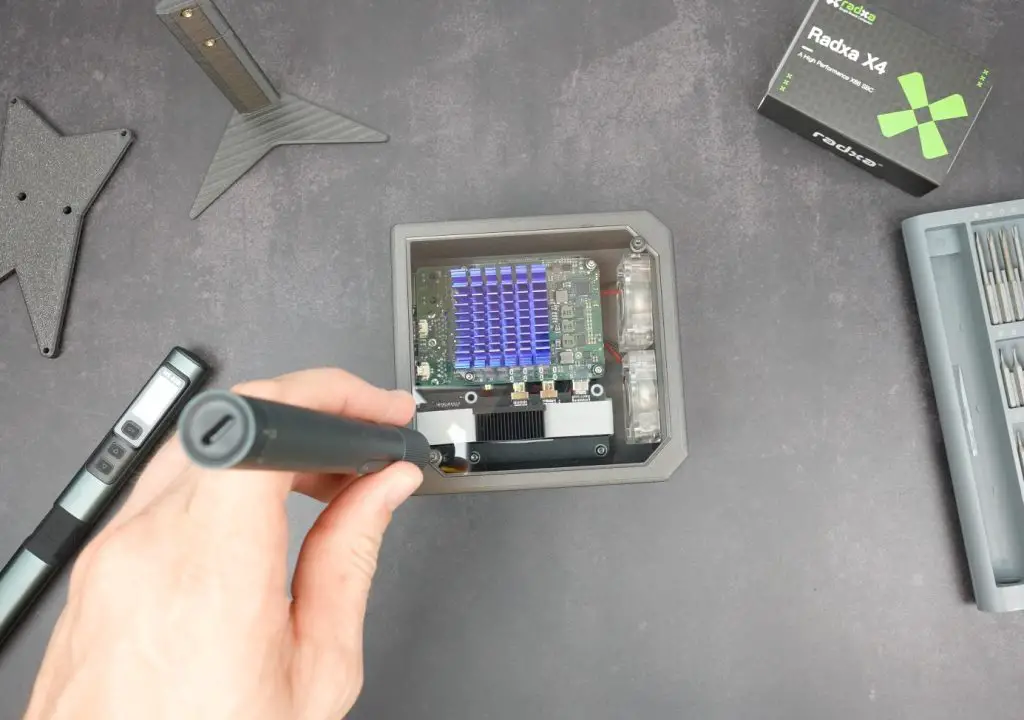
We can then install the front and side panel.
The front panel is glued into place with some super glue and the side panel is held in place with two M3x8mm button head screws.
And that’s the case complete, now we just need to finish off the monitor.
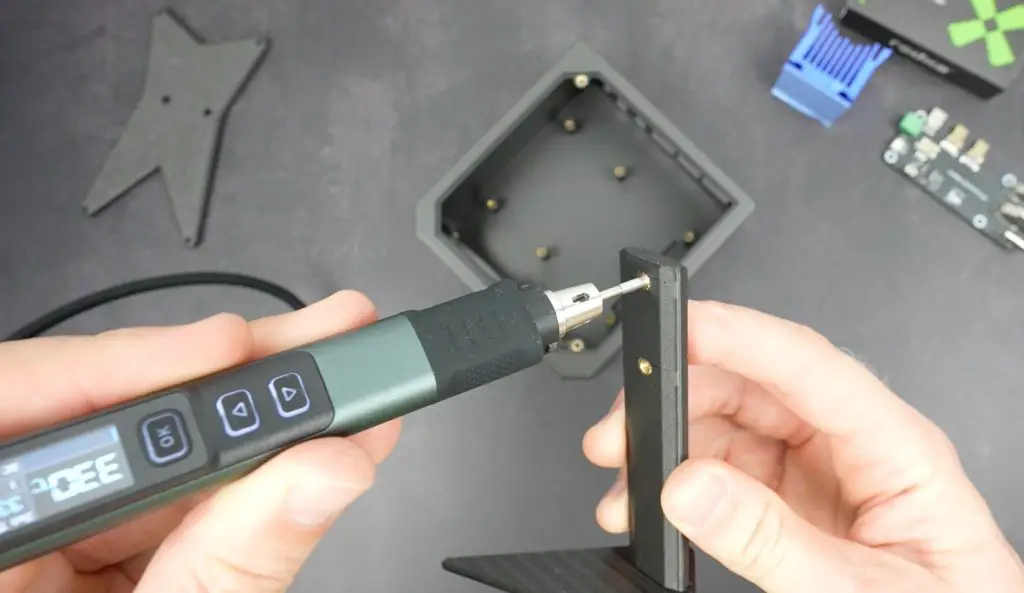
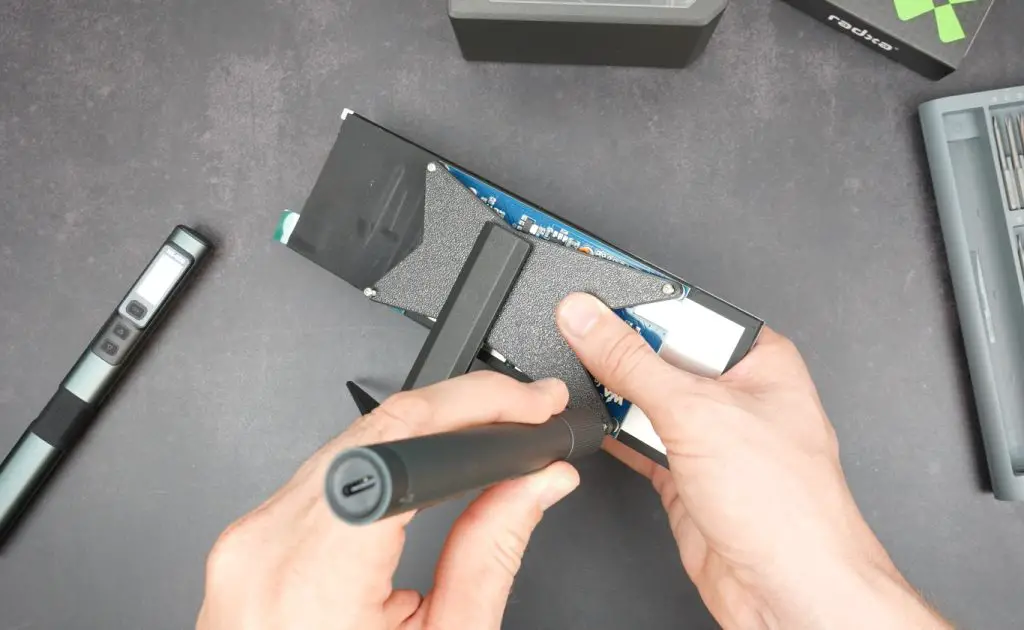
The display holder attaches to the monitor stand with two M3 x 8mm button head screws and then the display holder screws onto the back of the display with four M2.5 x 12mm button head screws.
The monitor is powered by a single USB cable so we can plug that and an HDMI cable into the Radxa X4, and add a mini keyboard and mouse to finish it off.
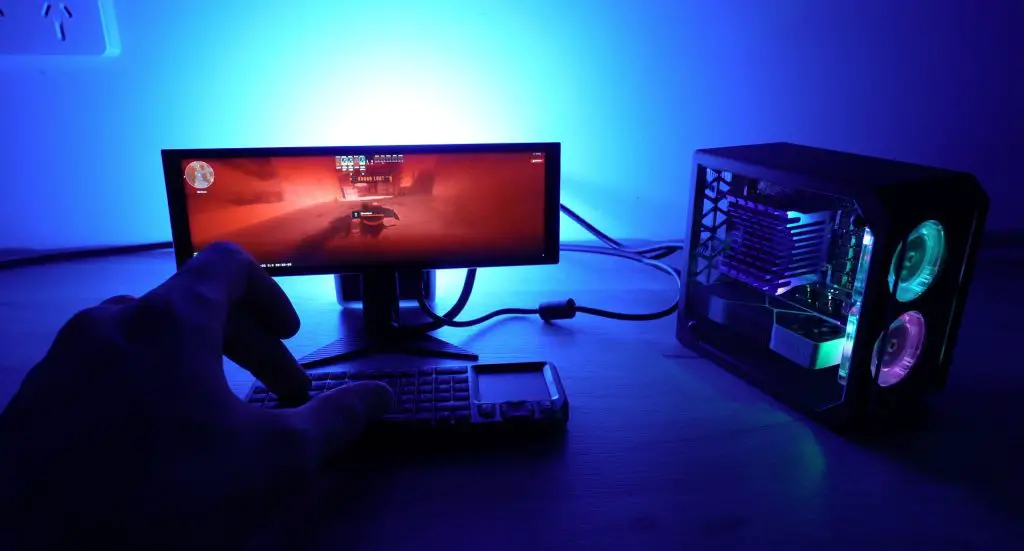
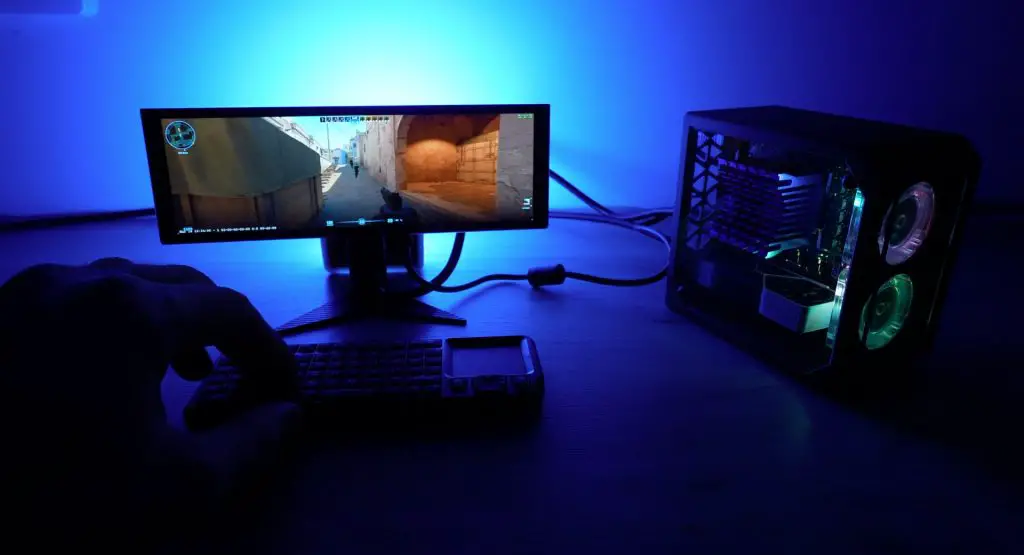
Now The Big Question: Can We Game On It?
Technically yes. It runs Counter-Strike 2 on low settings and gets about 20-30fps at 720p. It’s not a pleasant experience, even with a proper mouse, it’s almost impossible to press more than one key on the keyboard at a time, and the crosshair is about the size of a human hair, so aiming isn’t easy either.
I did manage to get a couple of kills, though!
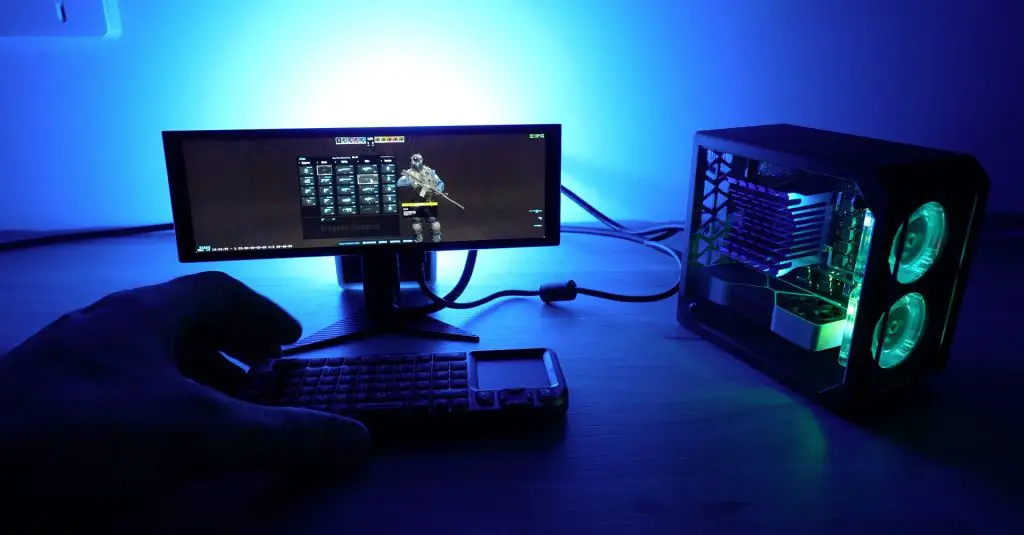

But for a PC that is the same size as a Pi 5, I think that’s quite impressive.

Other Use Cases For The Radxa X4
Obviously, the Radxa X4 is not built to game on, but its form factor and features leave it with a lot of potential for other use cases like;
- Home automation
- Media server applications
- Retro gaming
- Tiny workstation setups
- Low-power home servers
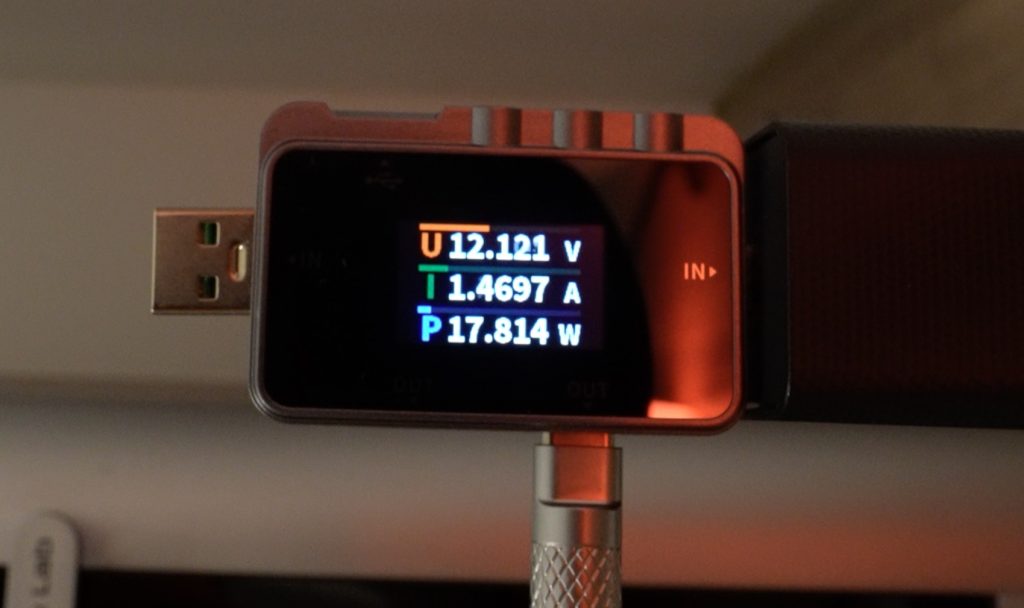
It only draws 17-20W under load during gaming with the monitor attached, making it an excellent option for an energy-efficient mini PC.
Final Thoughts On The Mini Gaming PC Build
The Radxa X4 is a powerful and affordable single-board computer with plenty of possibilities. While gaming performance is limited, its low power consumption, form factor, and expandability make it an excellent choice for home projects.

I’ve put the enclosure up on Bambulab’s Makerworld so you can print your own if you’d like to. Take a look at the Bambulab A1 and A1 Combo if you’re thinking about getting started with 3D printing. The A1 is a great budget-friendly option, and you’ll actually spend your time printing rather than repairing the printer!
What do you think of my Radxa X4 gaming PC? Could you see yourself using it for a home project? Let me know in the comments section!
Could you add costs for the bill of materials, excluding self-printed items? That would be really helpful.
This Radxa X4 sounds like a gaming powerhouse in a tiny package! It’s amazing that it can run Windows 11 and play Counter-Strike 2, all while being smaller than a Coke can. I’m curious how the performance compares to a traditional gaming PC. Have you noticed any lag or issues while gaming? And I’m impressed by all the tools and parts needed for the build. Did you have any trouble sourcing everything? Can’t wait to hear more about your gaming experiences with this little beast!
Great work. Home I’m impressed
Very nice job. It’s exactly what I’m looking for. My proxmox server wil find his place and my jeedom to.
Thanks a lot for all of this
Regards,
Gerard