If you have a chip in your windshield, it is necessary that you get it repaired as soon as possible. A small chip in your windshield can turn into a big crack quite quickly. After the first layer of your windshield is penetrated, it is likely to crack out causing further damage and the need for a costly replacement. Repairing your windshield when you notice a chip will save you money in the long run. You can call a windshield repair company, or do it yourself. They usually sell inexpensive windshield repair kits at your local auto parts store.
What You’ll Need To Repair A Chip Or Crack In Your Windshield
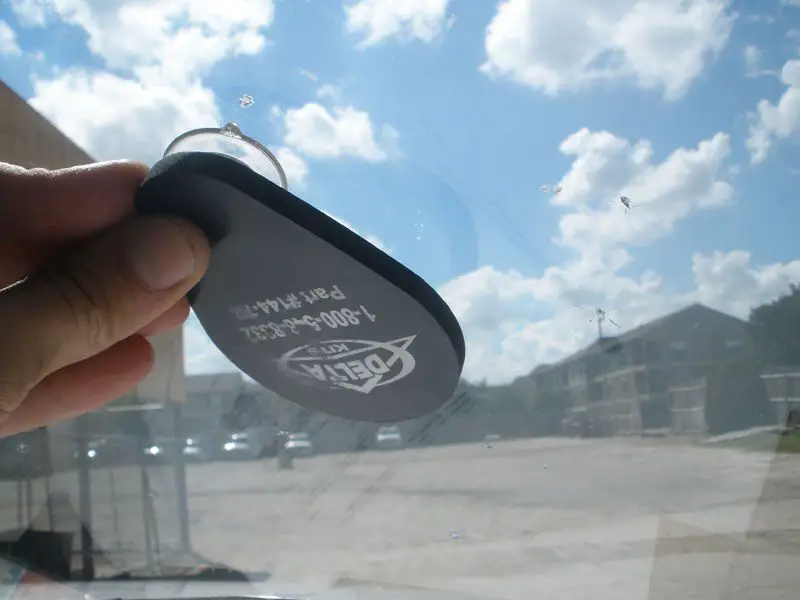
You can purchase a windshield repair kit (such as this one) from your local auto parts store, which will include all the necessary tools and supplies.
- A Mirror to Place on the Inside of the Glass
- A Bridge & Injector
- Repair Resin
- Pit Filler
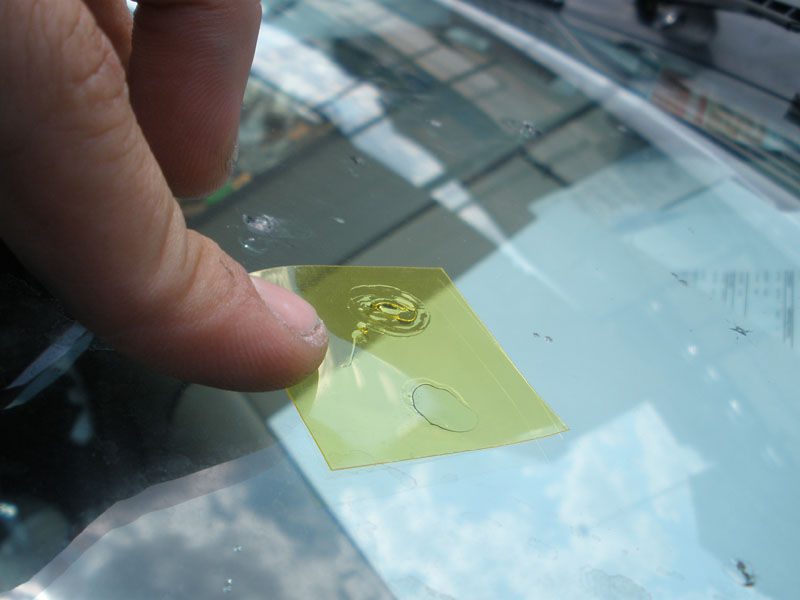
- Plastic Curing Tab
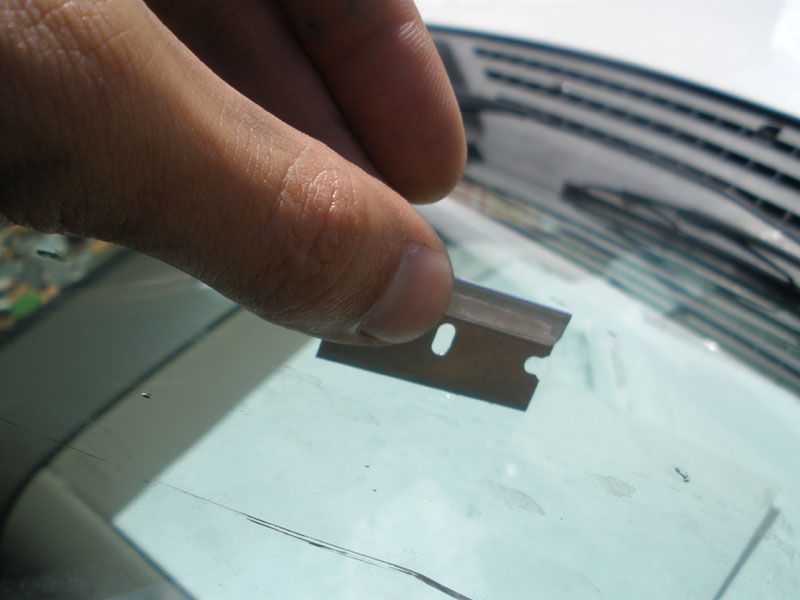
- Razor Blade
How To Repair The Windshield Chip Or Crack
The first step is to prep the chip and windshield for repair, use an alcohol pad to clean the area, and gently scribe out any loose glass from the “impact point”.
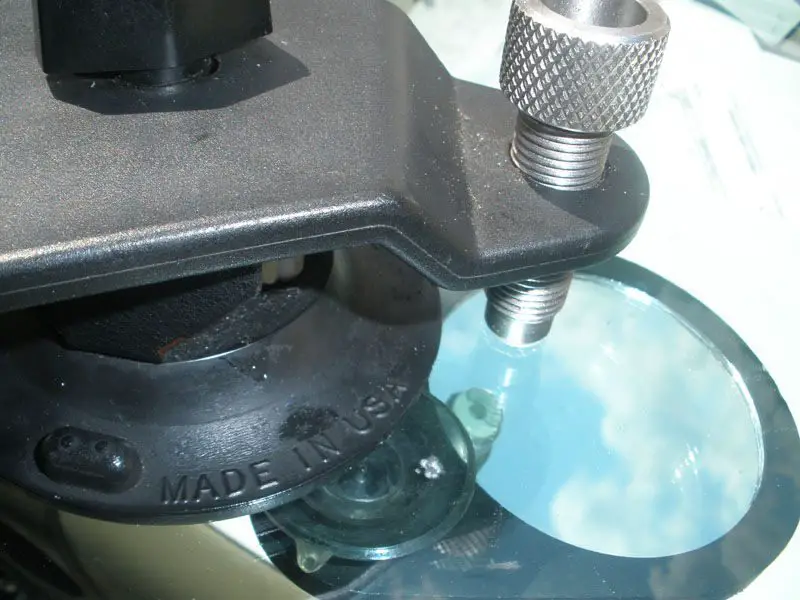
Next, hook your mirror up on the inside of the windshield, centered on the chip you are going to be repairing. This will allow you to keep an eye on the chip from all angles, which is very helpful with all glass repairs.
You want to center your bridge or whatever tool you are using directly on the chip. You basically want to create a seal over the area of the chip that is missing glass.
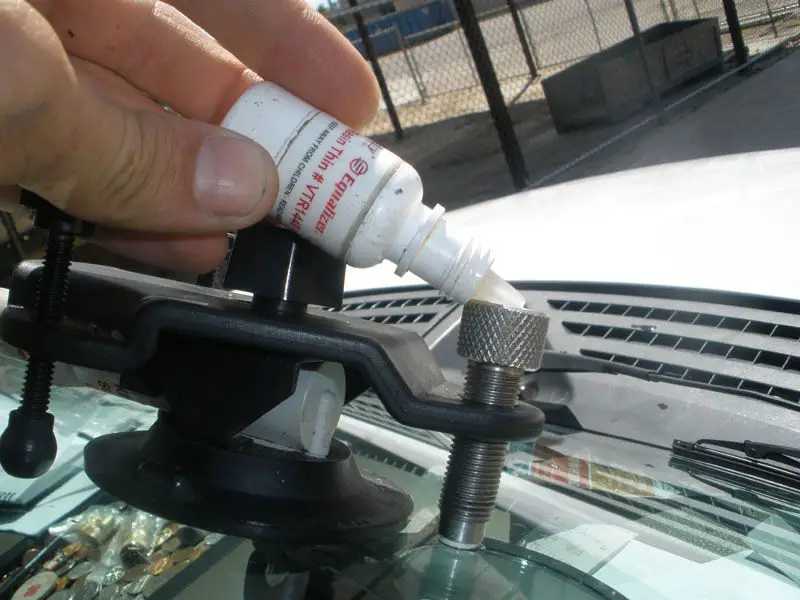
After you effectively have created a seal around the chip, put 3-8 drops of resin into the injector area.
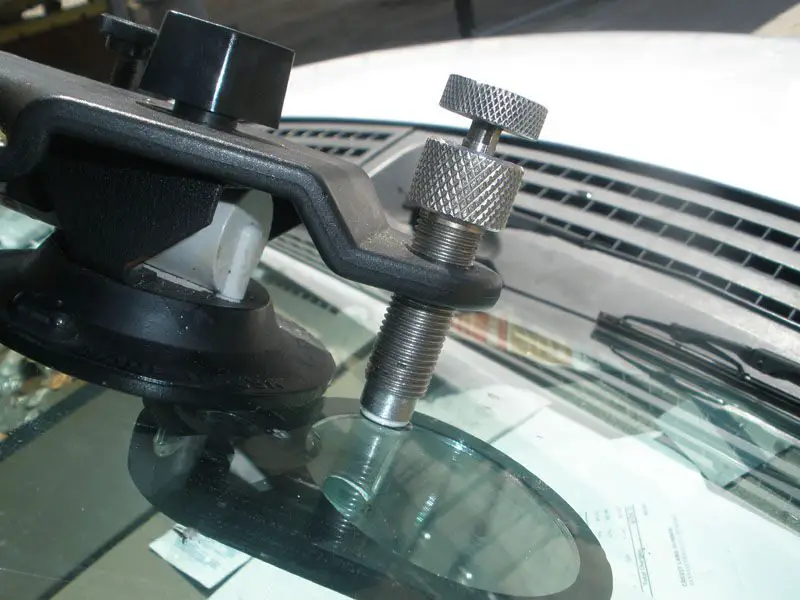
Next, Use the injector to push the resin into the chip. You should be able to see it start to clear up through your mirror. Keep an eye on it, releasing air and re-injecting the resin when needed. Leave it alone for about 5-10 minutes.
Be sure to keep the area covered if you are in direct sunlight, as you do not want the resin to cure prematurely.
After you have let it sit, and it appears as if the chip has cleared up, you can remove the bridge.
The repair is just about complete, but we still need to fill in the “pit” of the chip. The pit is the area where little bits of glass are missing. This step will give the glass a smooth finish once again. Get your pit filler, and drop a tiny bit directly on the impact point. Grab a plastic curing tab, and place over the area. Leave alone in direct sunlight for a minute or so to let it cure.
Grab a razor blade, and hold it securely upright. Scrape off all excess pit filler, leaving only the area where glass was missing filled.
You can even go an extra step and use a light polish on the area to be sure that the area is flush.
Cosmetically windshield repairs clear up anywhere from 30%-80% depending on many variables. Age, Moisture, dirt, location, and temperature all play a roll in the appearance of a repaired chip. Structurally, the glass should be back up to 100%.
Have you tried repairing a chip or crack in your own windshield? Let us know your tips and tricks in the comments section below.
This post is based on How to Repair Your Windshield by Austin Windshield Repair (view original here) and has been modified and used under the Creative Commons license CC BY NC SA.



NICE INFORMATION
I’m a windshield repair business owner myself.
Thank you so much for taking your time to create this page to help others learn how to repair a chipped windshield on their own.
I really appreciate the specific descriptions and pictures used on this site.
https://youtu.be/trDyDWmx2c0 vaping kills
I like what you said about waiting until the chip clears up. I need to get my windshield replaced since we hit a deer. We’ll have to get the window replaced before I get a ticket.
This article is very informative & packed with valuable information on the repair of the windshield chip.