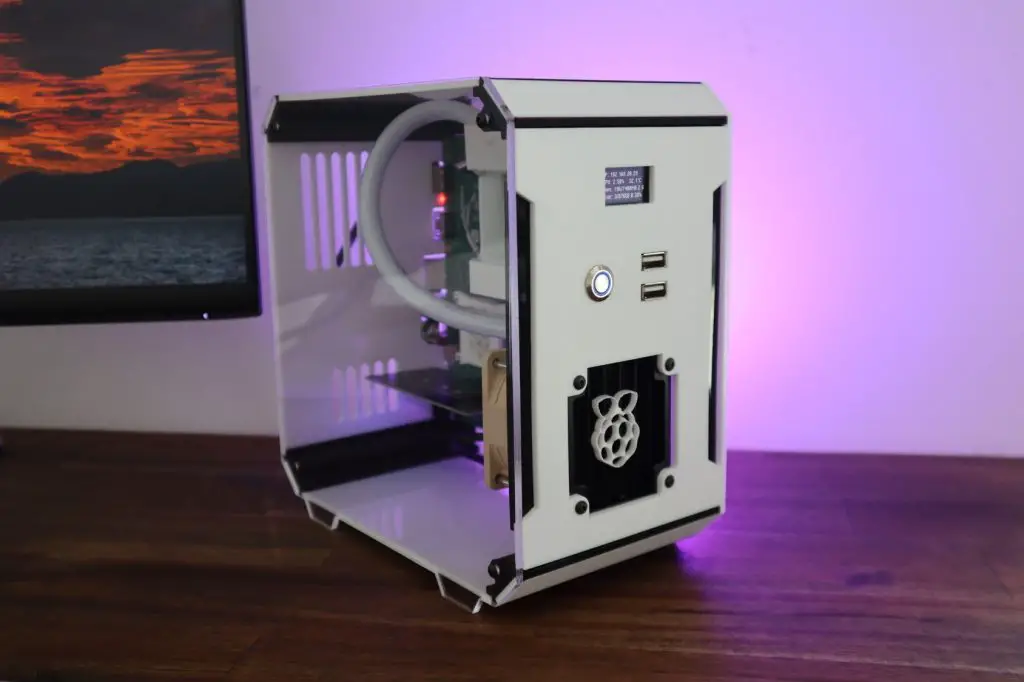
A while back, I built a water-cooled Raspberry Pi 4 computer using a Pi CM4 module and the official IO board. This computer and its water-cooling loop worked well but was quite bulky for a Raspberry Pi build, so I recently wondered how I could make it more compact.
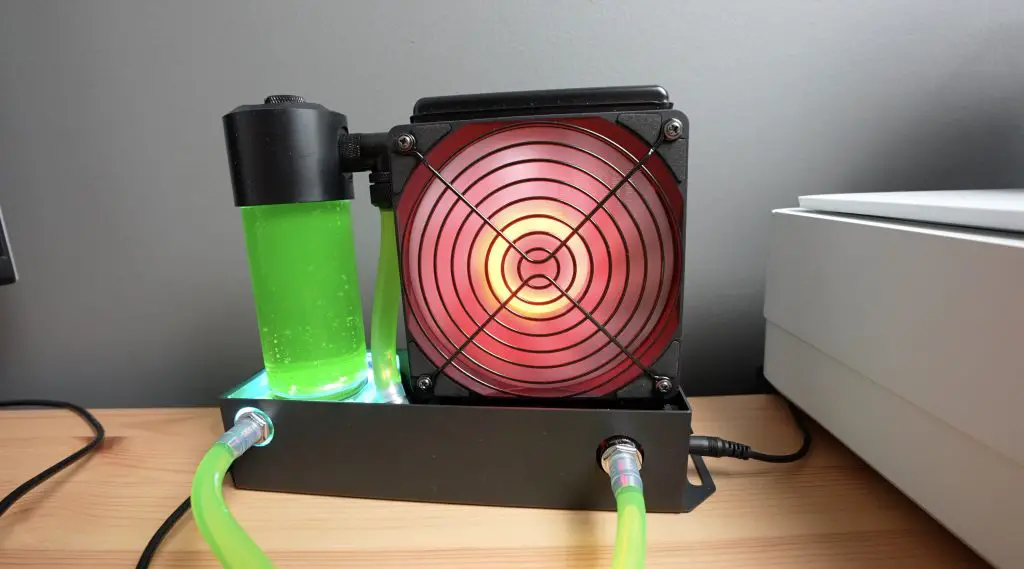
One of the challenges with this type of build is that standard water cooling parts for computers are just way too big. Even the most compact pumps, reservoirs and cooling blocks are much larger than a Raspberry Pi. You can comfortably cool a whole cluster of Pis with a single water cooling kit for a full-size PC.
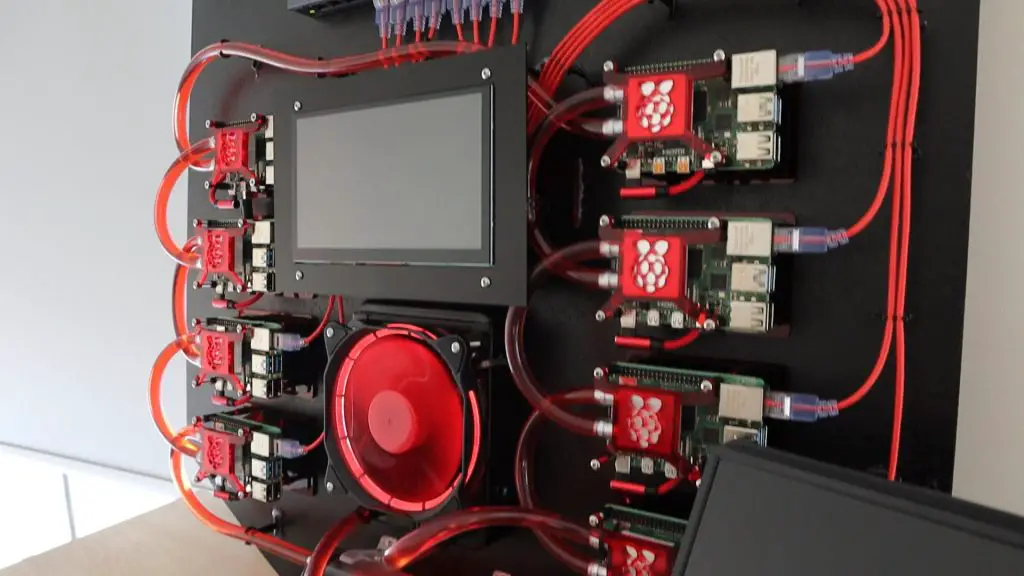
So we’ll need to use more unconventional hardware and in some cases, make our own parts.
Here’s my video of the build, read on for the write-up:
Parts Used To Build My Pi 5 Case With Integrated Water-Cooling
- Raspberry Pi 5 – Buy Here
- MicroSD Card – Buy Here
- Raspberry Pi 5 Power Supply – Buy Here
- Ice Pump Cooling Block – Buy Here
- 5V Submersible Pump – Buy Here
- 60mm Radiator – Buy Here
- 60mm 5V Fan – Buy Here
- M2.5 x 6mm Button Head Screws – Buy Here
- M2.5 Brass Inserts – Buy Here
- 2mm Clear Acrylic – Buy Here
Equipment Used
- USB-C Pencil Screwdriver – Buy Here
- TS100 Soldering Iron – Buy Here
- Elegoo Mars Ultra 5 SLA Printer – Buy Here
- Bambulab X1c FDM Printer – Buy Here
- Omtech Polar Laser Cutter – Buy Here
Designing The Water-Cooling Case
I tried this water cooling kit for a Pi 5 earlier in the year and this kit has a nice waterblock design but the radiator and fan are overkill.
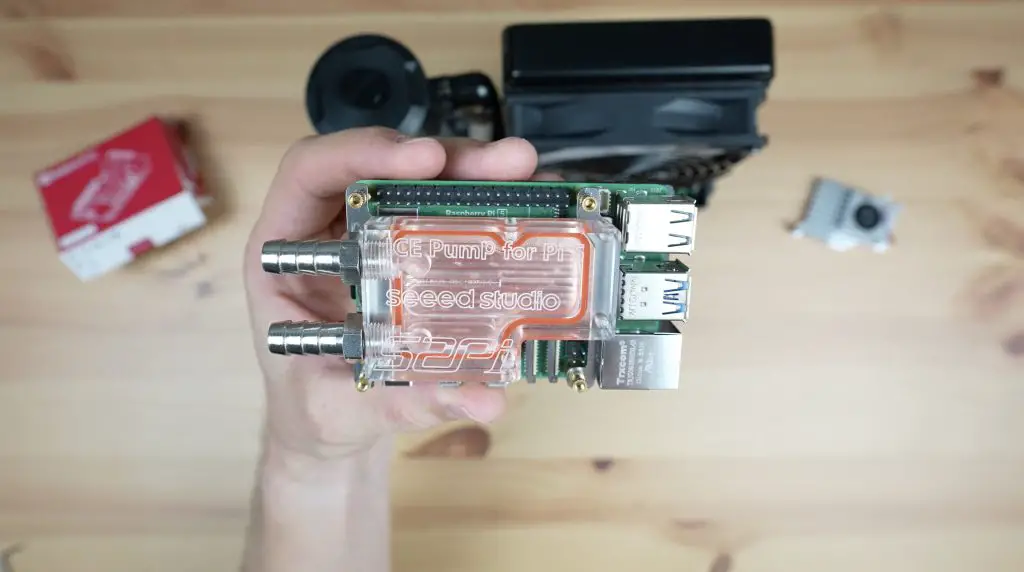
The acrylic top of this block got me thinking that maybe I can design a new top for the copper base that incorporates some of the tubing and perhaps even a reservoir which I can 3D print as an all-in-one design to make the whole water cooling loop a lot more compact.
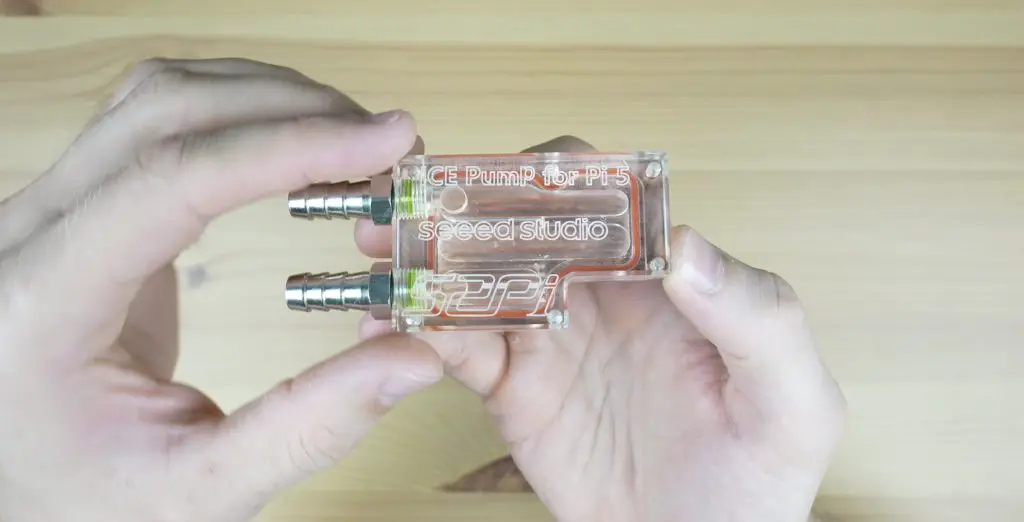
This way I only need to add a fan, radiator and pump to the case and the 3D print will take care of connecting them all together and will store the additional cooling liquid.
So I opened up Fusion360 and started modelling the components.
The design of this case was quite a long process – probably one of the most complicated ones that I’ve done. In the end, I settled on a design that has the Pi mounted vertically towards the back of the case, with cutouts for the ports out the back.
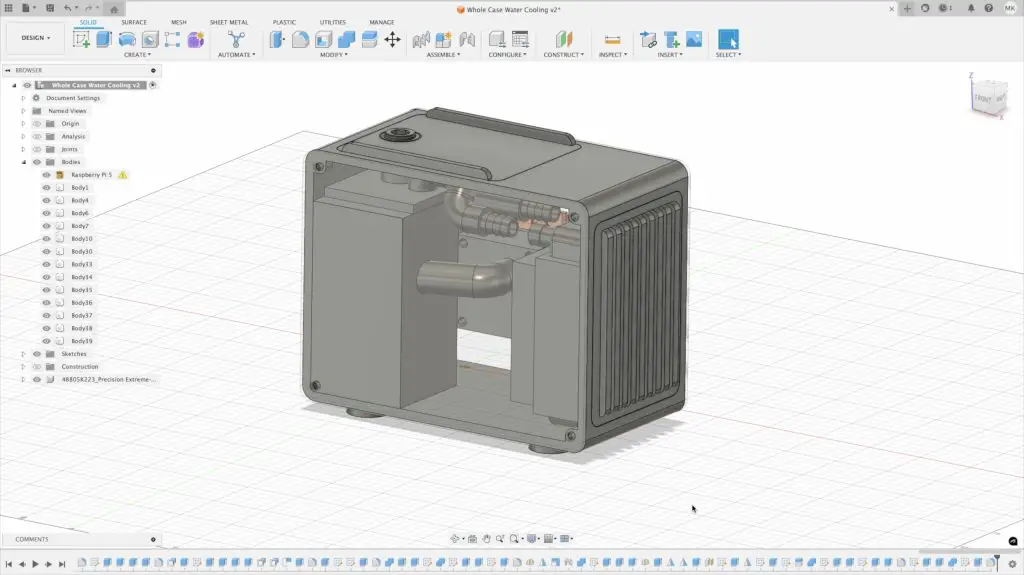
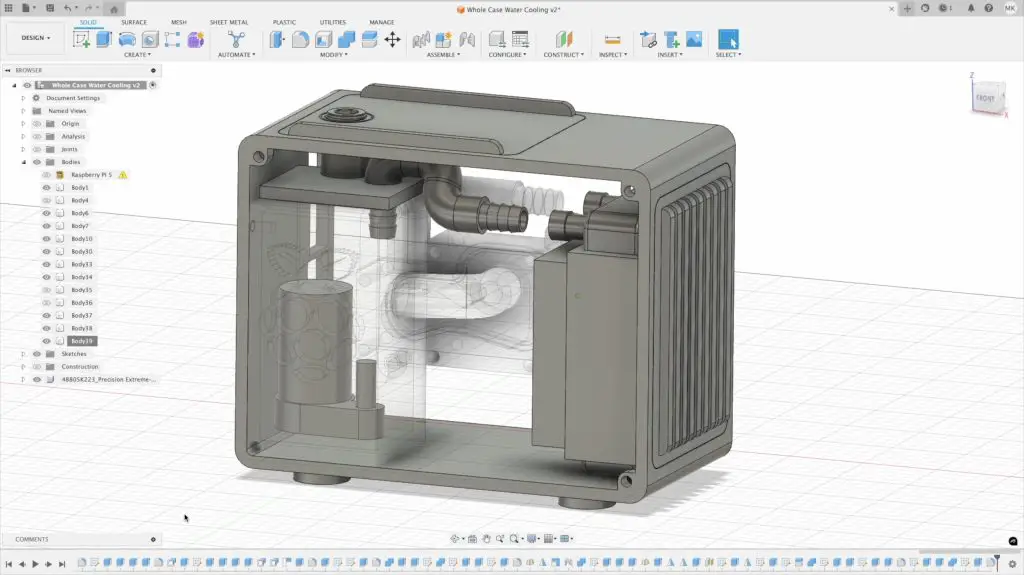
The Pi screws onto the cooling block through the side panel and on the opposite side is the reservoir with an integrated pump. On the front, we’ve got the radiator and fan. The cooling lines are all integrated into the print as far as possible with short flexible runs to the radiator.
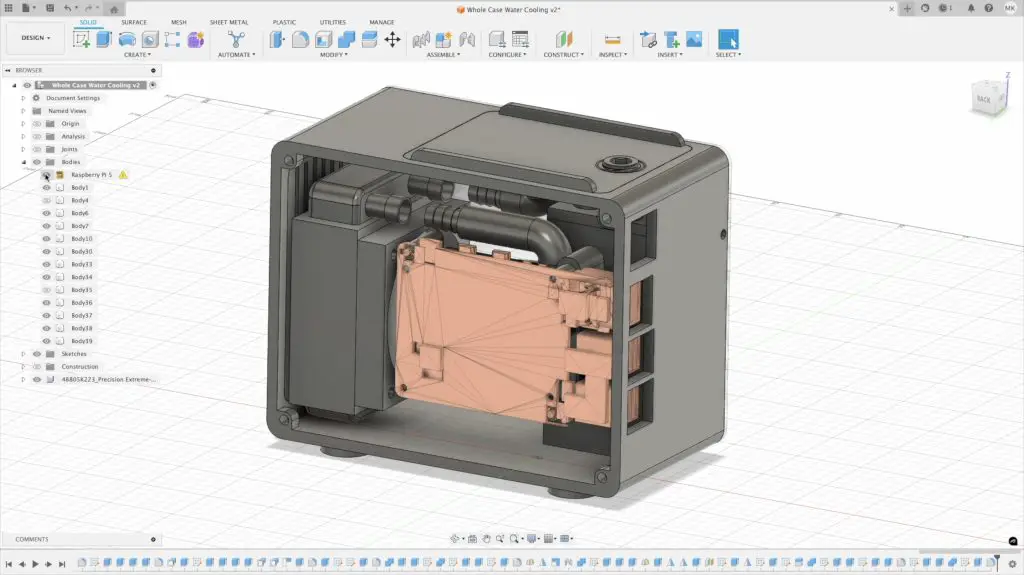
I then went and added some design features to the case like a grill to cover the radiator, a top cover to install the pump through, some feet and a Pi logo on the side of the reservoir which I’m hoping will be a bit more visible with a contrasting coloured coolant.
3D Printing The Pi 5 Case
My first thought was to try to print the case out as a large single resin print so that the water cooling loop really is a part of the case. This turned out to be a bit of a mess. I couldn’t get good results with a transparent resin and such large overhanging areas. The print came out distorted and generally looked terrible.
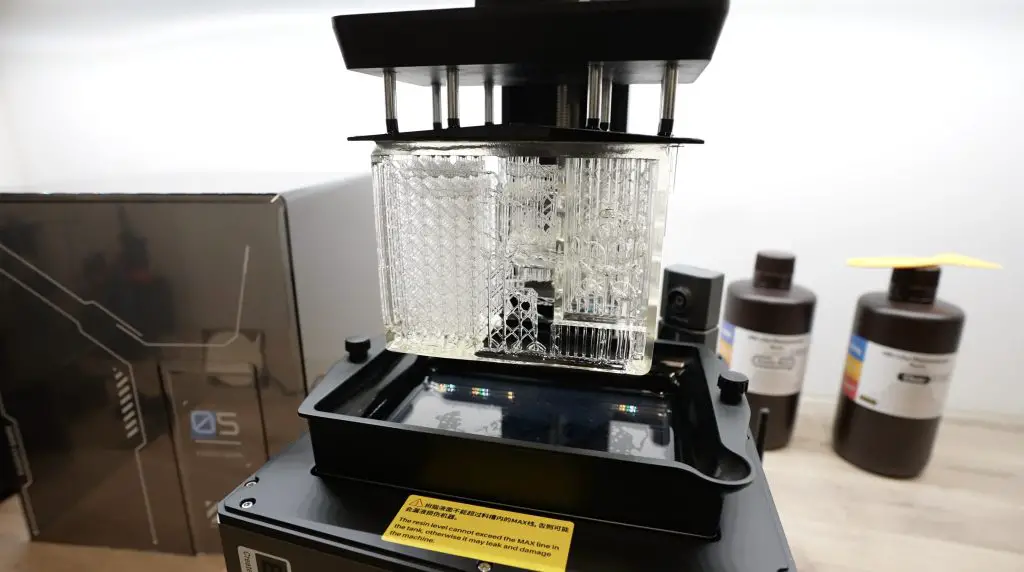
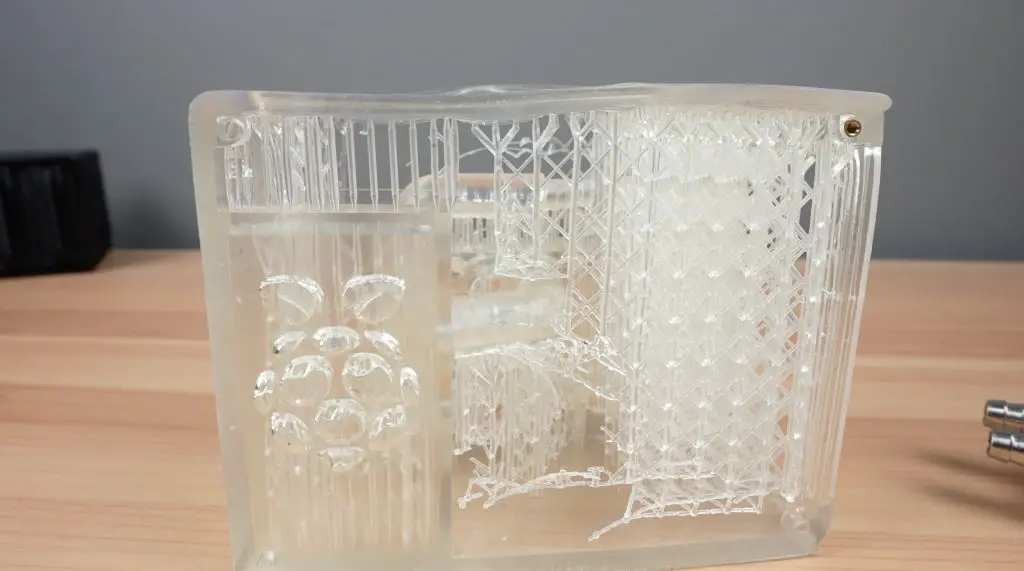
I then tried printing the whole case on an FDM printer. This surprisingly holds water better than I expected it to, but you can’t actually see the coolant and under pressure tiny leaks form droplets along the seams and leak into the infill.
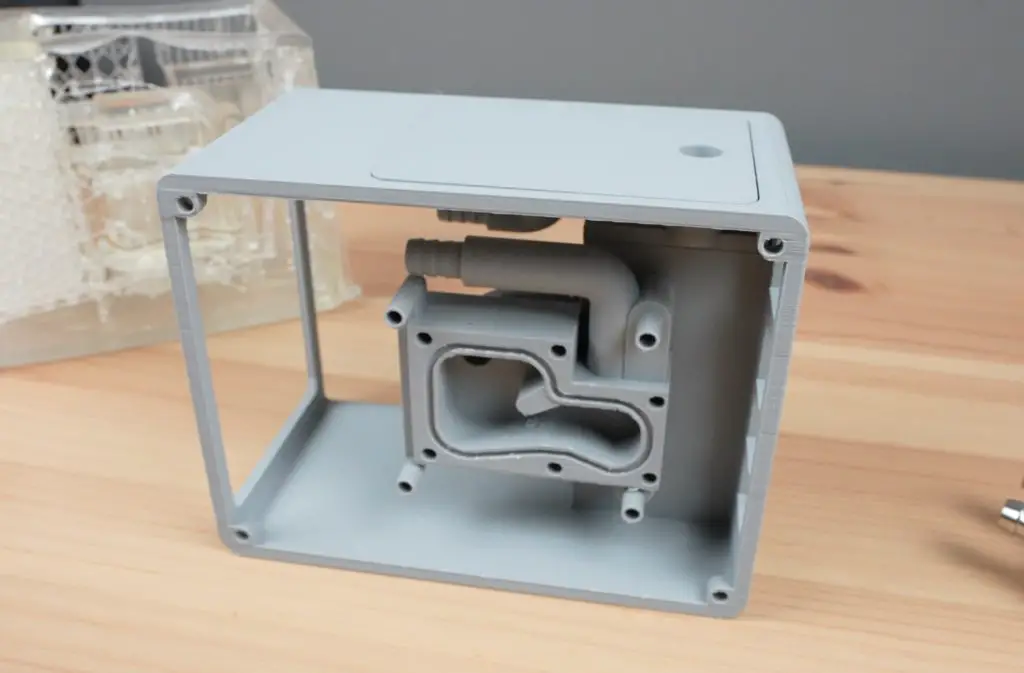
So, I abandoned the single large print idea and instead separated the tank, block and cooling lines from the case so that I could print each part on the printer best suited for that particular part.
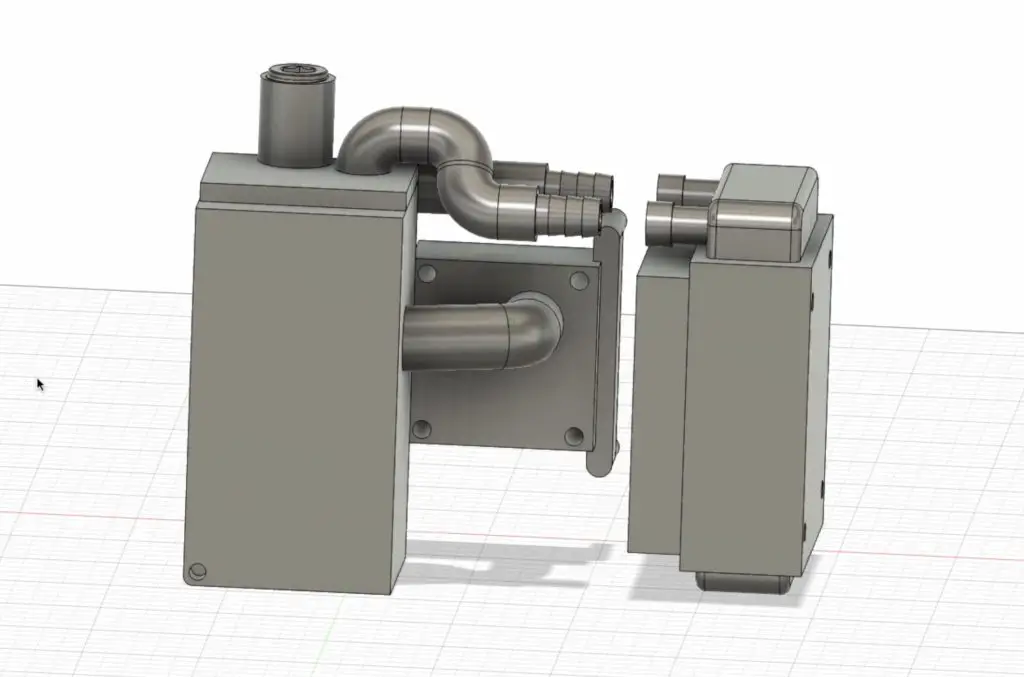
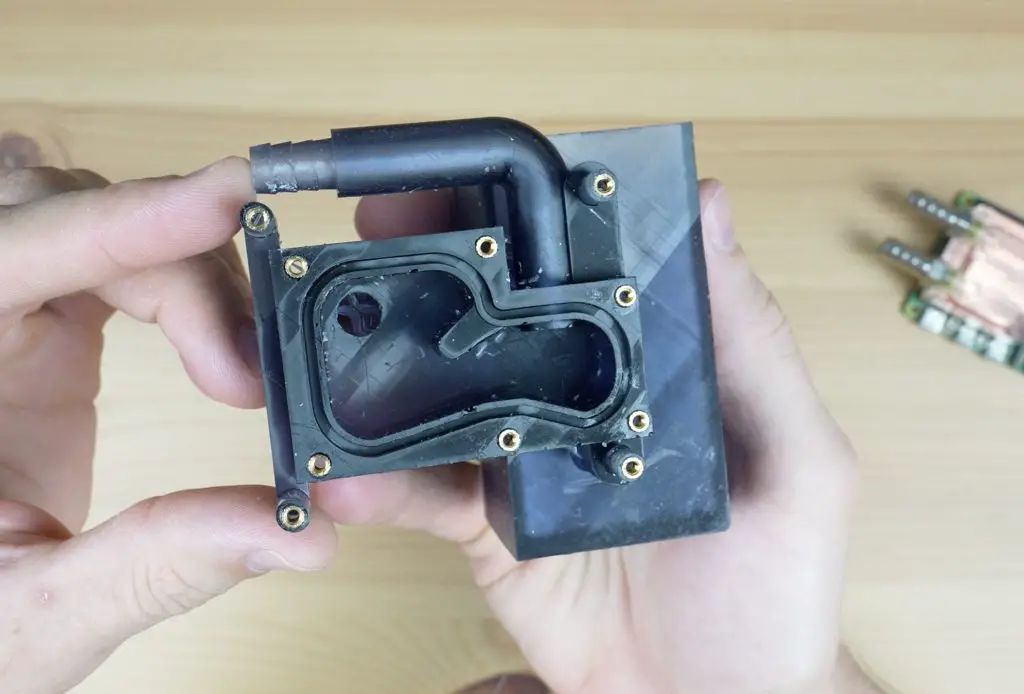
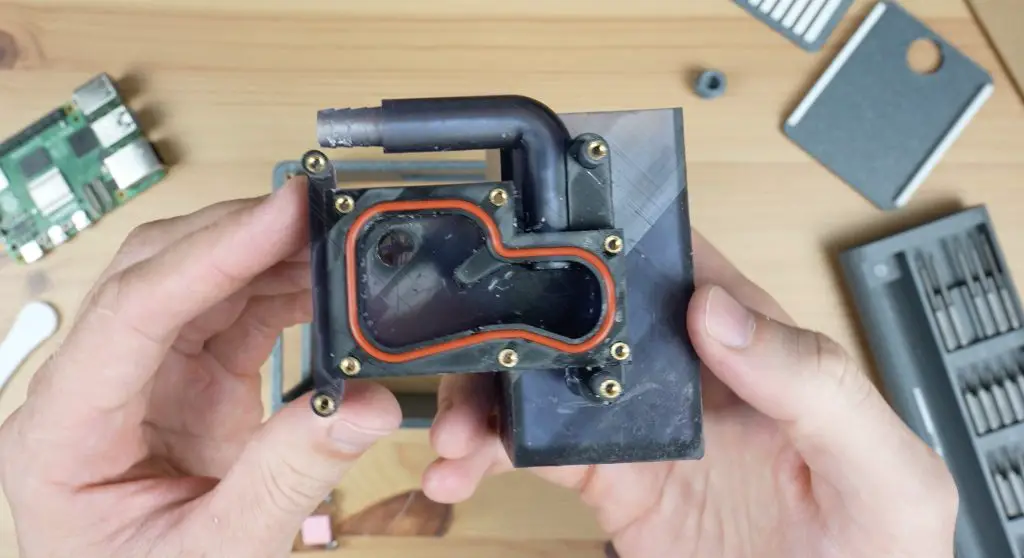
I printed the tank and block with its cover out first. I printed this in a smokey black transparent resin. This came out looking better than clear – mainly because the clear kept turning a weird shade of yellow when cured. The smokey black still provides some visibility into the tank and water cooling lines. After washing off the uncured resin, I put brass inserts into the print to mount components onto and then cured it under UV light.
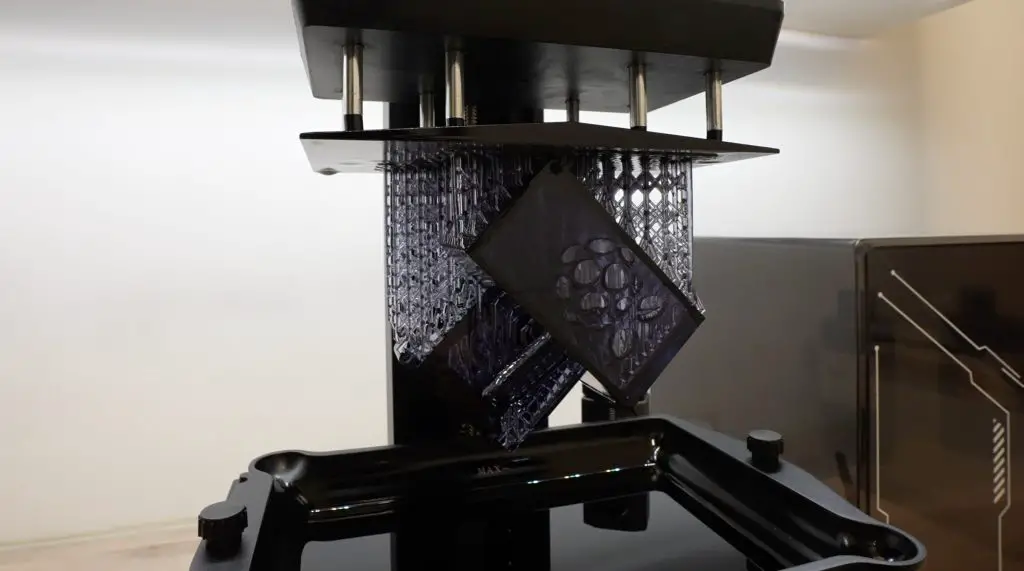
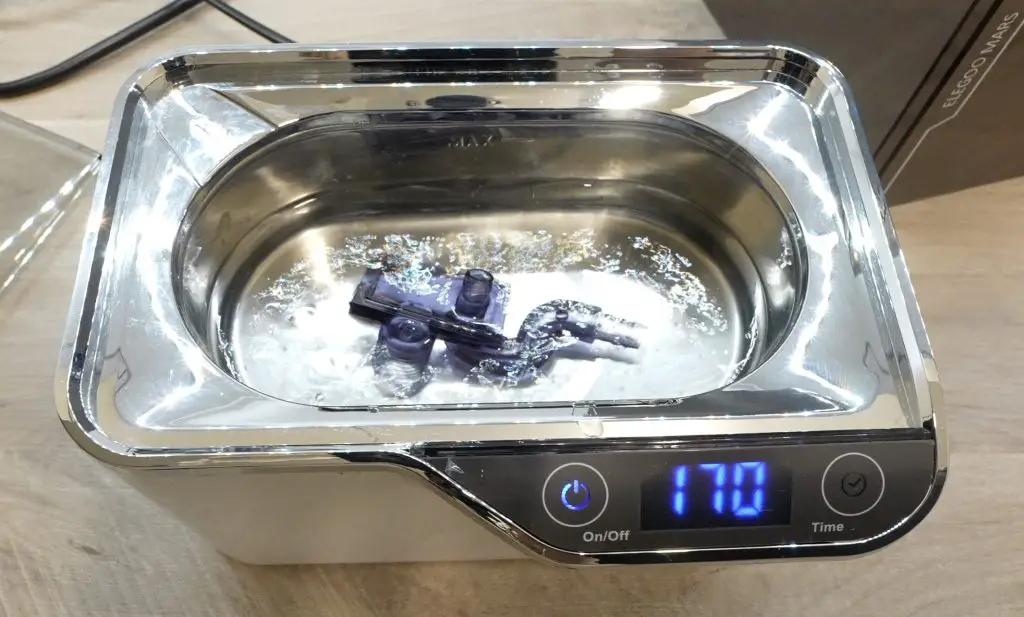
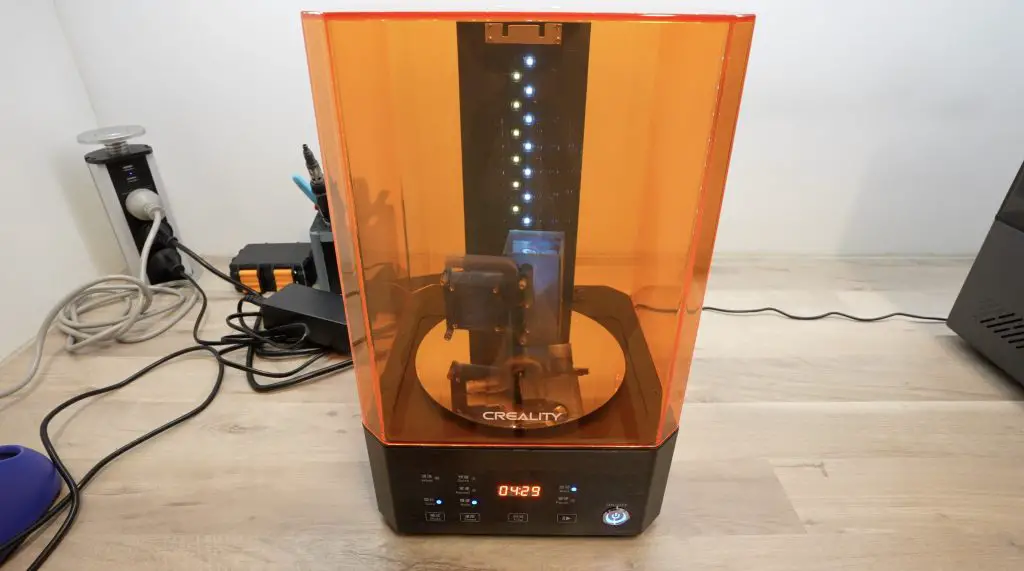
I’m really happy with how this print turned out on its own.
Next, we need the case and covers.
I printed the main body of the case in a dark blue sparkle PLA with white accents on the fan grill and top cover, and white feet. These will hopefully work well with the white coolant I plan to use in the reservoir.
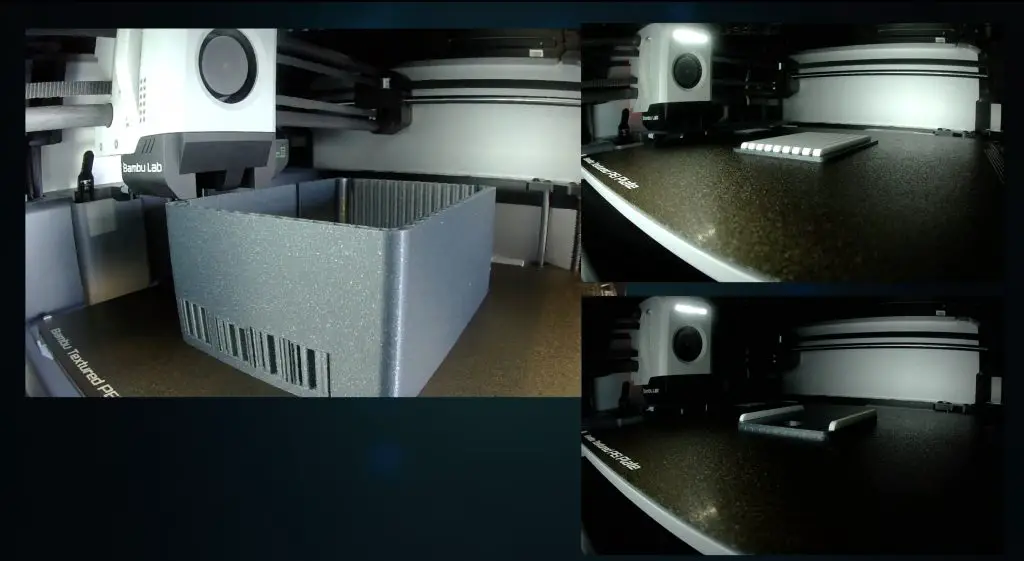
These parts also came out well – well at least much better than the sad resin print looked.
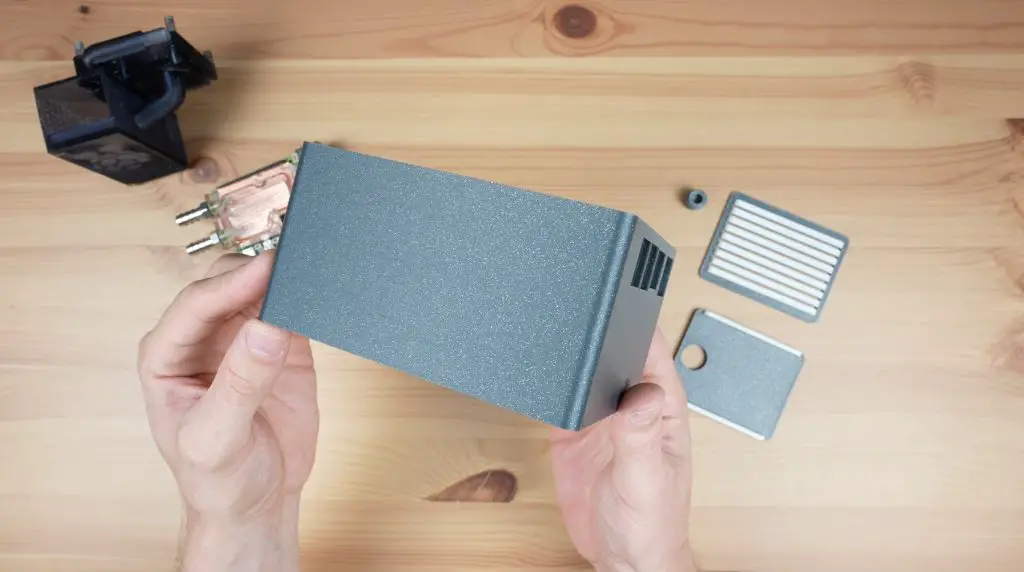
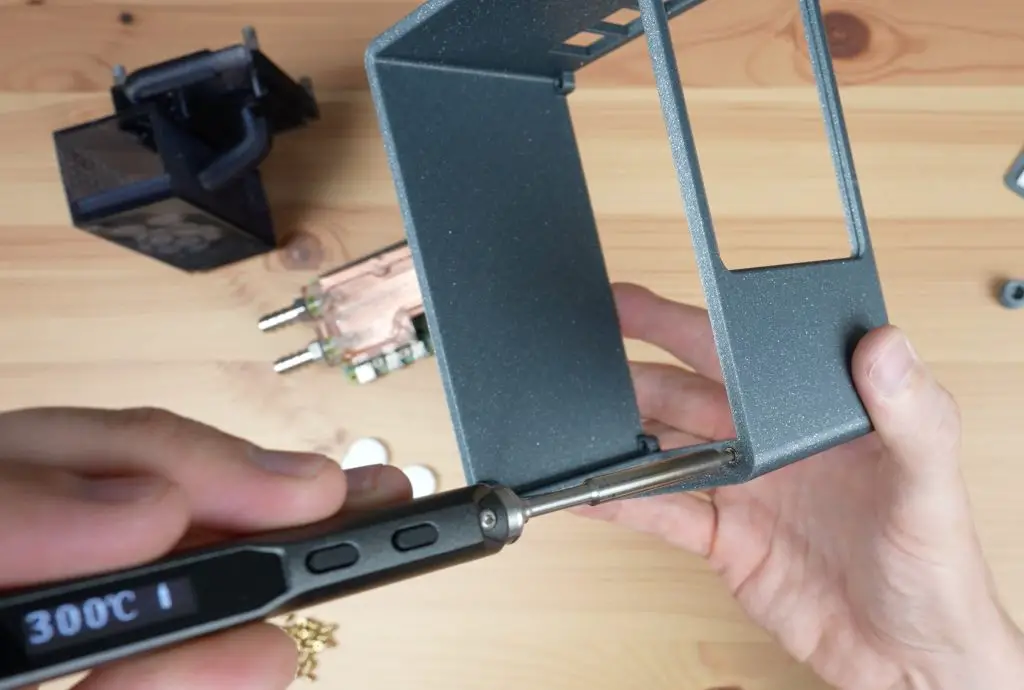
To finish these parts off, I just need to add some M2.5 threaded brass inserts to the main body of the case, which I’ll do with a soldering iron.
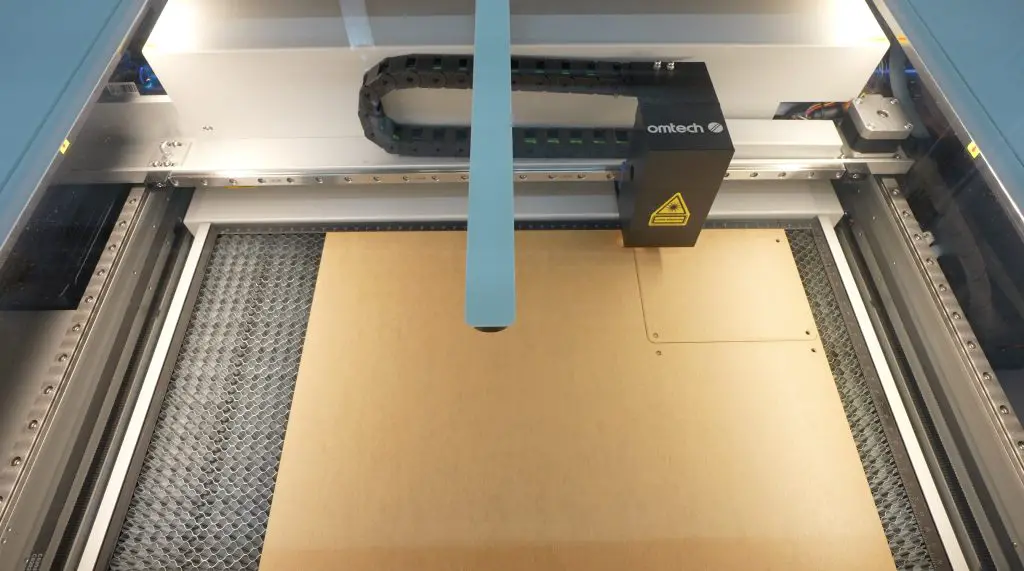
Lastly, we need the side panels. Like with my other case designs, I went with clear acrylic for the side panels so that the internals are all visible. These are cut laser cut from a sheet of 2mm clear acrylic.
Assembling The Water-Cooling Case
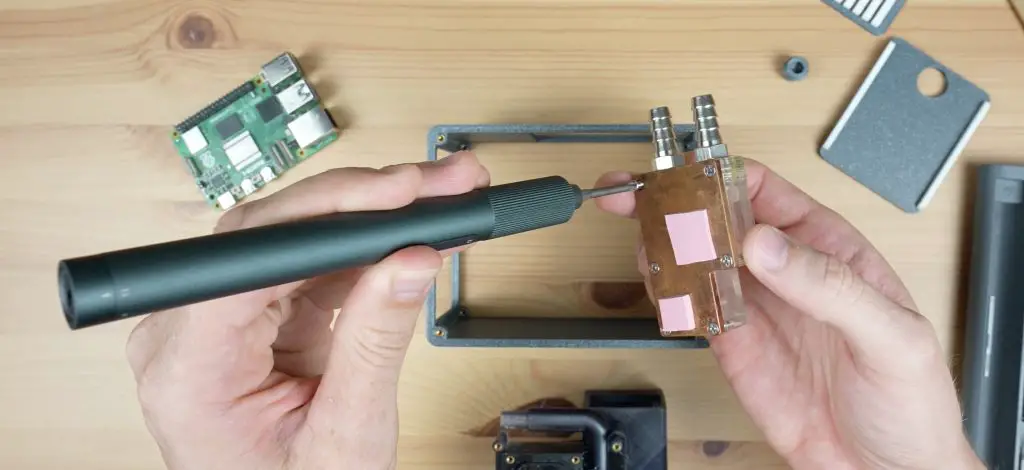
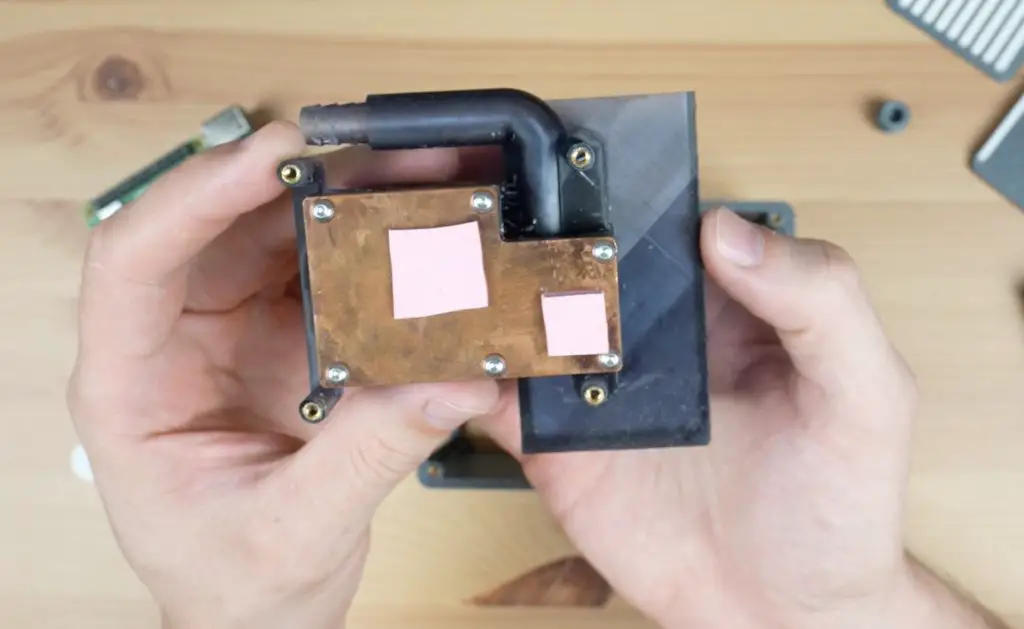
I’ll start by assembling the cooling loop. First, let’s add the copper heatsink to the cooling block. My design uses the same o-ring as the original, so we can just swap it over. I hope I’ve got the dimensions right on the o-ring so that this doesn’t become a leak point!
For the pump, I’m using a 5V submersible USB pump. I’ve cut the connector off and I’ve crimped DuPont connectors onto the wires to plug directly into the Pi’s GPIO pins for power.
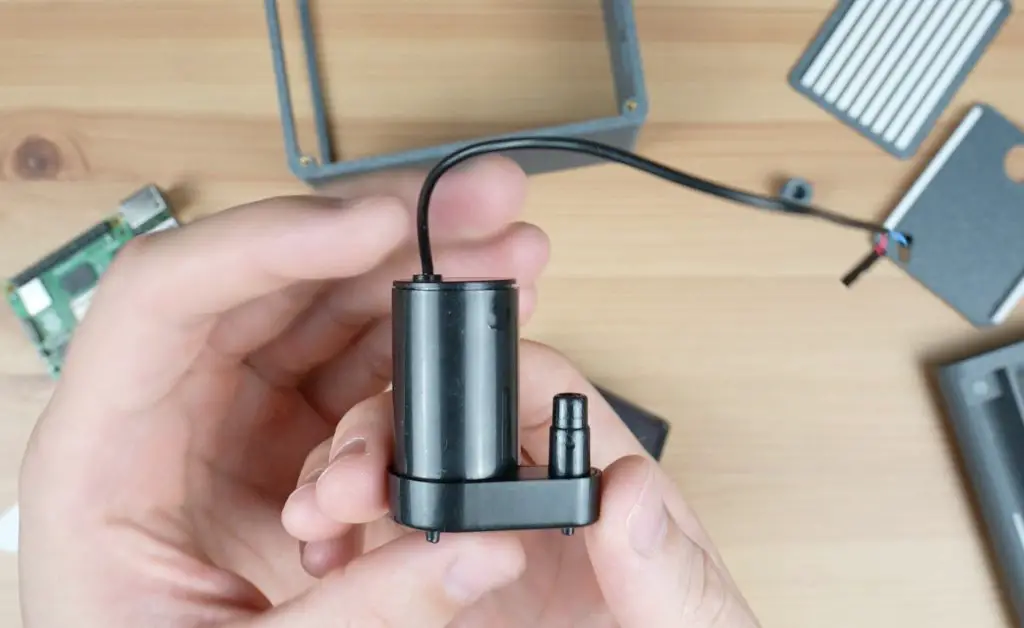
The pump also needs a short section of flexible tubing to connect it to the outlet through the top of the reservoir. I’ve put a zip tie on the pump outlet because it felt a little loose.
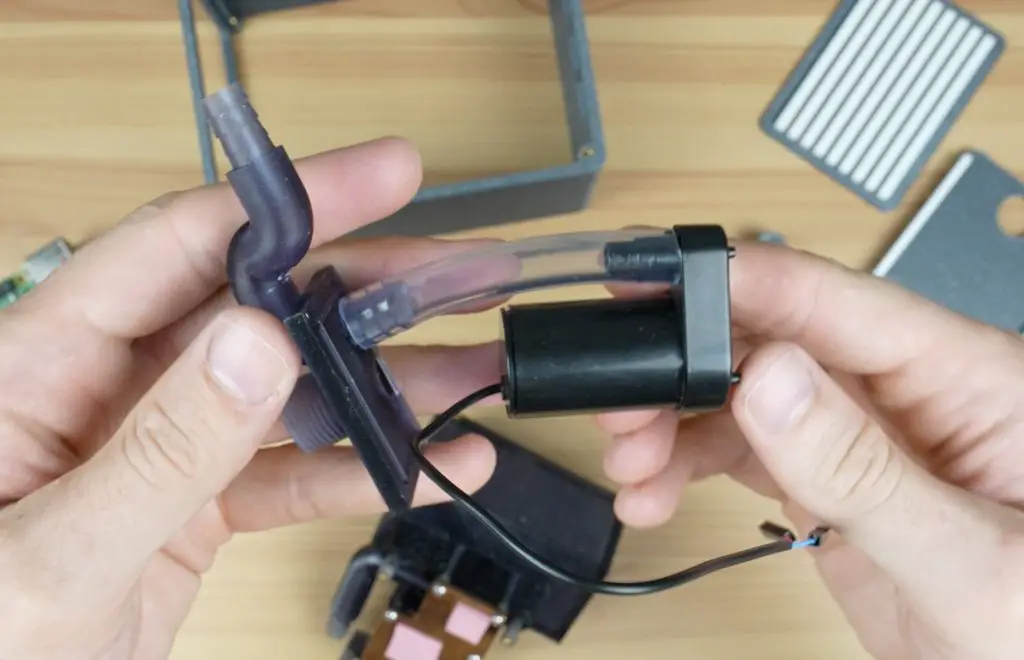
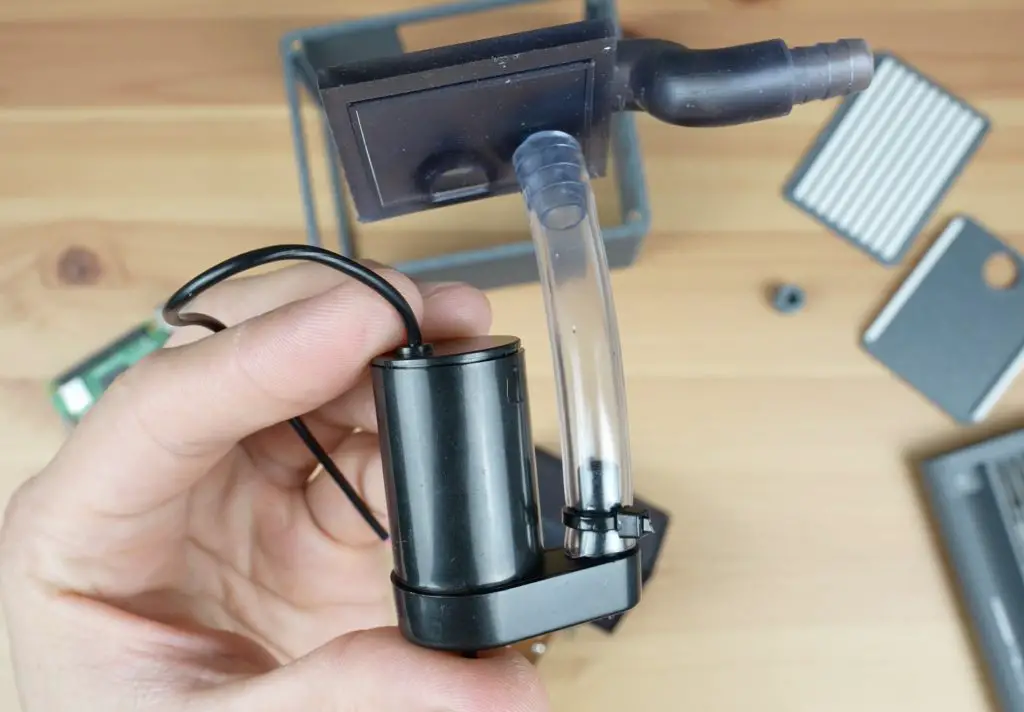
We can then connect the radiator to the loop.
This also needs some flexible tubing but first I’m going to mount the fan onto it. This is a 60mm radiator and I’ve got a 60mm 5V fan to mount onto it.
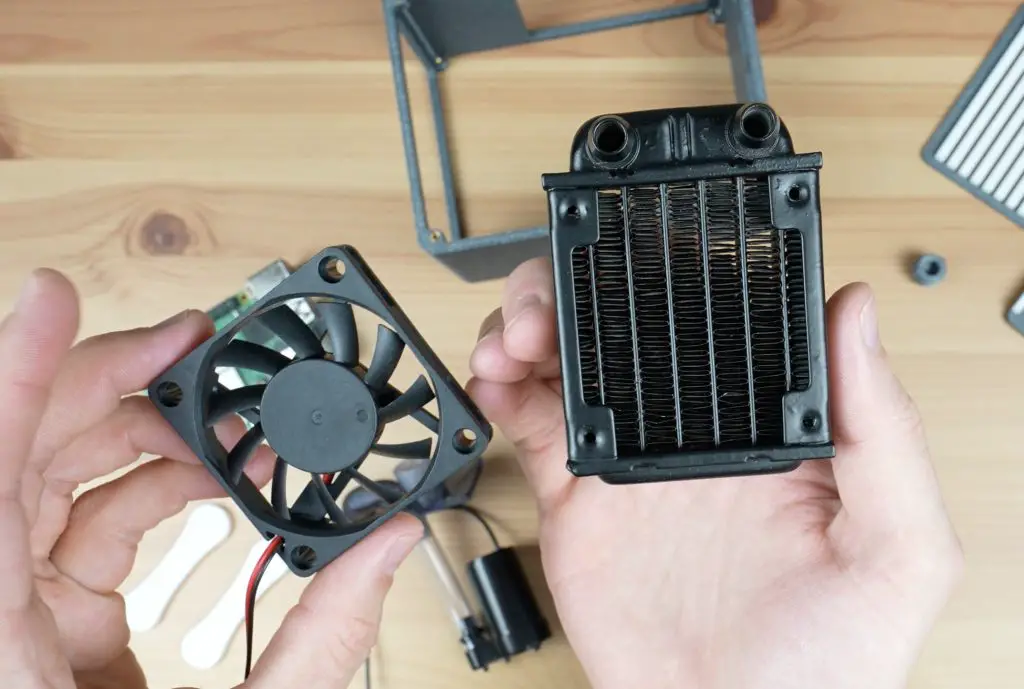
Similar to the pump, I’ve crimped connectors onto the wires to plug it into the Pi’s GPIO pins.
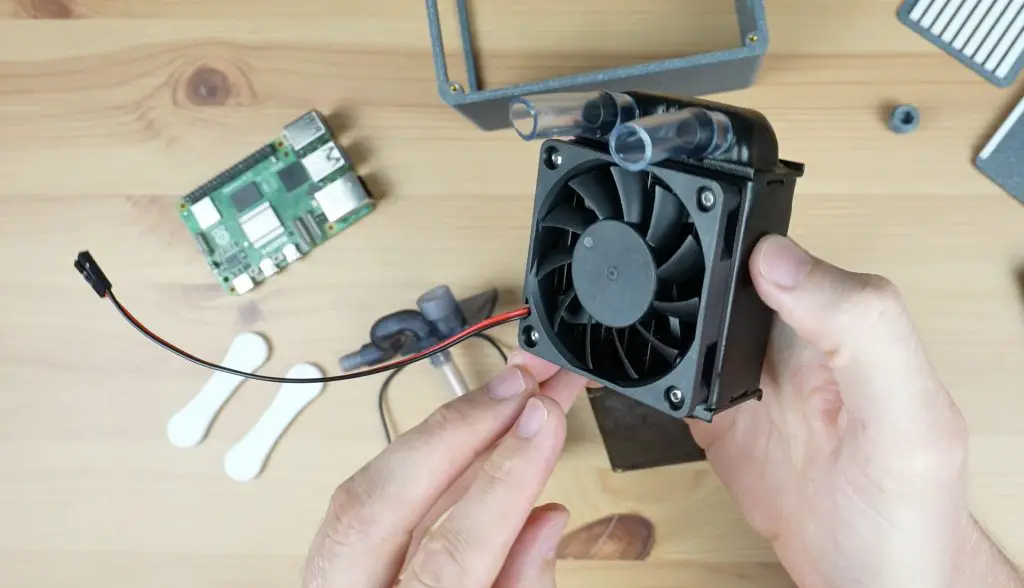
With the cooling loop mostly assembled, I’m going to give it a try before closing the reservoir and installing it into the case so that I can fix any issues with leaks or power while I still have easy access to it.
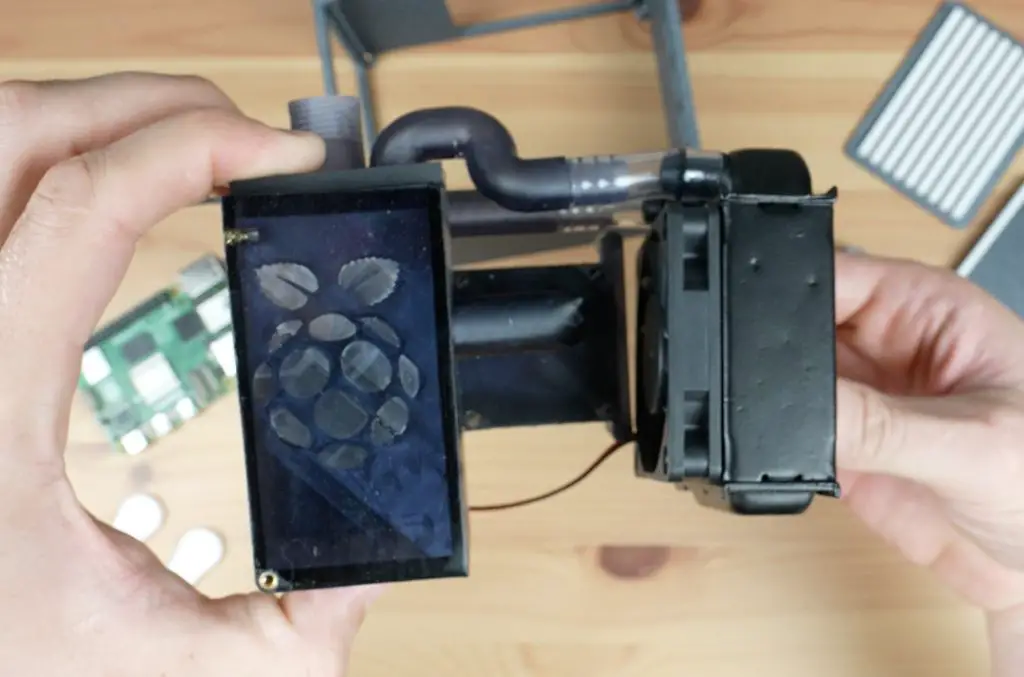
With some water added to the loop and power being provided by a 5V supply, it doesn’t look like we have any major problems. I left this to run for half an hour just to be sure and I had to repair two tiny holes in the resin print.
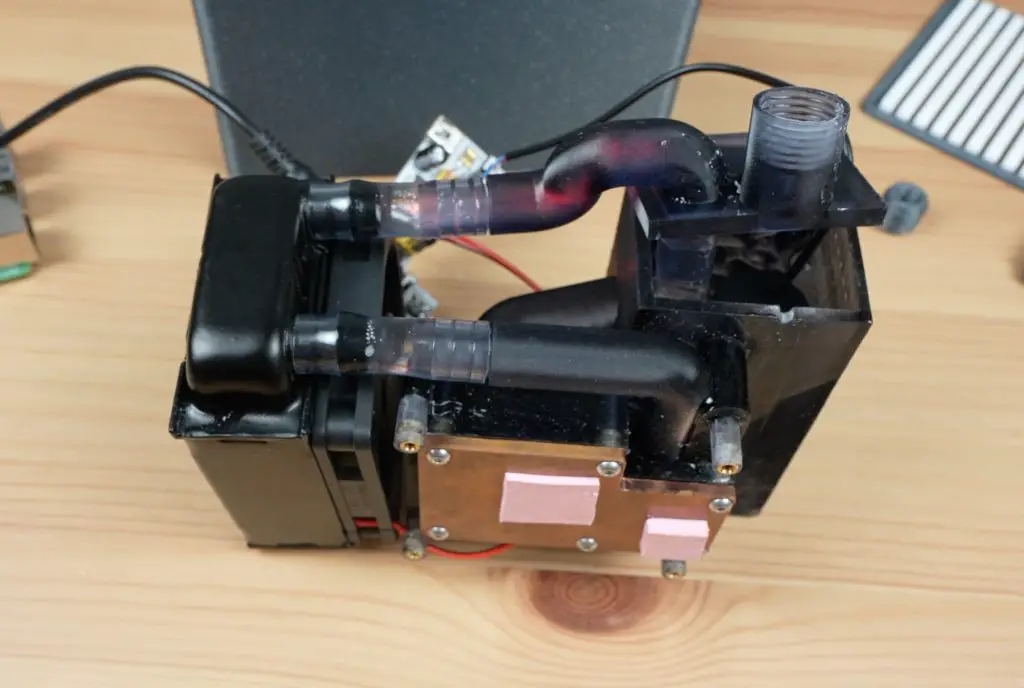
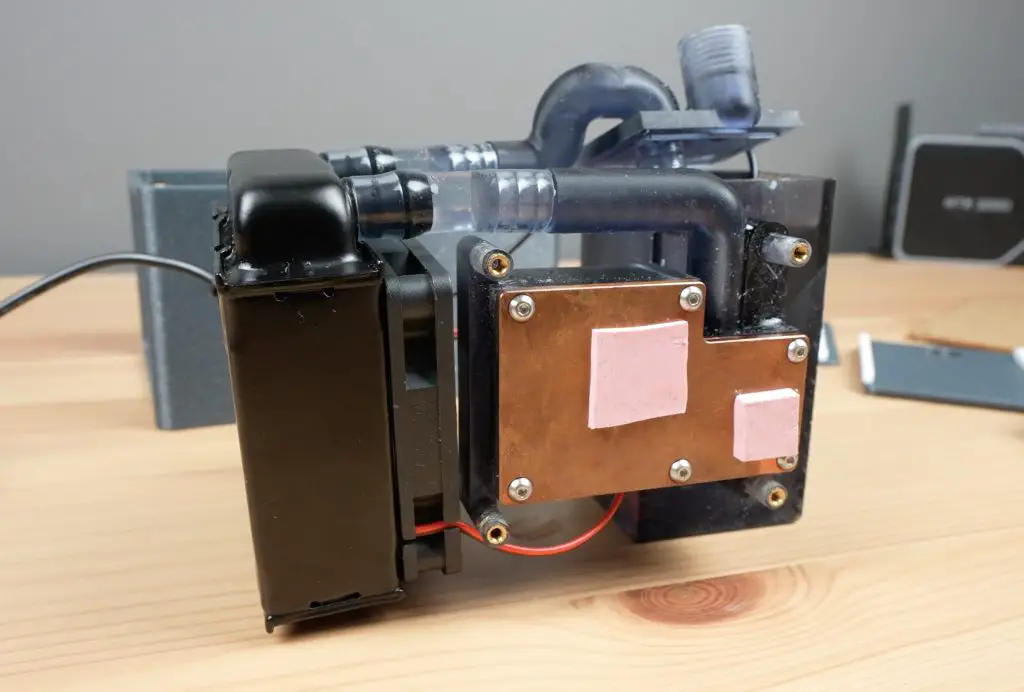
We can then close the reservoir up. I’m using a couple of drops of hot glue for this so that it holds it in place enough that it doesn’t fall apart but not too much so that I can’t get it apart again if I need to access the pump.
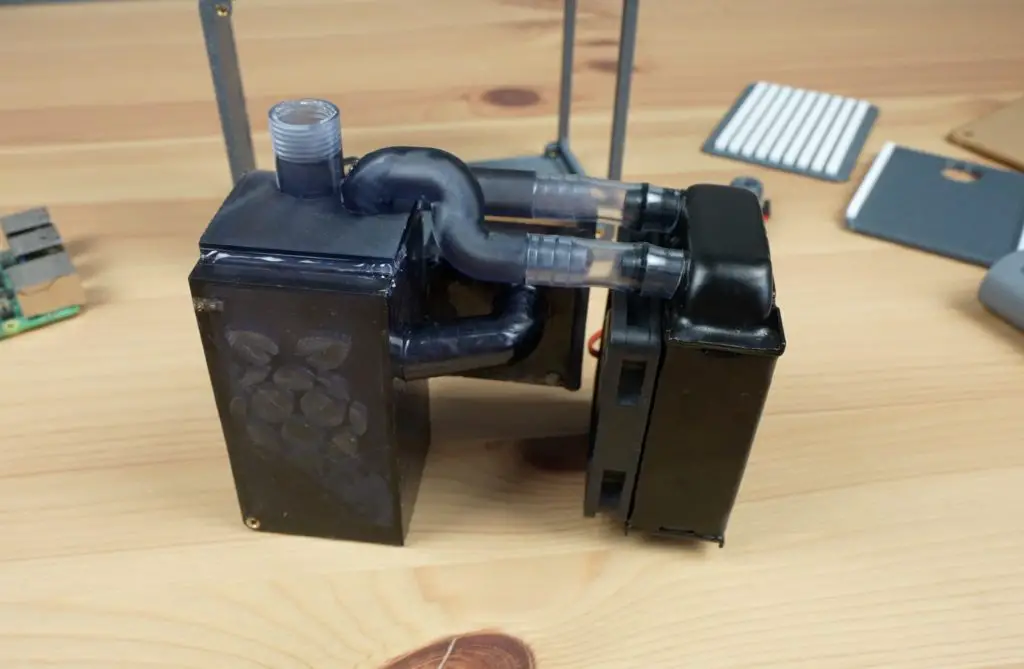
The whole assembly can then be put into the case. One screw holds the reservoir in place for now but this will be supported by a second when the side panel is installed.
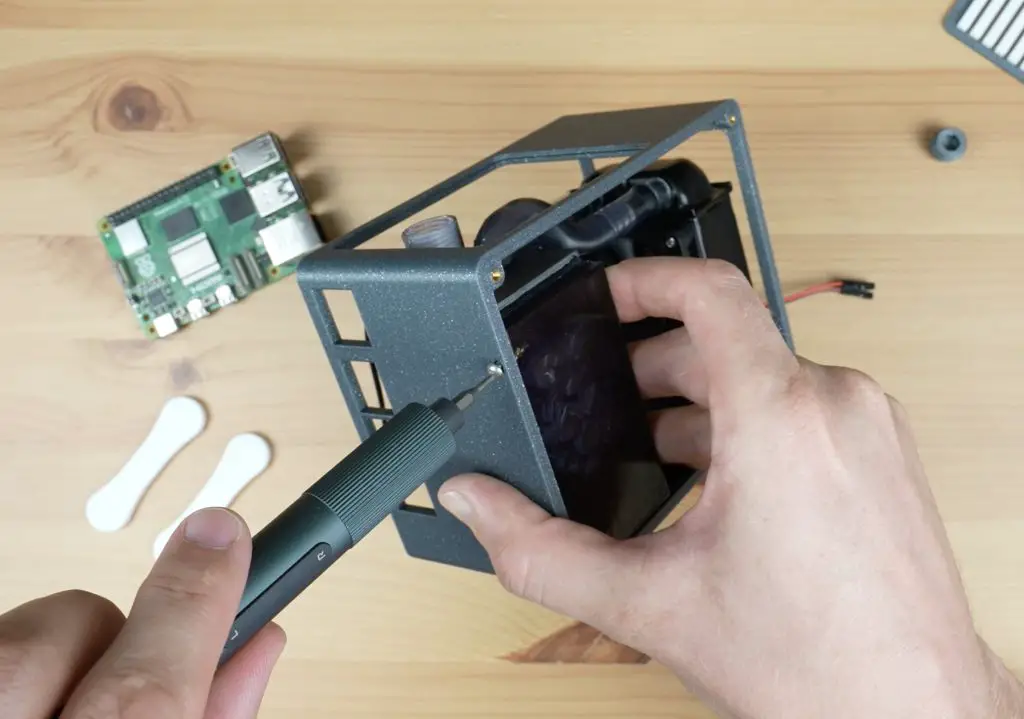
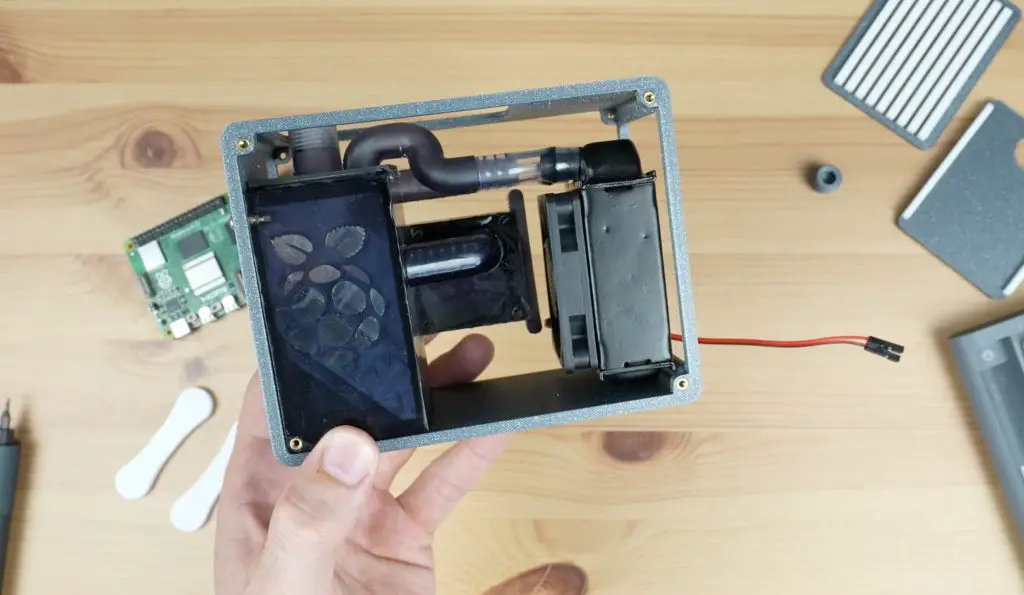
Next, let’s mount the Pi to the assembly. I’ve plugged the fan into the Pi’s 3.3V and ground pins and the pump into the 5V and ground pins. I’ve left the cooling pads on the copper block in place and the Pi is secured to the cooling loop with four M2.5 screws through the bottom.
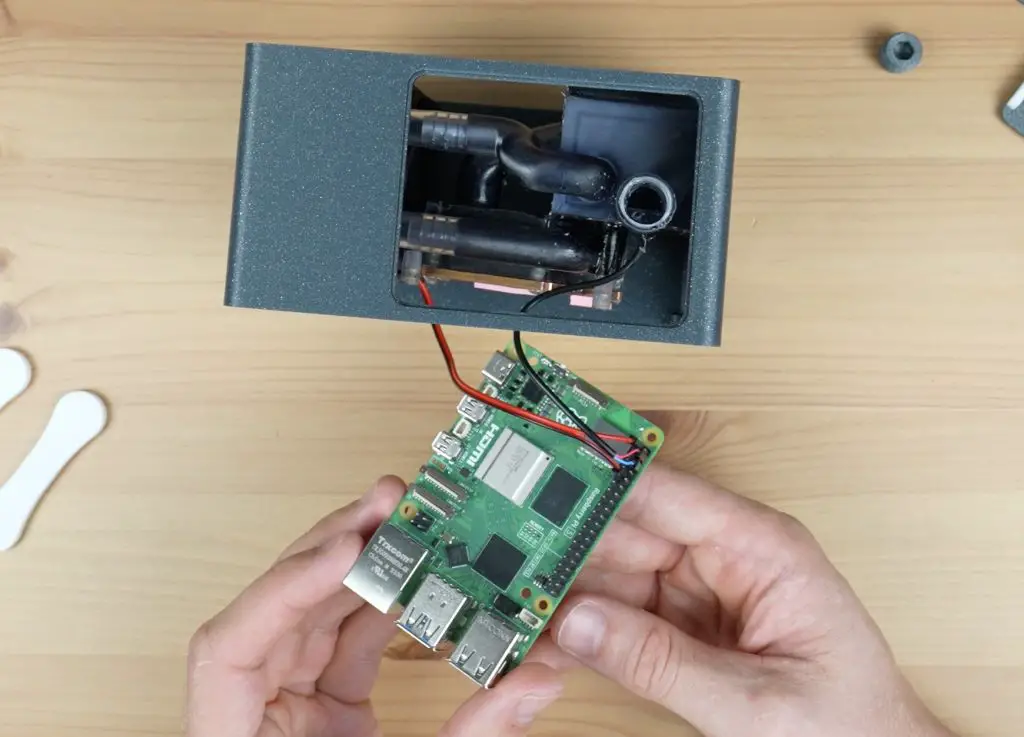
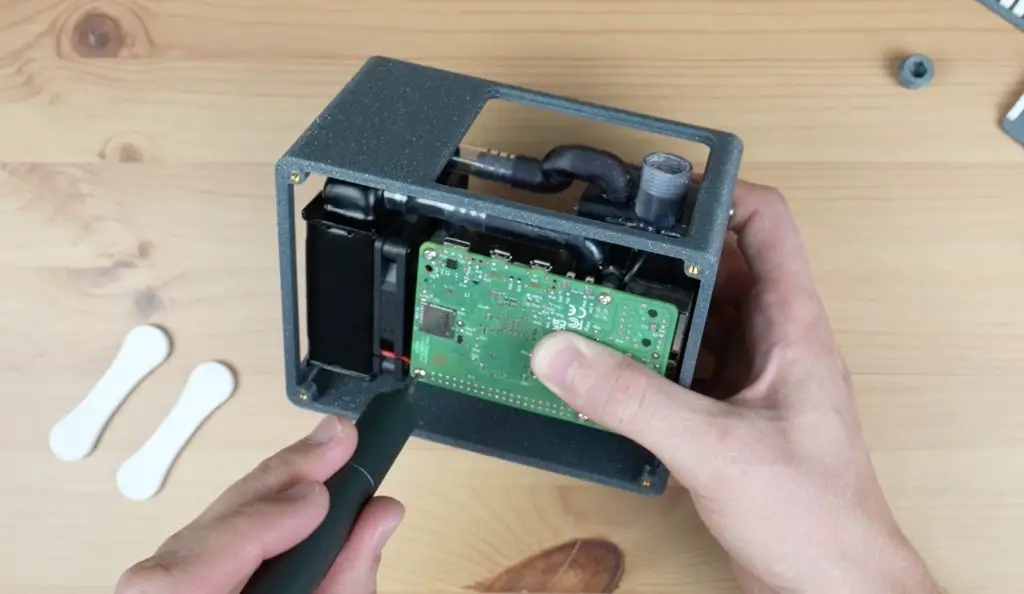
We can then finish the case off by installing the side panels and cover plates.
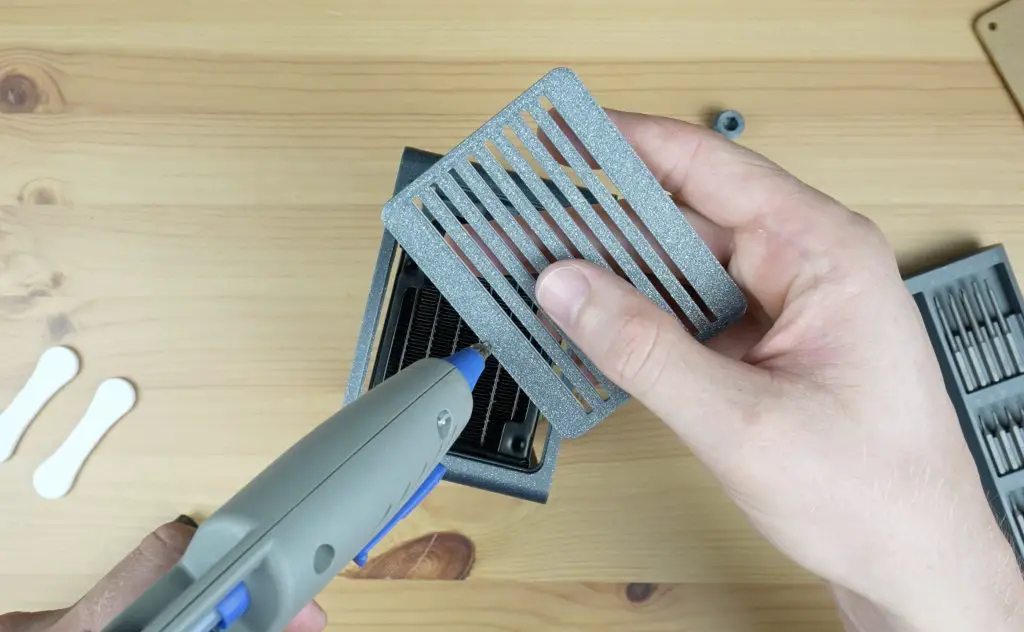
I realised when installing the side panel on the Pi side that I was supposed to add some ventilation holes to this panel so the air from the radiator could escape after running over the Pi. So I added these in and cut a new side panel out.
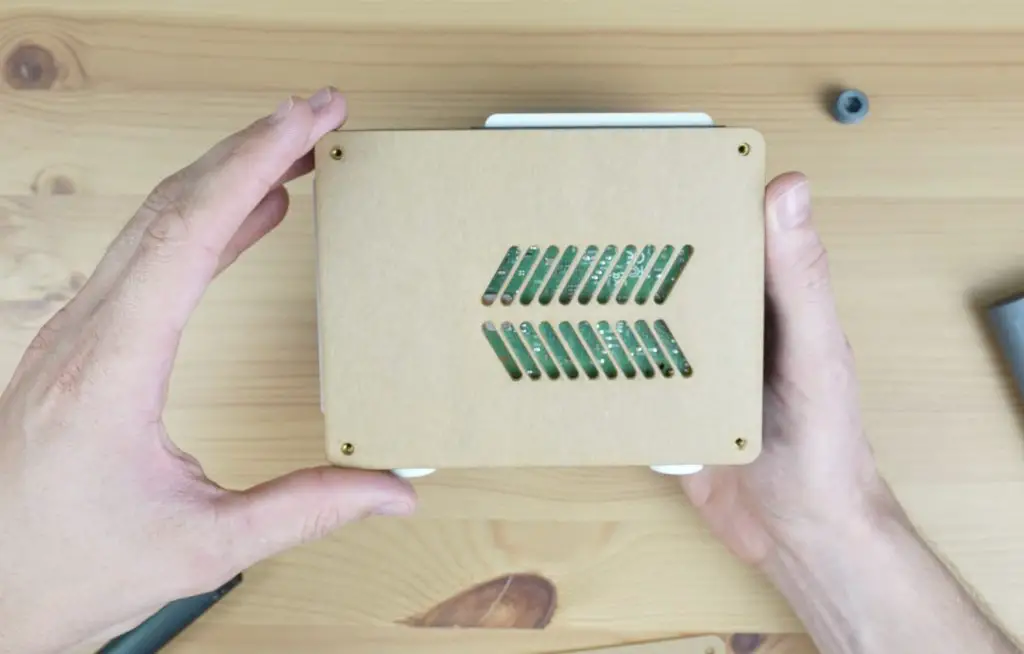
I also made up some decals to stick on the opposite side.
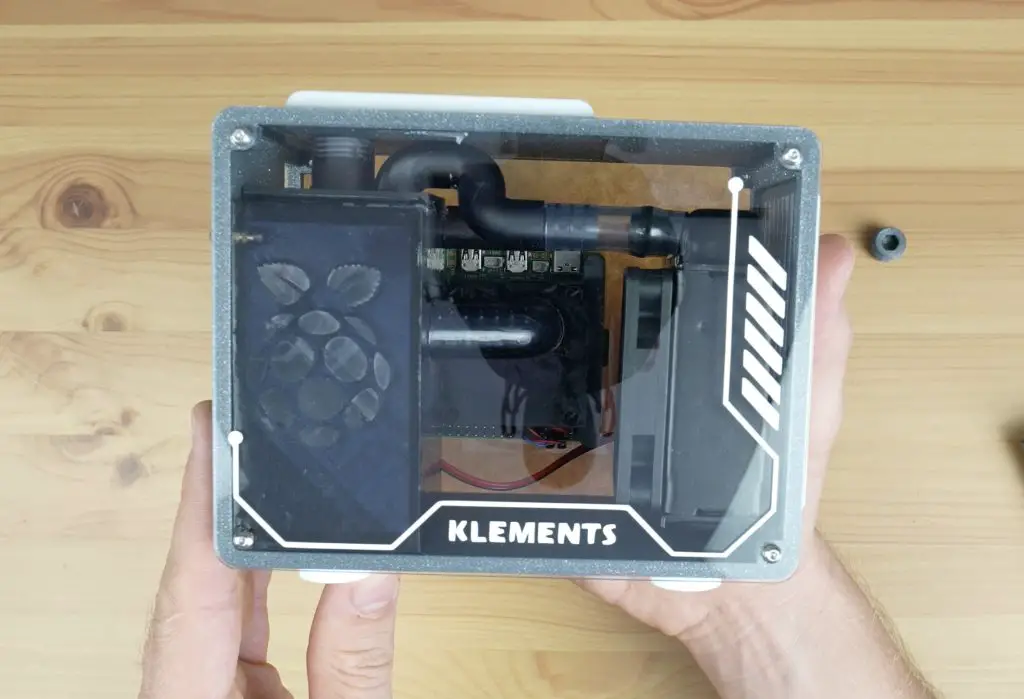
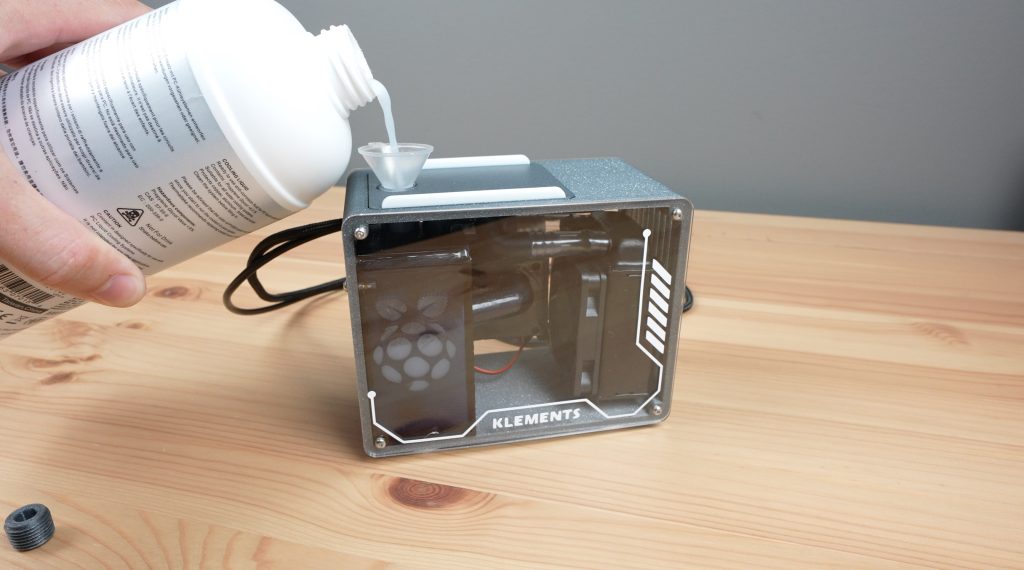
And that’s the case complete. Let’s fill the reservoir with coolant, boot it up and do some thermal tests on it.
Testing The Water-Cooling Case’s Thermals
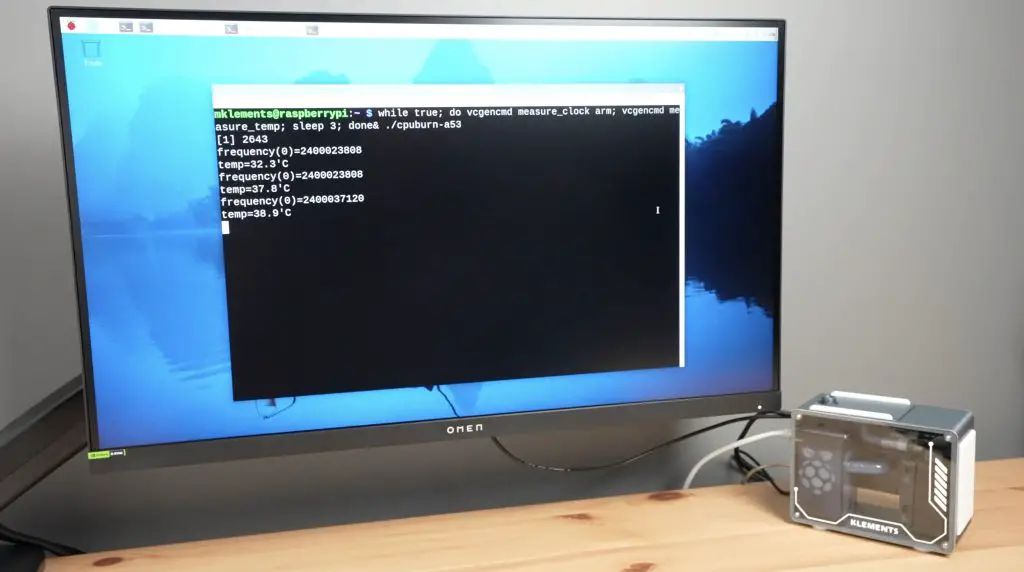
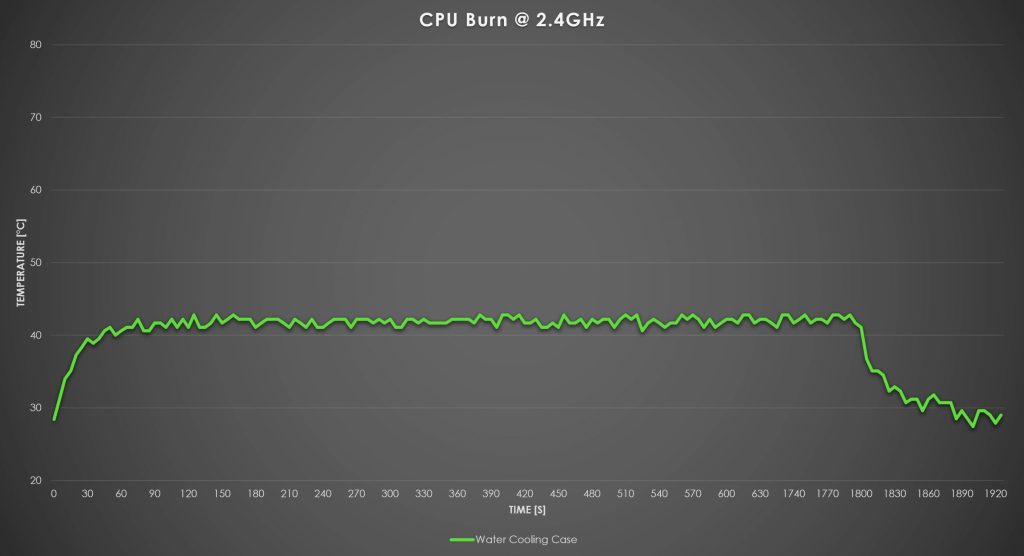
I used a utility called CPU Burn to put a full load onto all four CPU cores and logged the temperature over a half hour.

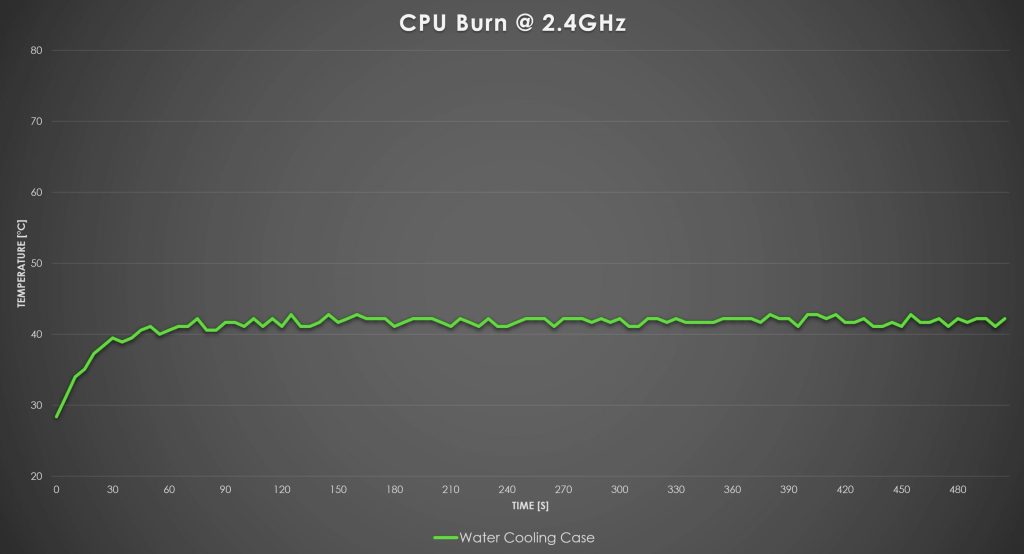
It runs much the same as the Pi does on my water-cooling stand. At idle, temperatures are around 28°C, after a minute and a half under full load, the temperature levels off at about 42°C and remained steady for the remainder of the test.
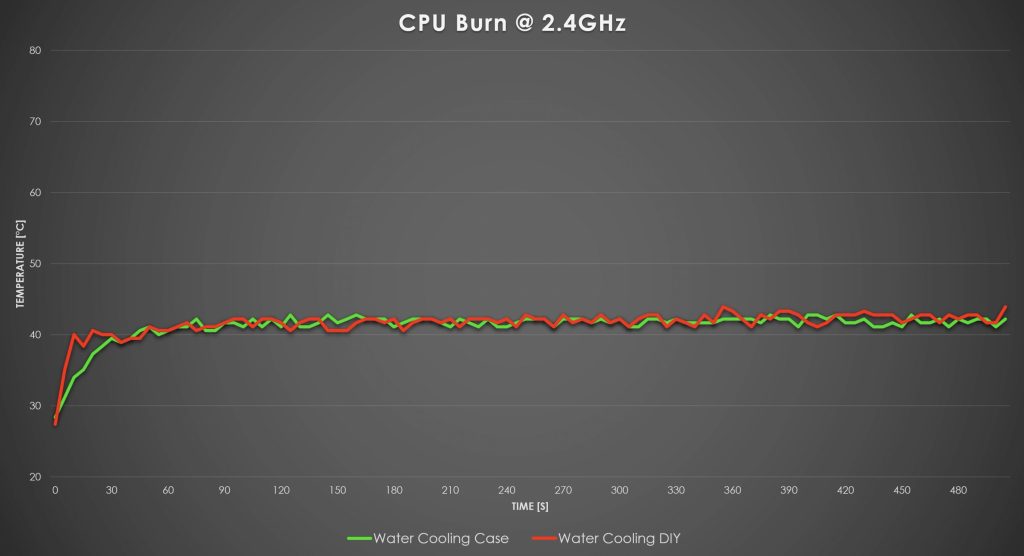
If I overlay the results from my water cooling stand, you can see that the results are very similar. The temperature just spikes a bit fast on the cooling stand, I guess because the block has a bit less thermal mass.
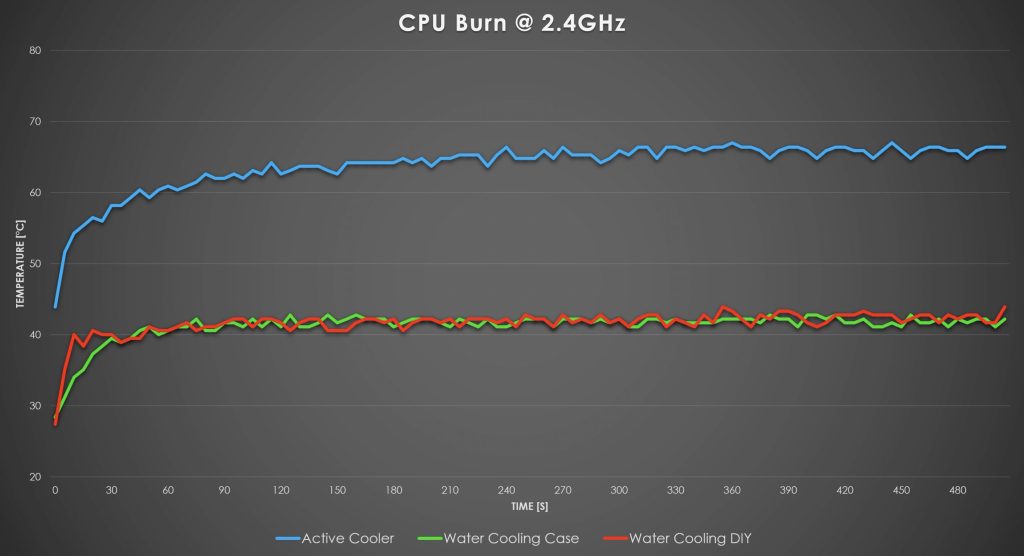
As expected, the water cooling system performs significantly better than the official Pi 5 Active Cooler, with a 25°C difference in steady-state temperature.
At the end of the test, with the CPU unloaded, the temperature drops back down to 28°C in about a minute and a half.
Final Thoughts On My Water Cooled Pi 5 Case
Overall I’m really happy with how this build came out. It took far longer than I expected it to, but I think it was worth it.
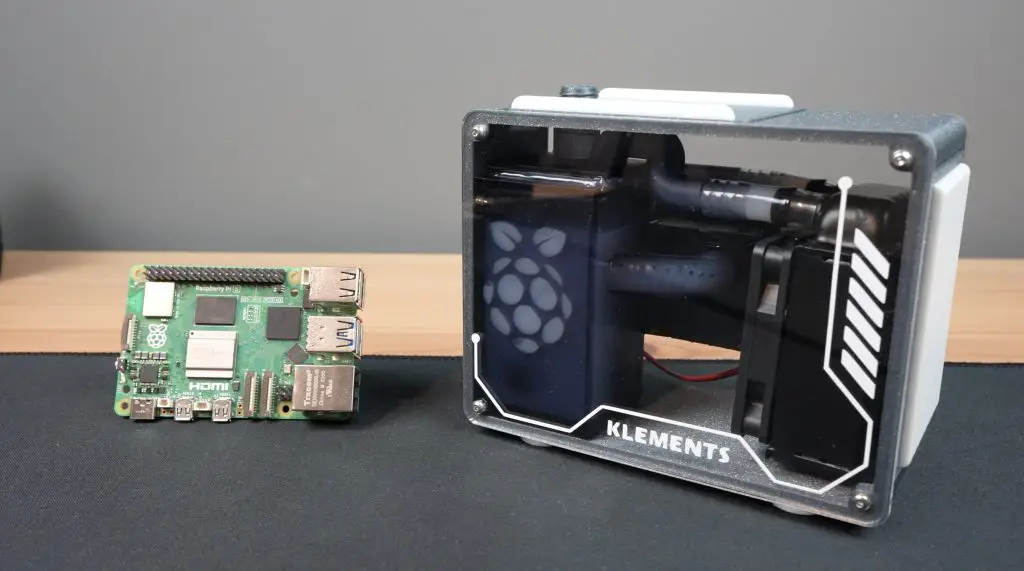
As usual, there is some room for improvement. My next iteration is going to include a power button for the Pi and allow some space underneath the Pi for an NVMe drive. I’d also like to secure the cooling loop to the case a bit better and improve upon the cable management.
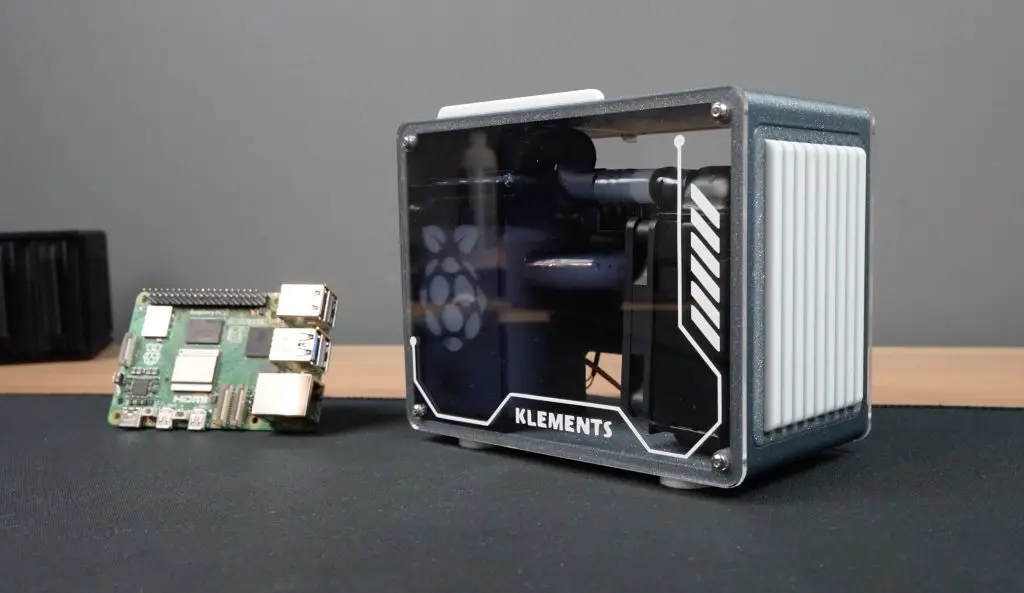
Let me know what you think of my water-cooled Pi 5 project in the comments section below or if there’s anything you think I should add to it.


Excellent !