In this project, I’m going to show you how I built a Mini Sega Genesis console lookalike, which is powered by Raspberry Pi 4 running RetroPie. The console has wireless controllers and can be used to play a number of arcade, console and classic PC games, all on one device. If you had a Nintendo, Sega and or Atari console back in the day then you’ll definitely want to give this project a try!
Here’s a video of the build and the console running some old games:
RetroPie is free software that runs on a few different devices. One of the best devices in terms of performance is a Raspberry Pi 4, so that’s the board that we’re going to be using for this project. The games being played on RetroPie are generally not very resource-intensive, so you should be fine with using the base model 2GB version. All of my 2gig Pi’s are in my water-cooled Pi cluster at the moment and I’ve got an 8gig Pi free, so I’m going to be using that. The emulation software mainly uses the CPU and GPU on the Pi, so RAM is not all that important.
I also chose to use wireless controllers for my console so that I didn’t have any additional cables protruding from the side of my console. The wireless receivers can be housed within the case, keeping it looking clean.
What You Need For This Project
- Raspberry Pi 4 2GB – Buy Here
- Power Adaptor – Buy Here
- Aluminium Heatsink Set – Buy Here
- Or Get The CanaKit (Includes Pi, Heatsinks and Power Adaptor) – Buy Here
- Wireless Gamepad (or two) – Buy Here
- 32GB MicroSD Card – Buy Here
- Dcorn Monitor (Or Use Your Television) – Buy Here
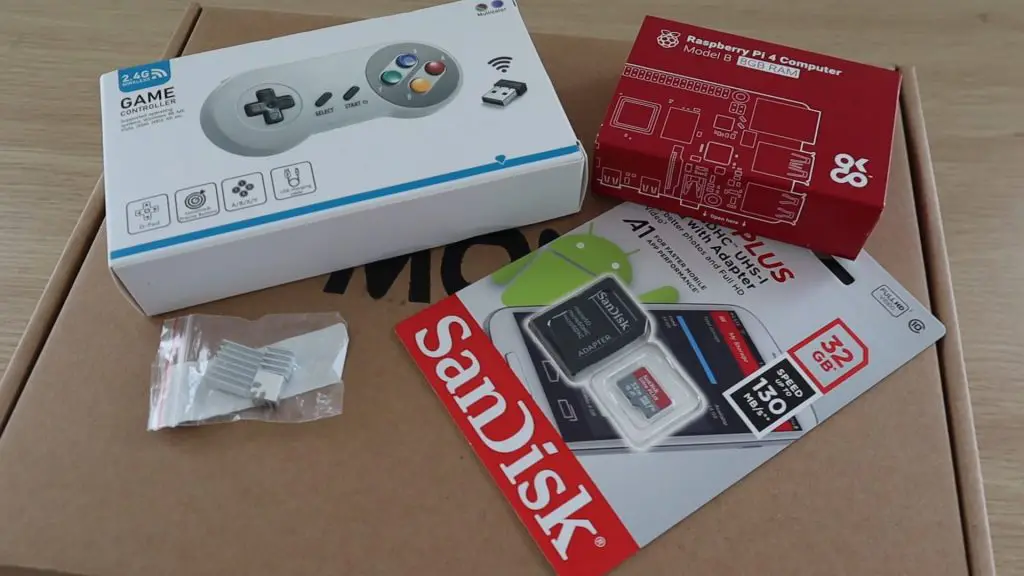
Keeping Your Pi Cool
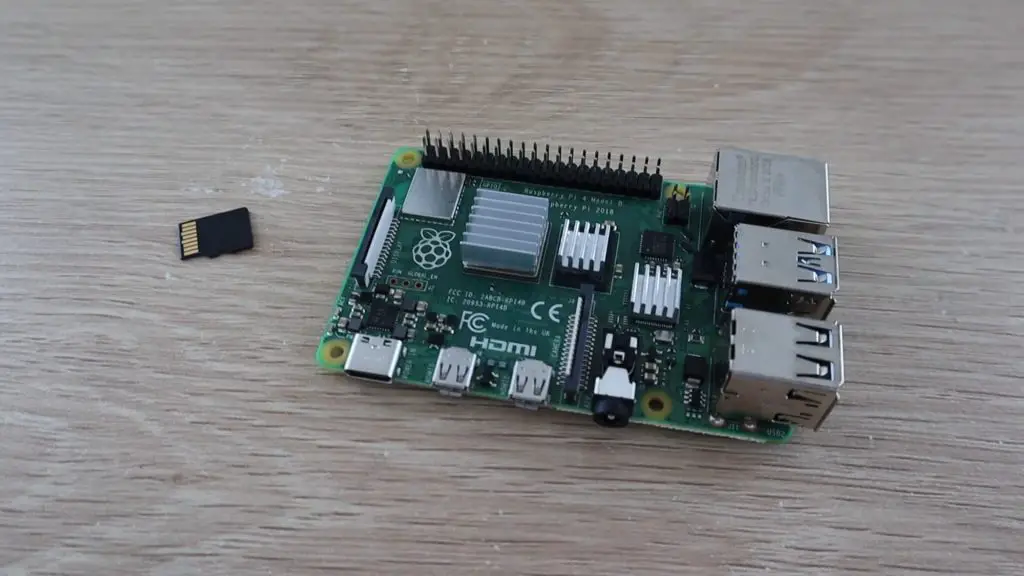
To start off, we need to have a look at how to keep our Pi cool within the case. While most old console games are not really that intensive for the Pi to run, it’ll still be producing some heat which we need to remove. For most games, these small aluminium heat sinks will work just fine. You just need to peel off the backing and stick them into place.
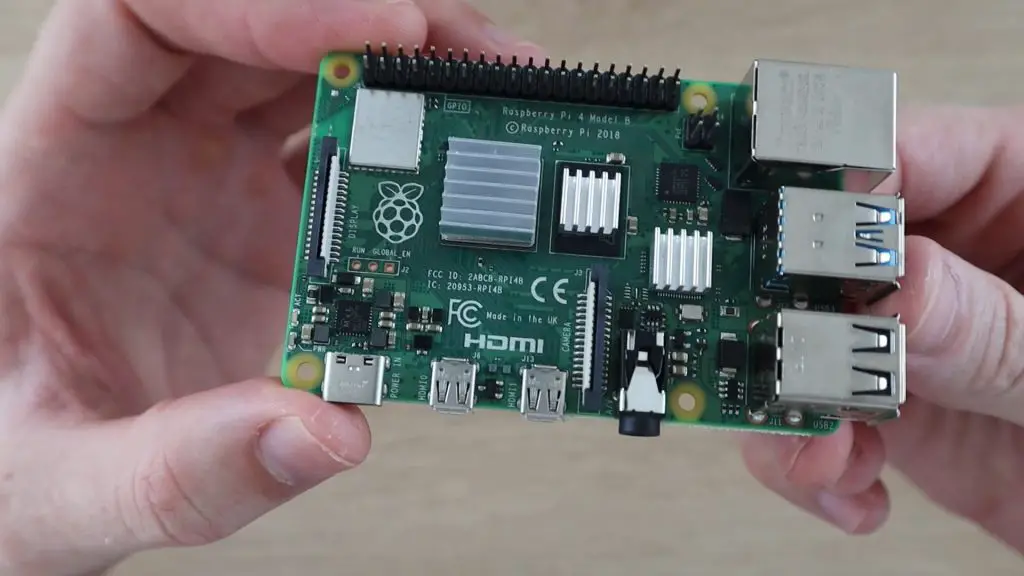
We’ll have a look at some other cooling options a bit later when we’re designing the case.
Installing RetroPie
There are two parts to the software side of this project, the first is installing RetroPie, and the second is to add your ROMs. We’ll start by installing RetroPie and then have a look at how to load the ROMs a bit later on. ROMs are essentially images of the video games you’d like to play on your RetroPie.
To install RetroPie, I’m going to be using Raspberry Pi Imager. This utility makes it easy to format the SD card and write the image to the card without having to download any other apps or the operating system image first.
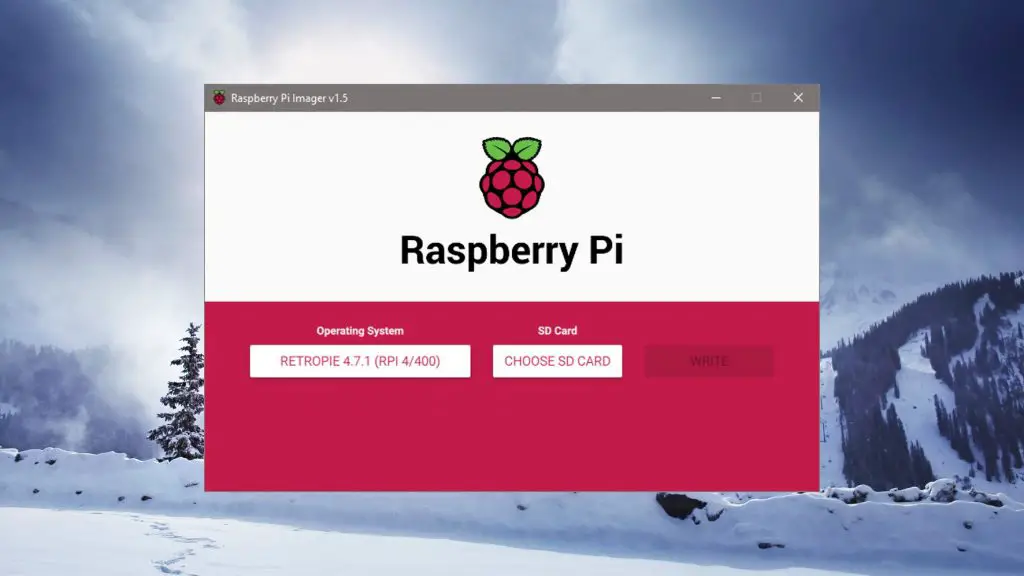
You simply select the operating system that you want to install, select the target drive, which is our SD card and then the utility does everything for you.
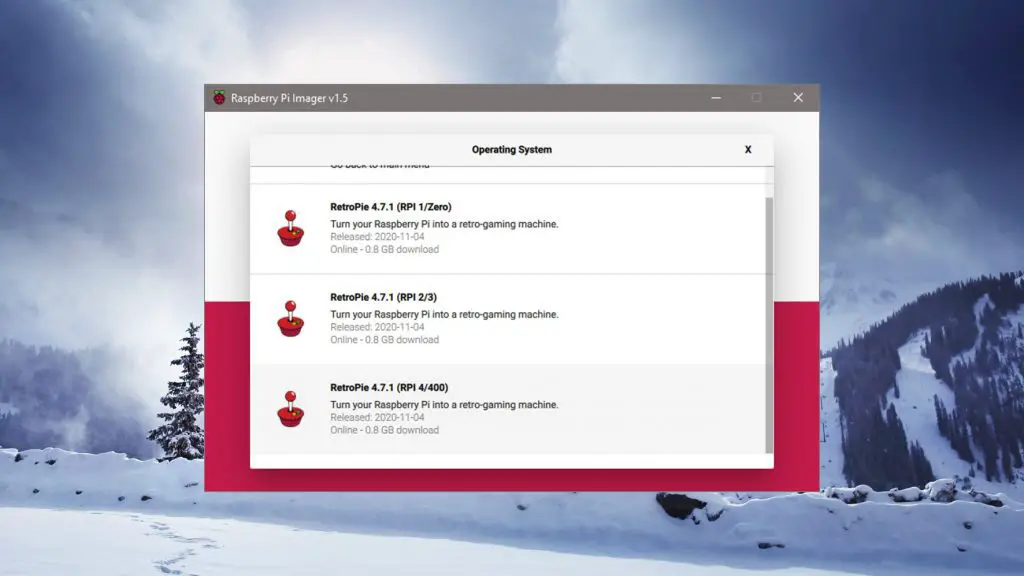
Make sure that you select the correct version of RetroPie for your particular Raspberry Pi. There are a couple of other versions for the Pi 2/3 and the Pi 1/Zero.
Once you’ve got your SD card prepared, you can plug it into your Pi. We’ll be loading the ROMs onto the Pi using an FTP client later.
Designing A Case For The Raspberry Pi
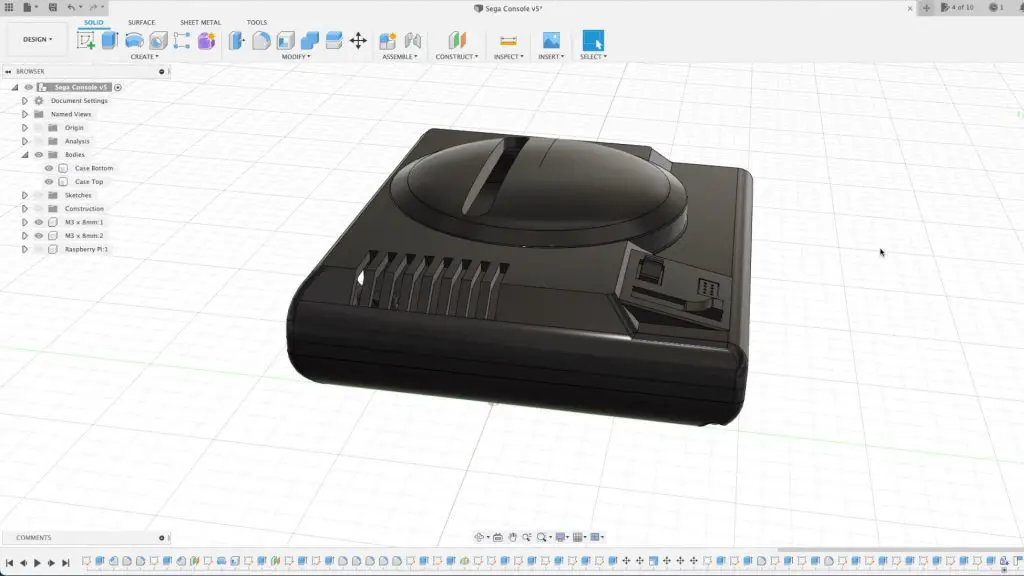
I wanted to make my own 3D printed case for the console, so I decided to design a case for the Raspberry Pi 4 which looks like a mini Sega Genesis console. I had a Sega console myself back in the day, so that was the obvious choice for me. Let me know if you like the case I came up with and what other options you’d like to see and I’ll have a look at putting these together as well.
The full set 3D print files, including all of the below versions of the case, can be downloaded here.
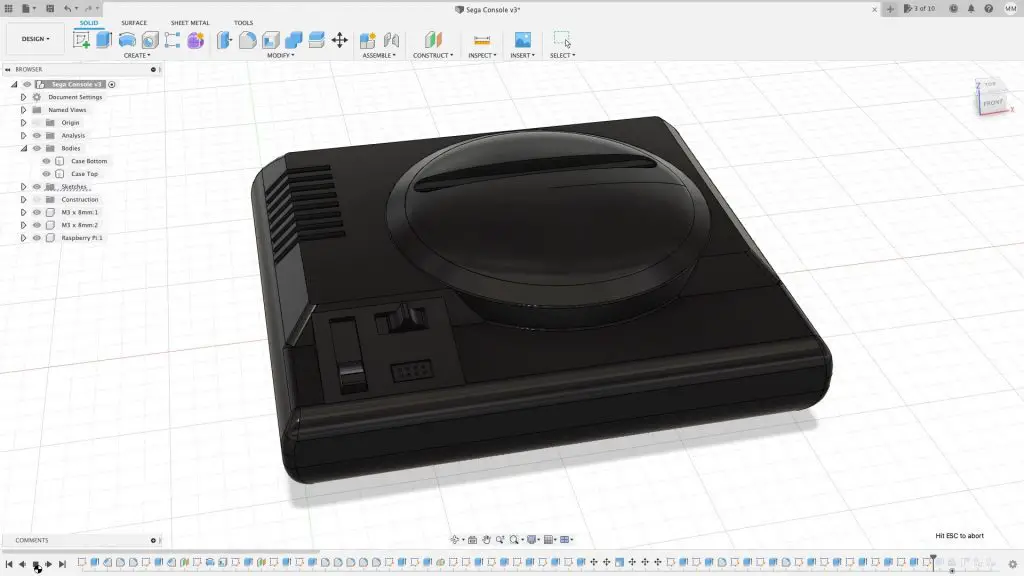
I designed the case in Fusion 360 and then shelled it out, sized it to fit the Pi and then added some cutouts for the ports. Some people have rerouted ports to the front or back of their cases, I just positioned the Pi sideways so that the primary cables would come out of the back of the console and I’m going to be using wireless controllers, so I don’t need the USB ports to be accessible with the case closed.
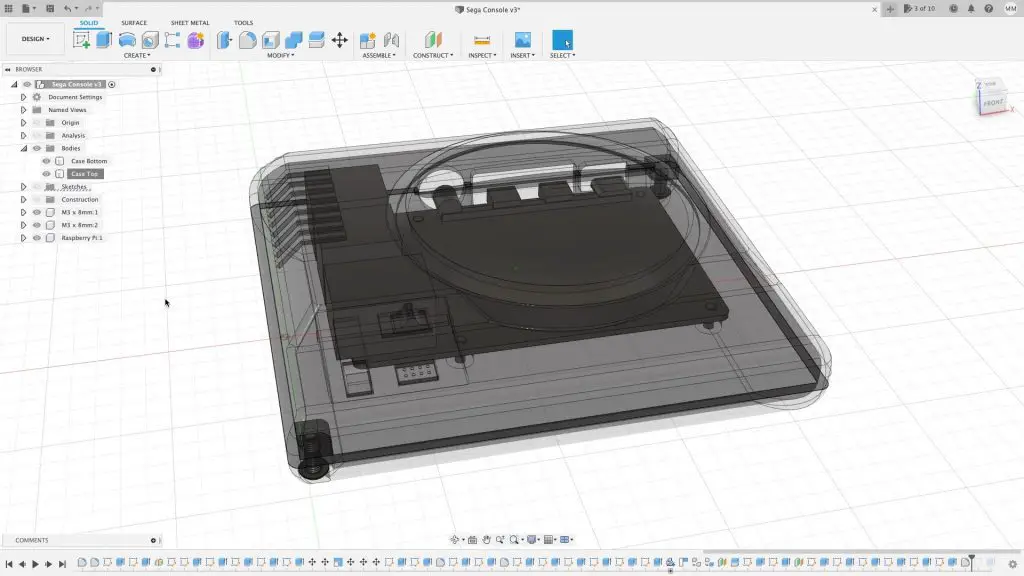
I’ve created a couple of variants of the case to suit different uses. One of them has the four USB ports accessible through a cutout in the side if you’d like to use wired controllers rather or if your controller’s receiver doesn’t fit within the allowed space.
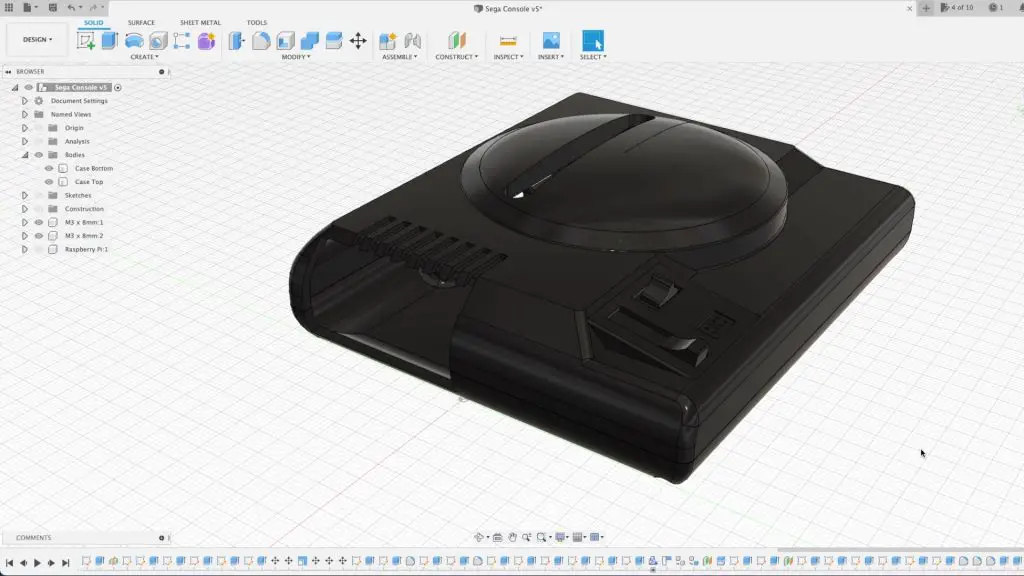
I’ve also created an option with the game slot and vents opened up to allow some of the heat to escape from the case if you’re running more resource intensive games.
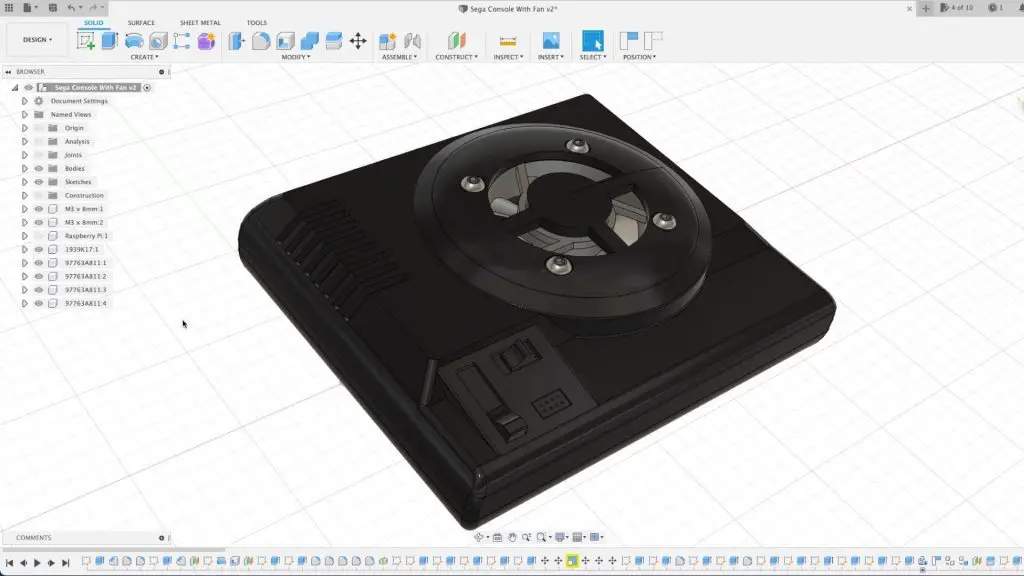
And lastly, I’ve created one which allows a 40mm fan to be mounted into the case to provide better cooling if your Pi is overheating. The fan is silver in the model, so is a bit more prominent. If you use a black fan and black screws then you’ll hardly notice it on top of the console.
You can get the full set of 3D print files, which includes all versions of the case, through this link.
3D Printing The RetroPie Case
With the case design done, we now need to 3D print the components. I used black PLA for mine to keep with the original black console colour.
I printed the base of the case lying flat and the top vertically. This was done to reduce support material for the base and top cover, and also get some good detail on the top cover.
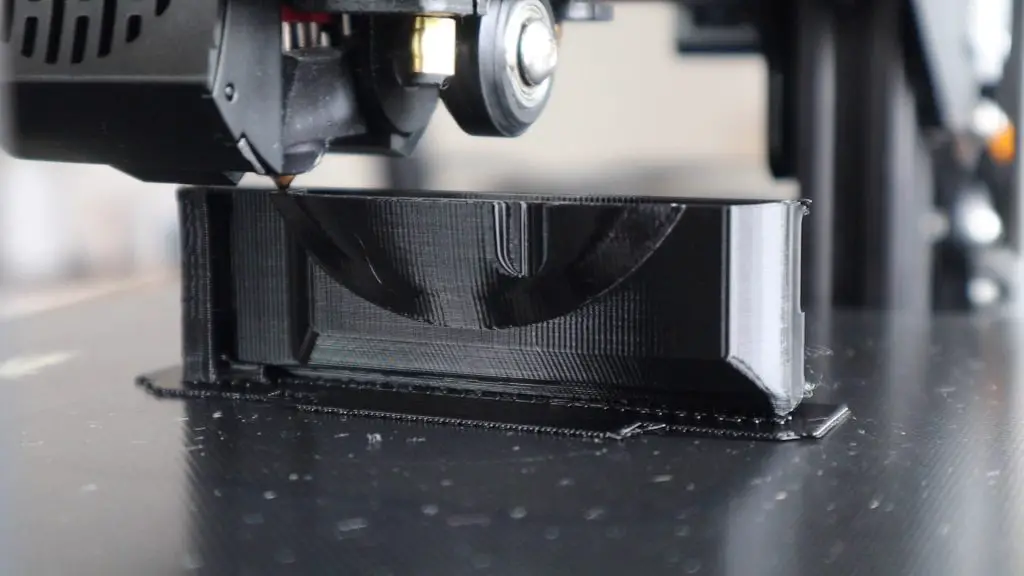
I printed the components on a Creality Ender 3 V2 in black PLA with a nozzle temperature of 210°C and bed temperature of 55°C with a 100% infill.
I then cleaned up the support material and rafts by cutting them away with a craft knife.
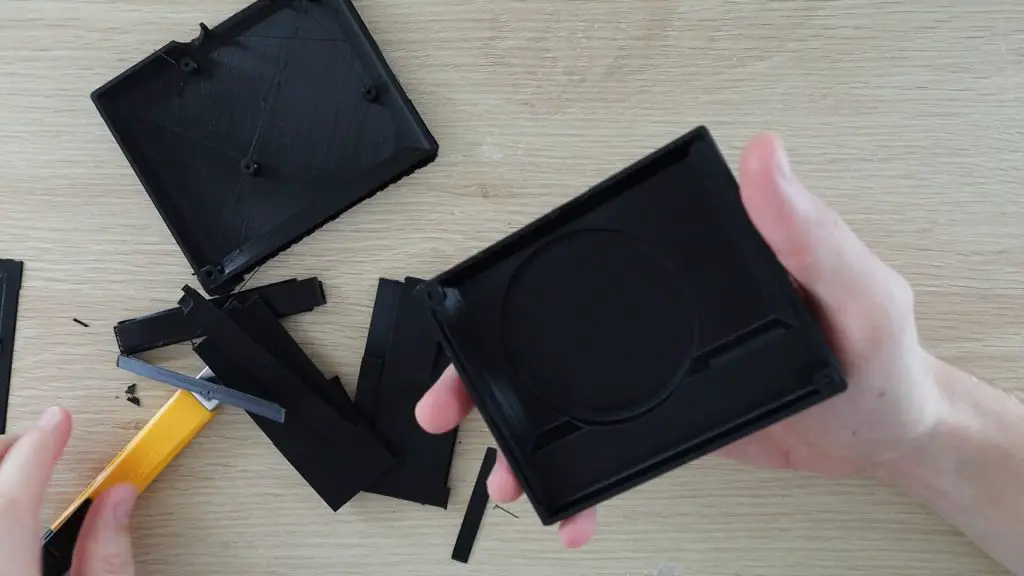
Some people like to sand, fill and spray paint their 3D printed components to get a better surface finish.
Install Your Raspberry Pi In Your Case
You can then screw your Raspberry Pi to the base of your case using some M2.5 x 5mm screws, the standoffs are already printed in place. These are the same screws that are typically supplied with Raspberry Pi cases to hold the Pi in place and with an Ice Tower. Don’t overtighten the screws, they just need enough pressure to hold the Pi in place, if you tighten them too much then you might strip the holes in the standoffs.
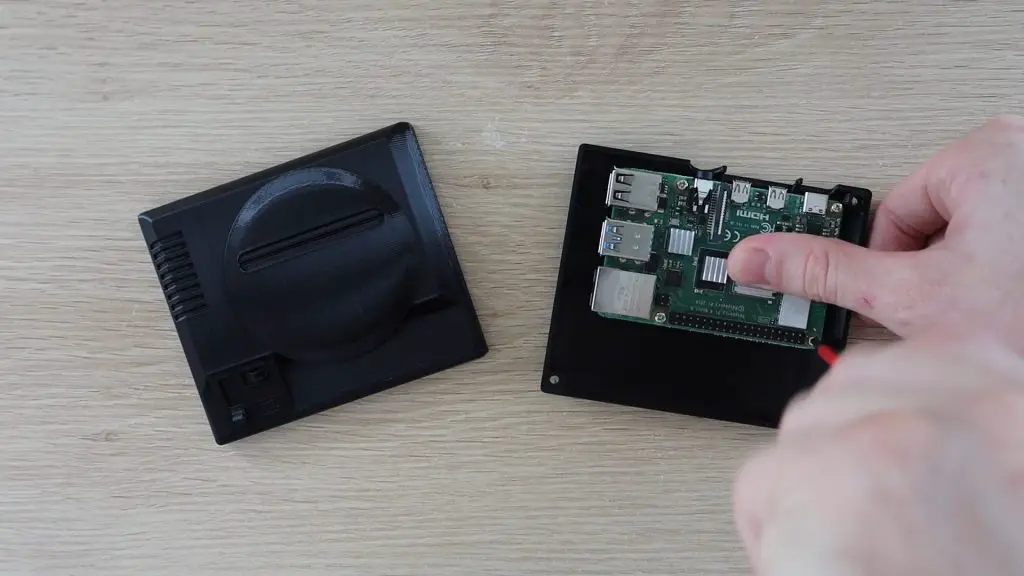
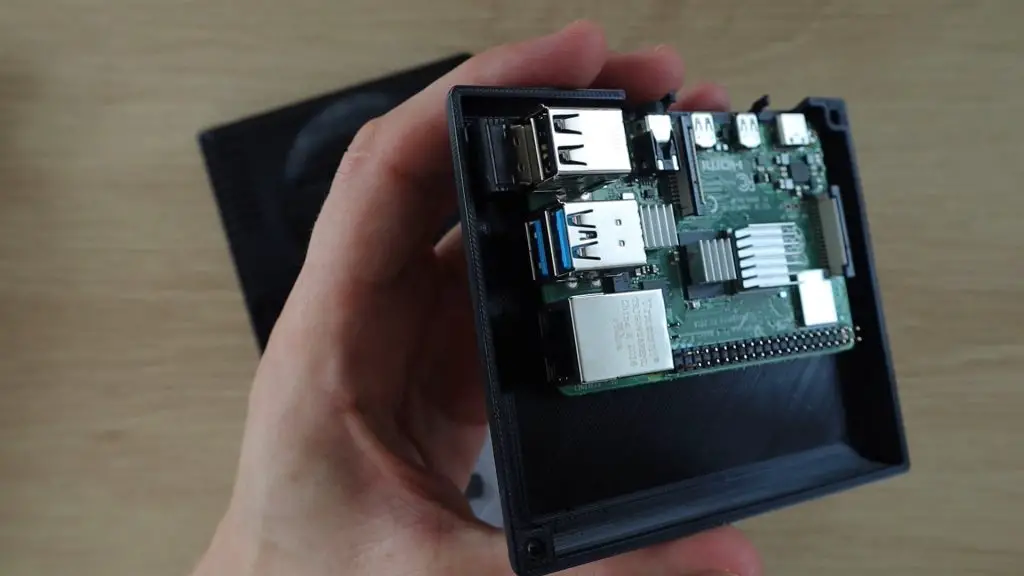
Next we need to add the receiver from the gamepad. The gamepad I’m using has an internal battery with is charged using an included USB cable and has a small wireless receiver which needs to be plugged into on of the Pis USB ports.
This case design allows two receivers to be installed, one in each of the bottom ports. You should be able to just squeeze them past the bottom edge of the base with the Pi screwed onto the base. You won’t be able to use the top ports without the USB cutouts as the receivers stick out too much.
I wanted to make the case as compact as possible, so I didn’t scale the case up to fit receivers in the top ports as well. There are hardly any RetroPie games which support more than two players anyway.
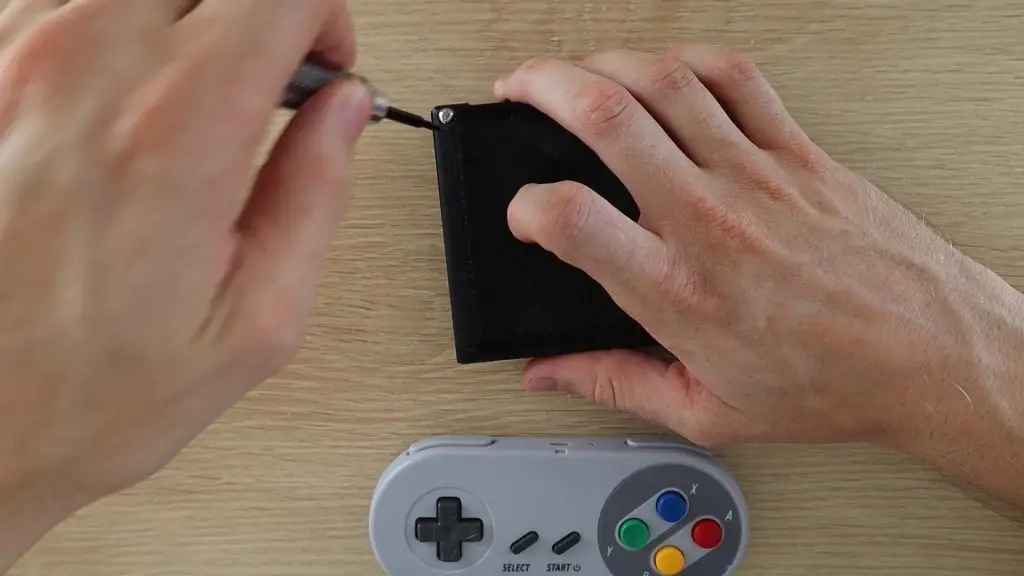
I’m going to close up my case. You’ll want to keep your case open until you’ve finished the setup process as you might need to plug in a keyboard to type in your WiFi credentials or to change your Pi’s username and password.
Connecting Your RetroPie To A Television Or Monitor
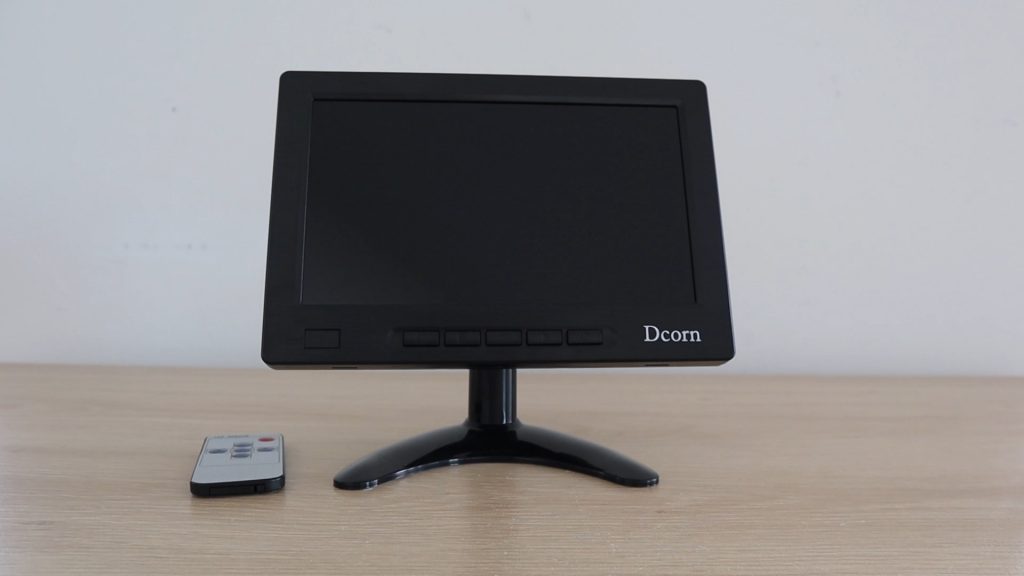
The console is now ready for its first boot up, we just need to plug it into a monitor. You can use any computer monitor with an HDMI input or even your television. To keep with the look of my mini console setup, I’m going to be using this 8″ monitor which Dcorn sent me.
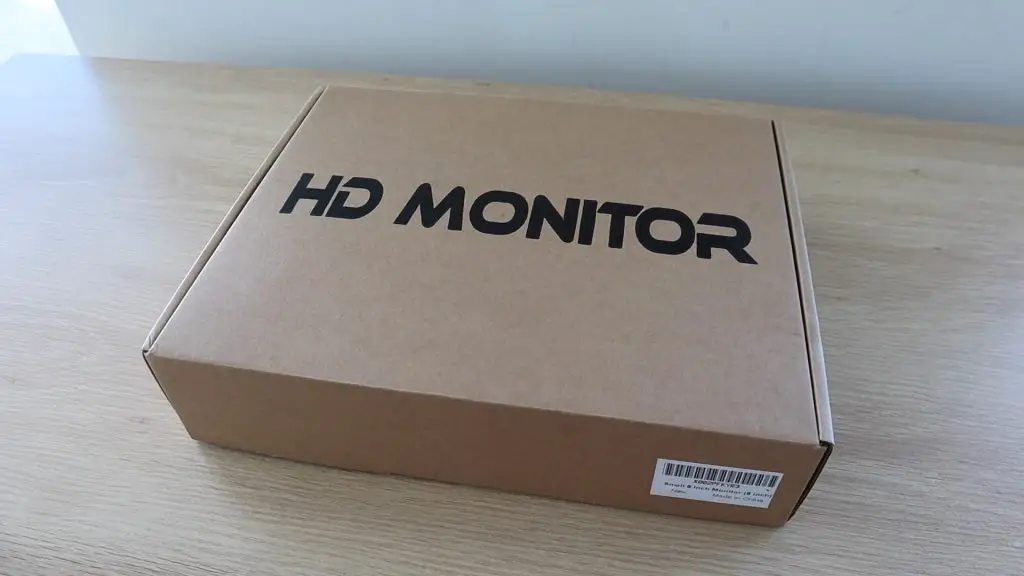
It’s got HDMI, VGA, AV and BNC inputs, so it will work with any Raspberry Pi, even way back to the first versions and it’s small and portable, with it’s own stand.
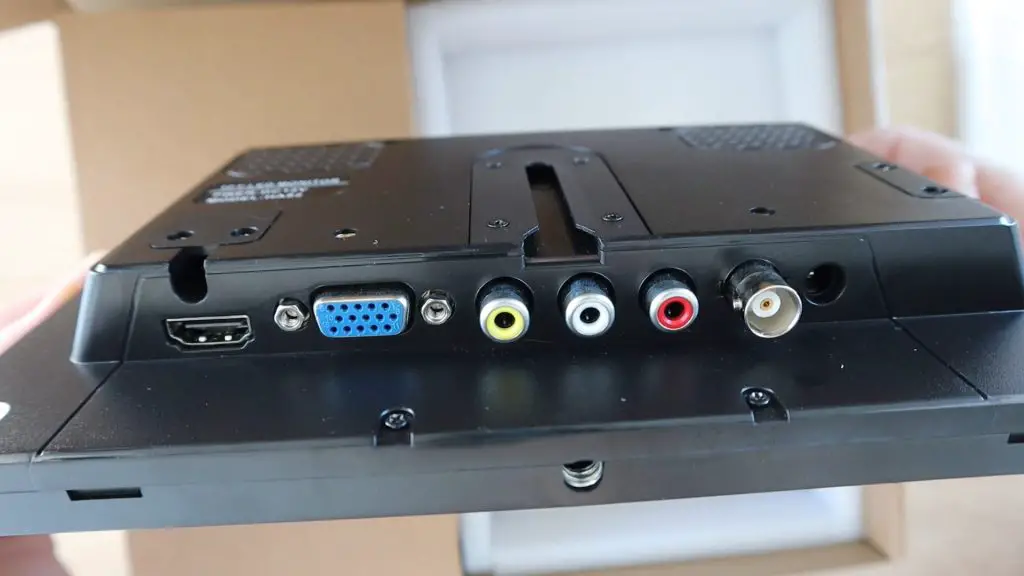
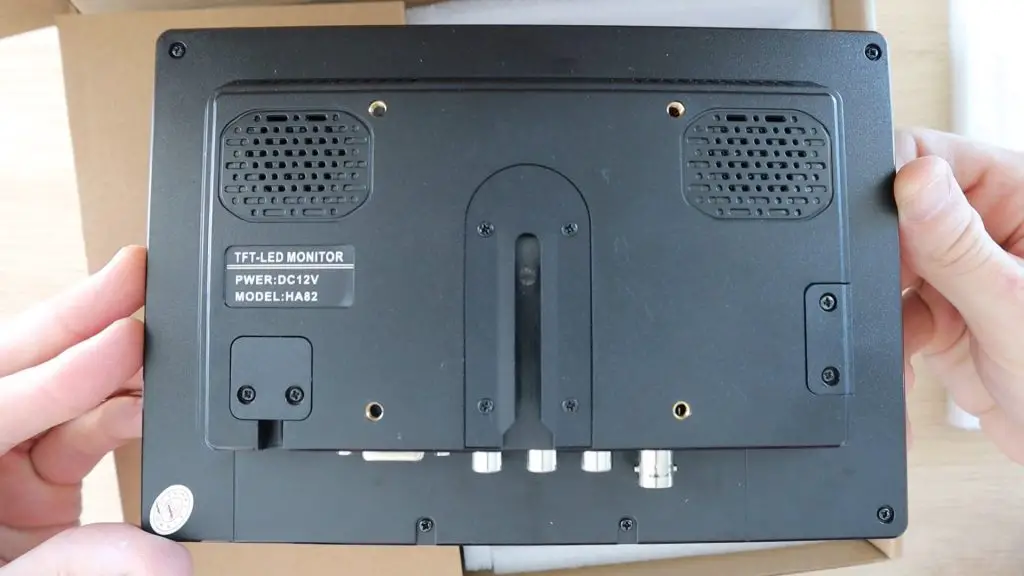
It also runs on 12V, so it’s perfect to take along with a Pi in the car for your kids to play games on long drives or to use on camping and RV trips. It’s got a wide 178-degree viewing angle and has built-in speakers so you don’t have to worry about bringing headphones along or using external speakers for multiplayer games.
If you’d like to get your own monitor, they’re available from Dcorn on Amazon.
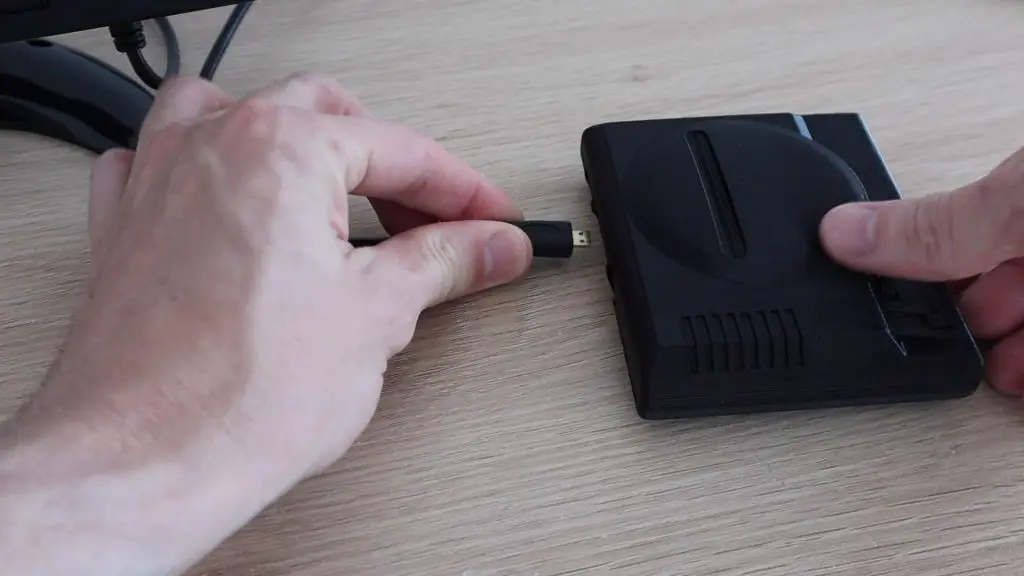
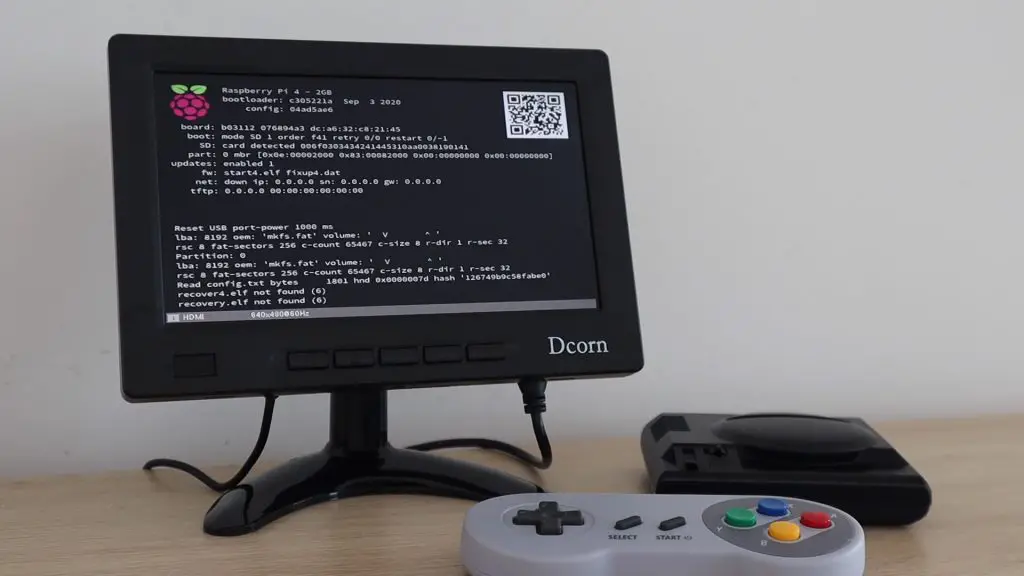
Let’s plug in our cables and boot up our console. You’ll need to connect power and an HDMI cable to your monitor and then power and the micro-HDMI side of the cable to your Pi.
Setting Up Your RetroPie
The first boot up takes a little longer than usual. Once the Pi has booted up, you’ll need to connect it to your network so that you can install your ROMs onto it. You’ll also be asked to push buttons on your gamepad so that your console knows how to manage the inputs.
To connect your RetroPie to the internet, head to the options page and then select WiFi. You’ll then need to select your network and type in your network’s password.
If you are using an SD card which is larger than 4GB, you’ll need to expand it so that your Pi can use the remaining space for ROMs. To do this, open the raspi-config tool from the settings menu and then choose Expand Filesystem from the menu.
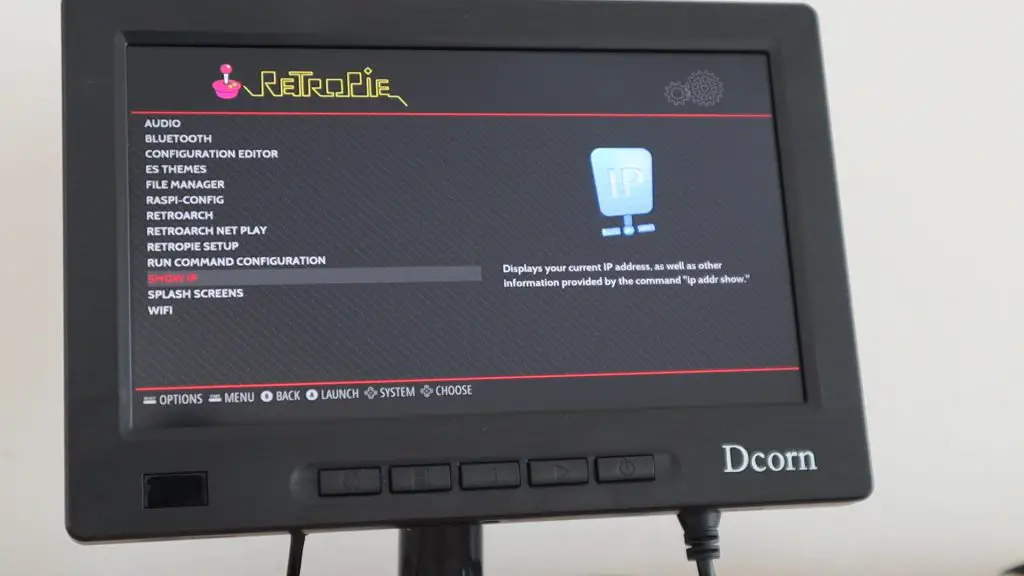
Lastly, head over to the configuration page and select show my IP. This will bring up your Pi’s IP address, which you’ll need in the next step to load ROMs onto it.
Installing ROMs On Your RetroPie
You can download ROMs from a number of sources online, including a bunch of free arcade games and ones with expired copyrights. Just be aware that even though these games are often many years old, a lot of them are still protected by copyright laws. So downloading and distributing copies of these games is illegal.
Here are some resources for public domain ROMs:
I’ve downloaded a free version of Pacman for Super Nintendo which I’ll show you how to install.
Next you need to open up an FTP client on your computer, I used Filezilla, which is also free.
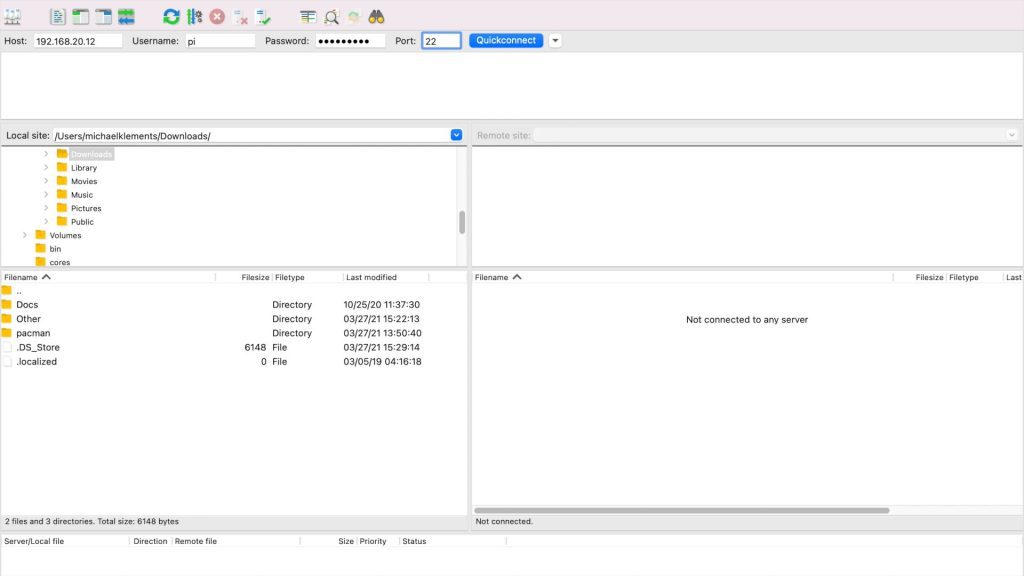
Type in your Pi’s IP address which you found earlier and then the username and password, if you haven’t changed these they’ll still be the defaults, which are pi and raspberry. The port you’re accessing is port 22.
Click on connect and Filezilla should connect to your Pi and you’ll then have access to your Pi’s filesystem.
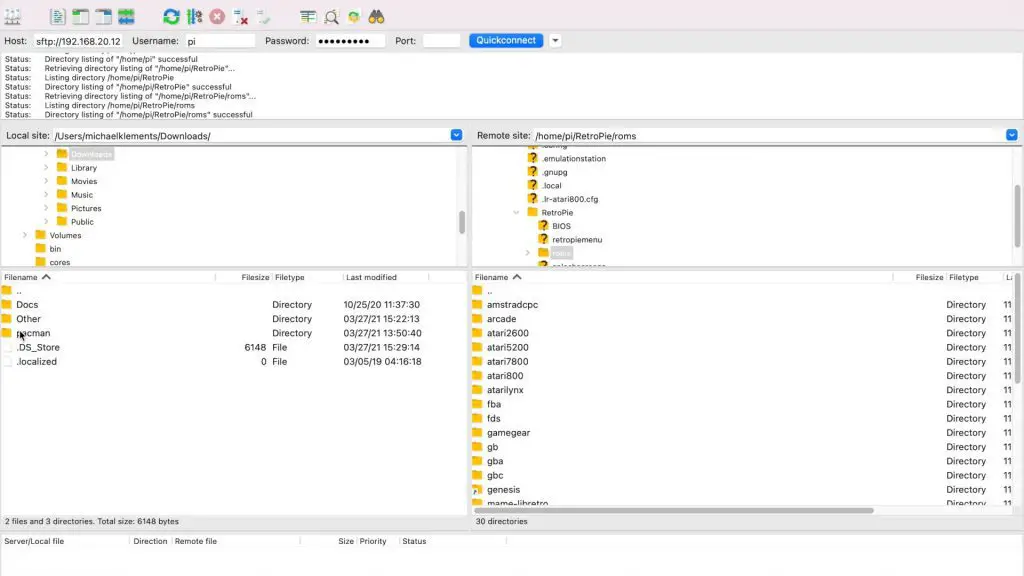
Open the folder called RetroPie and then roms. This folder contains another folder for each platform that RetroPie supports. You’ll need to copy your unzipped roms into the relevant platform folder. As mentioned before, I’m using Pacman for Super Nintendo, so I’ll open the snes folder and then drag the contents of the unzipped rom onto the Pi.
Do this for all of your roms and then reboot your RetroPie.
Playing Games On Your New RetroPie
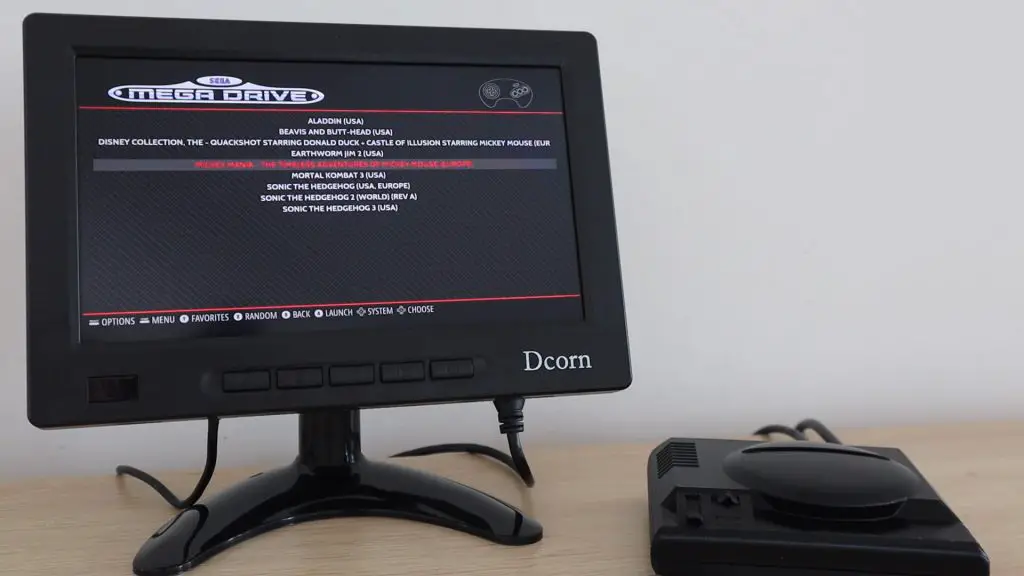
You should now see a menu item for each platform that you’ve got an available rom for. Open these up to see the games under each and select one to start it.
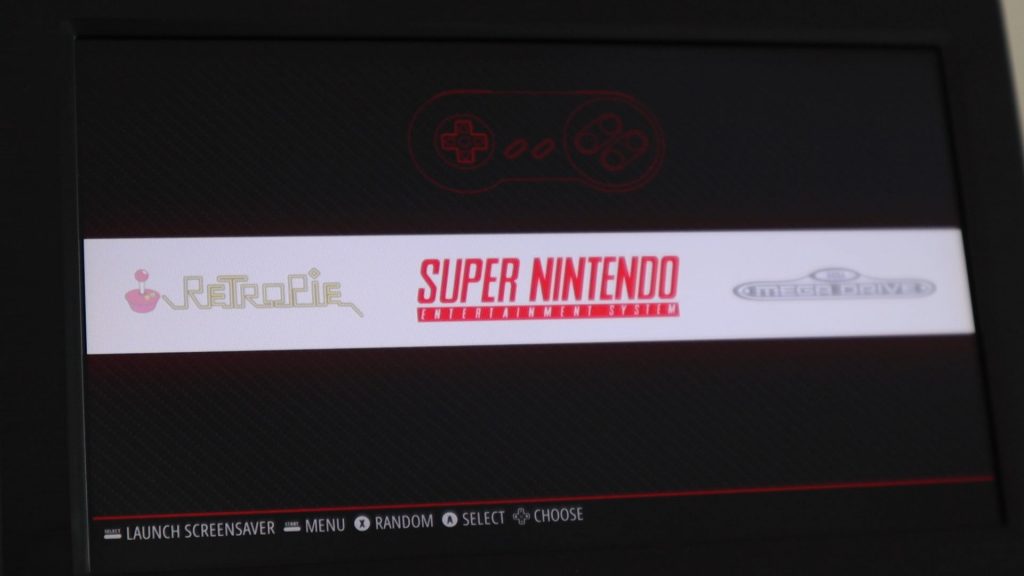
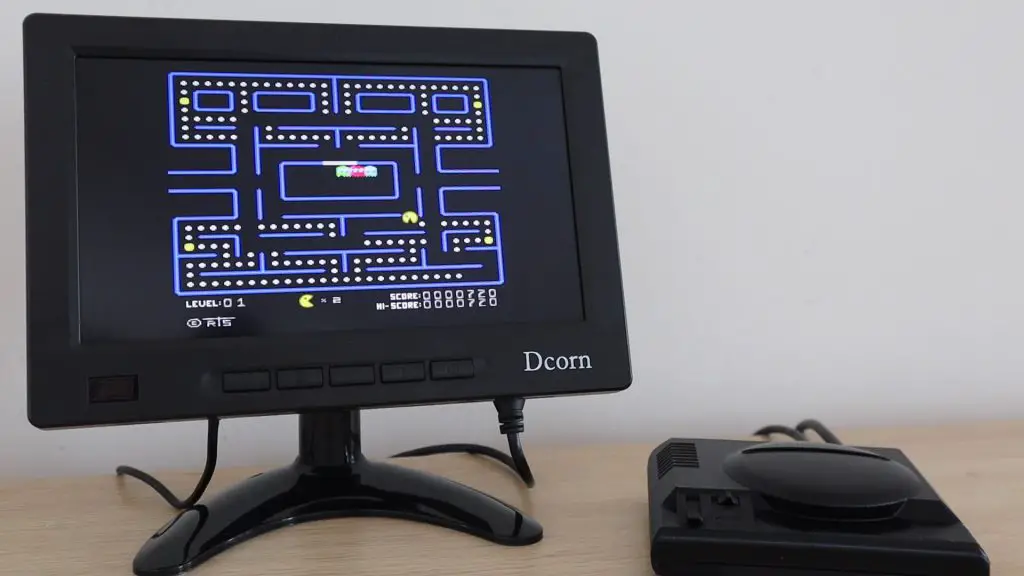
You can add as many games as you’ve got space for on your SD card, but because these games were pretty small, you can literally fit thousands of games onto your RetroPie. I like to keep these down to a couple which we actually play so that we’re not scrolling through pages and pages of items each time we’re looking for a game though. It’s also pretty quick and easy to add or remove games as you’d like.
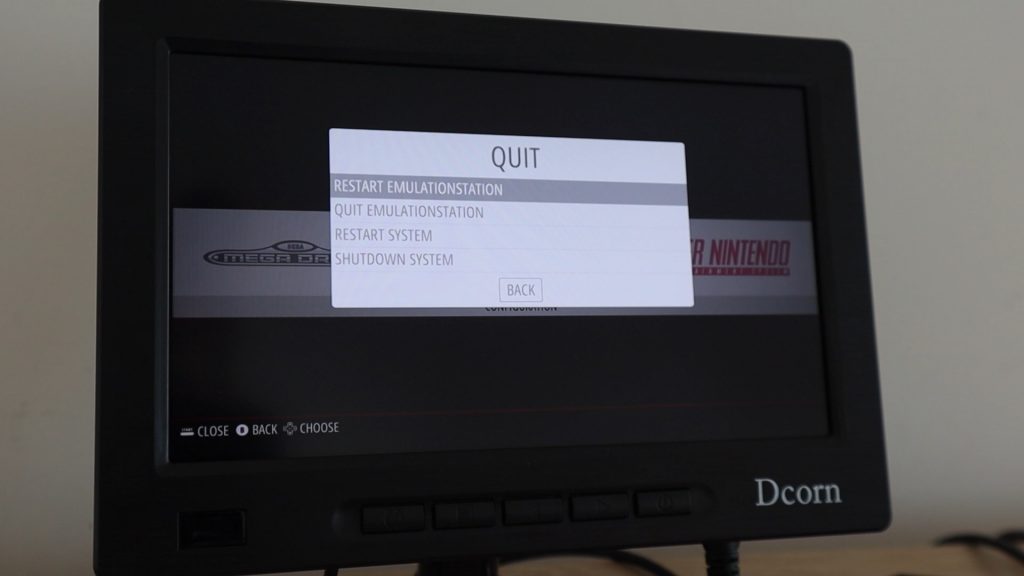
Remember to shutdown your RetroPie properly before unplugging the power to prevent corrupting the SD card.
Let me know what you think of my RetroPie console in the comments section. Are you going to try building your own one?


