This 3.3V Arduino Pro Mini uses over 600 times less power than a traditional Pro Mini, using a couple of simple, low power, changes that cost around $2 to make.
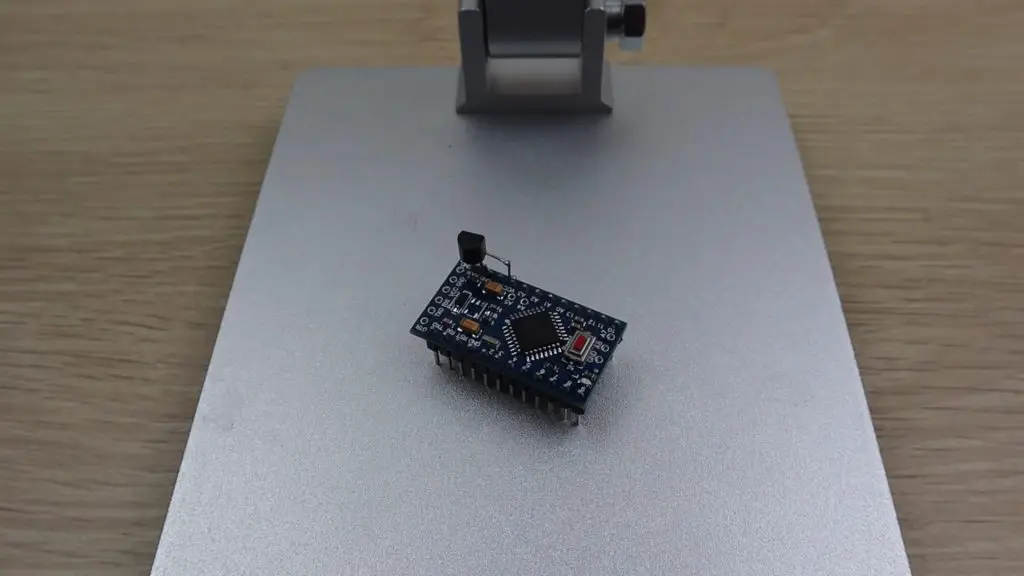
If you’ve followed some of my previous projects, then you may have seen that I have tried something similar before. Last year, we stripped down an Arduino Pro Mini by removing the power LED and the onboard voltage regulator until we were able to achieve a standby current draw of just 5 microamps at 3.7V.
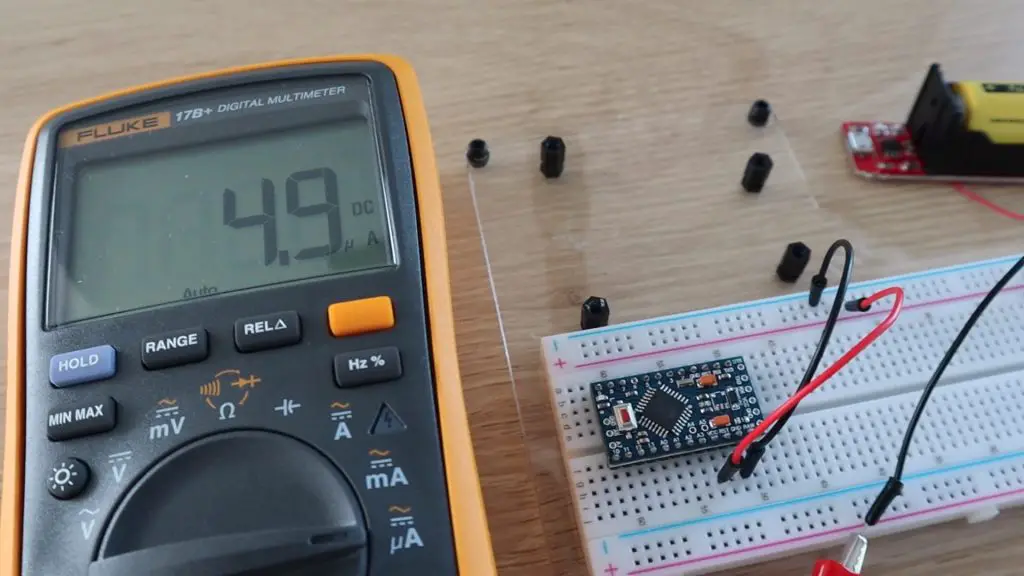
This method would work well for a range of applications, but not having a voltage regulator onboard has complications for voltage-sensitive devices and circuits, so we’re going to look at replacing it with a regulator which has a much better quiescent current.
If you don’t know what this means, the quiescent current is basically the current than a device consumes with no load or in a non-switching condition. So for a regulator, this would be the current being drawn by the regulator with no load connected to it.
Here’s a video of the modification process and results, read on for the write up:
What You Need For This Modification
- 3.3V Arduino Pro Mini – Buy Here
- MCP1700 – Buy Here
- MCP1702 – Buy Here
- Dremel Versatip – Buy Here
- Soldering Iron – Buy Here
- Soldering Helping Hands – Buy Here
How To Modify Your 3.3V Arduino Pro Mini
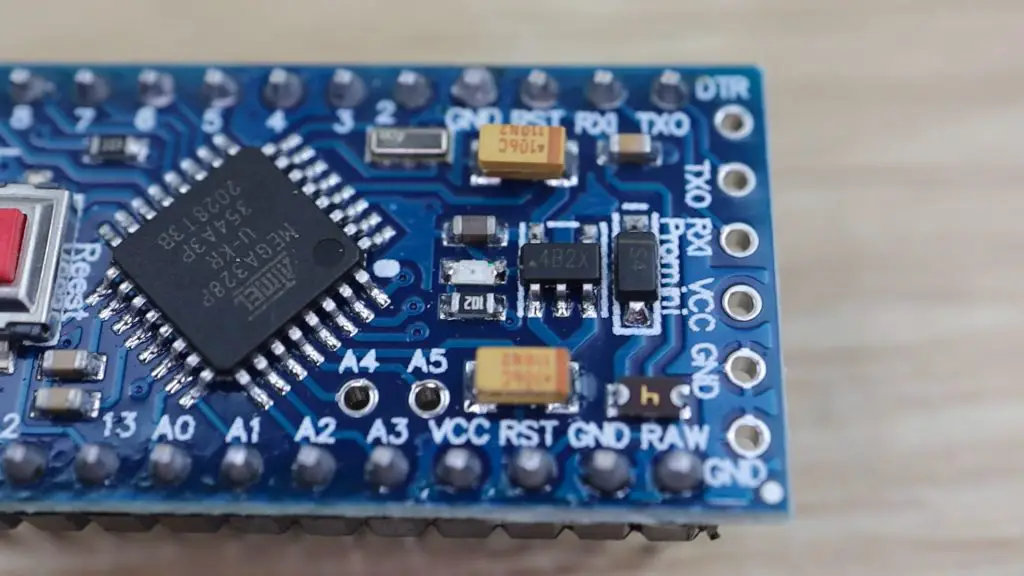
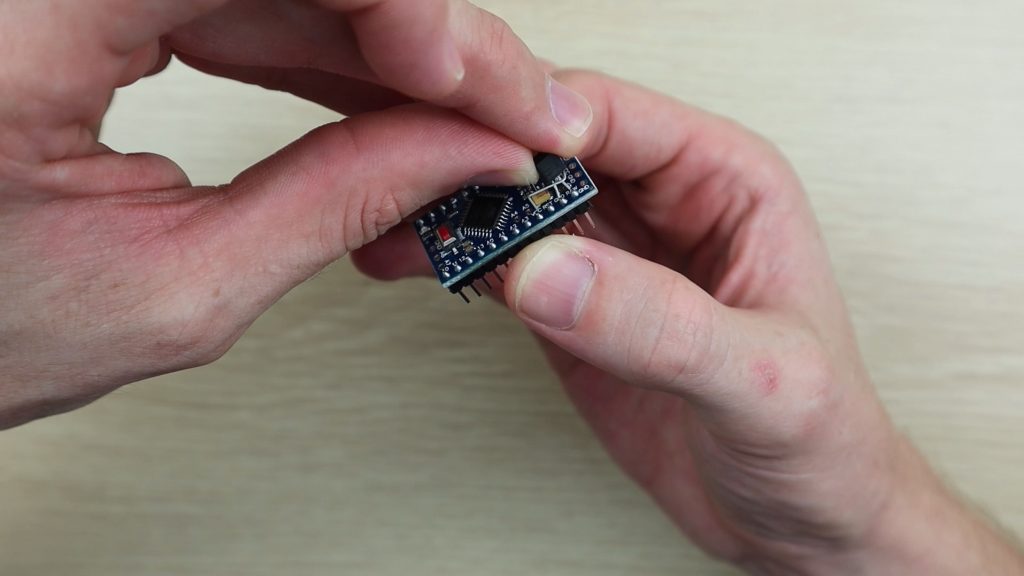
The standard regulator on an Arduino Pro Mini is typically a Micrel MIC5205.
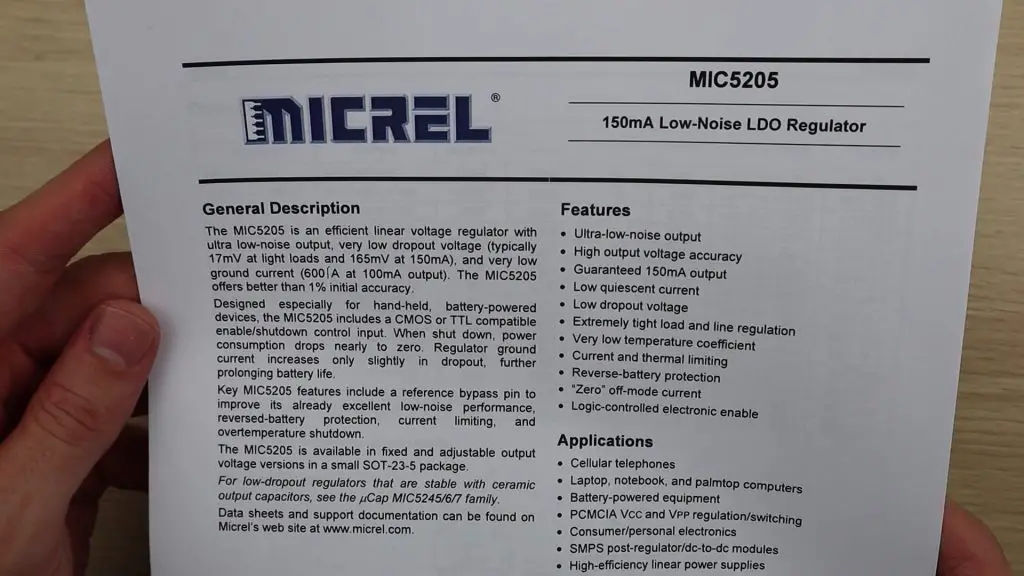
This regulator is reasonably efficient under load, but is quite poor at low load. Meaning that it waste’s quite a lot of energy when the Arduino isn’t drawing much current from it. This is usually fine for general battery powered projects which run for a few minutes or even an hour or two, but it becomes a problem if you’re trying to build ultra low power projects which need to last a few months on a single charge of a battery.
So lets start by having a look at where we got to previously.
Unmodified Arduino Pro Mini
We started off by testing a standard 3.3V Arduino Pro Mini with no modifications and found that it drew 4.5 milliamps, or 4470 microamps, from the 3.7V battery when running the pre-installed blink sketch.
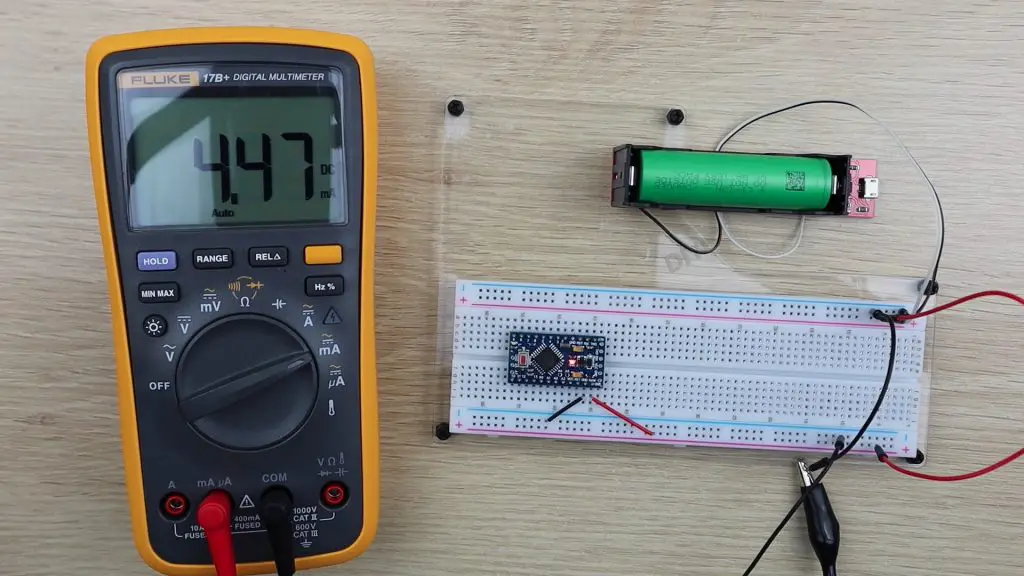
This isn’t much, but it means that a 3.3V Arduino Pro Mini would run for just under a month on a single 3000mAh battery.
Using Low Power Mode
We then used a low-power script to put the Arduino to sleep between blinking. This script makes use of a low-power library to put the Arduino’s Atmega chip to sleep between operations, which uses significantly less power than when it is awake.
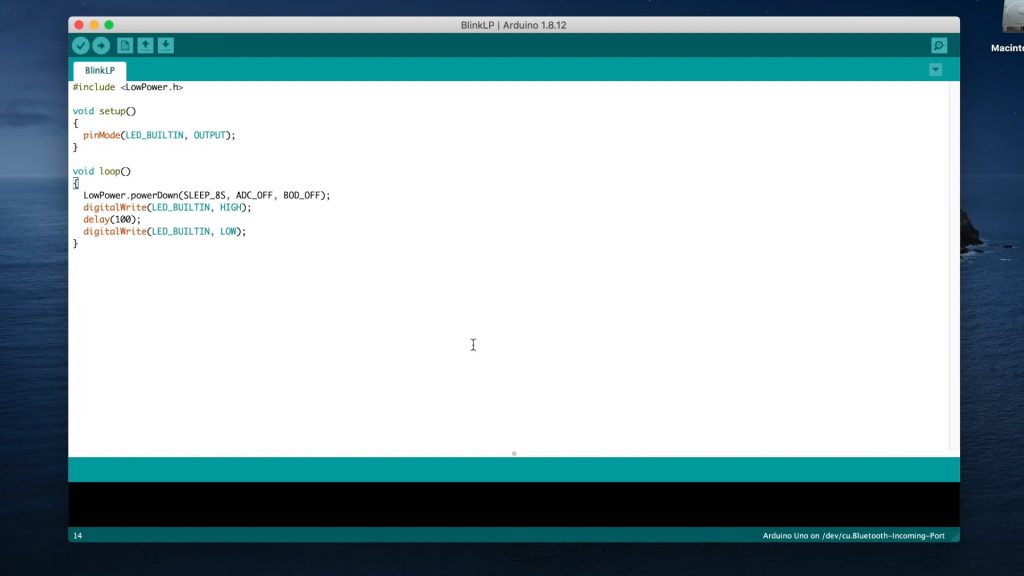
If you’re building ultra-low-power projects then a key part of getting longer battery life is to look at how often information is measured and updated and to make use of the time between these operations to put the Arduino into a low power state. I’m not suggesting that you only take measurements once a day or once an hour, but even waking up to take measurements or check conditions for 1 second in every 10 seconds will make your batteries last almost 10 times longer than without sleeping.
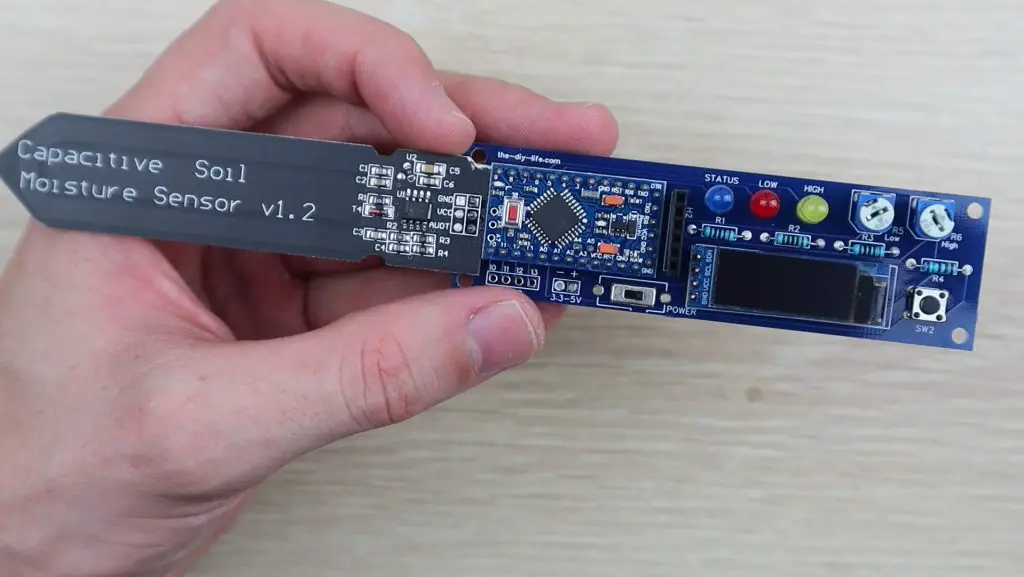
I used this low-power library in my soil moisture monitoring stick project.
This low power mode modification reduced the current draw to just 1.5 milliamps, or 1500 microamps, so we’ve got around a 3 fold improvement without doing anything to the hardware. Our single 3000mAh battery would now power our Arduino for a little under 3 months on a single charge.
Looking At The Hardware Under A Microscope
Next, we’re going to look at some hardware modifications which we can make to further reduce the power consumption. We’re going to be looking at the small surface mount components on the Arduino PCB, so I’m going to be using this 7″ LCD Digital Microscope which Dcorn have sent me to give you a closer look.
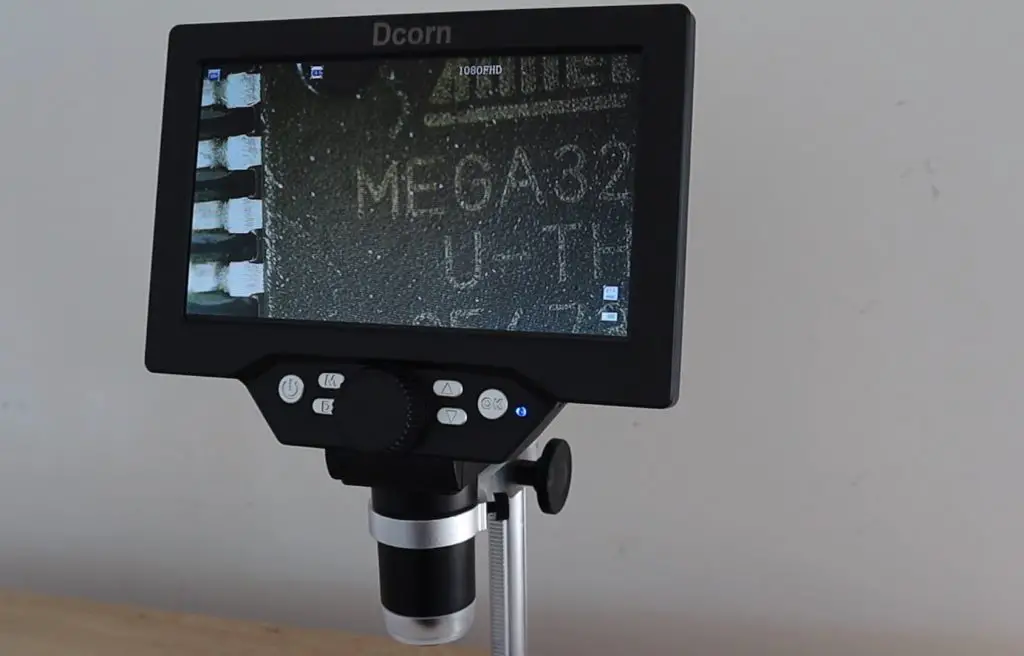
If you enjoy tinkering with electronics and small PCBs then a microscope like this is a great workshop tool. Some of the close-up images and video footage has been recorded using this microscope.
Removing The Onboard Power LED
The next modification was to remove the onboard power LED. This little LED is on whenever the Arduino is powered, which is great when it’s on your bench, but just wastes power in an enclosure.
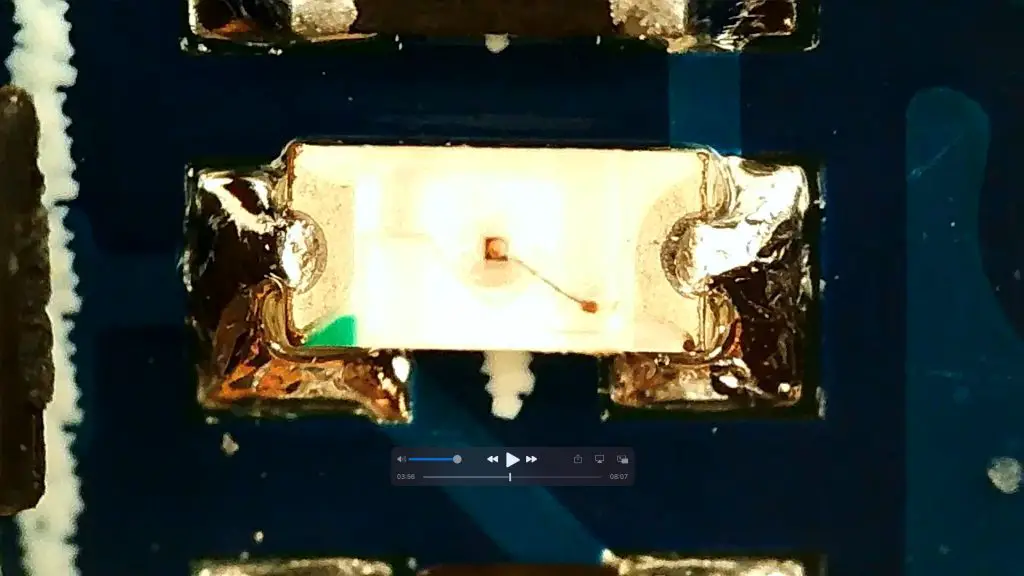
Last time, we removed this LED by just clipping it off with some wire cutters, this time I’ll do it with a pencil heat gun.
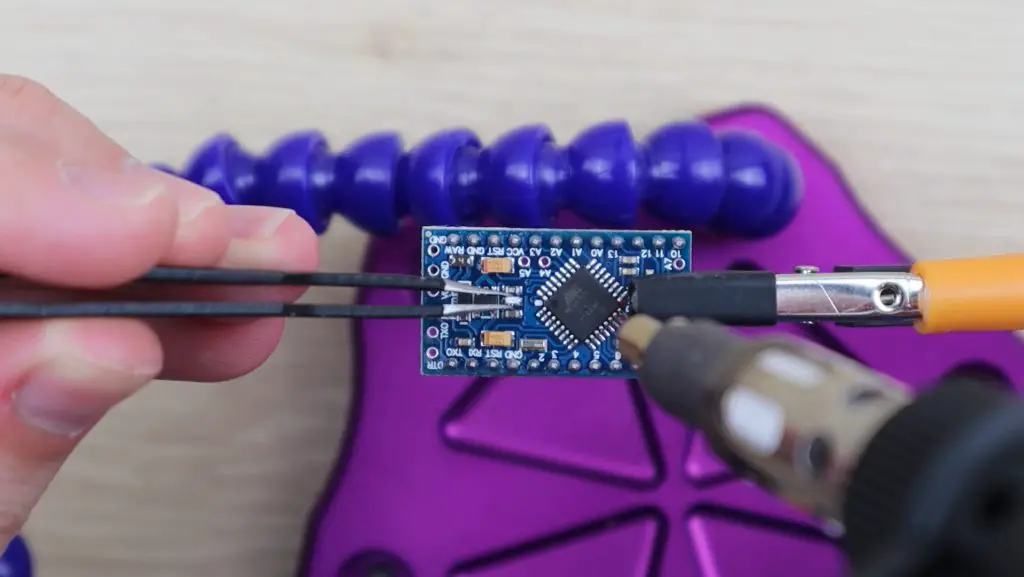
This had a massive impact on the current draw, reducing it to 0.05 milliamps or 54 microamps. Which is a great result for something we probably wouldn’t have used anyway.
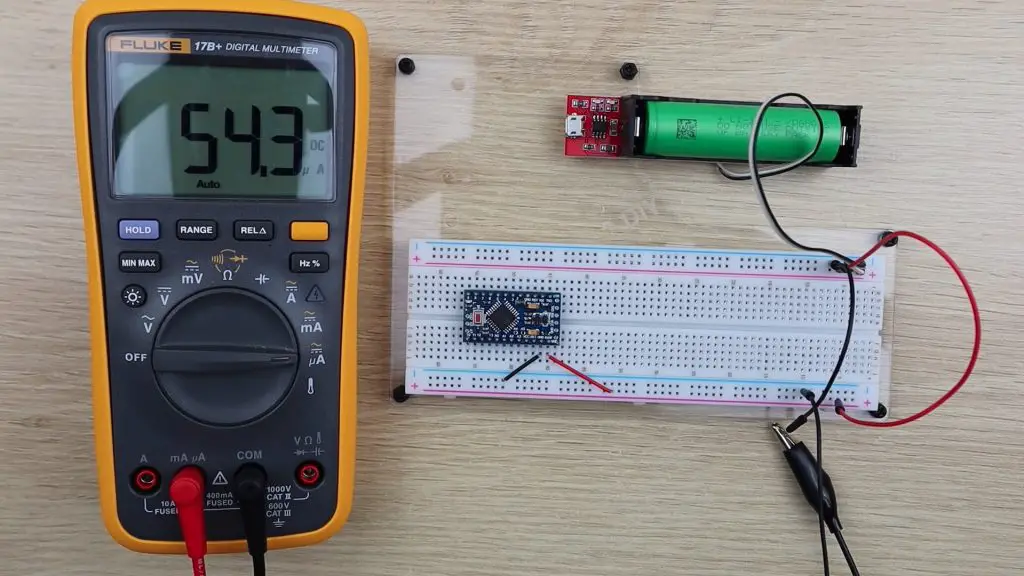
So this was 25 times less power than in low-power mode. This translates to an additional 2900 days of run time on a 3000mAh battery, just by removing an LED which would have likely been covered anyway.
Removing The Voltage Regulator
We then found that removing the voltage regulator resulted in another significant improvement,
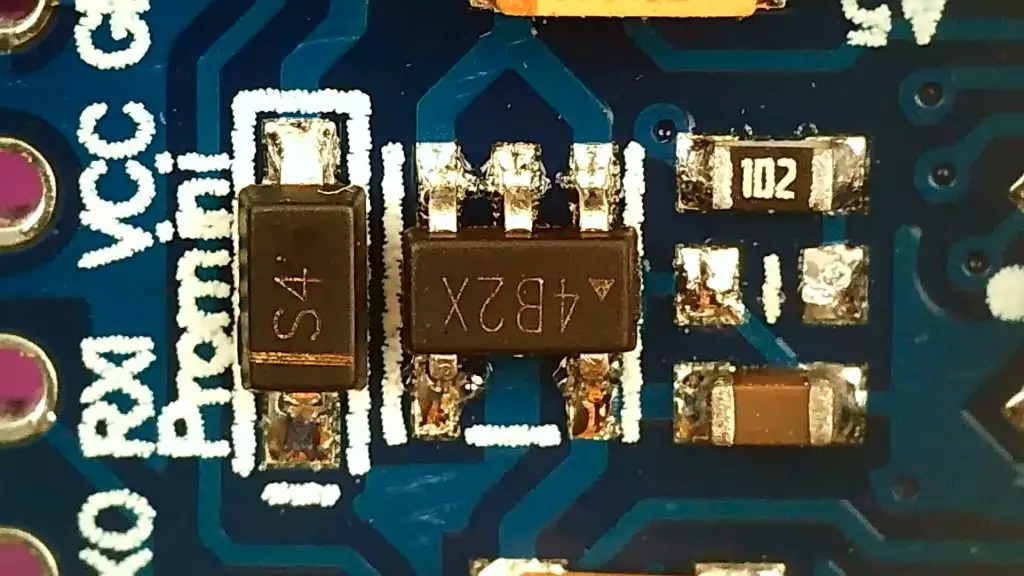
I removed the voltage regulator using the pencil heat gun again, taking care not to damage any of the surrounding components.
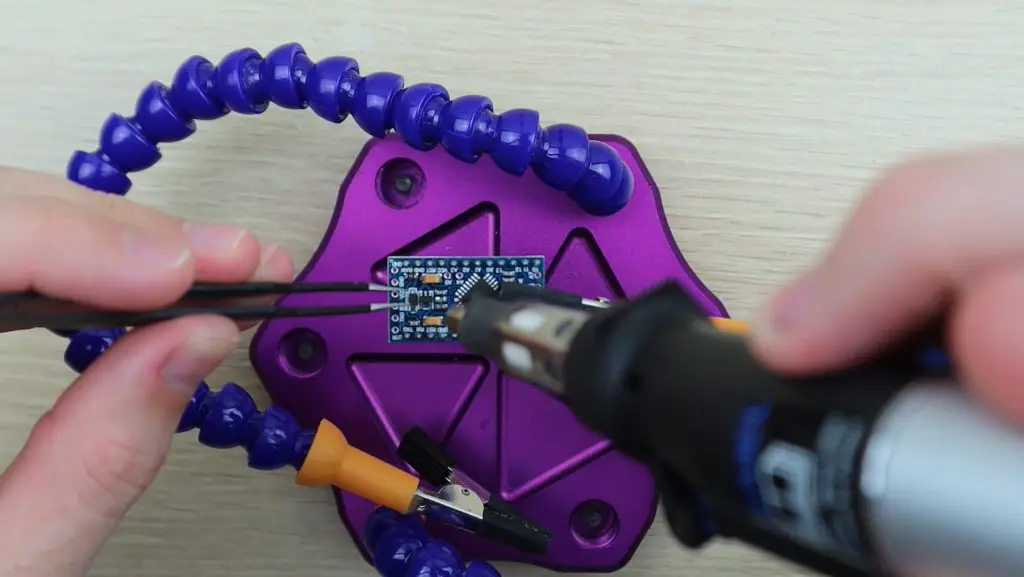
The board now consumes just 6 microamps.

So we can tell from this test that our regulator was using around 50 microamps by itself. So now we’re going to have a look at whether we can change this regulator for a more efficient one.
The regulator I’m going to be using is a Microchip MCP1700, which is a 3.3V 250mA regulator which is designed to have a low quiescent current.
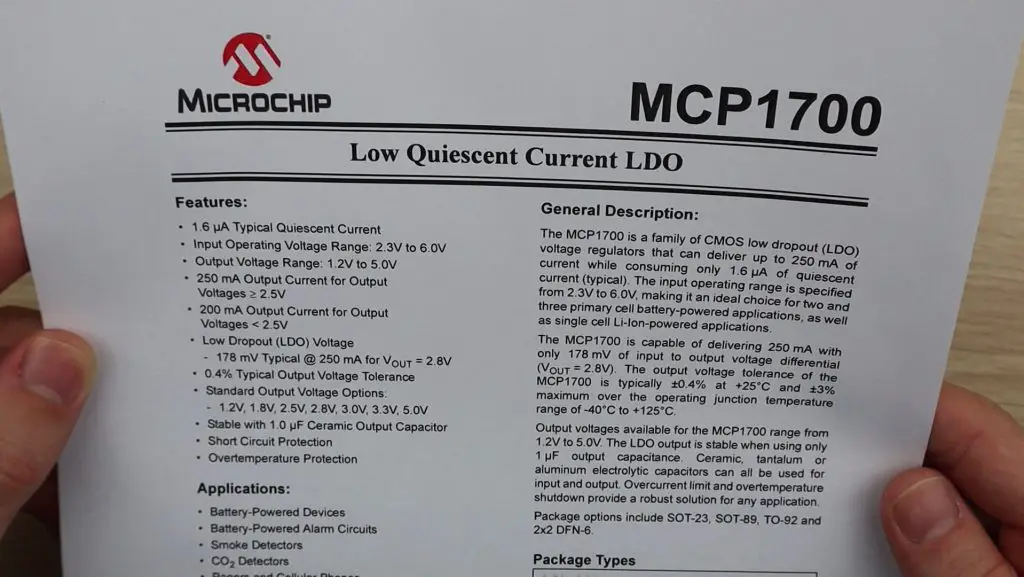
One thing to note with this regulator is that it is only rated for an input voltage of up to 6V, so you won’t be able to use it up to 12V like a standard Pro Mini. There is an alternative, the MCP1702, which has a slightly higher quiescent current but allows an input voltage of up to 13.2V. So if you need a higher input voltage then have a look at this as an alternative.
An issue with the onboard regulator on the Pro Mini is that it’s a bit of an uncommon form factor, having 5 legs. Most voltage regulators you’ll see look more like the MCP1700, having 3 legs. So we can’t just directly replace the one on board with a better one.
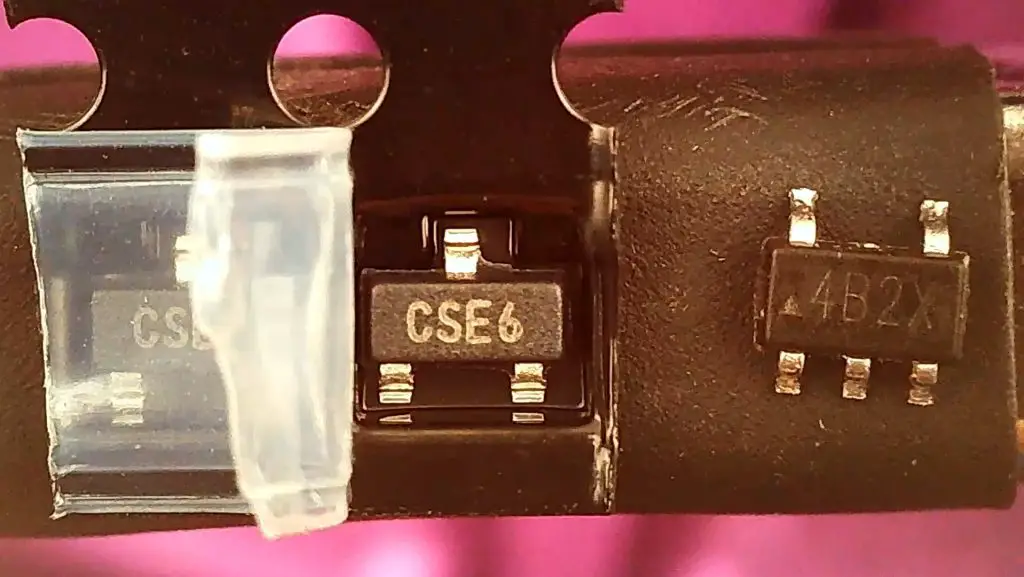
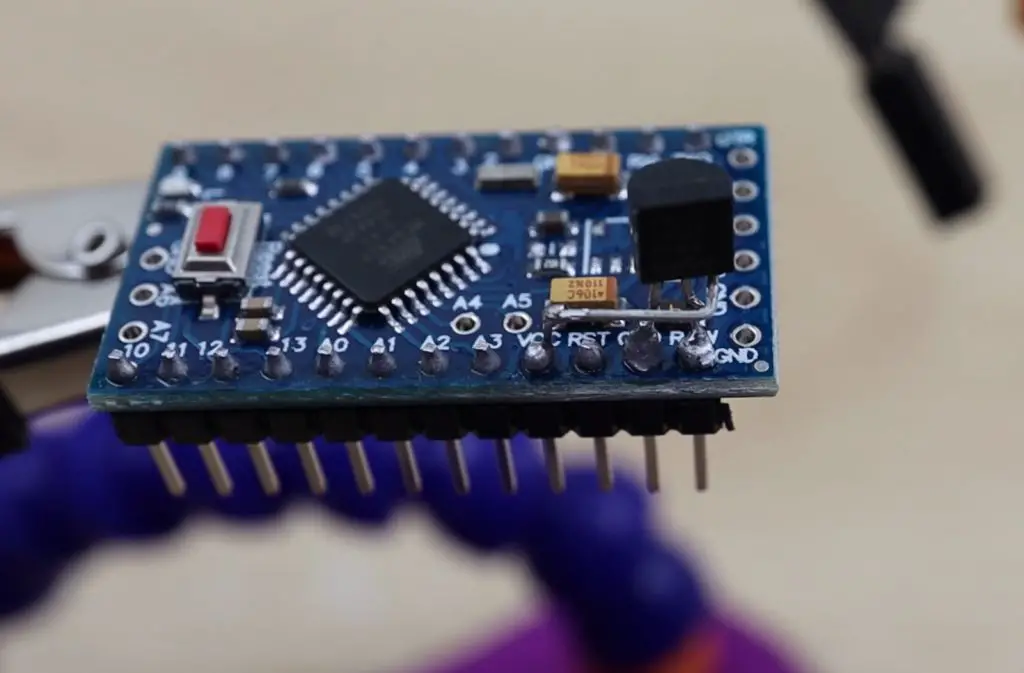
But fortunately, there is an easy workaround. We’re just going to use a through-hole version of the MCP1700. It is a bit larger but has exactly the same characteristics as the smaller package.
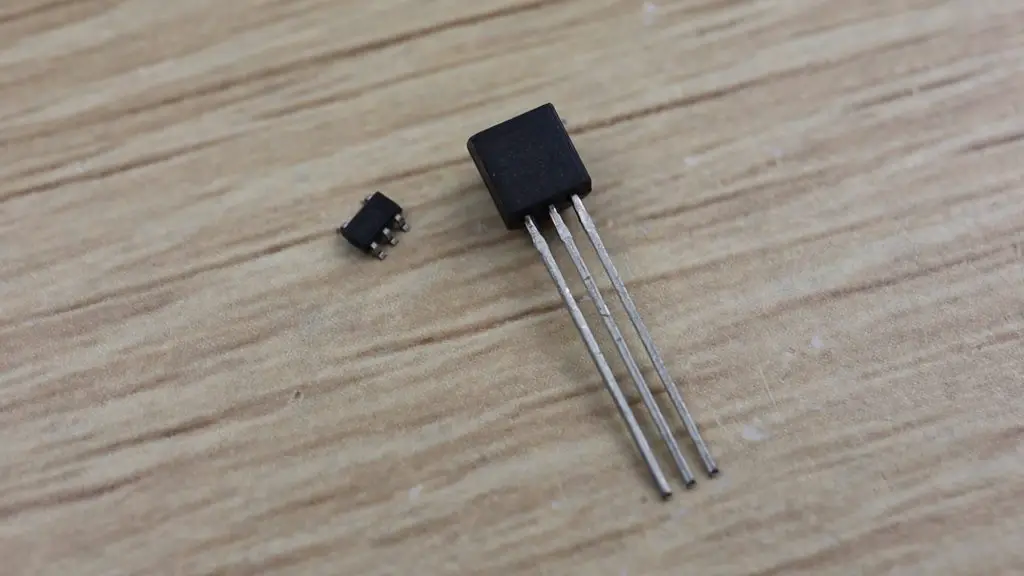
We still need to remove the surface mount one, which you can do with a pencil heat gun or just use clippers as I did previously.
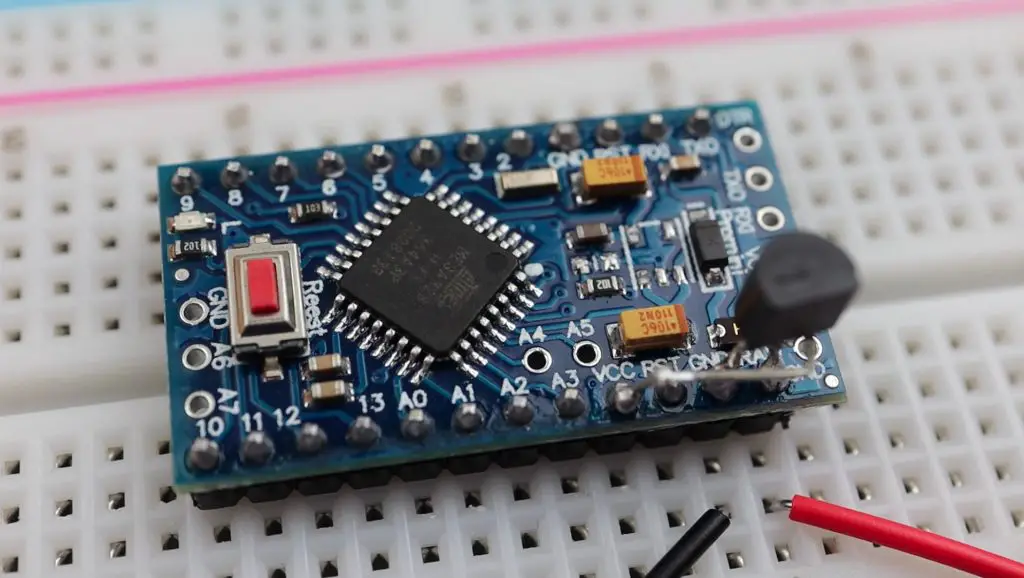
We’re then going to connect the legs of the regulator to the VCC, GND and RAW pins on the Arduino.
Doing this takes the voltage supply being applied to RAW and GND and supplies the regulated 3.3V to the Arduino’s VCC circuit.
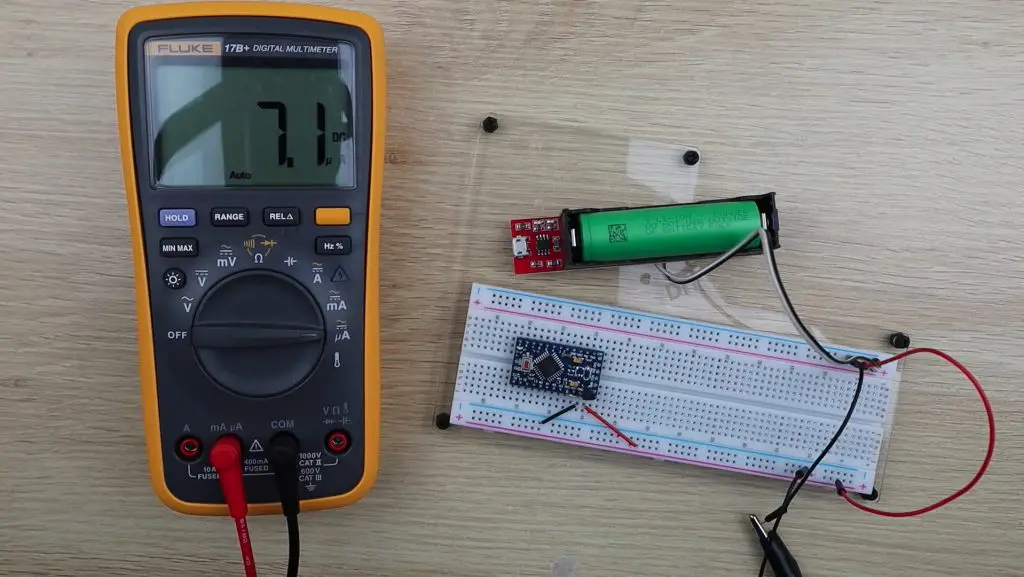
Now that we’ve done this, let’s have a look at whether our Arduino still works and how much power it now uses.
So the blink sketch is still running and we’re now only using 7 microamps, which is substantially better than the 54 being used by the old regulator.
So we’ve now got an Arduino that still has a regulated supply which is using 640 times less power than an original Arduino Pro Mini. This means that this Arduino would run for almost two years on a battery that would only power an original Pro Mini for a day, and it would run for almost 50 years on a single 3000mAh battery (if the battery would last this long)
So you’ve now got more battery capacity available to power your other IO devices. You can also use batteries with a long shelf life, like non-rechargeable lithium batteries, to power your Arduino for 5-10 years without ever touching it.
Let me know in the comments section what you’d use one of these modified Arduinos to power.


Hello Michael,
love your posts. This one convinced me to exchange the regulator on my Pro minis. The LED is already out. They mostly deep sleep. I have a capacitive soil sensor and a DHT22 each running on Lipos, transmitting their data to a central Wemos and onwards via Blynk to my smartphone. The MCP 1700 will prolong Lipo life some more.
Thanks, keep going and stay healthy.
Thomas
Hi Thomas,
Thanks for the great feedback! Sounds like a pretty cool setup you’ve got going! Yes, definitely give this a try. It makes a huge difference for long term battery-powered projects.
I understand that the board will also work without a regulator?
It’ll work without a regulator, but you’ll need to be careful not to damage the chip through overvoltage and it won’t work well with analogue inputs/sensors as you no longer have a fixed reference voltage.
Hi Michael,
Late to comment, please let me know if I should move this somewhere more current.
Almost always, we add sensors of some sort interfaced to the Arduino. How do you power them? Is it worth, for example, to only power then when you take a reading, or is that too complicated? I’m thinking put the sensor’s VCC on an Arduino digital output, and put that output high just before reading the sensor, then low after. I haven’t tried this yet, just wondering if you have, and found it affected accuracy. Your moisture sensor pictured above must use a fair bit of power when running.
Also late to the party – I like to use arduino pro mini’s that have been hacked as above to control power circuits to other devices. For example, using a high side switch you can turn on another micro with wi-fi that consumes a lot more power, allow it to boot and take a measurement, then transmit it to the web, then shut the other device down. Finally the control micro will go back to sleep.
I originally wanted to simply use an NPN fet to achieve the same effect with low side power control but I kept running into sensors that didn’t have good shut down options (no enable pin) so they would continuously drain power.
For things that read every hour or so, this is extremely effective.
My high side switches: TPS22810TDBVRQ1
Hi Michael,
Late to comment, please let me know if I should move this somewhere more current.
Almost always, we add sensors of some sort interfaced to the Arduino. How do you power them? Is it worth, for example, to only power then when you take a reading, or is that too complicated? I’m thinking put the sensor’s VCC on an Arduino digital output, and put that output high just before reading the sensor, then low after. I haven’t tried this yet, just wondering if you have, and found it affected accuracy. Your moisture sensor pictured above must use a fair bit of power when running.
This is some seriously cool stuff! I love how you’re hacking the Arduino Pro Mini to be even more power-efficient. I’ve always been interested in low-power projects, but never thought about modifying a Pro Mini like this. I’m curious, though: how did you come up with the idea to use the MCP1700 and MCP1702? And have you tried using this modified setup in any real-world projects yet? Can’t wait to hear more!
This is super interesting! I love how you’re hacking the Arduino to be even more power-efficient. I once had a battery-powered project that drained fast. Can’t wait to see if this mod would’ve saved me. How’d you come up with these specific parts for the replacement?