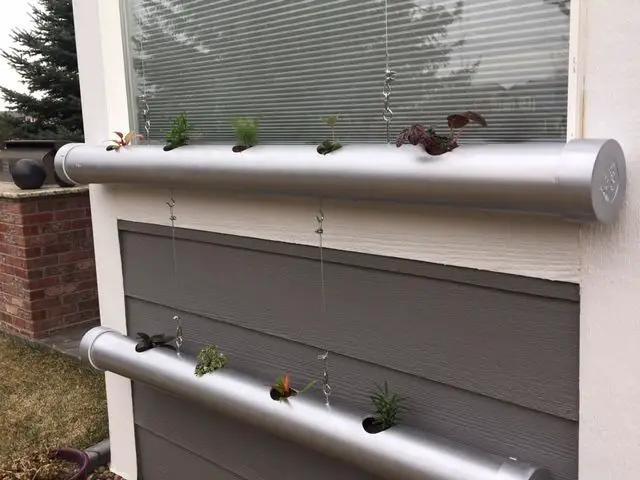
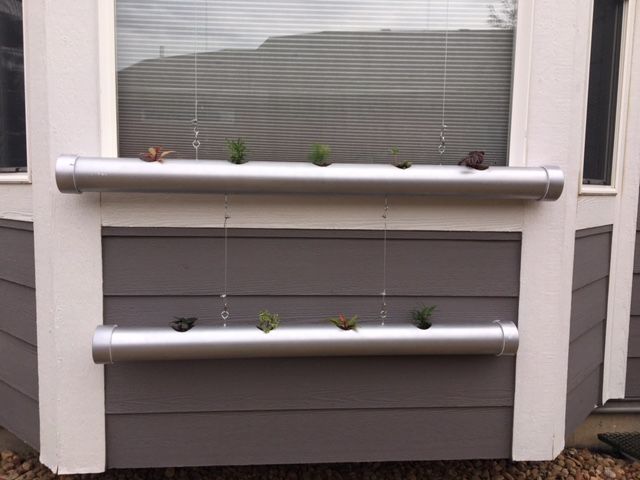
This stylish and modern hanging garden planter is sure to attract attention and it allows you to get more out of the surface area of your garden, perfect for veggies and herbs. Hang them on a wall, under a window or even indoors as a feature, they’d fit right into a modern kitchen.
Once your planters are up and your plants are growing, try our natural pesticide recipes to keep bugs away without spraying harsh chemicals all over your herbs and veggies.
What You Need To Make The Hanging Garden Planter
- 2 x 100mm (4″) PVC Pipes: Cut to About 170cm (66.5″) and 150cm (59″)
- 4 x 100mm (4″) PVC End Caps
- Silver Spray Paint
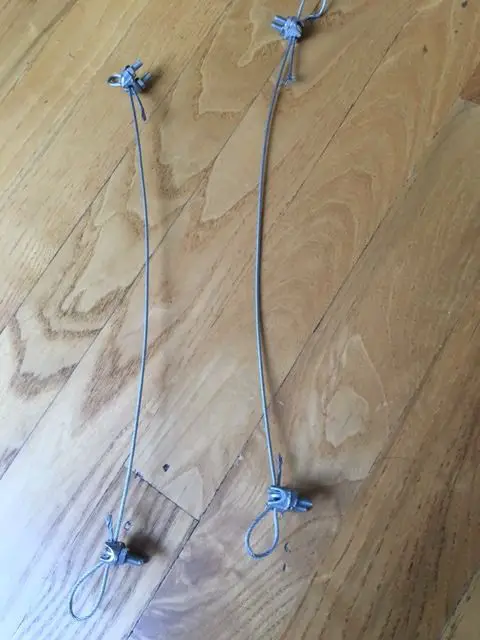
- 5m (16′) Wire Rope
- 4 x Small Wire Rope Clamps
- 8 x Threaded Hooks
- 4 x Carabiner Clips
- Soil
- 9 x Small Plants
- Cordless Drill
- 75mm (3″) Hole Saw
- Small Drill Bits
- 120 Grit Sandpaper
- Hacksaw
- Wire Cutters
How To Make The Hanging Garden Planter
Start off by cutting the PVC pipe to length, this can be to suite your wall or window width or simply to suit the size of your plants.
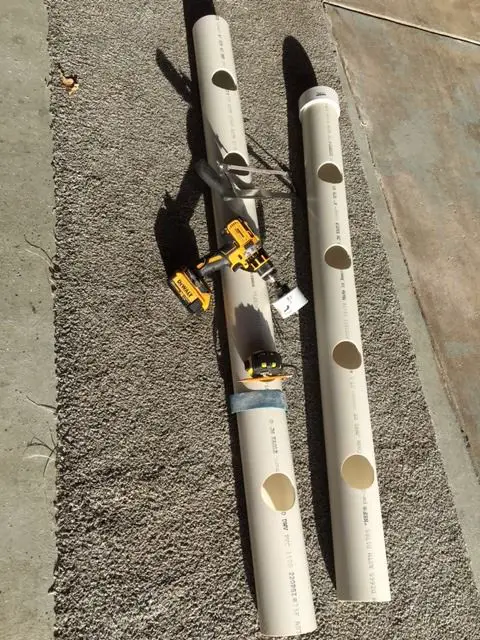
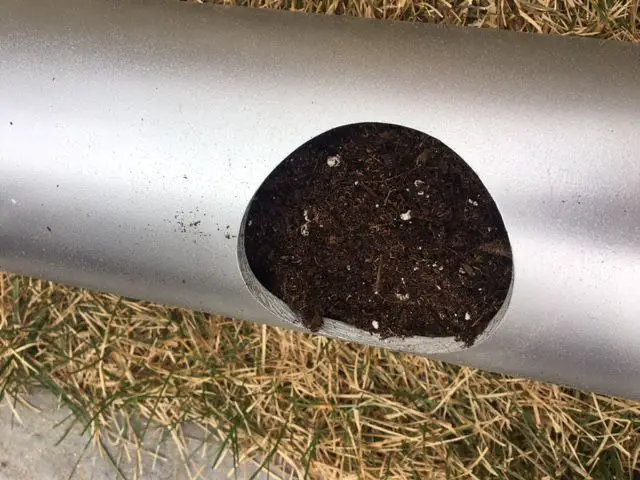
Measure out how far apart the plants need to be and mark them pipe for the holes to be drilled. The spacing used in these planters is 30cm (11″). Once you have marked the holes and are happy with the spacing, use the hole saw to drill the holes through one side of the pipe wall.
Use a small piece of sandpaper to sand the edges of the holes to remove any rough or sharp edges. Sand the ends of the pipes as well so that the end caps fit on snugly.
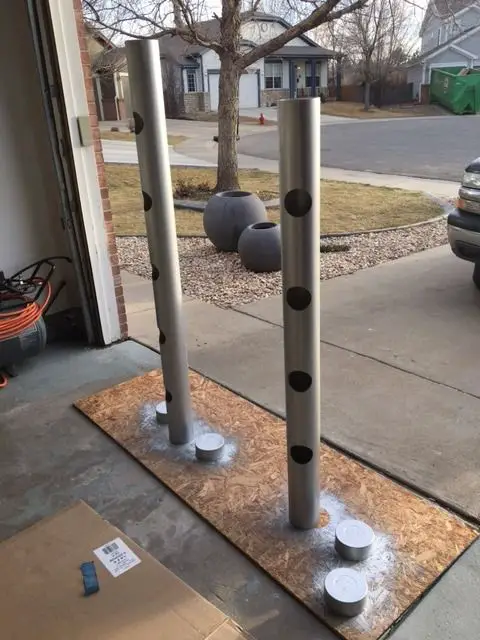
Stand the pipes up on their ends and spray them with the silver spray paint. Do two or three light coats of paint on each pipe. Spray the end caps as well.
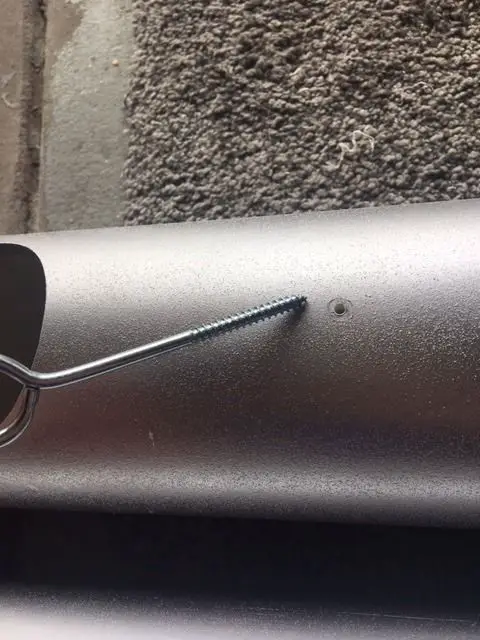
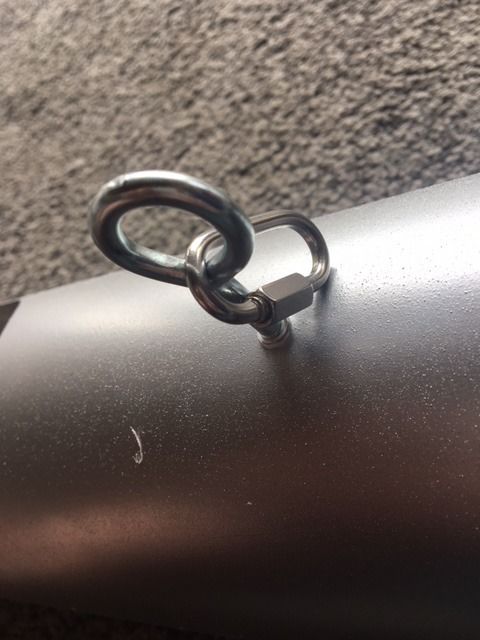
Now attach the hanging hooks onto the pipes, the hooks can be positioned either between the last holes and the ends of the pipes or in the centre of the outer two holes on each pipe as is done in this case. Drill a small pilot hole for each hook and then screw them into the pipe.
Line up the holes on the bottom of the top pipe with the top of the bottom pipe so that the wire rope hangs straight down from the top pipe to the bottom pipe. Also ensure that the holes are all drilled in line on with the planter holes so that they hang with the plants facing directly upwards.
Next you can cut the wire ropes, this can be done to suit the area you are hanging your planters. Measure the required distance and allow about 100mm (4″) extra so that there is additional wire rope to make the end loops. Make them in pairs and check them against each other to make sure that the pairs are exactly the same length or your planters wont hang level.
Finally, fill the pipes with soil and install the end caps. If your end caps fit snugly then you can just push them on. If you are going to be using the planters indoors or your end caps are loose then you’ll need to glue them on. PVC cement is best to glue them on, make sure that the PVC cement goes directly onto the plastic and not over the silver paint.
Open all of the carabiner clips and slip the wire ropes into them. Your planters are now ready to be hung up on the wall or window frame. If you’re installing them outdoors then you may want to drill a small hole into the bottom on each end to allow the excess water to drain. If you need to drill into tiles to mount hooks to hang the planters in your kitchen, read our guide on drilling holes into tiles first.
Plant your plants into the hanging planters and you’re done.
Have you tried making these or similar planters? Let us know in the comments section below.
This post is adapted from Hanging Garden by begallogly01 and is used under the Creative Commons license CC-BY-NC-SA.


