If you love drinking soda then you’ll likely throw out a lot of cans. Here’s a creative way to recycle them by making a small LED lantern.
You could also replace the LED with a tea light however the LED has a few advantages, for one it is a lot safer as it doesn’t heat the can up and it also lasts a lot longer than the candles do.
What You Need To Build A LED Soda Can Lantern
- Soda Can
- 10mm LED – Buy Here
- CR2032 Button Battery – Buy Here
- Masking Tape – Buy Here
- Utility Knife – Buy Here
How To Make The LED Lantern
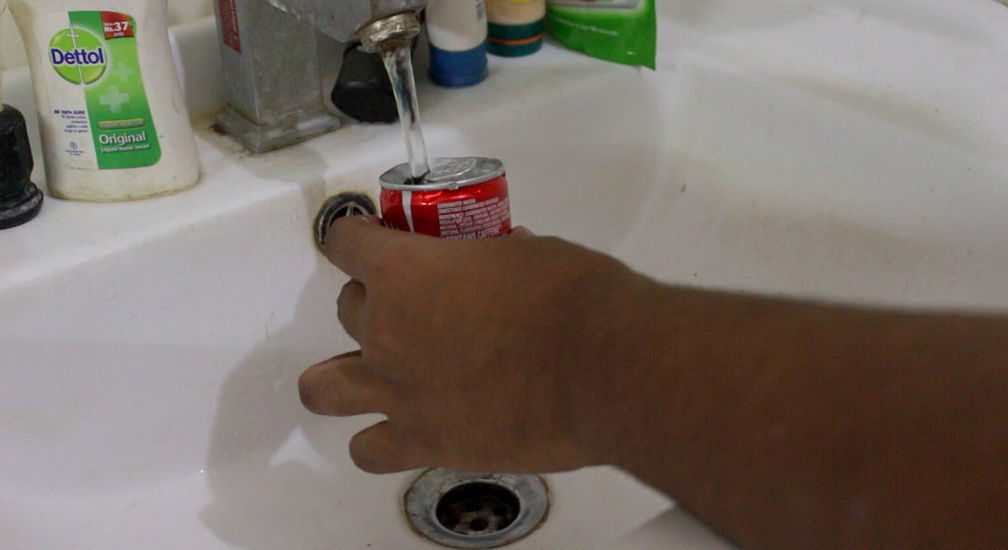
Start off by cleaning out the soda can, rinse it out with fresh water and a bit of dish soap or alternately stick it into the dishwasher with your next load of dishes.
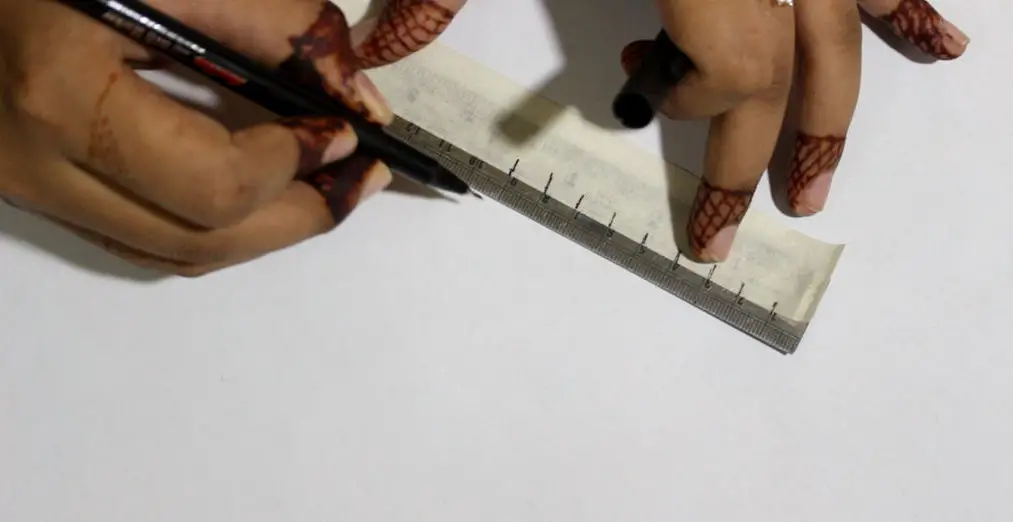
Now you need to mark the cut intervals on a piece of masking tape. Stick a strip down the length of a ruler and mark the tape with a marker or pen in 1cm (1/2″) intervals, you can increase or decrease the interval sizes to your liking.
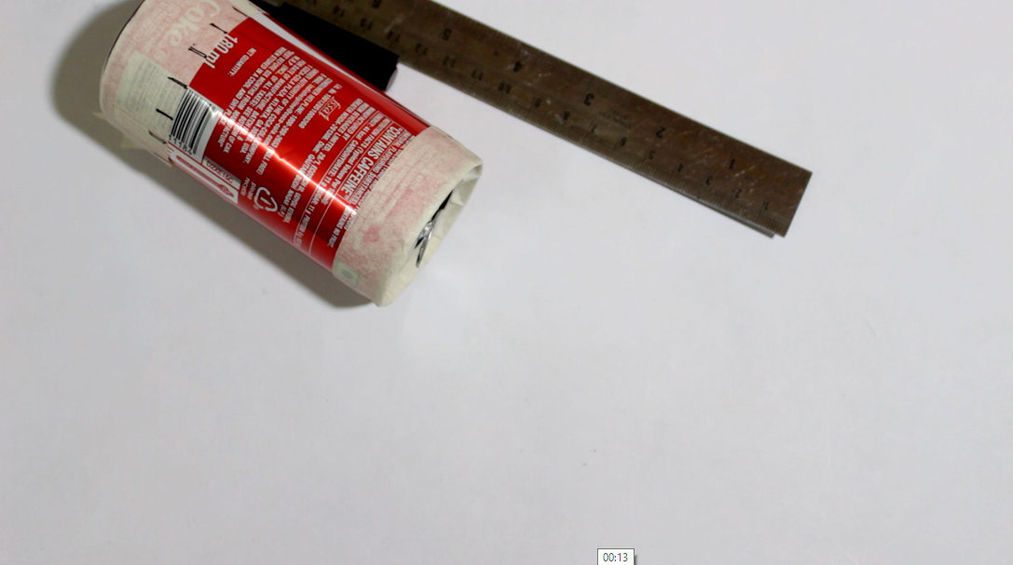
Once you have finished marking out your tape, stick it onto the can. Stick the marked piece around the bottom of the can and an unmarked piece around the top of the can as shown.
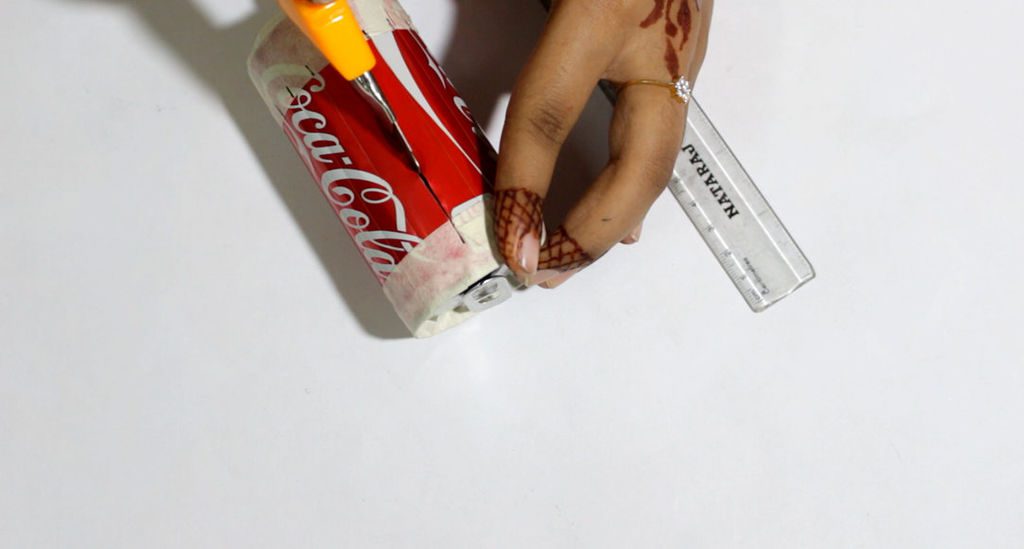
Next, use a ruler and make light cuts along the interval lines between the masking tape. You don’t need to cut all the way through the can in this step, just make sure that the lines are well marked, a scratch through the paint finish is perfect.
Once you have finished marking all of the intervals, you can begin making the deep cuts through the sides. Work slowly and don’t apply too much pressure or you’ll dent the can. It may take a few runs to get through the metal.
To make this step a bit easier, you can fill the can with water and freeze it. Once the water is frozen, cut the lines through the sides. The ice will help keep the can in shape and prevent it from collapsing.
Once you have made all of the cuts, you need to bend the sides outwards to form the lantern. Apply pressure to both sides of the can and make sure that the strips move outwards and not inwards. Squash the can a little to create a gradual bend in the side strips. Don’t squash the can too much so that the bends become sharp, they should be rounded.
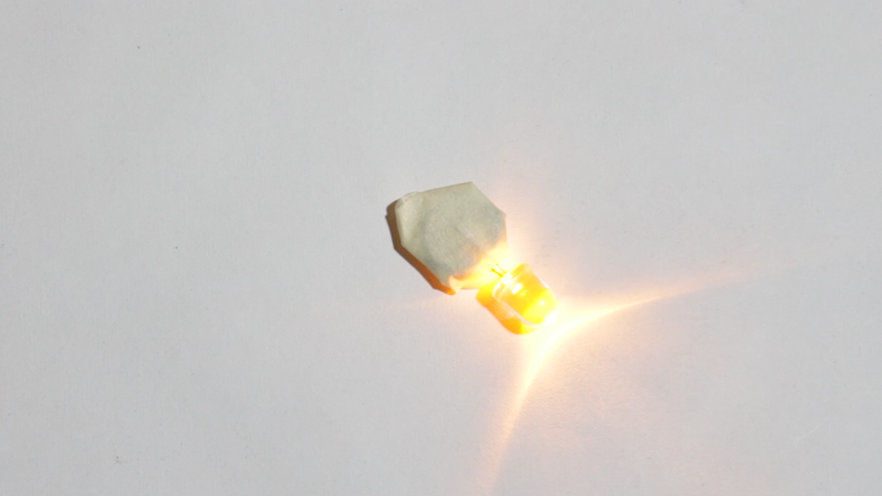
Lastly prepare the LED by placing the button battery between the two terminals, the LED should then light up. If it does not light up immediately, flip the battery over between the terminals and try again. Wrap some tape around the terminals to keep the battery in place and the terminals in contact with the battery.
Place the LED into the can and your LED soda can lantern is now ready to be used. Place them around the house or down a lane, path or driveway in your garden.
The battery should last for about 8 hours and can easily be replaced for the lantern to be used again.
Have you made these lanterns? Let us know your tips and tricks in the comments section below.
This post is based on Recycled Soda Can LED Lantern by geekrex, it has been modified and used under CC BY NC SA


