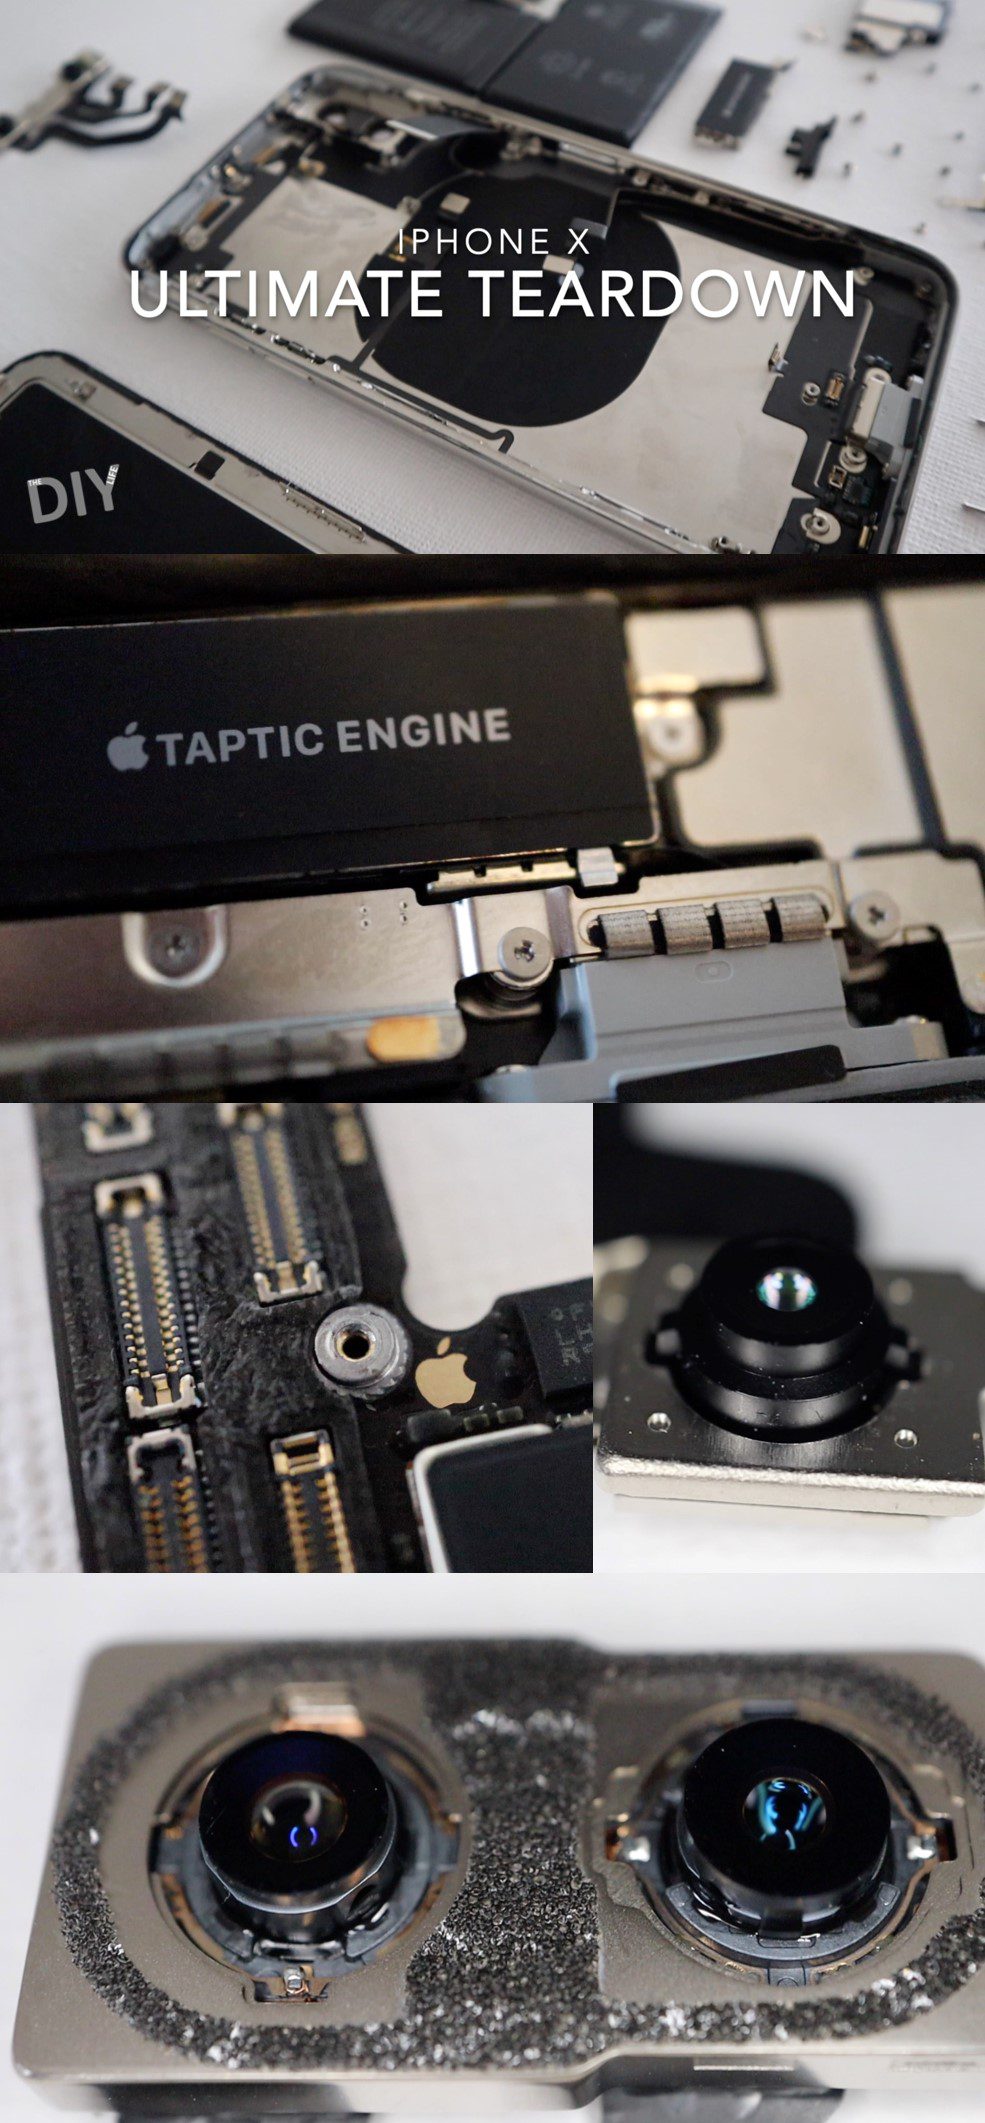
In this teardown video, I’ve taken an iPhone X apart as far as possible with a standard repair toolkit and without breaking any of the components open. I’ve also included some close-up shots of some of the more interesting components to have a look at, have a look at the stills after the video.
Did you know that you can do quite a few repairs to your iPhone yourself? Have a look at these common iPhone repairs that you can do yourself.
Here are some of the still images of the internal components of the iPhone X from the teardown:
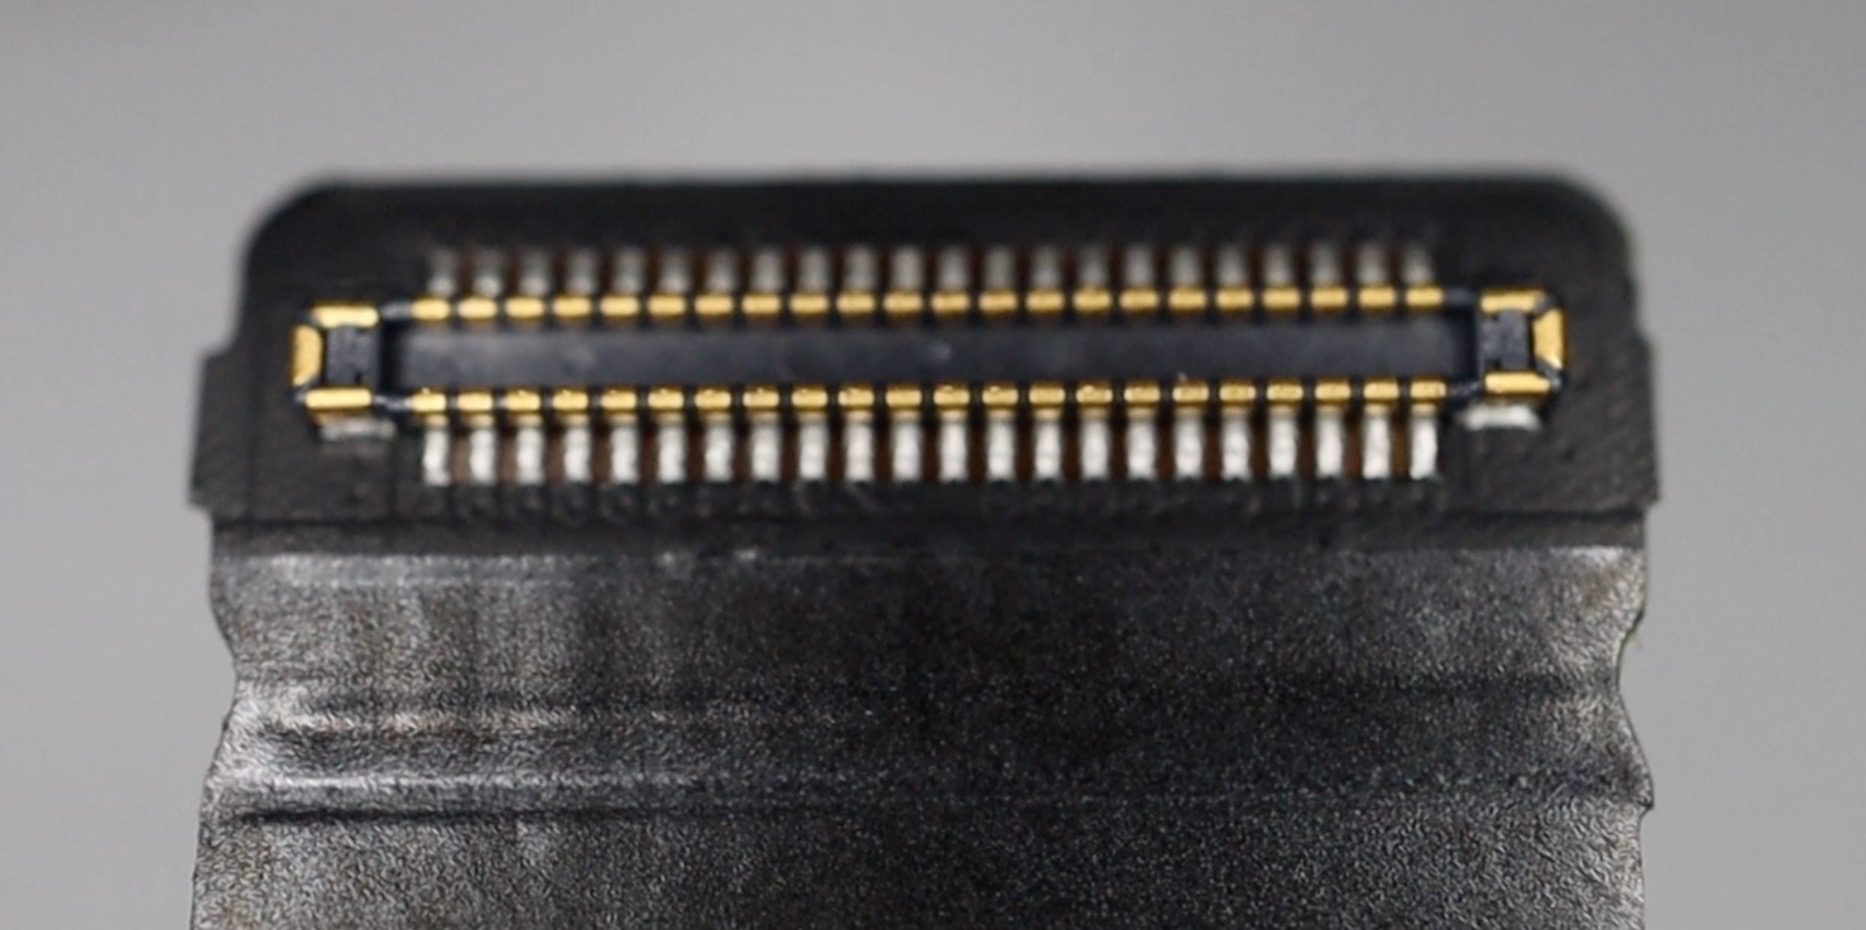
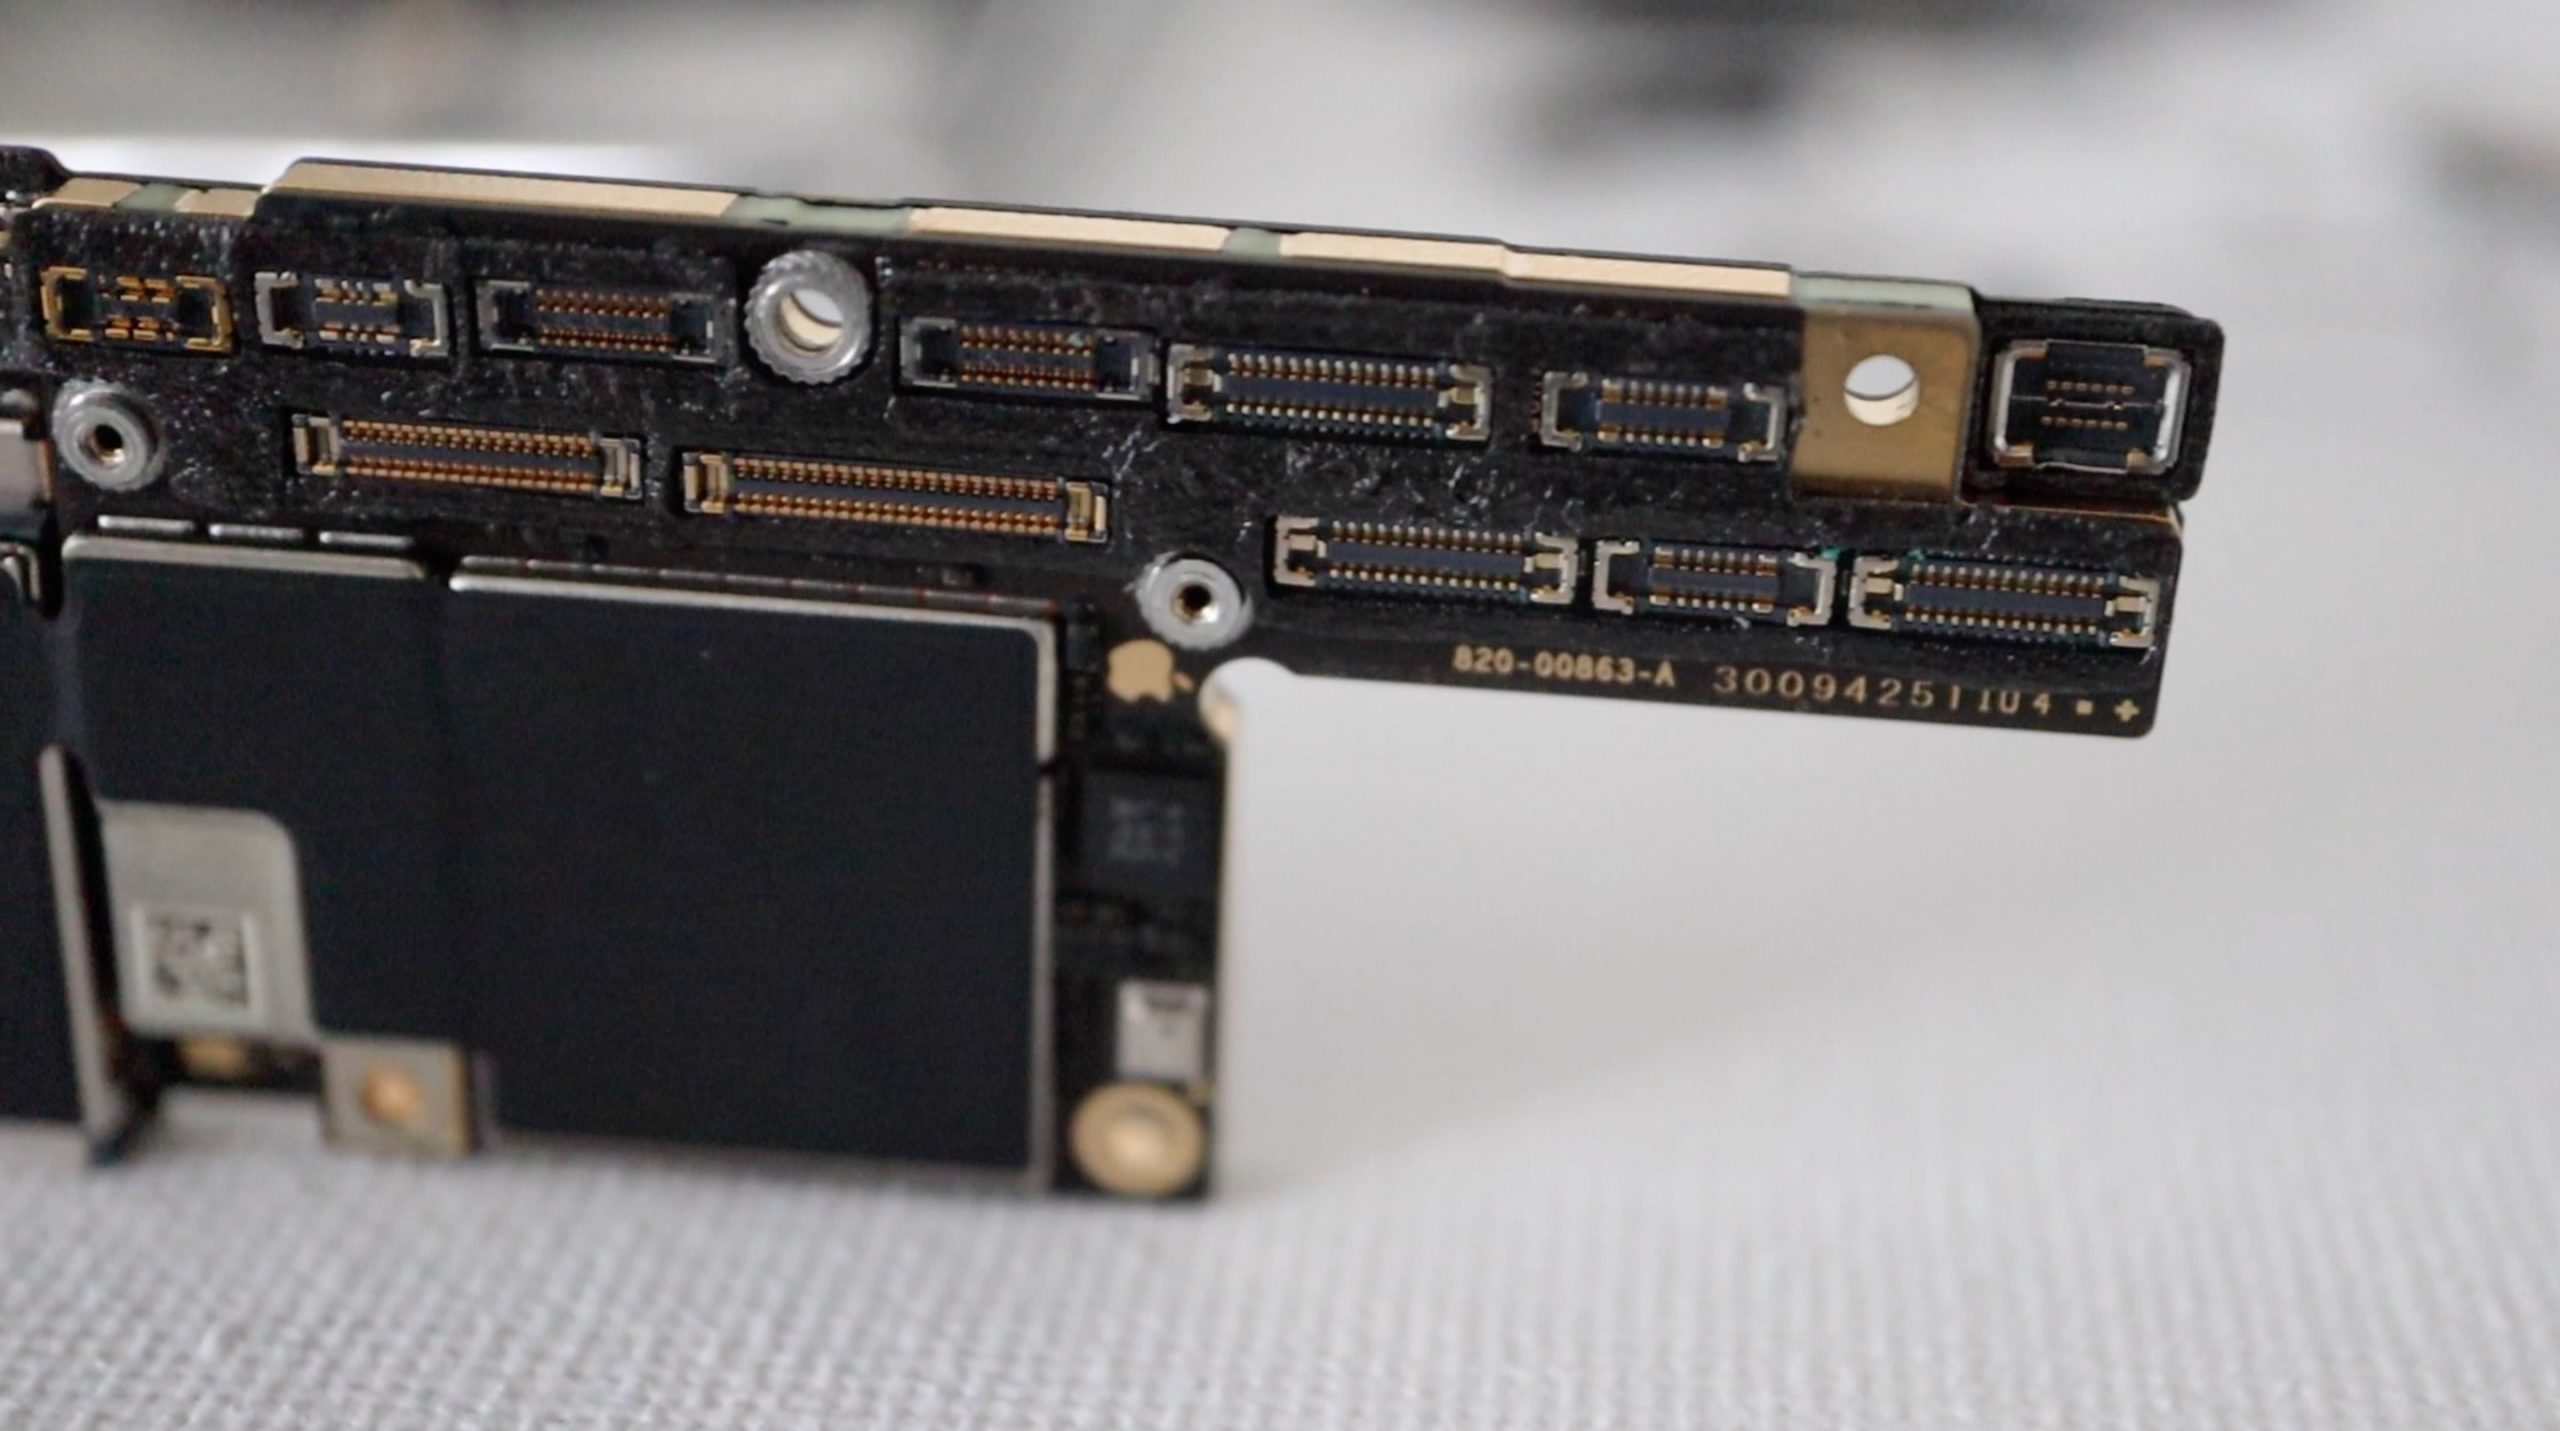
These ribbon cable connectors connect the various components in the iPhone together, making repairs and replacements of parts easier. Older model mobile phone’s used to have soldered connections, which required a lot of effort to replace components.
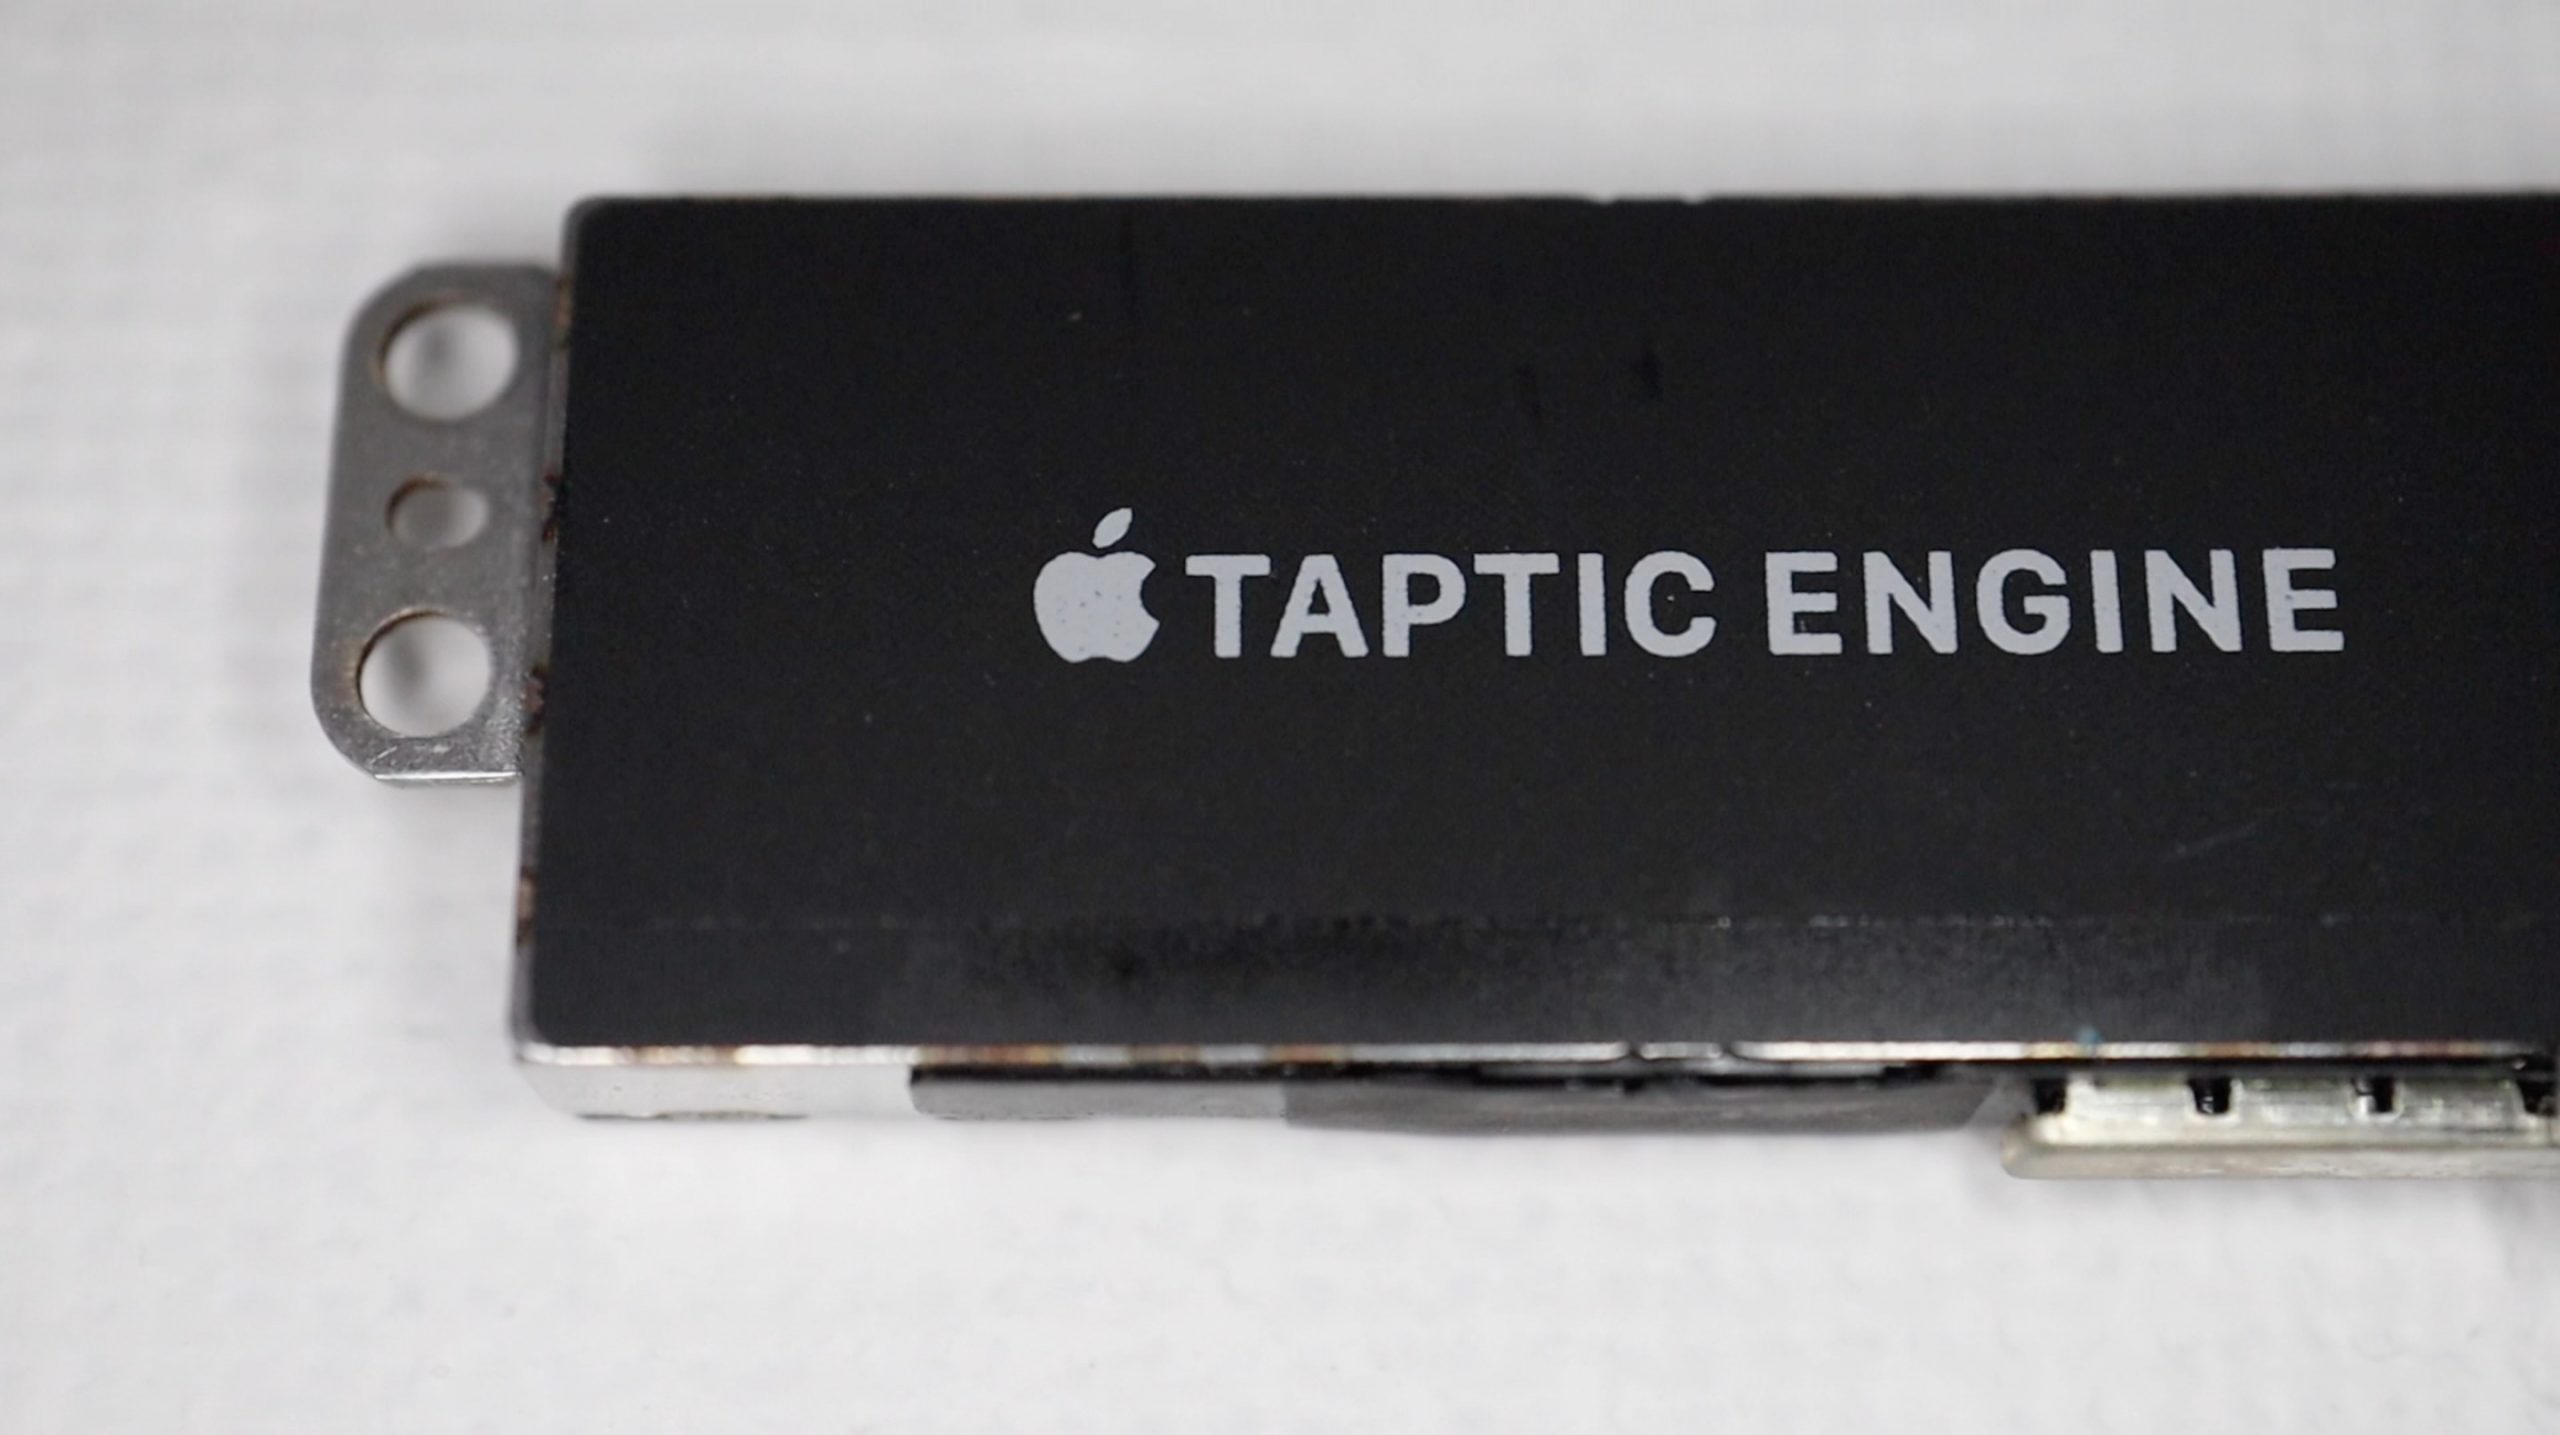
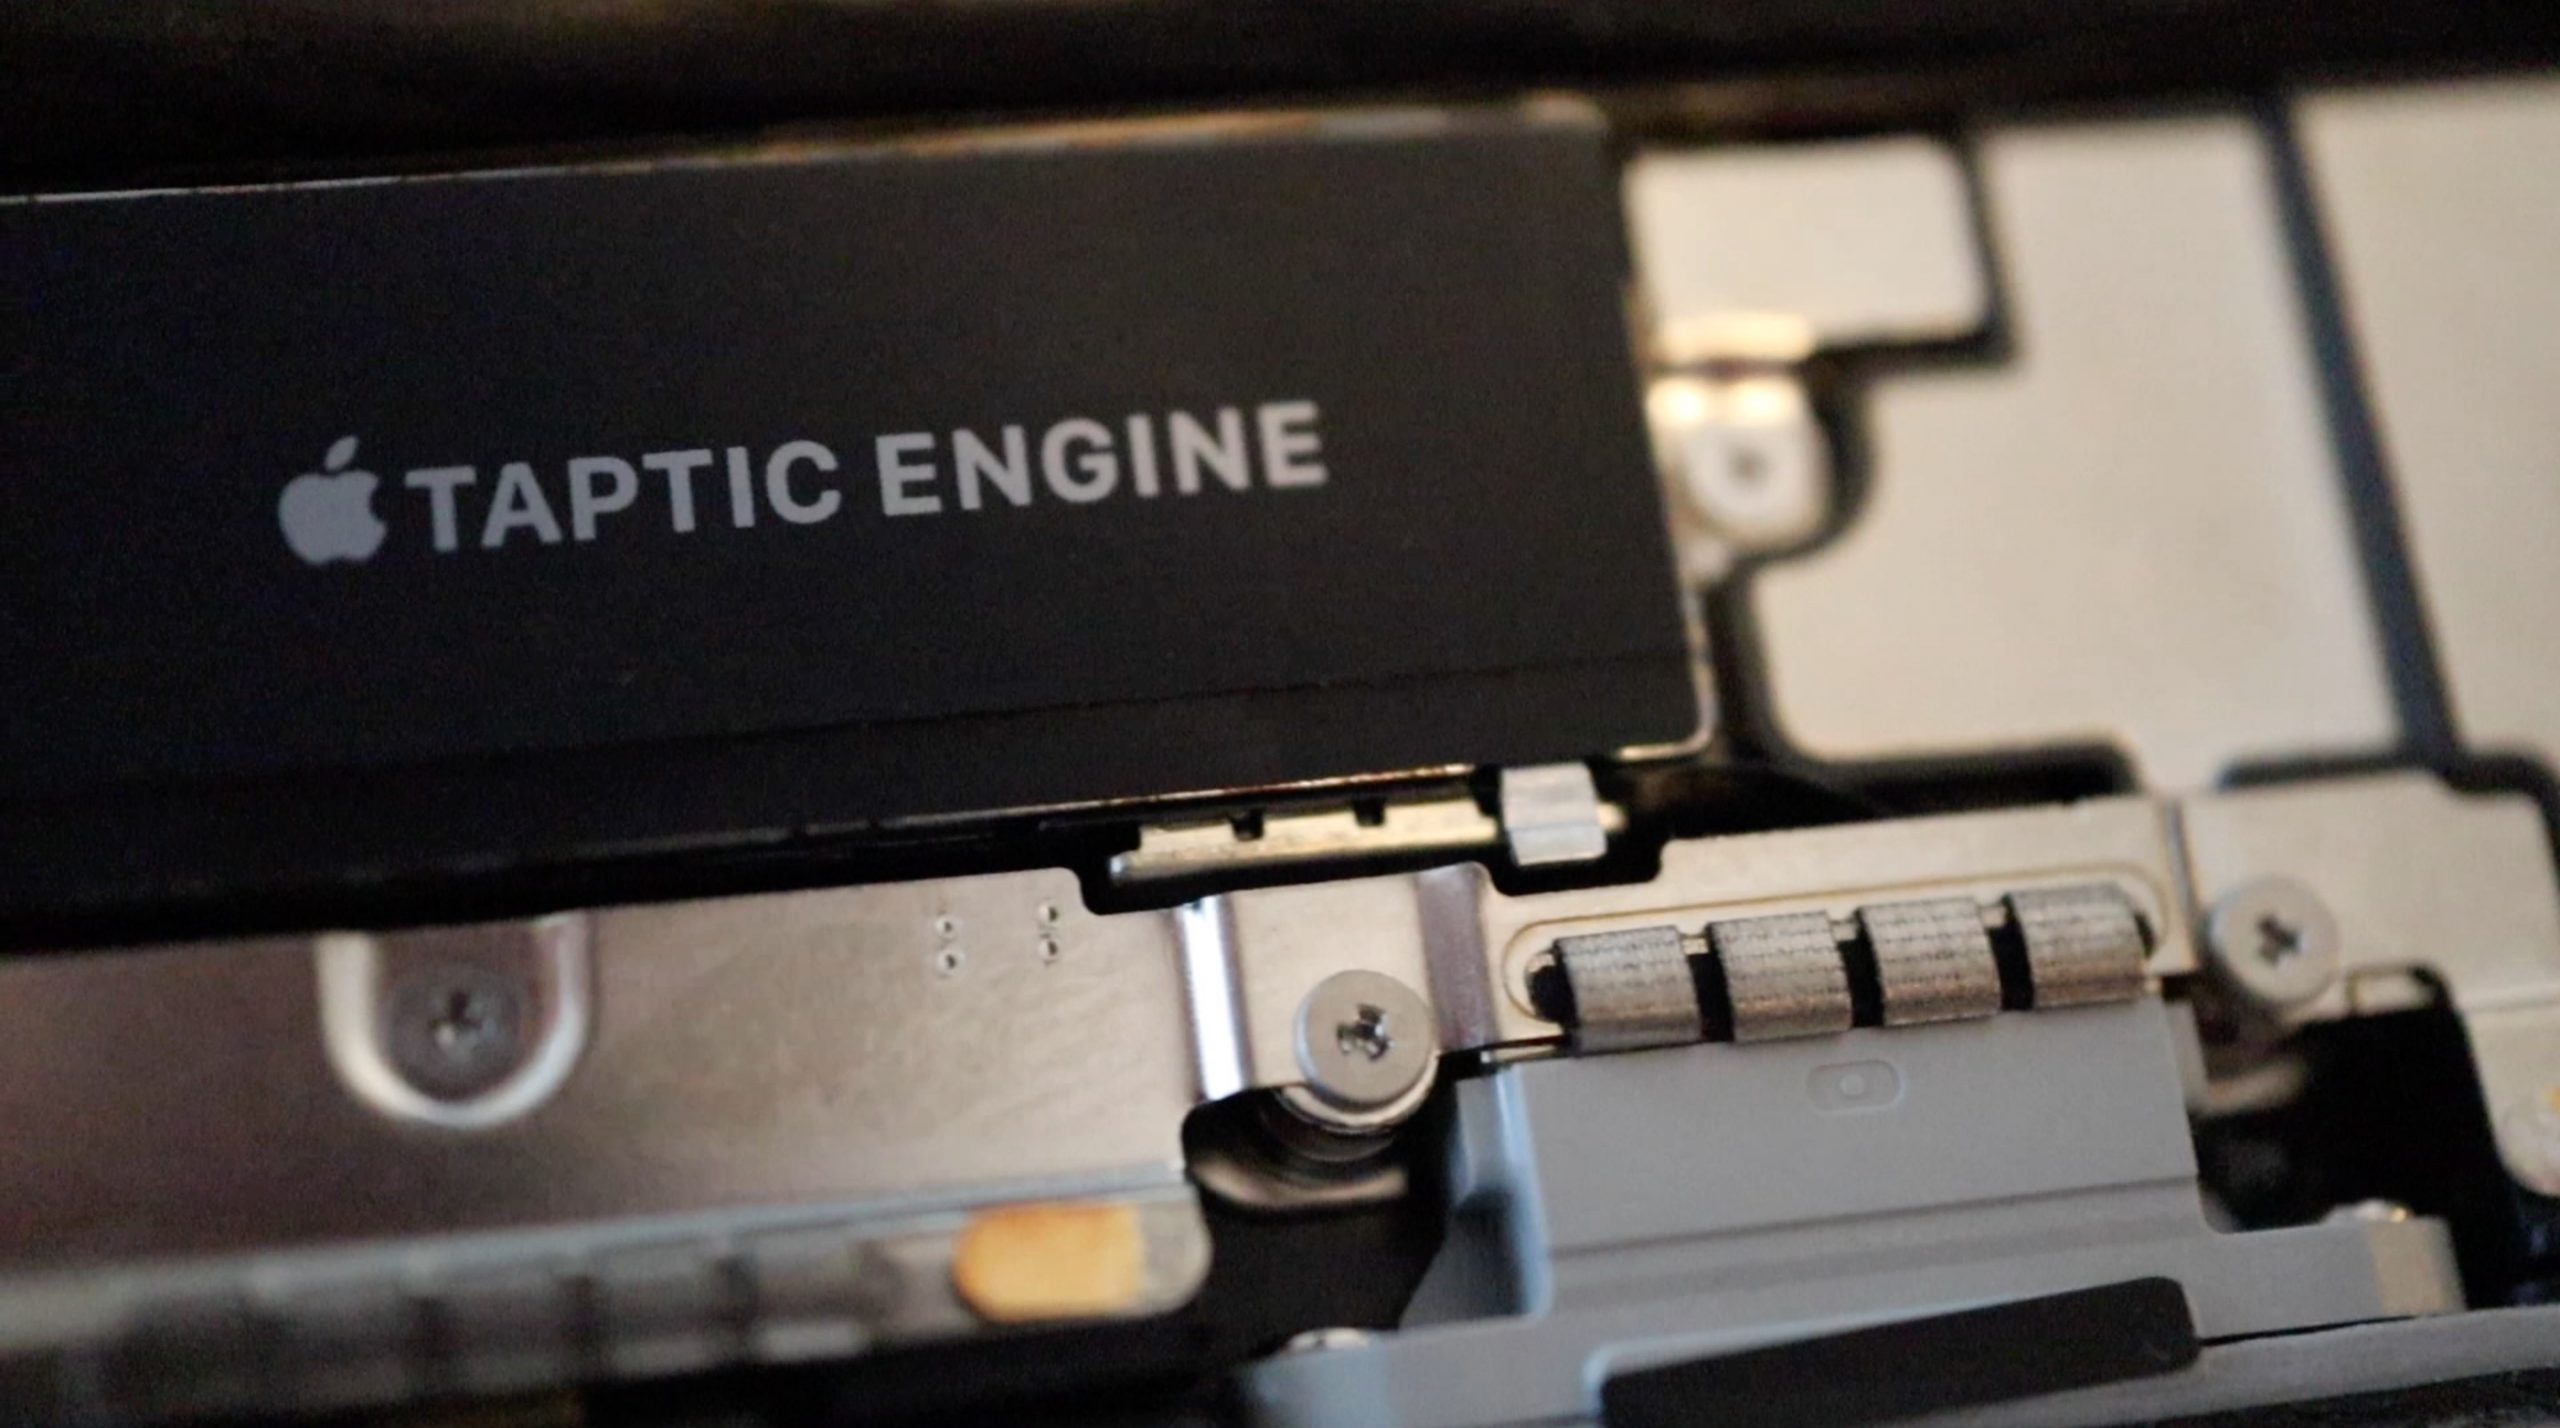
The Taptic Engine is an electromagnetic driver which produces the vibrations you feel when your iPhone rings, for feedback when clicking on or moving items and icons and when you pressed the home button on older iPhone 7 and 8 models – the ones which had fixed home buttons which didn’t “click” when pressed when the iPhone was off.
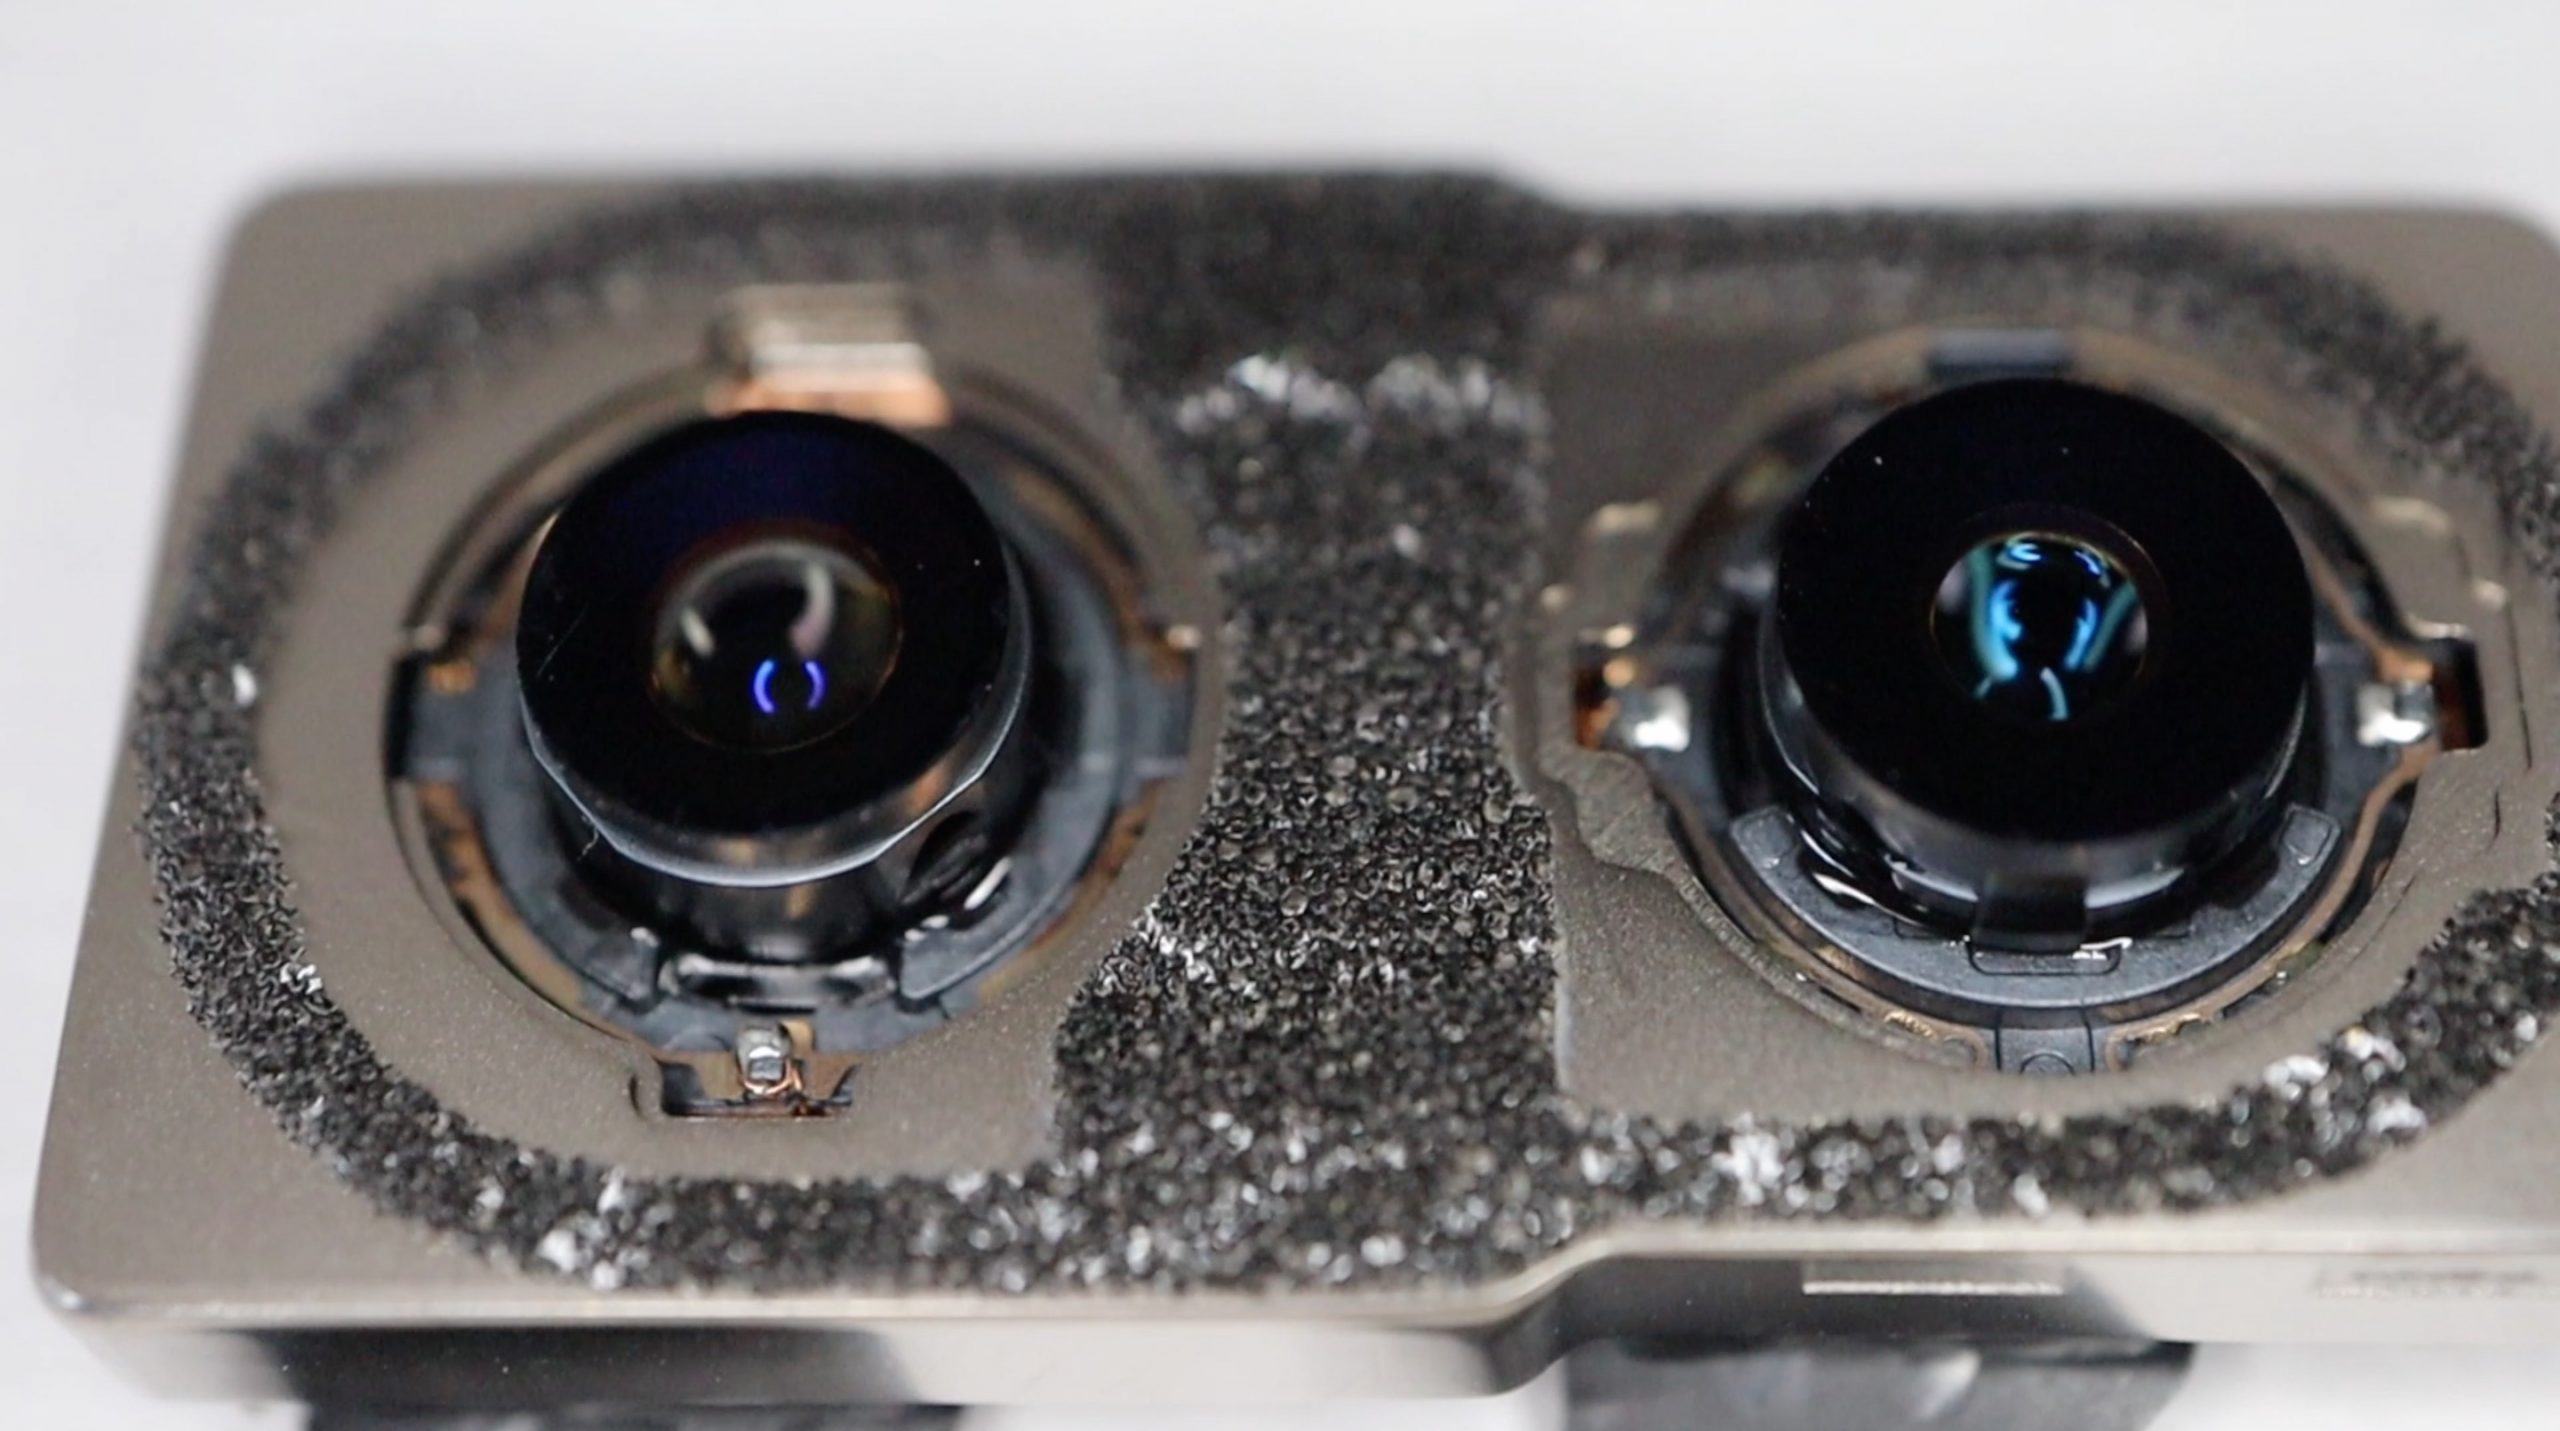
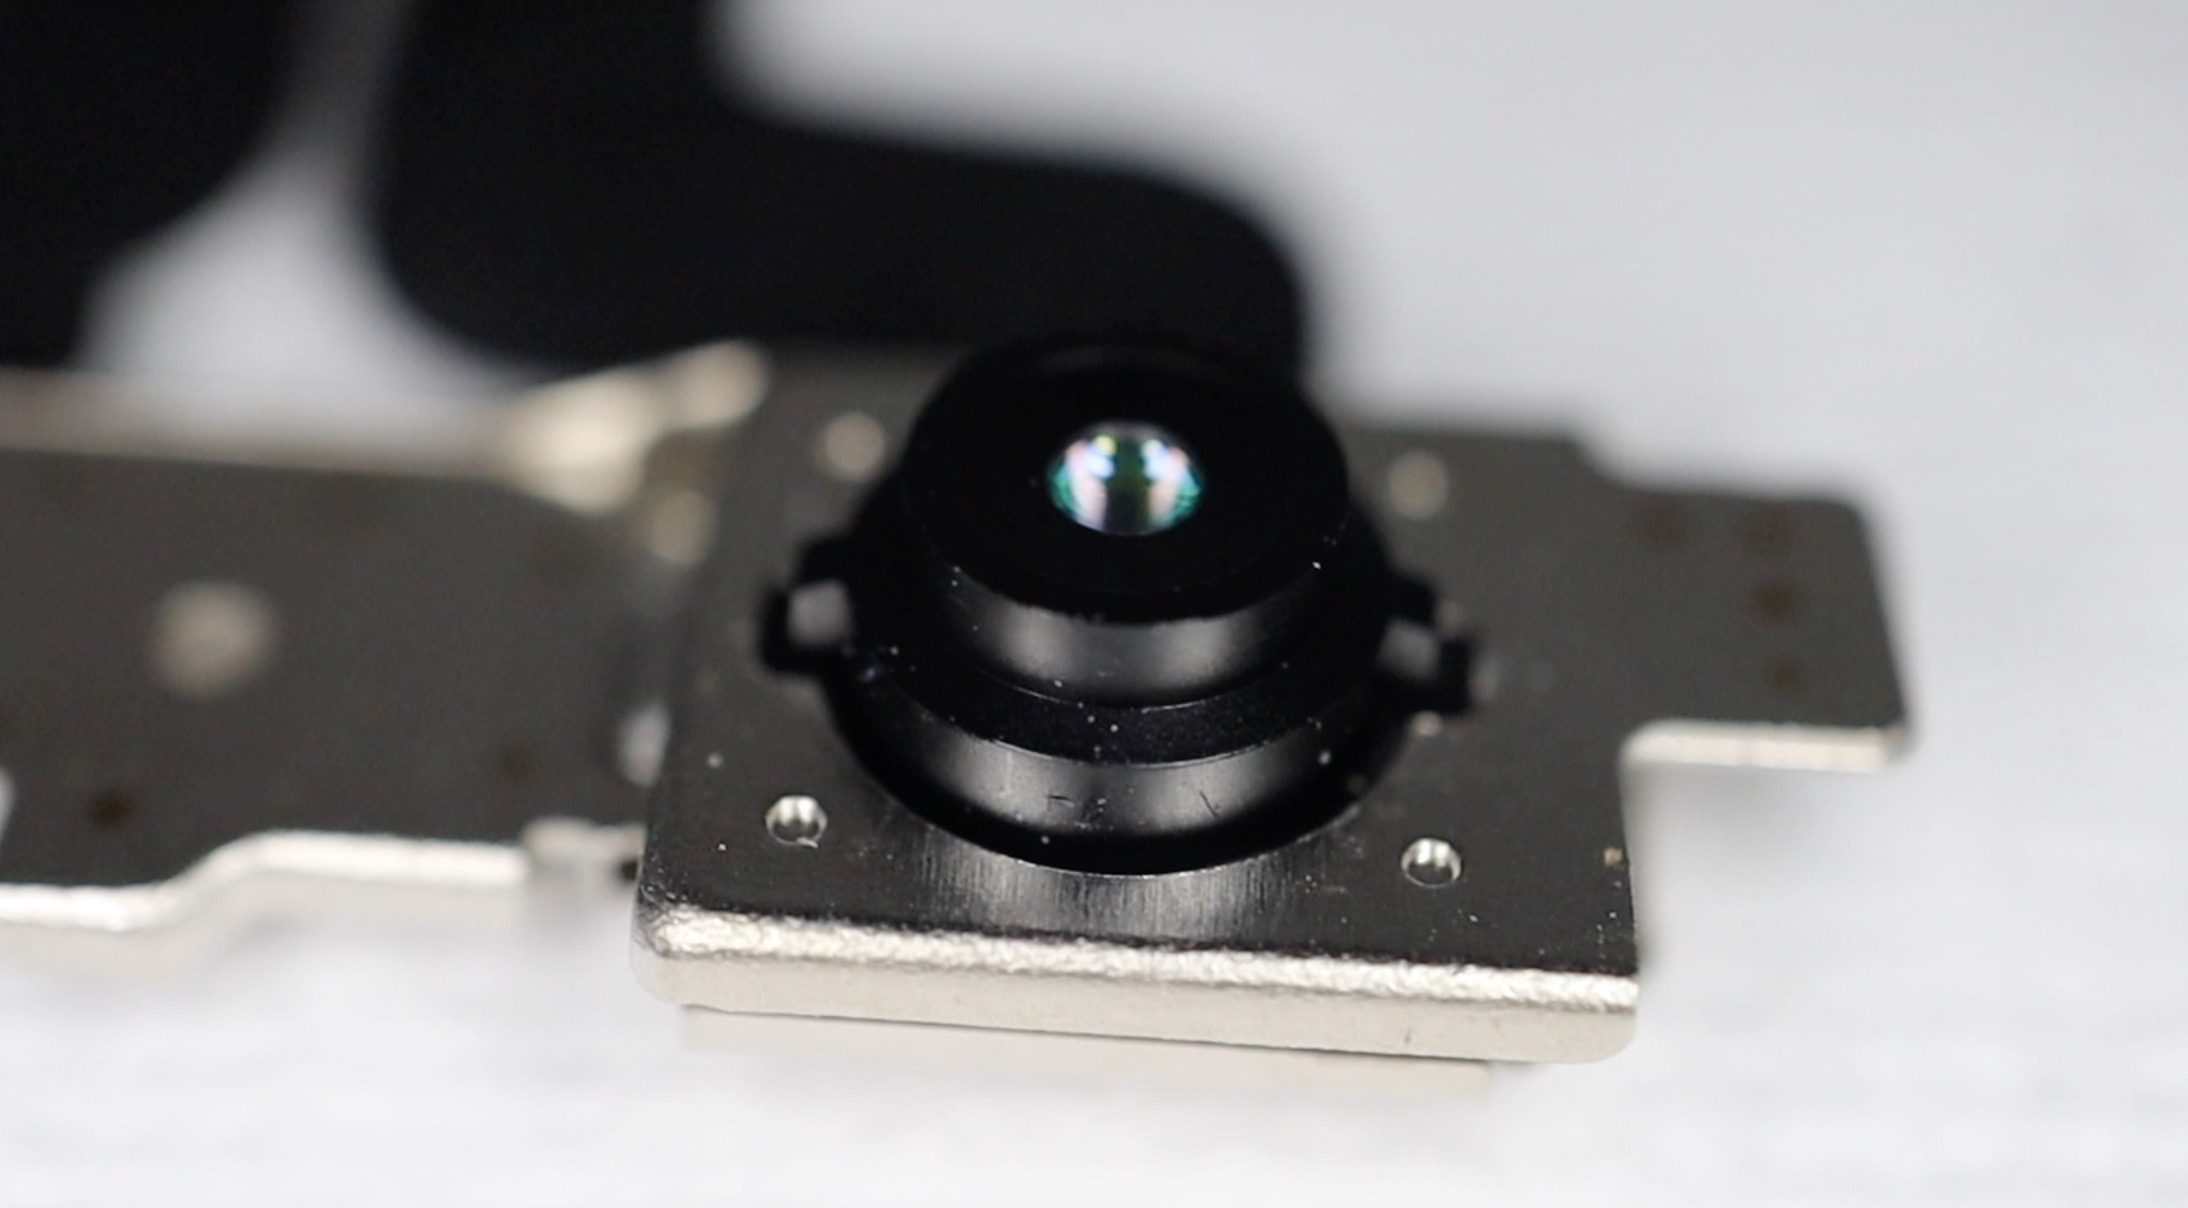
The dual camera assembly on the iPhone X, featuring a wide-angle, optically stabilised f/1.8 camera as seen on previous iPhone generations and a newer telephoto lens for close up and portrait shots.
FaceID was a new addition to the iPhone X, providing users with a means to securely unlock their iPhone’s without having to physically press a button or fingerprint sensor.
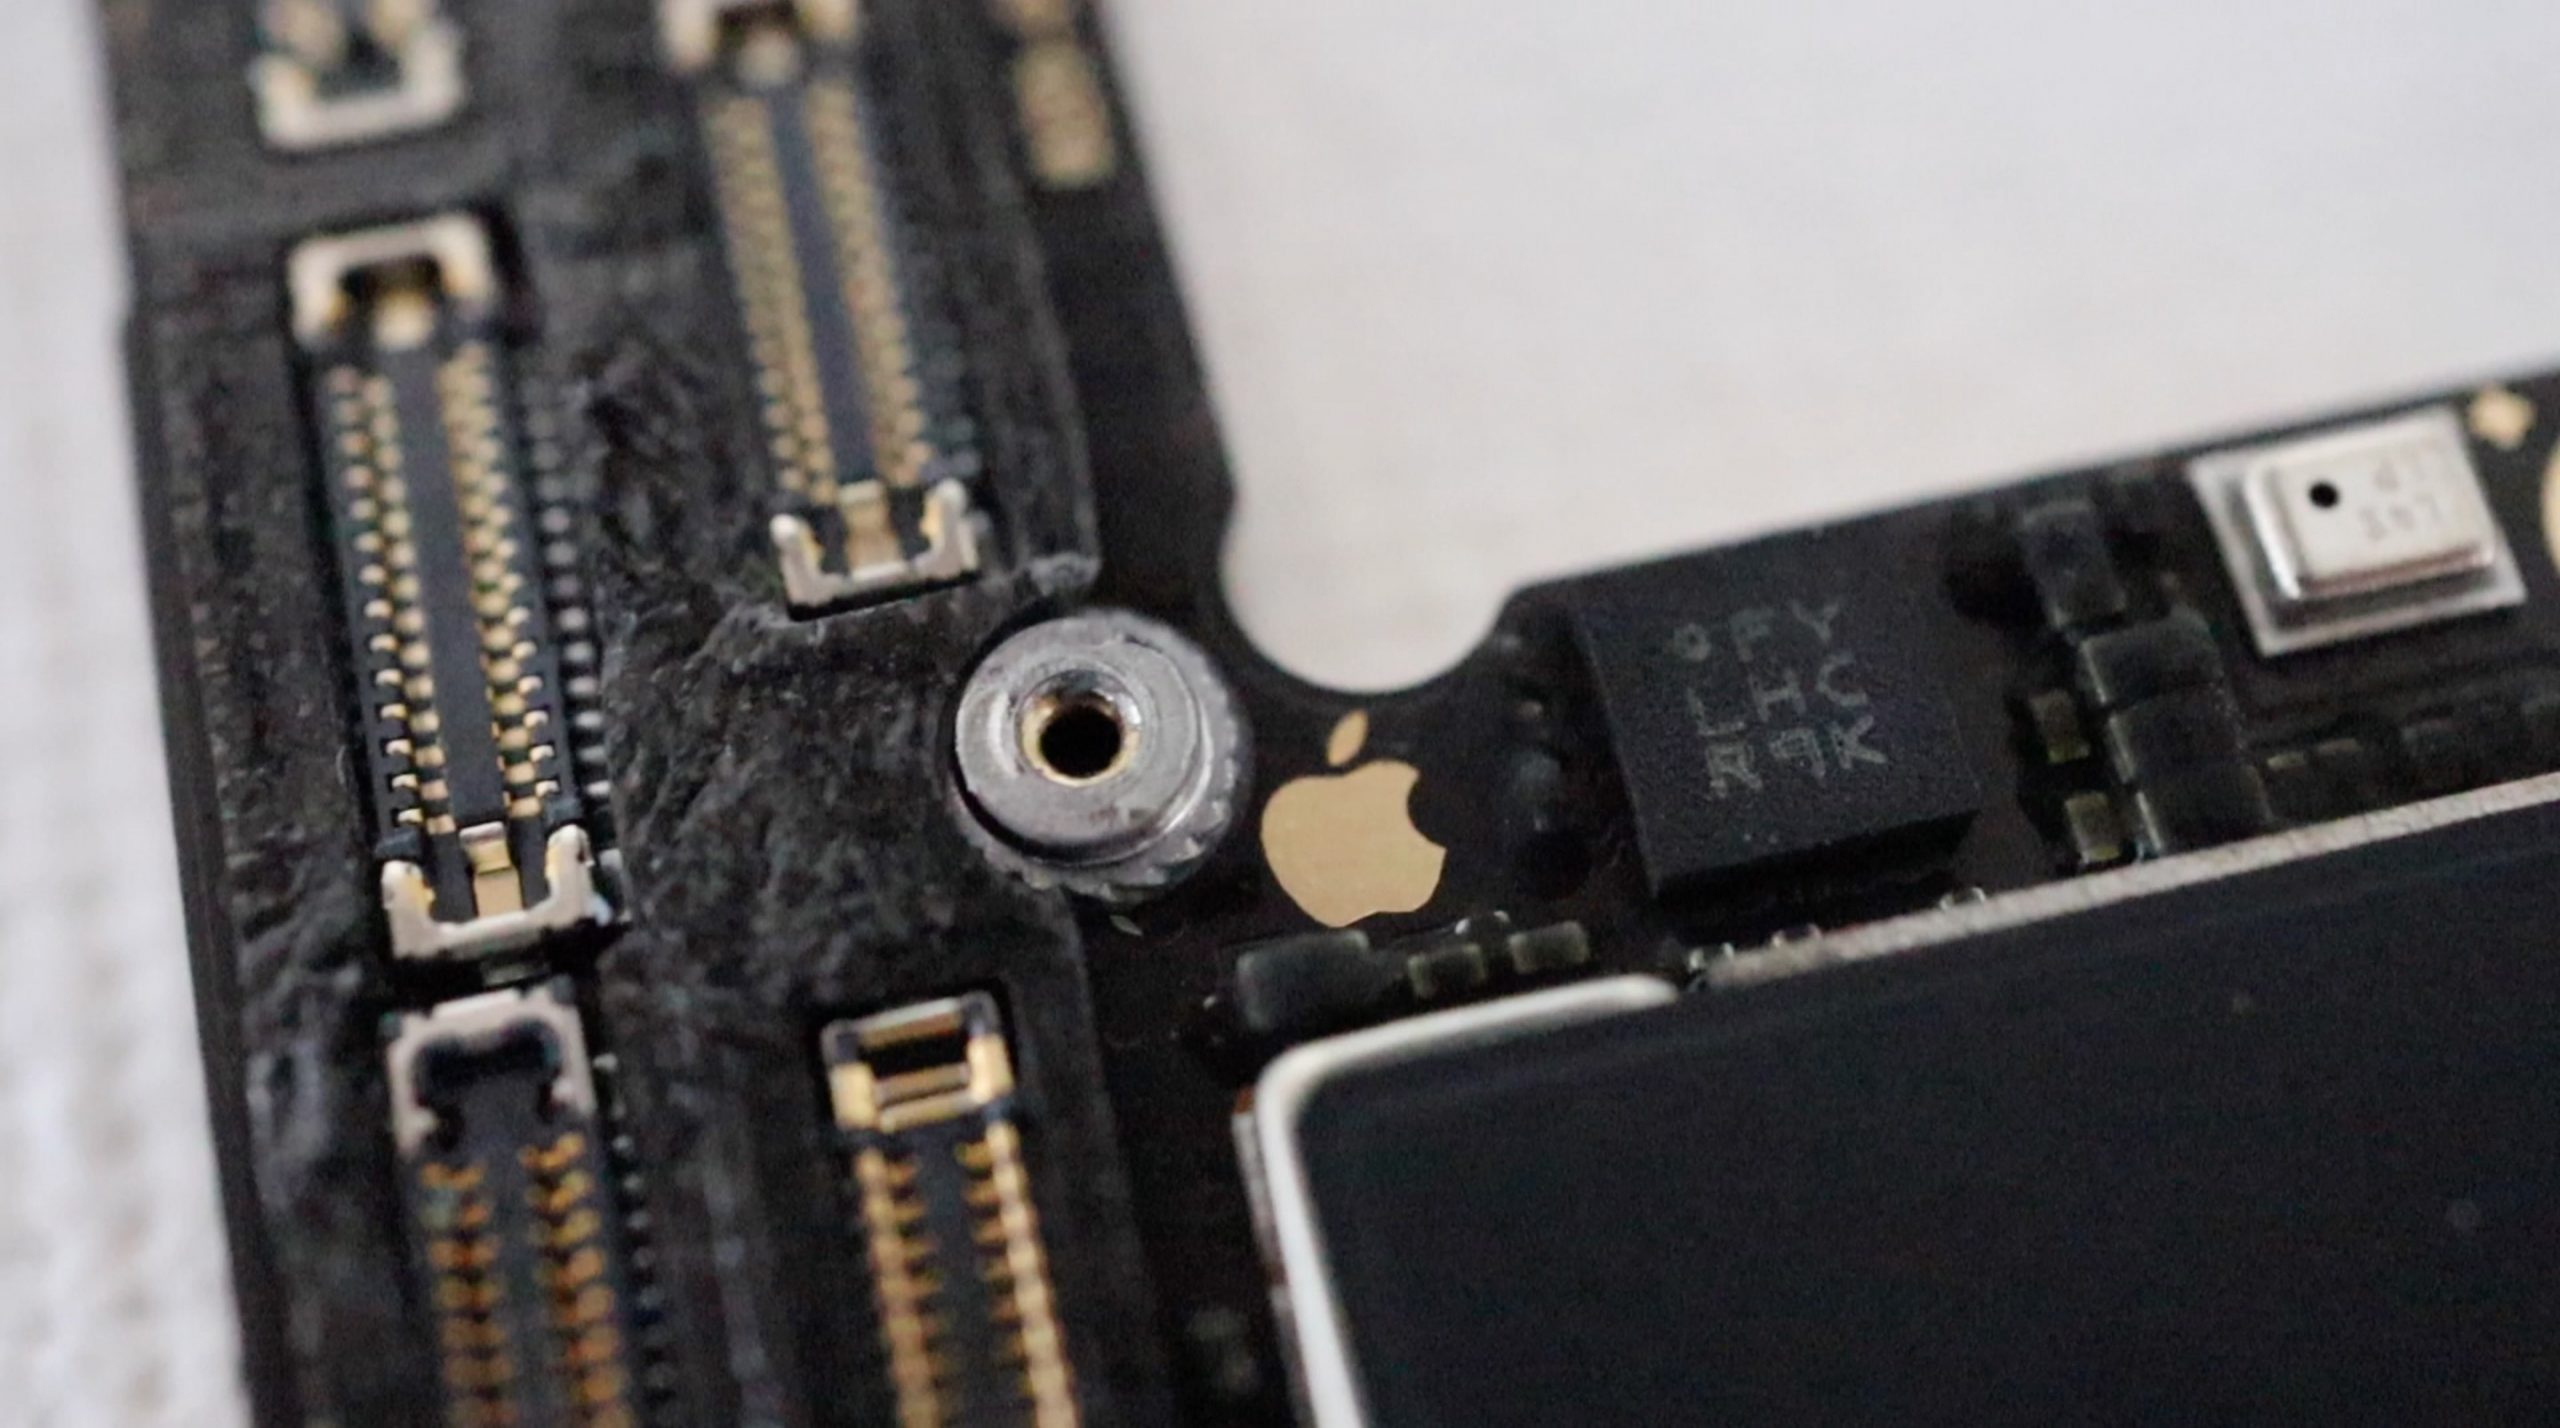
The logic board is the heart of every iPhone. This is the assembly which houses the processor and control boards which drive the entire iPhone, all of the peripheral devices, such as the speakers, cameras, buttons and battery plug into this board. It’s incredible how small this board is considering what it contains and how much it can do.
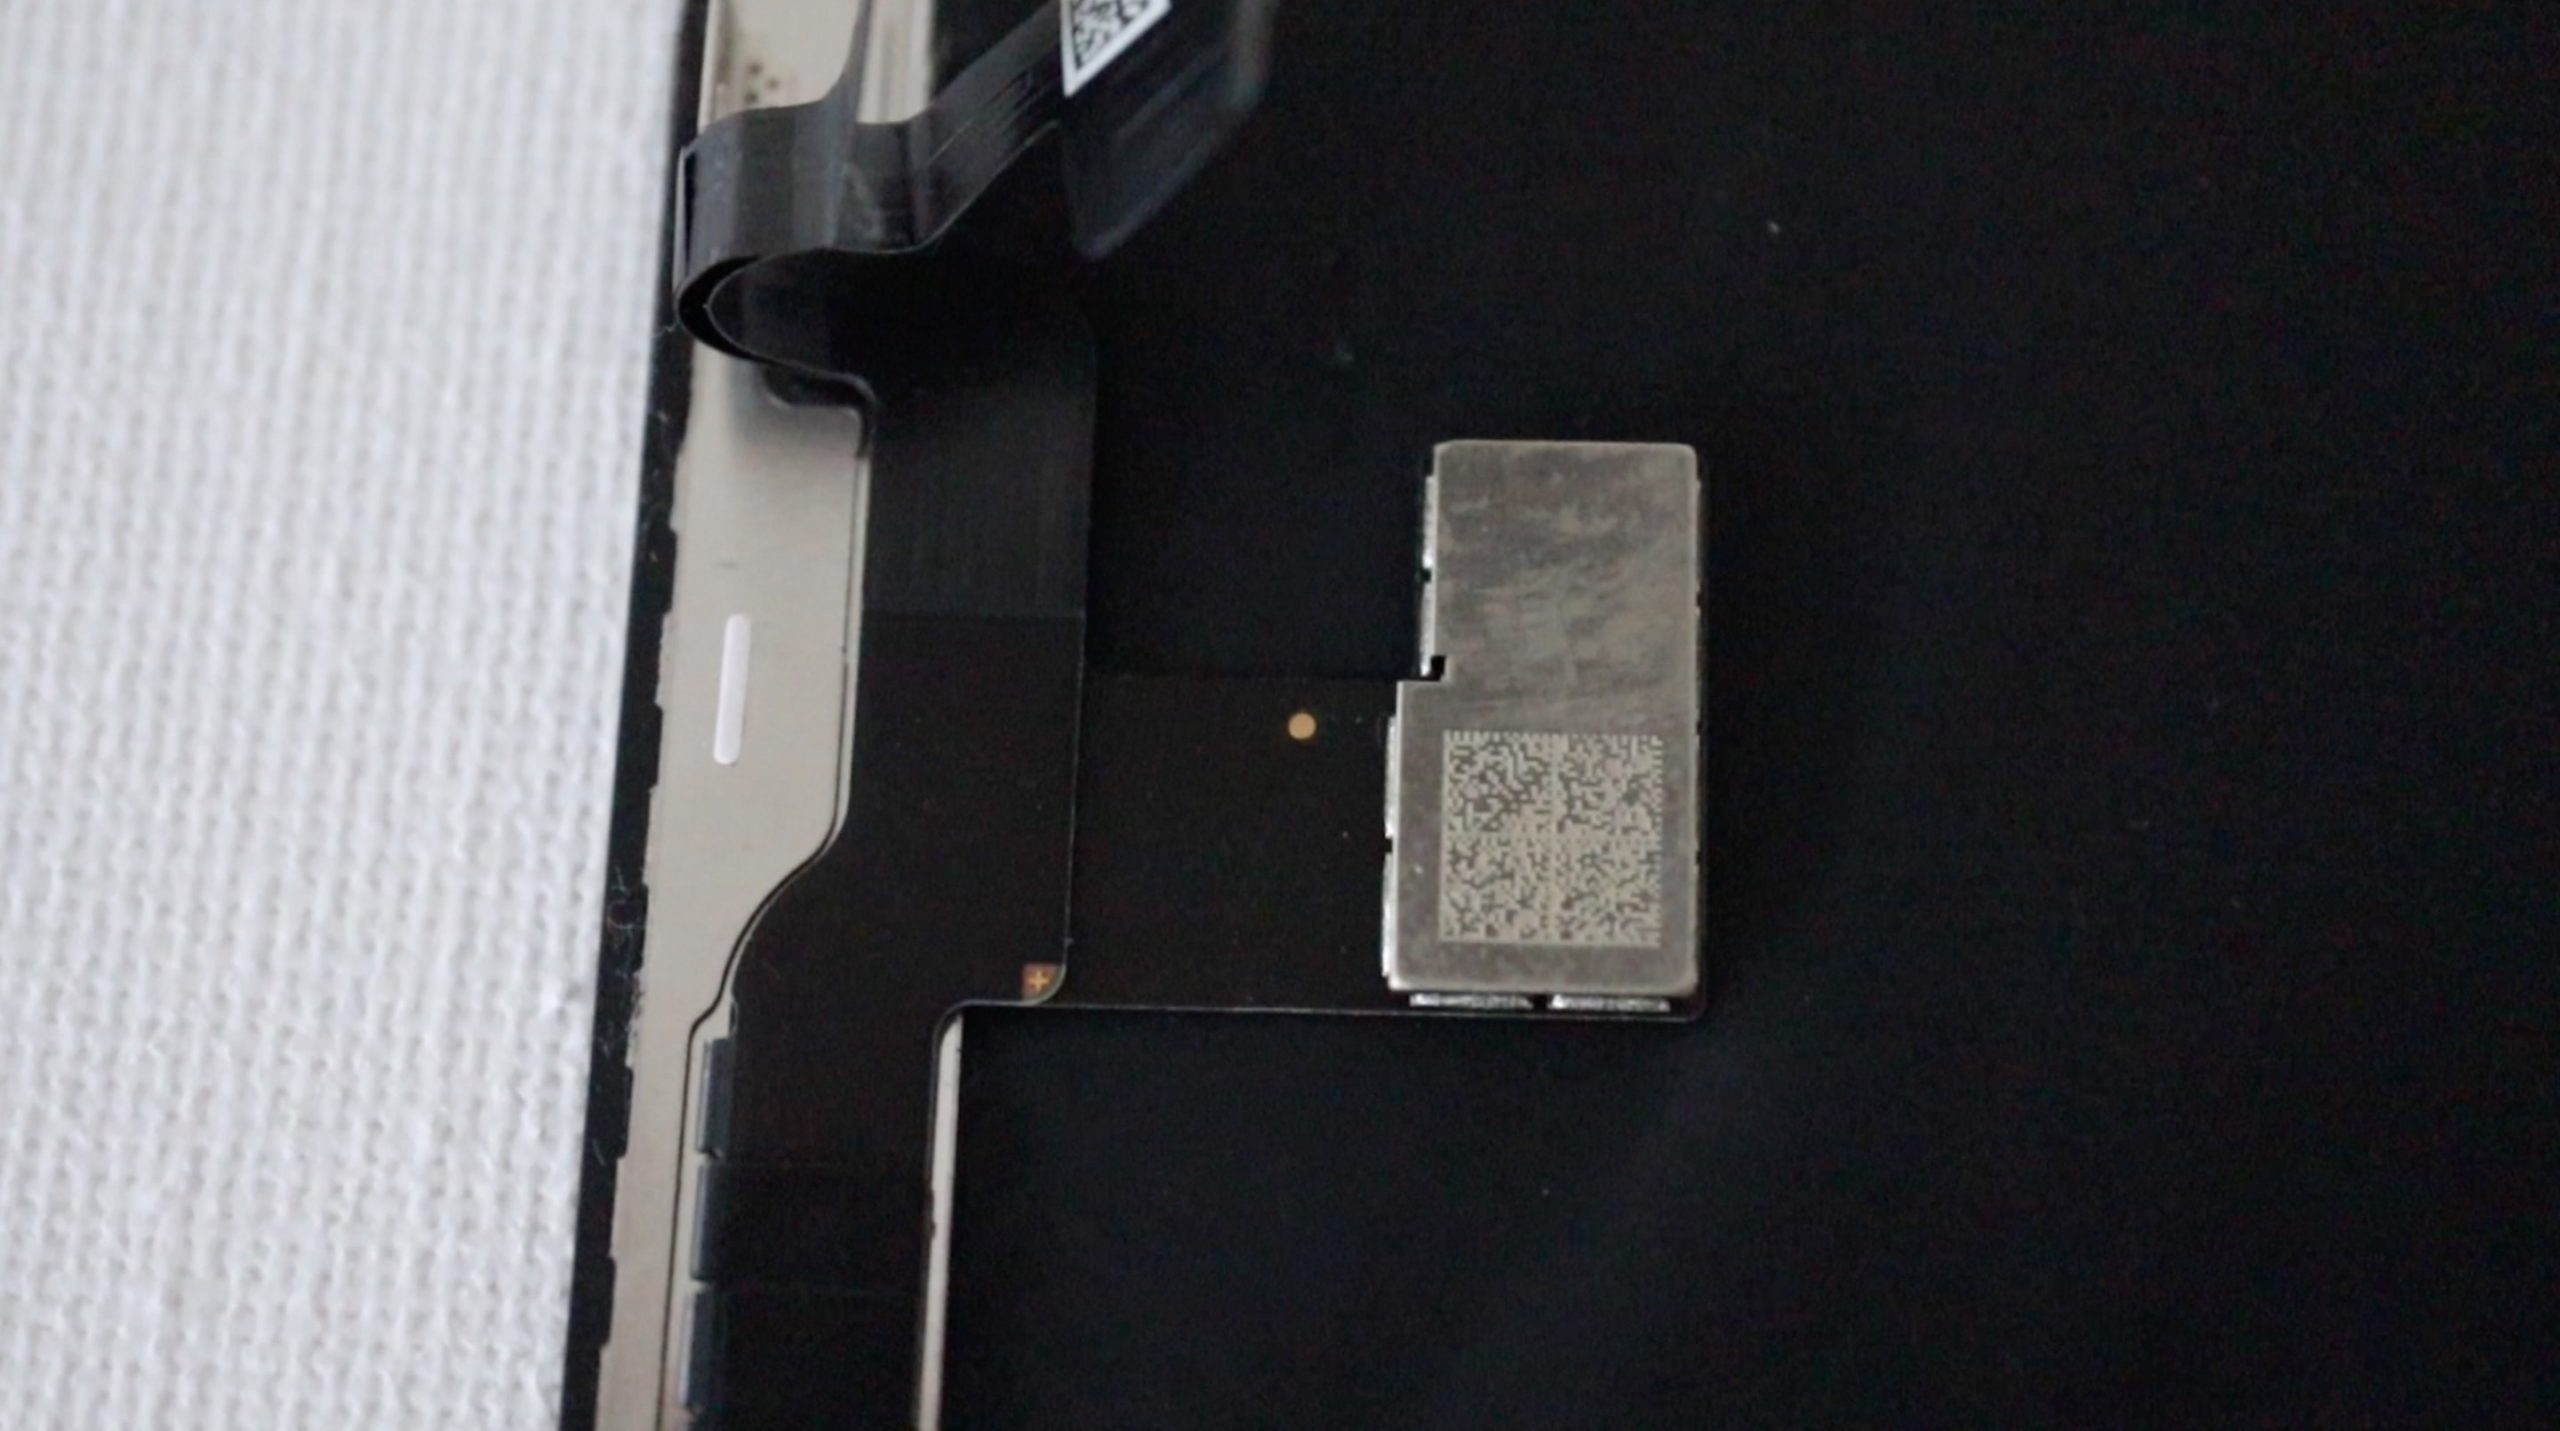
On the back of the display is a small white sticker, this is the water damage indicator which is visible through the SIM card tray. This indicator turns red permanently when it comes into contact with water, indicating possible water damage to the internal components. You can have a look at where it is in the SIM card tray and how it works in our previous article.
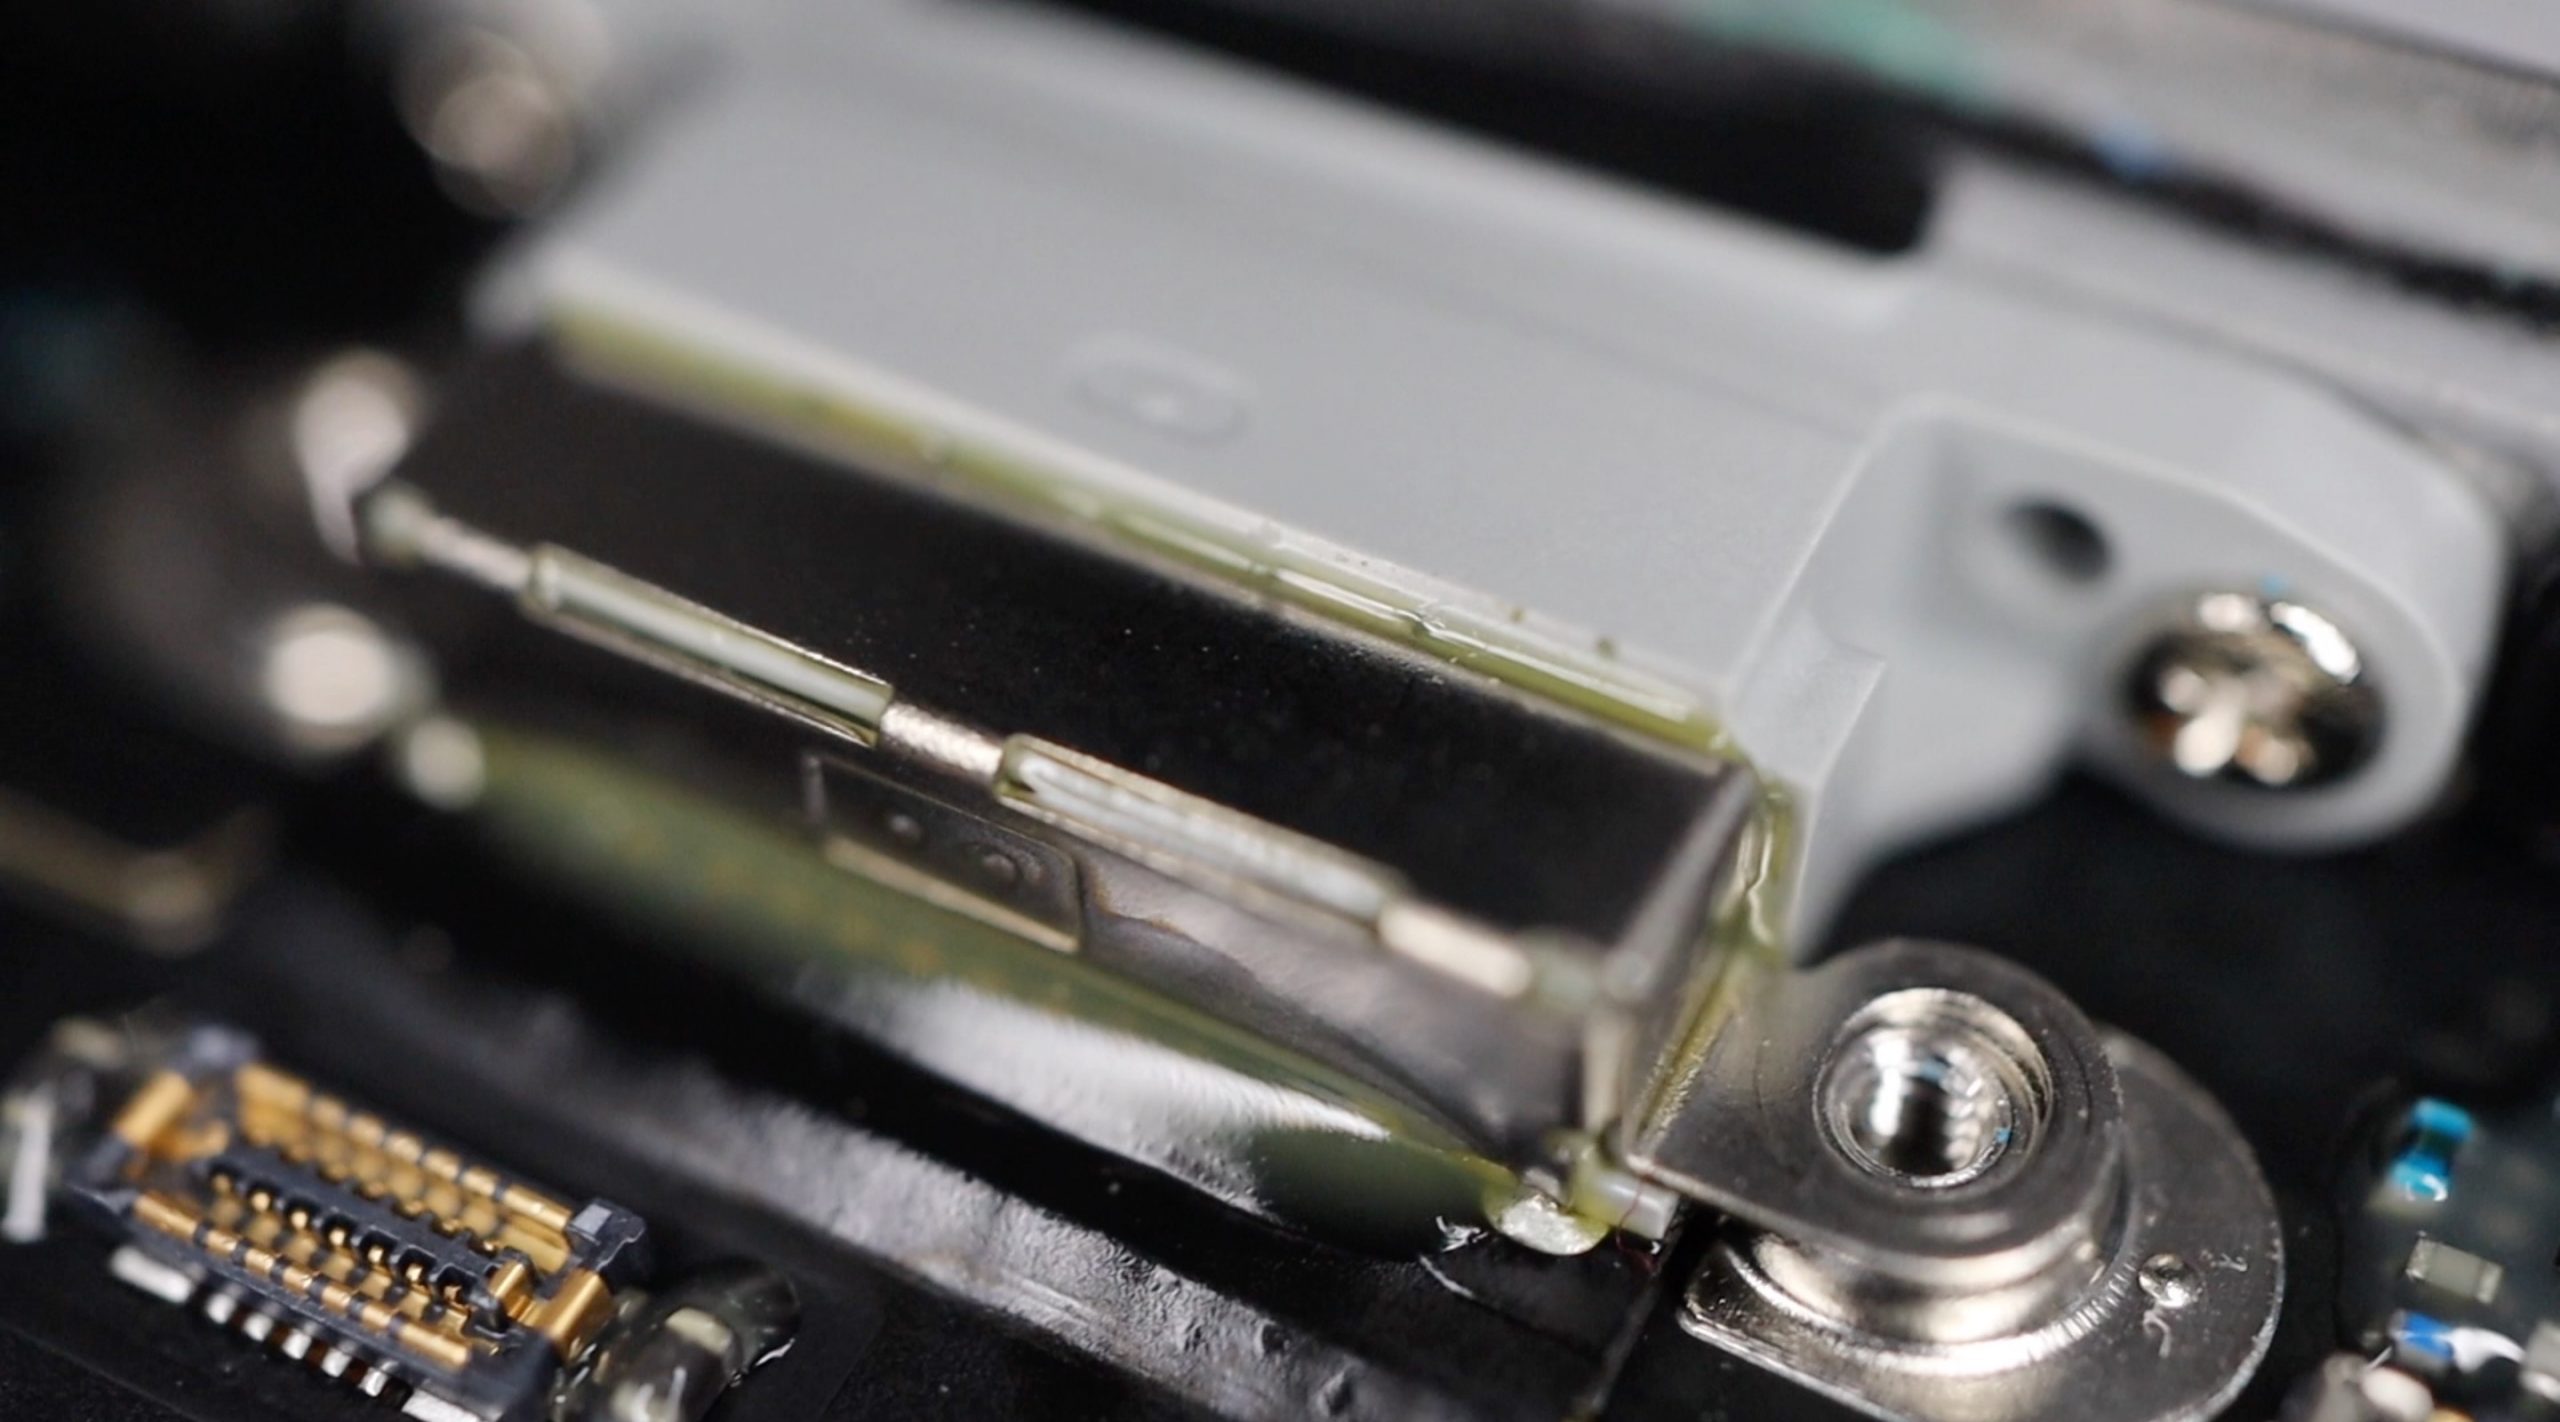
Lastly, here’s a close up of the inside portion of the lightning connector – the only port left on modern iPhones.
Hope you enjoyed the teardown! Have you ever opened your iPhone up to repair it? Let us know what repairs you’ve done in the comments section below.
Share This Teardown


