Today we’ve got three new hats for the Raspberry Pi 5 that we will be trying out. I’ve used variants of each of these on my Pi 4 setups for a few years now and I think these are the most handy hats to keep around for my Pi projects.
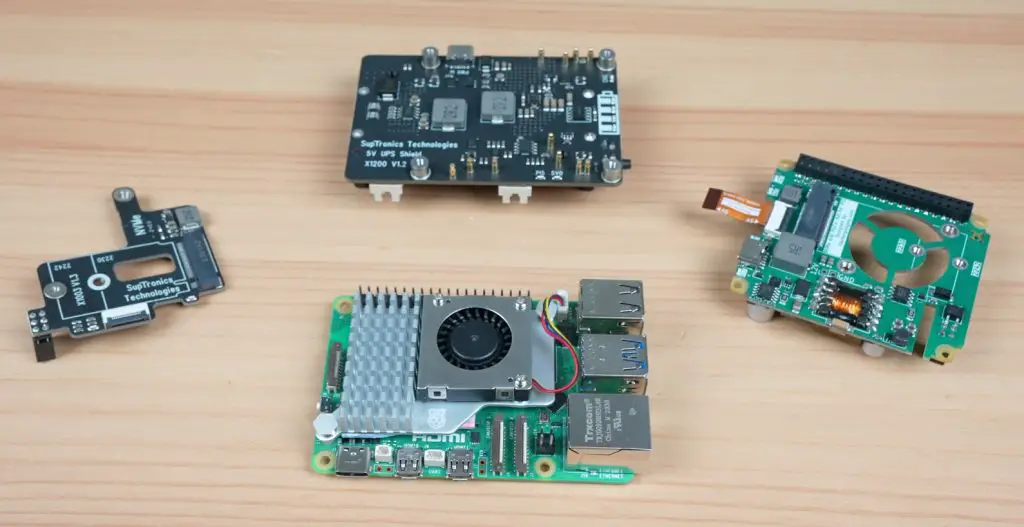
Here’s my video trying out and testing these Pi 5 hats, read on for the write-up;
Where To Buy These Pi 5 Hats
Tool & Equipment Used:
- Raspberry Pi 5 – Buy Here
- Sabrent Rocket 4.0 – Buy Here
- Pi 5 Power Supply – Buy Here
- Pi 5 Active Cooler – Buy Here
- USB-C Pencil Screwdriver – Buy Here
X1003 NVMe Hat
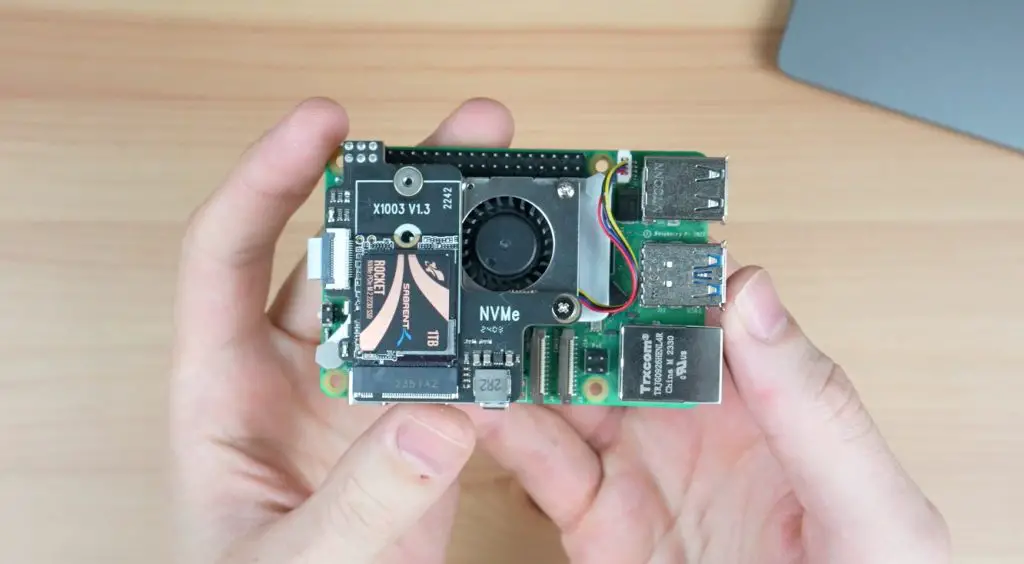
The first hat we’re going to be looking at is the X1003 NVMe hat, which you can pick up online for around $15.
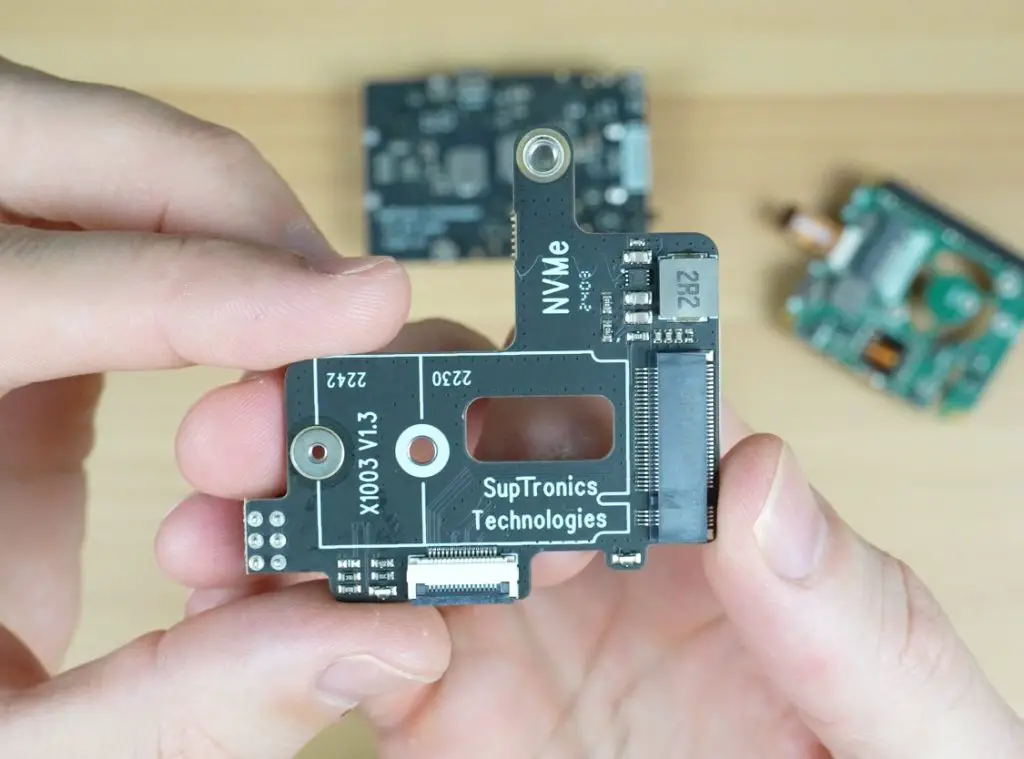
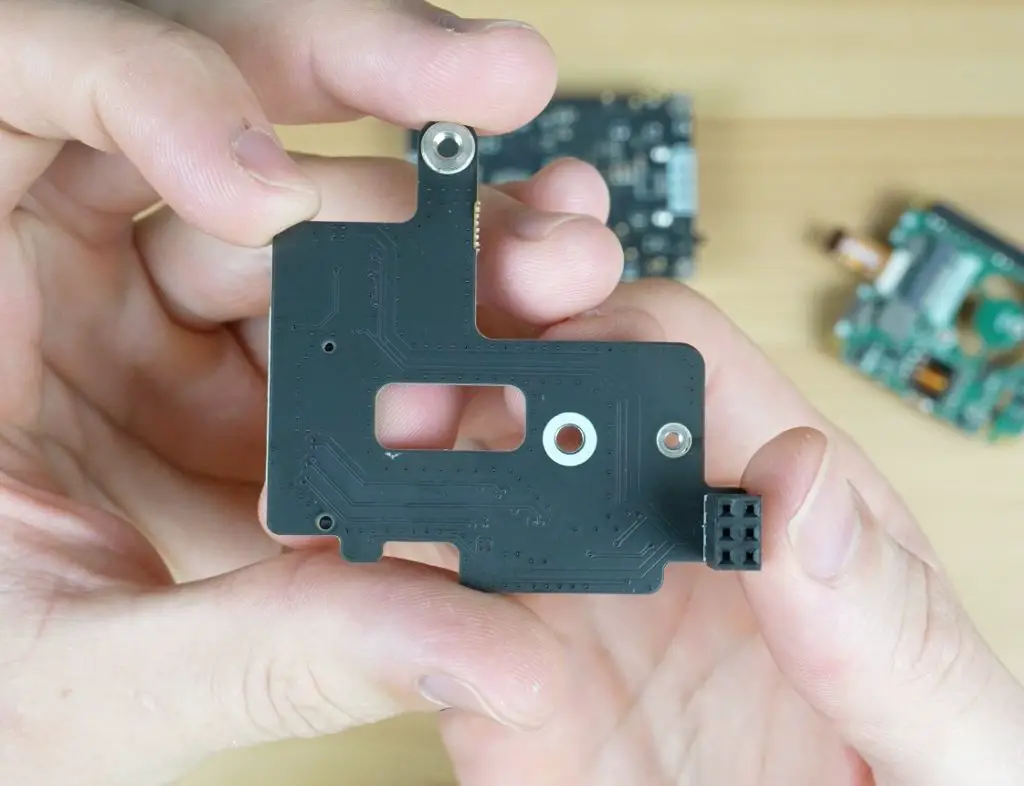
I tested three other NVMe hats a few months ago, but this was one that I was told about after doing those tests.
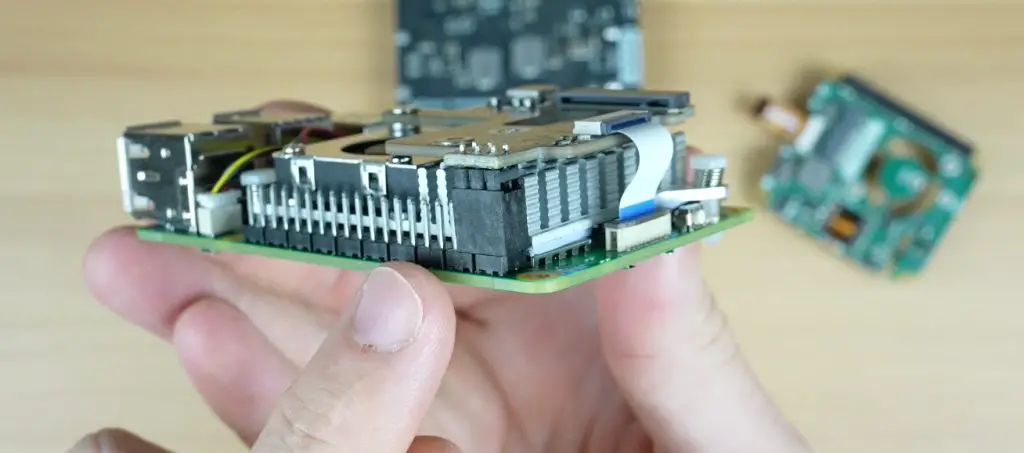
I primarily like that it is compact and simple. This leaves a lot of room around the hat for cooling. The main drawback with the others that I’ve tested is that the bottom mount ones tend to enclose the drive and cause the drive to run hot and the top ones tend to restrict airflow to the cooler.
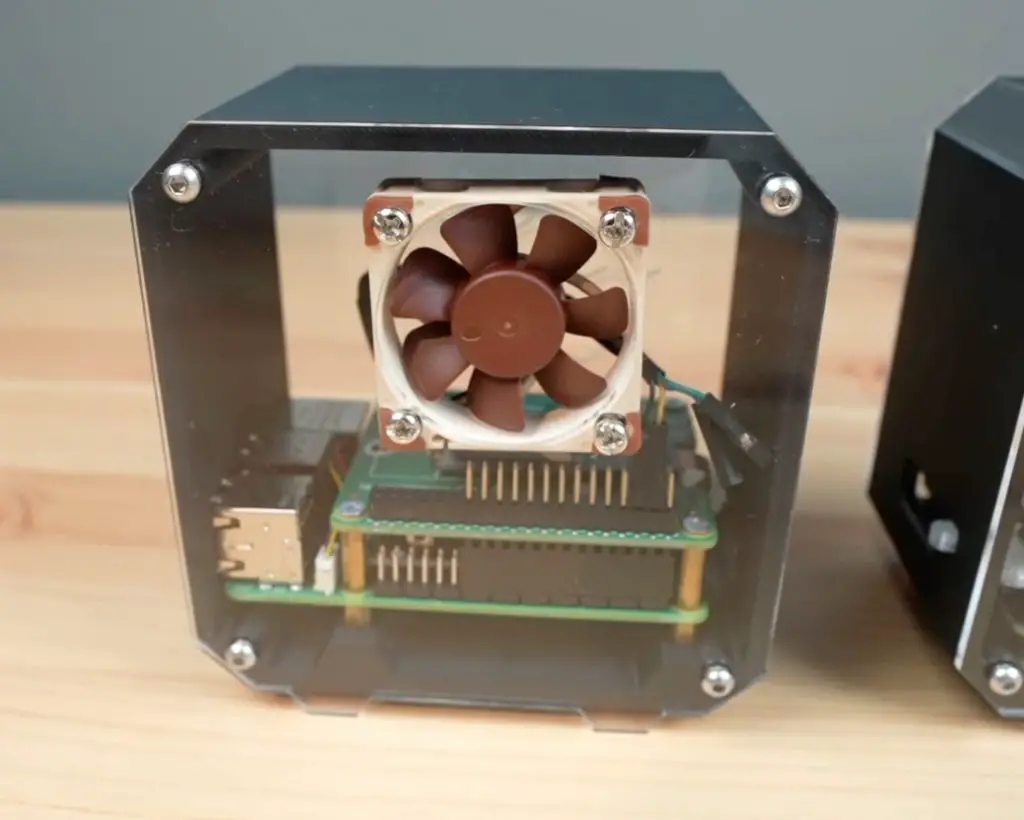
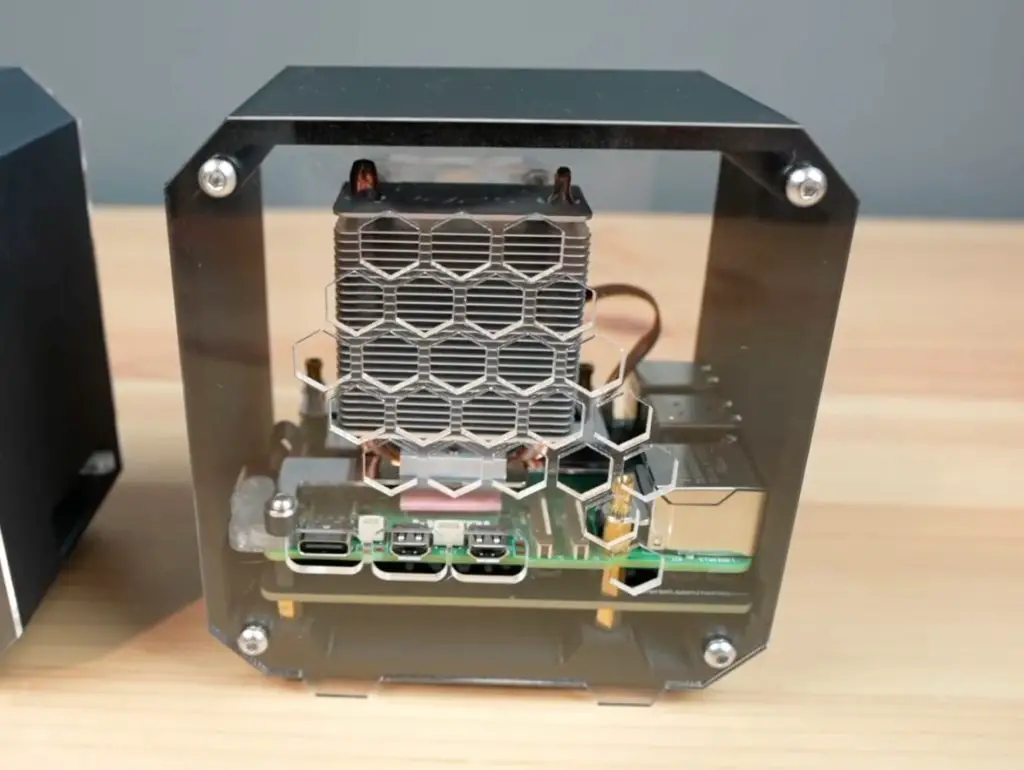
This hat keeps both the drive and fan open.
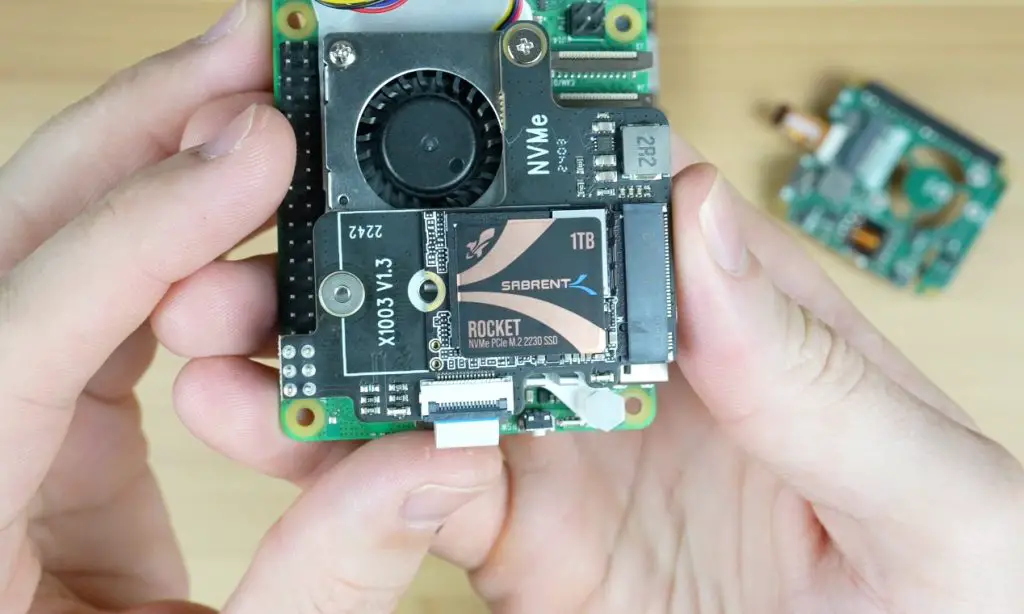
There is one strange design choice and that is that it requires an active cooler to be installed on the Pi because it is supported along its edge by picking up on one of the active cooler’s screw holes. I don’t know why they went with this approach rather than picking up on one of the Pi’s mounting holes with a standoff. I assume they wanted to keep those free.
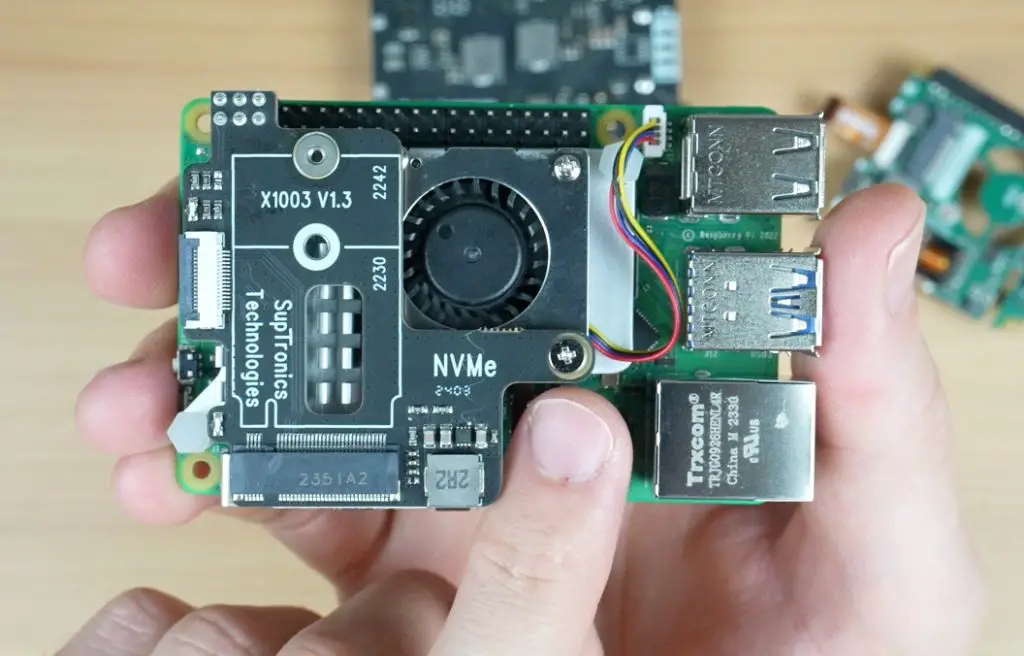
In terms of drive options, you can only use 2230 and 2242 size drives in it. Like the other NVMe hats that I’ve tried, it connects to the Pi with an FPC cable and gets additional power from the GPIO pins.
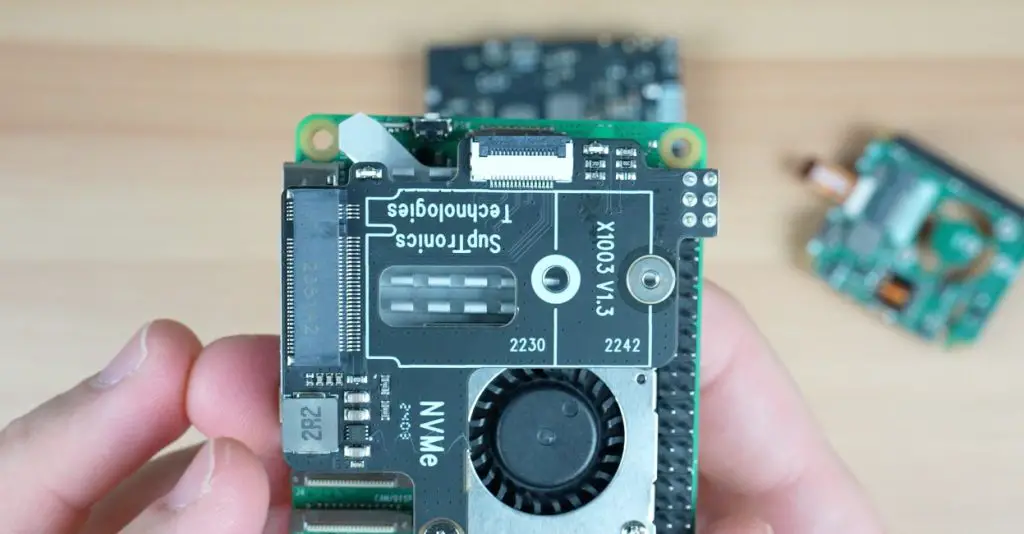
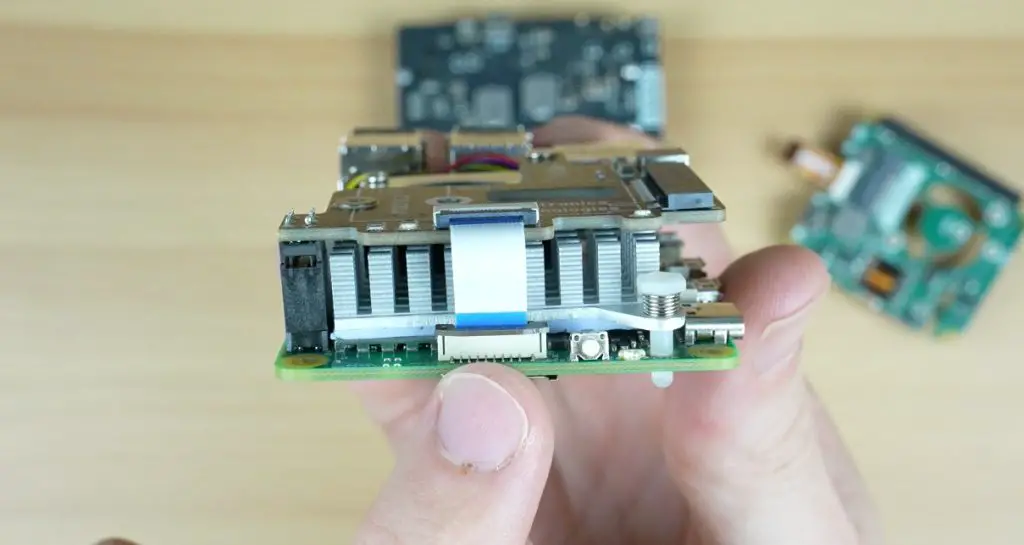
I tested this hat using James Chambers Pi benchmarks script and a Sabrent Rocket NVMe SSD.
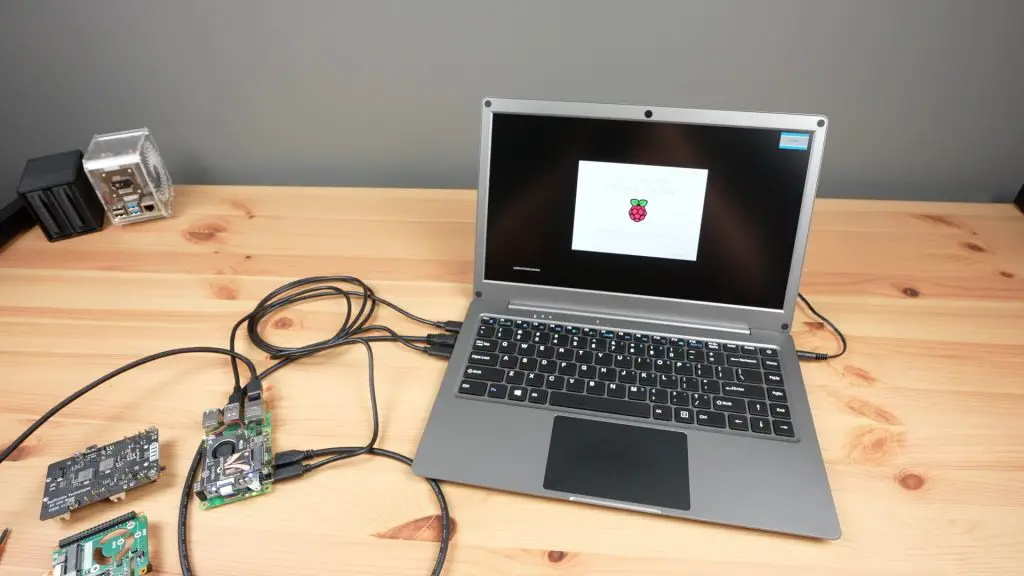
I got an average score over 3 tests of 42,457. This is a good result given that I’ve left the Pi’s PCIe port running at the default Gen 2 speed. It is comparable to this drive running at Gen 2 speeds in the other hats that I’ve tested.

The hat will also fit into the official Pi 5 case with the fan plate removed and the active cooler then takes care of keeping the Pi’s CPU cool.
PoE+ & NVMe Hat by HackerGadgets
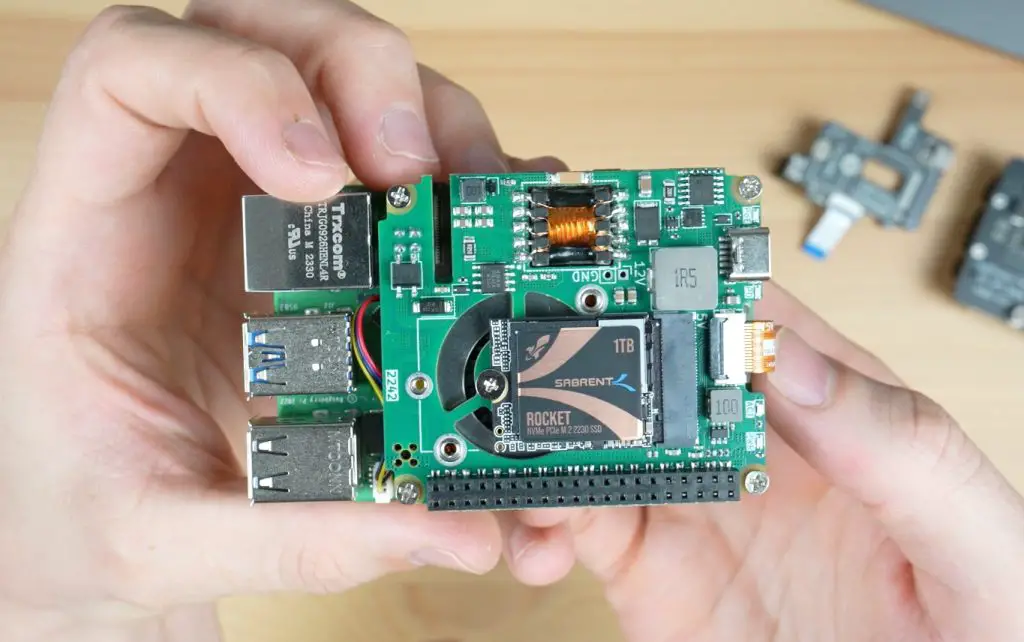
The next hat that I tested is an NVMe and PoE+ Hat by HackerGadgets which you can get online for $43.
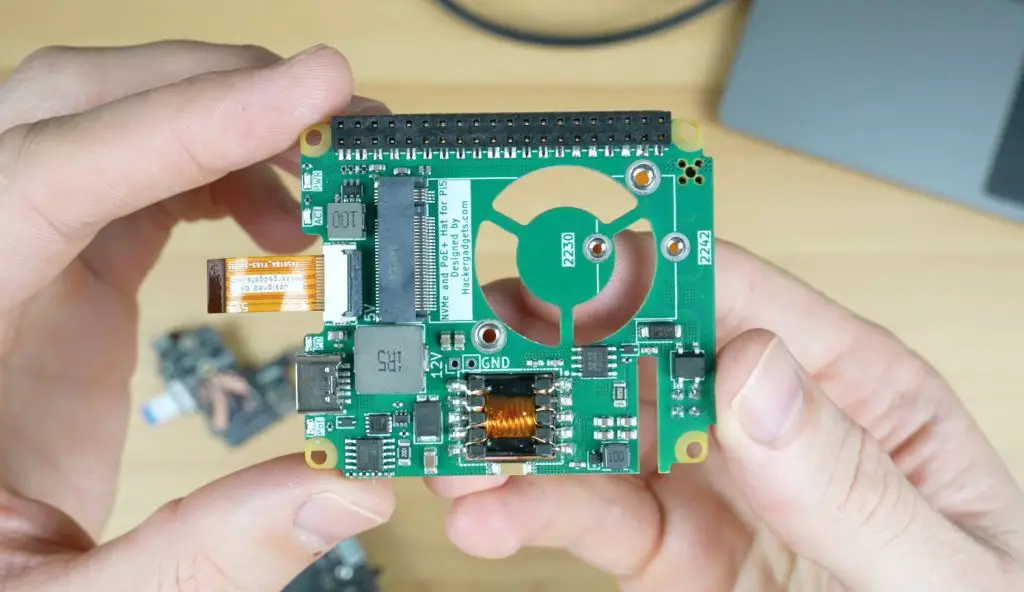
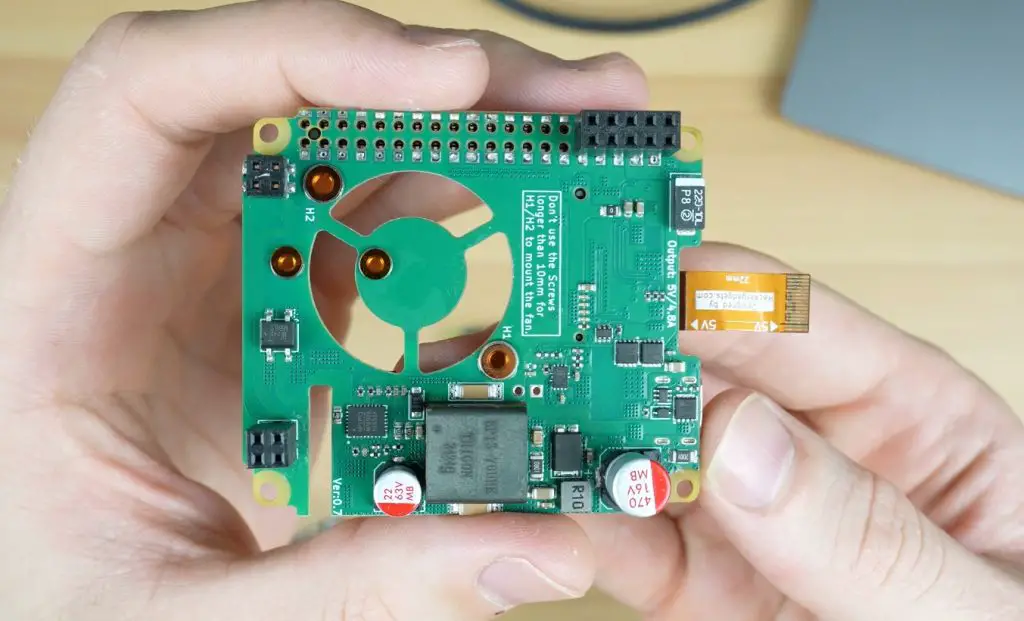
This is a power over ethernet or PoE hat designed for the Pi 5 that isn’t much larger than the official PoE hat for the Pi 4 but also includes an M.2 port for an NVMe drive that makes use of the Pi 5’s PCIe port.
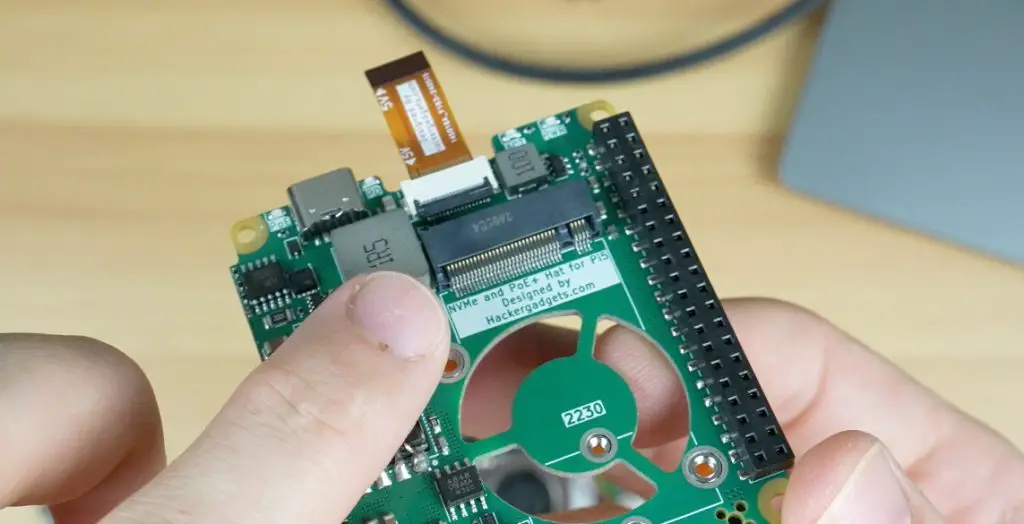
This hat allows you to make use of a PoE switch or PoE injector to power your Pi using the connected network cable rather than having to use a separate power adaptor. It simplifies your setup and allows you to use fewer cables. If you’re running a headless arrangement like you would on a NAS or Pi Hole project then you only need an Ethernet cable and your Pi is good to go.
It’s PoE+ or PoE type 2, which means it can handle a higher power delivery than the original PoE standard. Typically up to 25W instead of the original 12.5W.
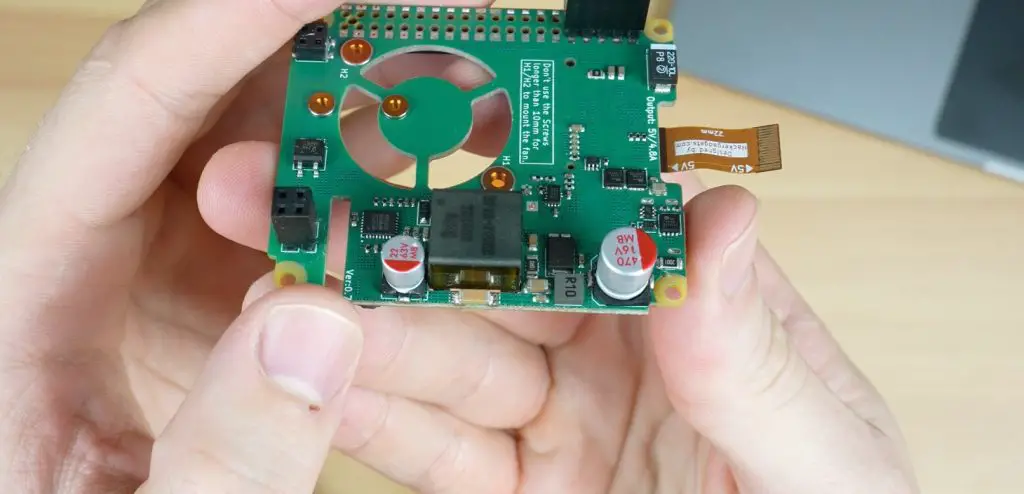
This hat’s switch mode power supply can supply 5V at up to 4.8A, so up to 24W, and it’s got an additional USB C power port on the back that you can use to power or charge an external device.
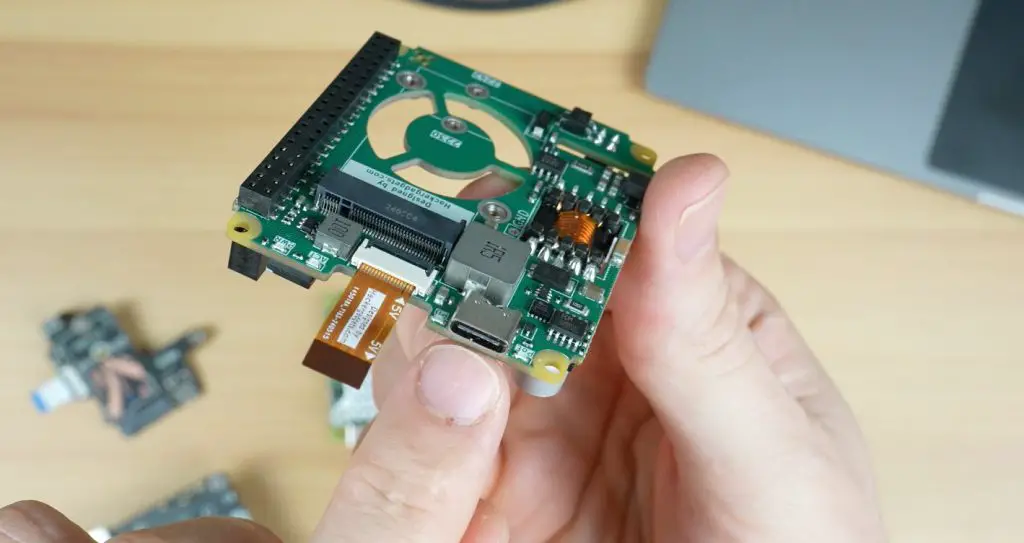
Its also got a cutout in the PCB that you can either mount a 30mm fan to or install over the active cooler and it’ll still allow airflow through to the fan.
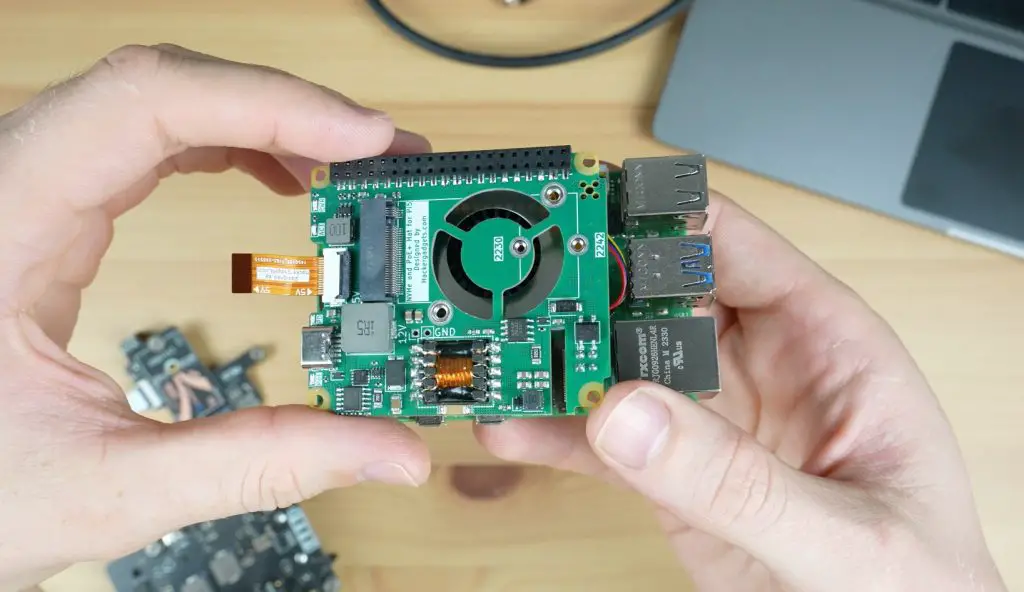
Like the previous hat, this one is also compatible with 2230 and 2242 size drives.
The hat plugs into the GPIO pins to supply power to the Pi and it’s got an FPC cable to connect the NVMe drive to the Pi’s PCIe port. It’s also got a 4-pin connector at the front that picks up power from the Ethernet port.
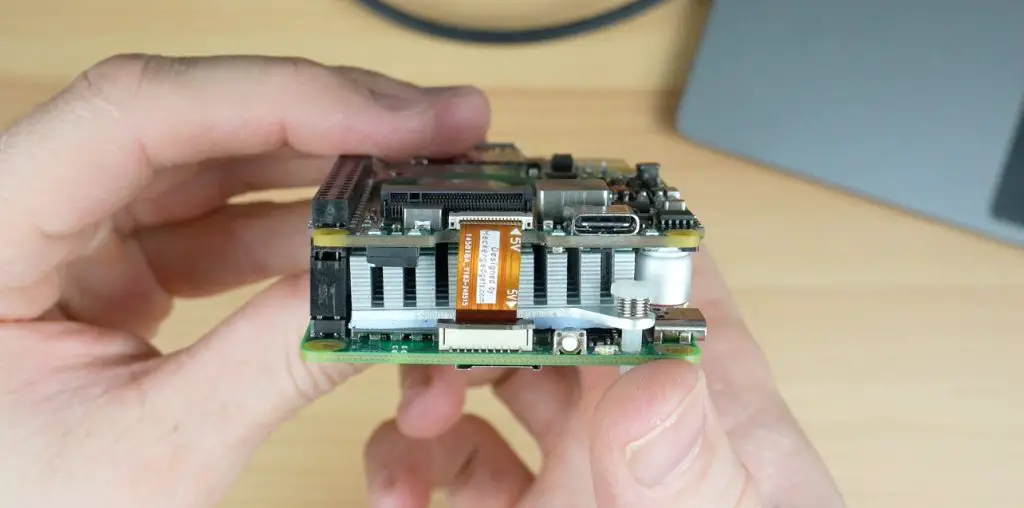
With the hat installed, we don’t need to hook up a USB C power cable to the Pi as it’ll get power from the Ethernet connection.
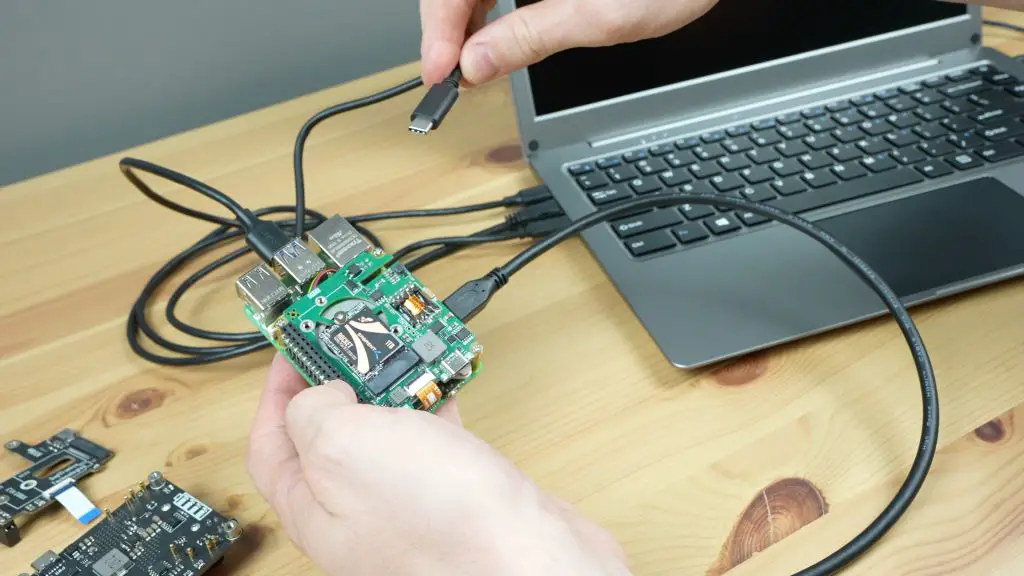
Upon booting up I got a warning that the supply is not capable of supplying 5A. This comes up because the Pi isn’t able to carry out the power delivery negotiation with the supply while booting up because the hat is powering it through the GPIO pins.
You can disable this check in firmware by adding the below line to the boot.conf file;
PSU_MAX_CURRENT=5000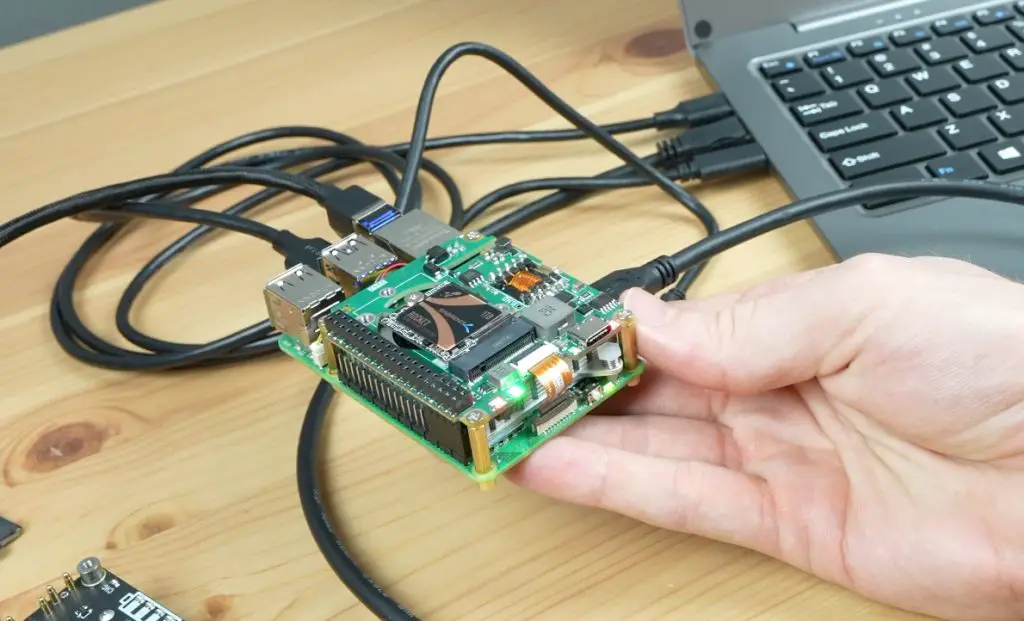

To test this hat, I ran two different tests, one on the NVMe drive and one on the CPU.
I again tested the NVMe drive using James Chambers Pi benchmarks script and a Sabrent Rocket NVMe SSD. I got slightly better results than with the previous hat with an average score over three tests of 43,550, again at gen 2 speeds.

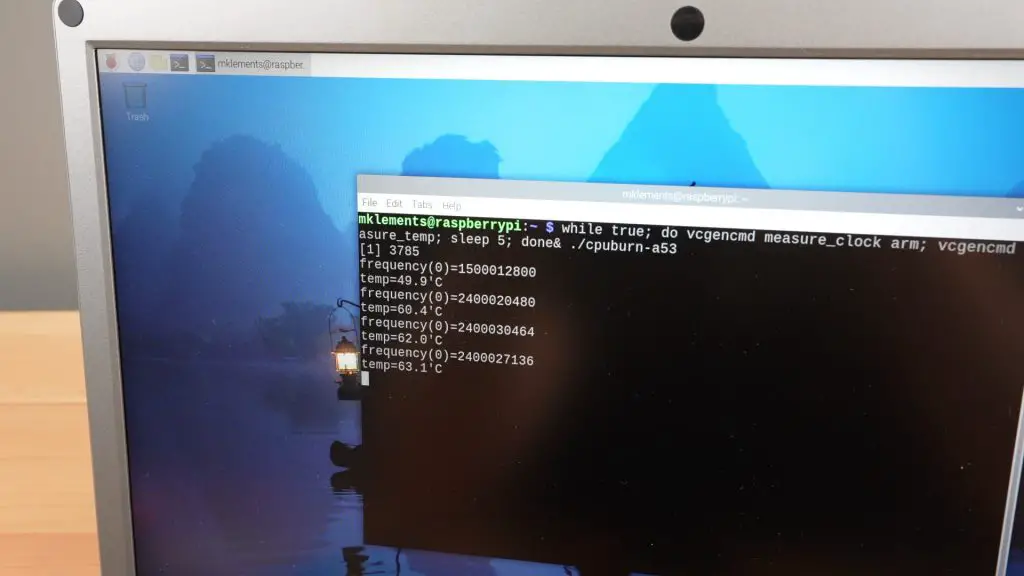
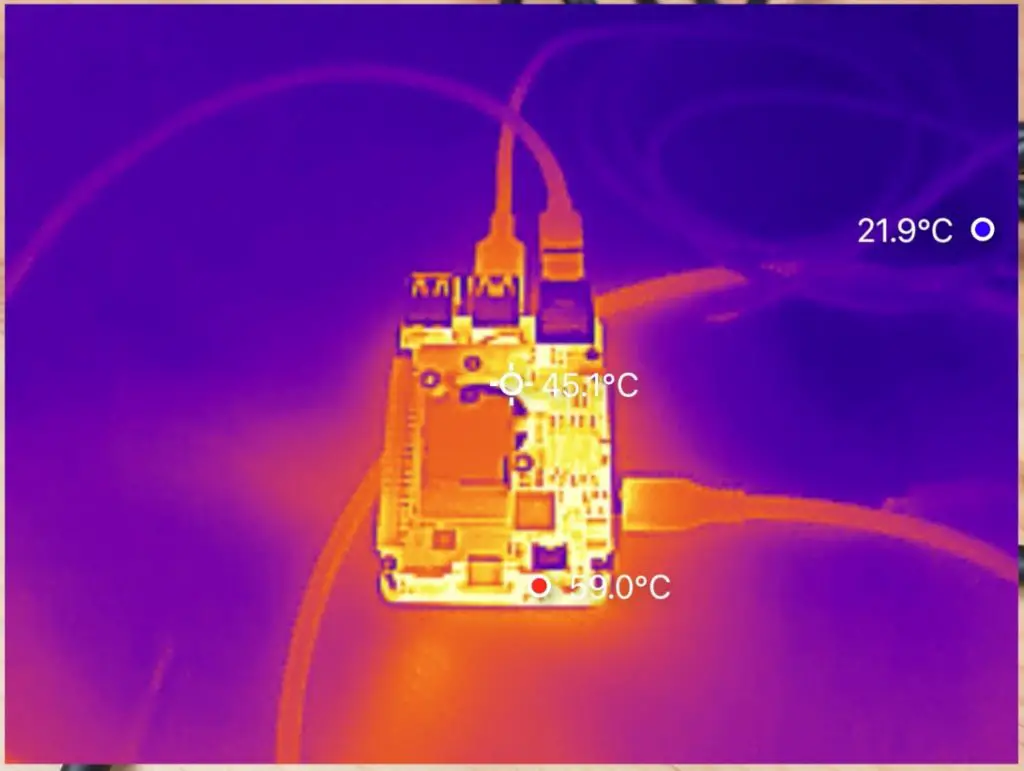
I also tested it by running CPU burn to load up the CPU to make sure that the PoE power supply was capable of handling a full CPU load. It ran for 10 minutes without any issues and also without thermal throttling. PoE hats tend to run quite hot but this doesn’t seem to have a significant effect on the Pi.
This hat is also compatible with the official Pi 5 case.
X1200 UPS Hat
The last hat is very similar to one that I used in my Pi 4 server build a while back and that’s an X1200 UPS hat which you can get for $42.
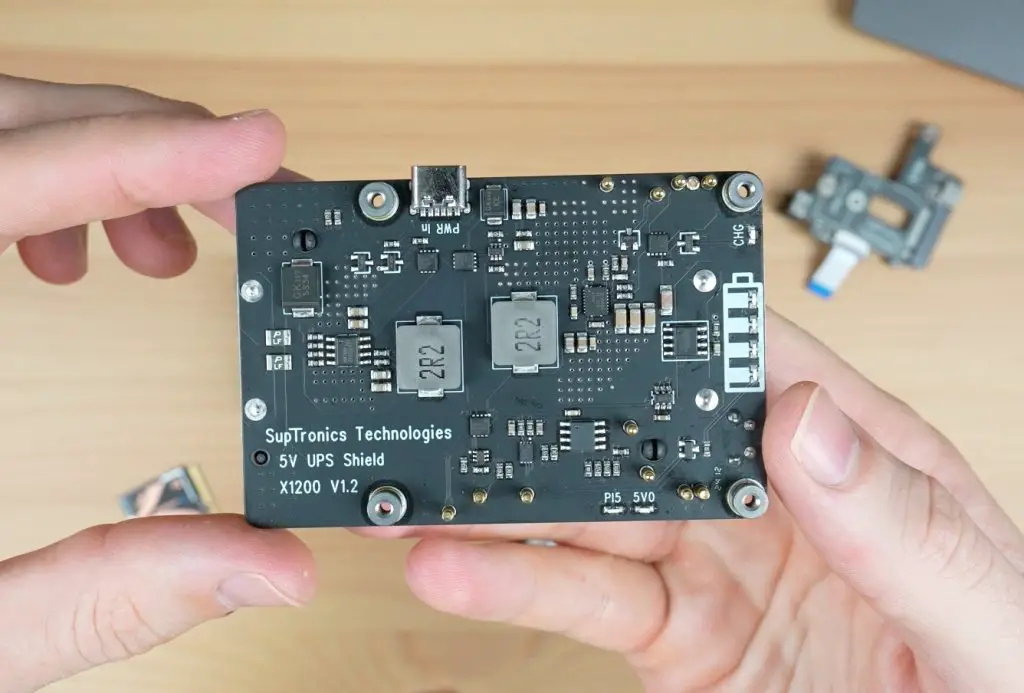
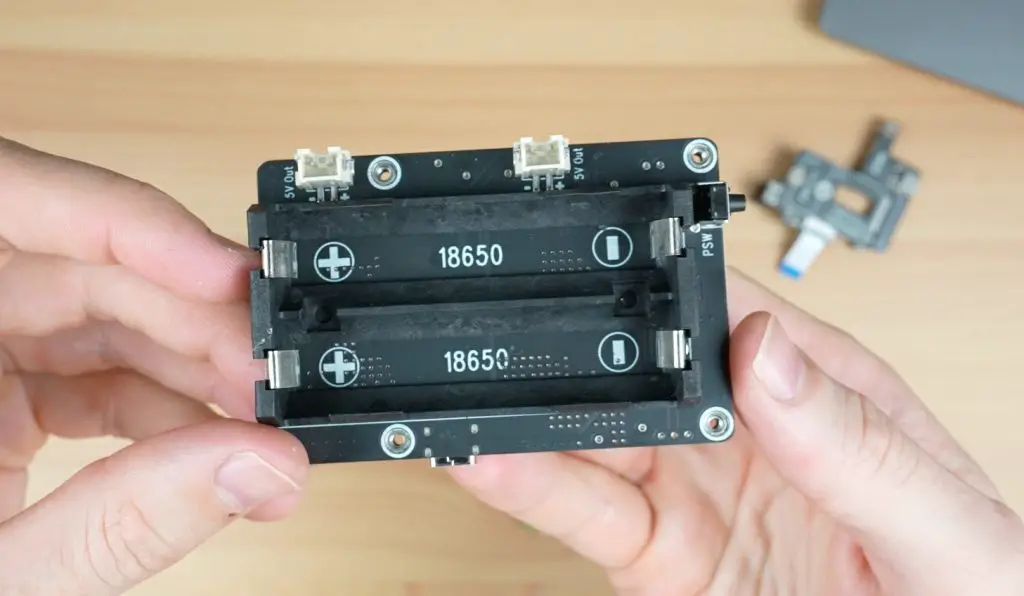
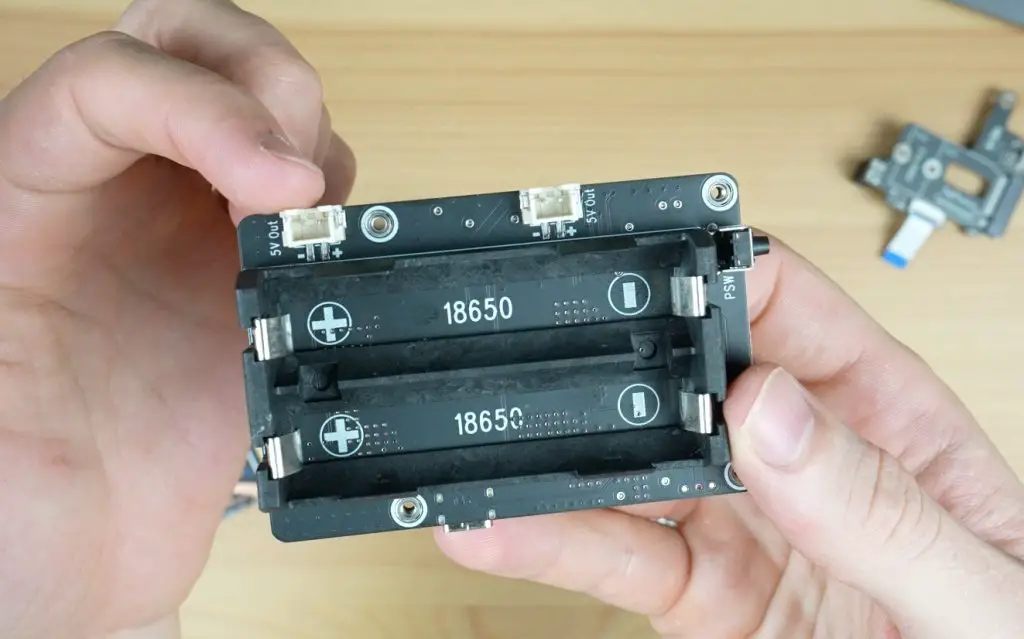
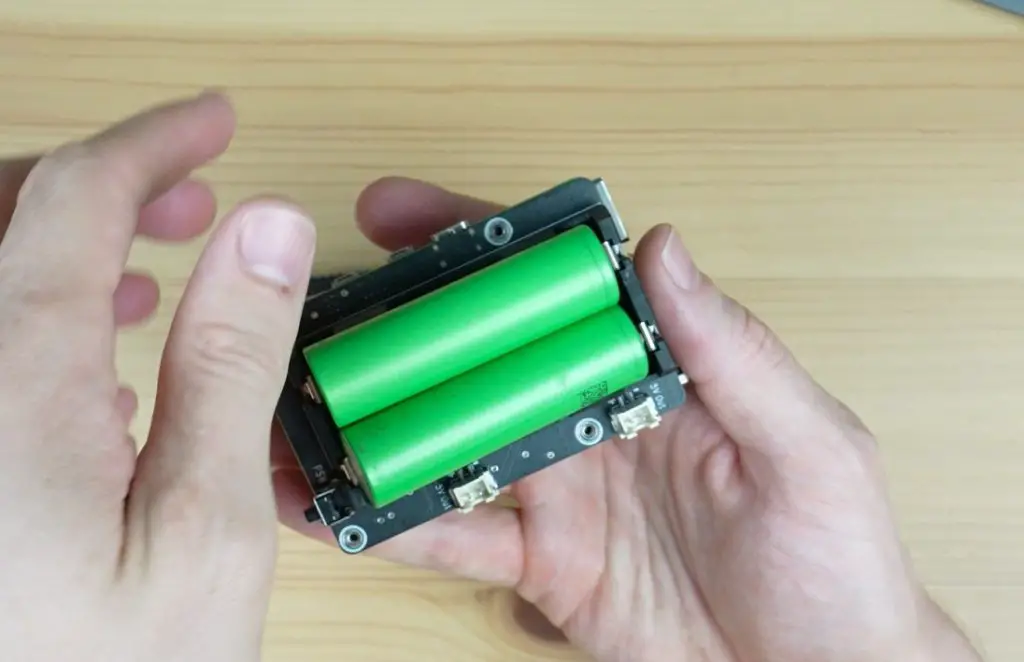
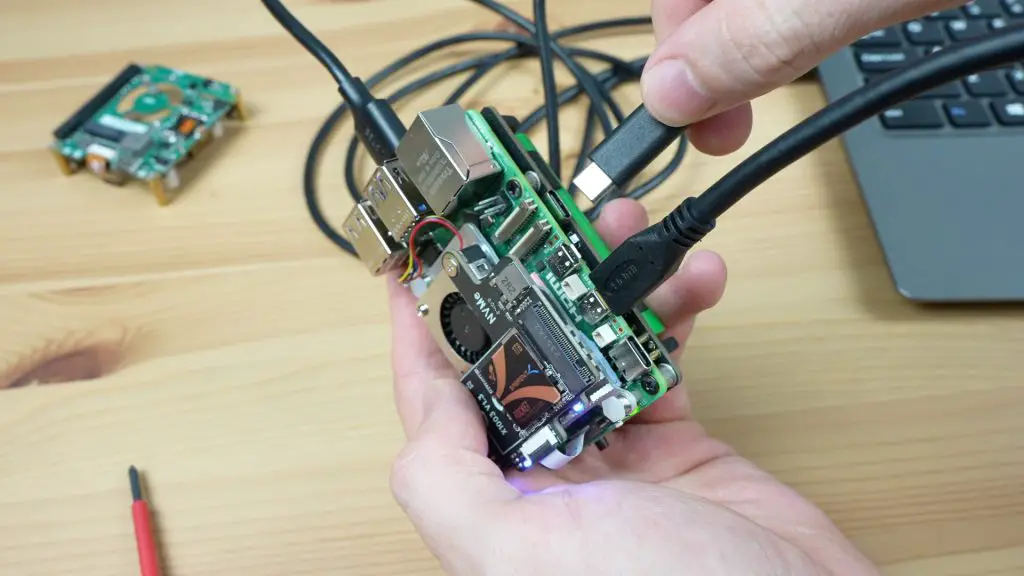
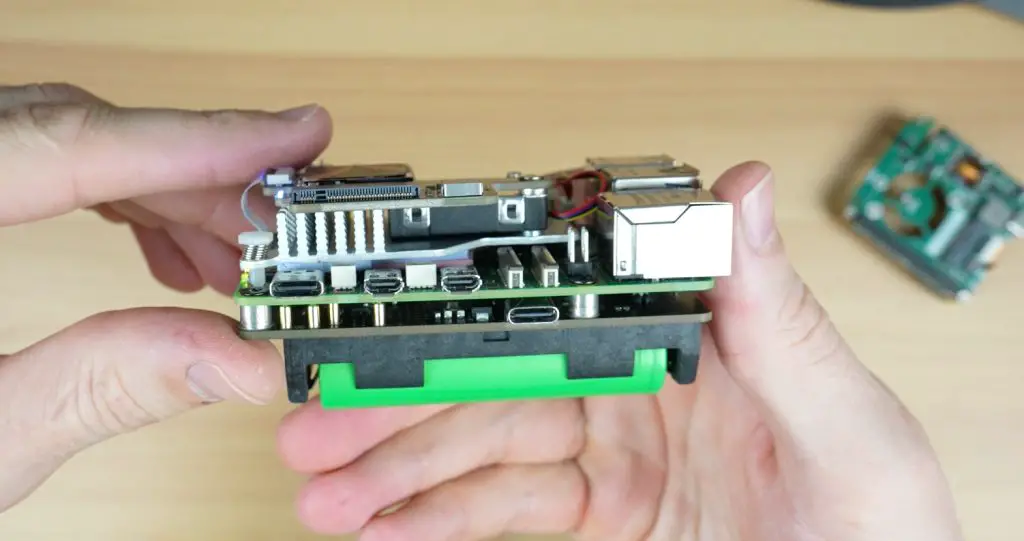
This hat stores power in two 18650 cells on the bottom and provides uninterruptable power to the Pi 5 through the Pi’s GPIO and power circuit pins.
Also on the bottom are some additional 5V power supply connectors and a power button.
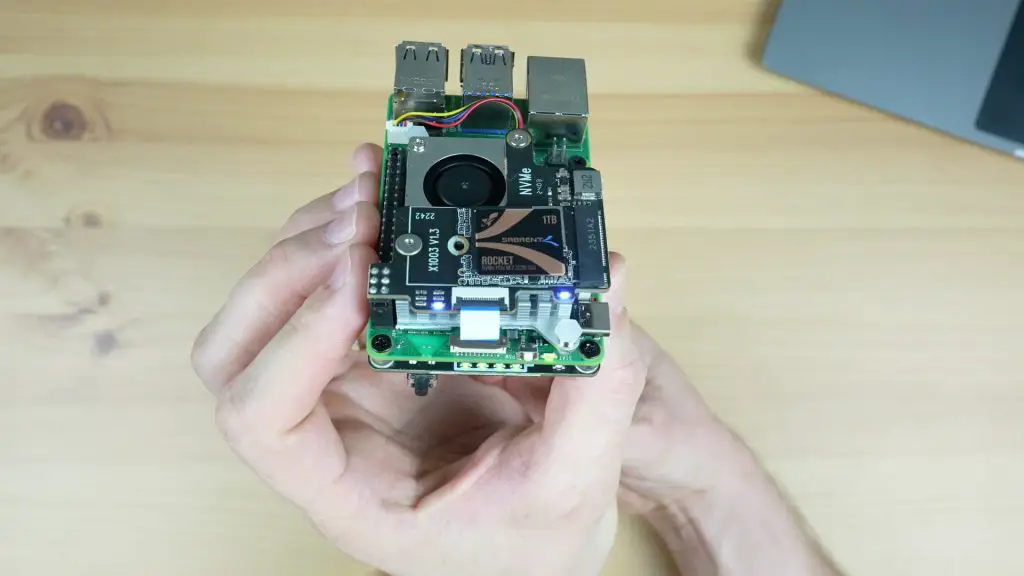
On the top we’ve got a USB type C power input which takes the Pi 5’s official 5V 5A power supply. We’ve also got a charging LED and battery voltage indicator. There are two more status LEDs on the other edge. The Pi 5 one tells you when the Pi 5 powered on and the one alongside it tells you when the hat is on.
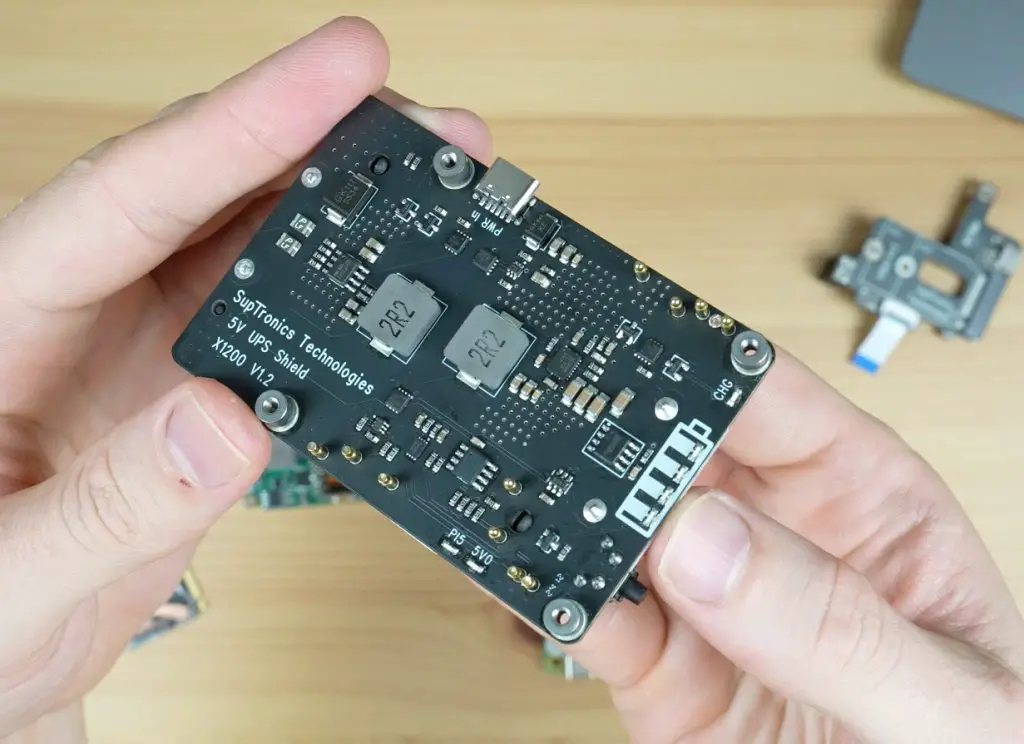
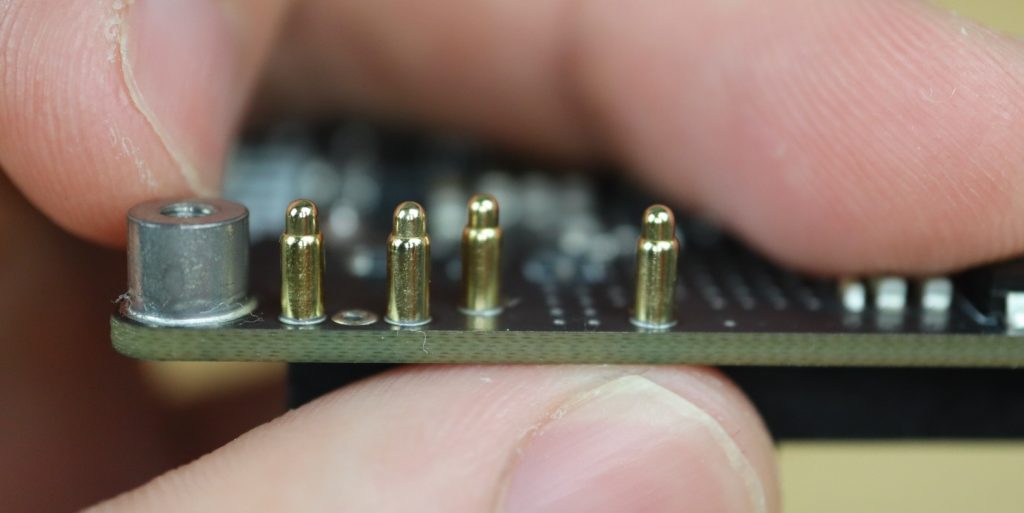
The hat uses some cleverly designed pogo pins to make contact with the Pi’s power and GPIO pins from underneath the Pi. With this hat on the bottom, you’ve still got space on top of the Pi to put an active cooler and a top mounted NVMe hat.
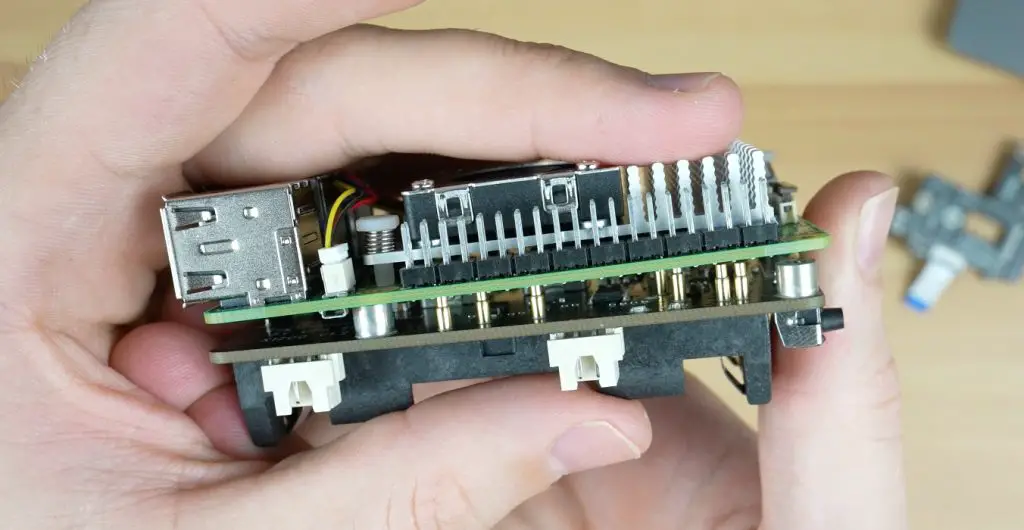
I’m going to add the X1003 NVMe hat to the setup as my boot drive.
Once installed, the Pi can boot up from the batteries if they’re charged and you then provide power to the UPS rather than to the Pi to keep them charged.
There is a script that you can install that’ll provide UPS stats to the Pi via the I2C interface. This will also tell the Pi to safely shutdown if the battery voltage drops below a configurable level.

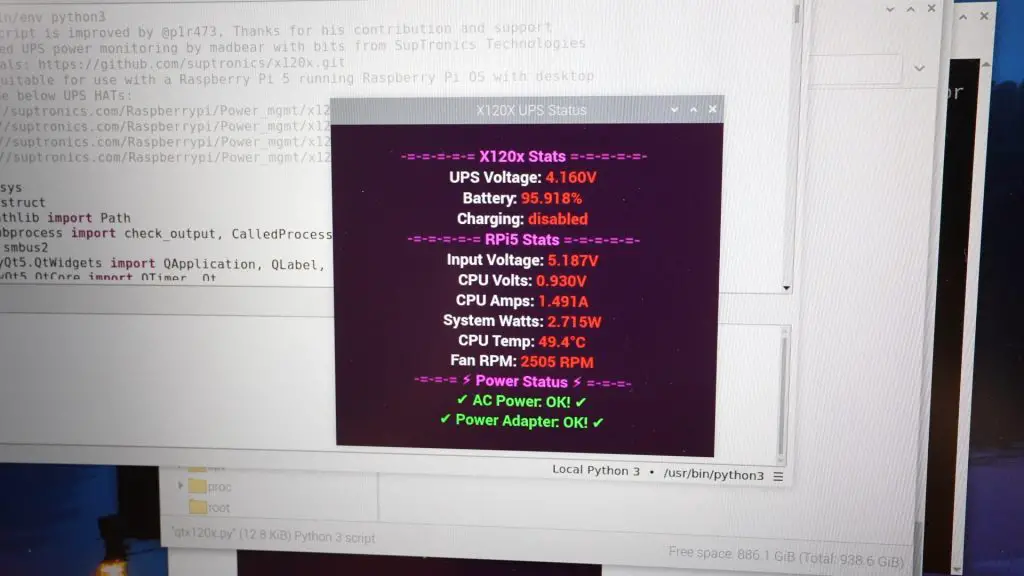
When mains power is removed, the UPS continues to provide power to the Pi, like in the beginning when it was running off the batteries only. The length of time that it can run will obviously depend on the capacity of the batteries and what you’ve got connected to your Pi but you should be able to get an hour or two from a good set of 3000mAh batteries.
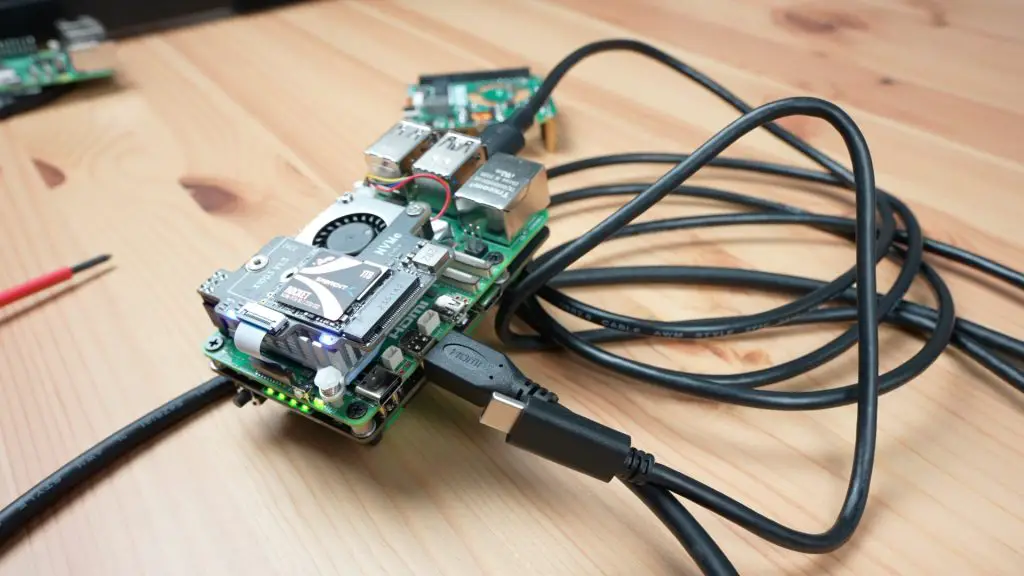
This hat is too big for the official case but there are a couple of other case options available for it, including one of my own designs.
Let me know in the comments section if you’ve used any of these hats for your own projects or if there are any other hats for the Pi 5 that you’d like me to try out.


On the hackergadgets POE+ board, how do you open the NVME FPC connector. The cable has come out and I can’t get it back in.
Thanks
Lift the black tab on the back of the connector. That “clamps” down onto the cable when it is inserted.
Michael,
Where could I find the various Pi5 cases you have made?
Regards,
Tom
Hi Tom,
They’re available through my Etsy store
Regards,
Michael