Almost every smartphone owner has at some stage dropped one of their phones and broken the screen. A replacement by the manufacturer costs a fortune but it is actually quite simple to replace yourself. You can buy a replacement for your phone through a number of online stores, eBay has a large number of electronics suppliers which stock replacement parts.
This guide shows you the step by step process to replace your iPhone screen yourself. Although this change is performed on an iPhone 6, the 6s is almost exactly the same.
Scroll down to the bottom of the page for a full video of the change being done on an iPhone 6.
What You Will Need To Replace Your iPhone 6 Screen
- Replacement Screen – Buy Screen & Tool Set
- Pentelobe Screwdriver
- Small Star/Philips Screwdriver
- Prying Tool
- Screen Prying Tool
- Screen Puller
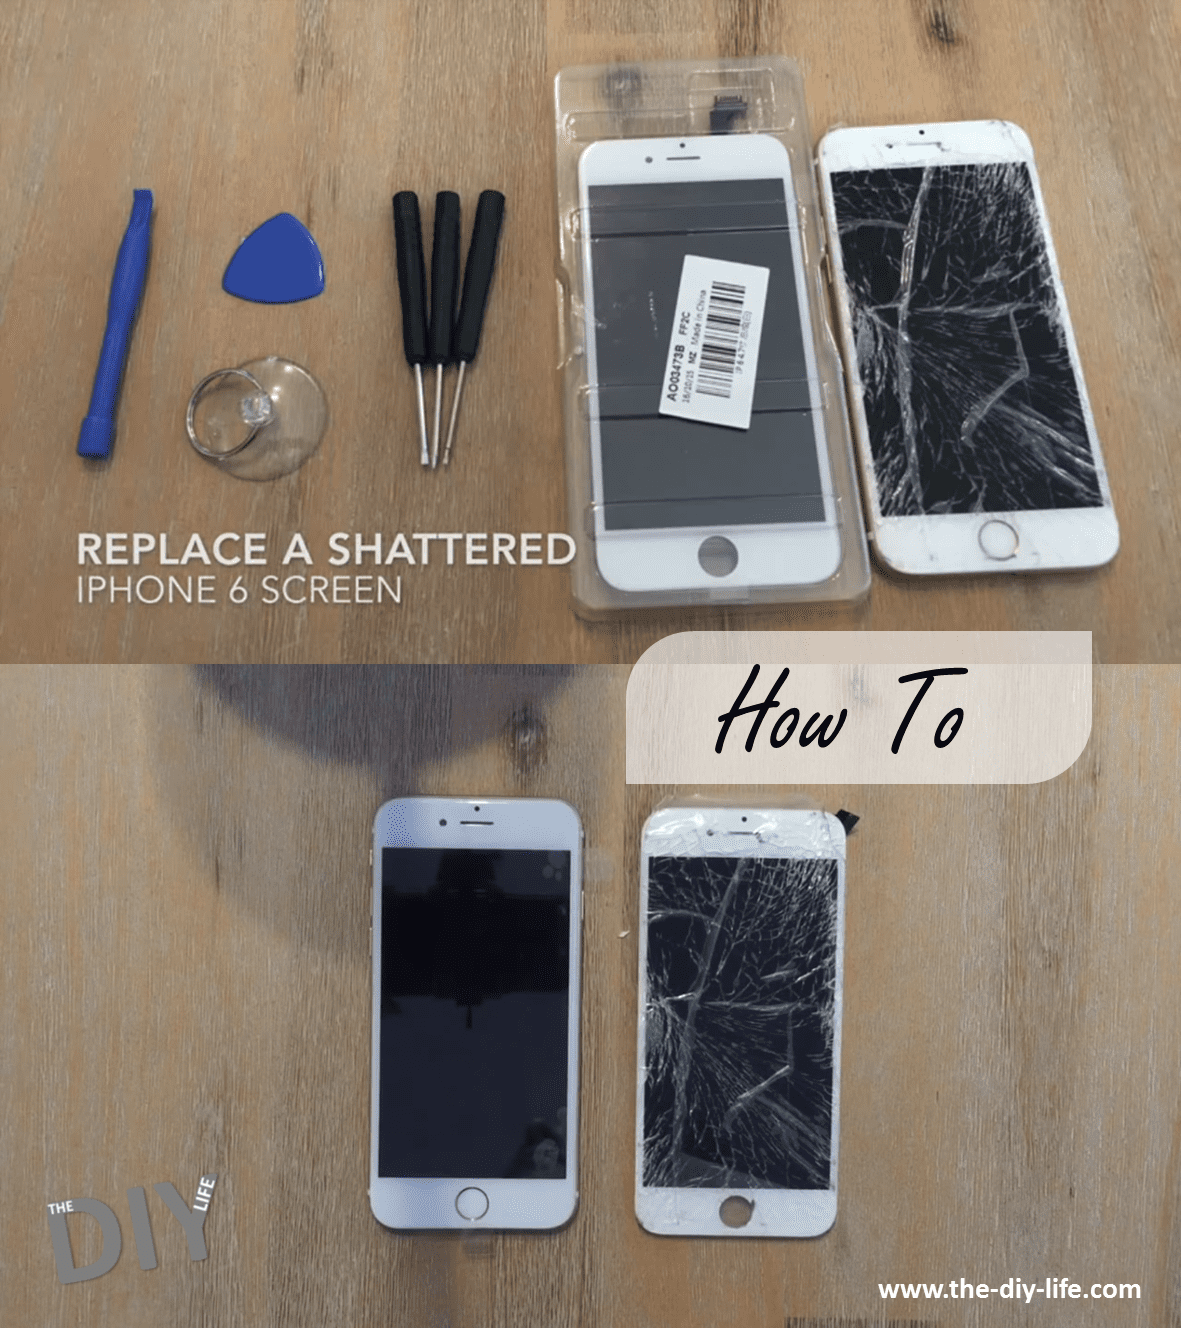
If you look around online, most of the suppliers which stock replacements will add a small toolset (pictured in the video and cover picture) for a small fee or even for free, it is worthwhile getting the toolkit.
How to Replace your iPhone Screen
Replacing your iPhone screen is done in four stages, first you will remove the old one, then remove all of the components from the old one, install them on the replacement screen and finally install and connect the replacement to your iPhone.
It is worthwhile keeping a piece of paper and a pen handy to make a sketch of the inside of the phone and which screws your have removed from where. The screws are all different sizes and lengths and need to go back into the same hole you removed them from. Rather spend a bit more time taking the phone apart and keep track of the components, it will make your life a lot easier when putting it back together.
Removing the Broken Screen
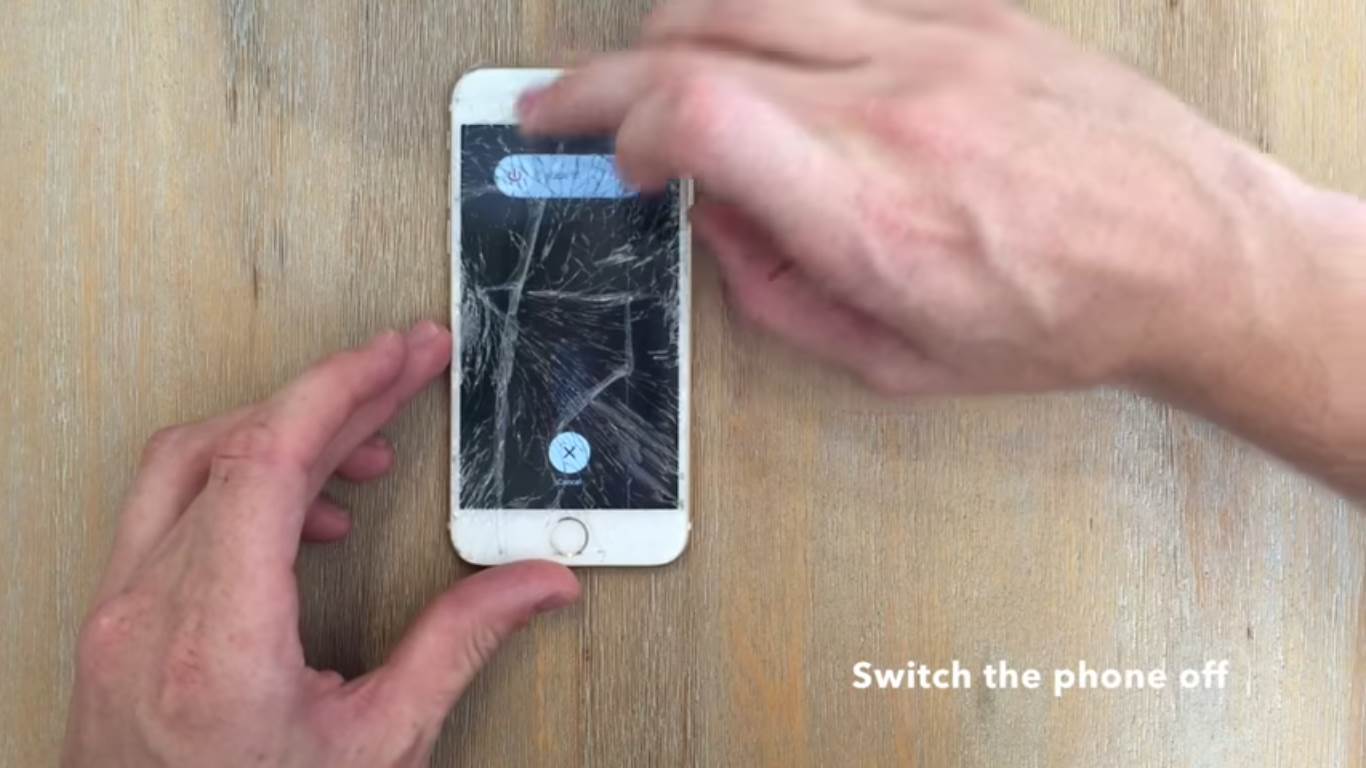
First start by switching your iPhone off, this ensures that you don’t short circuit anything when clipping and unclipping connectors.
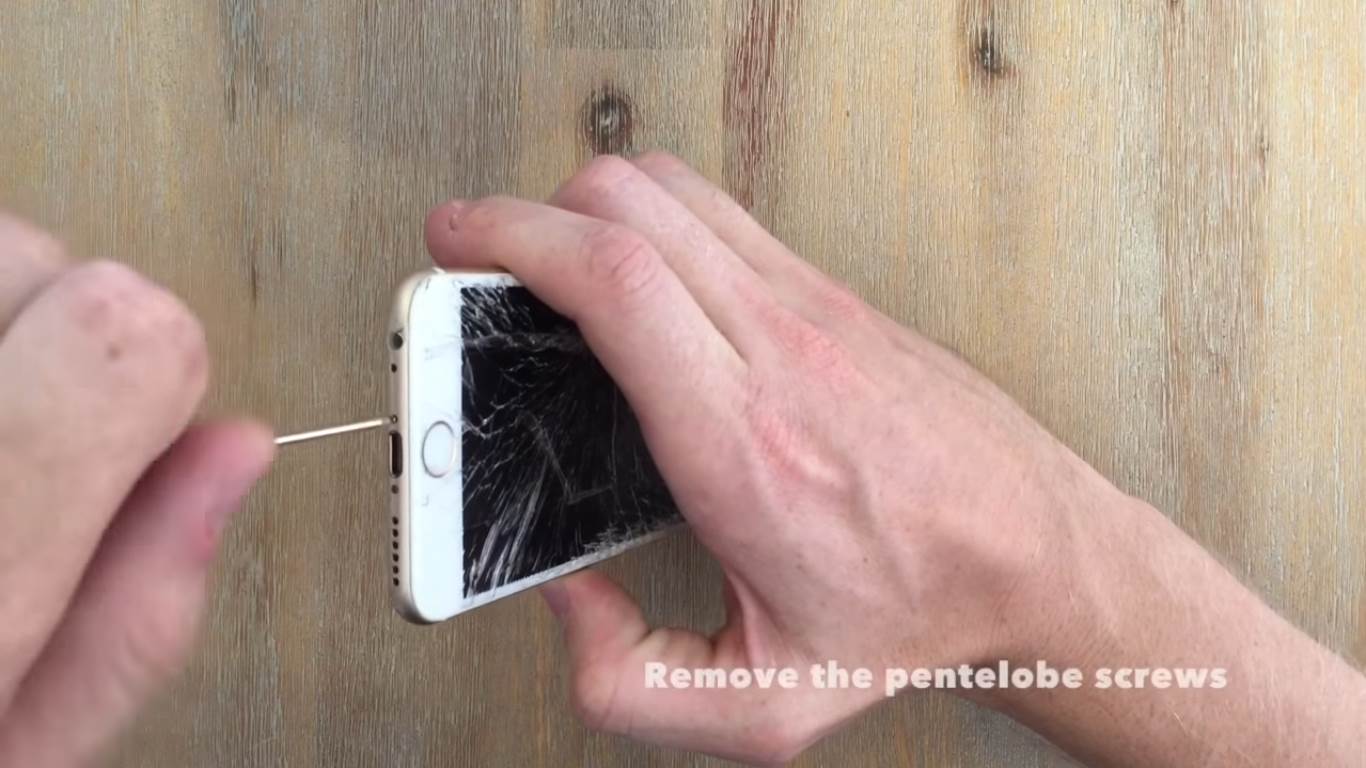
Now use the pentelobe screwdriver in your toolkit to remove the two screws at the bottom of you phone.
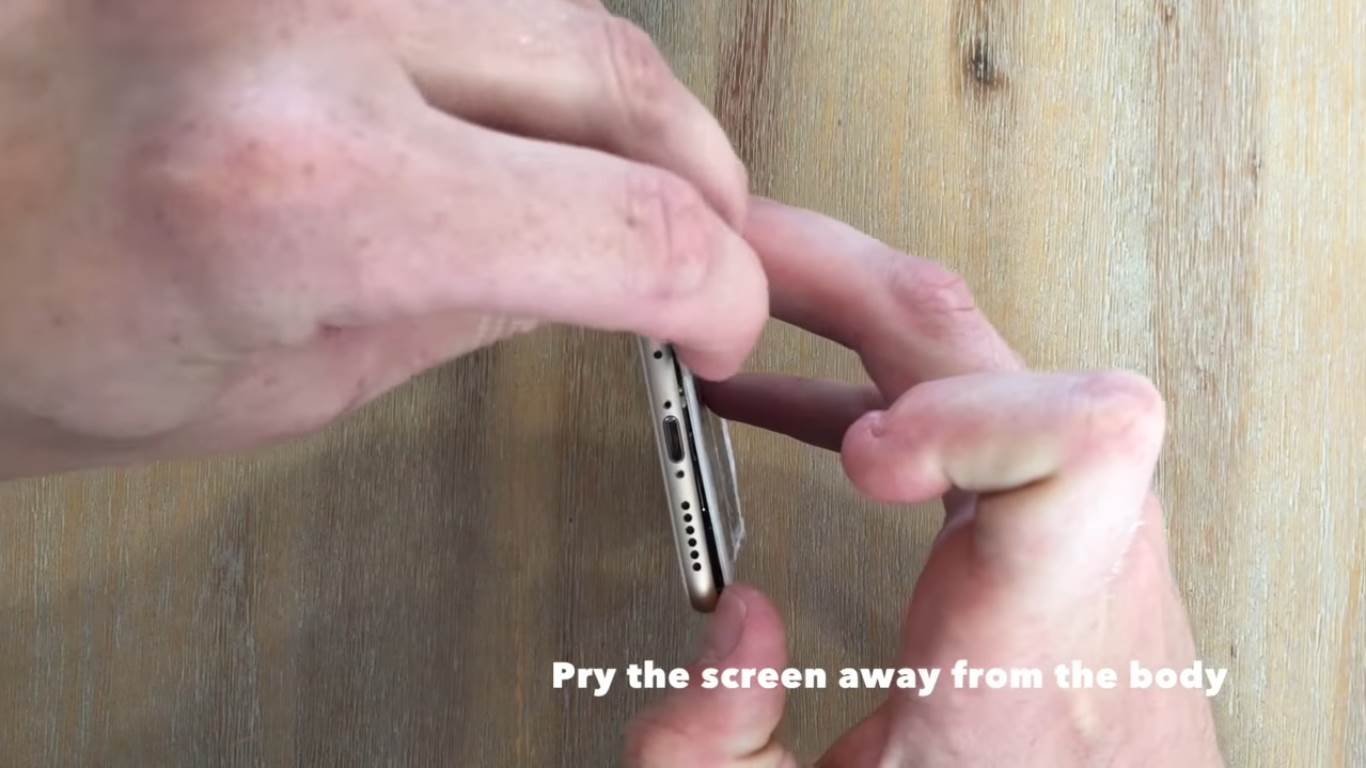
Once the screws have been removed, pry the screen away from the body. If it is not totally shattered, using the pulling suction cup to help you lift the screen from the body of the phone. The prying tool helps to slot in between the screen and the body and pull it away.
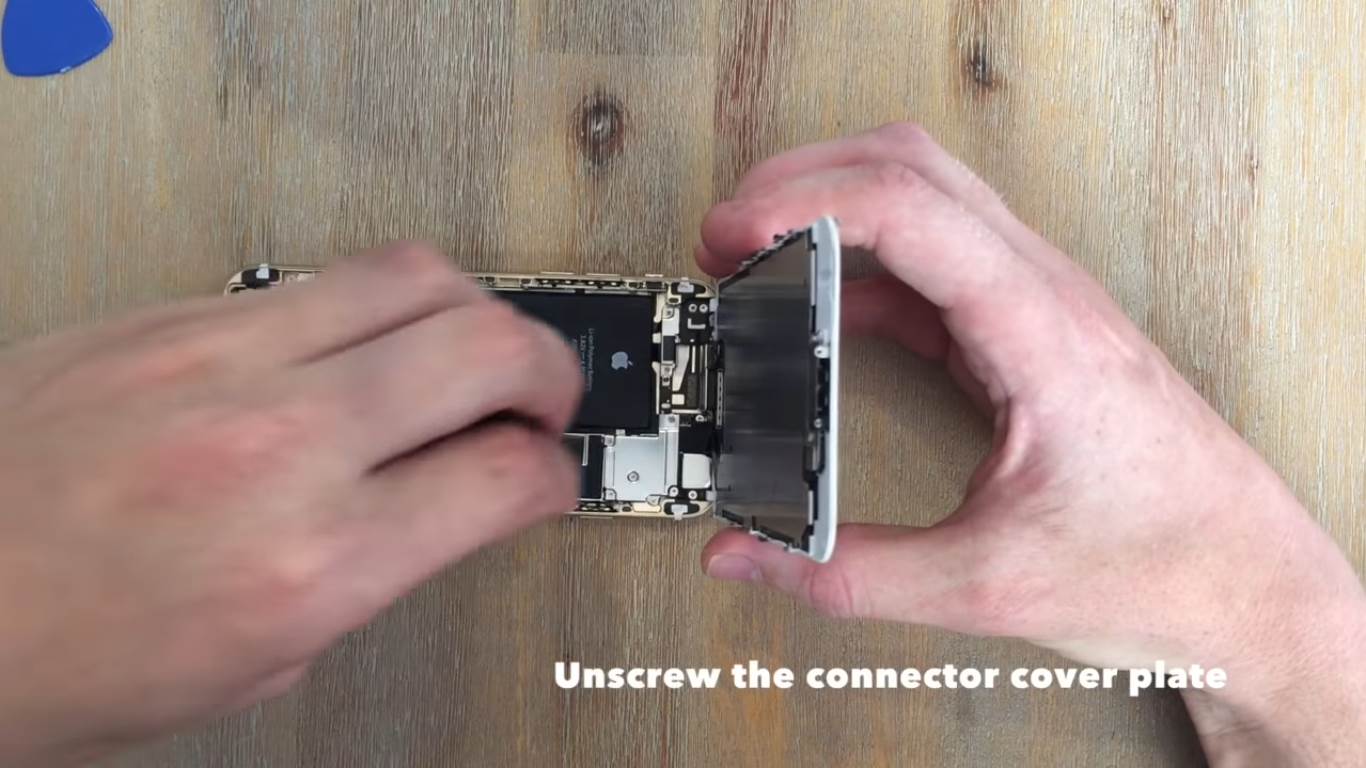
Near the top of the phone, there is a silver cover plate which keeps the connectors locked in place. Unscrew and remove the screws and the cover plate.
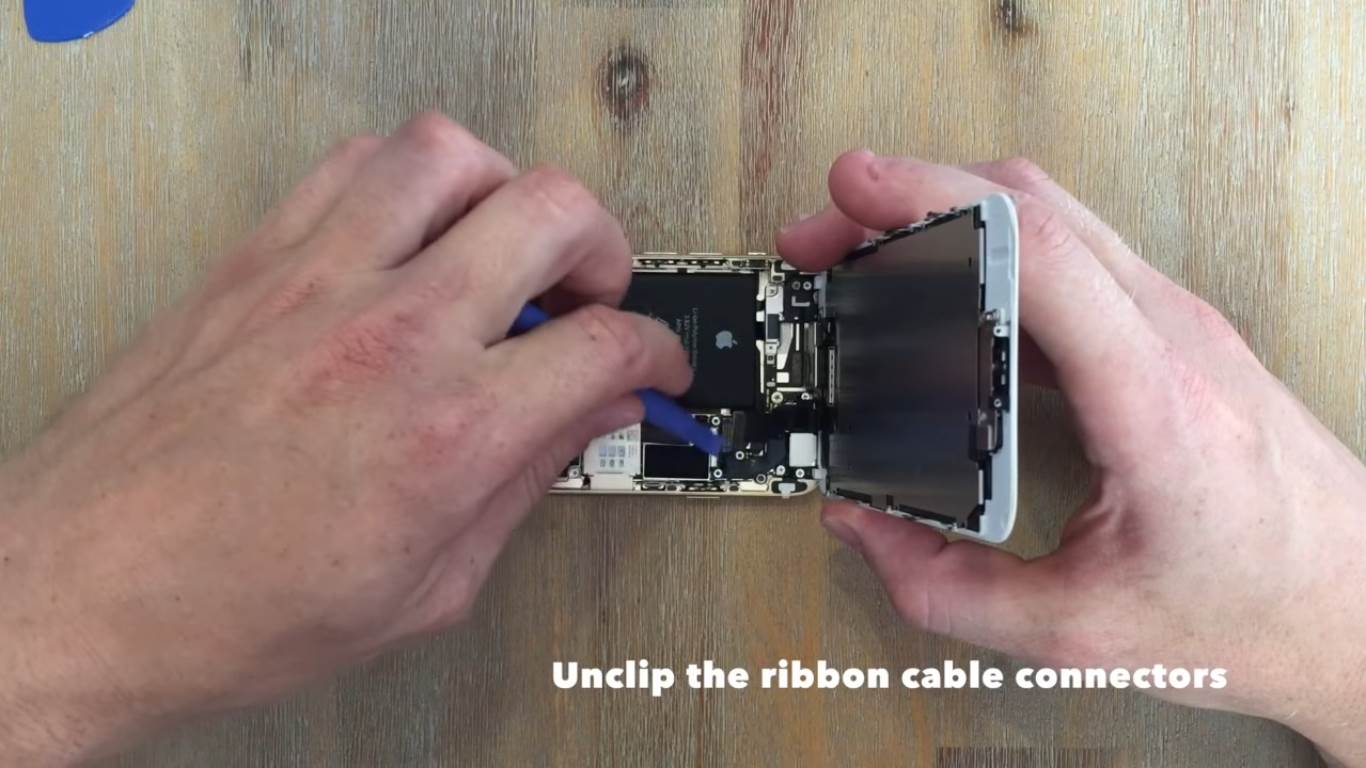
Now use the smaller prying tool to unclip the four connectors on the ribbon cables. These connectors snap into place much like Lego’s. Once the ribbon cable connectors are unclipped, you can remove the screen from the body of the phone.
Remove the Components from the Old Screen
The replacement you have bought will most likely come without any of the additional electronic components mounted onto it, you will have to move these across from your old screen onto your new screen.
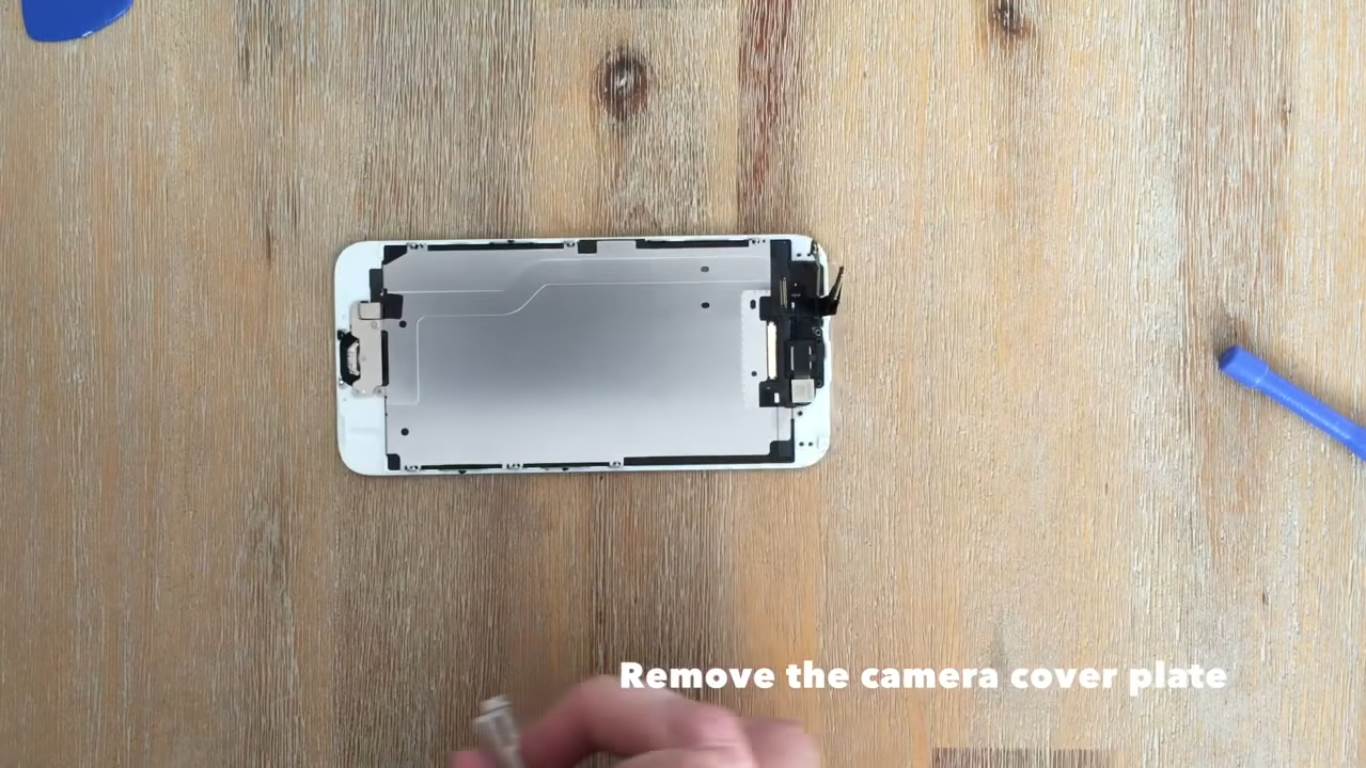
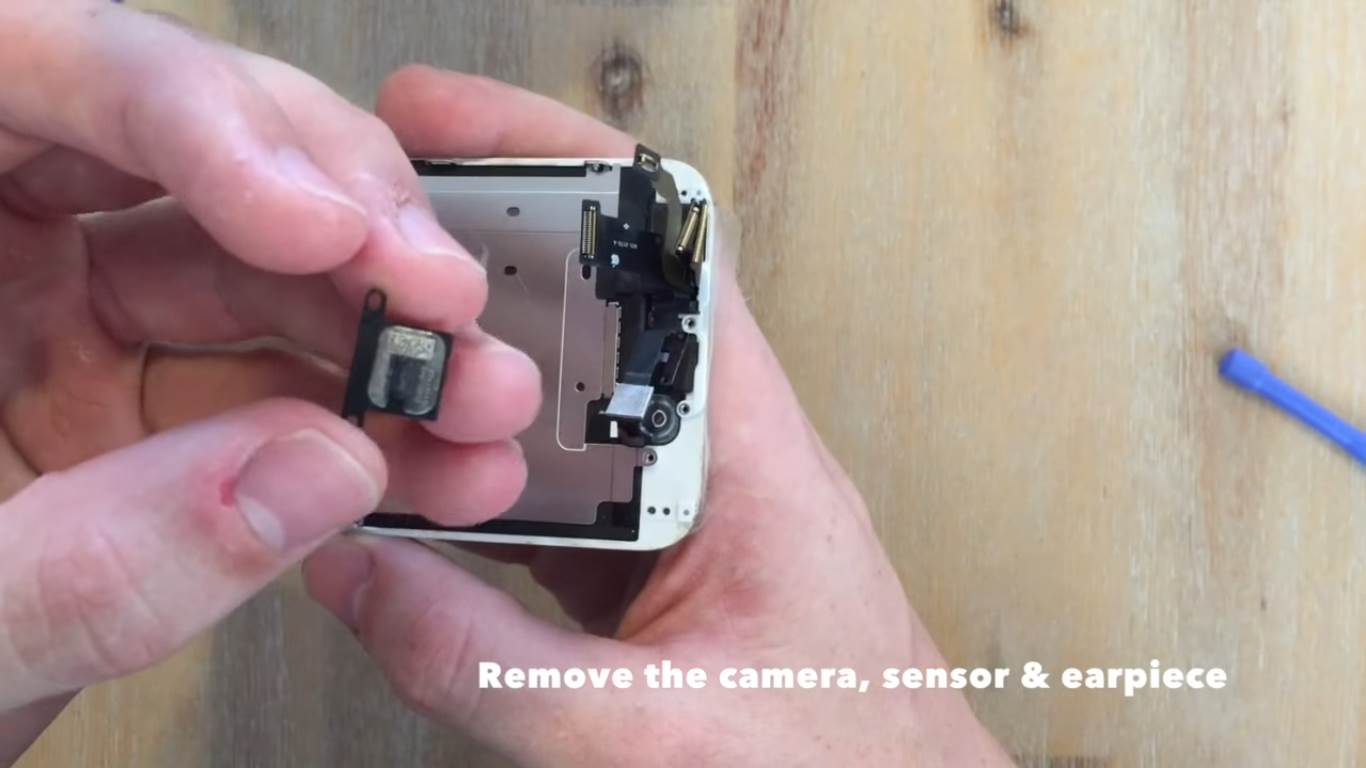
First start by removing the camera, sensor and earpiece. Remove the screws and cover plate which secure the camera.
Now remove the camera, sensor and ear piece, they should come away easily with the cover plate removed.
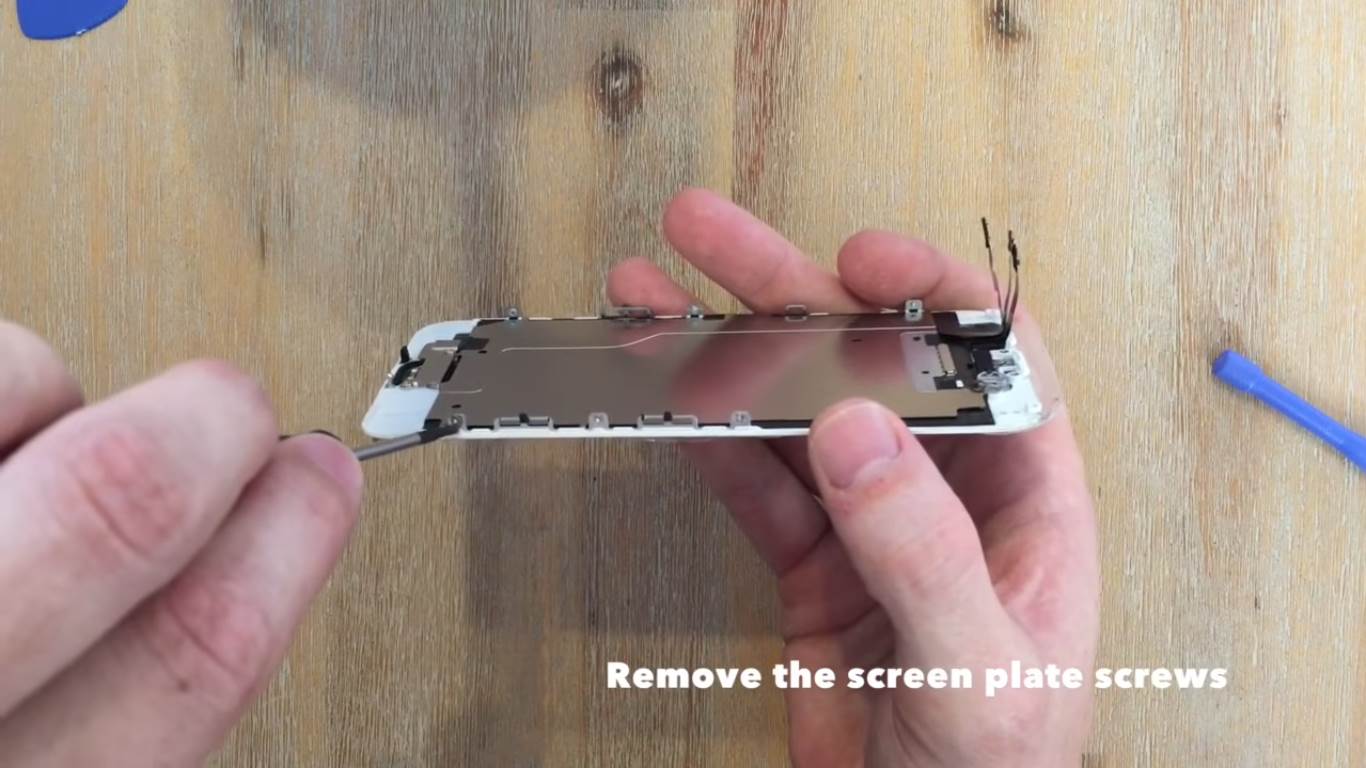
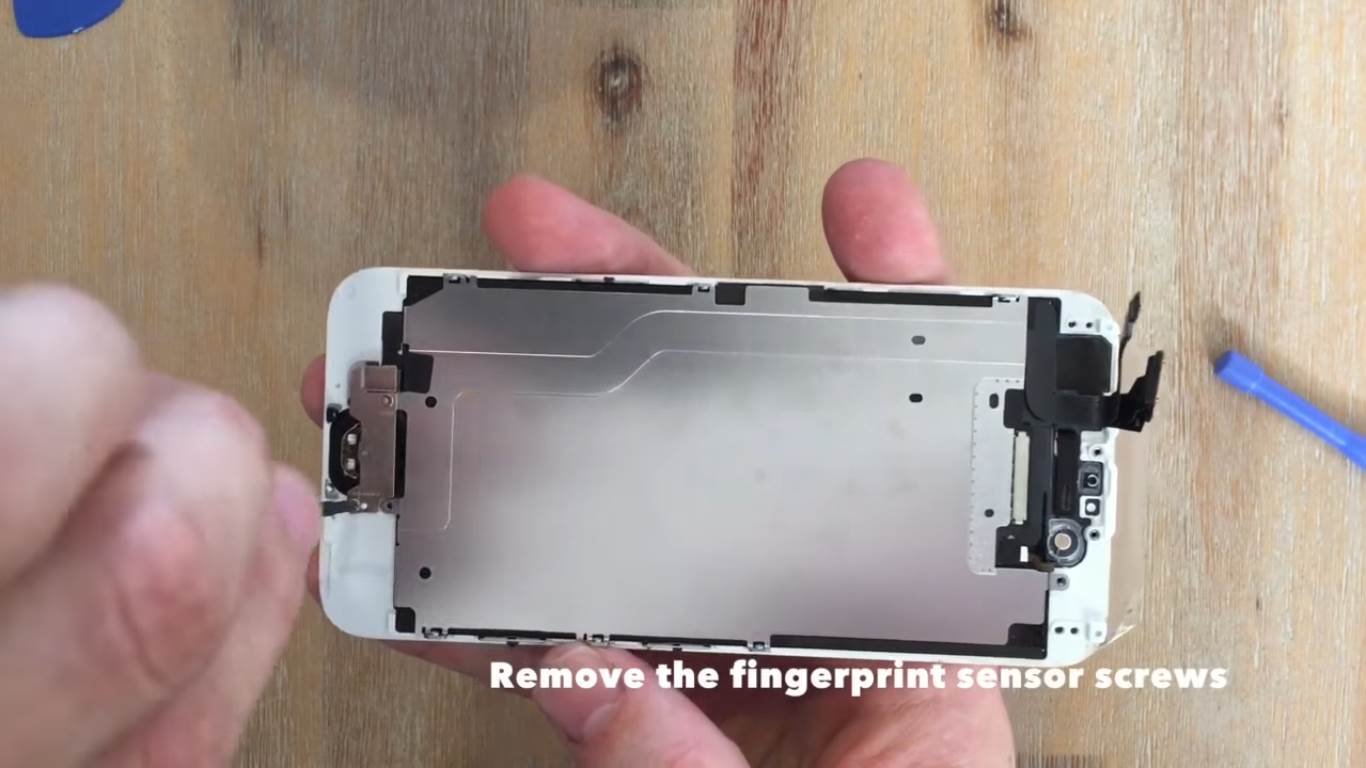
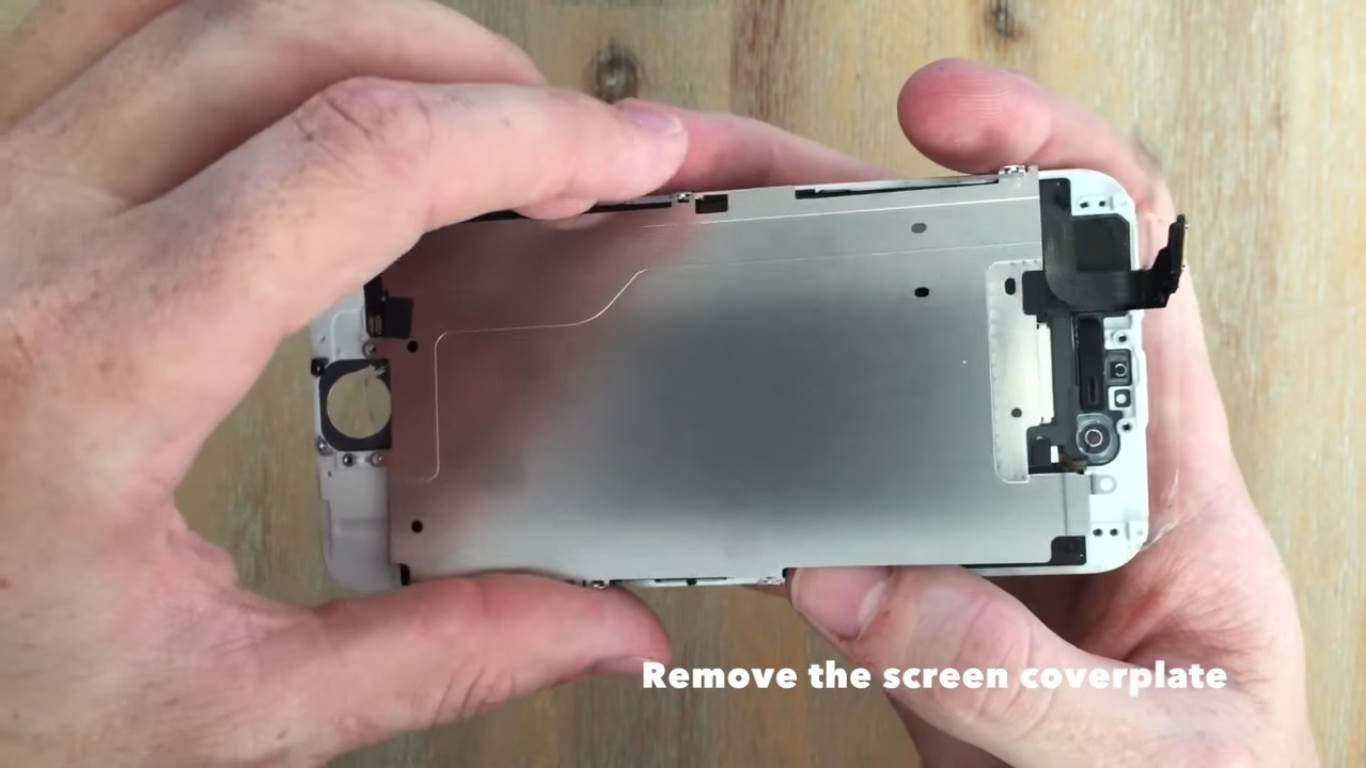
You need to remove the screws to the silver cover plate on the back, this houses the ribbon cable to the fingerprint sensor and home button. Remove the screws around the perimeter of this cover, the cover will remain in place until the fingerprint sensor is removed.
Next, remove the cover plate over the fingerprint sensor.
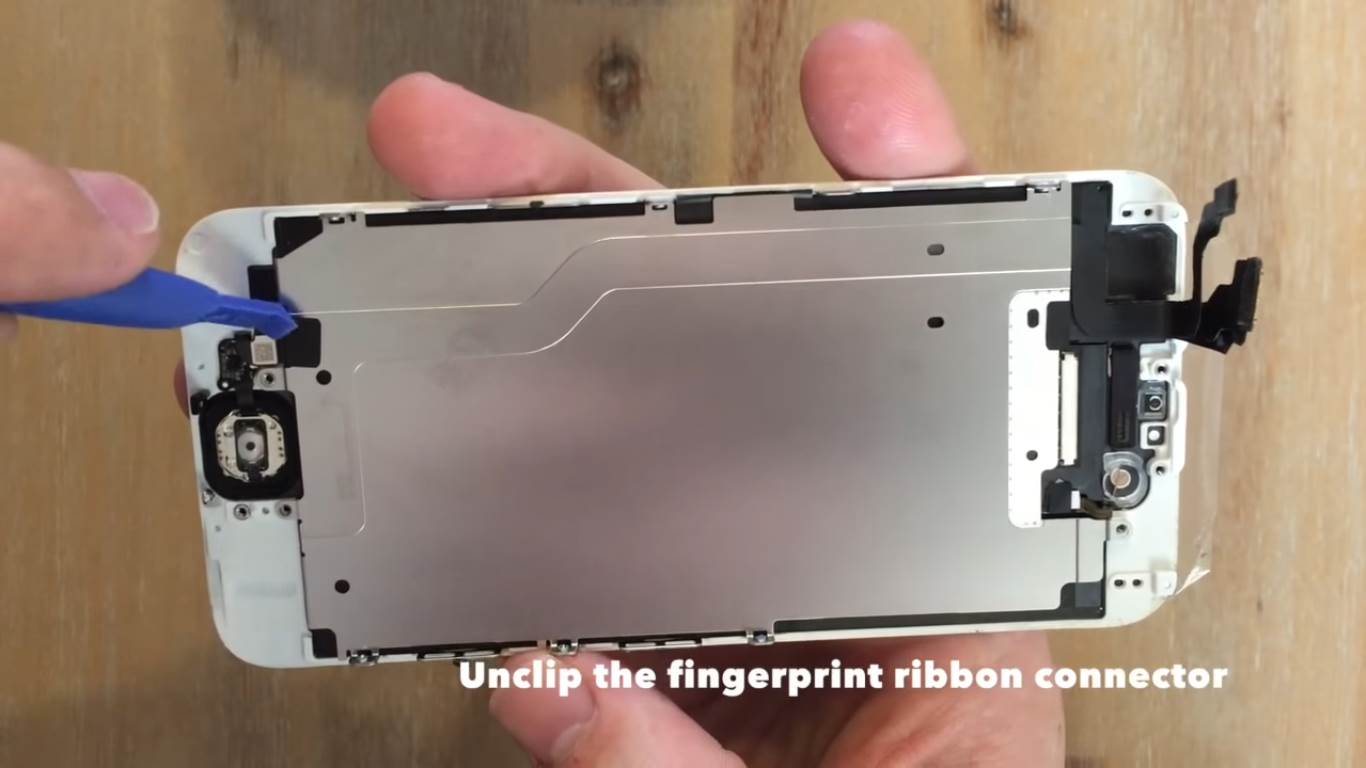
Unclip the connector to the fingerprint sensor ribbon cable, this is the same type of connector used to clip the other ribbon cables and it just snaps off using the prying tool.
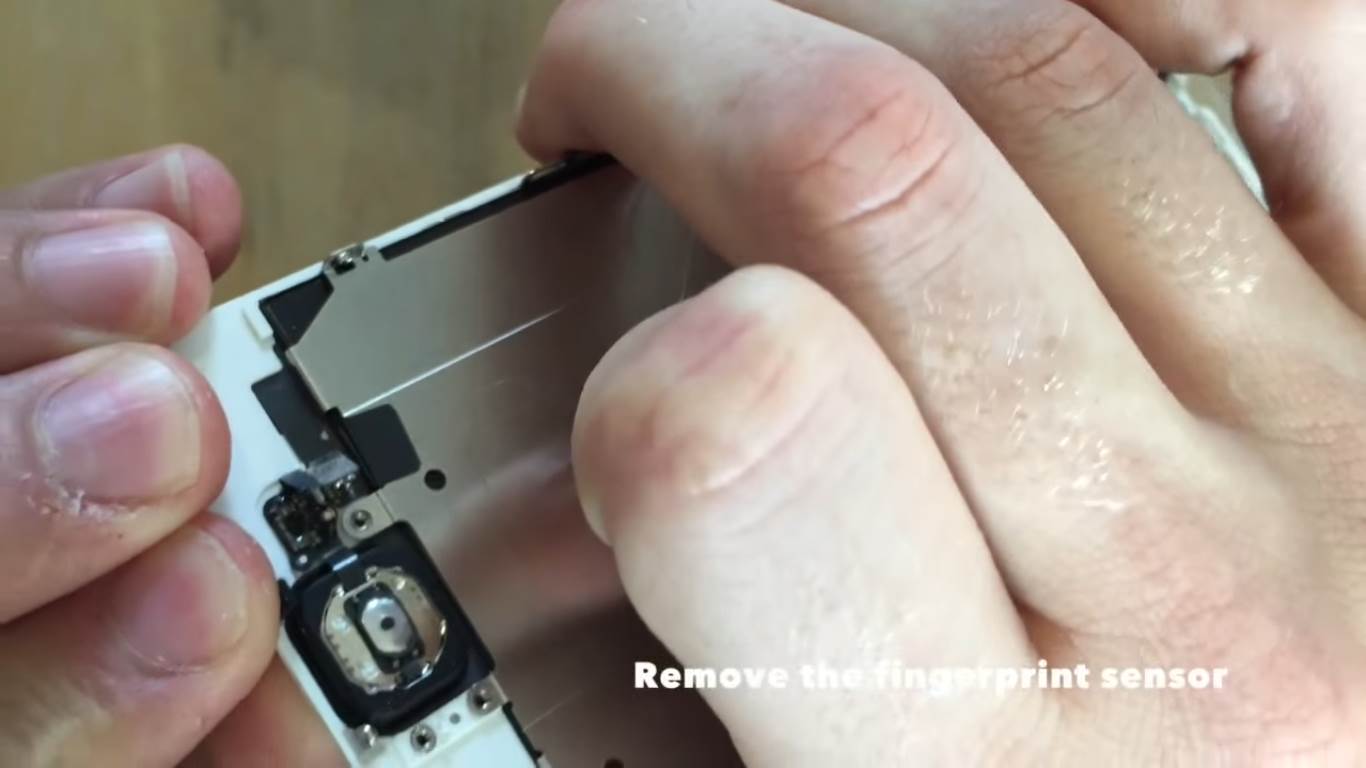
Now you can remove the fingerprint sensor. It is stuck on by its rubber mounting which is sticky on one side. Simply pull it off with your fingers or with a flat screw driver. It should still be sticky enough to stick onto the replacement.
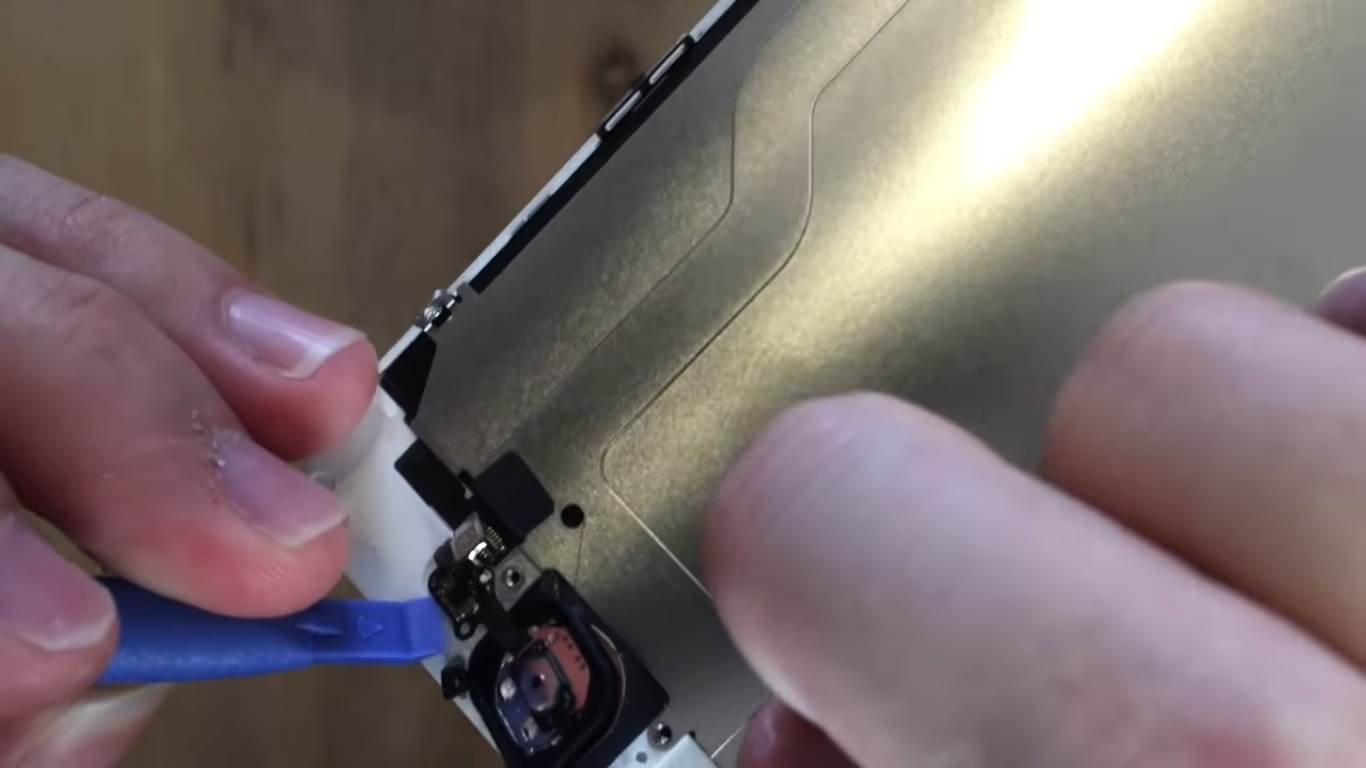
Lastly, unclip the fingerprint sensors electronics which are held in place with a small white peg. Use the prying tool to lift it off of the peg.
Now you can remove the back cover plate.
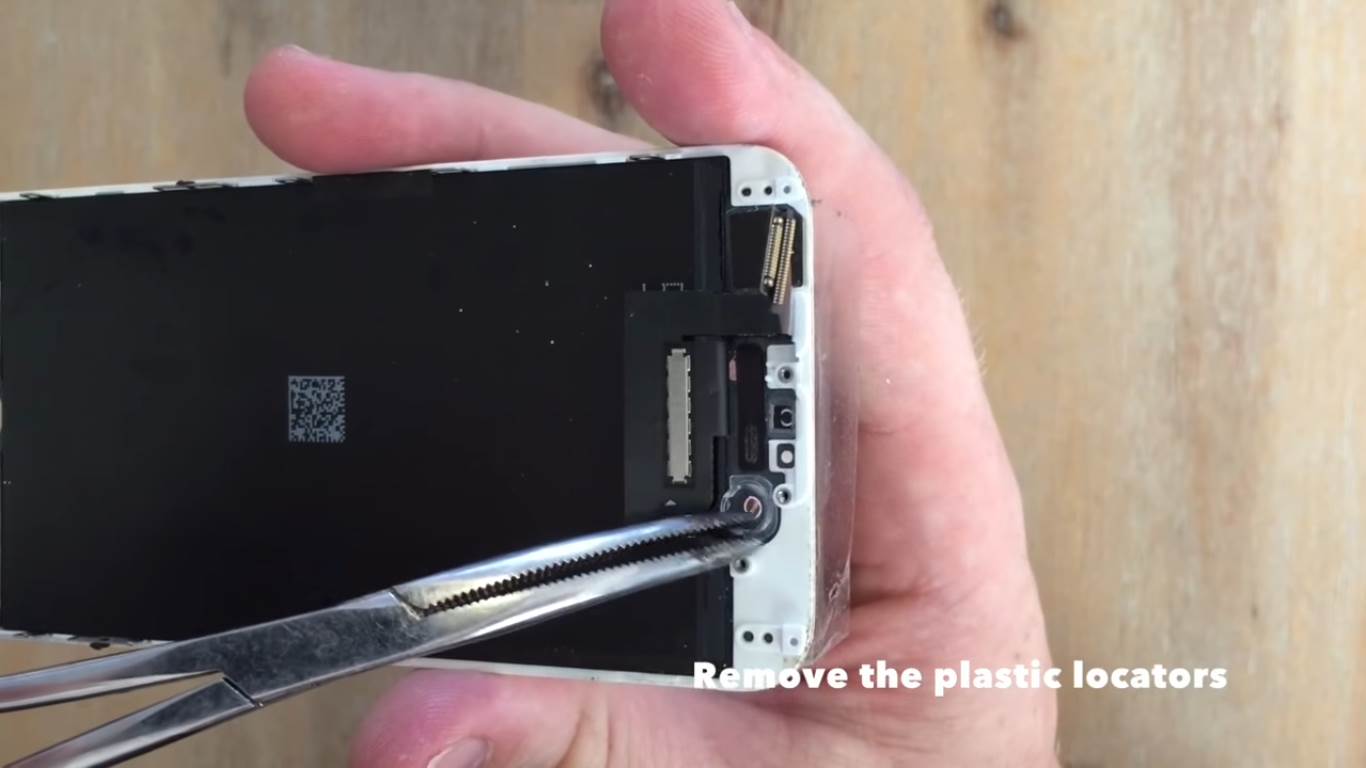
The last items to remove are the small plastic locators for the camera and for the sensor near the earpiece. Remove these with a tweezer or small screwdriver.
Install the Components on the New Screen
Installing the components on the replacement is quite easy once you know how they came off the old one, just follow the steps in reverse.
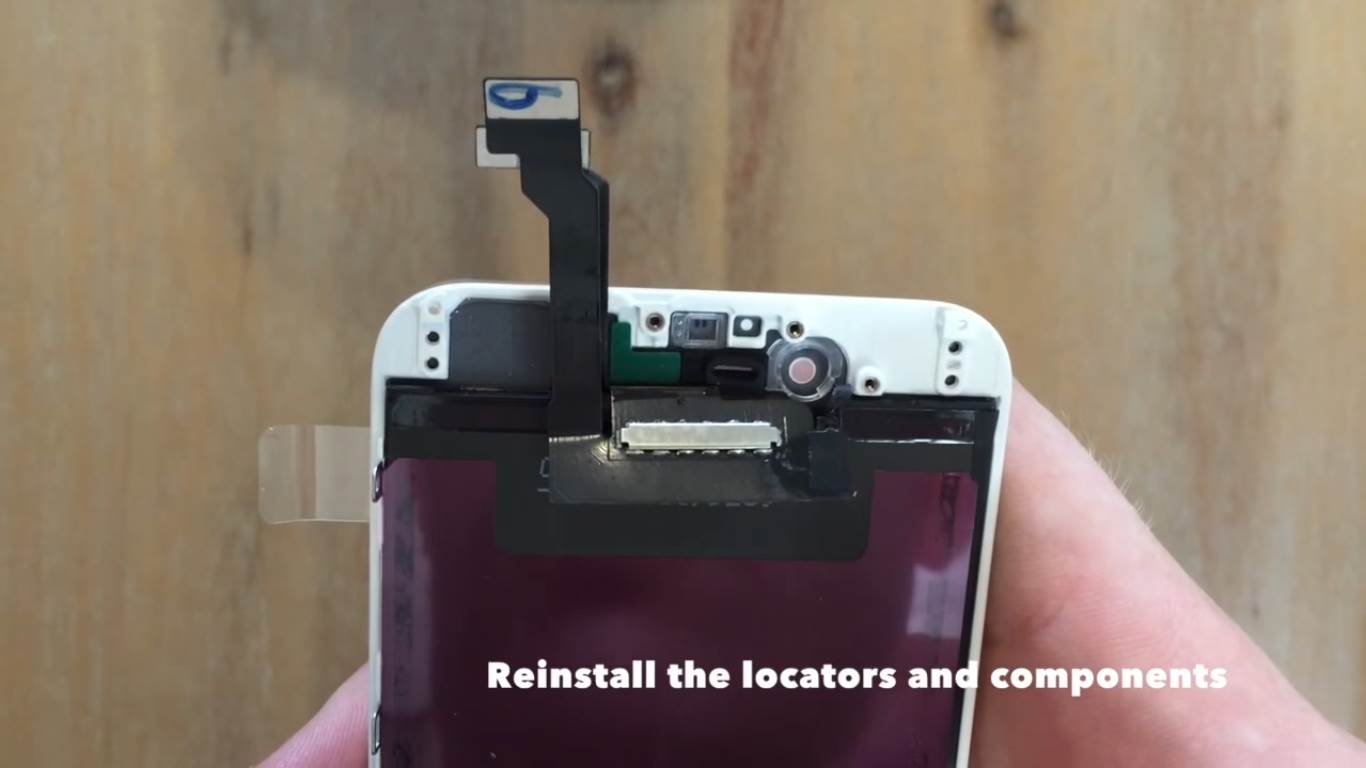
First replace the plastic locators for the camera and sensor.
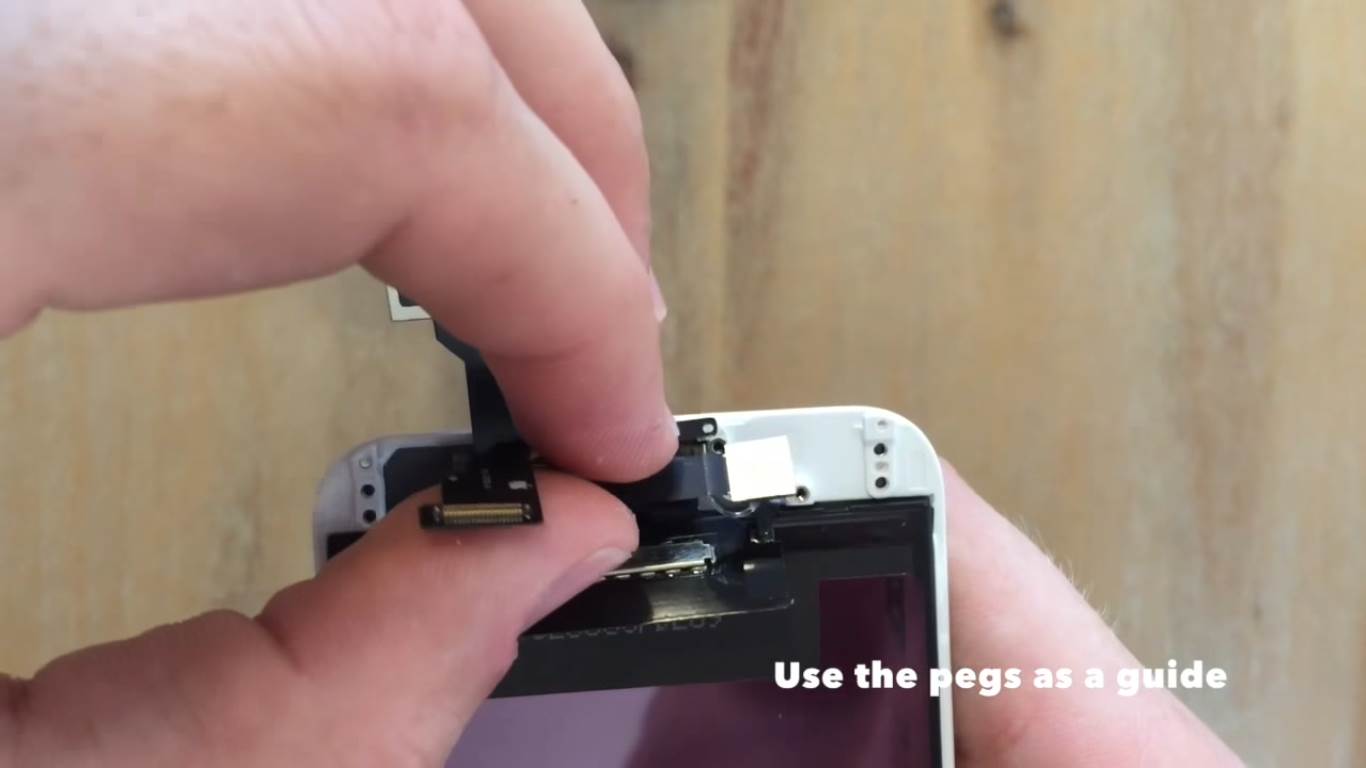
Now replace the camera and sensor. The small white pegs act as a location guide and the components fit into the plastic locators.
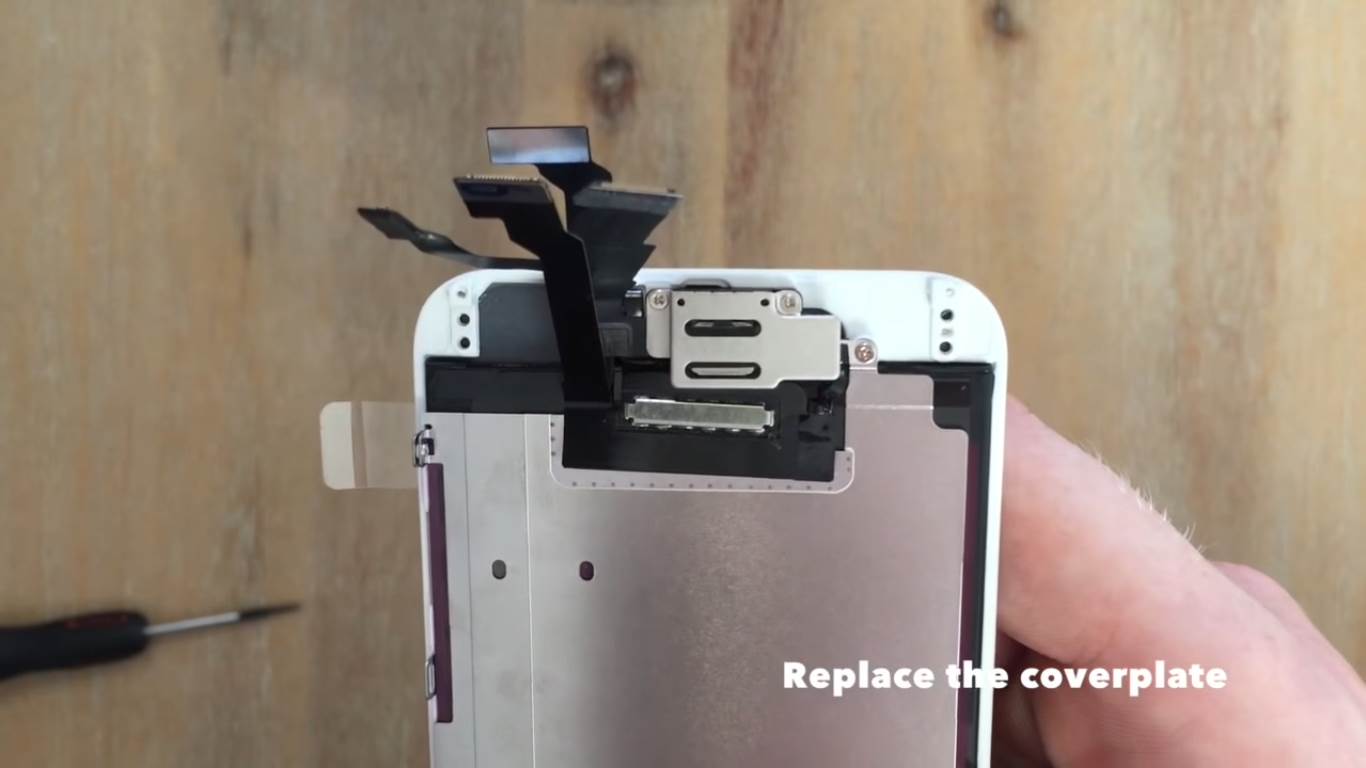
Replace the earpiece and then screw the silver cover plate back into place.
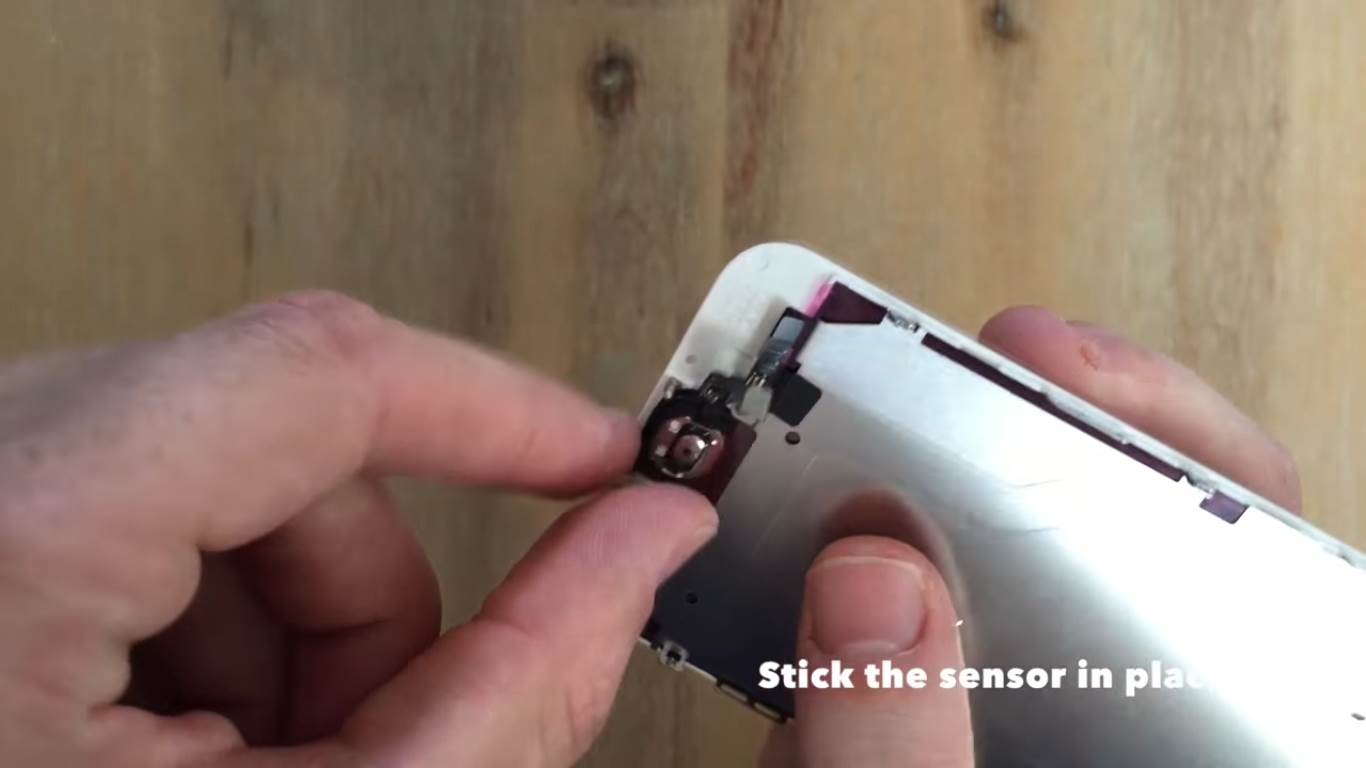
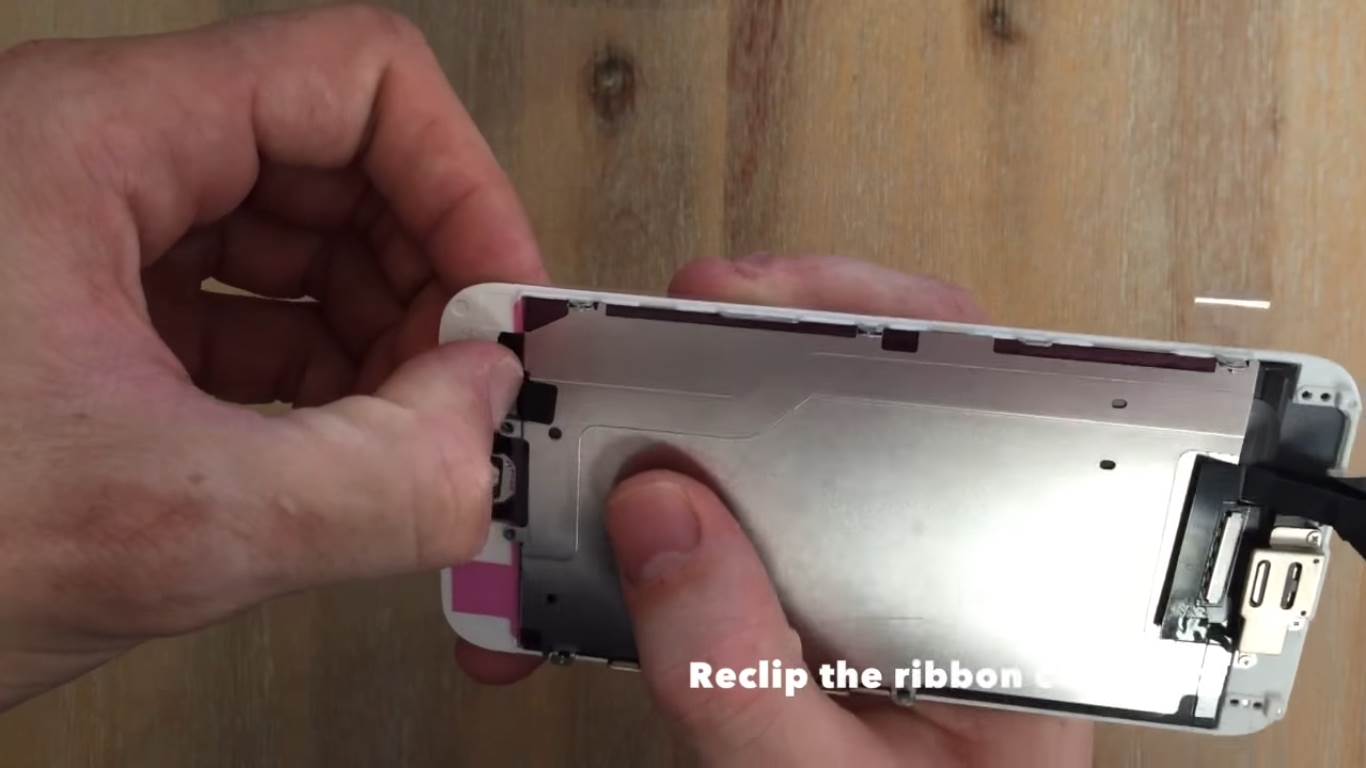
Next, stick the fingerprint sensor onto the replacement with the sticky side of the rubber mounting. Clip the electronics in place over the white plastic peg.
Clip the ribbon cable connector in.
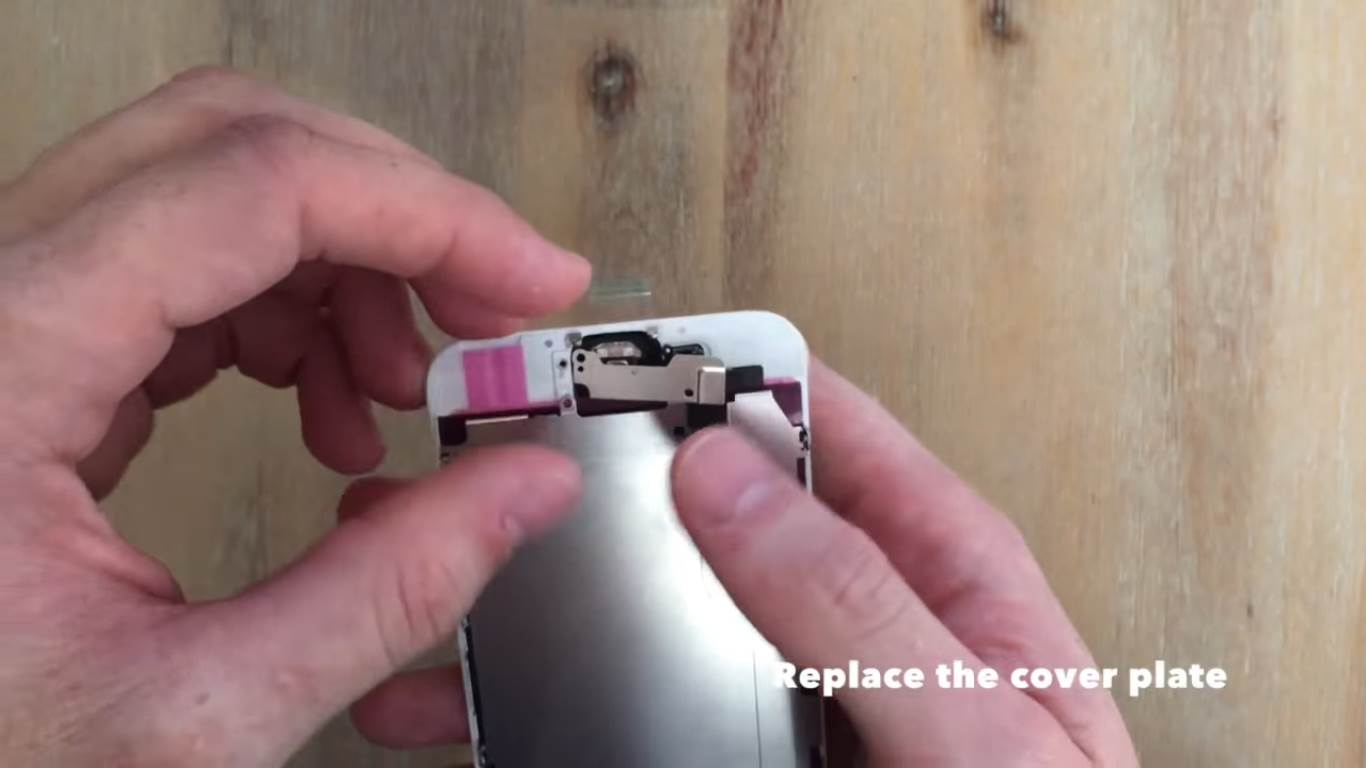
Now replace the fingerprint sensor cover plate and screw in the screws.
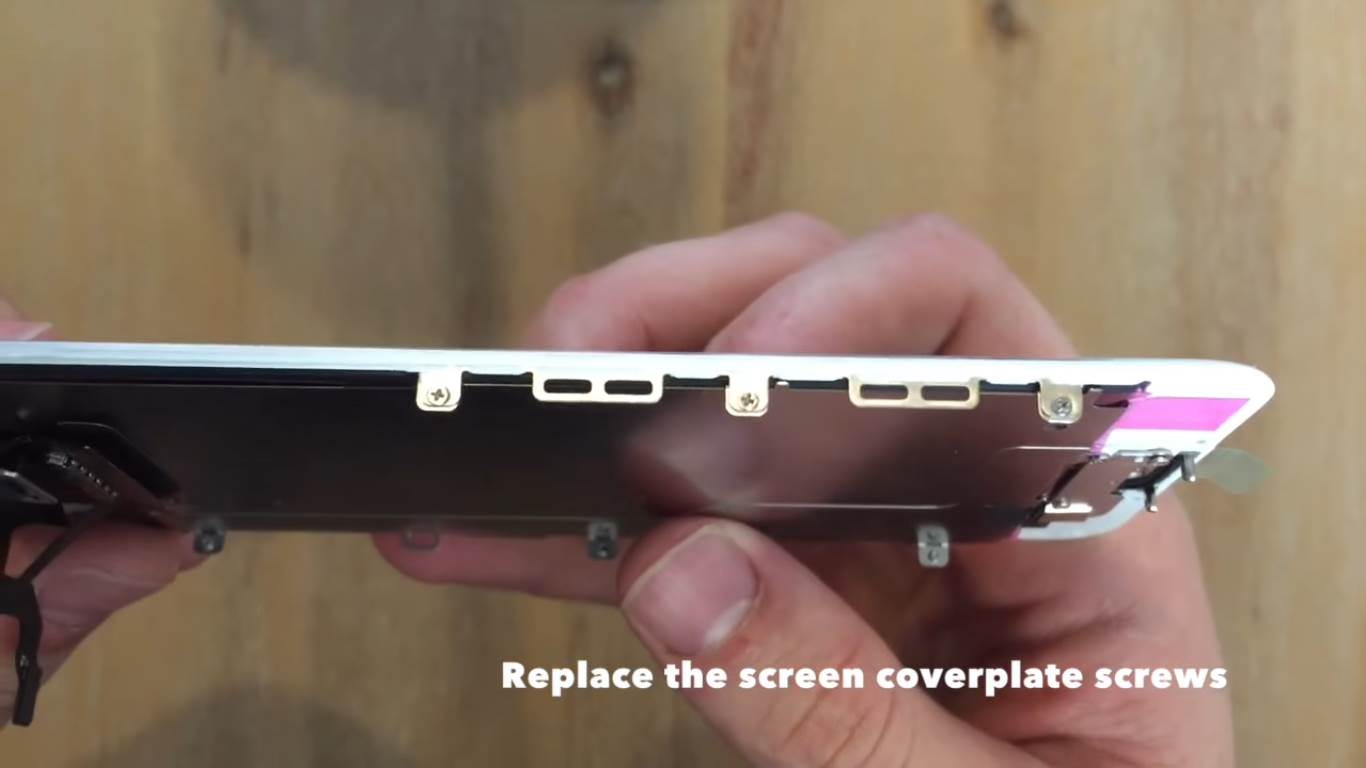
Replace the cover plate and screw in the screws around the perimeter.
The replacement is now ready to be reinstalled on the body of the phone.
Install The New Screen
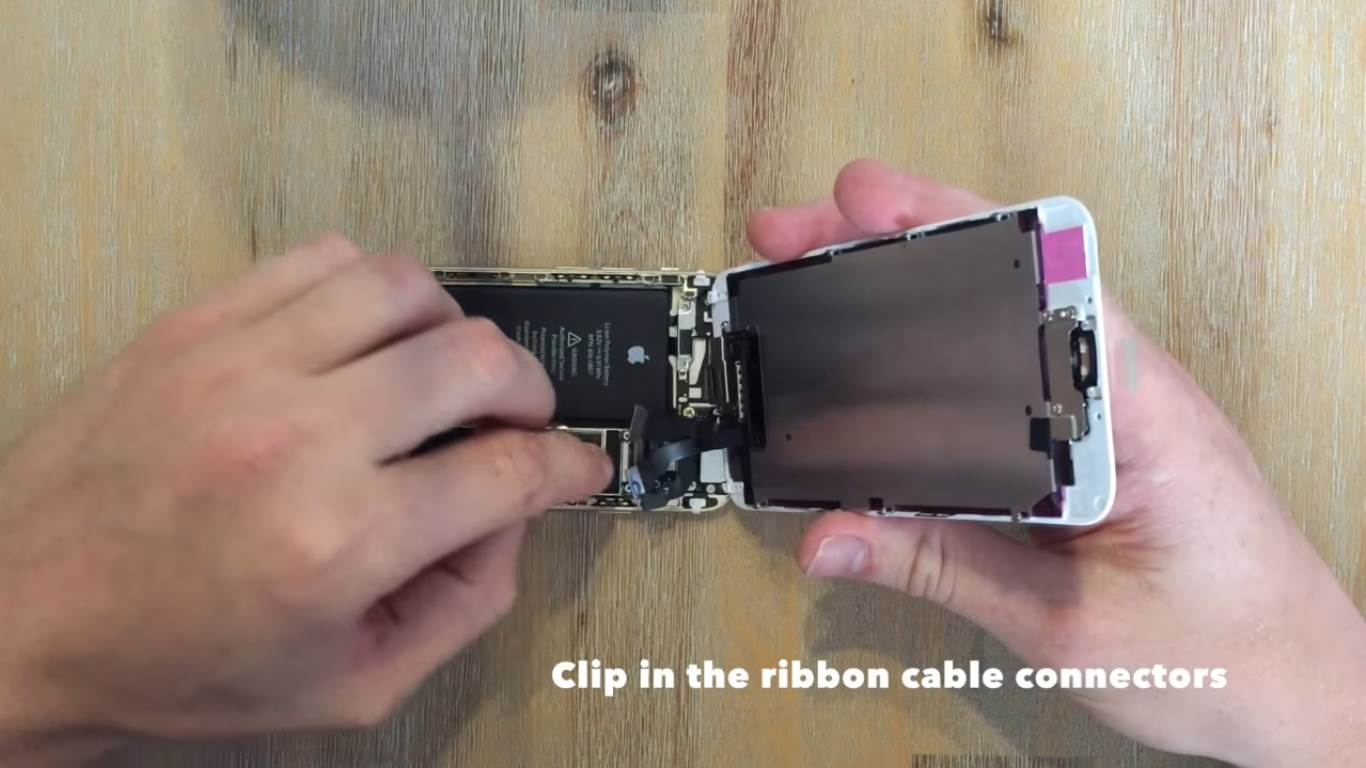
Start installing the new screen by clipping in the four ribbon connectors. Each one is a different size and shape so it should be easy to see which one goes where.
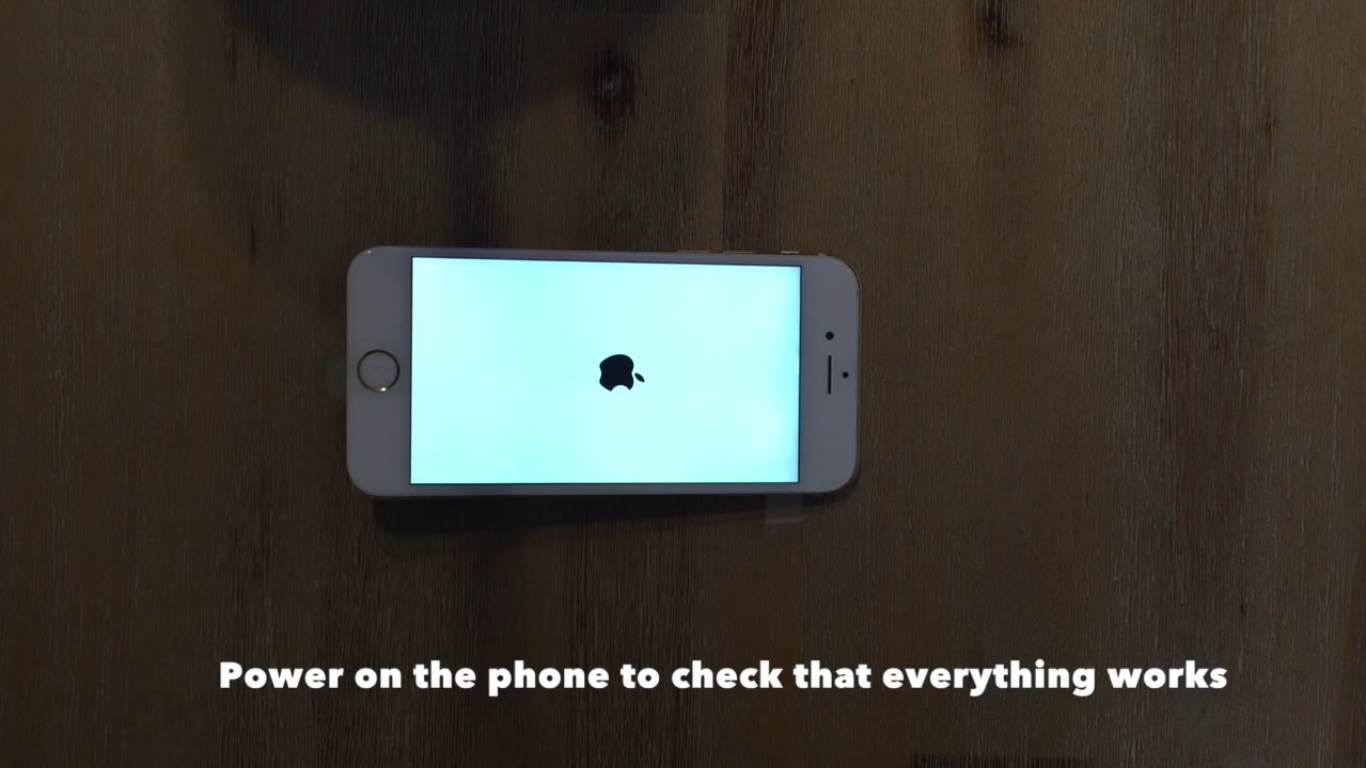
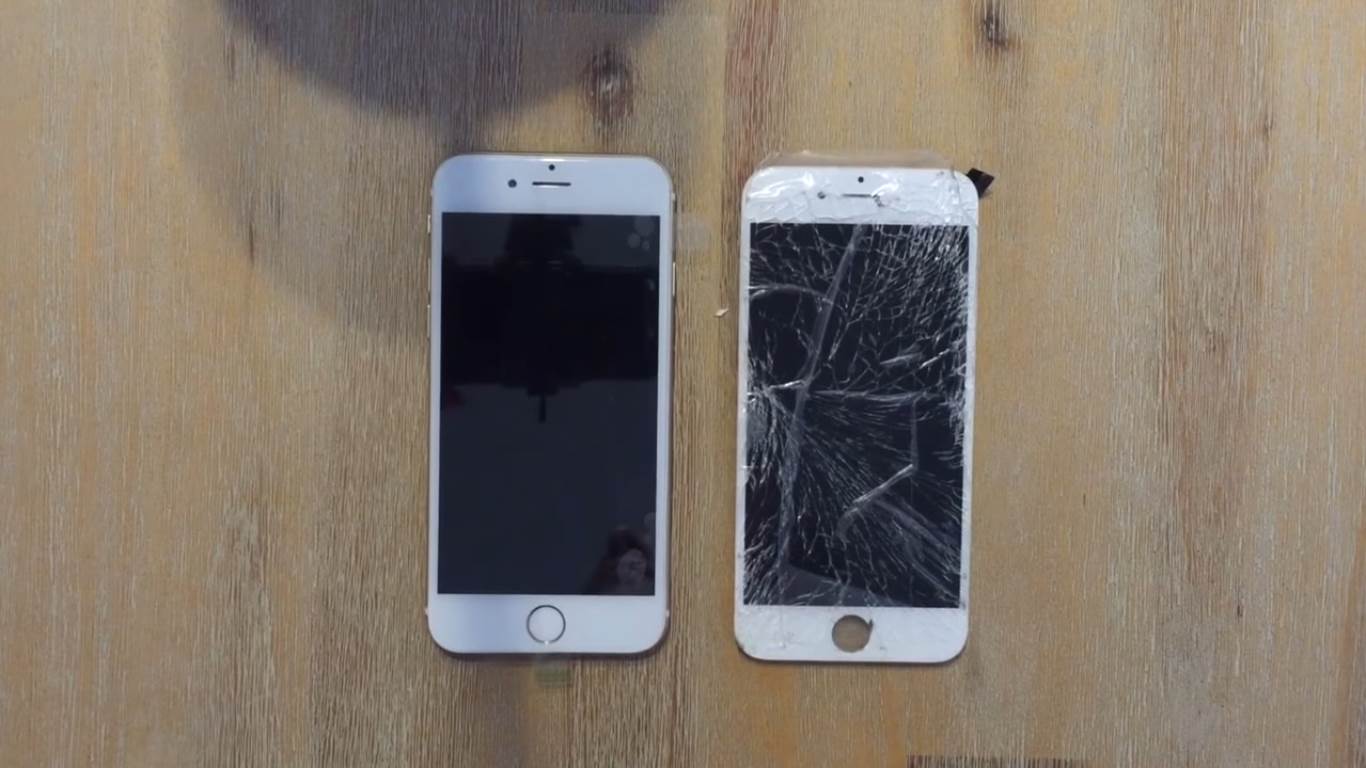
Fold the screen down gently and rest it on top of the body. Now you should check that everything which you have connected is working correctly. Power on the phone and make sure that it displays correctly, the touch sensor works, the fingerprint sensor and home button work as well as the front camera alignment. If anything doesn’t work then it is likely due to a fault in the ribbon cable connections, try unclipping and reconnecting them.
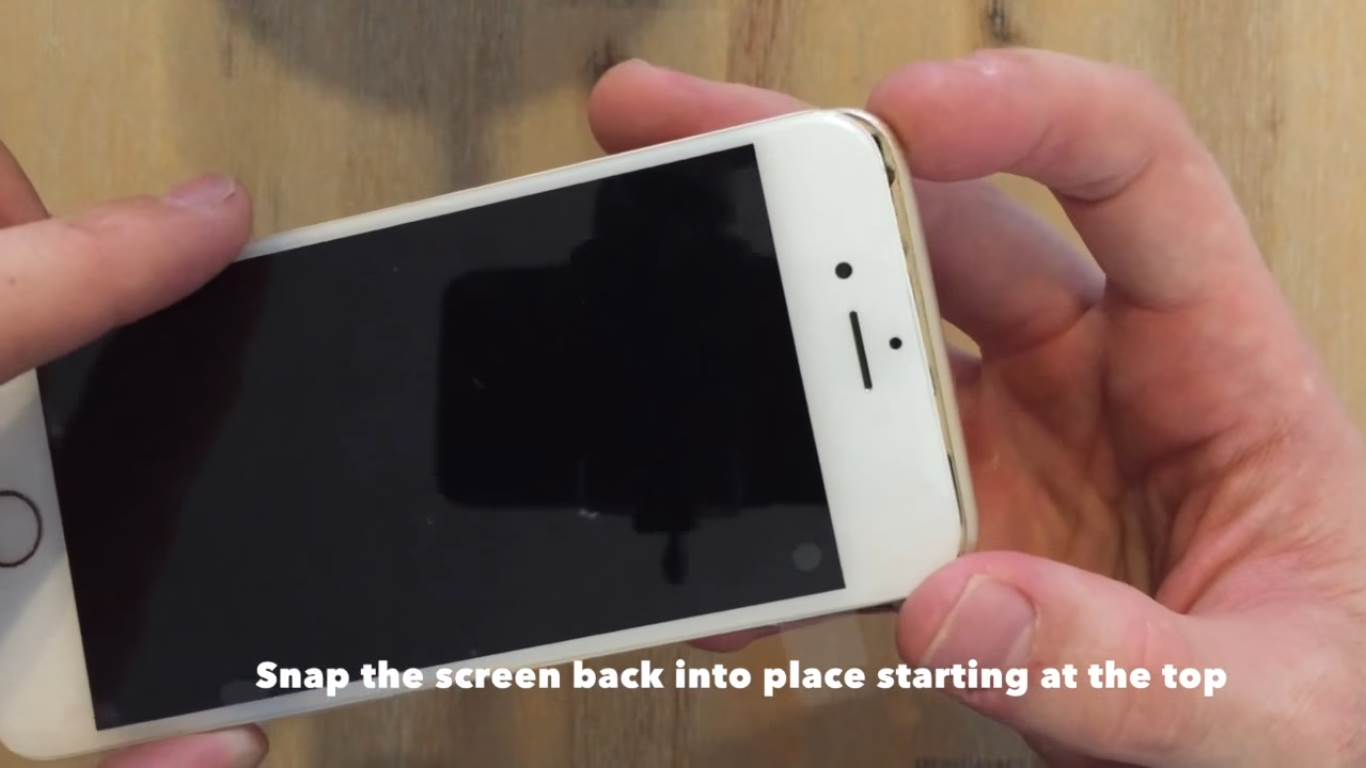
Once everything works, turn the phone off again and then begin securing the screen. At the top are two plastic clips which slide into the body of the phone. It can then be pressed into place from the top down.
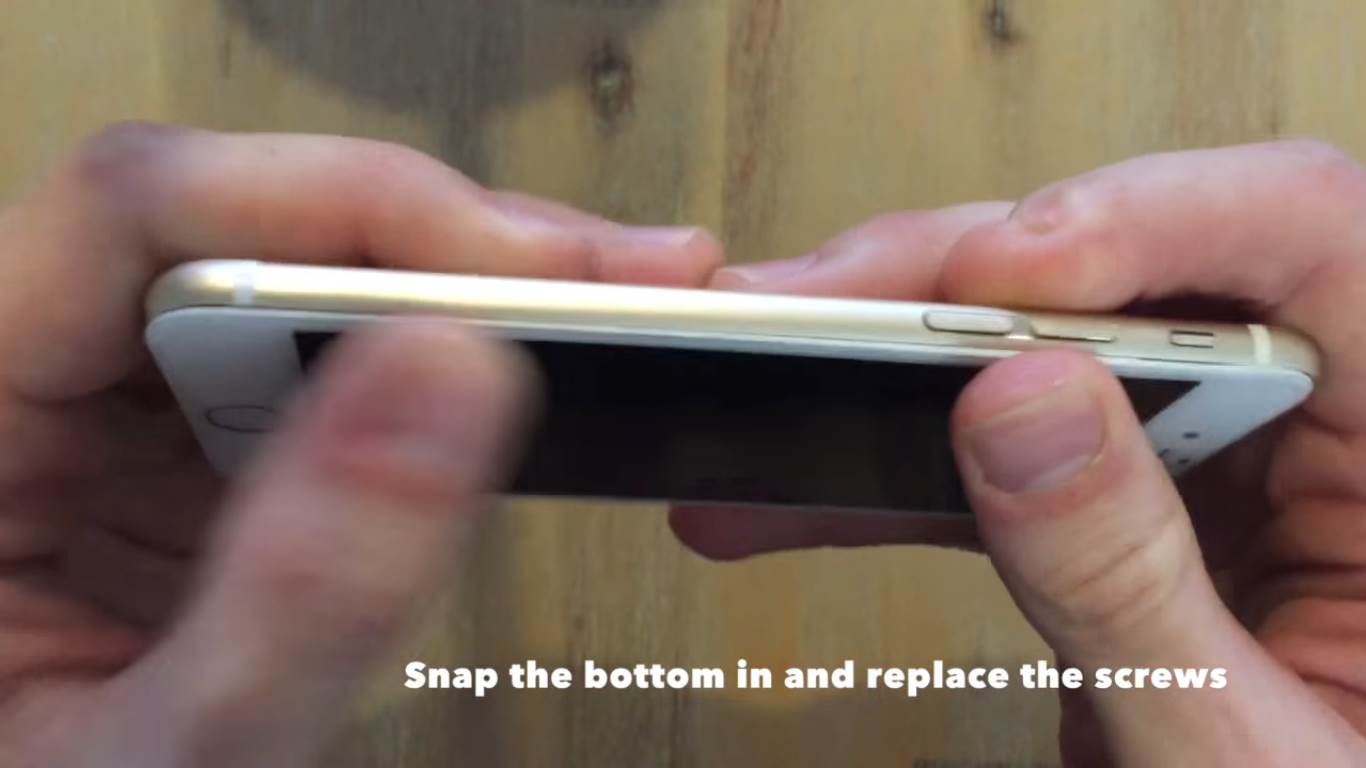
Snap the bottom into place and align the screw holes. Finally slide the pentelobe screws in and screw them in.
You have now successfully replaced your phone screen!
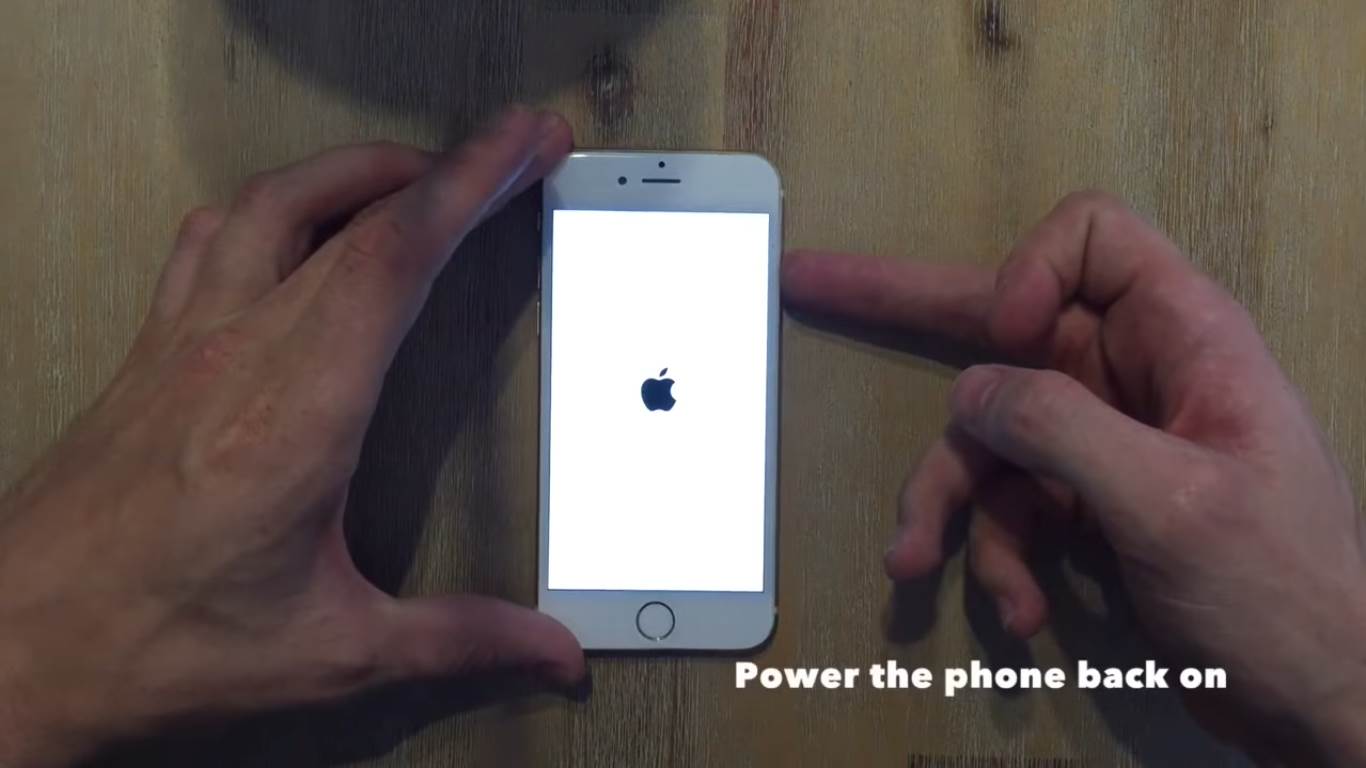
Power the phone back on and it is ready to use again.
If you enjoyed this post, have a look at these 5 Secret iPhone Codes You Didn’t Know About or find out how to Charge your iPhone Battery the Right Way.
iPhone Screen Replacement Video
Share this repair:



Help! Can you tell me what I did wrong? I did everything you did have the same tools. When I get to connecting the cables to check if the power works it won’t turn on. I think I mixed up some of the screws could that be why? I don’t know. If you know why it wouldn’t be turning on that would be awesome.
Hi Jay,
Sorry to hear you haven’t come right. I doubt that mixing up the screws would cause the screen not to come on, the pieces would just not fit that well together anymore. I would say that most likely one of the connectors is not seated properly or not contacting properly. Try reversing your steps and taking it all apart again and then putting it back together and see if that helps. If that doesn’t work, try fitting the old screen again just to check that nothing is wrong with the motherboard. If the old screen still works then you probably just have a faulty replacement screen, this is not that uncommon. Just send it back to the supplier and request a new one, they are usually pretty happy to help.
Hi,
I really like your photos. your presentation simply super.
Thanks for sharing such great information. It is very informative and provides knowledge of Mobile Screen Repairing.