Have you been wanting to try out harvesting wind energy to power your home but you’ve been put off by the excessive price of commercially available wind turbines? Here’s a guide to building your own vertical axis wind turbine out of scraps most of us have lying around the house. If you don’t have the materials lying around, they are cheaply available from your local hardware store. The benefit of a vertical axis wind turbine is that it doesn’t need to be aligned to the wind direction, it harnesses wind energy no matter which direction the wind is blowing.
Have you thought about going off grid? Here are some tips and tricks for reducing your homes energy usage and the steps you need to take to start going off grid. Also have a look at our guide for correctly sizing your inverter.
If you don’t have enough wind in your area, why not try and build your own solar panel?
What You Need To Build A Vertical Axis Wind Turbine
- 6 x 30cm x 120cm x 4mm (12″ x 50″ x 1/6″) Plywood Sheets
- 3 x 1m x 60mm (40″ x 2 1/3″) Diameter Flexible Pipe – Buy Here
- 36 x 10mm (1/2″) Long Wood Screws – Buy Here
- 6 x 50cm (24″) Long Galvanised Pipe – Buy Here
- 5 x Galvanised Pipe T Pieces – Buy Here
- 1 x Galvanised Pipe Elbow – Buy Here
- 1 x 30cm (12″) Long Galvanised Pipe – Buy Here
- 5 x Galvanised Threaded Nipples – Buy Here
- 1 x M12 (1/2″) Threaded Rod – Buy Here
- 18 x M12 (1/2″) Nuts – Buy Here
- 30 x 12mm (1/2″) Washers – Buy Here
- Contact Adhesive – Buy Here
- Expansion Foam – Buy Here
- Sandable Wood Filler or Putty – Buy Here
- A Range of Sandpaper – 80 to 240 Grit – Buy Here
- Automotive Spray On Primer – Buy Here
- UV Resistant Spray Paint – Buy Here
- Silicon Sealant – Buy Here
- Old Washing Machine Bearing Chassis – Or Thrust Bearing To Rotate On
- Dynamo or Electric Generator/Alternator – Basic Guide To Make Your Own Shown Below
- Around 10m (30′) of Cord or Rope – Buy Here
How To Make A Vertical Axis Wind Turbine
We’ve split the guide to making the turbine up into four sections, making the turbine blades, making the structure, mounting the blades and finally adding the generator. You start working on the frame while you are waiting for the blades to soak and dry through various stages.
Shaping The Turbine Blades
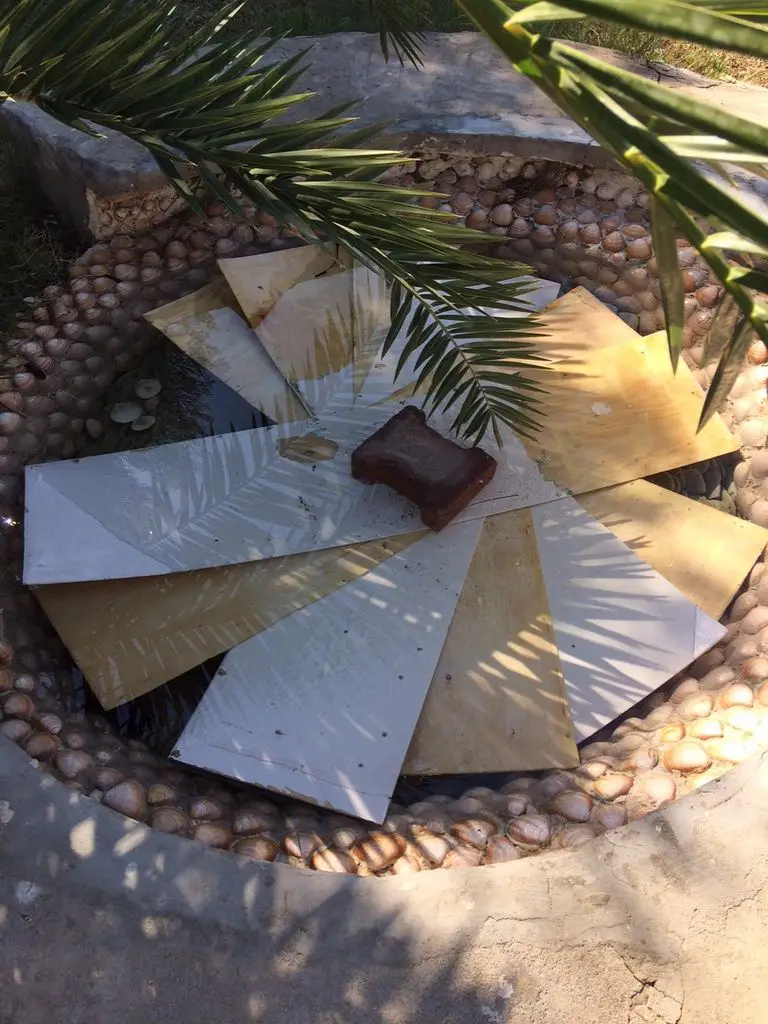
To start off, you need to shape the turbine blades. To do this, you need to make the plywood workable by soaking it overnight in cold water. You could place them on a step in the pool, in a pond or in the bathtub. Make sure they are completely covered and that water is able to get in between the individual sheets.
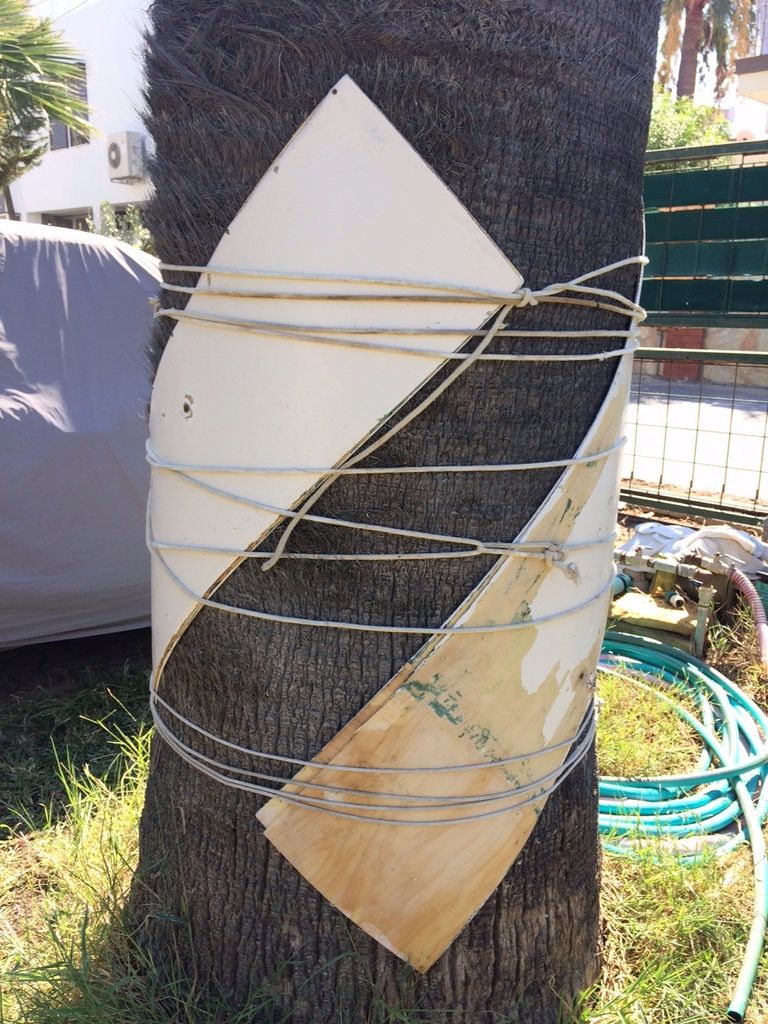
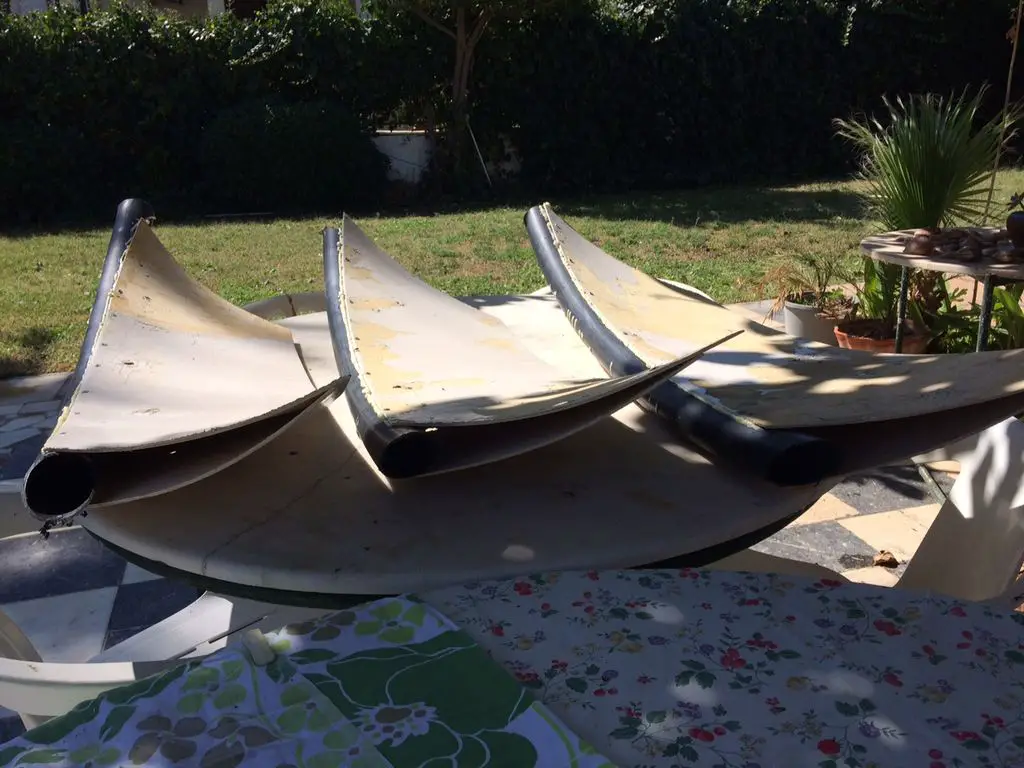
The next day, once the plywood has soaked overnight, it should be ready to be shaped. To shape the plywood, tie the sheets, two together, around a large diameter tree trunk. The tree trunk should be around 60-80cm (24-30″) in diameter. Make sure that the sheets are held tightly around the trunk and allow them to dry off for about a day. Line up the corners of the planks so that they are all at the same height and pitch so that all three are shaped equally.
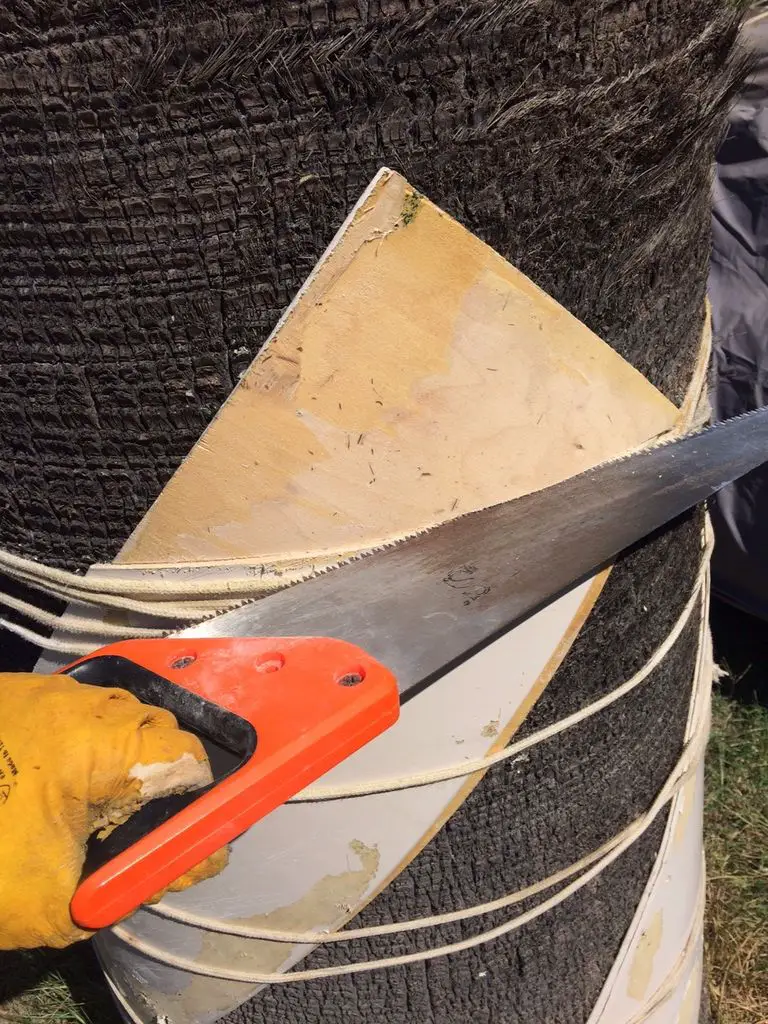
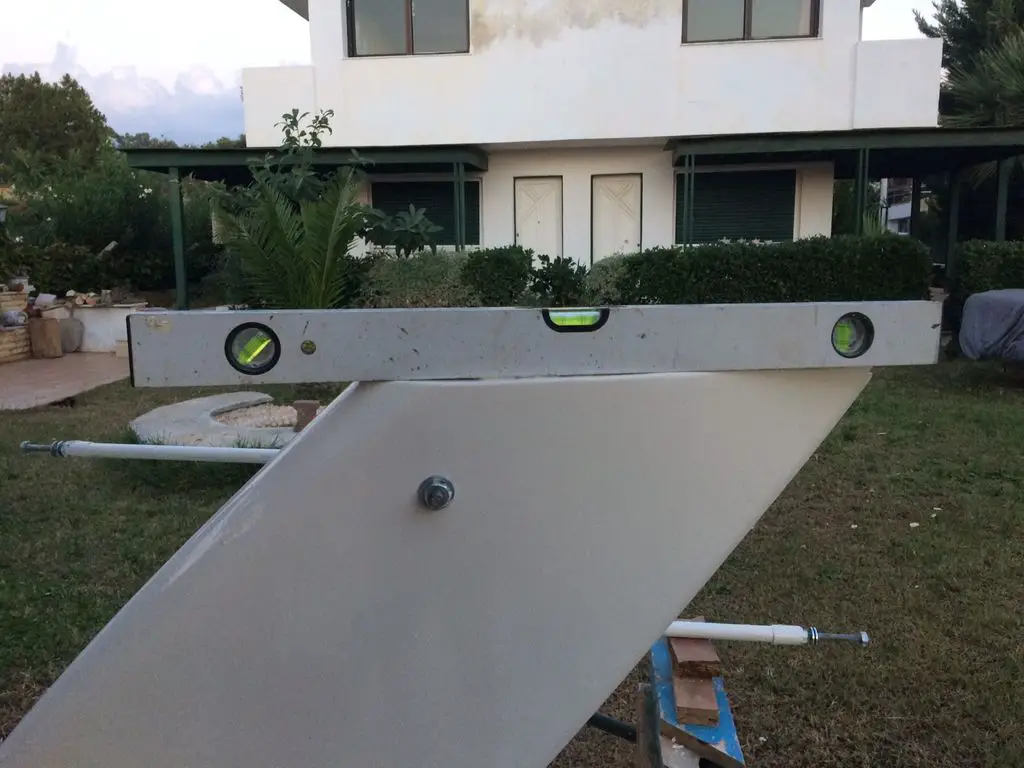
Once the wood is almost dry, use a spirit level to draw a line across the tops and bottoms of the blades and cut the corners off to shape them further. Use a wood saw to cut the corners off.
Now you are ready to form the aerofoil shape of the blades.
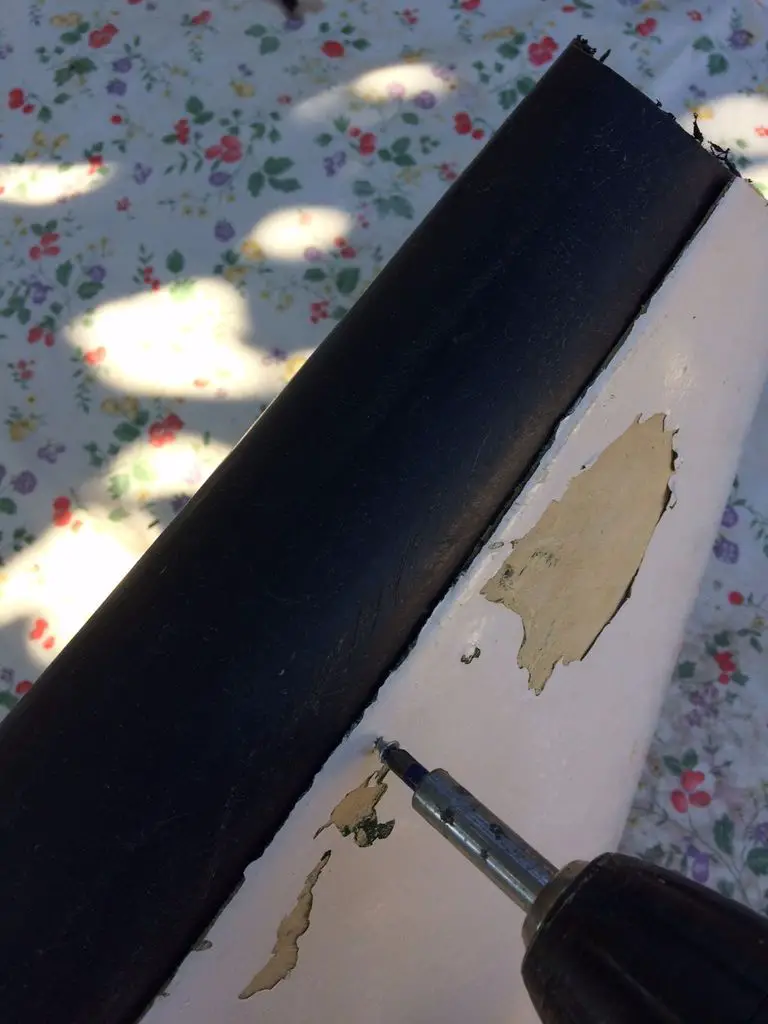
Insert the lengths of pipe between two sheets of plywood, screw the plywood onto the pipe using 6 wood screws on each length. You could also add some strong glue such as contact adhesive to improve the bond.
Glue and tape the trailing edge of the plywood sheets together.
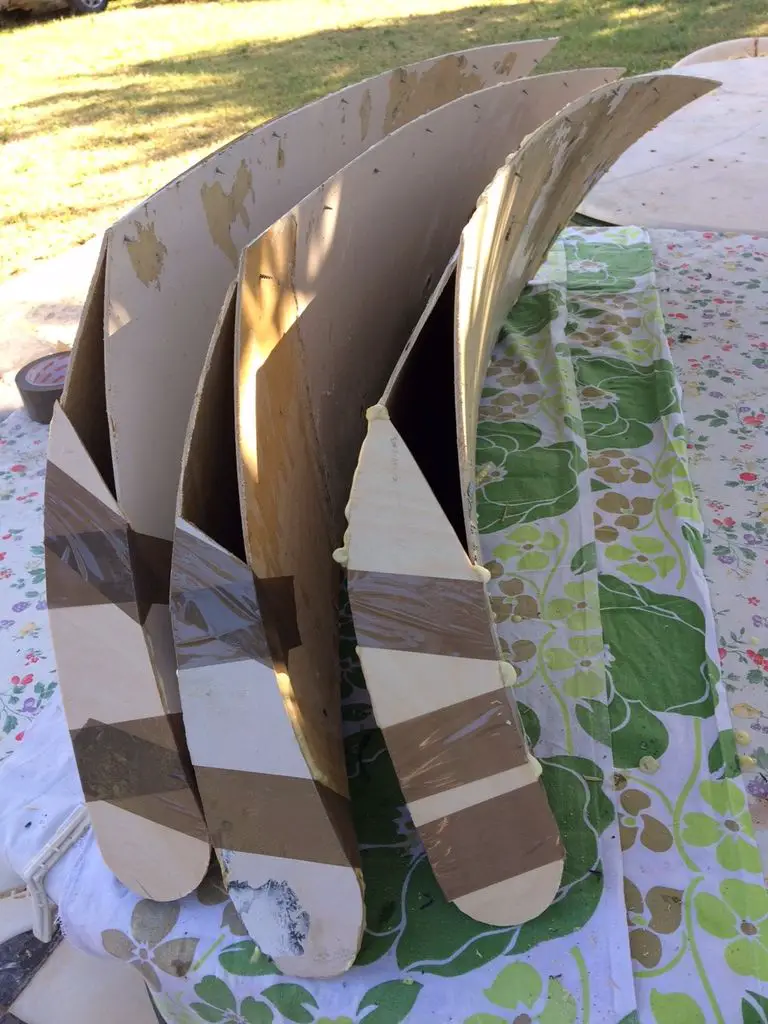
Cut the ends of the flexible pipe flush with the plywood and then cut out some cardboard end covers, tape these over the ends of the blades to contain the foam. Leave a gap near the trailing edge for the foam to be added.
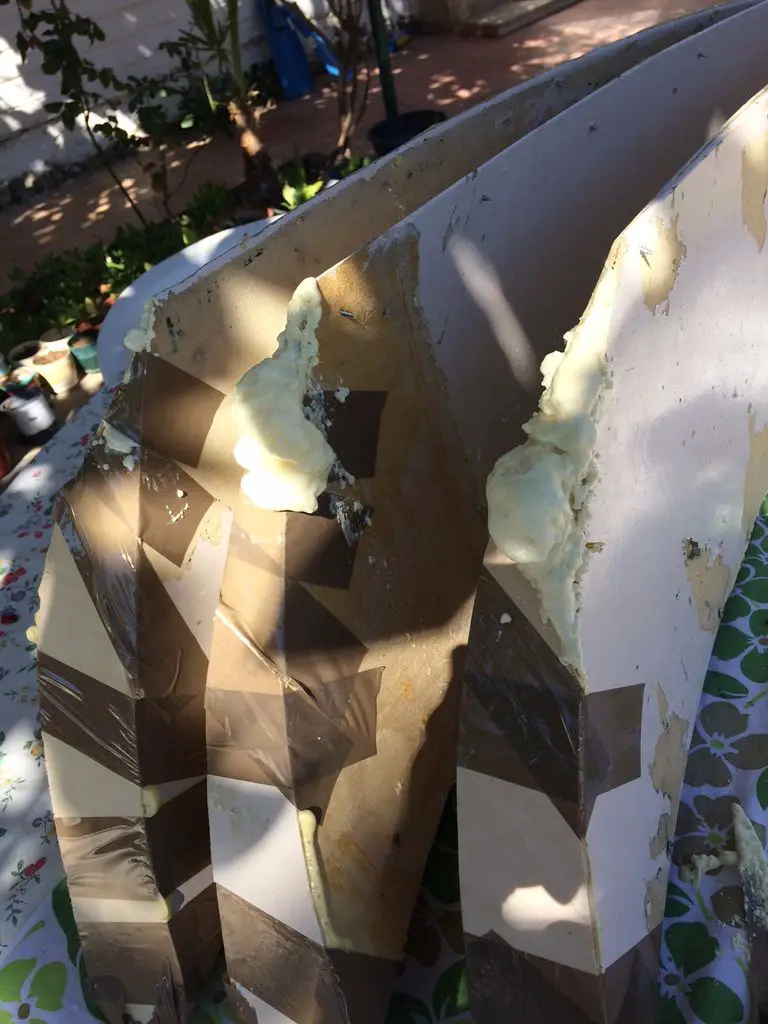
Now fill the blades with foam making sure that they foam goes all the way to the front and the back. The foam helps to keep the blades rigid and to keep their form. It is important to make sure that each blade gets the same amount of foam so that they are all the same weight otherwise your end turbine will be unbalanced and will shake or get damaged at high speed.
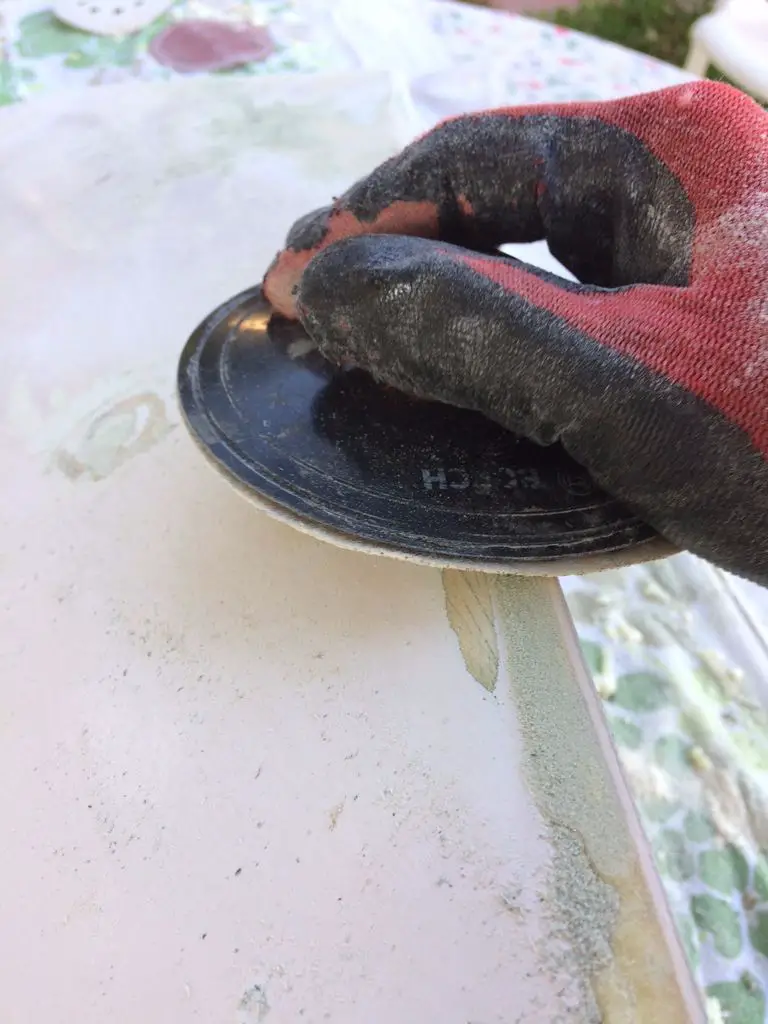
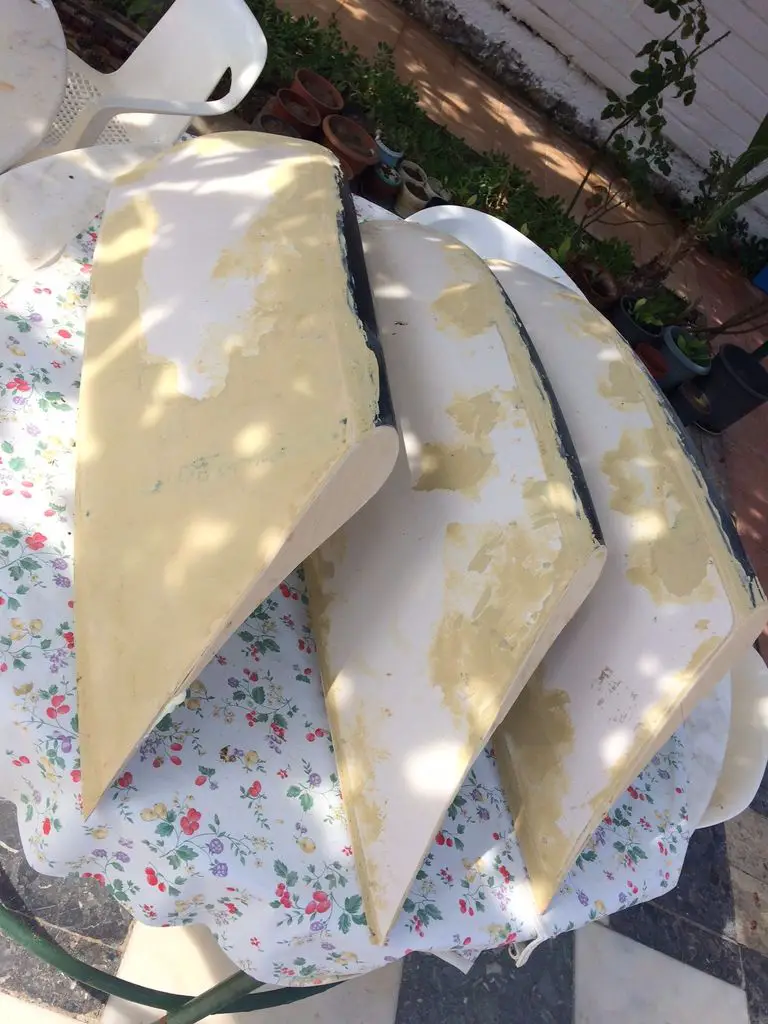
The next day, remove the wood screws and the end caps and sand the foam smooth to give the blades their final shape.
Fill in any gaps and ridges with wood filler or a sand-able putty.
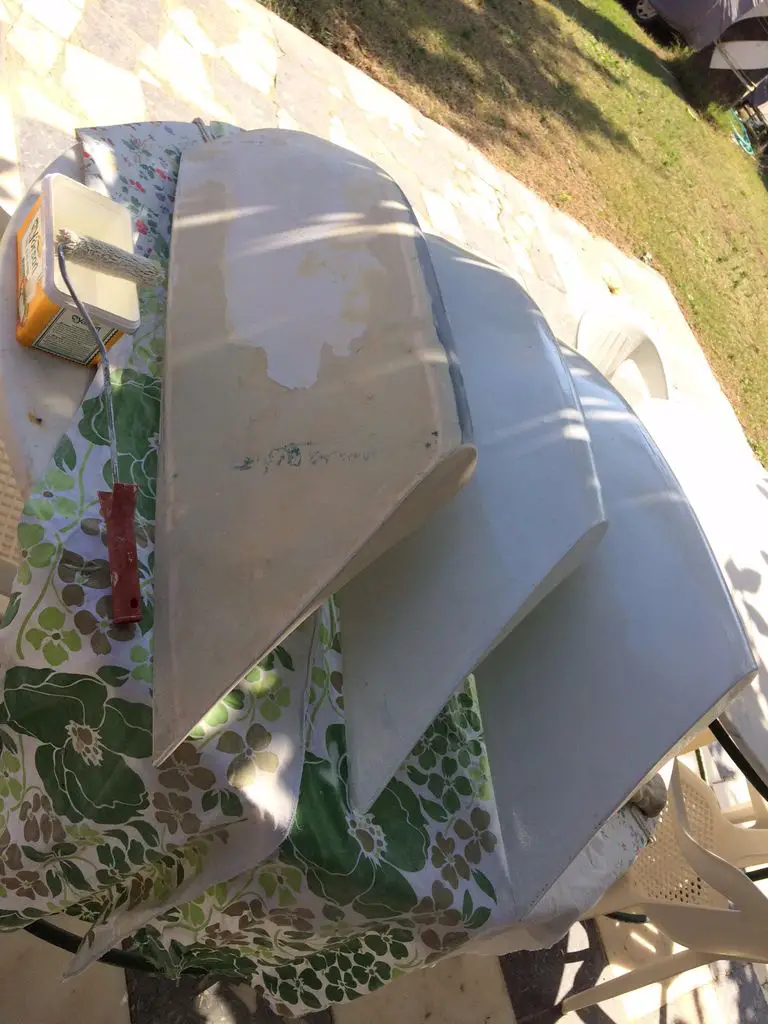
Once the body filler has cured, sand the blades to a smooth finish by starting with a course (80 grit) sandpaper and working down to a fine (240 grit) sandpaper.
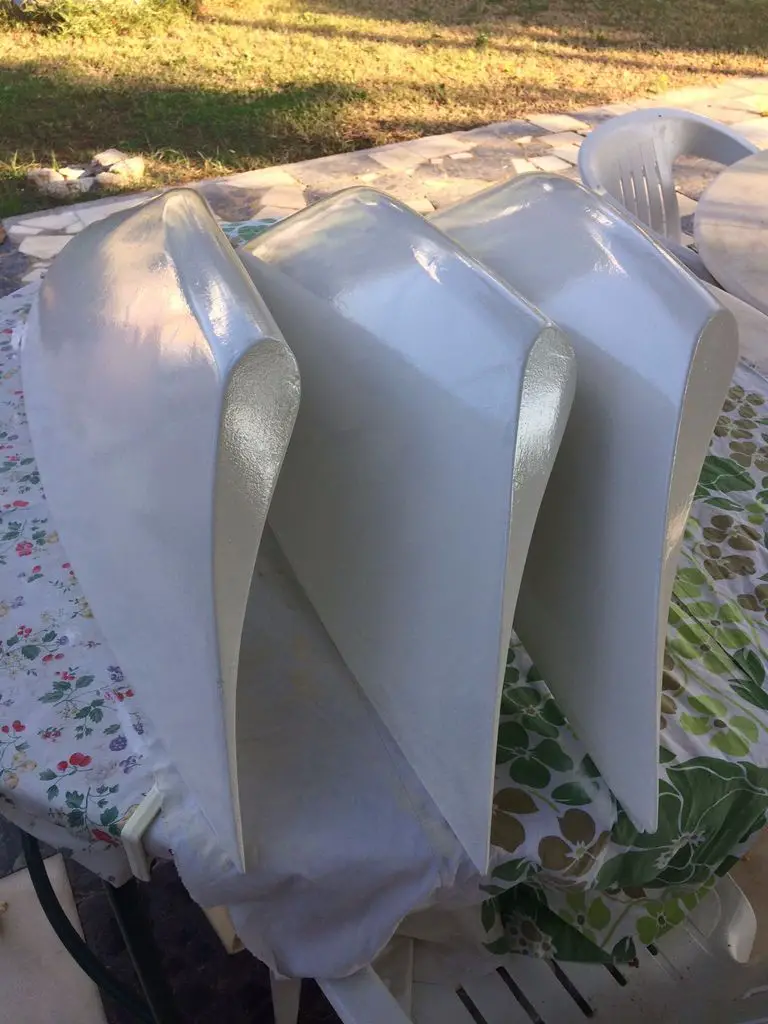
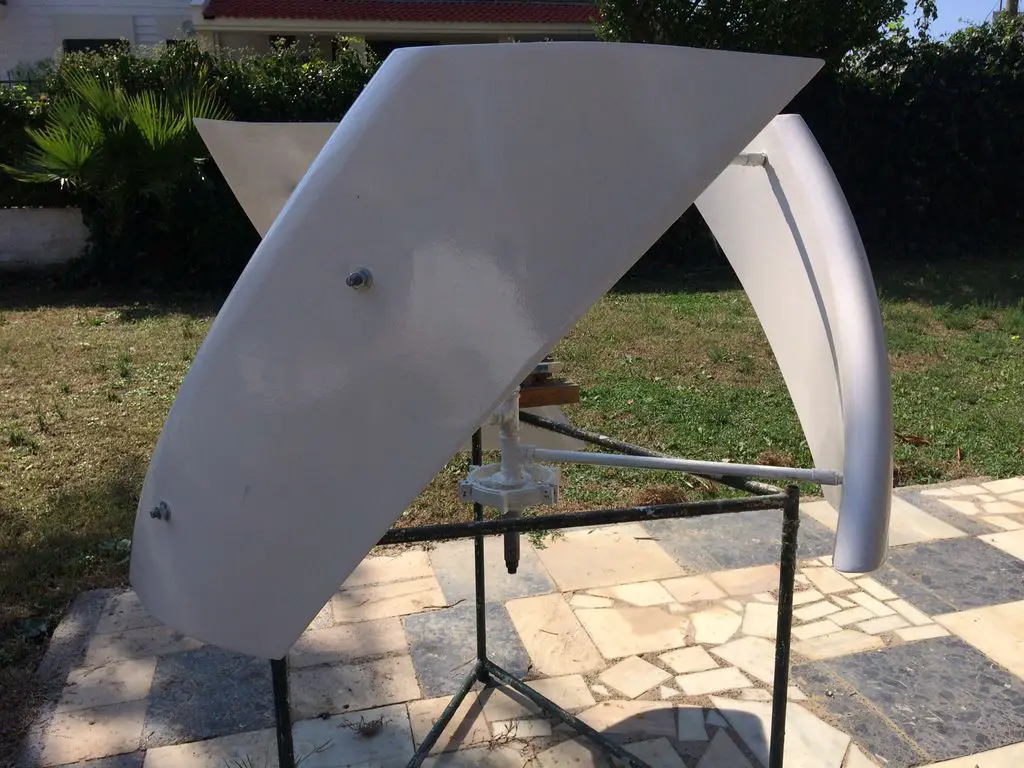
Finally, finish the blades off with a coat of automotive primer and then a coat of UV resistant spray paint.
Making The Blade Support Structure
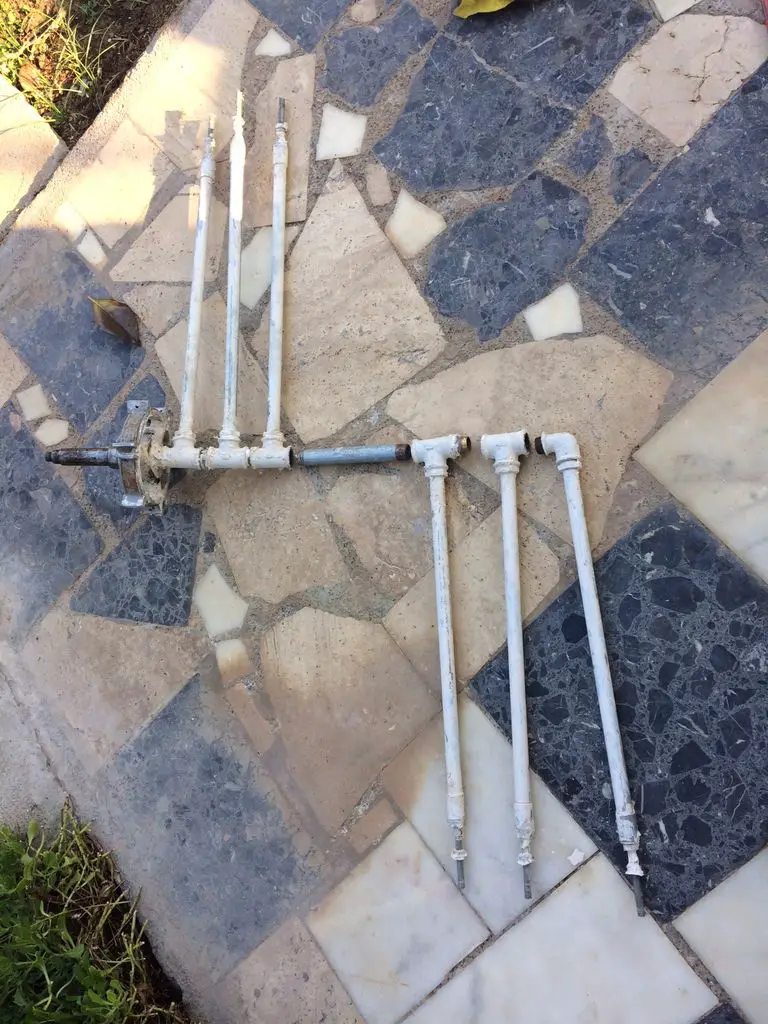
The pipe structure is made using galvanised pipes and pipe fittings. The base of the structure on which the turbine rotates is an old washing machine chassis with a double bearing system.
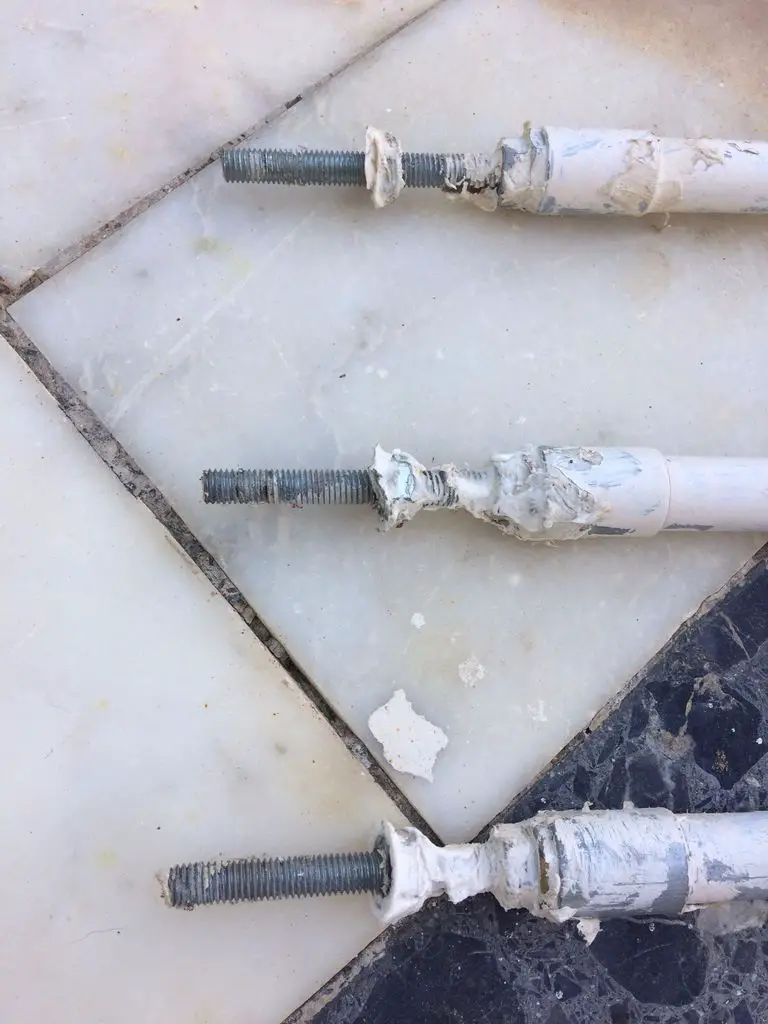
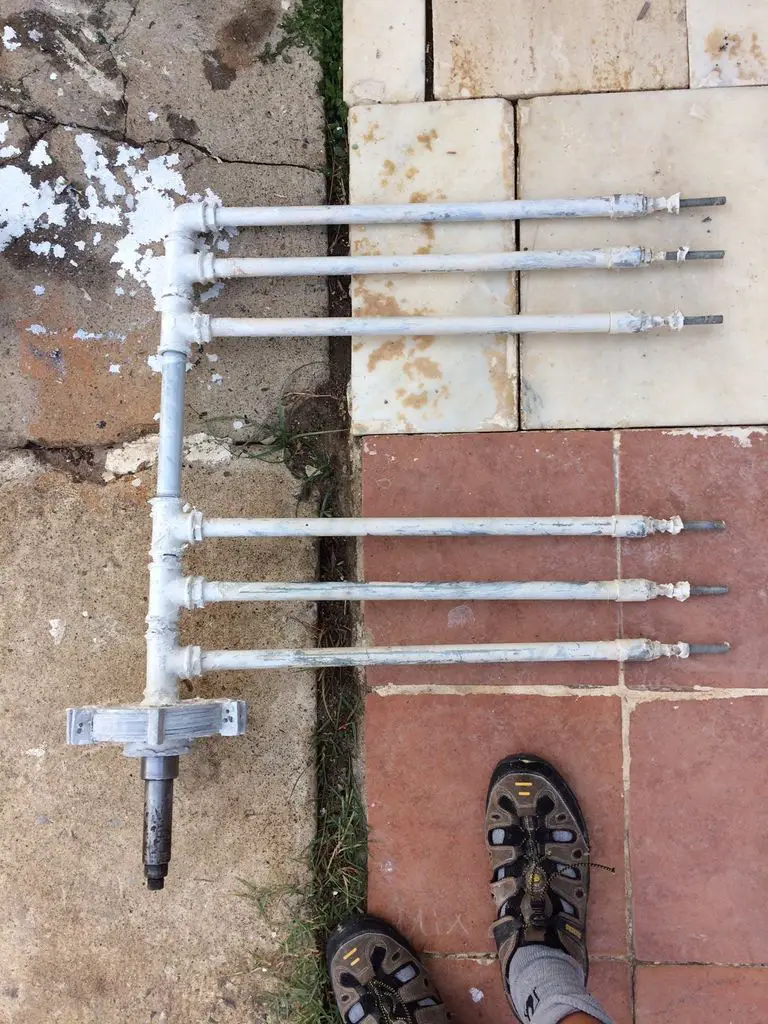
Start by assembling the 6 blade holding arms. At the end of each length of the six 50cm (20″) galvanised pipes, you need to make up a screw on section. Cut the threaded rod into 6 pieces and then use body filler to seat the threaded rod firmly into the centre of the galvanised pipe. Place a nut and washer at the root of the threaded rod for extra support. There should be enough threaded rod sticking out of the pipe to go through the thickest portion of the blades along with space for the two washers and two nuts, around 70cm (28″) should be sufficient.
Next assemble the galvanised piping and connectors as shown below. There are three arms at the top joined by the threaded nipples and then three arms lower down separated by the short piece of galvanised piping.
Finish the frame off by adding the washing machine bearing chassis.
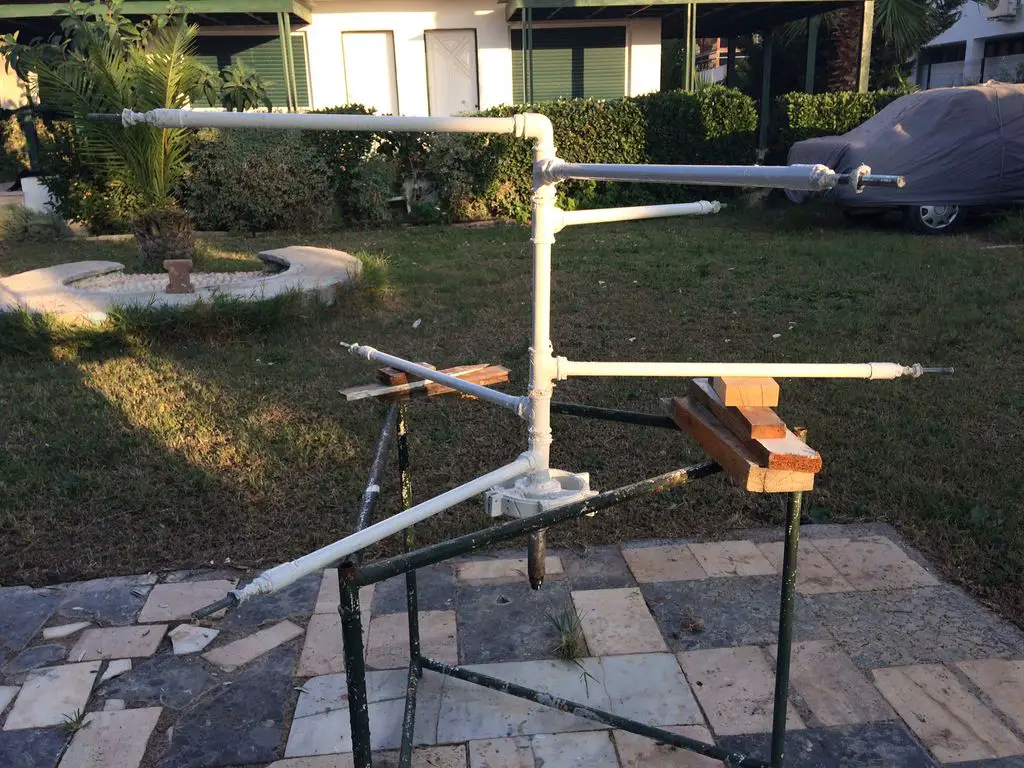
Stand the frame up vertically and space the arms out in pairs such that the three pairs are exactly equidistant from each other.
Once you’ve finished spacing the arms correctly, lock all of the galvanised fittings with some thread locker or glue and then you can spray the frame to match the turbine blades.
Mounting The Turbine Blades
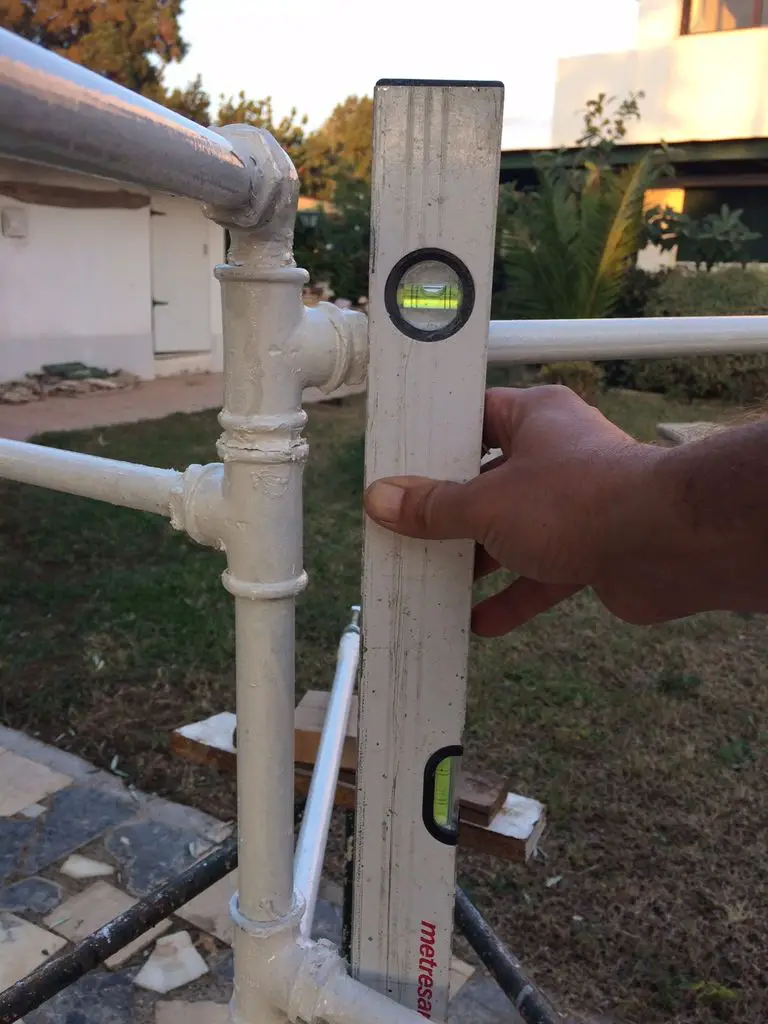
Start by ensuring that the frame is exactly level using a spirit level and adding or removing packing as required.
Mark out mounting holes for the threaded rods to go through the blades on each blade and then drill the holes slightly larger than the threaded rods so that there is some room for adjustment.
Place a nut and washer onto the inside and the outside of each threaded rod with the turbine blade seated in between them. Use a spirit level to ensure that the blades are level before fastening the nuts.
The blades should all be equally spaces and the same height once they are installed on the frame.
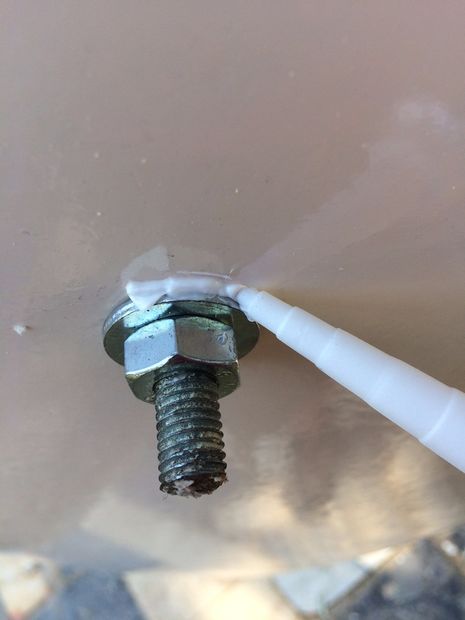
Add some silicon sealant to the inside and outside of the nuts and bolts to make sure they do not get water into the hole in the turbine blade and rust.
You are now ready to mount the generator.
Mounting The Generator
The final step is to mount the generator which converts the rotation of the turbine into electrical energy. The generator is simply coupled to the base of the turbine so that when the turbine rotates, the rotor of the generator is turned. You can used a commercially bought generator or alternator for the best efficiency or make your own simply one as described below.
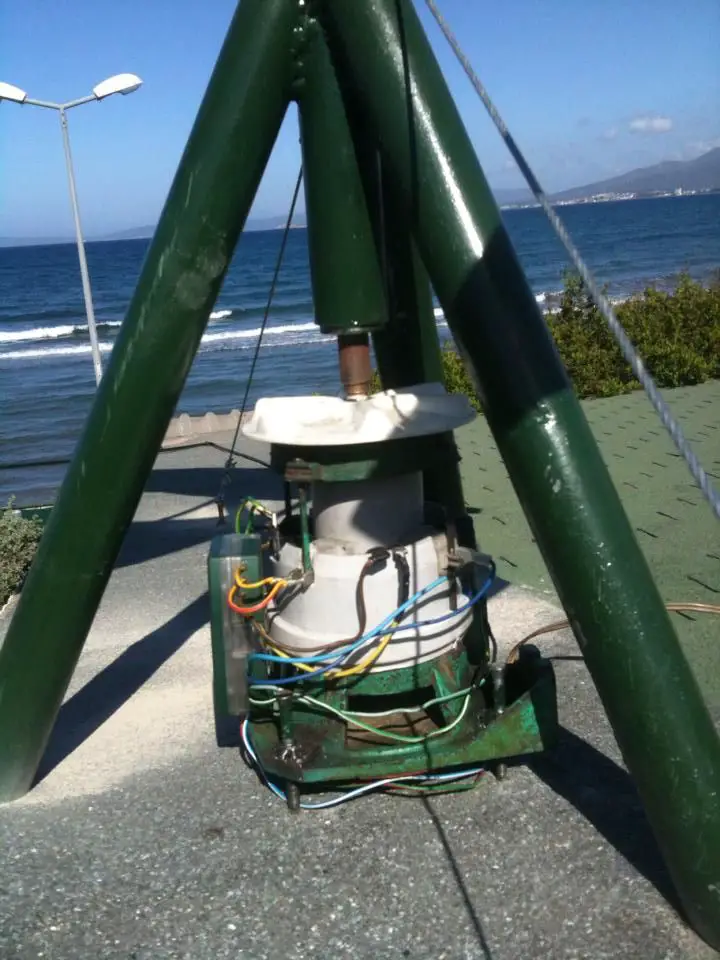
In this guide we make a simple generator using an old jet water pump.
Take the cover off of an old water pump and glue magnets onto its rotor, equally spaced apart. Use a couple of of washing machine coils and glue these onto the housing such that they are aligned with the magnets. The magnets should pass over the coils as the pump rotates.
The pump generator should then be mounted below the turbine with the turbine shaft coupled to the pump blade.
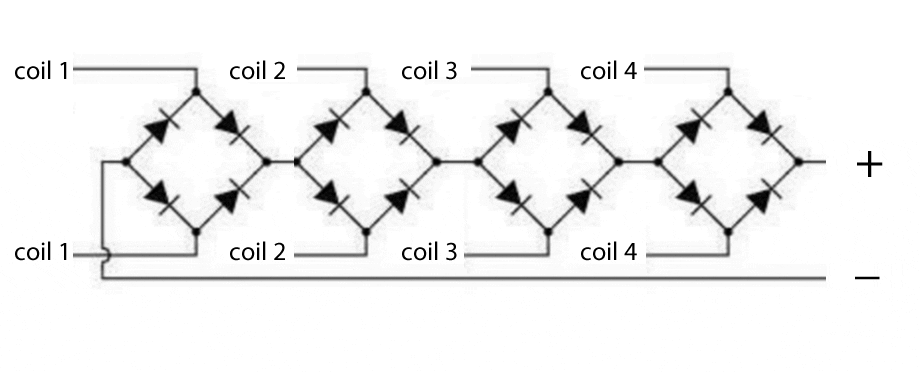
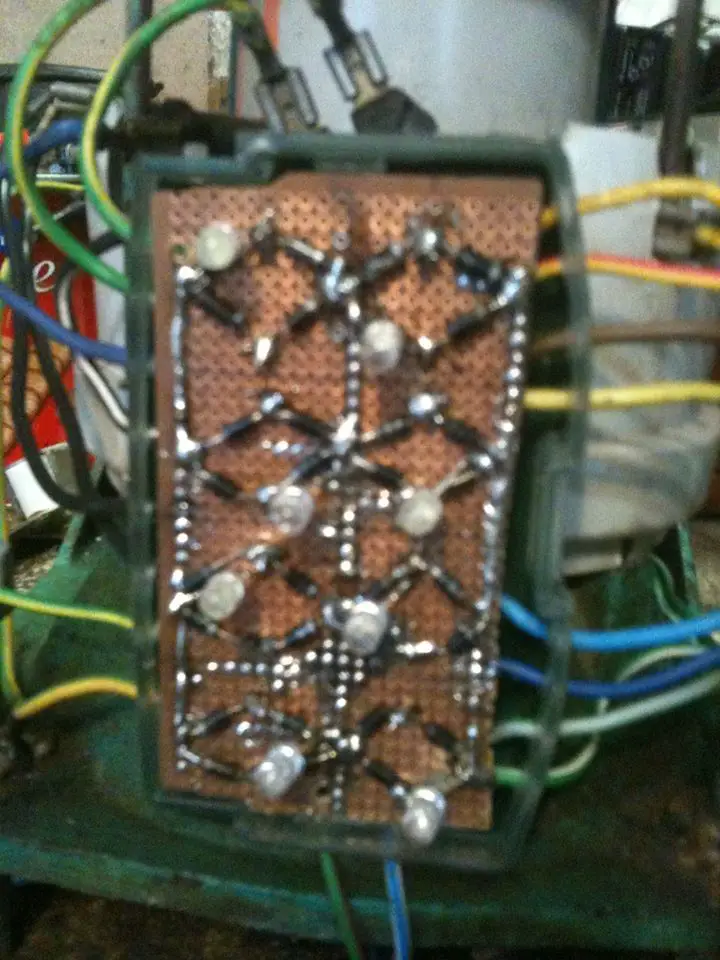
To improve the efficiency of the output, place diodes in the configuration shown below across each coil. The diodes assist in keeping the flow of electricity in the same direction instead of reversing.
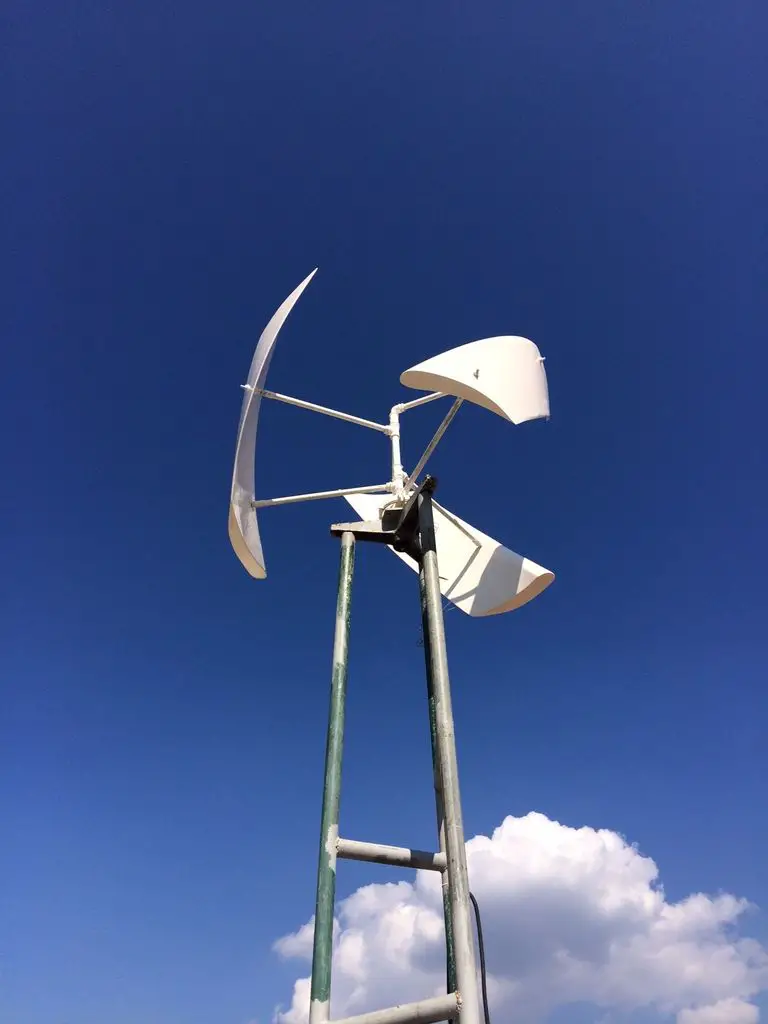
Your vertical axis wind turbine is now complete and ready to be coupled onto your charge controller to power your home or camping equipment.
Have you made your own vertical axis wind turbine? Let us know in the comments section below or send us your pictures to include in this post, we would love to hear from you.



Great job. I will do be blades with plywood ( like you did) but I will then place carbon fiber on it, to make it carbon fiber blades
Do you have a video showing your wind turbine spinning?
How much power do you get.
Hi Francisco,
Thanks for the feedback, carbon fiber blades will look awesome!
I don’t have a video at the moment but I can try and upload one. This one produces a couple of hundred watts depending on the wind speed. It really depends on how good your alternator/generator is and how well your turbine is able to to turn!
Good luck with your build!
i have built it, and it is working nice ! it spins in light wind 5 M/S i havent got my axial flux generator ready yet hard to get magnets for that but i can email you when it is ready
Hello there. Can you send me the installation and working pictures and videos? i will do the same.thank you
my e-mail address:
irfancicek61@gmail.com
I’m going to start working on one of these pretty soon. If I make two or three turbines using a car alternator on each one, can I run those in series into the battery bank, or would that be too many volts going into them? If the batteries are fully charged and the turbines keep going, what to do about that?
Awesome! No you’ll need to get a charge controller and put that between the turbines and batteries. It’s not as simple as just connecting the turbines up to a battery bank. The charge controller will boost or limit the voltage to charge the batteries correctly and then limit the charging current when the batteries are full so that they’re not over charged.
Hi Santosh here
Car alternator has a self cut off if the rotor is powered by a battery like in a car however it drains out battery in low winds I am trying to make a wind pressure operated switch to overcome this as the self controlled charging has many advantages
Your design is superb can it be scaled up?
Regards
Hi,
Beautiful blade design, how did you get to it and how you do you know it is optimal?
I would like to do this in aluminium from an old van roof I have, any ideas on forming it smoothly without denting it too much?
Did you wrap the 2 3/16″ pipe around the tree?