This Gnocchi recipe is really quick to make for a family of four and doesn’t take the whole day to prepare. This recipe also keeps well in the freezer for up to four months.
Makes about 4 servings. Preparation time 25-35mins, Cooking time 5mins.
You Will Need:
- 1 Cup of Mashed Potato (2 Medium Potatoes)
- 2 Cups of Wheat Flour
- 1 Large Egg
- Pinch of Salt
Peel and chop the potatoes into quarters. Cover in boiling water and boil over a high heat for 10-15 minutes until they are soft. Drain the water and mash with a potato masher or electric beater for a creamier consistency. Make sure there are no lumps in the mashed potato.
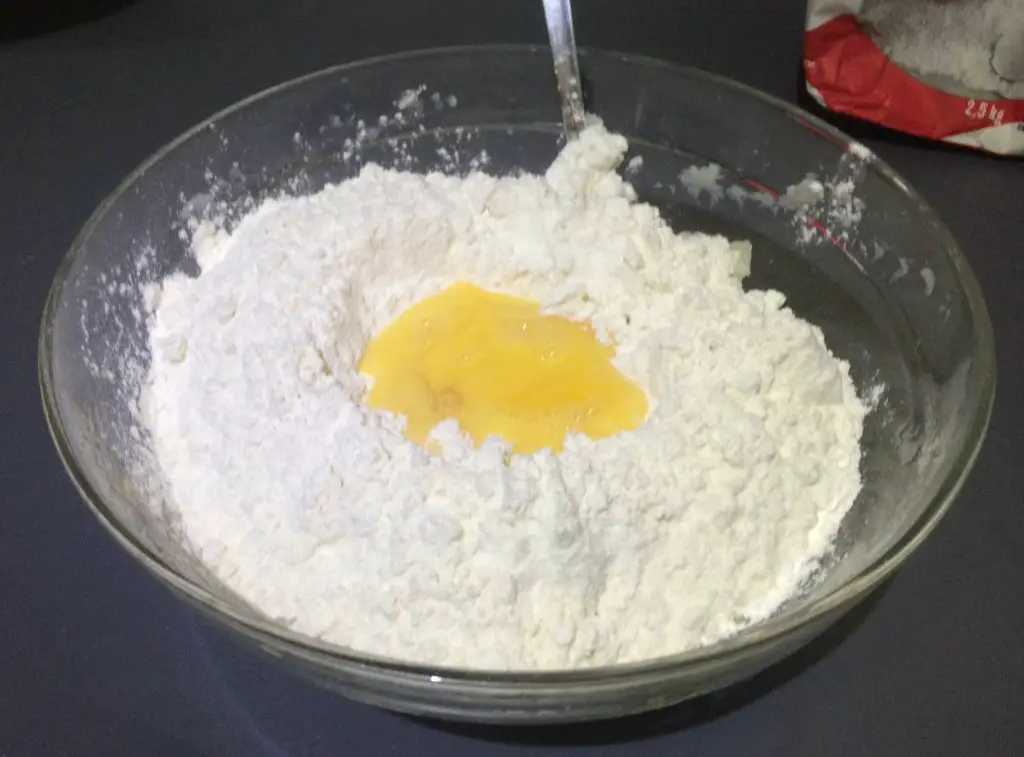
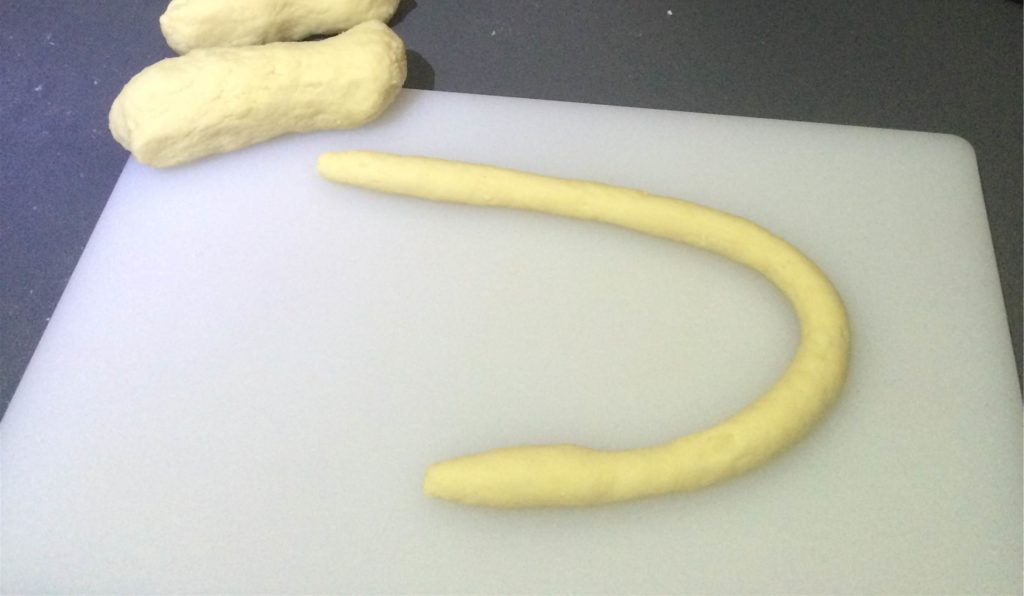
Measure one cup of mashed potato and add this to the flour, salt and egg in a mixing bowl. Combine the ingredients and knead into a firm ball of dough. Divide the dough into 6 smaller portions. Roll each portion out into long rolls on a floured surface.
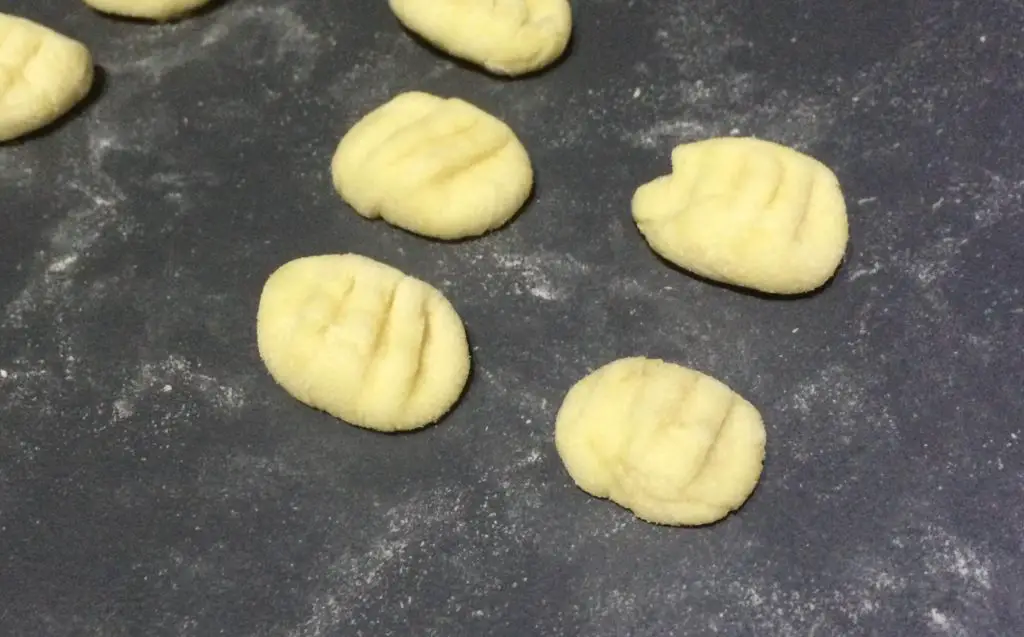
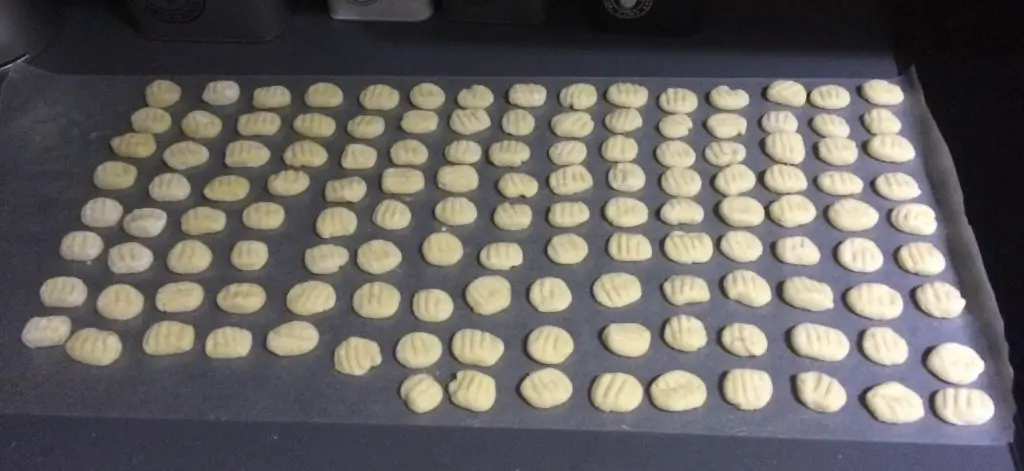
Cut the roll into equal portions, round the edges and gently press a fork onto the gnocchi surface. The groove pattern allows the gnocchi to hold the sauce better.
The gnocchi can be frozen for three to four months or kept in the refrigerator for a week before cooking. Be sure to flour the individual pieces well before freezing so that they do not stick together.
To cook the gnocchi, bring a large pot of water to the boil and add a teaspoon of salt. Drop the gnocchi into the water about a cup at a time. They float to the surface when they are cooked so collect them from the surface of the water with a slotted spoon and drain in a colander.
Serve with a tomato and basil, Gorgonzola cheese, basil pesto or Bolognese pasta sauce. Here is a quick recipe for a tomato and basil pasta sauce.


