I’ve been using diode and CO2 lasers in my home workshop for quite some time. Combined with a 3D printer, they’ve been fantastic for bringing my project ideas to life.
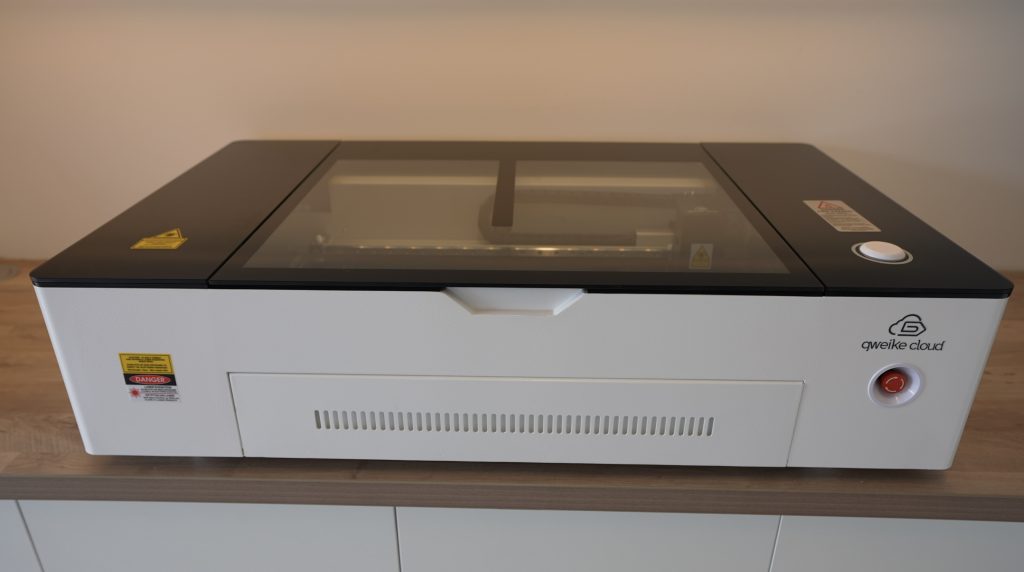
My main go-to laser is the Gweike Cloud 50W CO2 laser, so when Gweike reached out about trying out their latest Fibre laser, I couldn’t help but take them up on the offer.
Being a fibre laser, the G2 Pro is quite different to any of the other lasers that I’ve used previously. Not only does it look and function differently but it’s able to cut and mark different materials too.
I was particularly interested in is its ability to engrave metals, with the possibility of engraving stainless steel in colour, and I wanted to see whether I could use it to engrave or mark my 3D-printed parts and enclosures.
Here’s my video using the Gweike G2 Pro to engrave on 3D printed parts and colour stainless steel engraving. Read on for the written review:
Where To Buy The Gweike G2 Pro
- Gweike G2 Pro (Web Store) – Buy Here
- Gweike G2 Pro (Amazon) – Buy Here
- Gweike G2 Pro Rotary Tool – Buy Here
Get USD700 / EUR100 Off With The Coupon Code MICHAEL for a limited time
Equipment Used In This Review
- USB-C Pencil Screwdriver – Buy Here
- Dremel 4300 Rotary Tool – Buy Here
- Dremel Compatible Milling Bit – Buy Here
Unboxing & First Look At The G2 Pro
The G2 Pro comes in a branded box with white foam inserts to protect it.
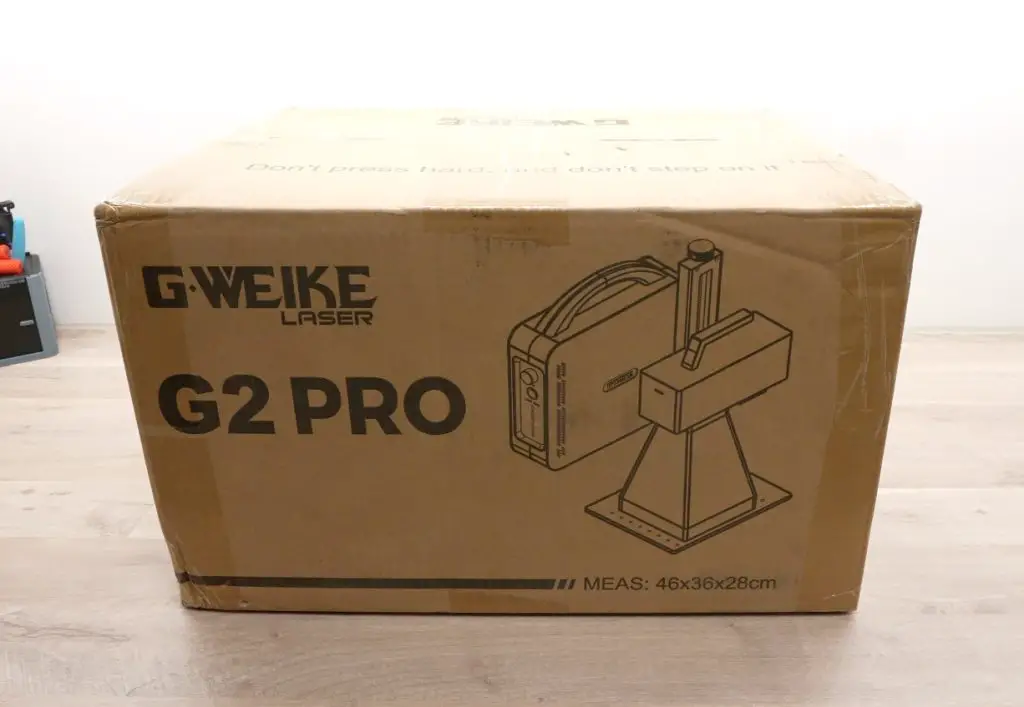
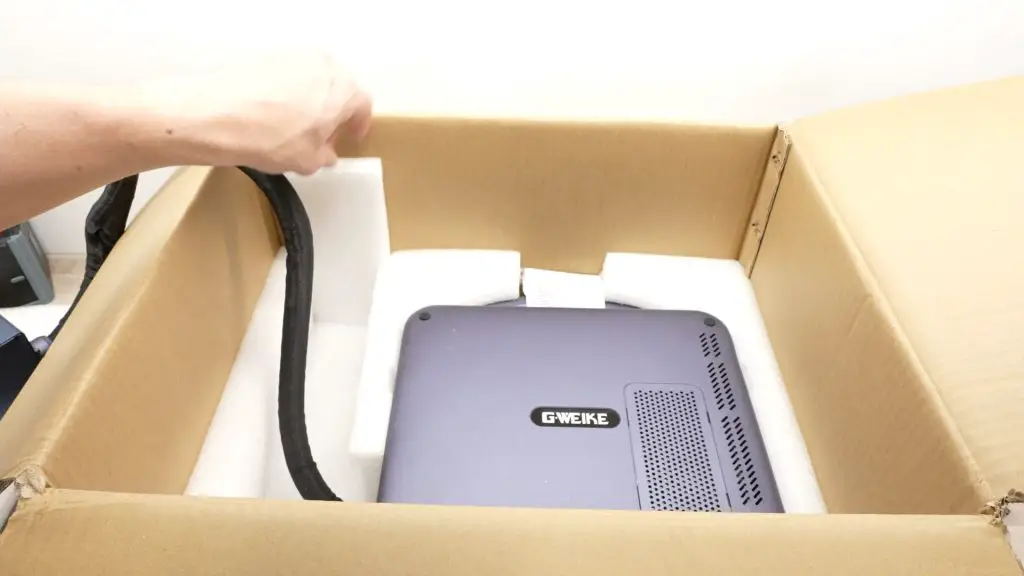
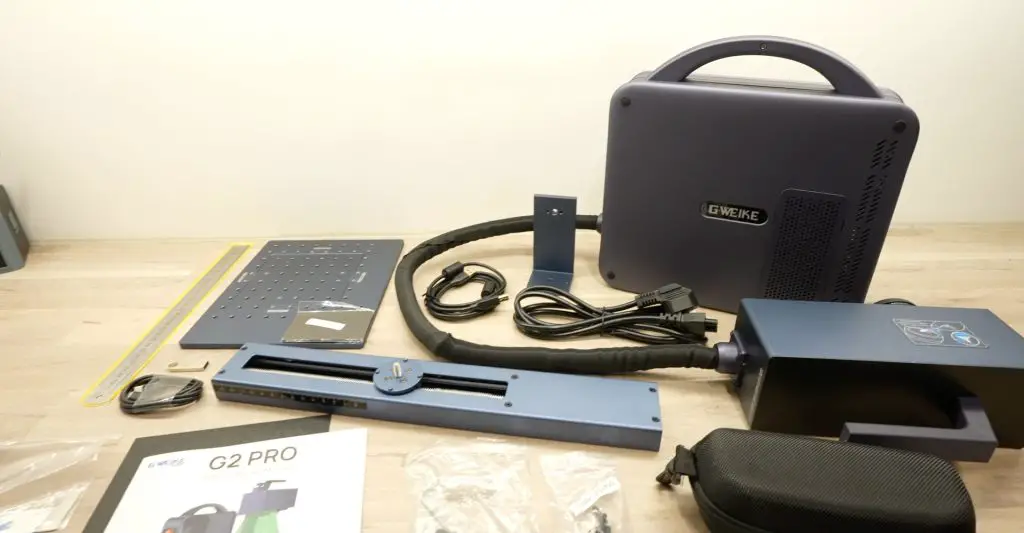
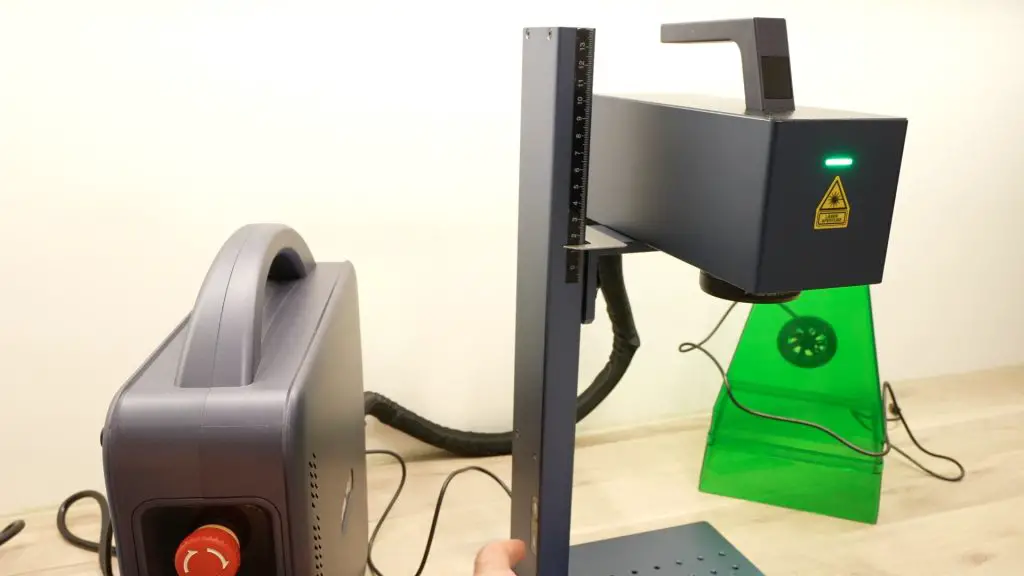
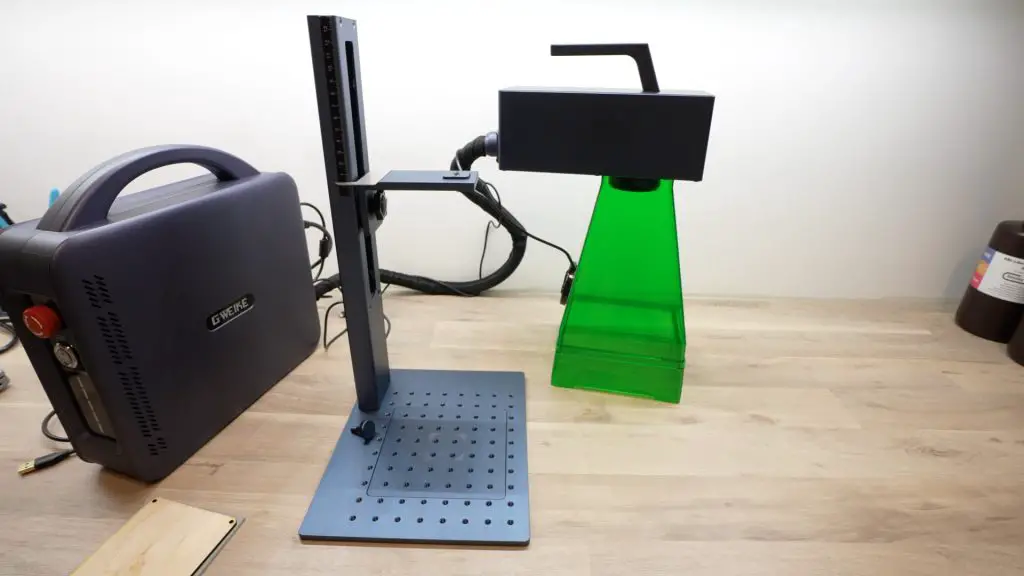
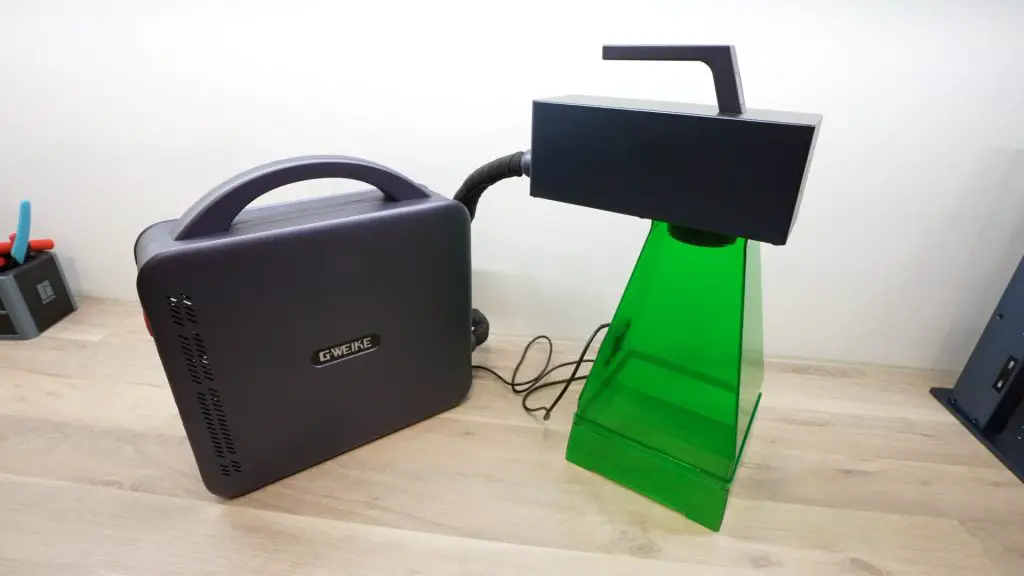
There are two main parts to the laser system, the base and the head, and they’re permanently attached to each other with a braided sleeve.
Included in the box along with the two-part laser is a stand, the power and USB cables, a set of safety glasses, screws and clamps for the work bed positioning guides, a ruler to set the focus height, some basic tools, a flash drive containing the software and a user manual.
Assembly is relatively straightforward. The vertical part of the stand bolts onto the base and the laser head then sits on top of it and is secured with a thumb screw.
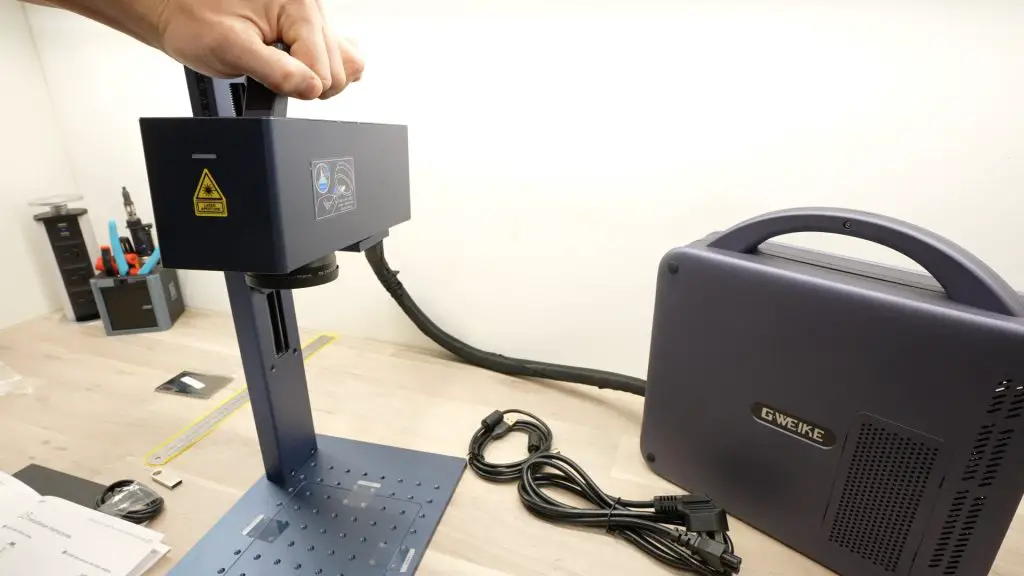
This model requires a USB cable to power the electric height adjustment on the stand and another USB cable connects the laser to your computer to control it.
You can use Lightburn or their included GLaser software to control the laser. I’ve used Lightburn on all of my other lasers, so I decided to give the included GLaser software a try for a change. This is quite basic in comparison but has everything you need to get good results from the G2 Pro – and it’s free to use.
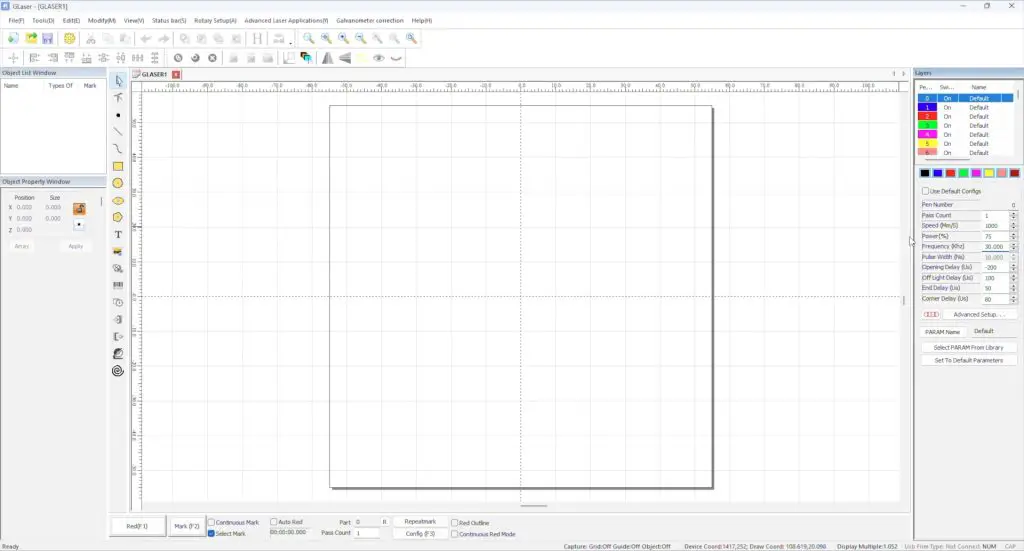
With the laser set up, let’s try engraving something.
Engraving 3D Printed Parts
I’ve often wanted to find an easy way to label the ports or IO interfaces on an enclosure, but this has always turned out to be quite difficult to do. With advancements in 3D printing, I can add labels to the enclosure by changing filament colours, but this makes the prints take much longer and you’re quite limited in the detail or clarity of the text that this method is able to produce. You can’t really produce crisp readible text smaller than about 8mm.
I’ve experimented with laser engraving onto 3D printed parts in the past with diode and CO2 lasers, but the main issue is that the 3D printed plastic melts rather than being marked or engraved. In some cases you can see the text but it’s because a layer or two of the 3D print has been removed.
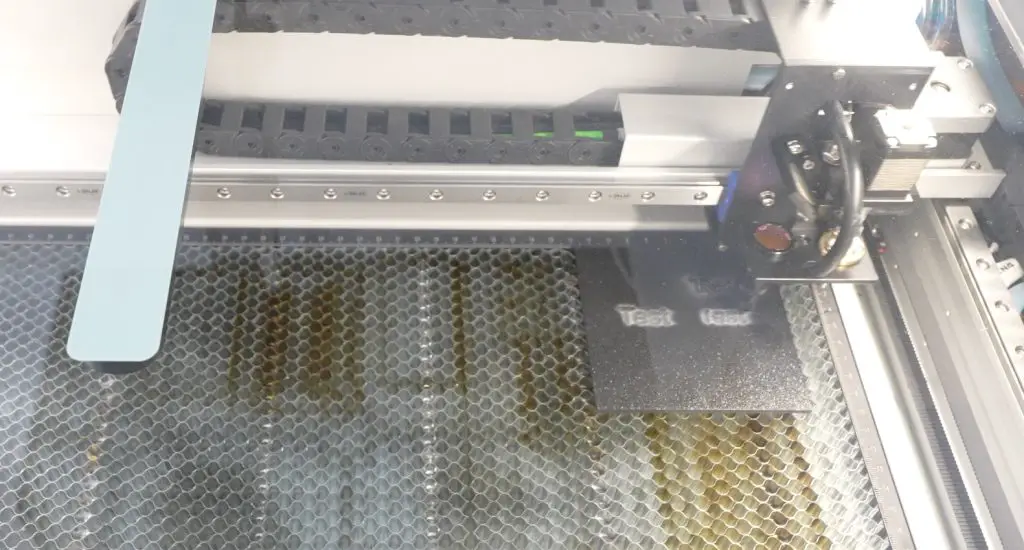
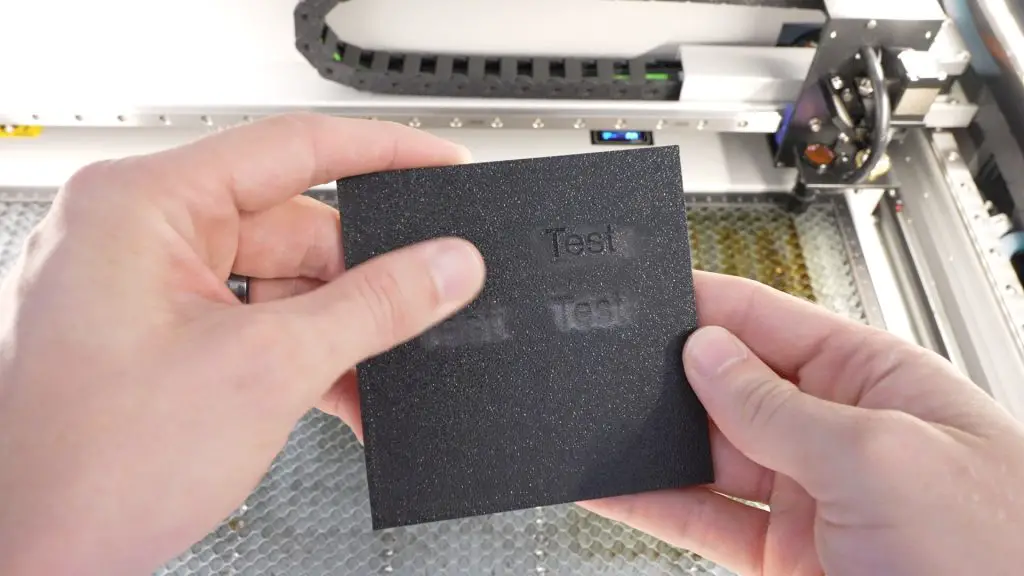
Fibre lasers have a fixed head and move the laser dot through a series of rotating mirrors, so they’re able to move orders of magnitude faster than CO2 or diode lasers which need to move a whole gantry. The G2 Pro claims a maximum speed of 15000mm/s while a typical CO2 laser like the Glowforge or Gweike Cloud can only do a couple of hundred mm/s. With a fibre laser, the area being marked is exposed to the laser dot for such a short period of time that the plastic doesn’t have a chance to melt. This is not the only reason that a fibre laser can mark plastics better, the wavelength and frequency of light produced make it much better at marking plastics and metals than CO2 or diode lasers.
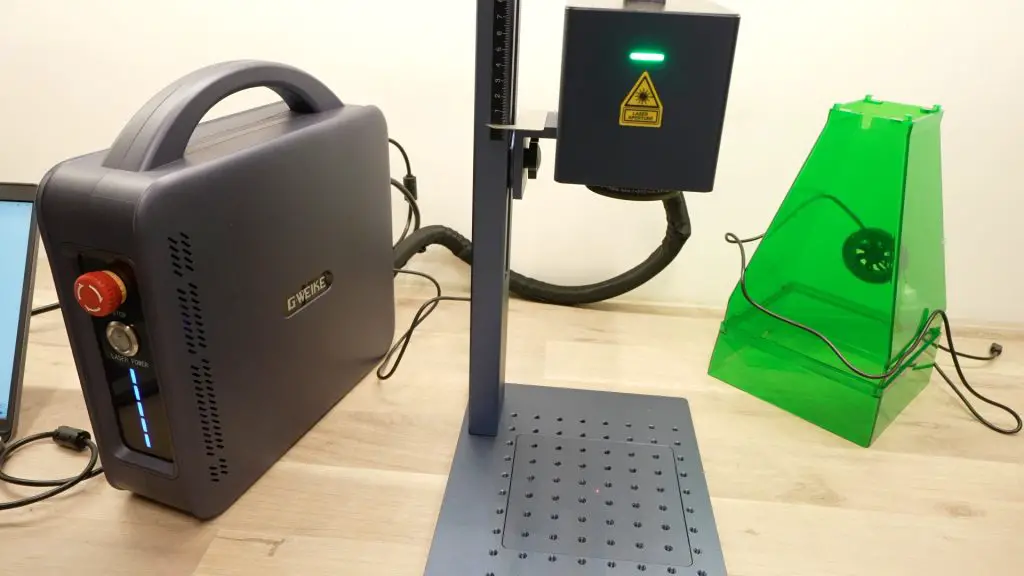
To figure out what settings produce the best results on 3D printed parts, we first need to do some testing. There are a lot of variables that can be tweaked but the main three settings are the laser speed, which is how fast the dot is moved across the surface, the laser power which is how much of the lasers strength is used as a percentage and then the frequency, which is how quickly the lasers dot pulses on and off.
I ran quite a few tests to try out different speed power and frequency settings, which I won’t bore you with too much but essentially my findings were that the laser’s speed needs to be quite fast, the power needs to be very low and the frequency works best at the higher end of the range that the laser can handle.
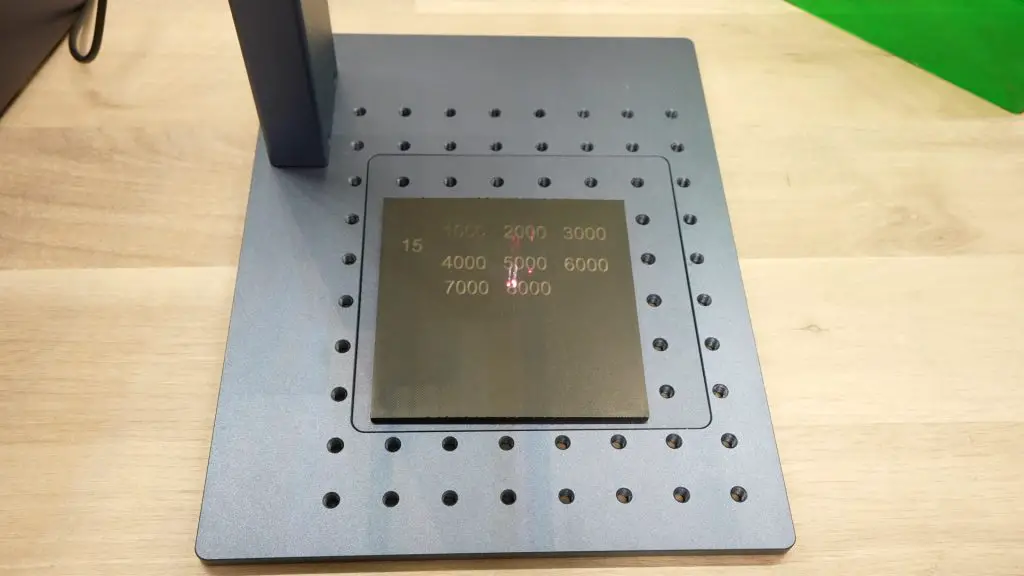
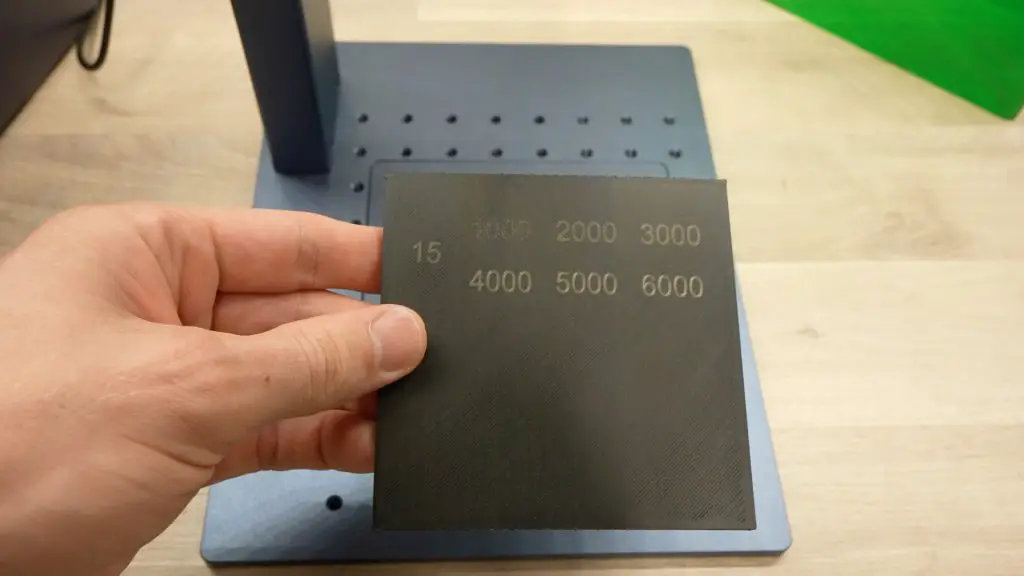
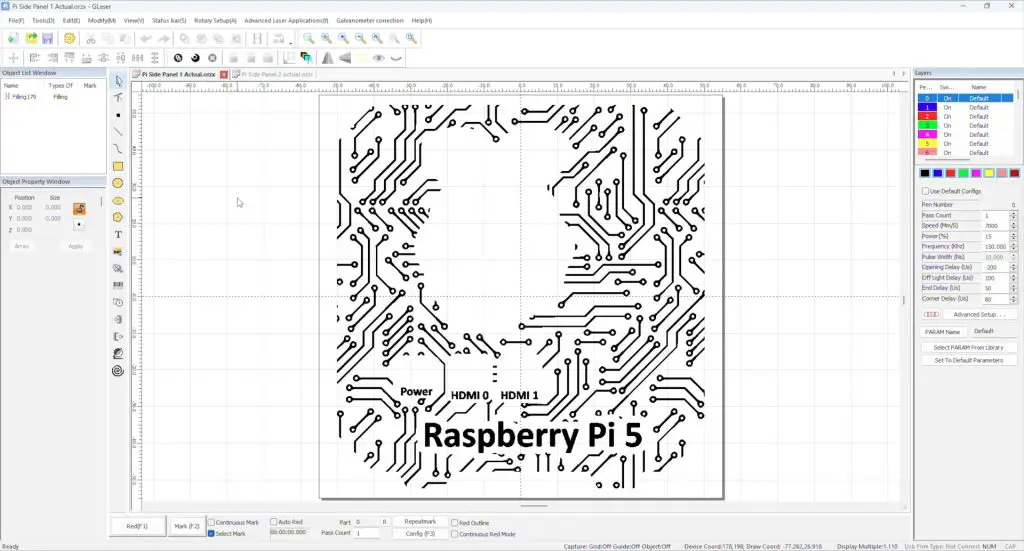
With the G2 Pro, these settings are a speed of 7000mm/s, a power of 15% and a frequency of 150kHz.
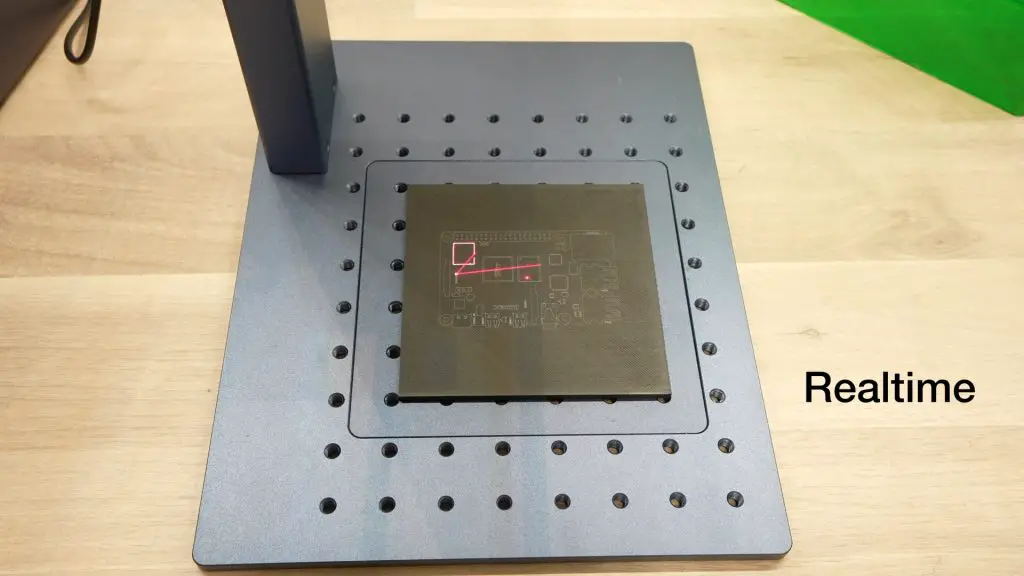
The settings also vary depending on the type and colour of filament being used but these work as a good starting point for most dark PLA filaments, which is what I tend to use most often.
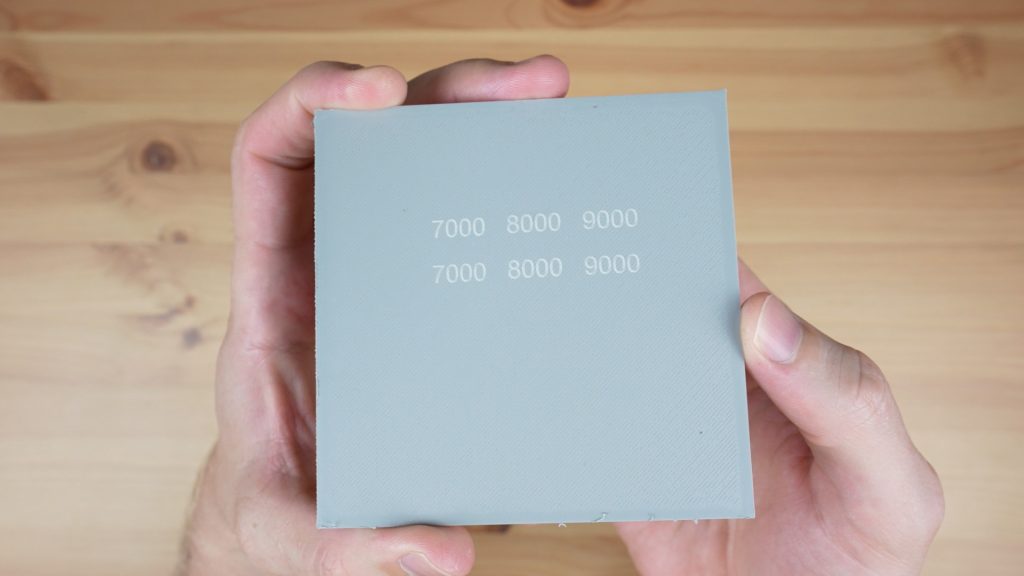
Given that the laser essentially decolours or bleaches that filament, it works on a range of coloured filaments but obviously won’t be able to mark white or very light colours.
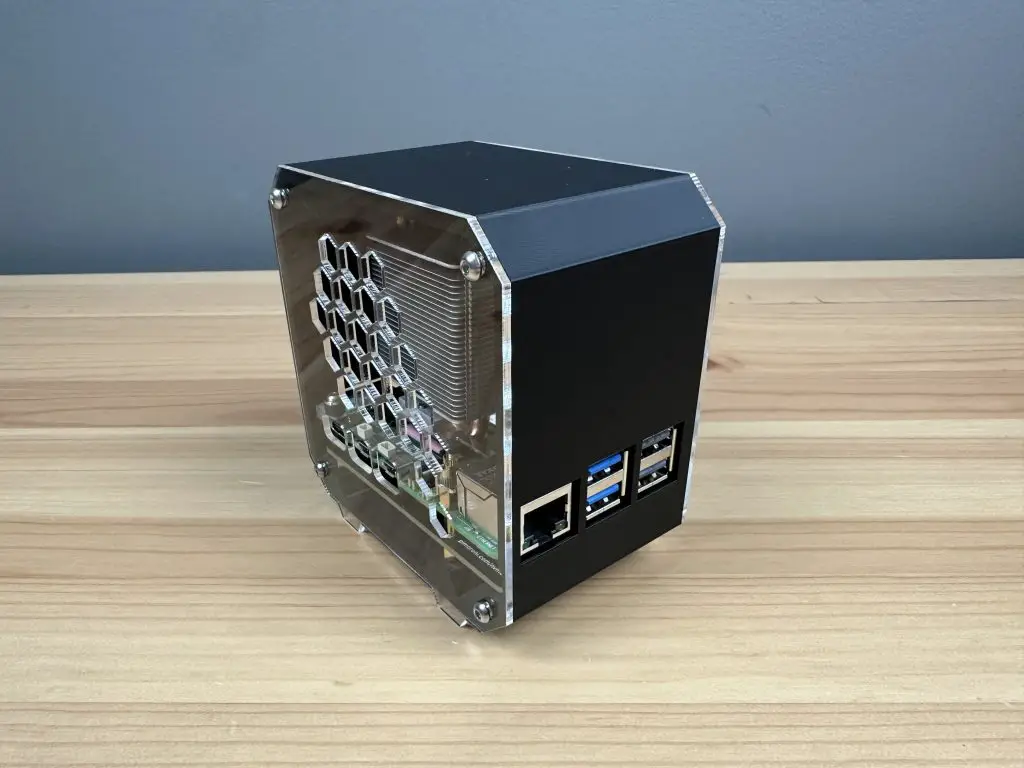
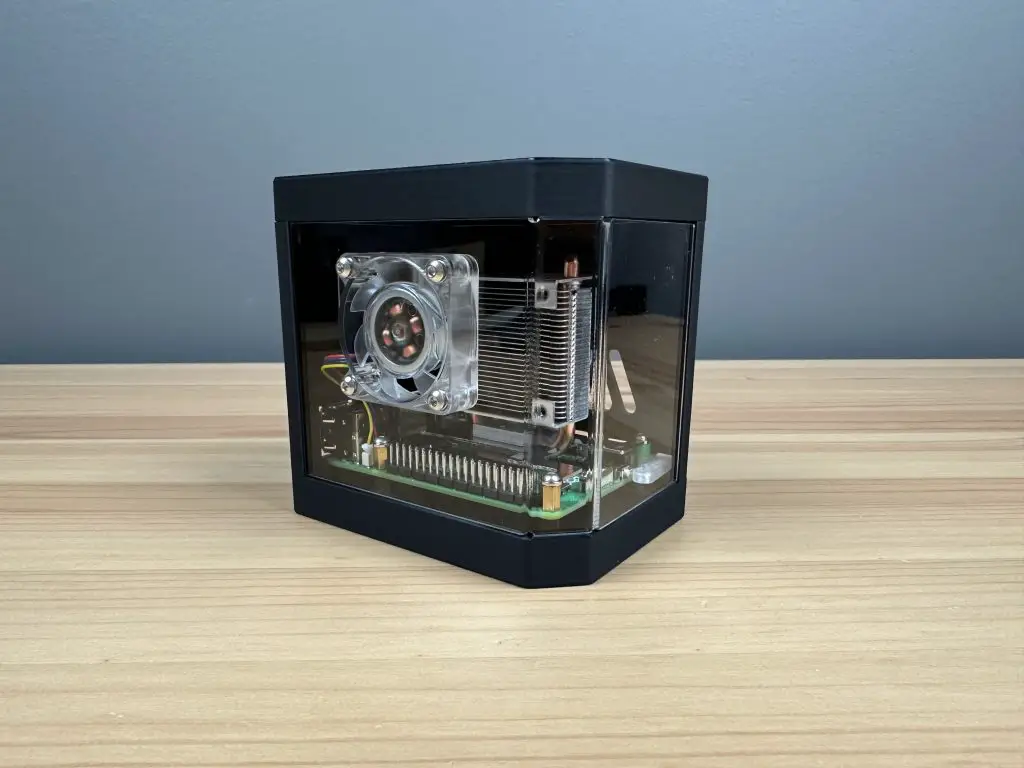
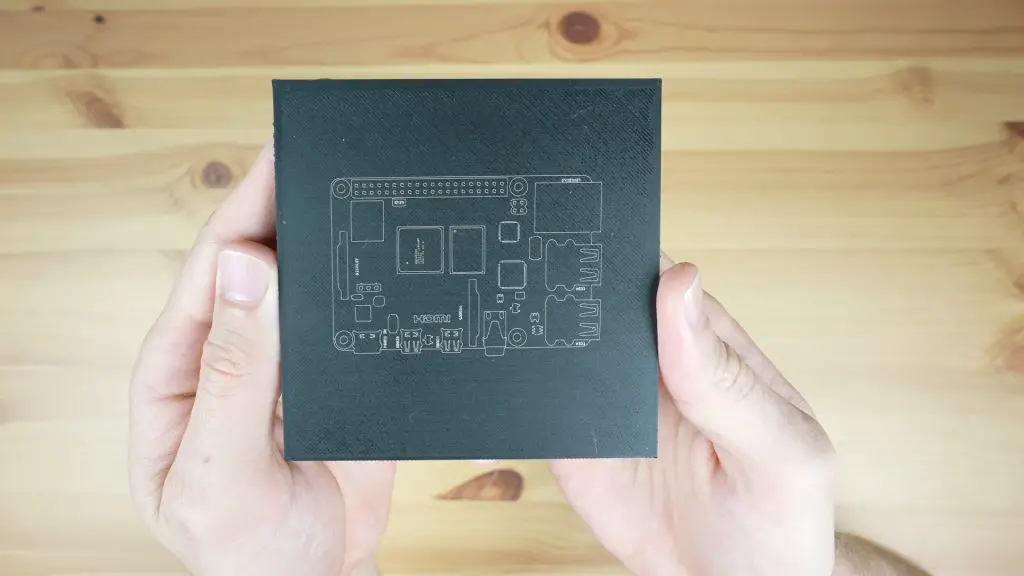
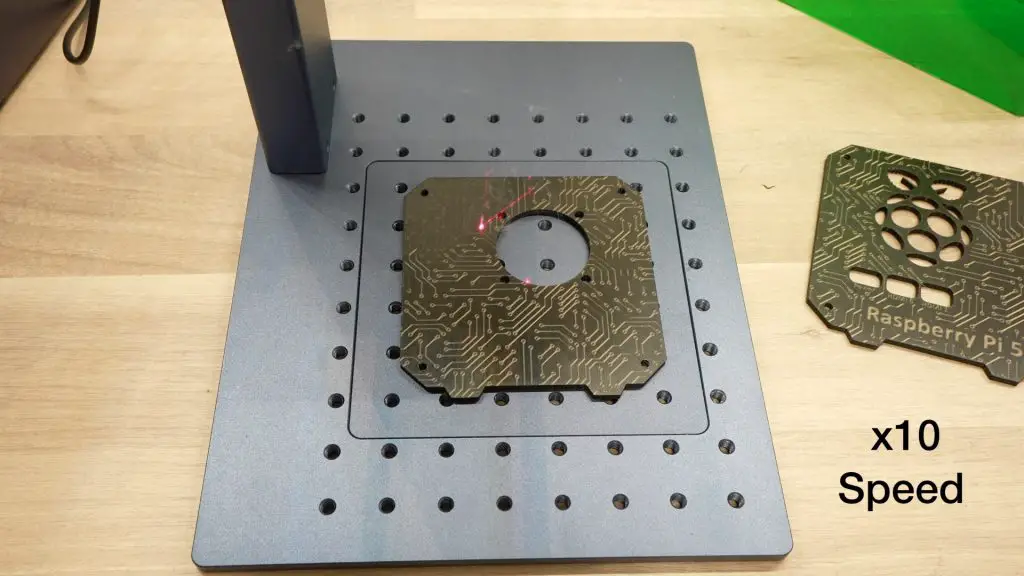
I prepared these 3D-printed side panels for my Pi 5 NVMe case and I then drew up a circuit board pattern and some text to engrave onto them.
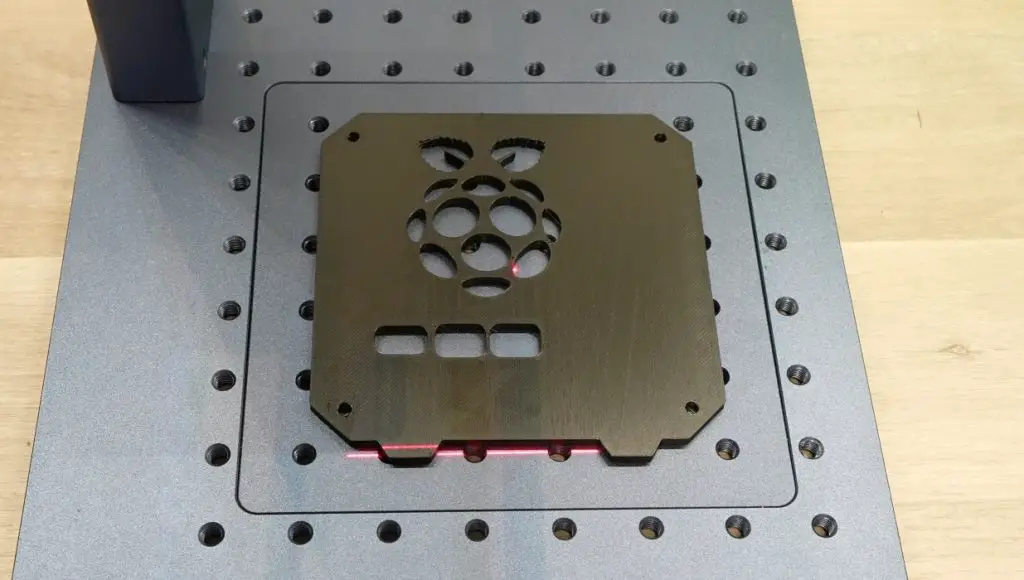
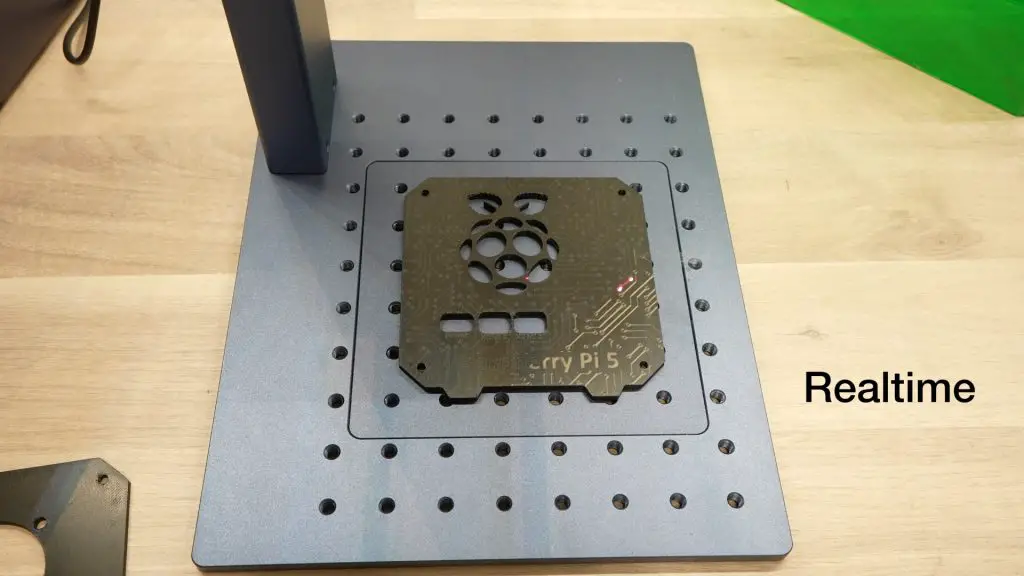
There is a red outline marker that helps guide the placement of the components on the bed and on this model, the laser height is electrically adjustable to set the focus distance to the top surface of the object being engraved.
The G2 Pro flies through engraving the intricate circuit board patterns. My video at the beginning of the post shows the laser running in real-time and this engraving would have easily taken 20-30 times longer on a diode or CO2 laser if I were engraving onto a material like wood or acrylic. A second pass helps clean up any dark spots and makes the text and lines a bit more defined.
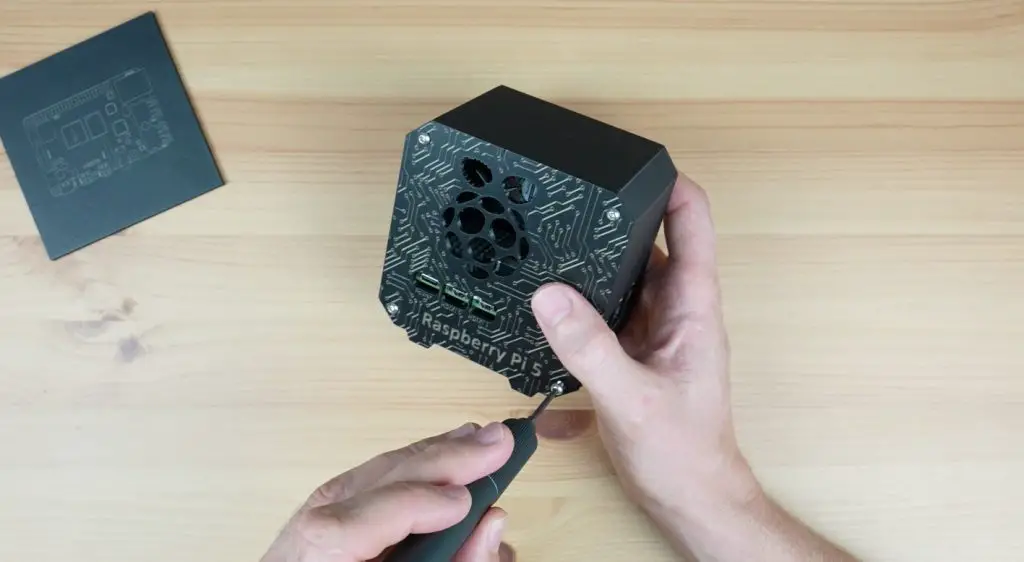
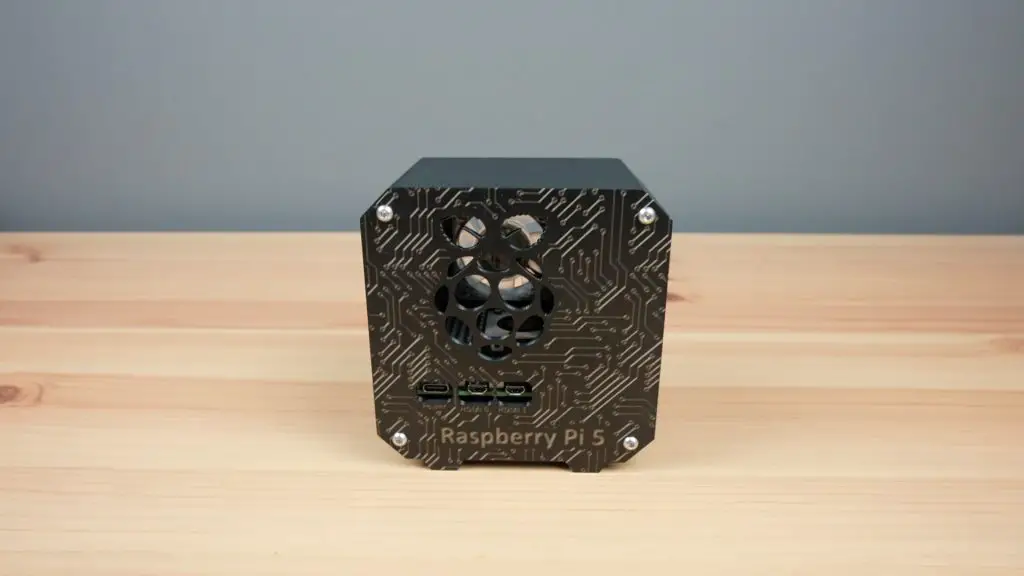
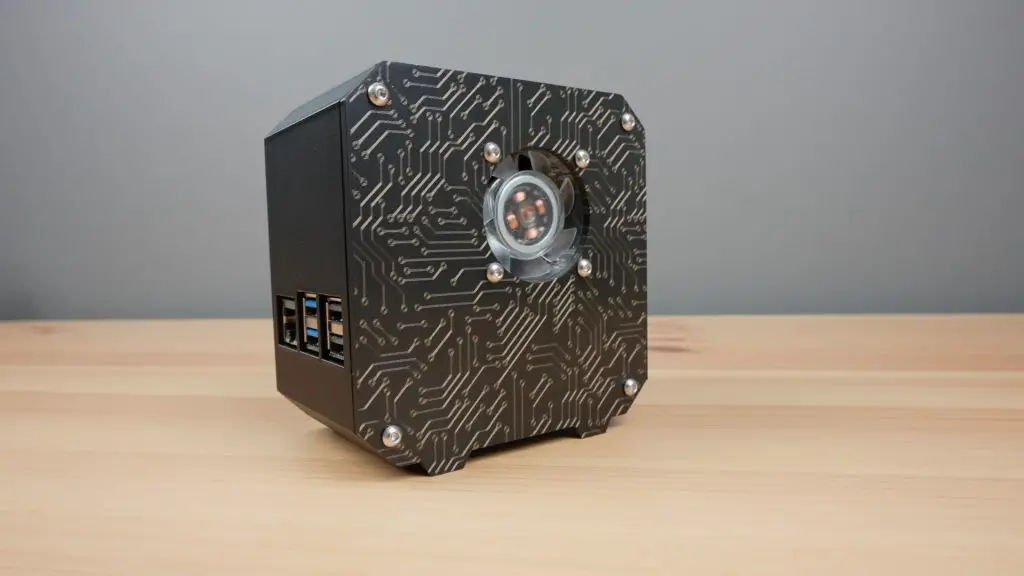
After a little over a minute for both passes, the engraved circuit board pattern came out looking really good.
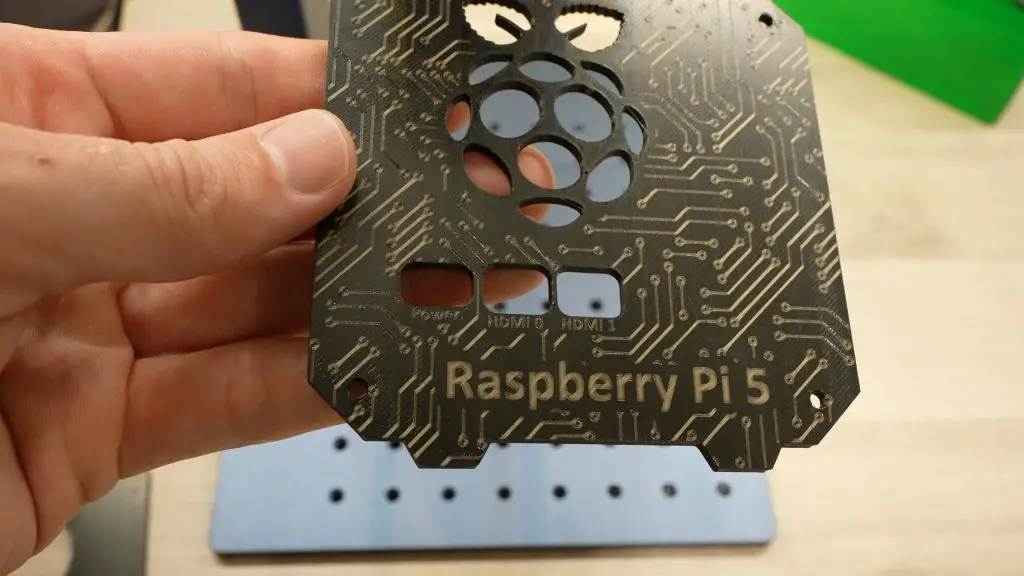
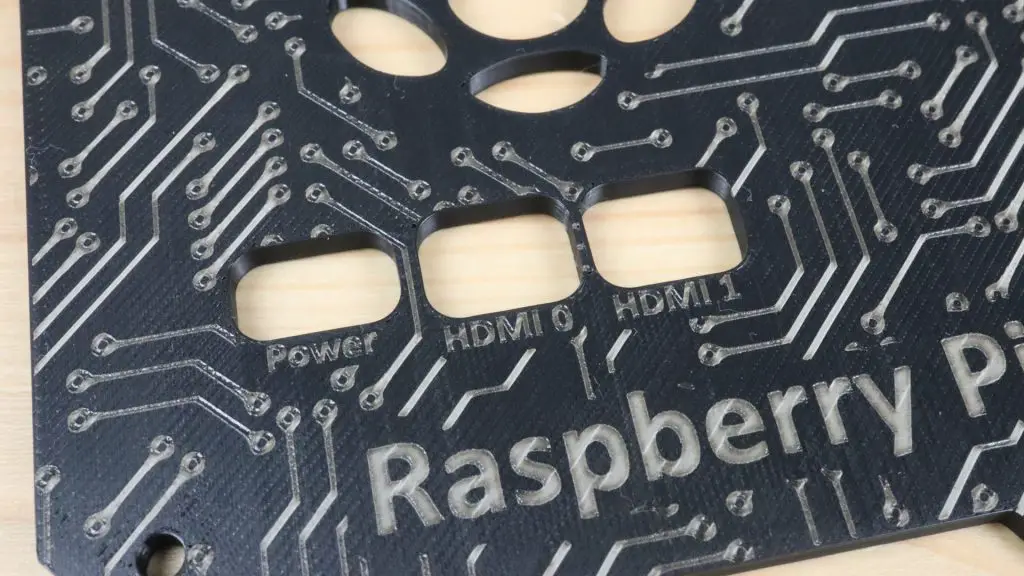
The text is also nice and clear. These small labels are only 2mm high, so this would have been impossible to 3D print.
I really like how much character can be added to plain surfaces by being able to mark 3D-printed parts.
Engraving Stainless Steel
Next, I want to try colour engraving on some stainless steel.
Colour engraving might seem strange since the laser isn’t depositing anything onto the surface of the metal, but you can create several different colours by again varying the power and frequency of the laser dot. As far as I can tell this works by applying a fairly precise amount of heat to the surface which causes it to oxidise and the level of oxidiation determines the colour.
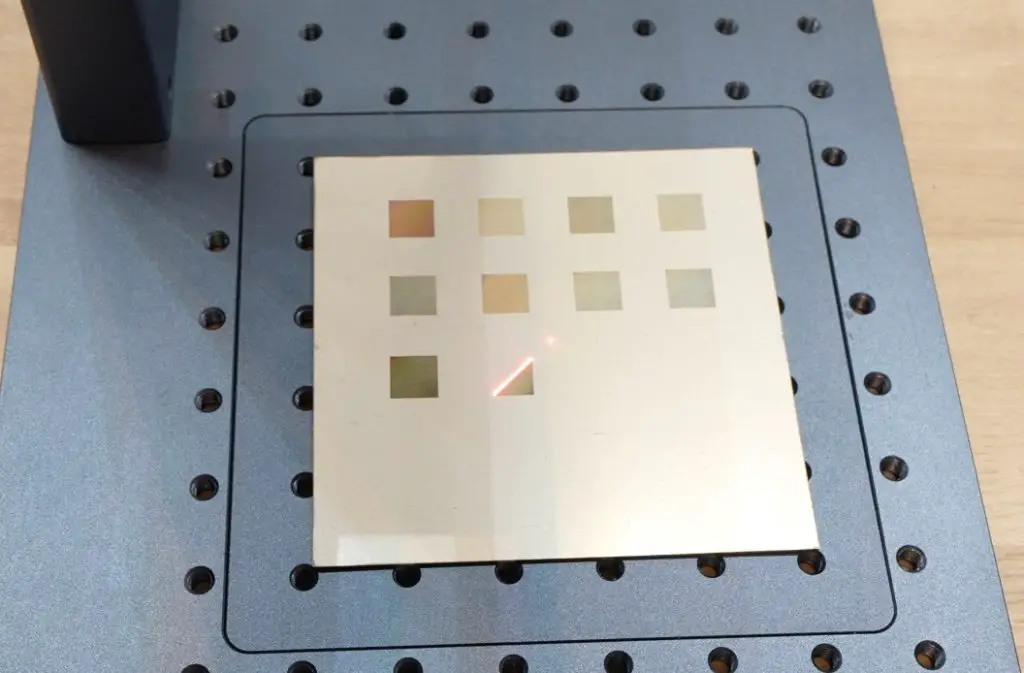
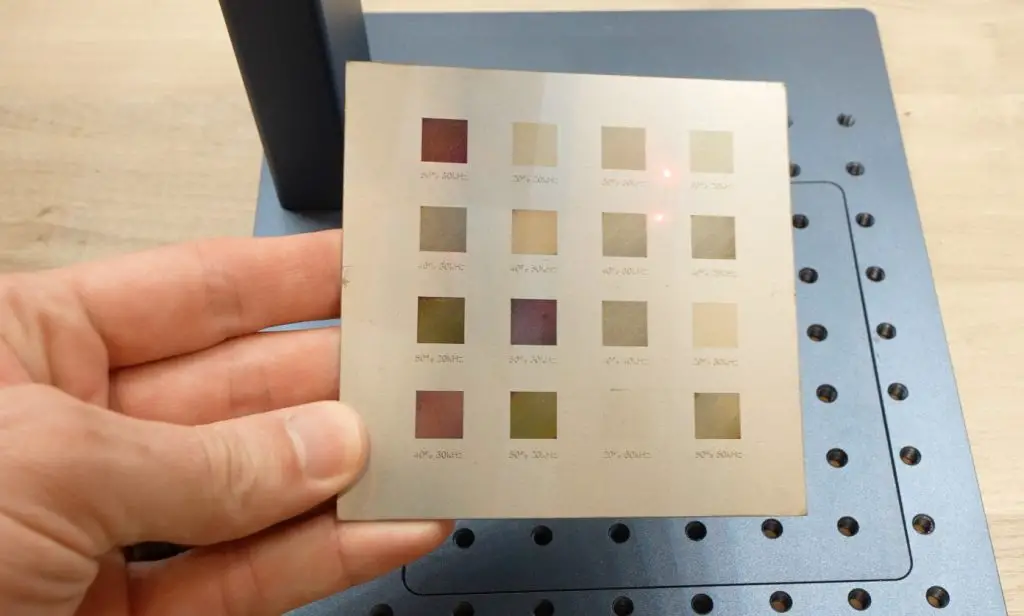
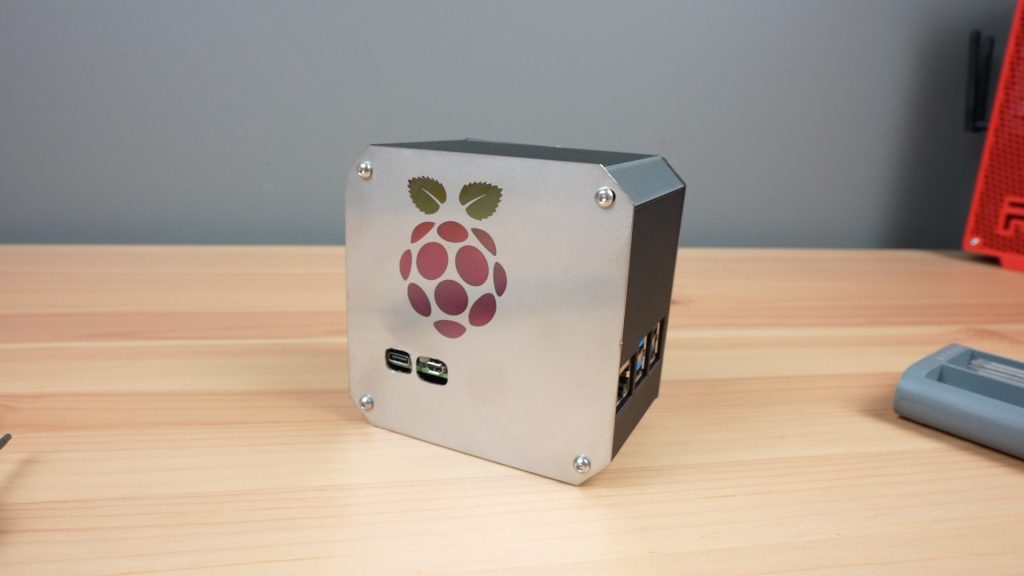
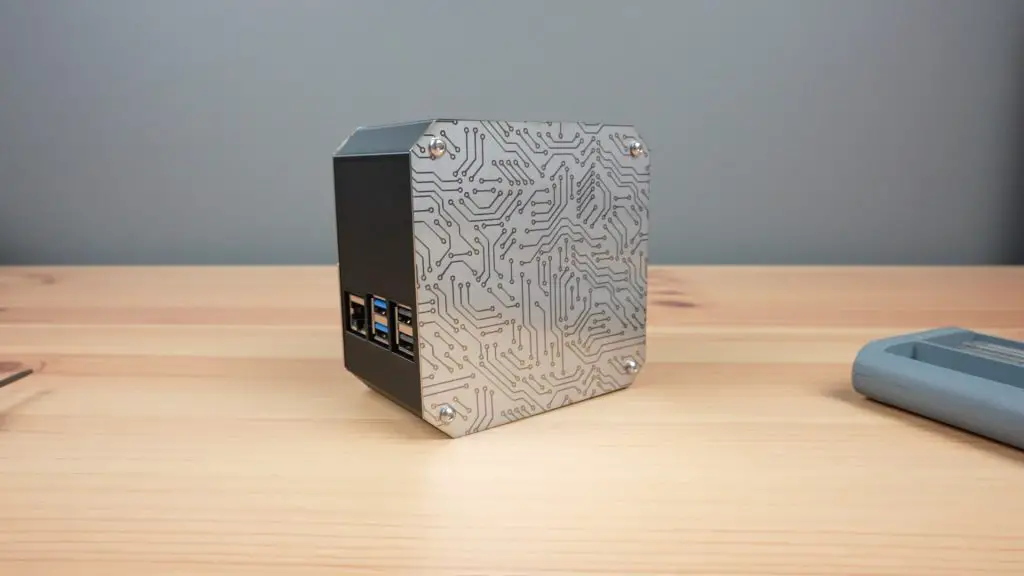
This also requires a lot of experimenting but I found that I could get a nice green colour for the Raspberry Pi logo’s leaves by using 50% power and a frequency of 20kHz, I could get a red colour for the raspberry using 50% power but at 30kHz. On the opposite side panel I put a similar circuit board pattern but this time I’ll be trying to engrave it in a dark red/gold colour which I’ll do at 40% power and 30kHz.
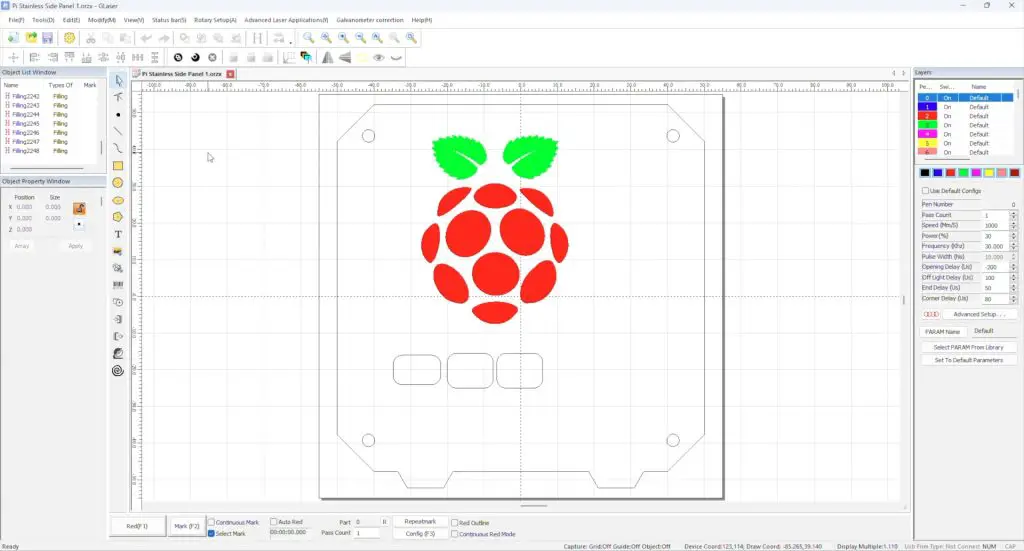
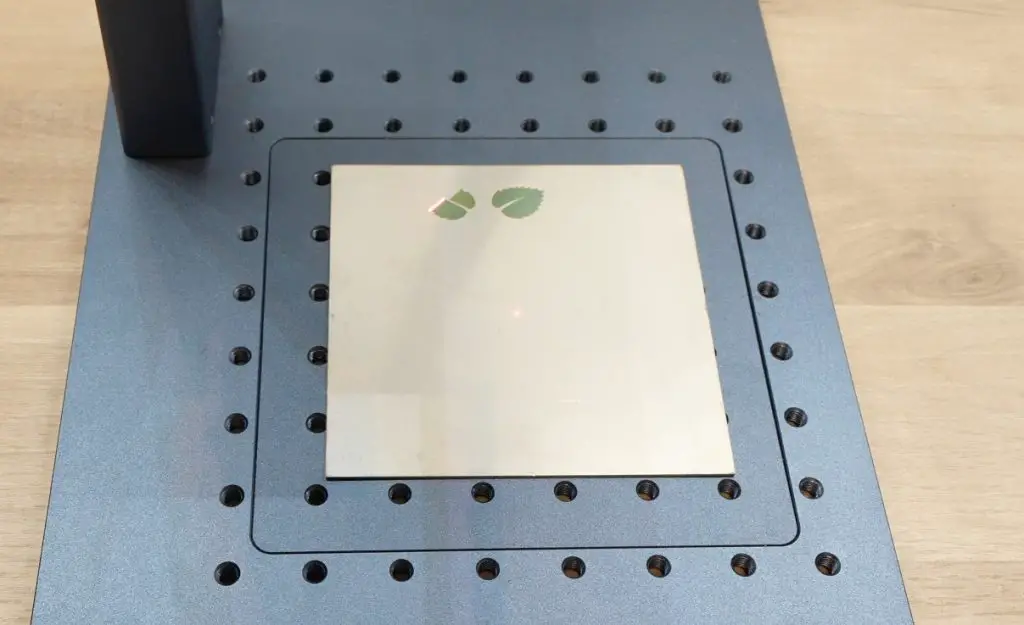
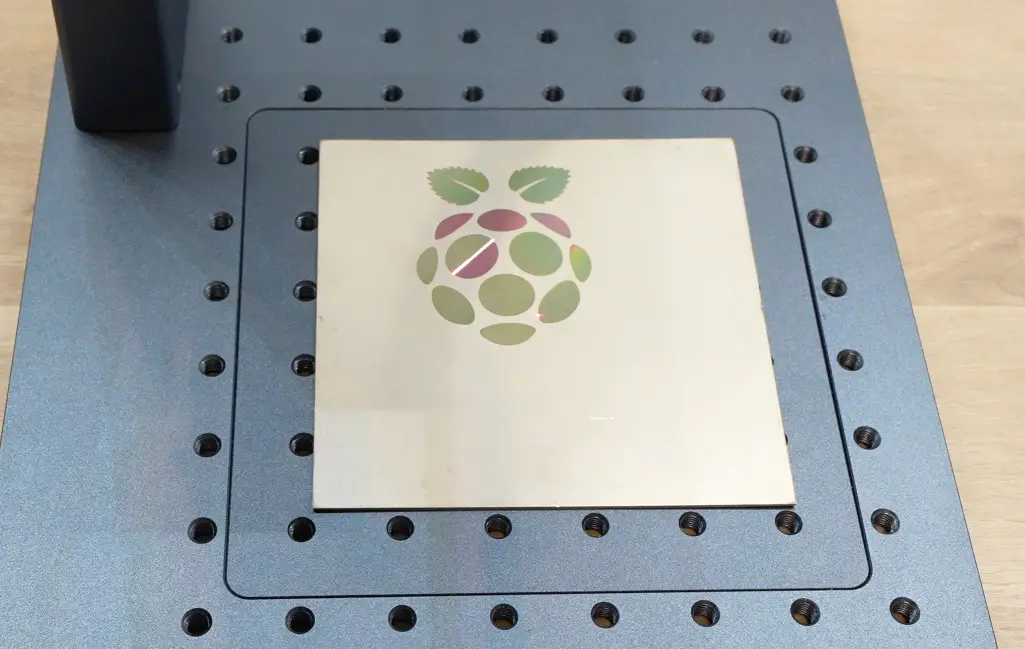
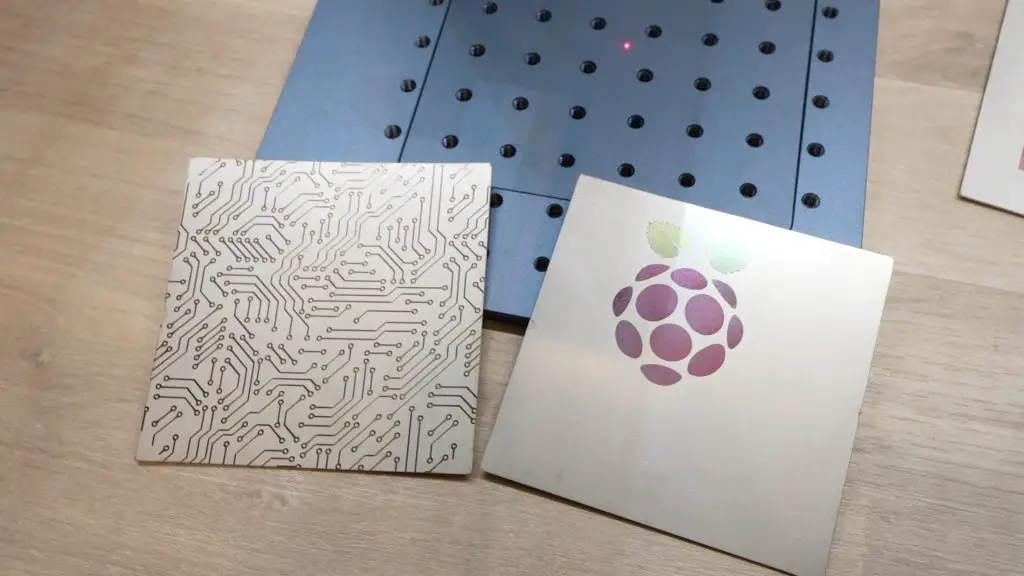
The G2 Pro can engrave stainless steel but can’t cut it, so I had to make the rest of the cutouts to turn these into side panels for my Pi case using a dremel.
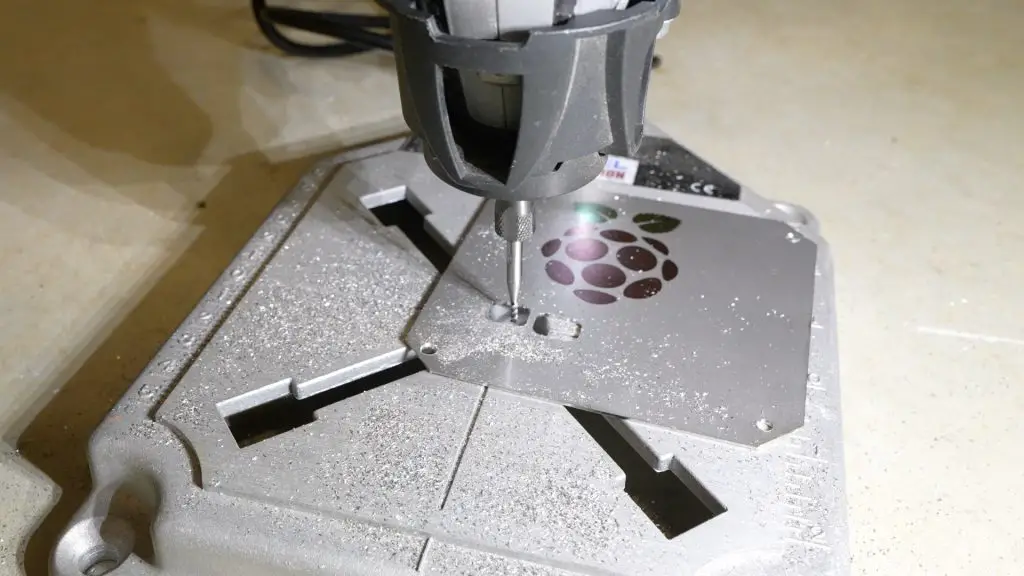
I think the colours came out well. I’m not sure how durable they’ll be but the graphics seem to be quite well etched into the surface.
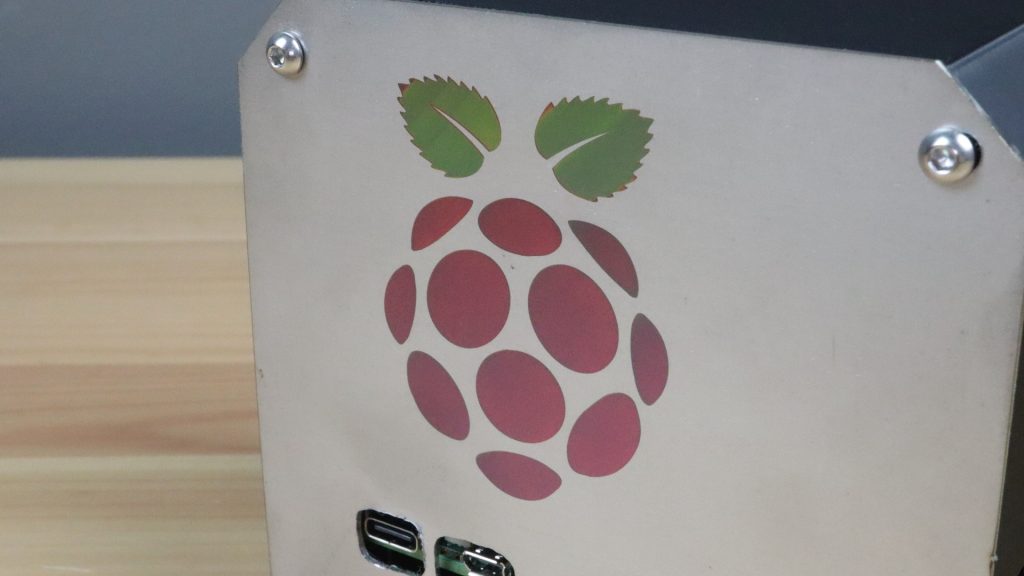
I’m really happy with the results of both of these tests, I now have a way to mark or label 3D-printed parts without having to build the labels into the printing process. The ability to add multi-coloured features to stainless steel parts is going to open up some interesting design opportunities.
Other Features Of The G2 Pro
The G2 Pro can engrave other metals like brass, gold, silver and aluminium and also other materials like dark acrylic, plastic, leather or painted surfaces. There are also loads of tutorials online for creating awesome-looking 3D engraved coins from brass blanks. The one below by Justin Laser is really good.
It also has an optional safety shield that allows you to use it as a handheld device on materials that you can’t place on the bed. You can remove the head of the G2 Pro from the stand and the shield clips onto the bottom of it. The shield spaces the head at the correct distance from the material so that the laser is in focus.
Fibre Laser Limitations and Drawbacks
The G2 Pro and other fibre lasers do have some disadvantages when compared to diode or CO2 lasers, so you need to look at what your particular requirements are.
Fibre lasers generally have quite a small bed size because of the mirror head design. The working area on this version of the G2 Pro is 150mm x 150mm. This is large enough for engraving onto jewellery, mugs, coasters etc. but can be limiting for larger projects.
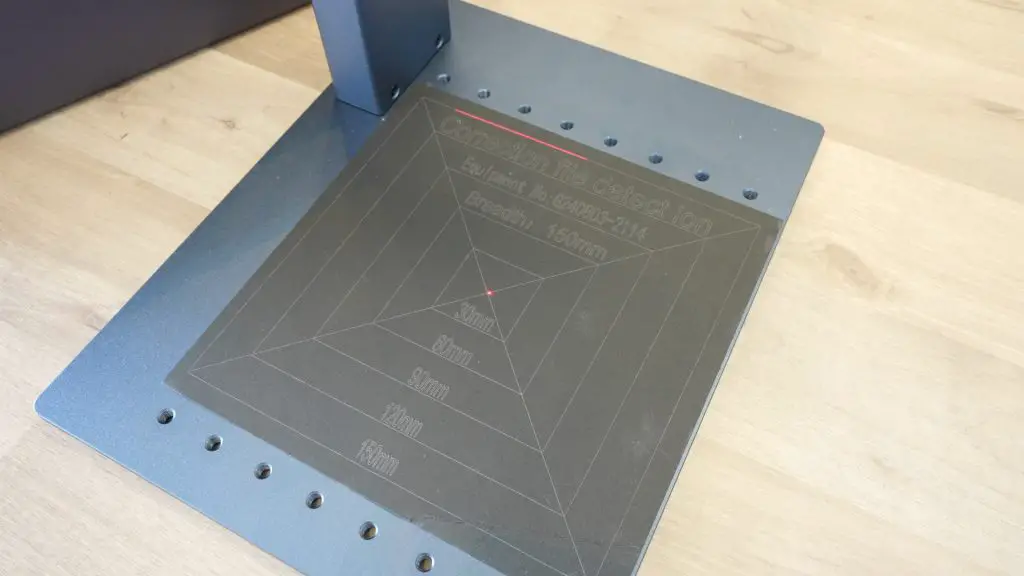
A fibre laser is also not designed to do any cutting, it is primarily a marking or engraving laser, so you’ll need to use precut blanks for your projects.
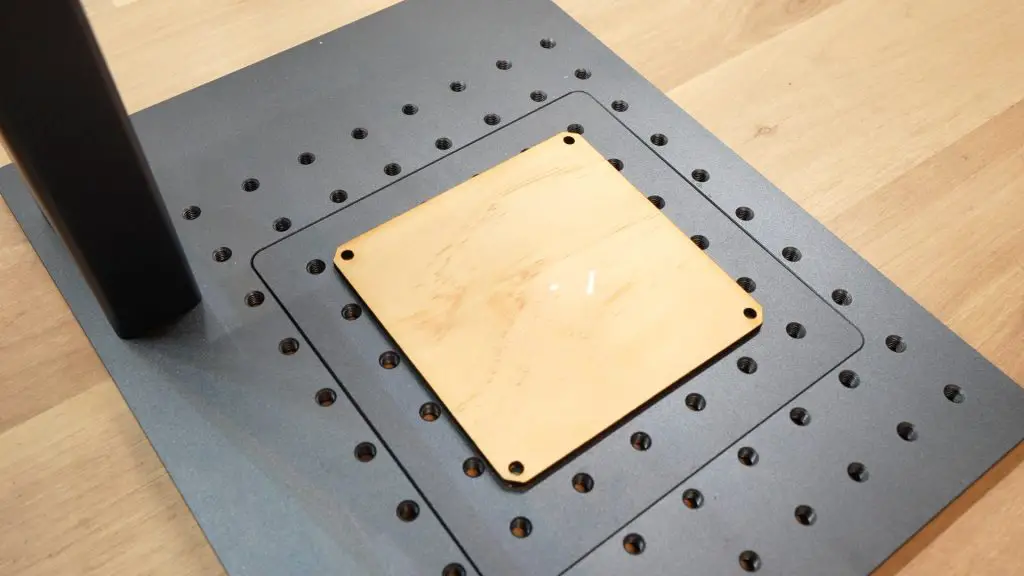
Lastly, the wavelength of fibre lasers is quite short and as a result, the laser energy is partially absorbed by organic materials like most woods, making it difficult or in some cases impossible to engrave. For similar reasons, it also only works on dark leather.
Final Thoughts On The Gweike G2 Pro
So if marking 3D printed parts or engraving onto metals in a range of colours is something you’d like to get from a laser, then have a look at the G2 Pro. It’s priced from $1,800, which is quite a lot for a workshop or small business tool but it’s priced very competitively when compared to other lasers of a similar power and the G2 Pro is faster and more accurate than these.
Let me know what you think of it in the comments section below and if you’ve got any use cases that you’d like me to try out when using it.


This is so cool! I love how you’re using lasers in your home workshop. The Gweike G2 Pro sounds amazing, especially its ability to engrave metals in color. Have you tried any other unique materials with it? And how does it compare to your 50W CO2 laser in terms of speed and precision?