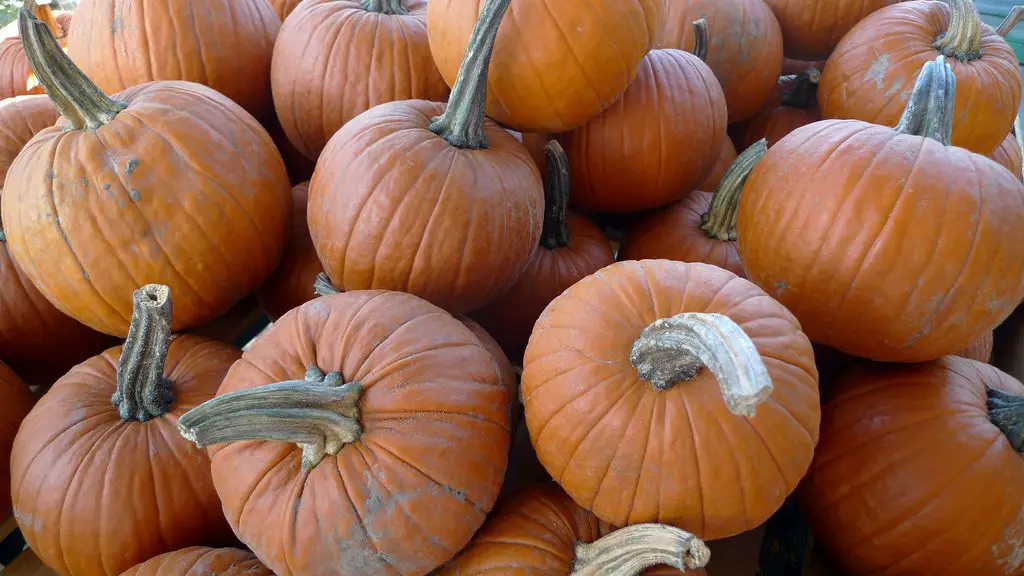
With Halloween almost upon us and Thanksgiving around the corner, it is almost time for pumpkin pie! Fill your home with that warm nutmeg and cinnamon fall scents with this amazingly good recipe which isn’t too difficult to make.
Makes 1 Pie, Preparation Time 35mins, Cooking Time 1hr 30mins
Ingredients For Pumpkin Pie
- 750g (1.65 lbs) Pumpkin (Peeled, seeded and cut up into chunks)
- 1 Roll of Shortcut or Puff Pastry (Depending on your preference)
- 2 Eggs
- 2 Tbsp Butter
- 3/4 Cup of Milk
- 1/2 Cup of Castor Sugar
- 1 Tsp Icing Sugar
- 1 Tsp Ground Cinnamon
- 1/2 Tsp Ground Nutmeg
- Pinch of Salt
Making The Pumpkin Pie
First you need to cook the pumpkin, boil it in a large pot. Cover the pumpkin chunks with water, bring to the boil and then allow to simmer for 15 minutes until it is soft. Drain the water off and allow the pumpkin to cool off.
Now heat the oven to 180°C (360°F). Unroll the pastry and press it into the bottom of a tart tin or dish, trim off the edges for a neat finish. If you have pastry beads then place them in the bed of the pastry before baking to prevent it from coming off the bottom of the dish. Bake the pastry in the oven for 15-20 minutes until golden brown. Remove the dish from the oven and allow it to cool.
In a large bowl, beat the eggs and then add the pumpkin, nutmeg, half of the cinnamon, salt, sugar, butter and milk. Beat until a smooth puree is formed, use a food processor if necessary.
Pour the mixture into the pastry shell and smooth it out. Now bake it in the pre-heated oven for 45-50 minutes until the filling has set.
Remove the pie from the oven and allow it to cool. Dust the remaining cinnamon and icing sugar over the top to finish it off. Serve chilled with whipped cream.
If you love baking then you’ll love our copycat Cinnabon recipe, you’ll also make the neighbours jealous with the delicious baked cinnamon fragrance.


