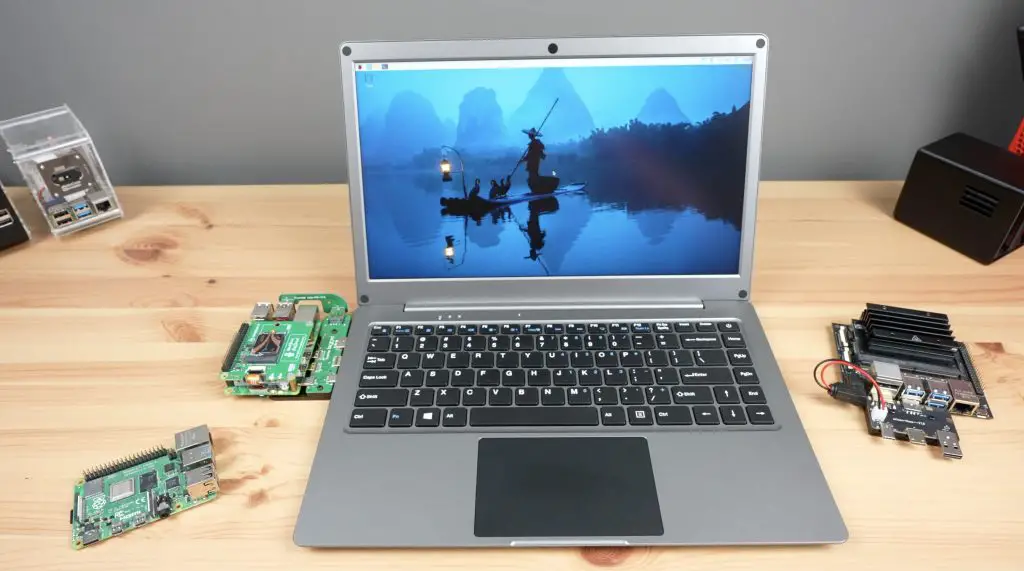
The CrowView Note is a new laptop-style, self-powered portable monitor with a keyboard, trackpad, microphone and speakers built in. It has been designed to be quickly and conveniently connected to a Raspberry Pi, Jetson Nano or other single-board computer or mobile device and can also be used as a terminal for mini PCs or gaming devices.
Let me start off with a quick disclaimer that this is an early prototype that Elecrow sent over for me to try out and share with you. They only launch their crowdfunding campaign later this month, so there may be changes between this and the device that is eventually shipped out.
Here’s my video review of the CrowView Note, read on for the written review;
Where To Buy The CrowView Note
- CrowView Note Kickstarter – Buy Here
- CrowView Note Product Page – Buy Here
- Raspberry Pi 5 – Buy Here
- Pineberry HatDrive! Top – Buy Here
- Sabrent Rocket 4.0 – Buy Here
- Pi 5 Power Supply – Buy Here
- Pi 5 Active Cooler – Buy Here
Equipment Used
- USB C Screwdriver Set – Buy Here
Unboxing And First Look
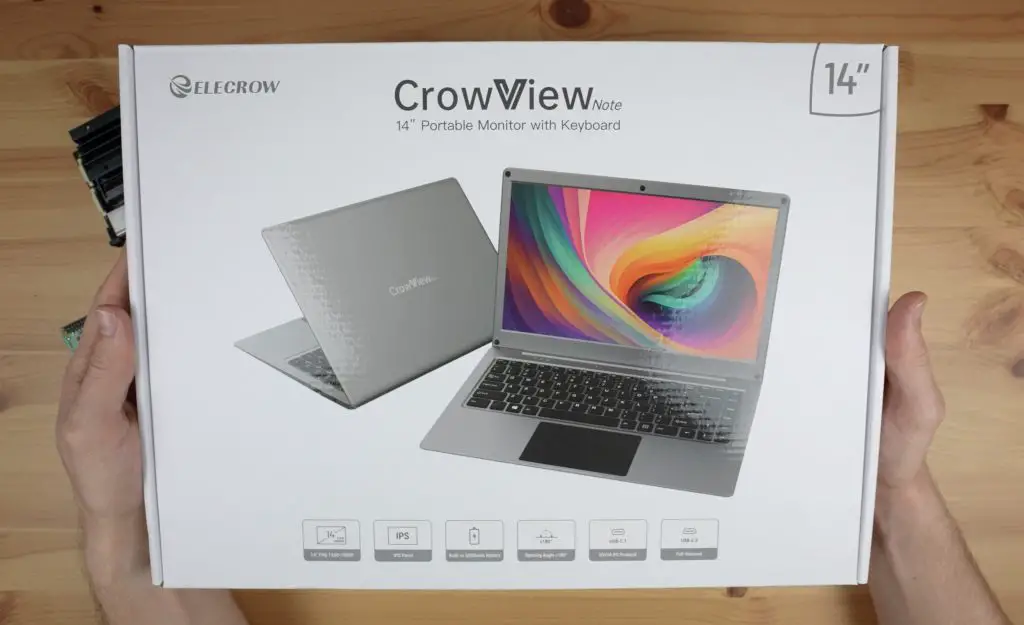
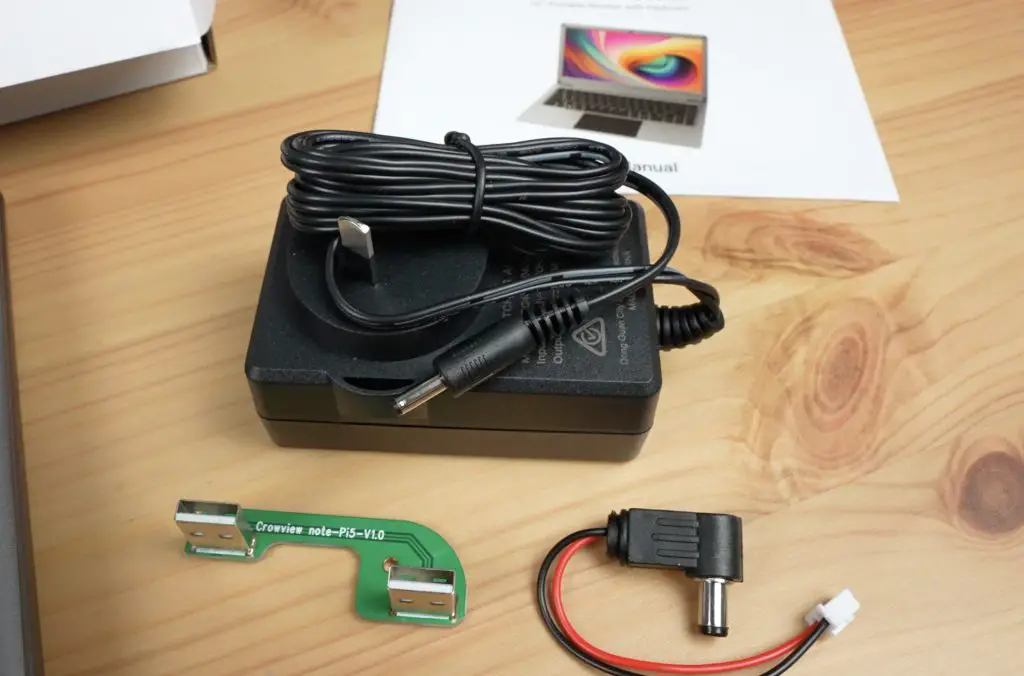
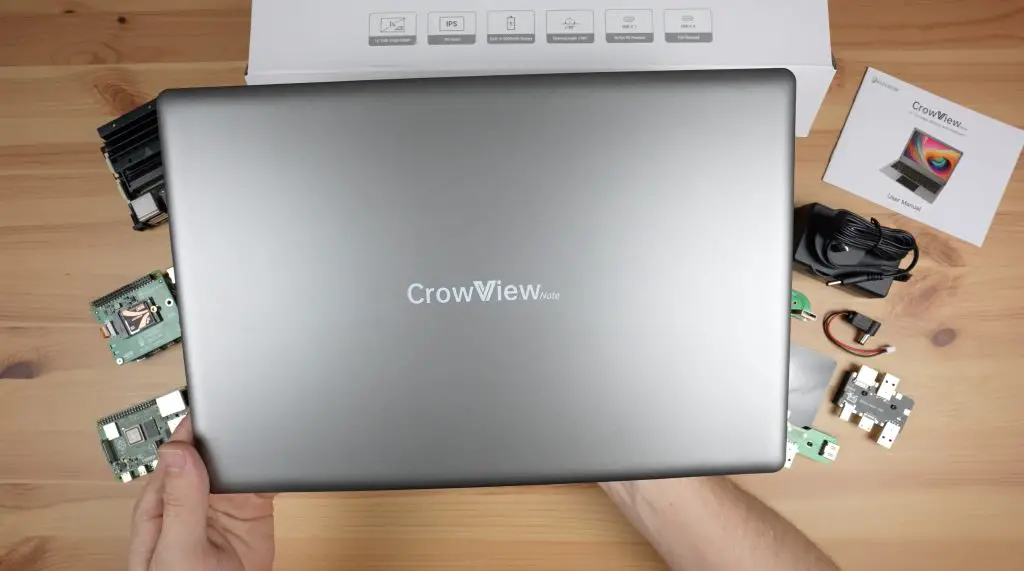
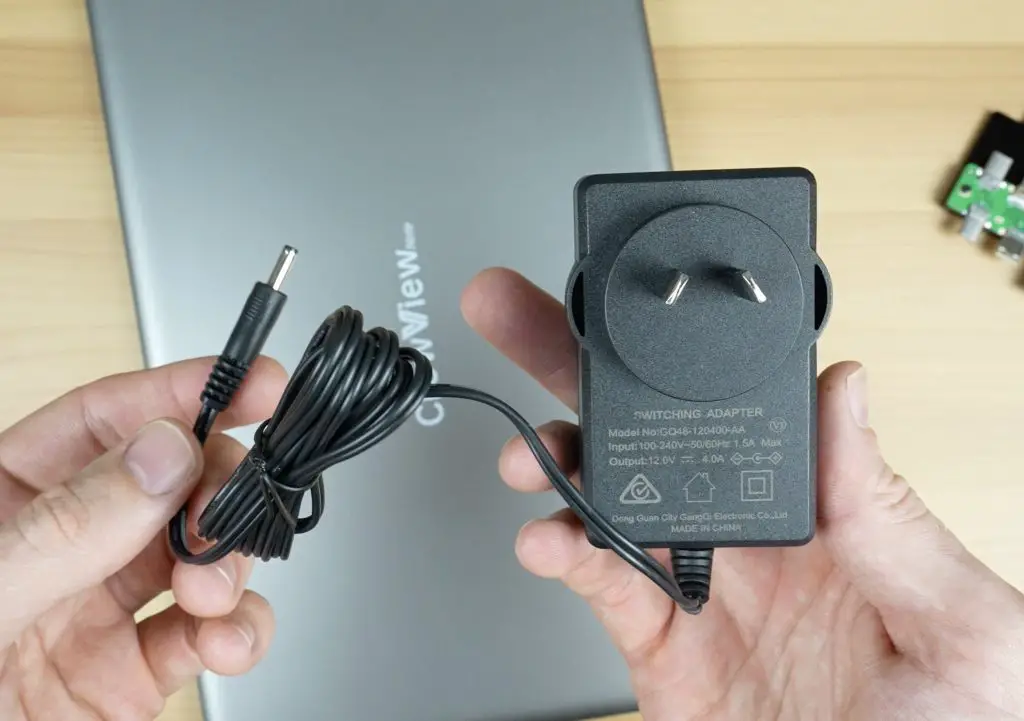
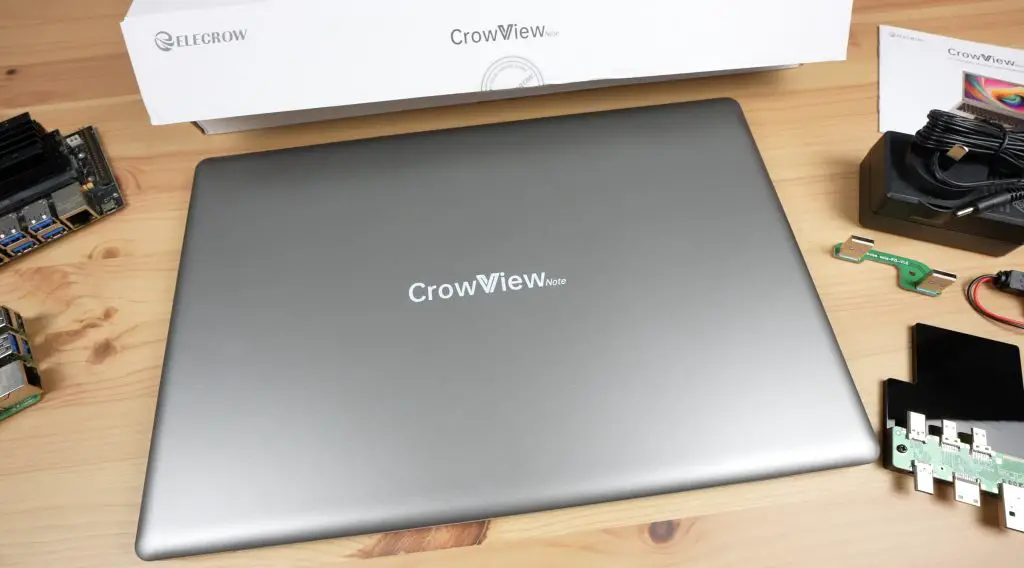
The CrowView Note comes in a white branded box. Inside the box is the CrowView Note, a power adaptor and two adaptor boards, one for a Raspberry Pi 5 and one for an NVIDEA Jetson Nano.
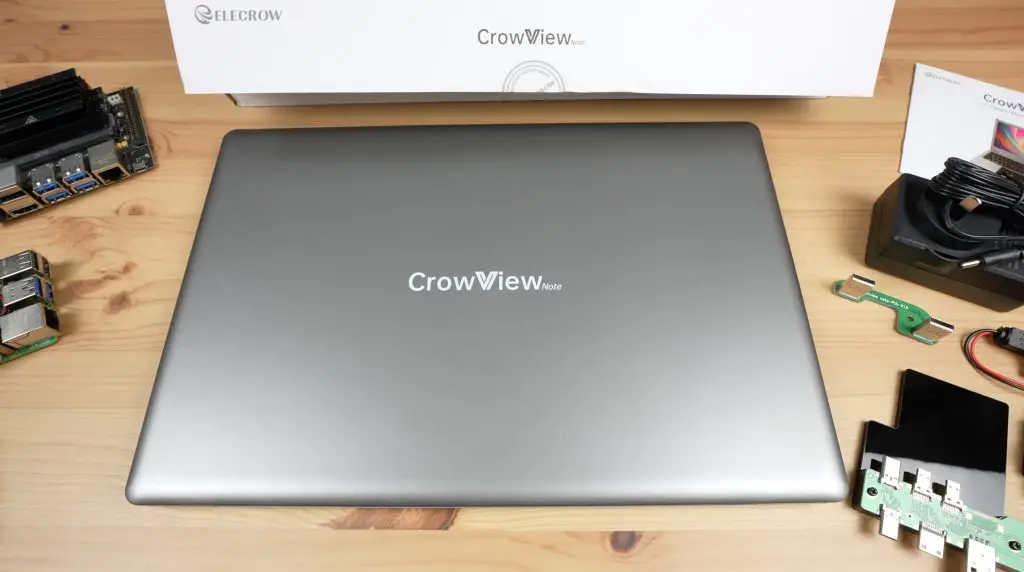
The body of the CrowView Note is plastic, although it is finished to look like aluminium. It would have been great to have an all-metal shell but I presume it’s plastic to keep the cost down.
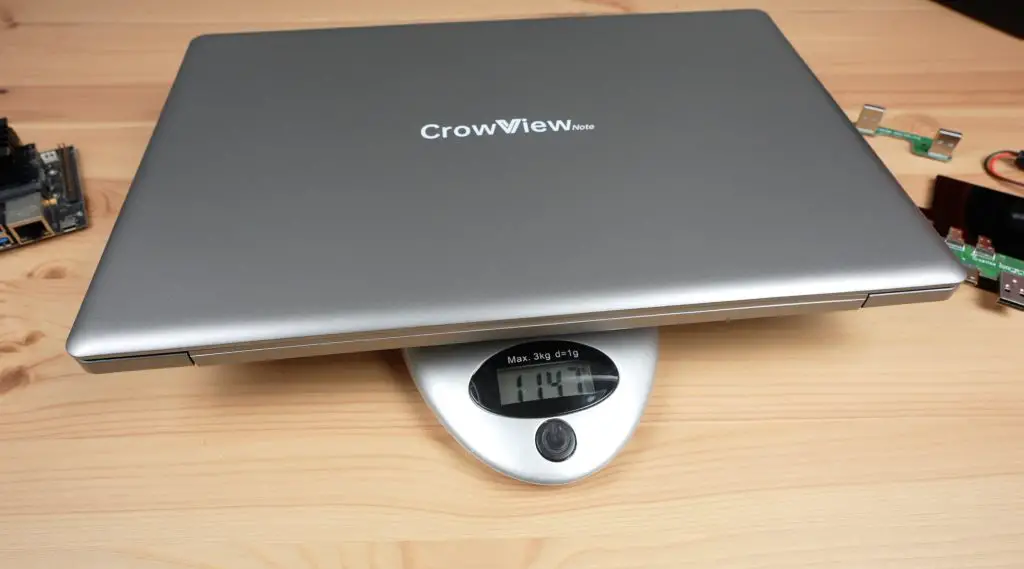
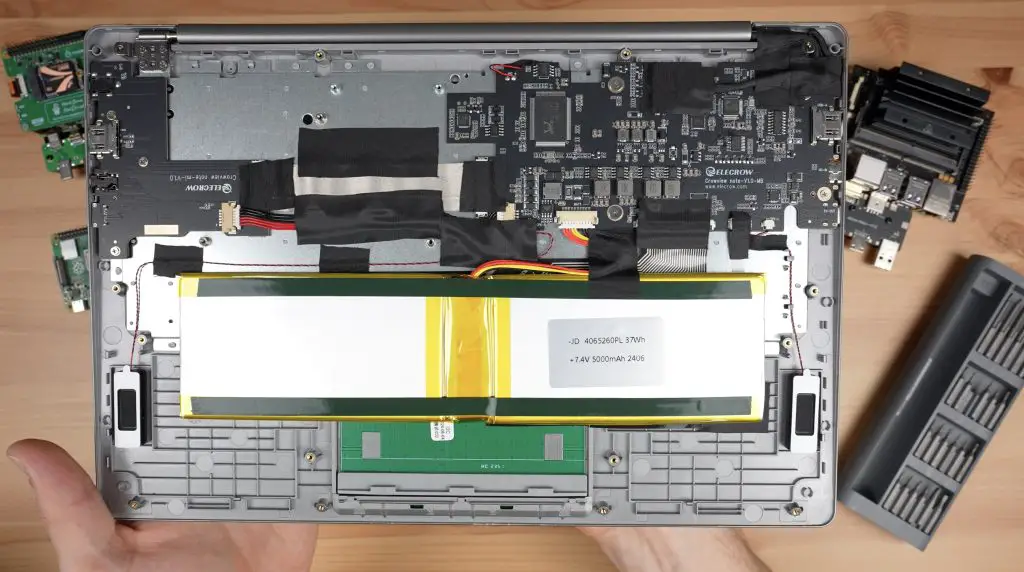
It weighs a little over 1.1kg (2.5lbs) and has a built-in 5000mAh battery. We’ll see what this looks like in terms of battery life in a bit as this will depend on what it is powering.
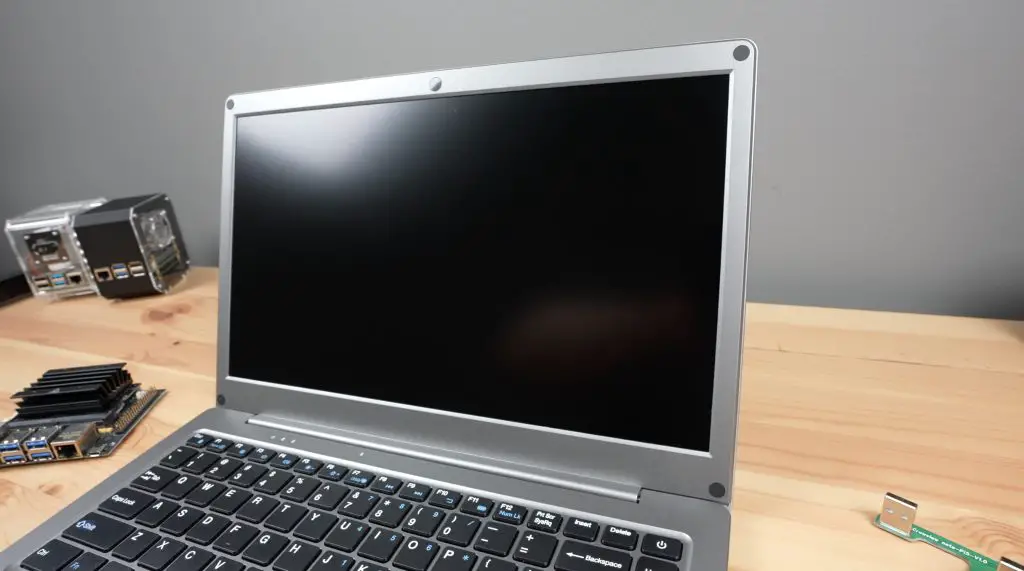
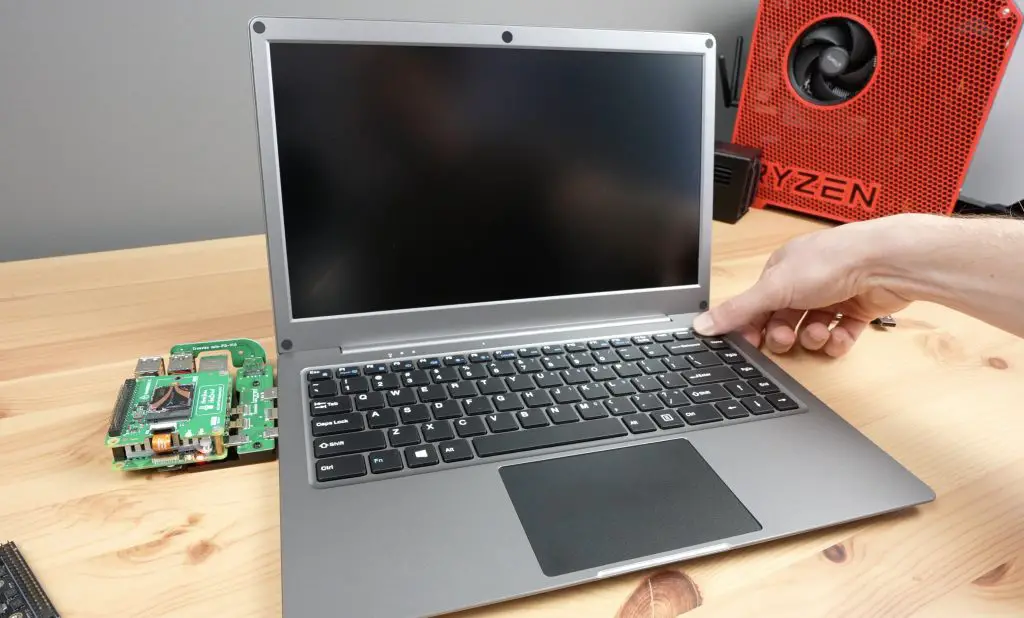
First up, the display is a 14” 1080P IPS panel with a refresh rate of 60Hz.
Then we’ve got a keyboard and trackpad. The keyboard feels fairly decent and comfortable to use. The key presses are good. The frame is quite thin so there is a bit of flex if you push down hard on the keys. It doesn’t feel like a high-end keyboard, and it’s similar with the trackpad. You can’t click on the trackpad at any position, the left and right click are only at the front of the pad.

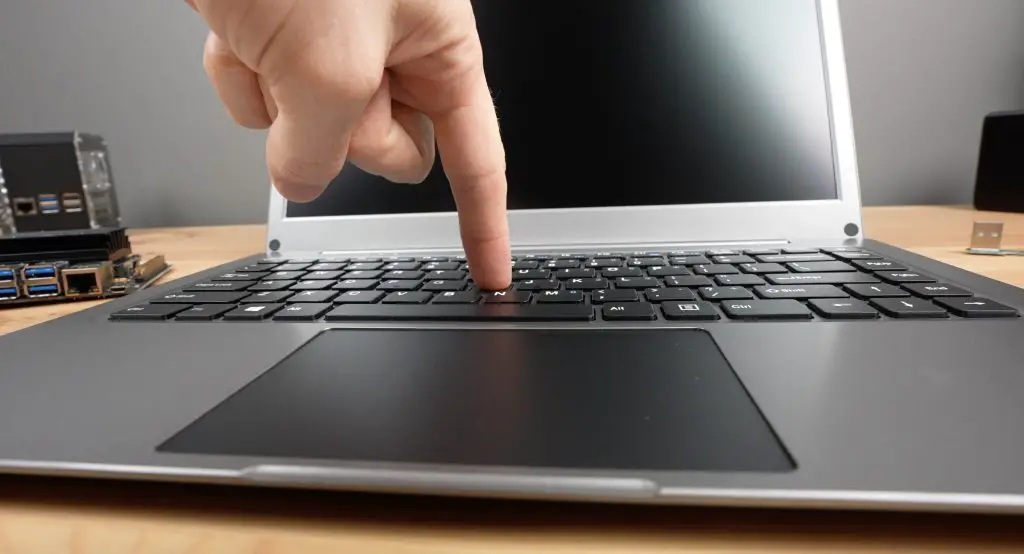
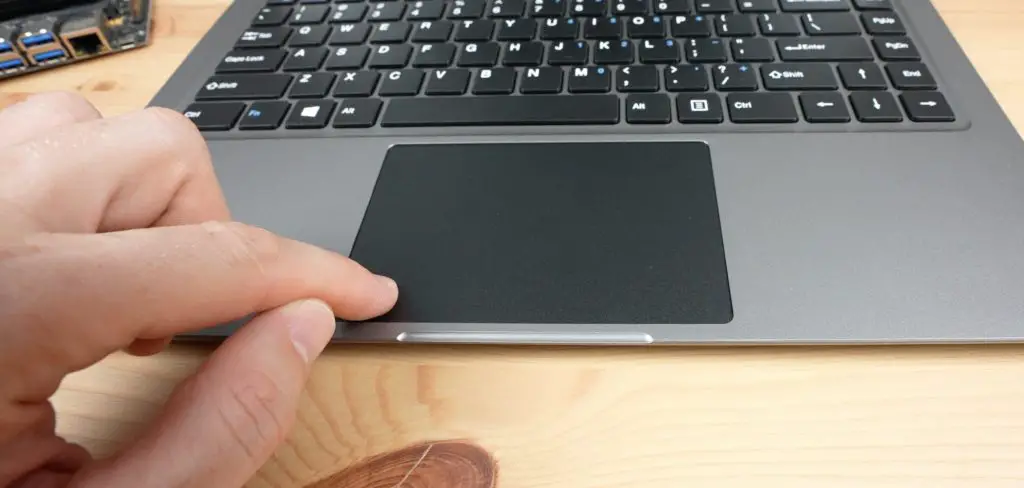
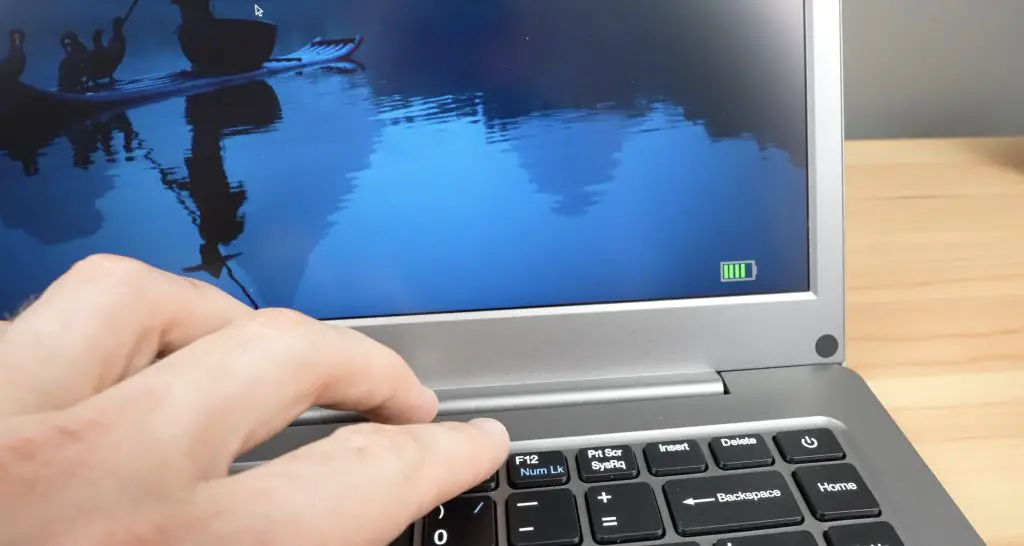
It’s got a range of function keys like most laptop keyboards. These keys control the volume and backlight, turn the trackpad on or off and provide some media controls.
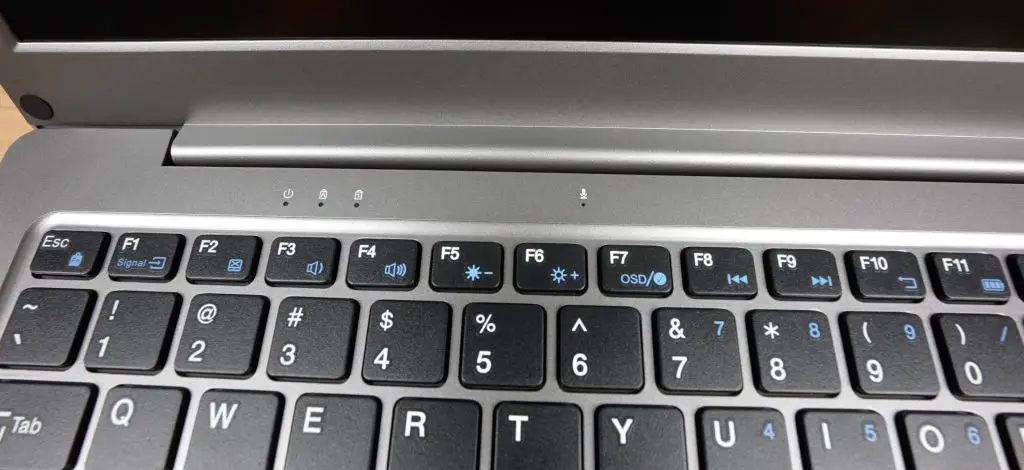
Above the keyboard are some indicator LEDs. We’ve got a status indicator that is on when the CrowView Note is powered on. Then a Capslock and Numlock indicator and a microphone.
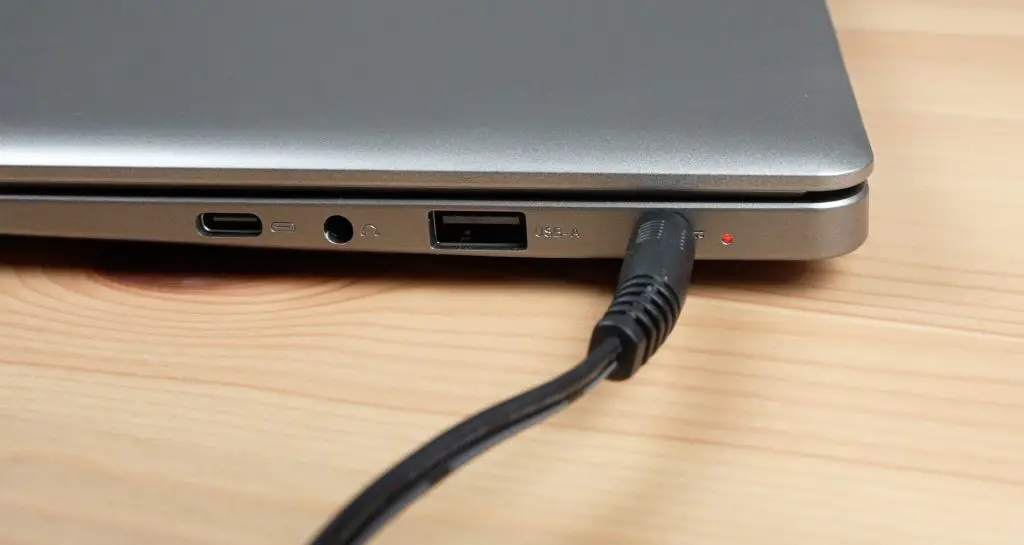
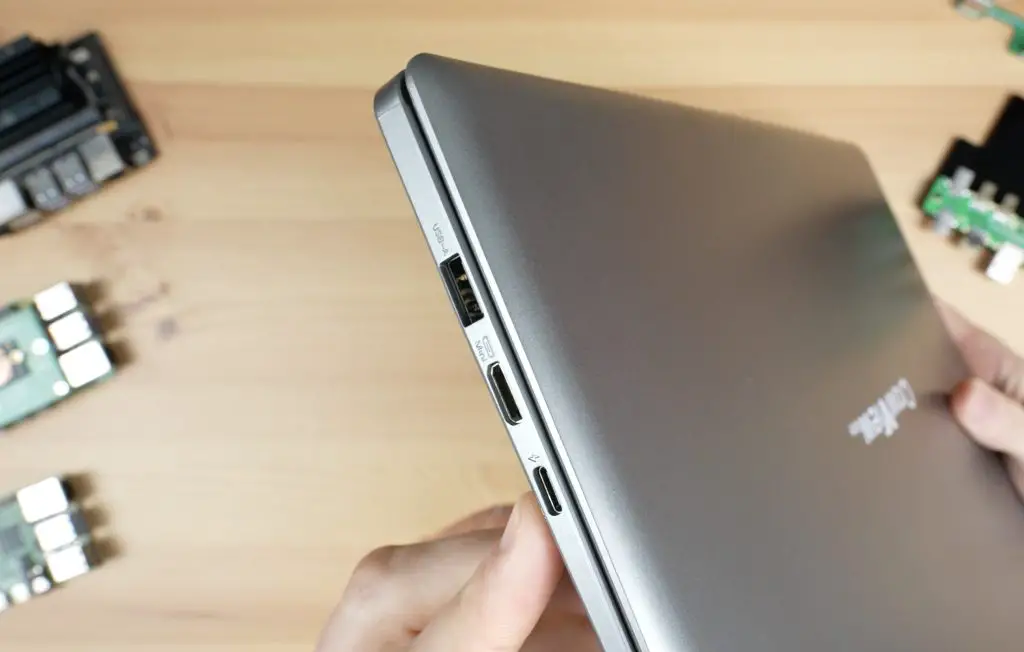
On the left side of the CrowView Note, we’ve got a USB port to connect the keyboard, trackpad and other IO. Then there is a mini HDMI port for the display input and a USB-C port to power the connected device at 5V and up to 5A. This was designed to match the Raspberry Pi 5’s power supply requirements.

On the right side, we’ve got another USB-C port. This one is full-feature though. So devices that support USB-C DisplayPort can make use of a single USB cable to this port to charge the device and to connect to the CrowView Note’s display, keyboard, trackpad and other features. Next to that is a headphone jack that redirects the speaker audio. Then we’ve got another USB port. This port can be used to add peripherals to the connected device.
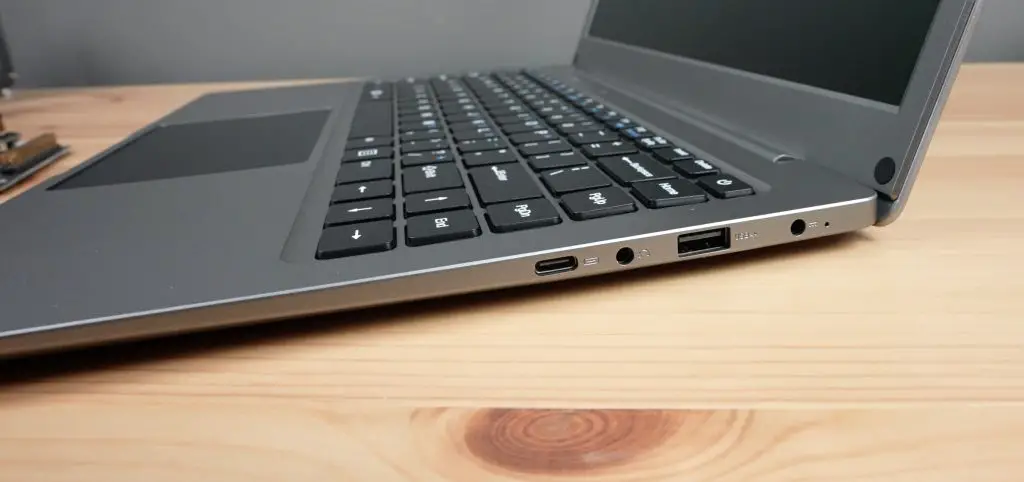
Lastly, we’ve got a 3.5mm barrel jack. This is for power, provided by the included 12V, 4A adaptor. It would have been nice to have power supplied through a USB-C port but I’m glad they’ve gone with this rather than a dangerous non-power delivery 12V USB-C power supply that I’ve seen on some other devices.
This little hole next to the power port is an indicator LED that lights up red when the internal battery is charging.
The speakers are underneath the CrowView Note. Their product sticker covers what seems to be an NVMe drive access slot. So, I assume this is a laptop frame from an actual laptop that has been repurposed for this product, again likely to keep costs down.
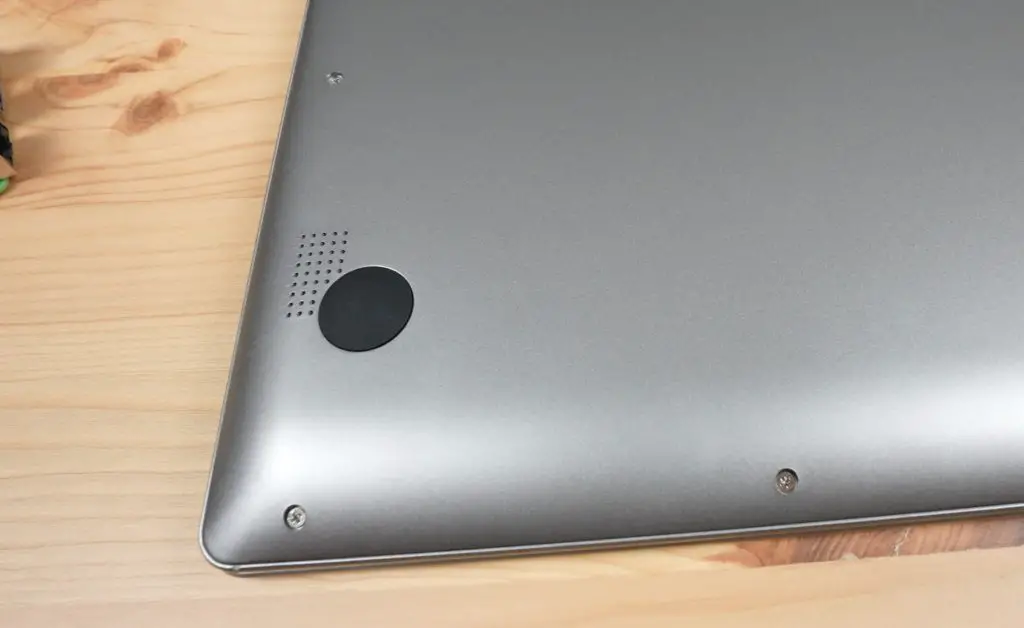
We’ll open the bottom up later to take a look inside.
So that’s an overview of the hardware, now let’s get a Pi connected to it to try it out.
Connecting A Raspberry Pi 5 To The CrowView Note
Flexibility is what Elecrow had in mind when designing the CrowView Note, so instead of providing a proprietary port through which a carrier board can be connected, they have designed the interfaces through standard ports. This means that you can either use their carrier boards to connect specific devices and remove the need for cables, or you can connect devices without a carrier board by using standard cables.
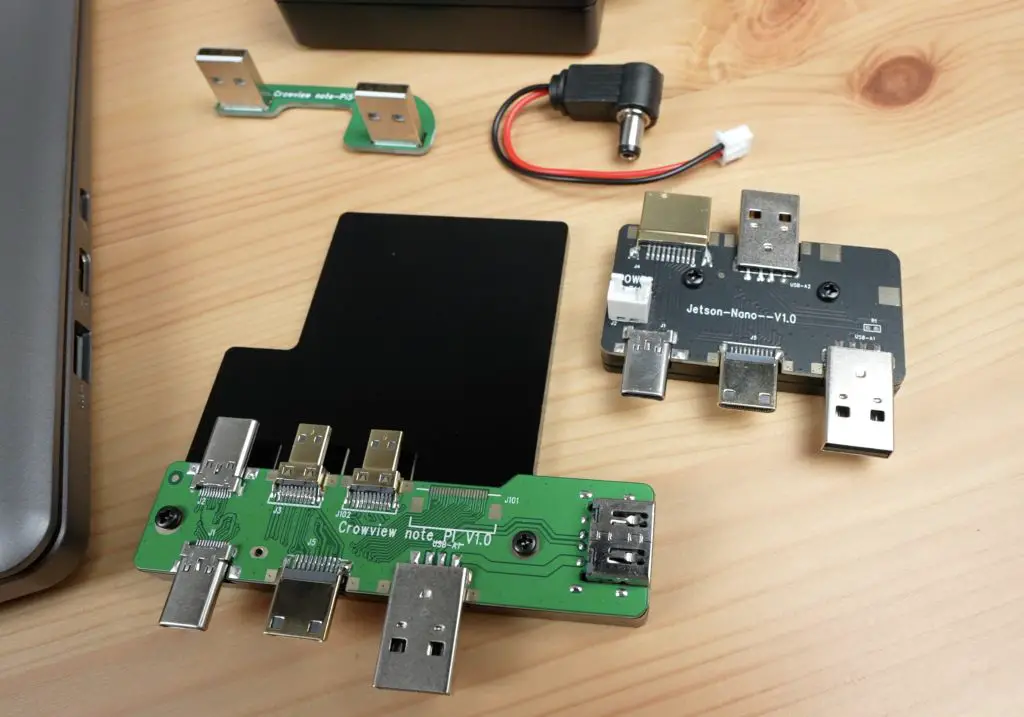
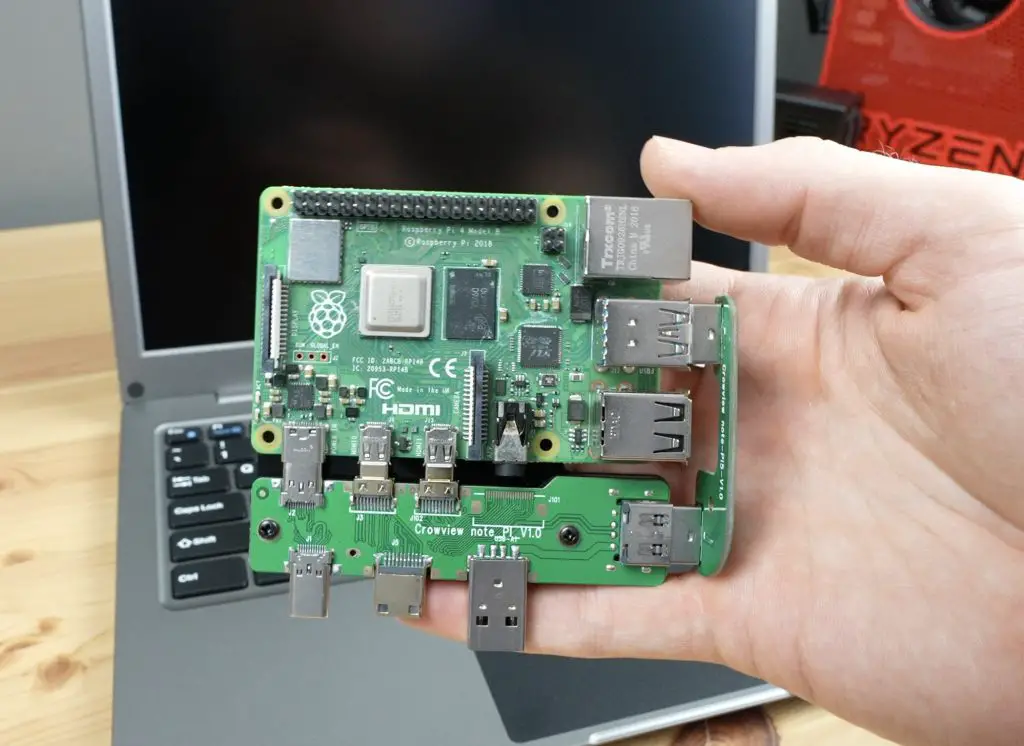
To connect our Pi to the CrowView Note we’re going to use one of the two included carrier boards. We have one for a Pi 5 and one for a Jetson Nano developer kit.
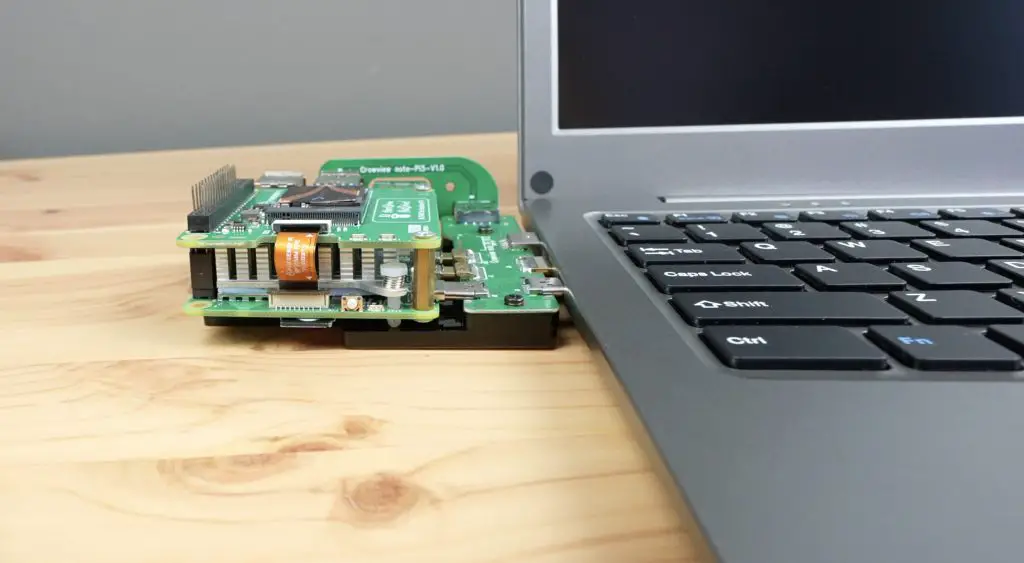
The Pi version connects to the USB-C and HDMI ports on the side of the Pi and then uses a jumper across to one of the USB 3 ports on the front.
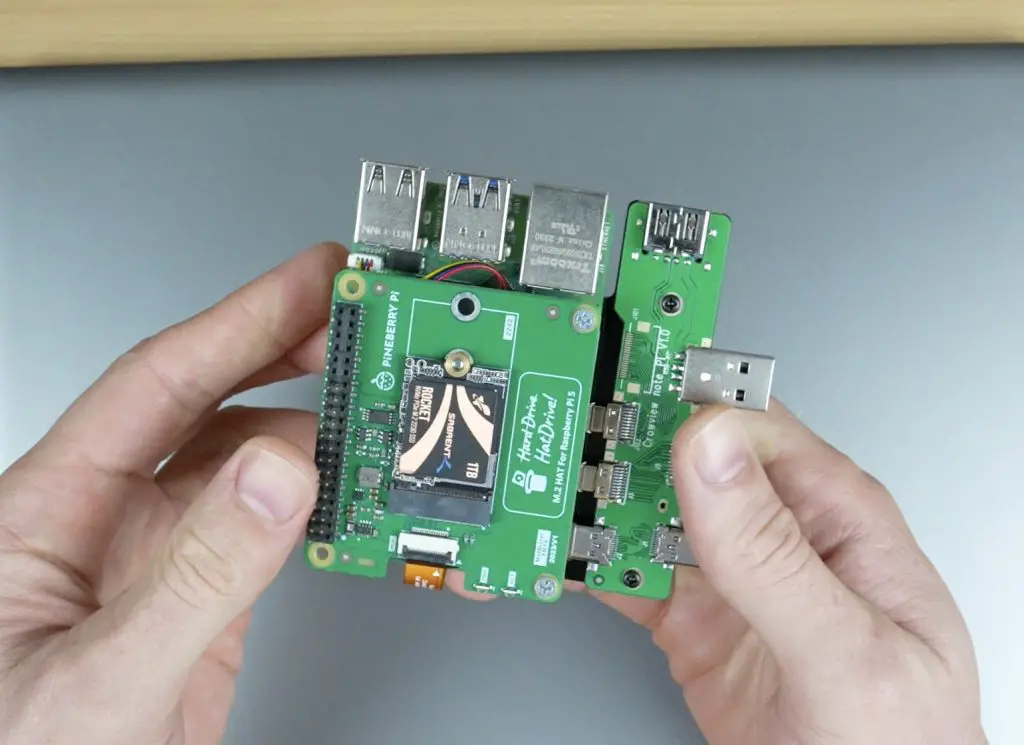
The carrier board then plugs into the three ports on the side of the CrowView Note.
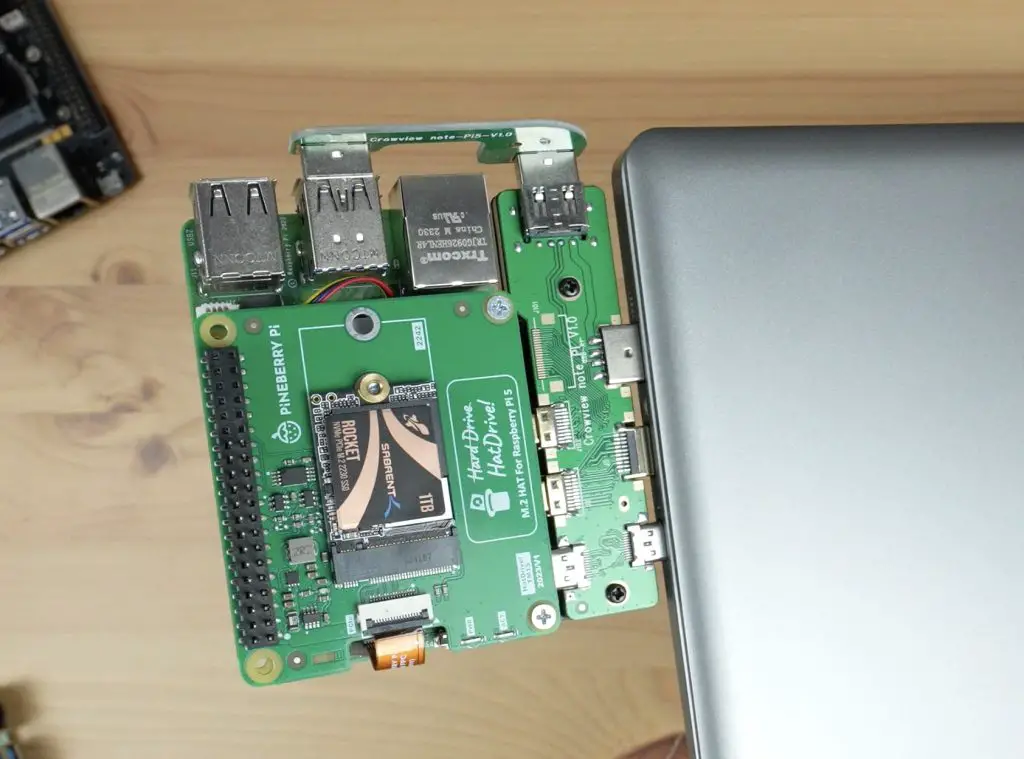
They’ve added acrylic to the bottom of the adaptor board to support the Pi, so it’s not just hanging on the ports. It’s supported by the desk underneath it, even if you press down on it.
I’ve charged the battery overnight so I’m not going to add the power cable at this stage. Let’s see how it goes being powered solely by the internal battery.
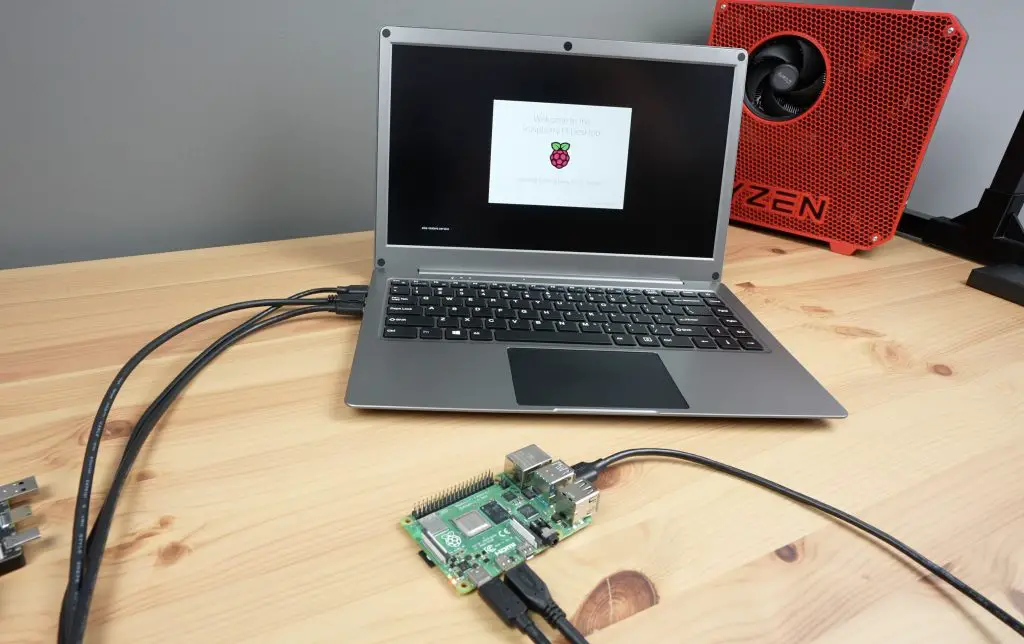
Pressing the power button provides power to the Pi 5 to boot up.
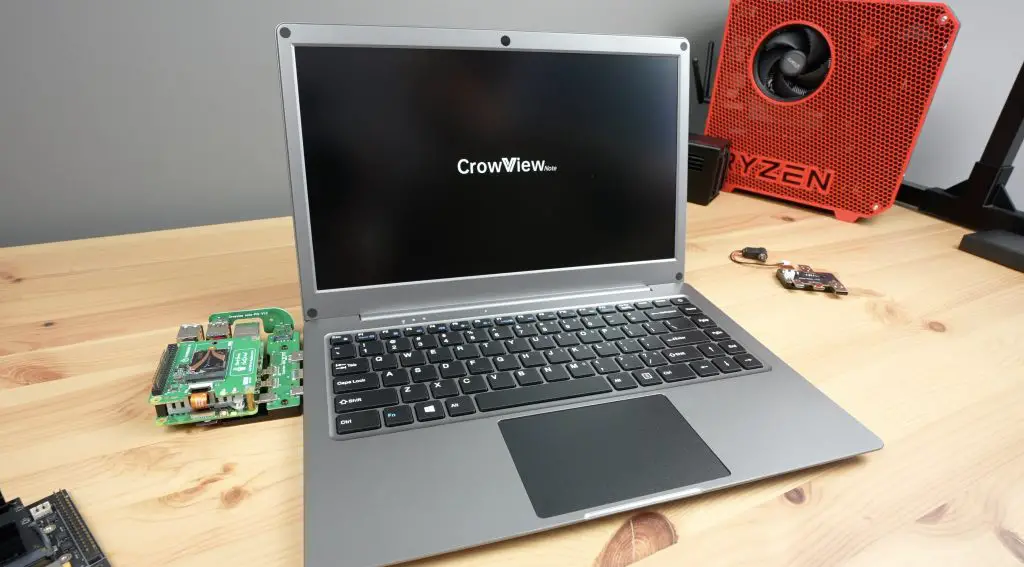
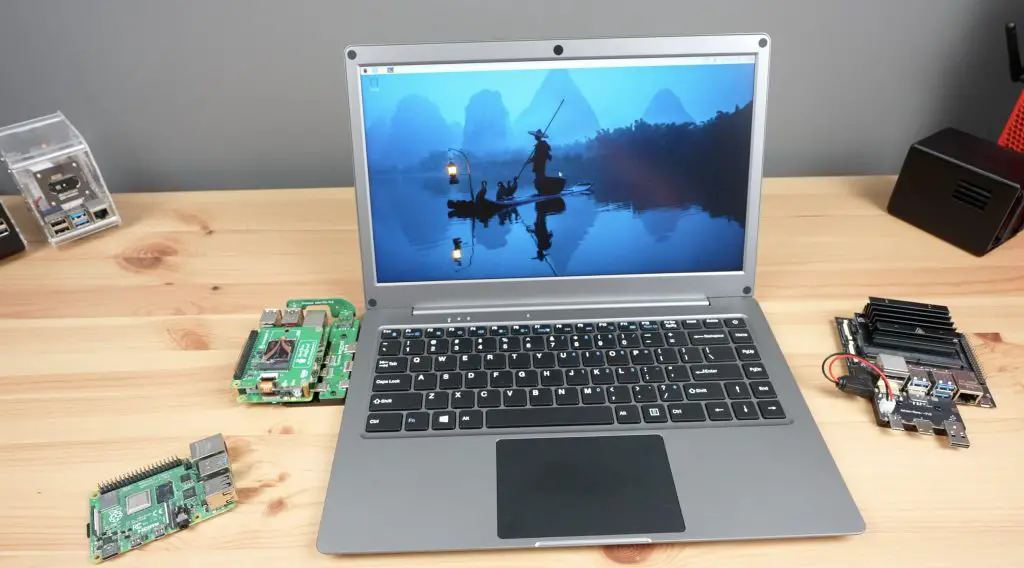
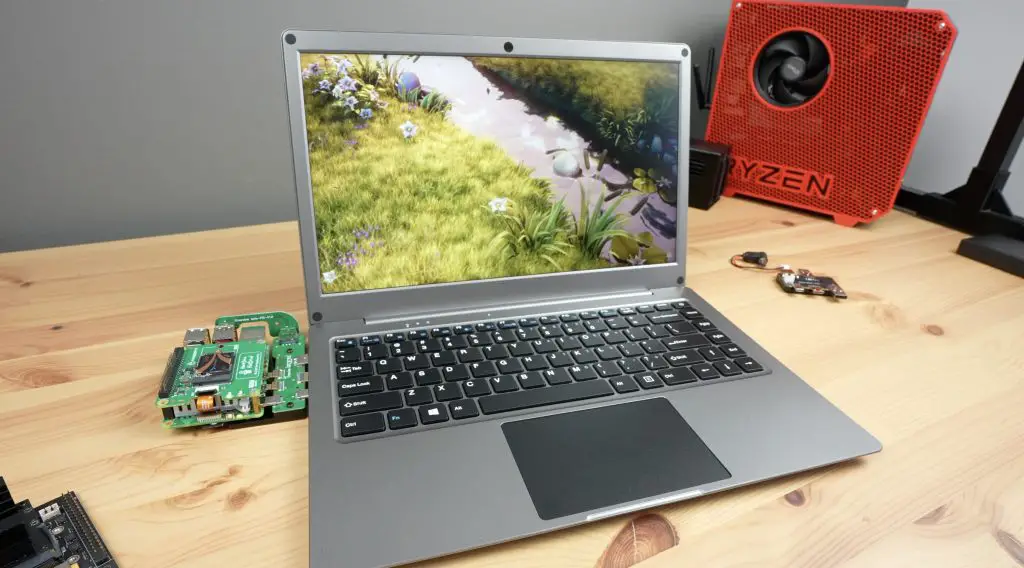
Once booted up we’re on the desktop. The display looks really good. The image quality is great, the colours look accurate and the viewing angle is relatively wide for a laptop-style display.
As I mentioned earlier, we’ve got a number of function keys across the top row. I quite like the battery indicator. Pressing this key pops up with an indicator on the bottom right of the display that shows how full the battery is.
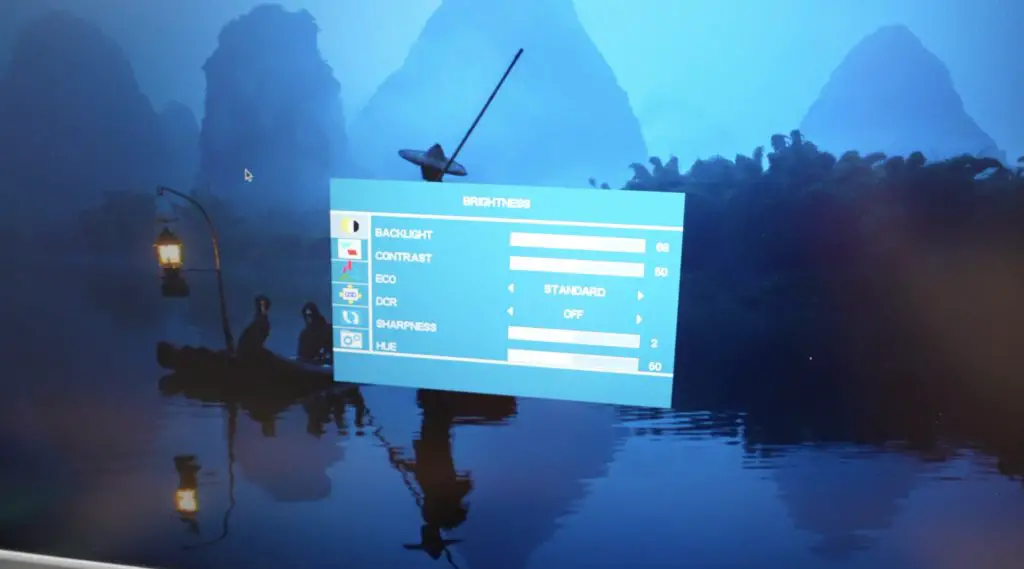
There is also a full menu with display settings like a traditional monitor.
The trackpad is quite good, you’ll need to turn up the pointer speed, but there is no input lag. You can do the usual tap-to-click but can only really physically left or right-click the mouse in the front third.
The stereo speakers are ok, they sound a little tinny at higher audio volumes, but it’s nice to have them included as an option. My video at the beginning of the post has a sample of the audio when watching a video.
The CrowViews power button is not connected to the Pis power button. So you need to shut down the Pi safely by either pressing its power button or doing it through software. You’ll then need to then press the CrowViews power button to remove power to the Pi once shutdown.
We can also easily connect a Jetson Nano by using the second included carrier board. This is a bit quicker than with the Pi since all of the Jetson Nano’s ports are on one side already and we just have a jumper for power.
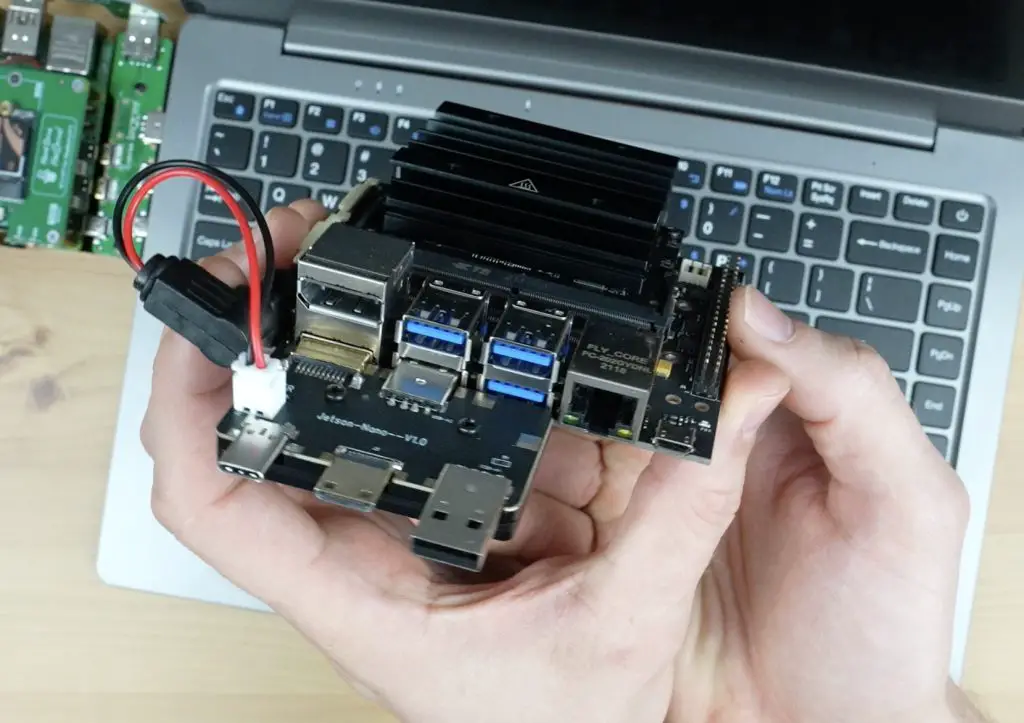
My nanos carrier board is unfortunately a 9-19V board so I’m going to have to use external power as the CrowView Note only does 5V.

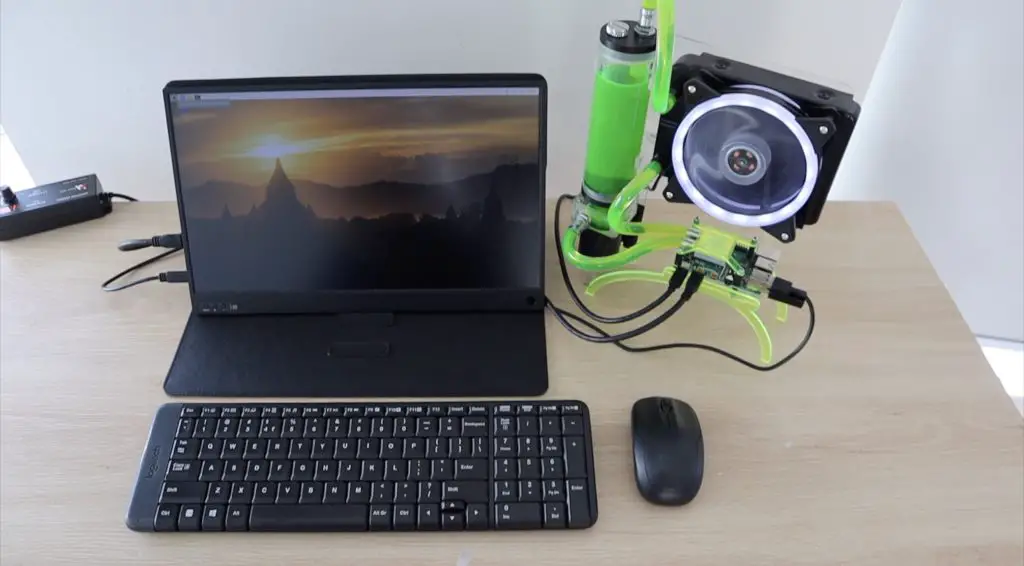
Connecting Other Devices To The CrowView Note
It may seem a bit strange to have the Pi, Jetson or other computer outside of the laptop-style shell. Elecrow have made a Laptop-style computer for a Raspberry Pi previously which integrated it into the enclosure. This results in a very thick laptop base which reduces portability and access to the Pi, so I prefer this arrangement. This design also allows you much more versatility to use different single-board computers, mini-computers and mobile phones, all with minimal effort.
The adaptor board for the Pi 5 will also work on the Pi 4 if you want to connect one of those.
Or, as I mentioned earlier, you can also connect any single-board computer up using standard cables instead of the adaptor board.
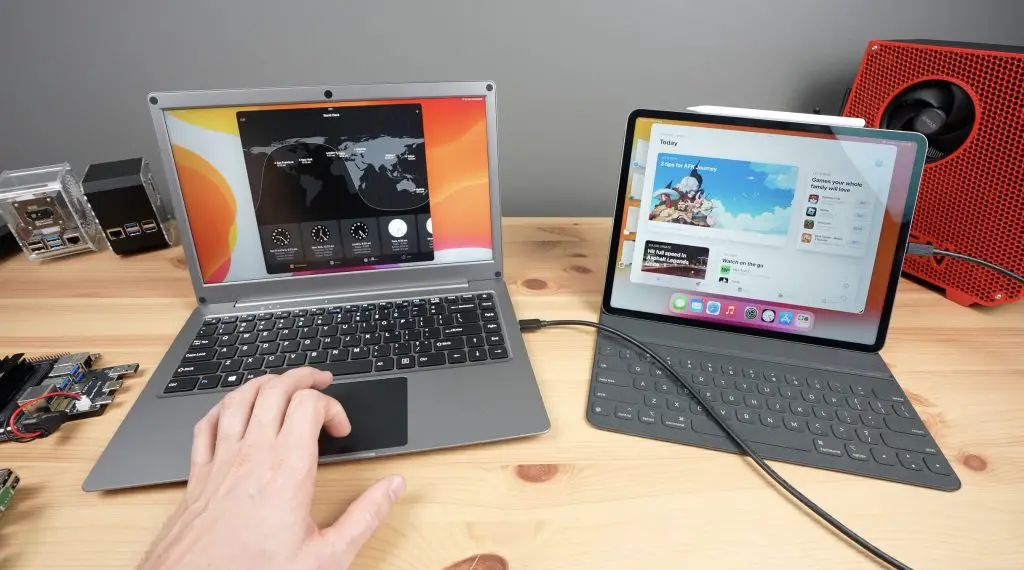
If you’ve got devices like a mobile phone or tablet that supports a USB-C attached display, then a single cable provides another display and connects the peripherals.
Battery Life On The CrowView Note
In terms of battery life. I got about 2.5 hours when running the Pi 5 with an NVMe drive and a moderate load. You’d probably get close to 3.5 hours on a light load or idle on the desktop. The CrowView Note won’t safely shut down the Pi when the battery is empty, so you’ll need to keep an eye on it.
They made the USB-C power port specifically to match the requirements of the Pi 5 but it would have been nice to have power delivery available for a variety of voltages. This would provide support for more power-hungry devices and fast charging charging, so you could use the built-in battery as a sort of power bank.
Inside the CrowView we can see the battery, which is a 7.4V battery, so that gives us 37Wh. It would have been great if they increased the capacity of the built-in battery to take advantage of all of the space in the enclosure.
Final Thoughts On The CrowView Note
I think the CrowView note is perfect for someone who does a lot of travelling or works on a range of single-board computers fairly often as I do. It’s obviously not for everyone and isn’t going to suit someone who wants to use it as a traditional laptop-style computer. If you’re not making use of the ability to swap out the connected device often then this probably isn’t for you.
I’ve used this setup with a portable monitor and wireless mouse and keyboard quite a lot in the past and I think the CrowView Note would fit right in as an all-in-one replacement for it.
It would also be great to see a wider range of adaptor boards be made available for different SBCs. I would be interested in one for Pi Zero 2 W.
A big part of whether this is going to do well or not is going to hinge on the pricing. It’s going to be competing against someone buying similar spec. hardware individually, so its price needs to be competitive with that. I’d say somewhere around $150 would be good value for money, but we’ll have to wait and see what they launch at.
This product is still in the Crowdfunding stage, which obviously comes with some inherent risks. Use your own discretion when supporting these types of projects. Elecrow have been around for several years and have successfully crowdfunded 5 other products, so they’ve been reliable so far.
Let me know what you think of the CrowView Note in the comments section below. What can you see yourself using it for?