Let’s be honest, your Halloween decorations aren’t complete without a carved pumpkin. Carving a basic face into a pumpkin is actually quite easy and doesn’t take more than half an hour to do. They key is to get it right the first time and this is made easy by using a marker to draw on the pumpkin before you start cutting. So grab a pumpkin, a marker and a knife and lets get started.
What You Will To Carve Your Pumpkin
- A Pumpkin (Obviously), Bigger Is Better
- A Marker Pen
- A Small Sharp Knife
- Two or Three Tealight Candles
Carving Your Pumpkin
Firstly you need to draw on your design, there are literally hundreds of ideas on sites like Flickr and Pinterest, a quick search and you’ll have an idea of what you want to carve. Now you need a bit of an artistic touch, draw an outline of the design you wish to carve onto your pumpkin, the nice thing about this method is you can wipe it off and make any changes quickly and easily without messing up your pumpkin. It also doesn’t matter if you have a few sketch lines or crossed out lines as we’ll wipe them off afterwards anyway.
Once you have your design drawn on, grab a knife, we need to cut the lid and hollow out the pumpkin. Begin by cutting a circle around the stem of the pumpkin (you can also draw on a circle to guide you) about 10cm (4″) in diameter is fine. Cut lightly at first to mark out your circle and then cut deeply towards the centre of the pumpkin going around the stem. Eventually, if you have cut deep enough all the way around, you’ll be able to pull the “lid” off. Cut the bottom of the lid square and put it aside.
The inside of the pumpkin should already be mostly hollow but it will be stringy and full of pips. Using your hand, pull all of the stringy bits and pips out. You can also use a spoon to really clean up the sides and the bottom well. Scrap as much as you can off without digging into the meat of the pumpkin.
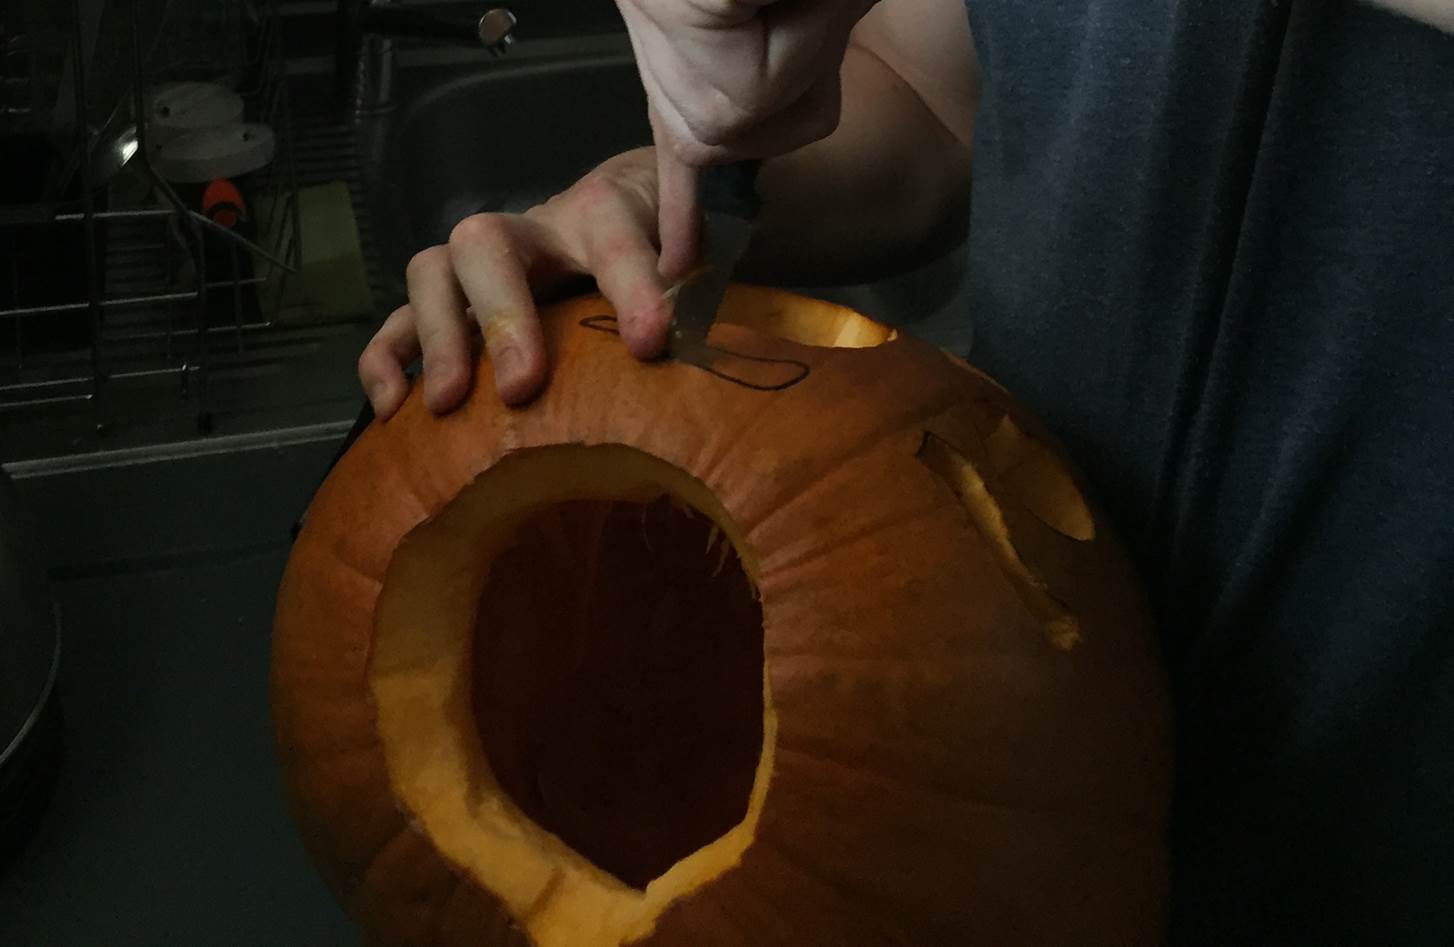
Now its time to get carving. Using your sharp knife, carefully cut along your marked lines. Make shallow cuts initially and slowly get deeper and deeper to ensure that you don’t slip and cut yourself or the wrong part of your pumpkin. Once you have cut a shape along all of its sides, it should be relatively easy to push into or pull out of the pumpkin depending on the angle you held your knife. Wiggle the bits around to see where more cutting is required.
Once you have rough carved your pumpkin, do the finer details and clean up any rough or unclean edges. Once you are happy with your design, it is time to wipe off the marker. The marker should come off with a bit of soap and a cloth but if it is a bit more permanent then you may have to use some nail polish remover and cotton wool to wipe it off.
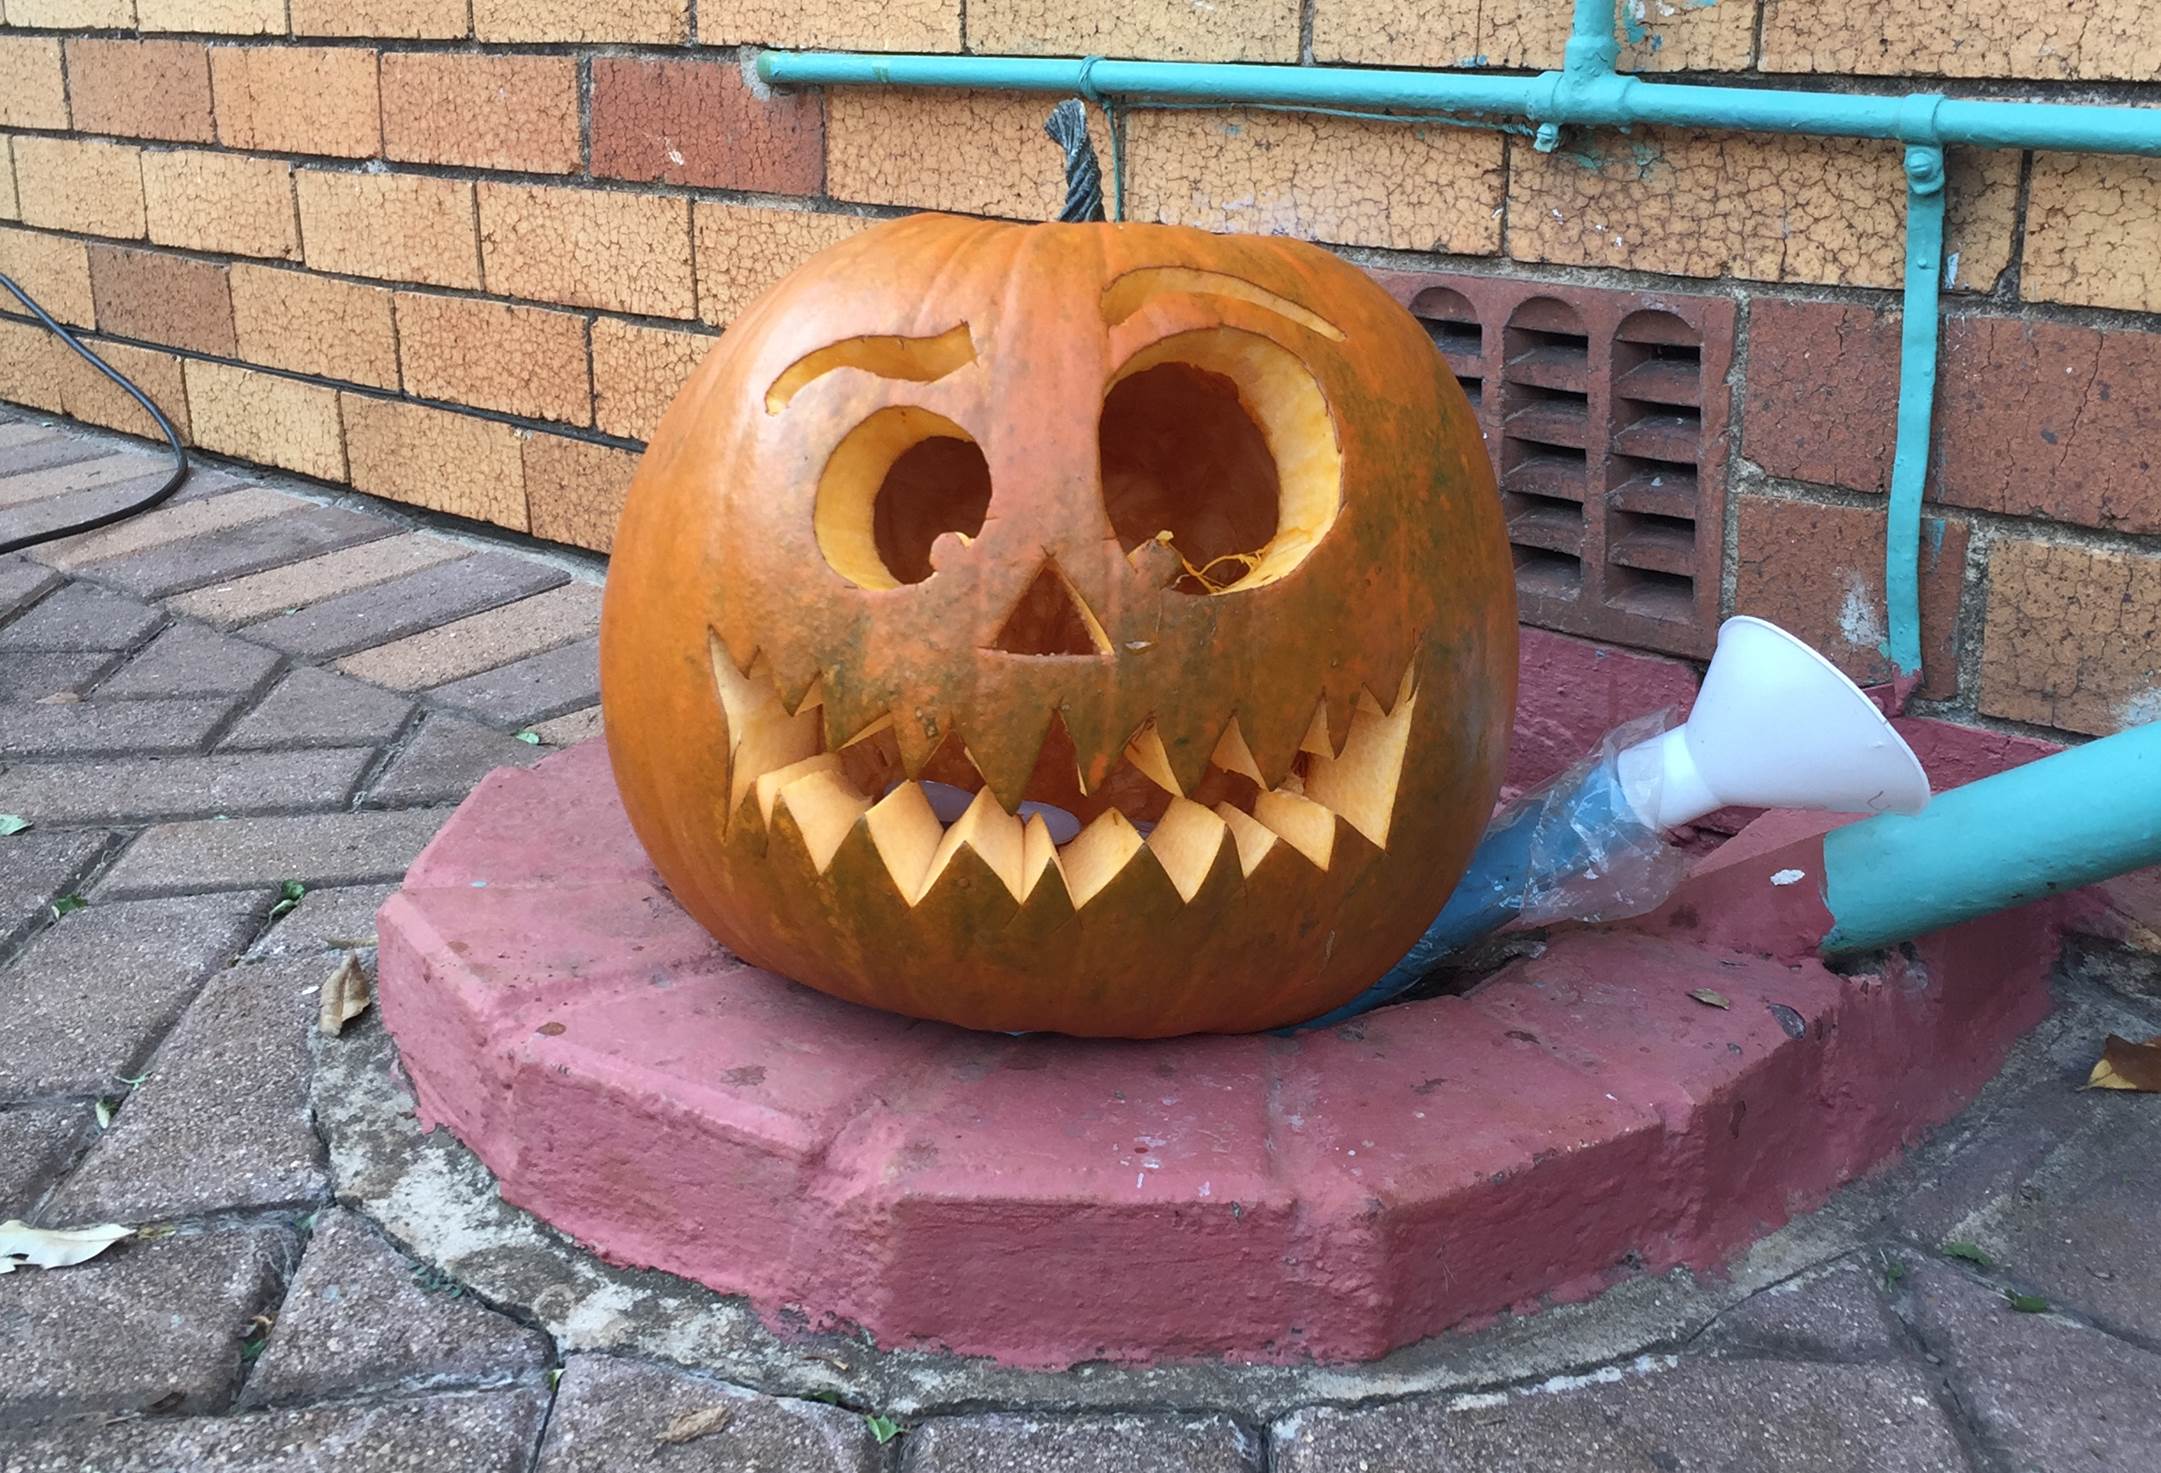
Your pumpkin is now ready to put on display. Just before it gets dark, place two or three tea light candles into the centre and light them. Put the lid back on and your pumpkin is ready to use. The glowing grimace of a jack o lantern is sure to attract attention on your doorstep or down the driveway!
Have you carved a pumpkin his Halloween? Send us your pictures using the mail link above and we’ll add them to our page or let us know your tips and tricks in the comments section below.
There’s nothing like carving a pumpkin to get you craving a home baked pumpkin pie, try this great recipe to fill your home with the fresh pumpkin spice fragrance.


