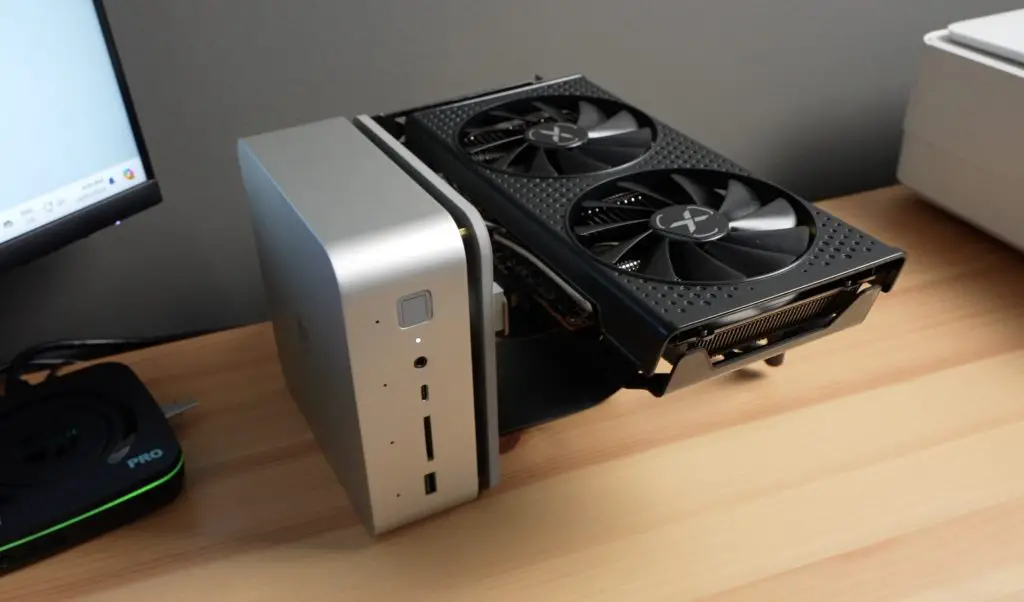
A couple of weeks ago, I tested the Beelink GTi 14 Ultra, a powerful mini PC with a full-size PCIe port underneath it. At the time Beelink said that this was for a dock that they were working on, which would allow an external GPU to be used with the PC, but it hadn’t launched yet. So I tested the interface using my own 3D printed adaptor that screwed onto the bottom of the pc along with a PCIe riser and an external power supply.
Beelink have now completed the dock, so that’s what Im going to be sharing with you in today’s video.
This is the EX Docking Station and it is compatible with the GTi14 and GTi12 series PCs at the time of writing this post.
Here’s my video of the EX Docking Station, read on for my write-up;
Where To Buy The Beelink EX Docking Station?
Tools & Equipment Used
- USB-C Pencil Screwdriver – Buy Here
- Infiray P2 Pro Thermal Camera – Buy Here
- Video Capture Box – Buy Here
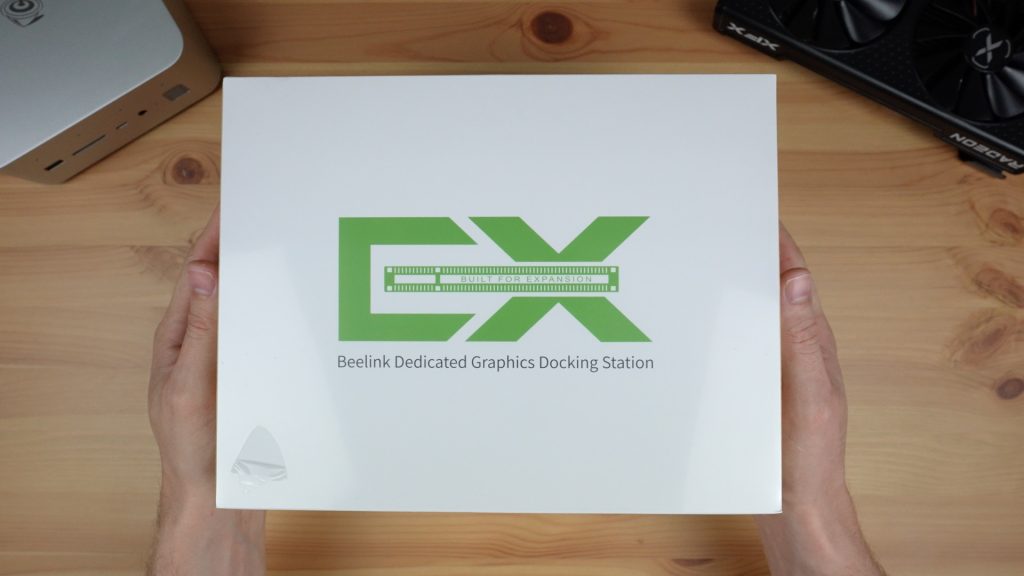
Unboxing & First Look
The Beelink EX Docking Station comes in a white branded-sleeved box that is a lot bigger and heavier than I was expecting it to be.

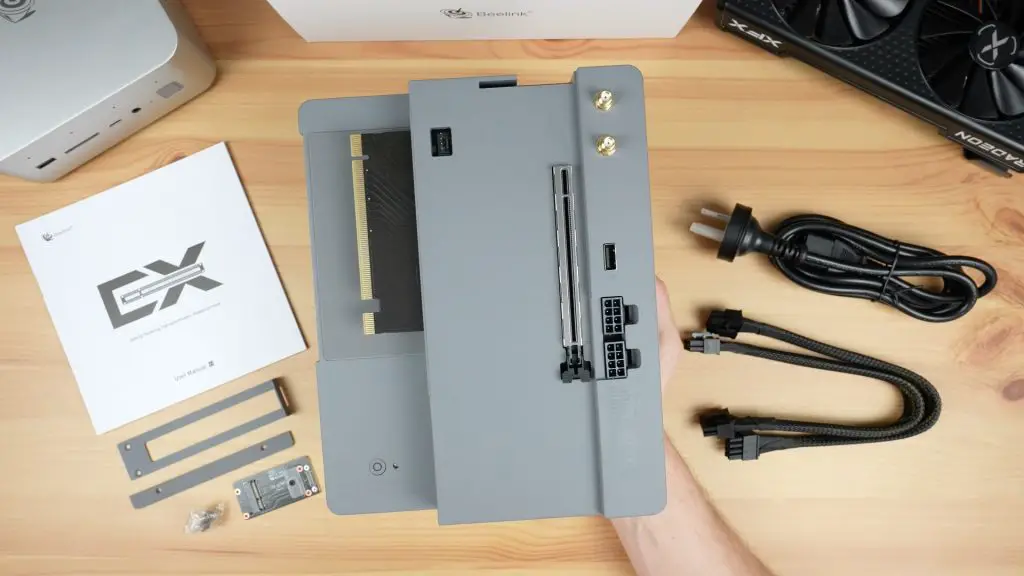
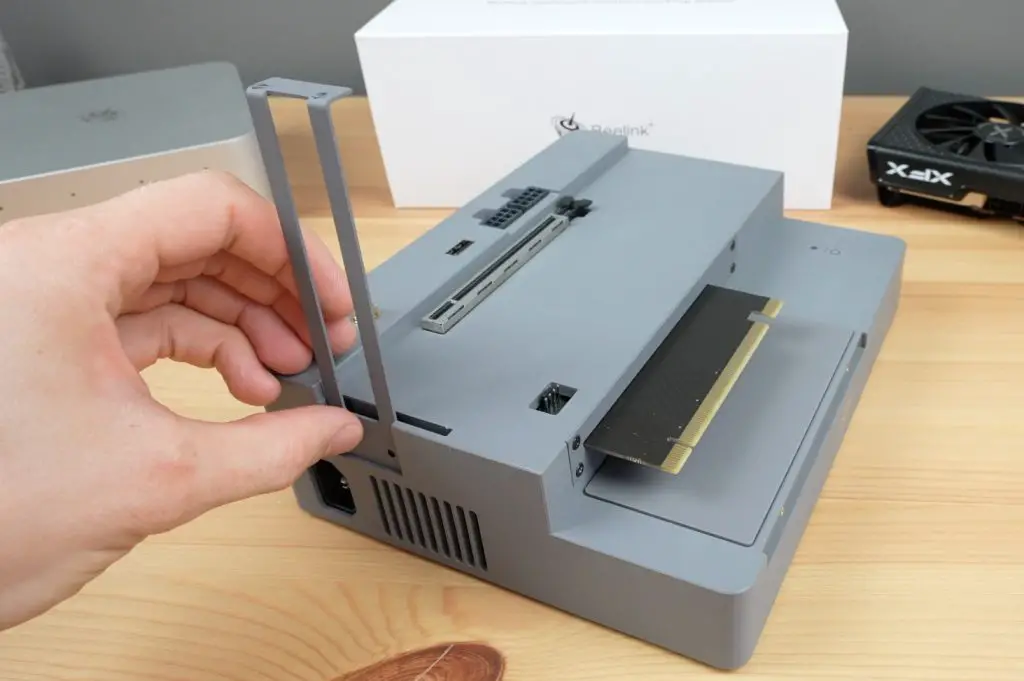
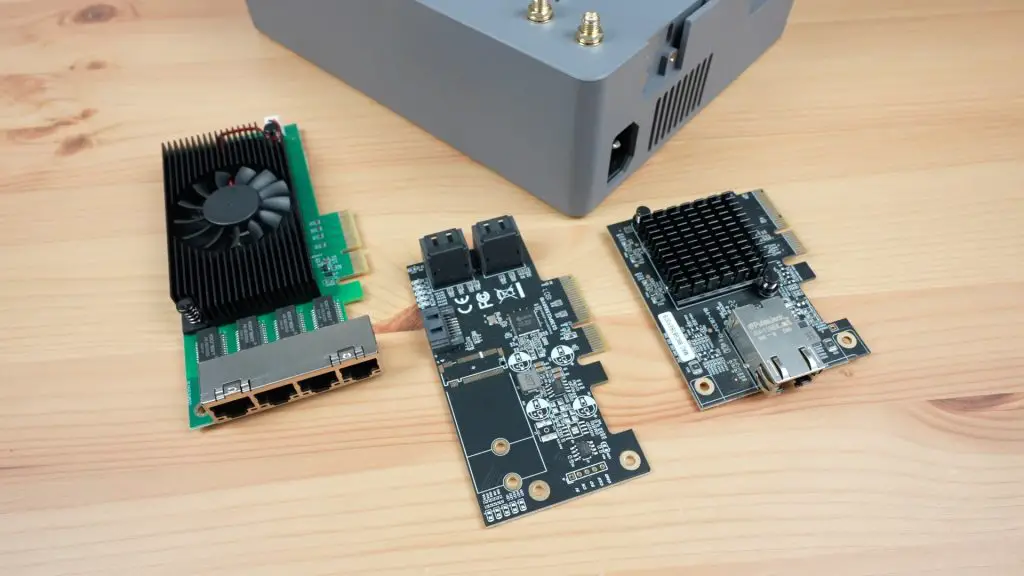
Inside the box you get some manuals, the EX Docking Station, 8-pin power connector cables, a power supply cable, brackets to hold the PC and GPU in place and then a pack of screws and a PCB that looks like an M.2 adaptor for a wifi module.
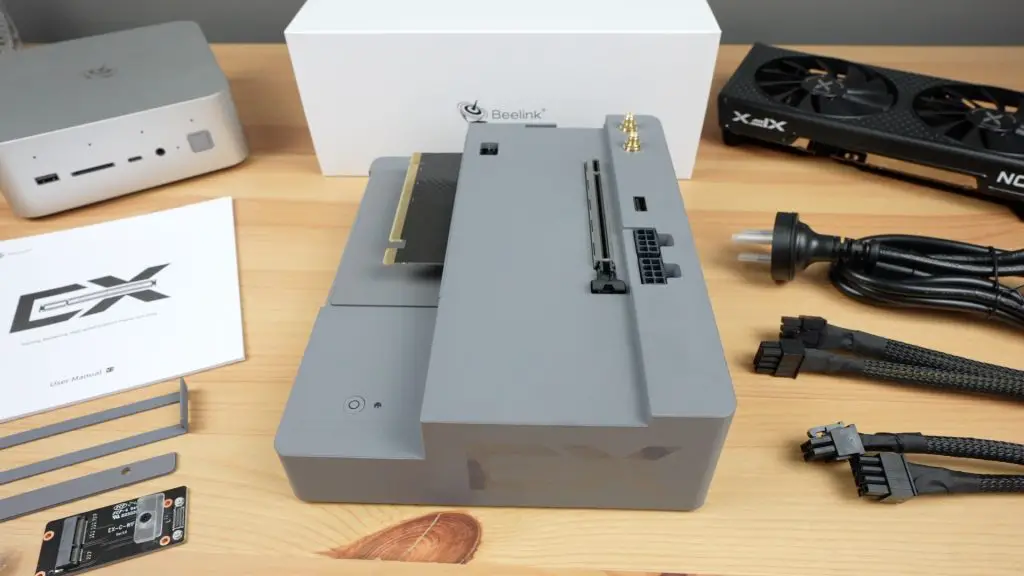
The EX Docking Station measures 179mm wide, 65mm high and 225mm long.
This is a bit more than just a PCIe adaptor or riser, Beelink have integrated a few other features which make it versatile and really easy to use.
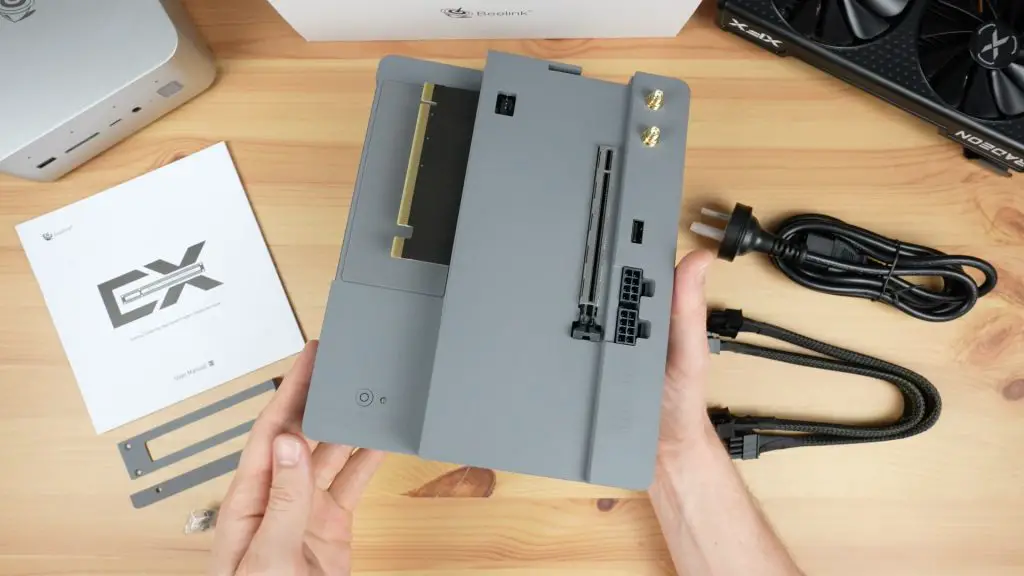
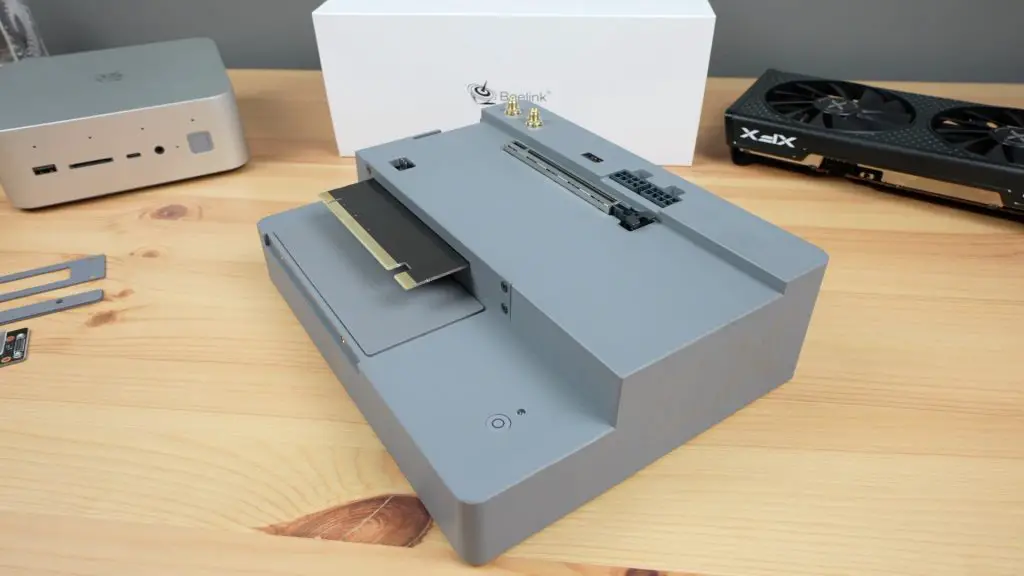
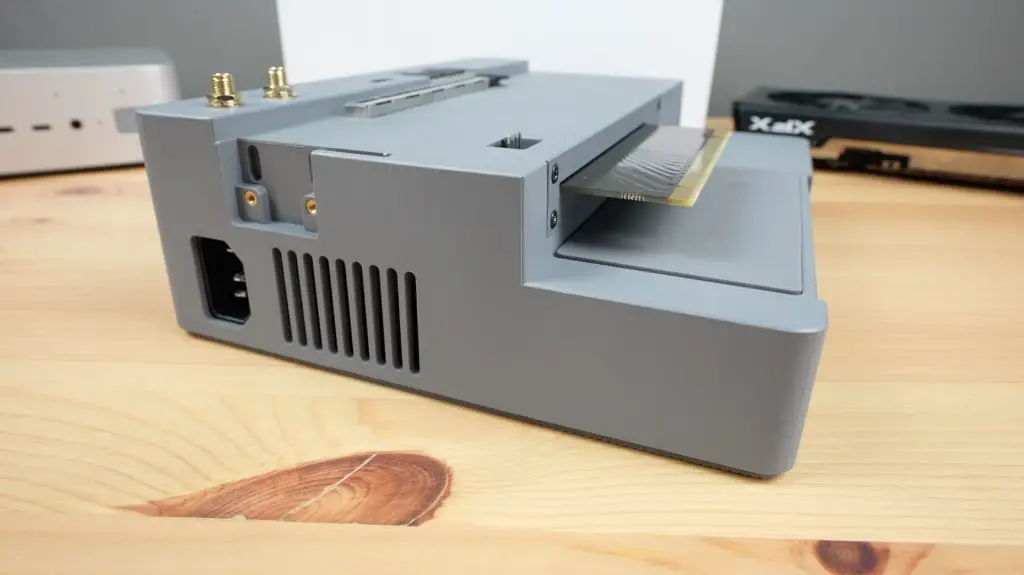
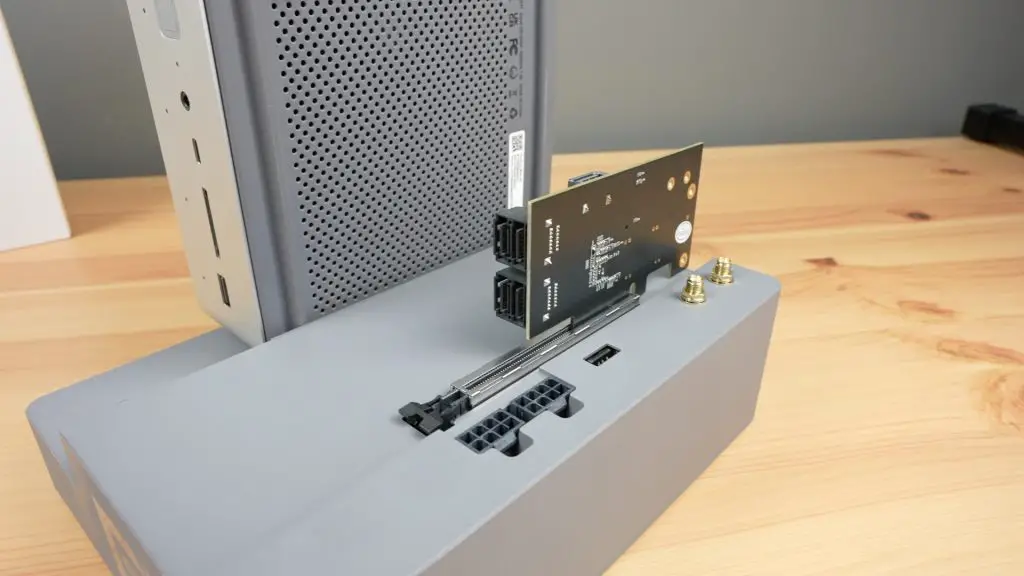
First up is the obvious main feature, the PCIe x8 port which allows you to connect an external GPU to the PC.
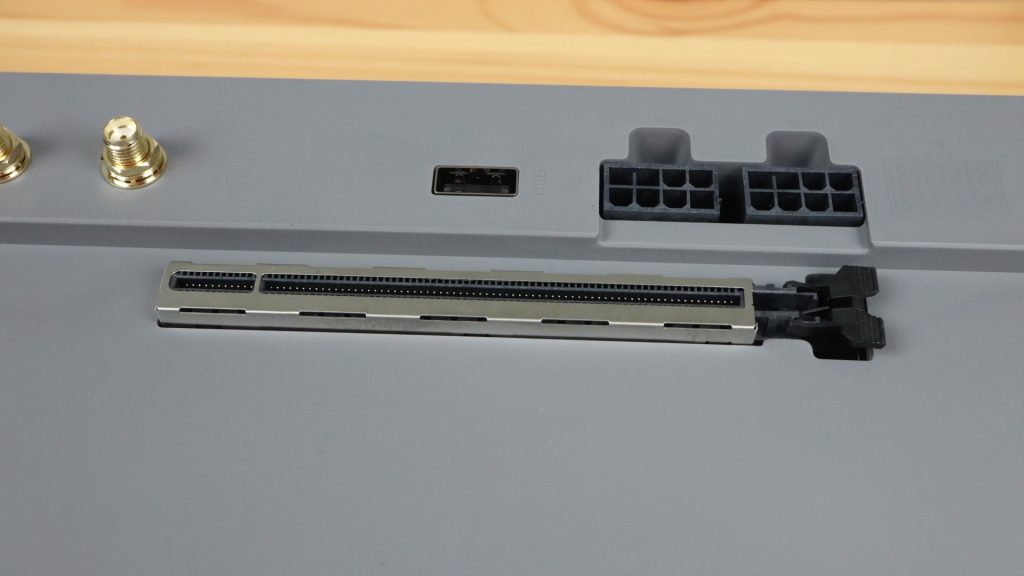
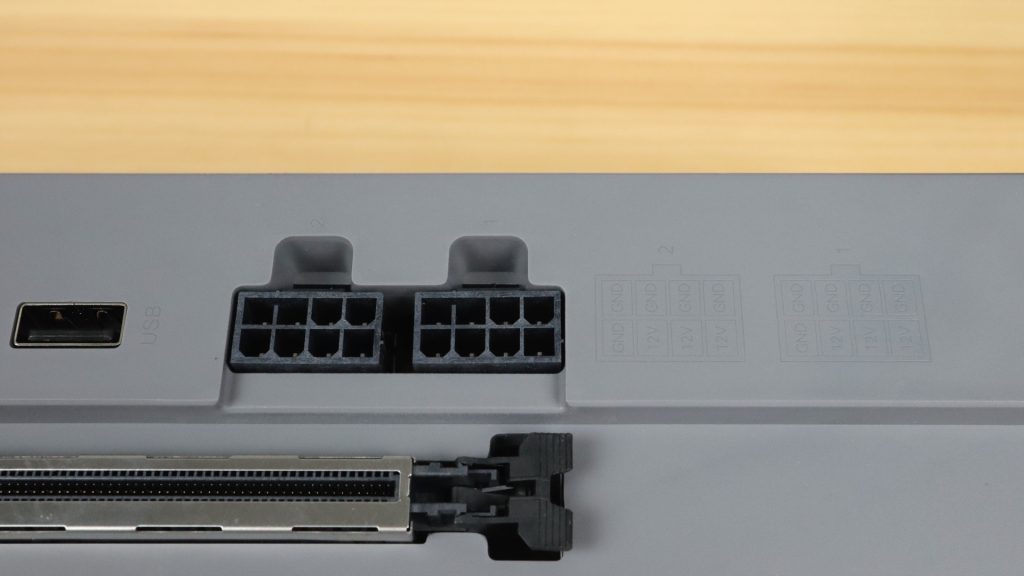
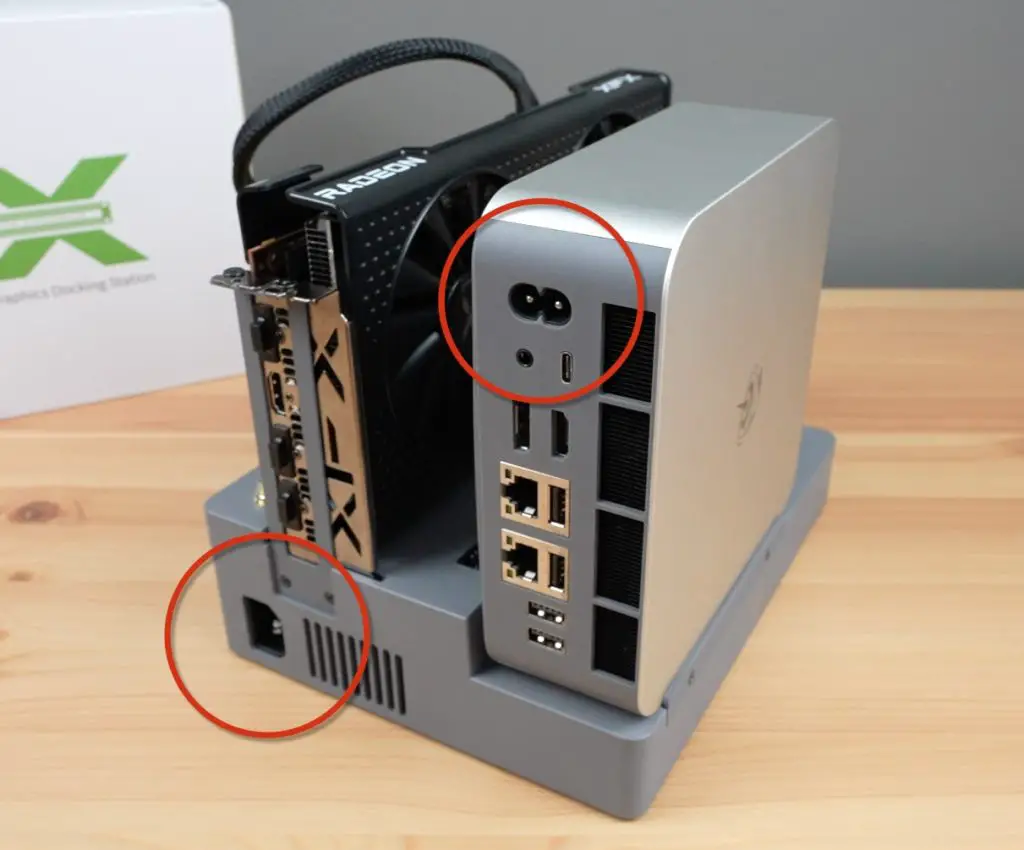
Alongside that are two 8-pin power supply ports for the GPU. These are fed from an internal 600W power supply.
There is also a separate port to power an external fan if your GPU requires this.
Next to those is a USB2.0 port. I think this is a bit of a strange addition, it would have been a lot more useful if it were a USB 3.0 port or USB type C port but I guess you could use this for a keyboard or mouse dongle.
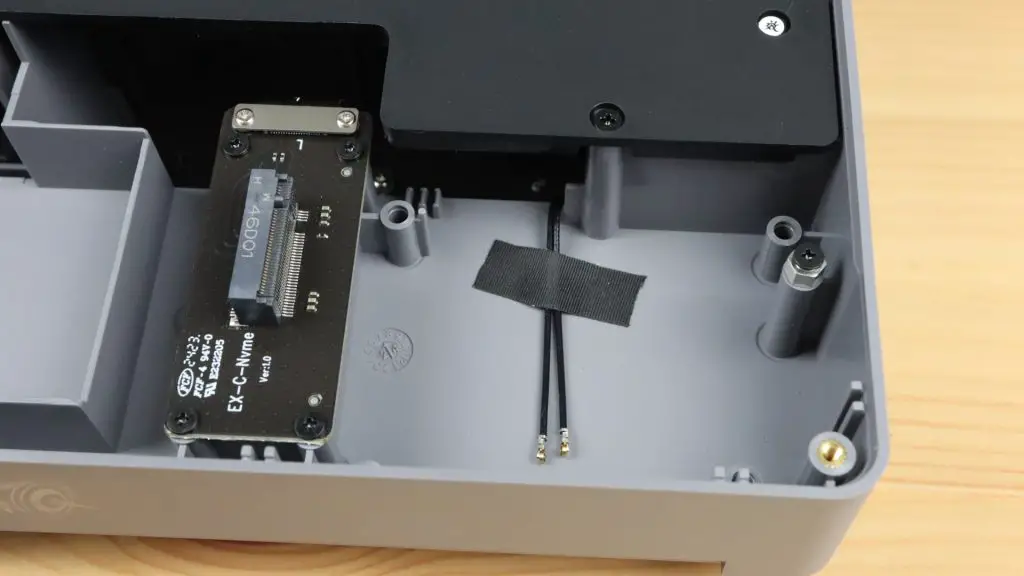
Then there are two antenna ports that you can use if you add an internal WiFi adaptor.
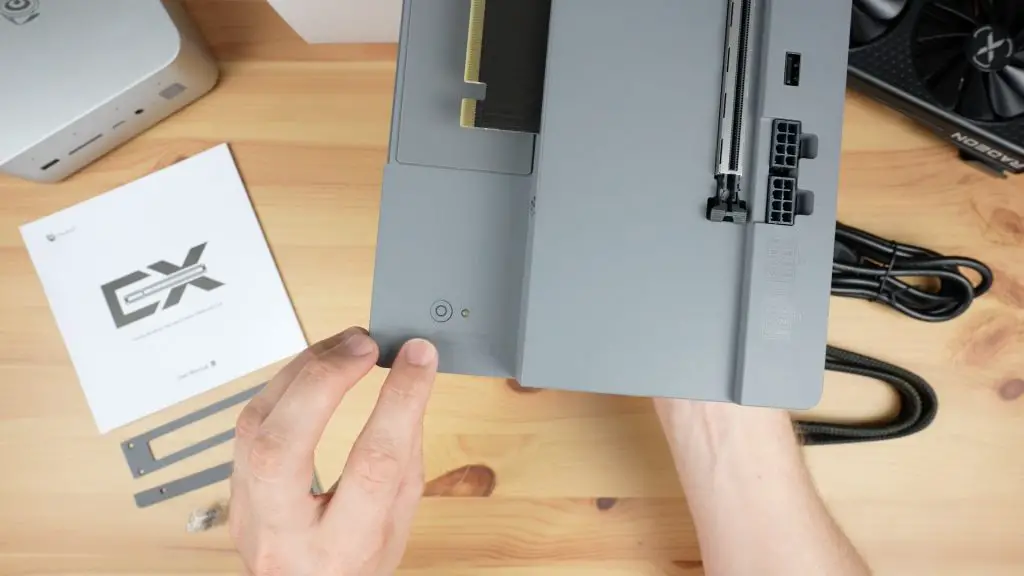
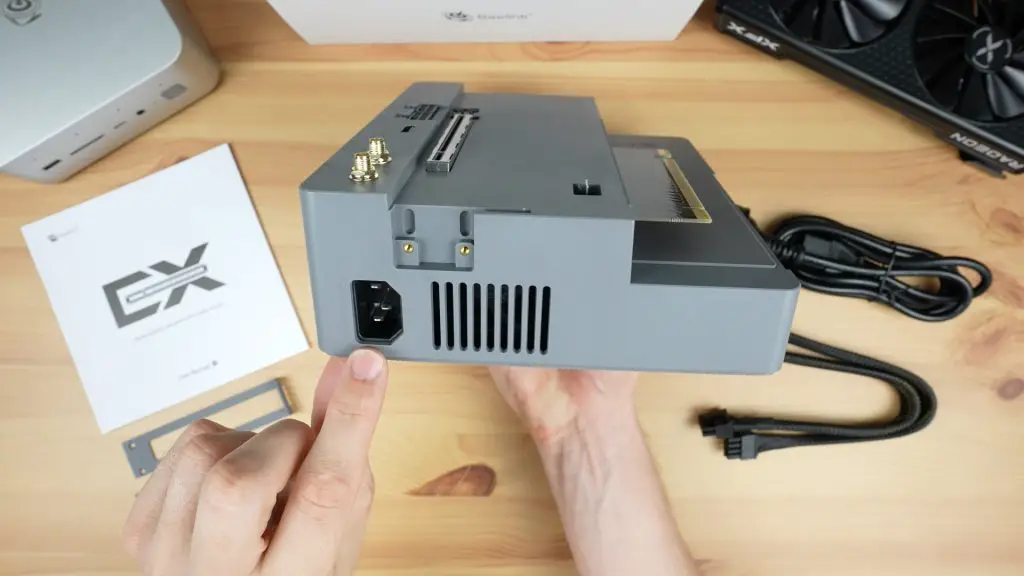
At the front is the power button and a power indicator LED alongside it.
At the back, we’ve just got the power supply input and some ventilation holes.
What GPUs Can You Plug Into The EX Docking Station?
The open design and relatively powerful integrated power supply mean that you can use a high-end GPU with the docking station.
Beelink claim that you can run a GeForce RTX 4090 in it. I don’t have a 4090 to test this claim, but it seems like they have sized the power supply at 600W specifically to make sure that high-end cards like these can be used since the 4090 requires around 450W. As shown earlier, the dock only has two 8-pin power ports available though and some cards like the 4090 require 4. So you may need to use additional adaptors to supply power to your card.
Another thing to keep in mind is that the dock is designed for 2-slot cards, so you’ll probably need to remove or not use the retaining bracket to use a 3-slot card like the 4090 but there looks like there is enough room for it.
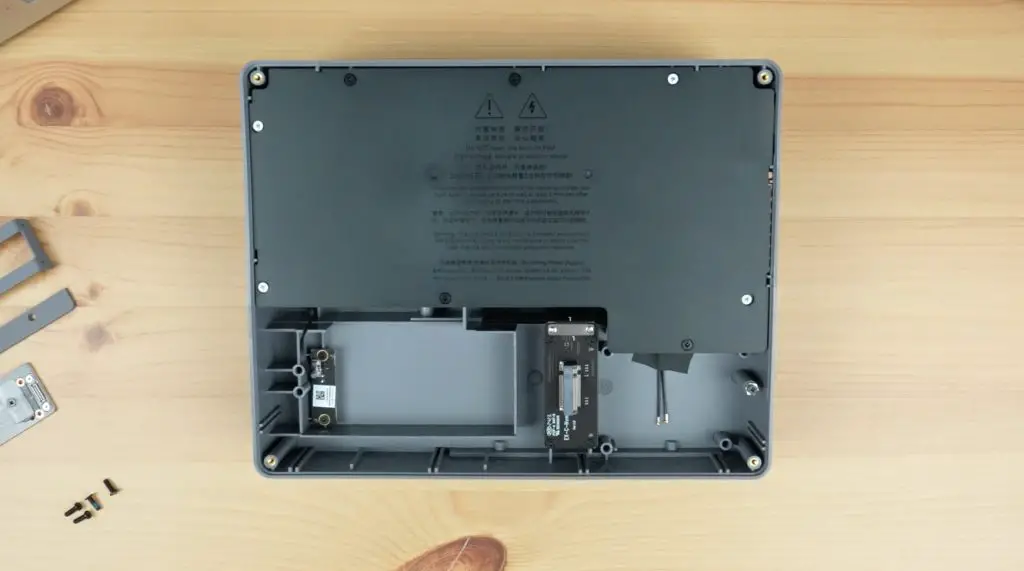
Internally, the EX Docking Station also has another PCIe 4.0 x 1 expansion port in the form of an M.2 port. You can use this port to add an NVMe SSD or use the small included adaptor board to add a WiFi module.
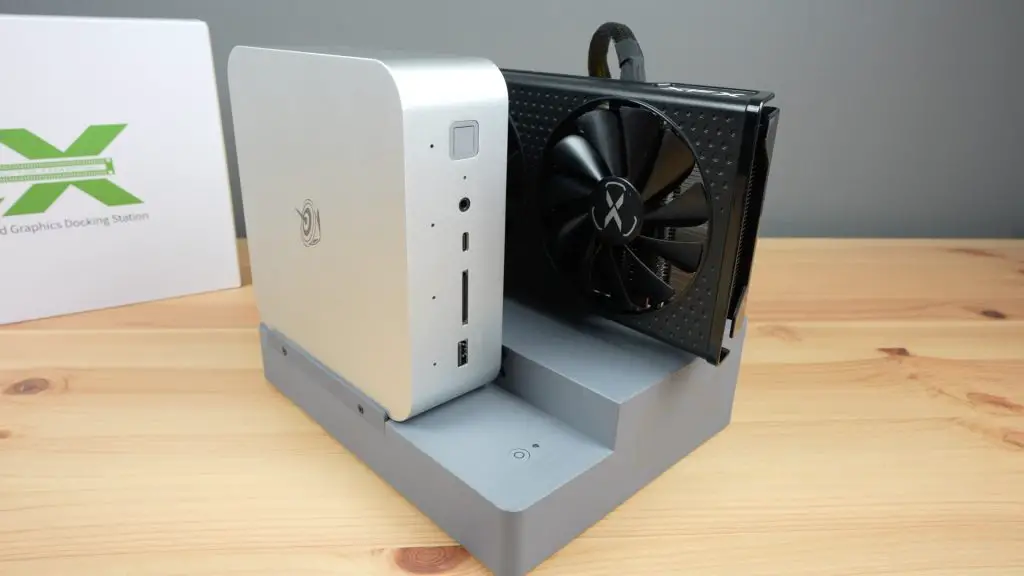
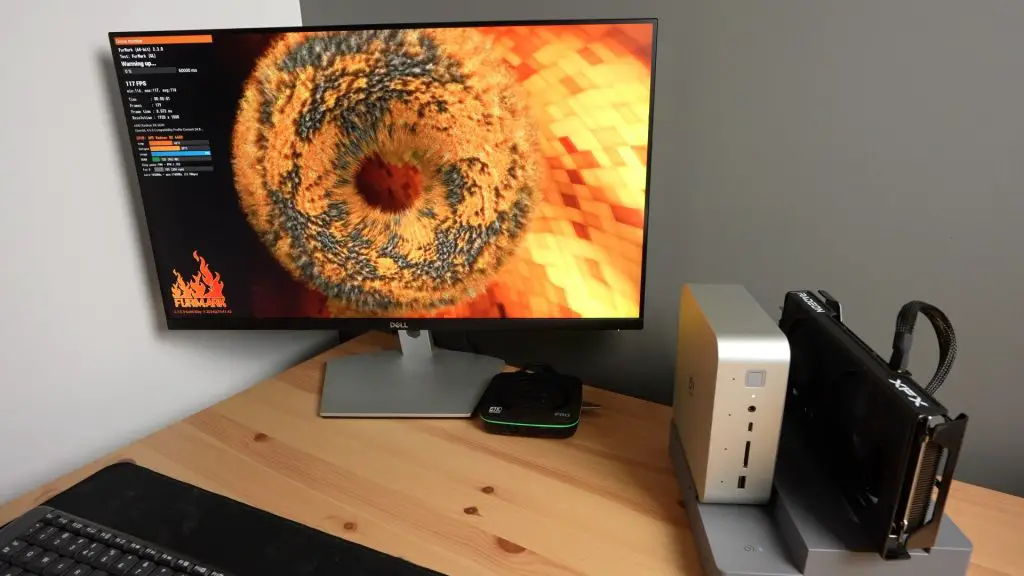
Installing A GPU On The Dock
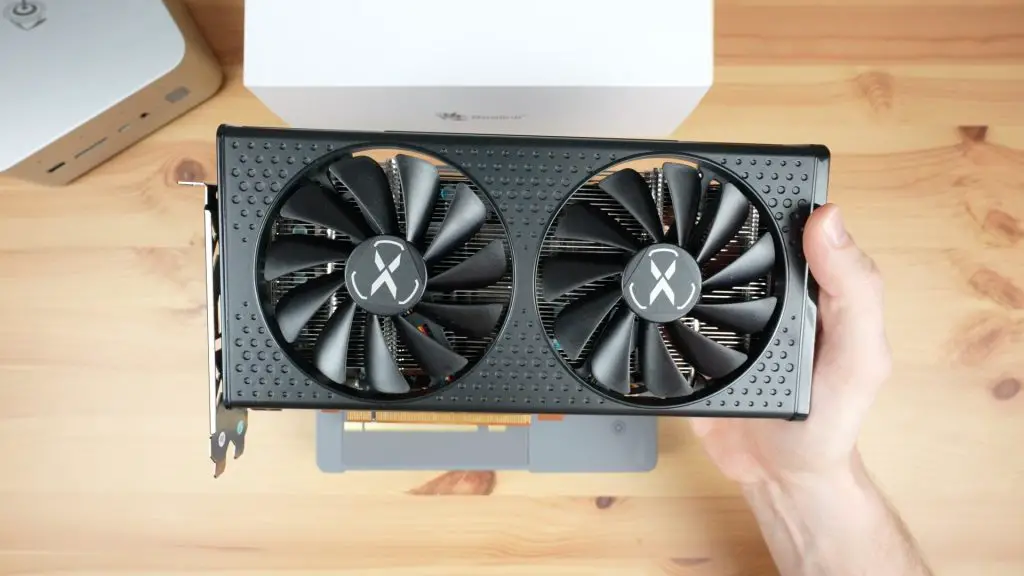
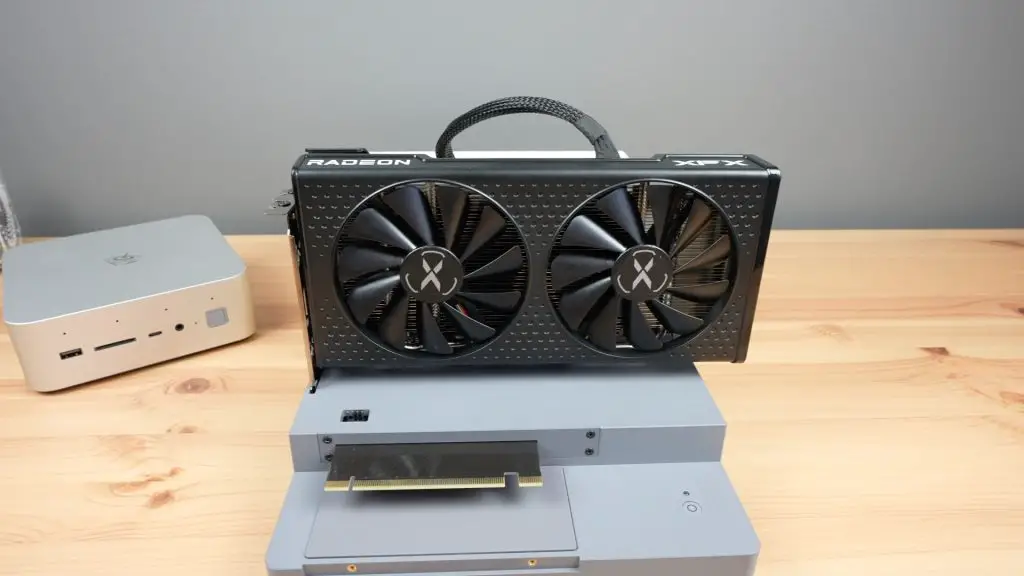
Now that we’ve had a look at what the EX Docking Station has to offer, let’s get a GPU plugged into it and try it out. I’m going to be using the same Radeon RX 6600 GPU that I used with my 3D-printed adaptor.
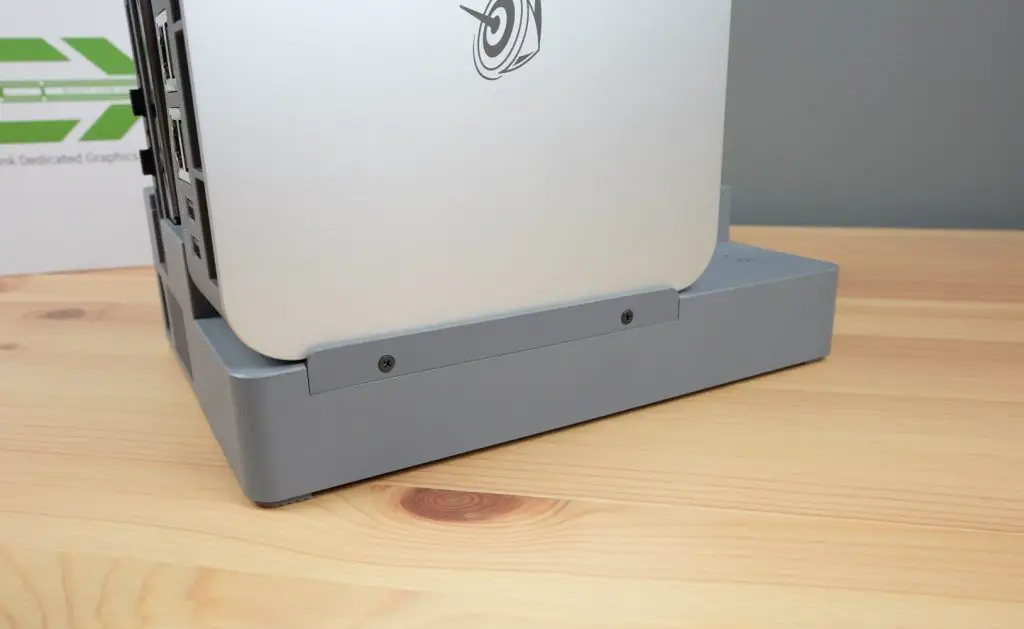
First, we need to install the mounting bracket on the back of the dock.
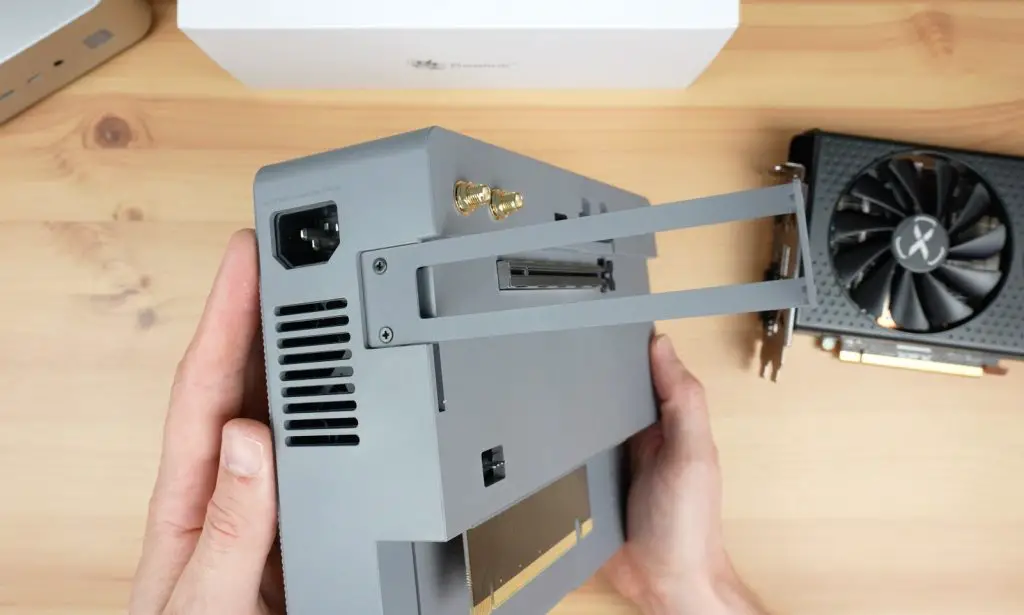
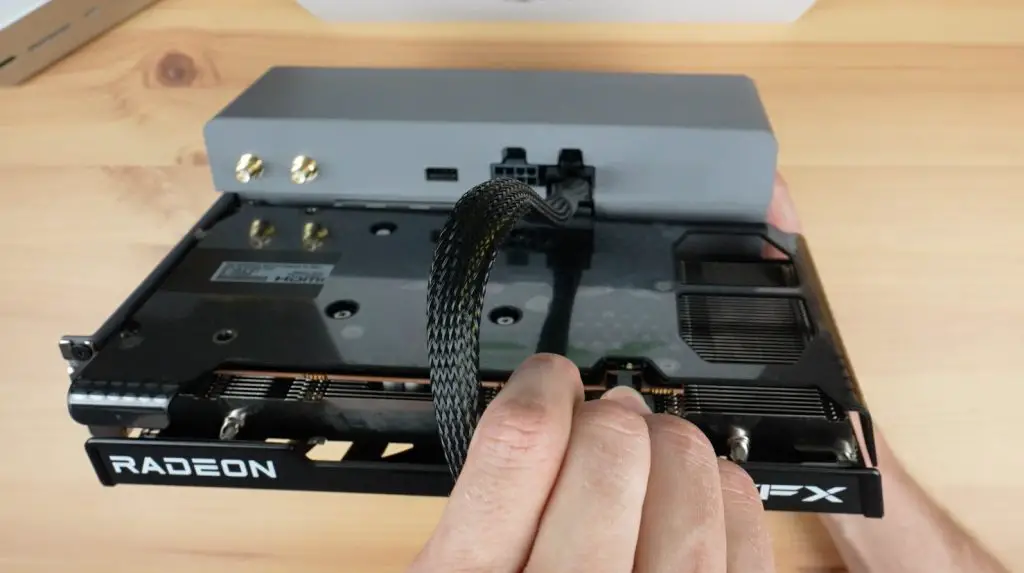
The GPU plugs into the PCIe port and we just need to hook a single 8-pin power cable up to it.
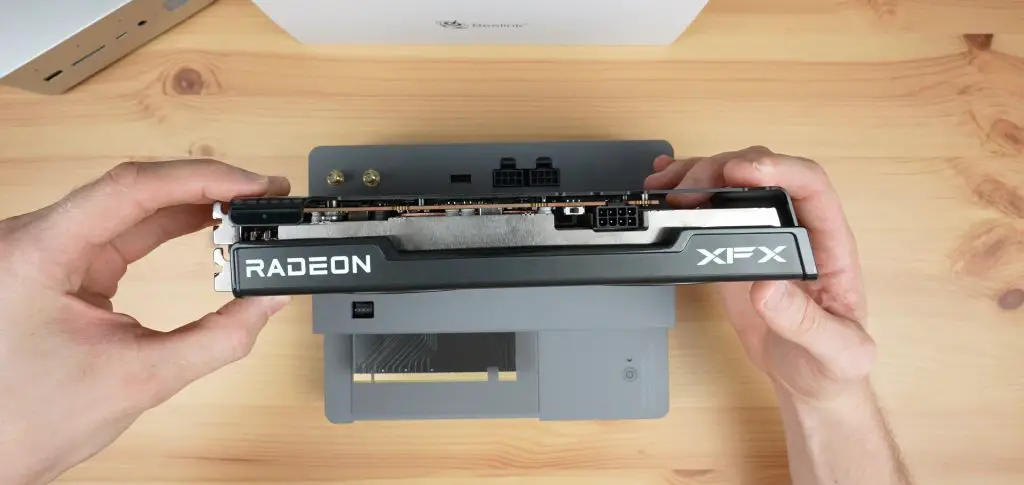
We then need to remove the cover over the PCIe slot on the bottom of the GTi 14 and then slide it onto the PCIe adaptor on the dock.
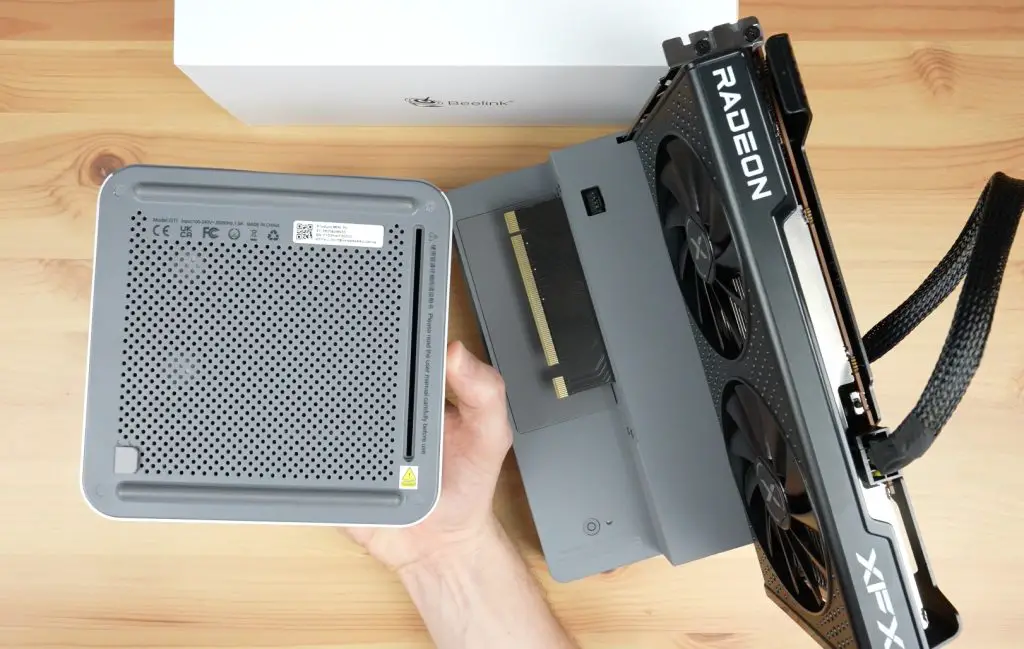
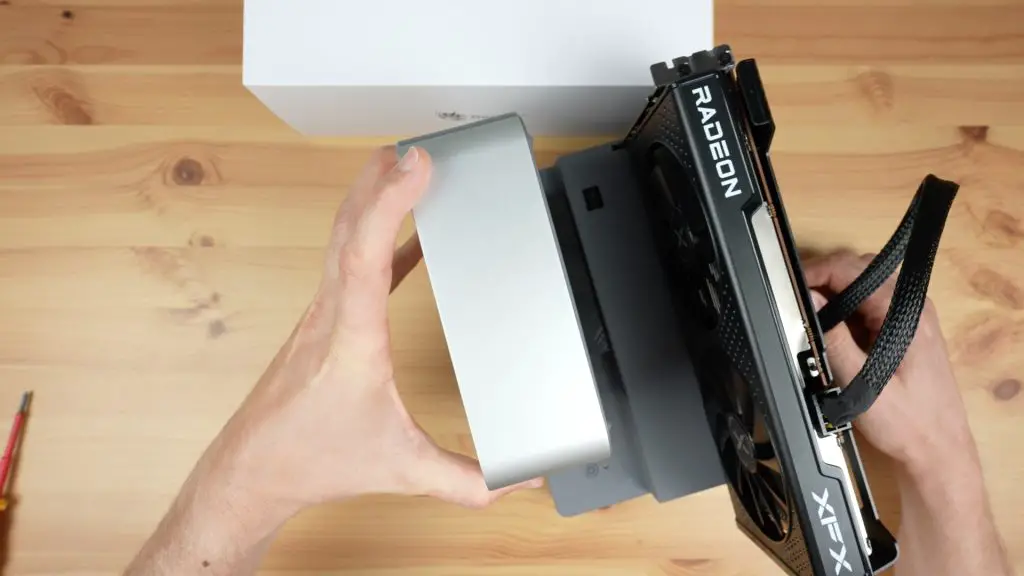
A retaining plate then holds the PC in place.
Testing The EX Docking Station
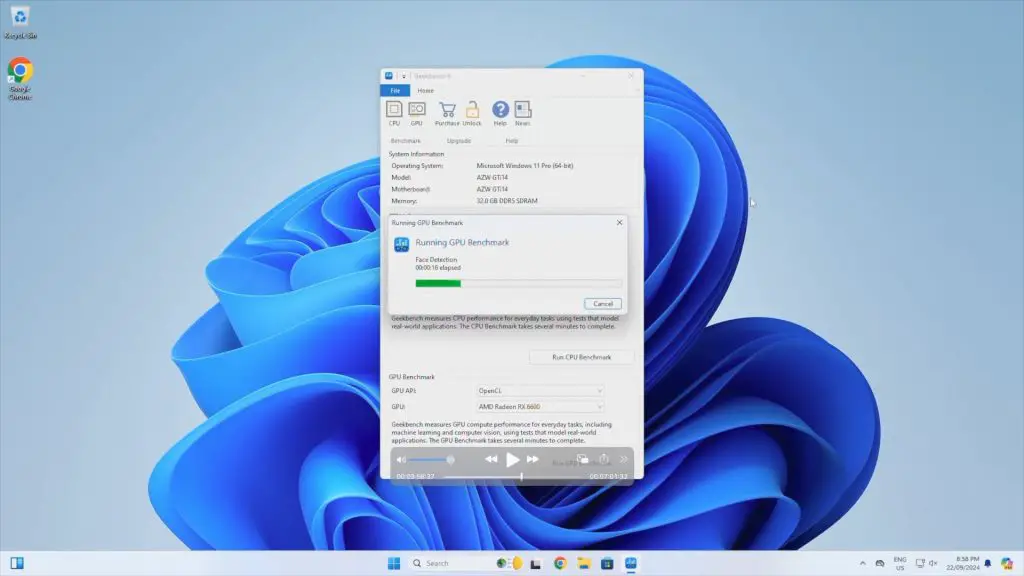
To test the EX Docking Station, I tried running two benchmarks that I ran previously on the stock GTi 14 – Geekbench GPU and Furmark.

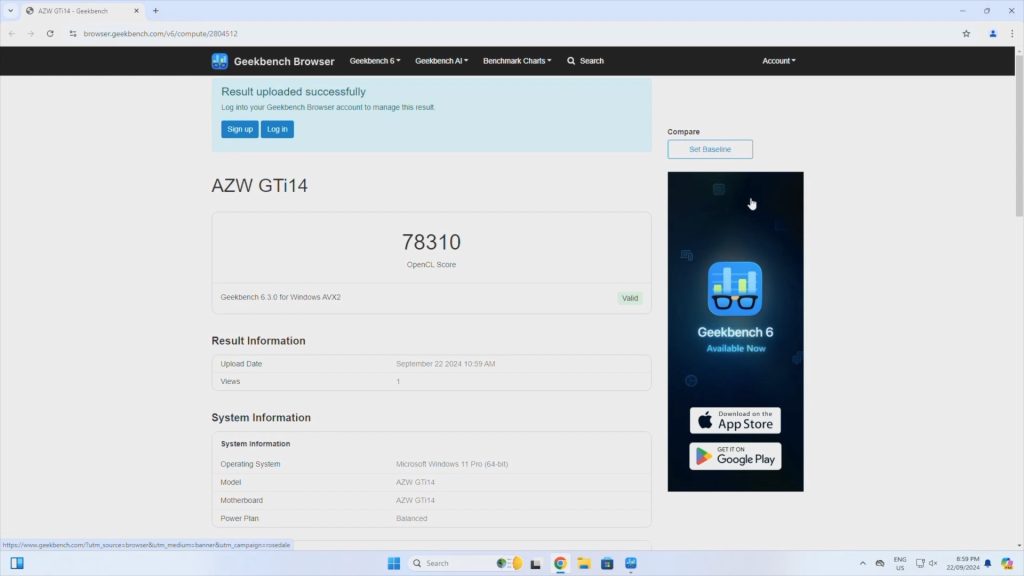
In Geekbench we get a GPU score of 78,310, which is unsurprisingly significantly higher than the 37,460 we got on the stock setup.
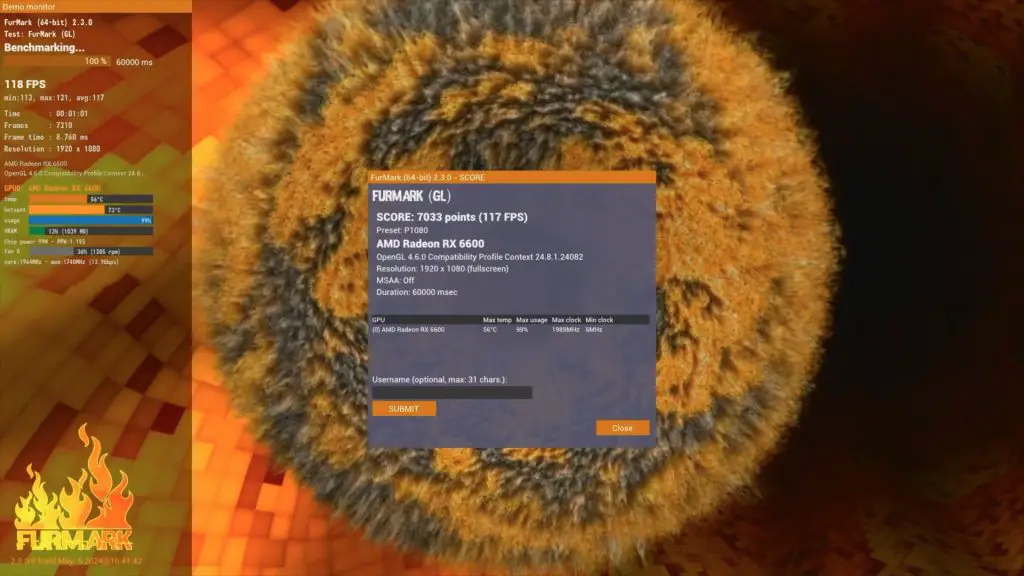
Running Furmark, we get a score of 7,033, which is also much higher than the 1,920 we got with the stock setup.
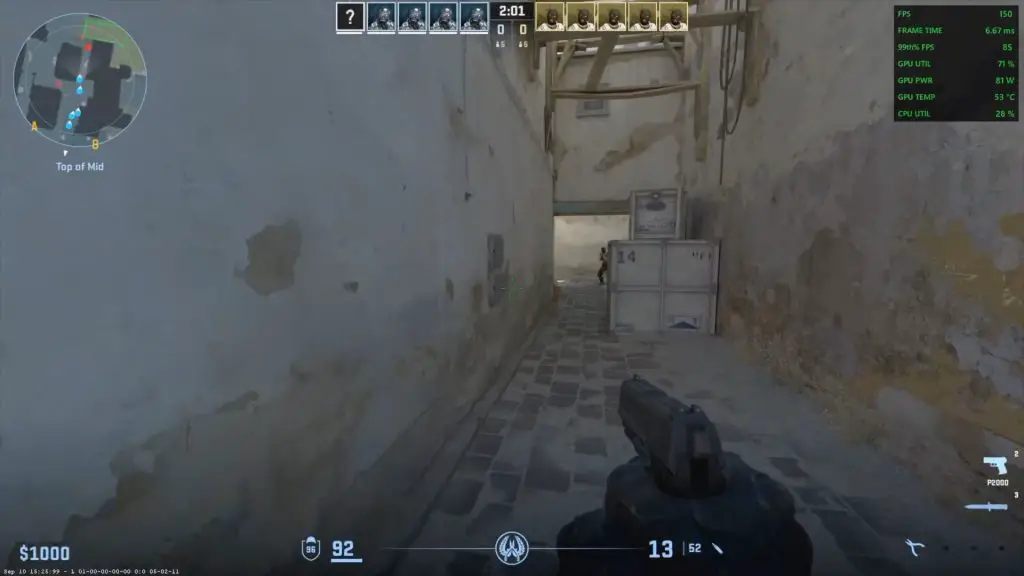
To test gameplay, I opened up Counterstrike 2 and set all of the graphics settings to Very High at 1080P.
We get around 150 fps quite consistently. This is about 2.5 times what we’d get on the integrated GPU, which is already quite powerful for a mini PC.
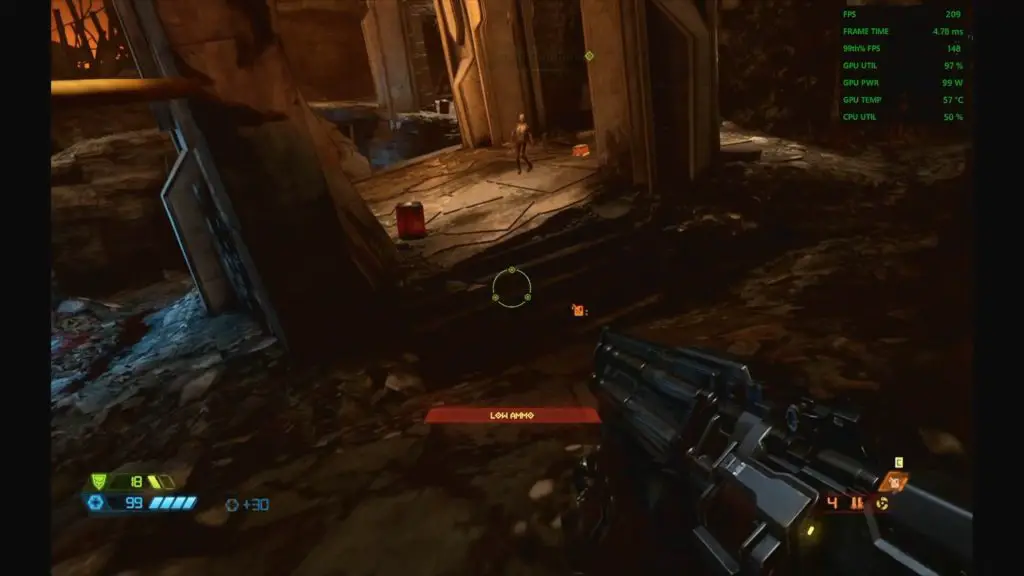
In Doom Eternal with all graphics settings on Ultra Nightmare and Ray Tracing turned off at 1080P, we get over 200fps. This is about 3 times faster than the integrated GPU and the RX 6600 is a pretty low-tier budget GPU.
Can You Use Other PCIe Cards With The Dock?
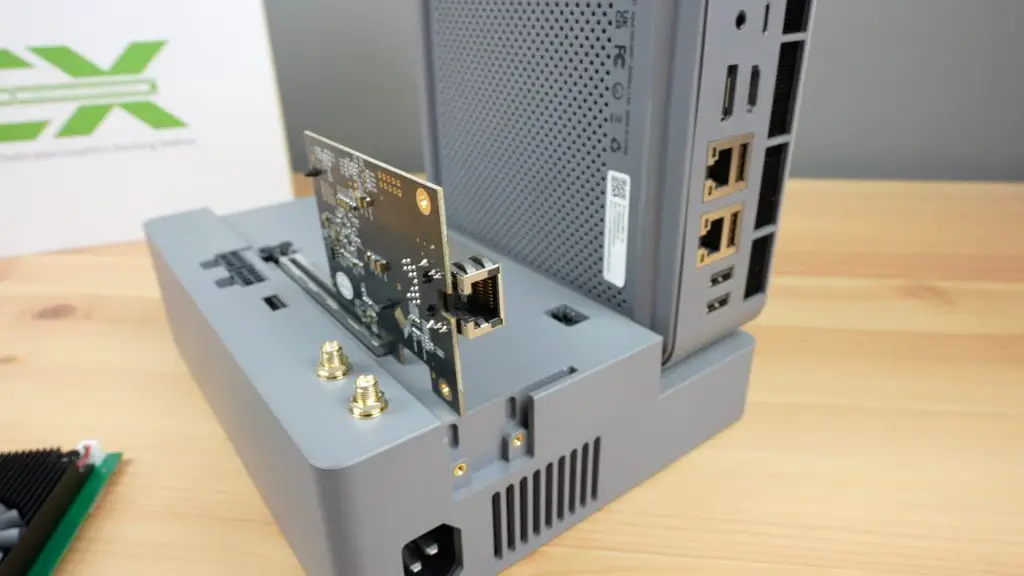
You don’t have to use this docking station to add a GPU to your PC. Since it uses a standard PCIe interface, you can use it with other PCIe cards too.
I actually used this dock to add a 10G Ethernet adaptor to the GTi 14 recently to do my testing on the Zimacube Pro and the TerraMaster F8 SSD Plus. This is obviously quite an expensive way to add 10G Ethernet to your PC, but it does give you a lot of expansion options for other cards too.
Final Thoughts On The Beelink EX Docking Station
The EX Docking Station retails for $159 on their website at the time of writing this post. You are paying a premium on what is largely a 600W power supply and a PCIe riser with some added features, but I don’t think it’s prohibitively expensive.
Being a first-gen product there are two minor drawbacks that I’d like to mention.
When you use the docking station with the GTi 14 Ultra, you still need to use a power cable for the PC as well. You’ve then got two power cables to plug in and two power buttons to press to boot the PC up. It would have been nice to have these a bit more integrated in some way.
I also would have liked to have seen an easier way to add and remove the PC from the dock. Something like a toolless lever or snap-in lock to hold the PC into place like a laptop dock would make it far easier to remove the PC, which is kinda of the point of a dock.
Other than those two drawbacks, I think this is quite an innovative product. Mini PCs have always been held back by their GPU performance and with this dock, you can add a high-end GPU to an already powerful mini PC to create a good gaming setup that also offers the flexibility to be very portable when you need it to be.
Let me know what you think of the dock in the comments section below.
Hi Mike, is there a way to use this dock and GPU with any PC other than beelink Gti.
I don’t think so. It would require the PC to have an accessible PCIe port in a location that would fit onto the dock. It also incorporates a x1 extension on the end for the NVMe drive which is non-standard for a PCIe port.