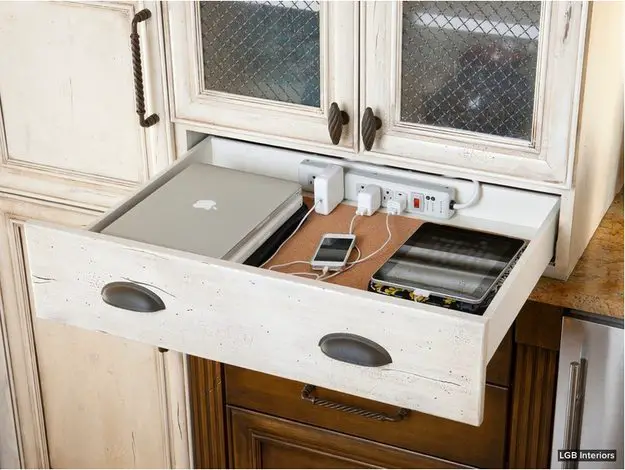
Installing a power oultet in a drawer or cupboard makes it easy to charge phones and gadgets, keep your hair straightener or hair dryer plugged in or to keep your laptop charged. There are two ways this can be done and the first of them is super easy.
The easiest way to get an electric outlet in a drawer or cupboard is by using an extension cable with a multi-plug on the end. This requires no cutting or electrical work to be done. The multi-plug can be double sided taped or screwed onto the back edge or bottom of the drawer. The cable is then fed over the top of the back edge of the drawer, this is sometimes easiest to do by removing the drawer from the sliders, placing the cable over the back and then replacing the drawer. If that is not an option then drill a hole in the bottom or back of the drawer, remove the plug and then thread the cable through the hole and replace the plug. For a guide on wiring a plug, click here. The extension cable can then be run behind the drawers or side table and plugged into the nearest available outlet.
The second option is to install a proper electrical outlet in the back of the drawer. This requires an outlet with a closed or covered back panel, not the typical wall outlet which leaves the wires exposed at the back. If the unit where the drawer or cupboard is located is built in, then it may be possible to wire this outlet to the household plug circuit, if not then you will have to wire an extension cable onto the outlet with a plug on the end to plug into a nearby outlet.


